Lexus LX470 Conversion - Part 3
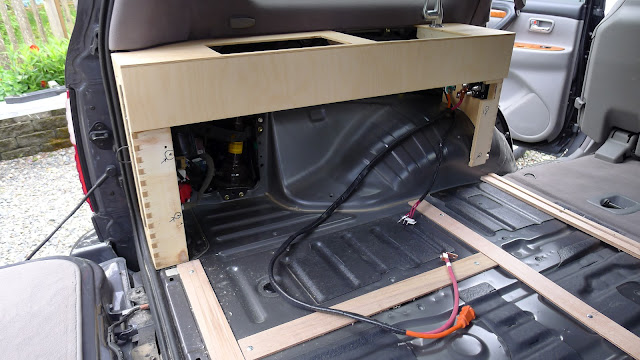
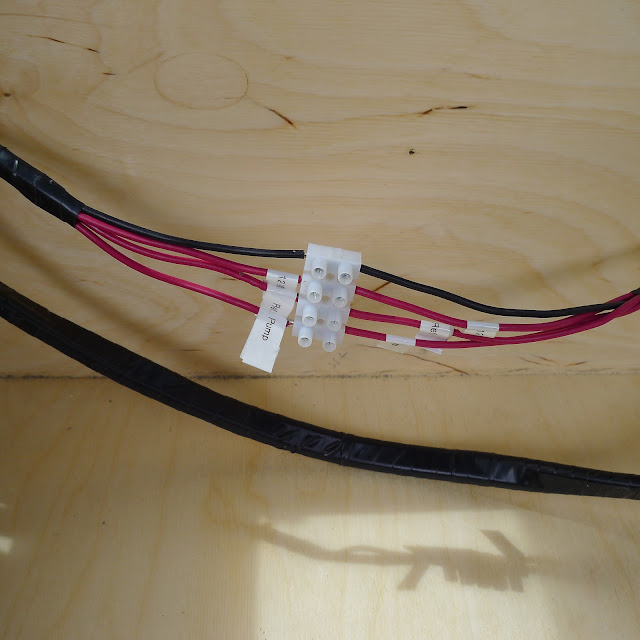
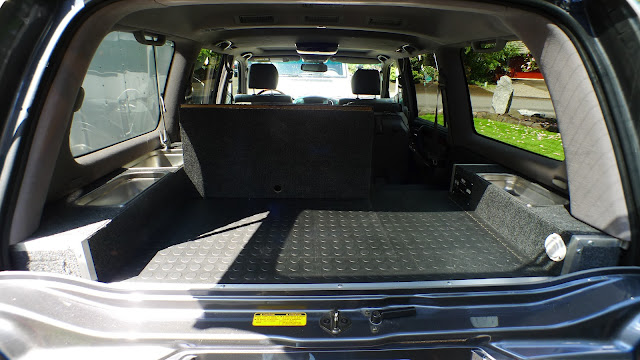
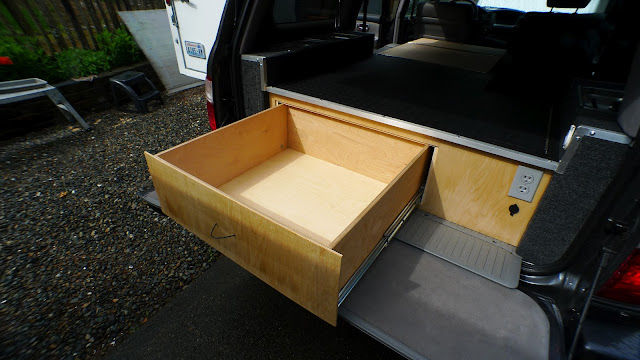
(above) The installation...First, the driver's side wall cabinet slips in...The wires are loomed for easy hook-ups...
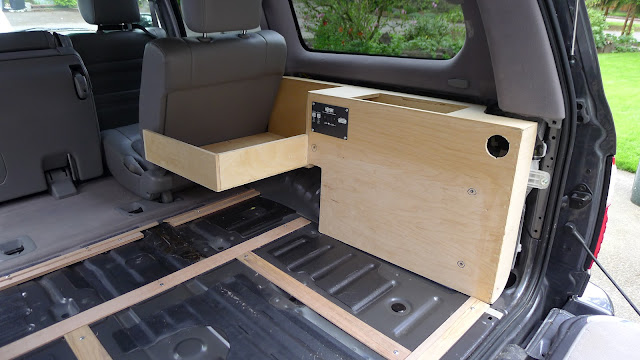
(above) Next, the curb side cabinet is loosely placed...
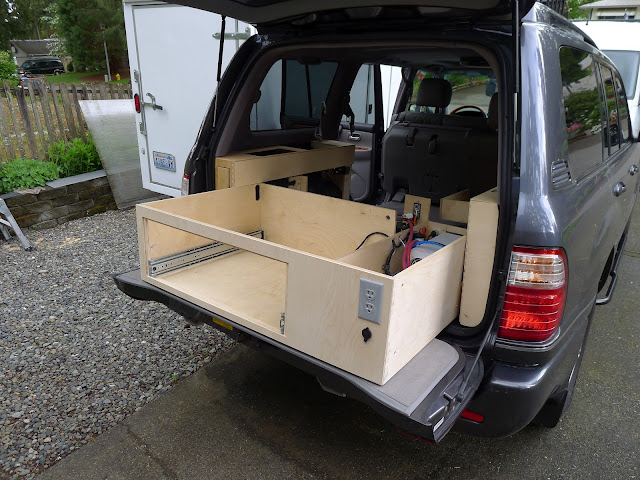
(above) Then the center box slips between the sides...
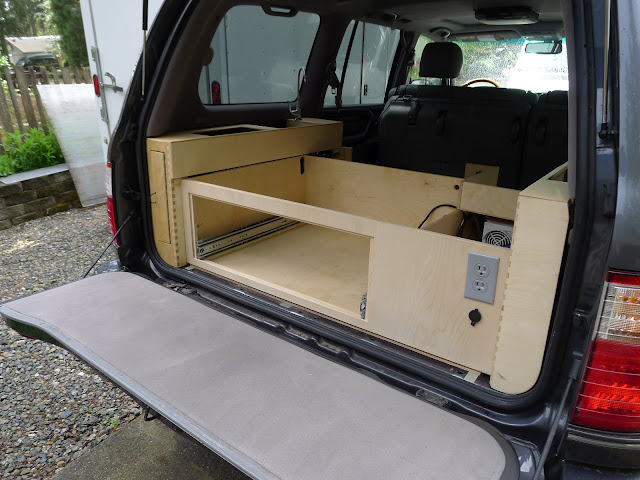
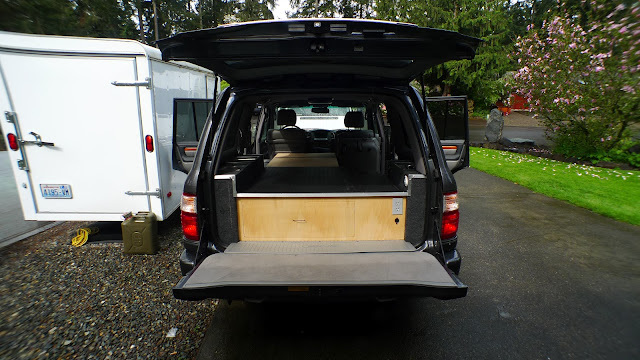
(above) Close enough to do the connections...
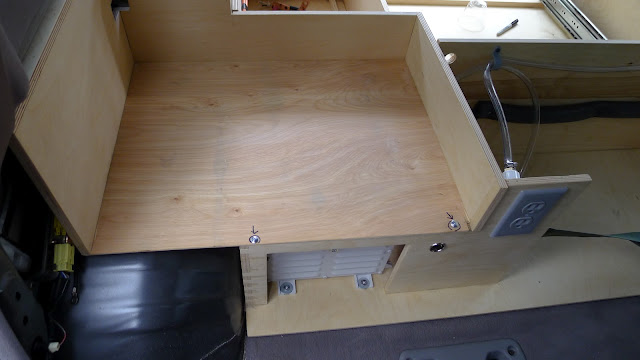
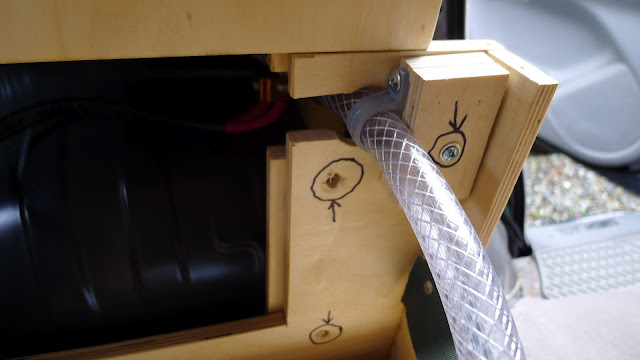
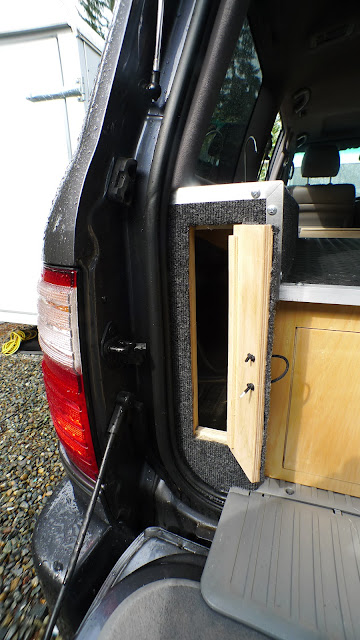
(above) Curb side... There are three tee-nuts that connect the side to the center box...they are highlighted with the pen marks...
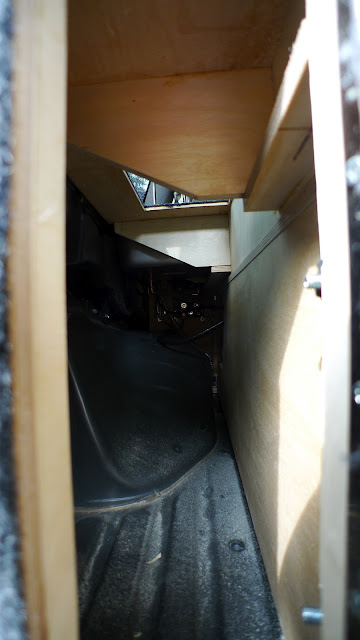
(above) Behind the curb side seat, two screws attach the side case to the center box...Again, pen marks the locations...
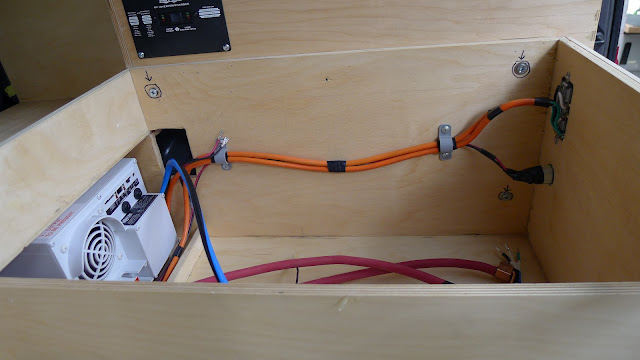
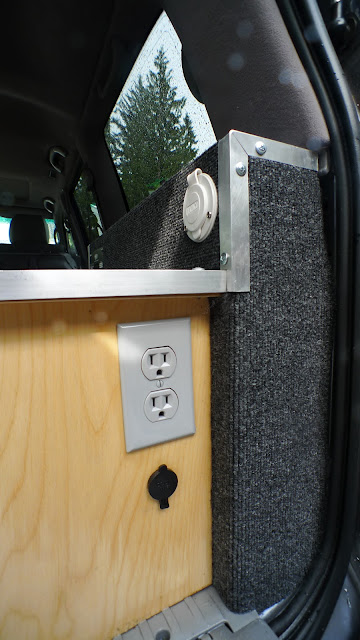
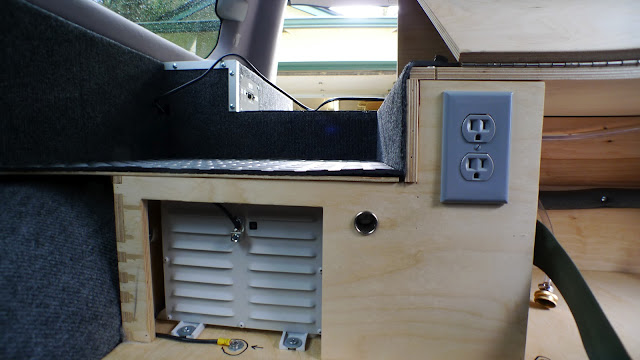
(above) Shore power wires go from the inverter through a hole in the cabinets then come out at the side cabinet to hook into the power plug...Wiring is labeled...
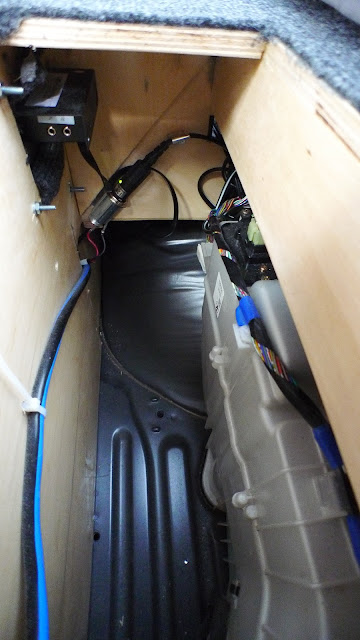
(above) The black and red set of wires that go through to the curb side wheel-well are for the fridge...They plug into a 12VDC accessory outlet in the cabinet cavity...The lone black wire connects to the battery ground later...The remote for the inverter is a simple plug in...
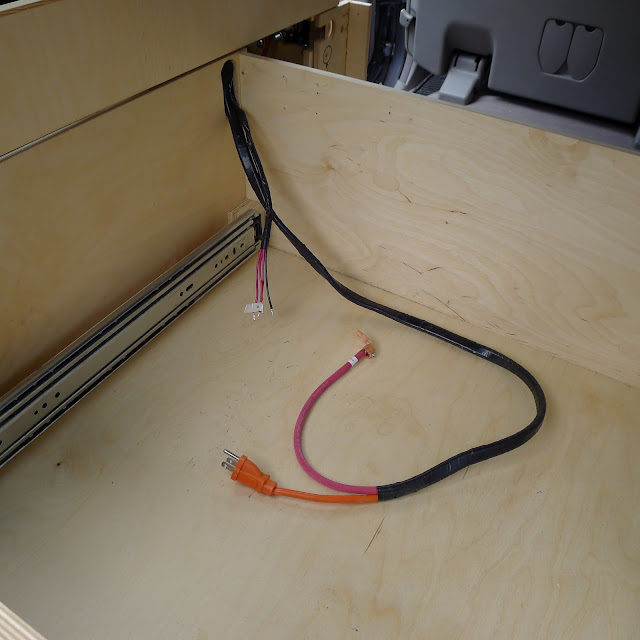
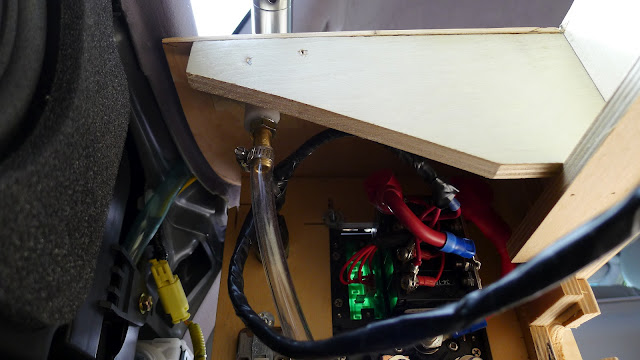
(above) On the driver side, these are the wires to connect...
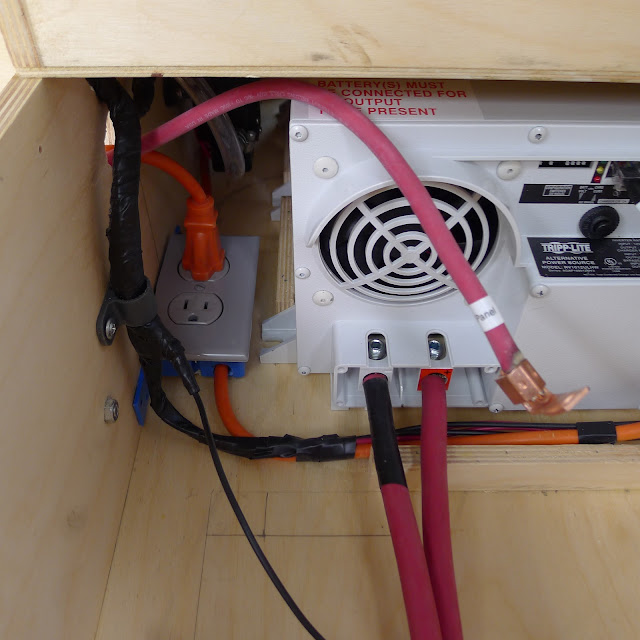
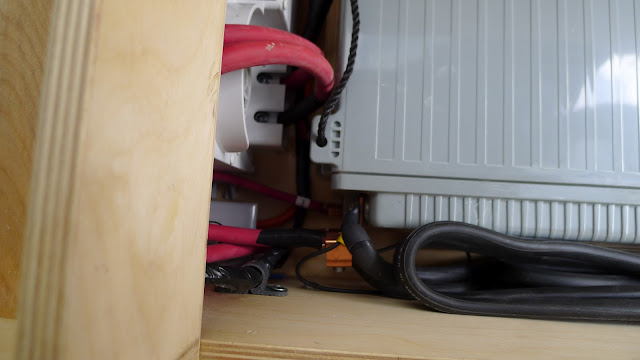
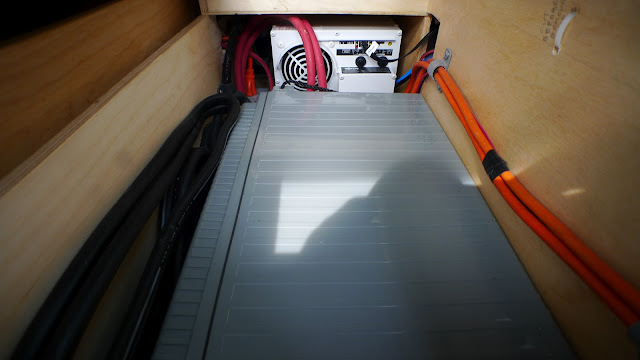
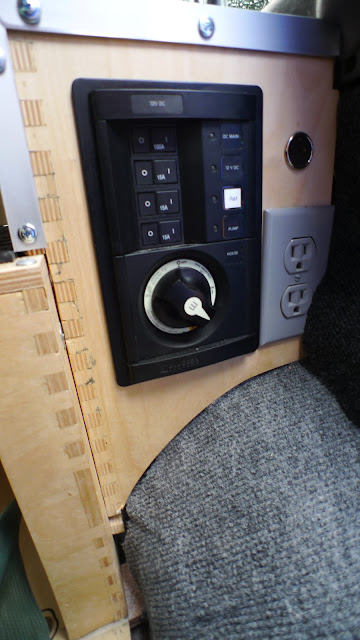
(above) The orange wire with the plug end goes from a 115VDC receptacle to a plug in / junction box...This way the connections are easily done without having to hard wire...The large red wire will connect to the battery...
(above) wires from the circuit breakers for the 12VDC system get connected here...
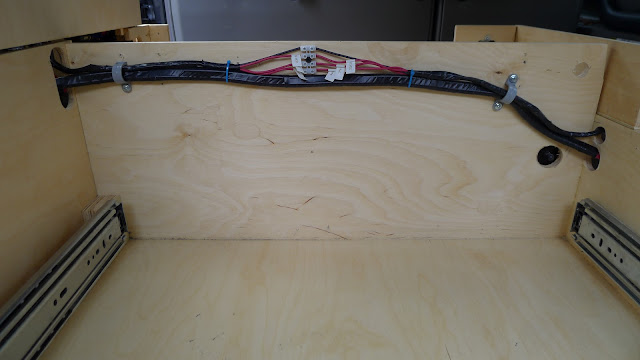
(above) Then it all gets attached to the cabinet wall...Elapsed time for the install so far is about a half hour...
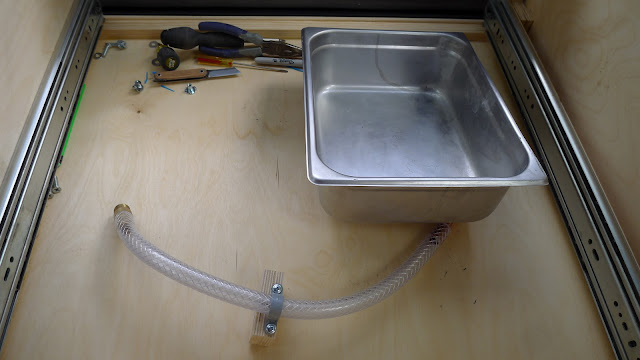
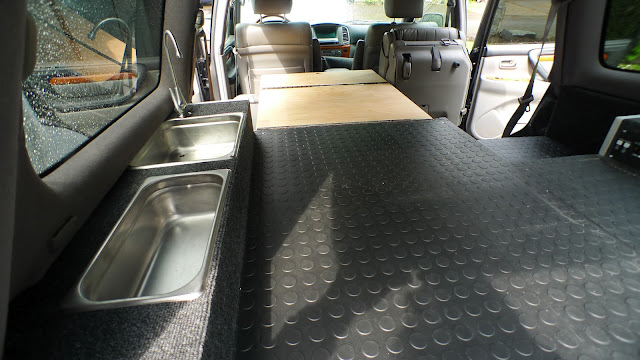
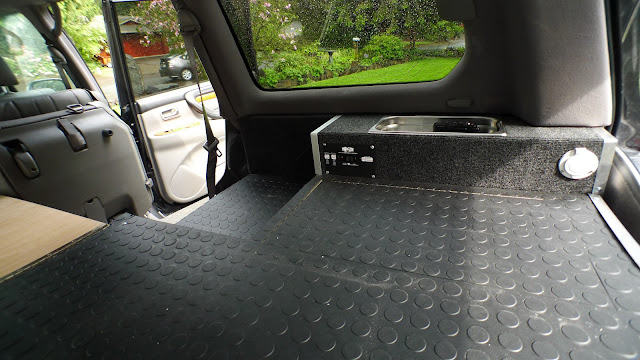
(above) Next to hook up is the sink...
(above) The sink drops into the cabinet top, then the drain hose gets securely fixed with a pipe strap mounted to a block of plywood, then...
(above) ...screwed through the cabinet wall into a tee-nut...Without the secure mounting, the tailpiece of the sink would move enough with the connection of the hose to the waste water tank, to eventually break...
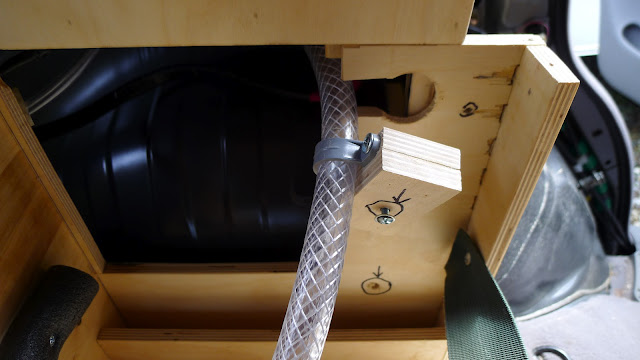
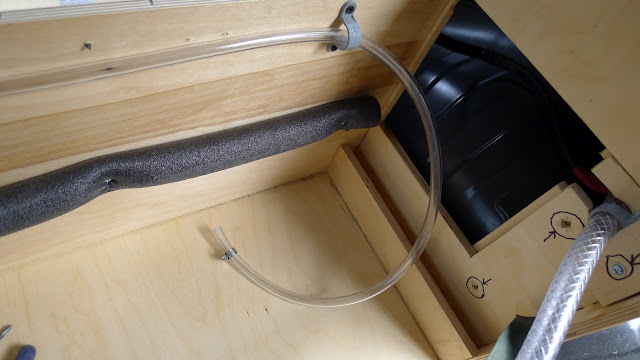
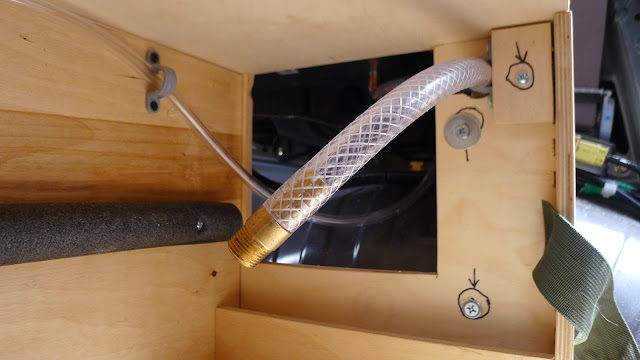
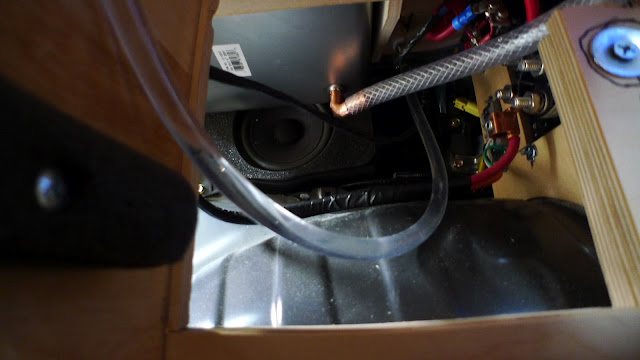
(above) The hose from the water pump / accumulator tank gets connected next...The foam pipe insulation cushions the water tanks and keeps the tanks from rattling around once they are strapped in...
(above) Simple hose clamp on the faucet inlet is all that's needed...
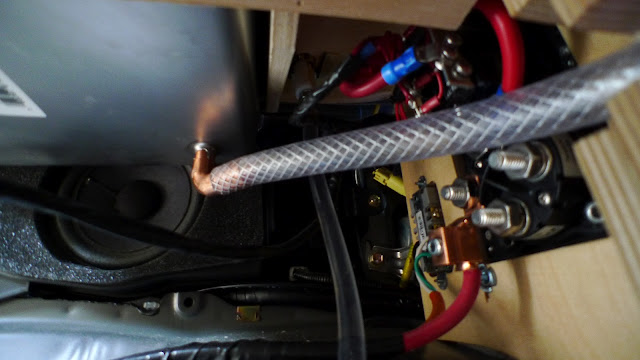
(above) Next to connect is the battery...Red wires go to the positive, black wires go to ground...The heavy black wires looped are winch connection cables...
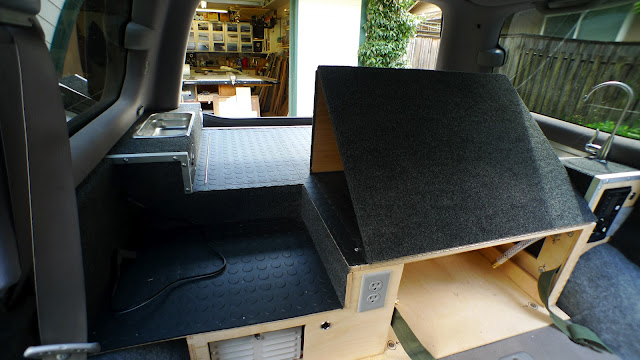
At this point the flat bed section is slid over the top of the center box and screwed into the lower cabinet with four screw...
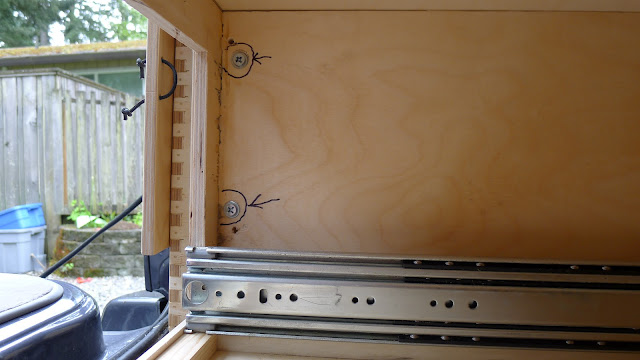
(above) Two tee-nut screws connect the wall cabinet to the center box up here...
(above) ...and a pair of screws connect the cabinets back in the drawer side cabinet...
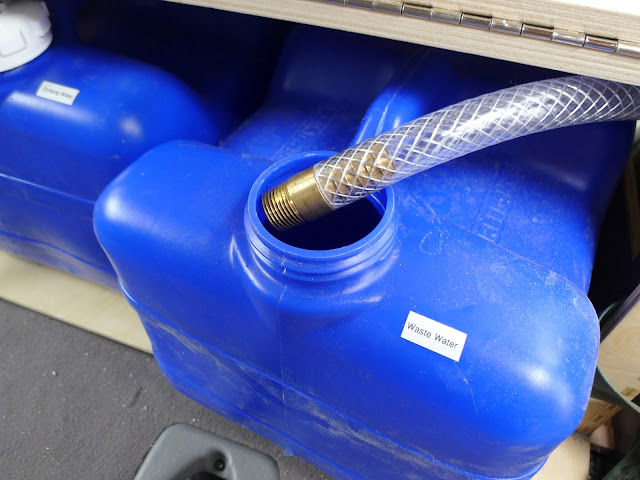
(above) The drinking water tank up-take tube...
(above) To hook-up the drinking water tank to the inlet for the water pump, is done with a simple twist on garden hose connector...
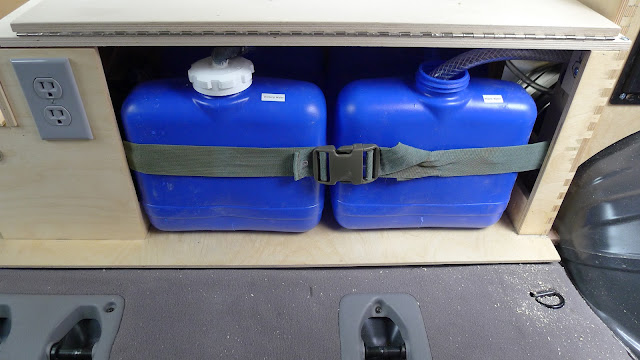
(above) The drain hose simply drops in the tank...
(above) A strap keeps them in place...
Four screws through the plywood cabinet bottom attach the casework assembly to the floor of the vehicle...The only screws into the vehicle...
More later...