Nisstec Adjustable Coilover and Nisstec Adjustable Shackle Installation
Got some shiny parts at my doorstep yesterday morning! So since I didn't have to work or go to school, I called up my future brother in law and procured the use of his large, heated shop.

I gotta say, as much hubbub as I have heard about the complexity of the F-Alpha suspension, geometry, etc., I was expecting a fair degree of difficulty. I was completely wrong. This was literally the easiest suspension install I have ever done. I installed the new parts, by myself, in under three hours using only basic tools, a floor jack, and one jackstand. Before I started, I took a before picture and took measurements.
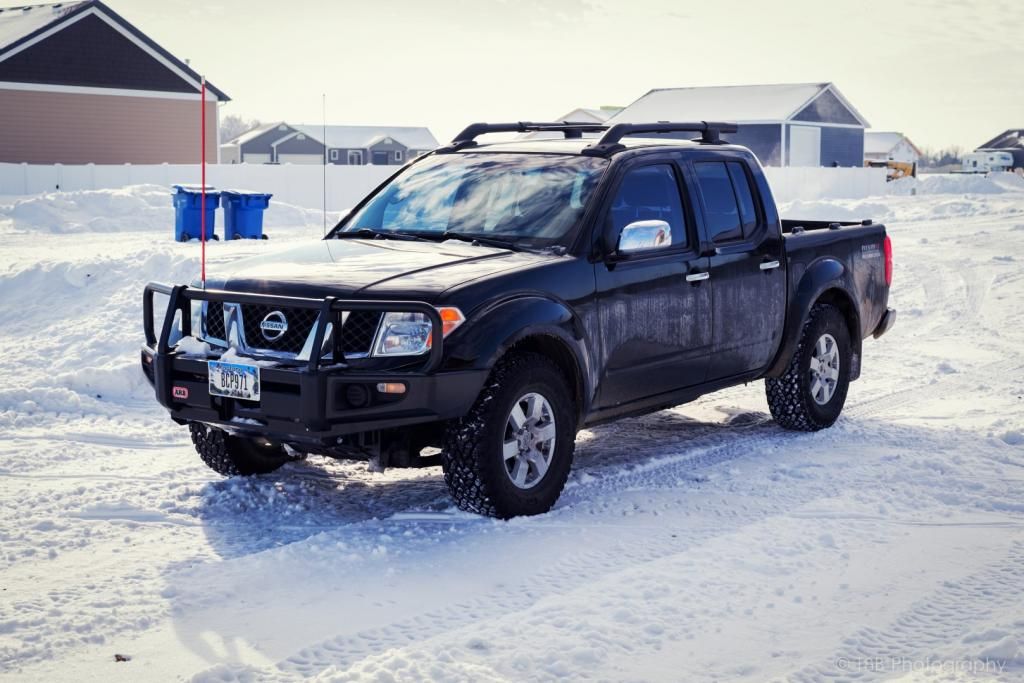 Center of hub to wheel arch measurements, pre-lift
FRONT (left and right): 19 1/2"
REAR (left and right): 20 5/8"
Installing aftermarket factory length coilovers is a ridiculously easy job.
1. Jack up the truck and place jackstand
2. Remove tire
3. Undo the three 14mm nuts holding the top of the strut on
4. Use a screwdriver as an ice pick to remove the snow and ice from the lower control arm
5. If the weather is warm, skip step 4
6. Remove the lower shock nut (19mm) and then pull out the bolt (also 19mm)
7. Remove factory strut assembly
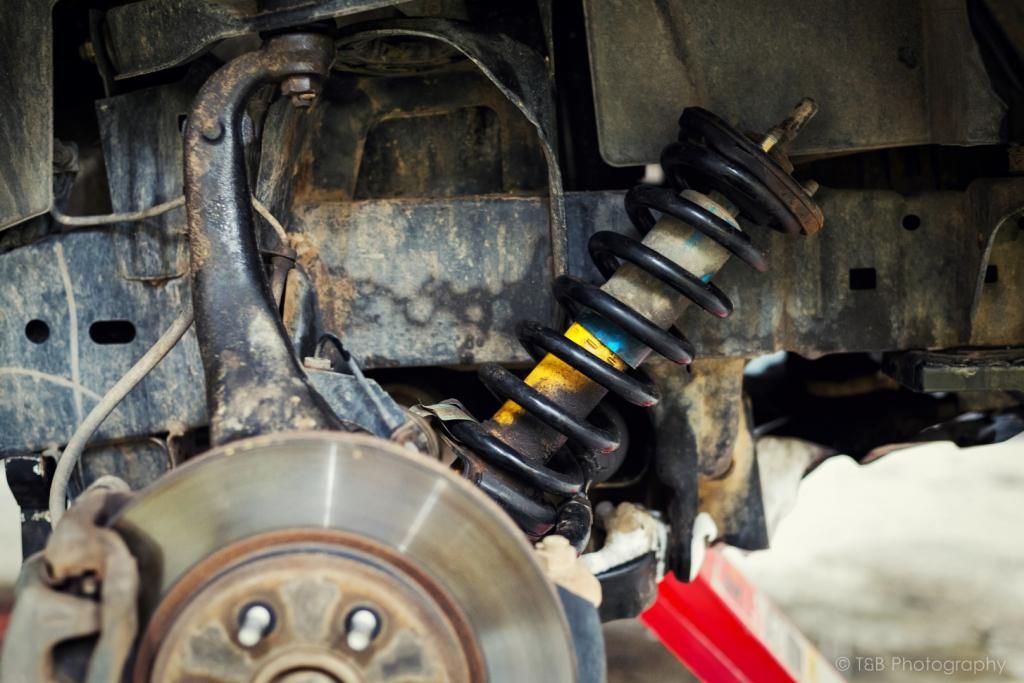
8. Remove new coilovers from box
9. Use shop rag to mop up drool from viewing said coilovers
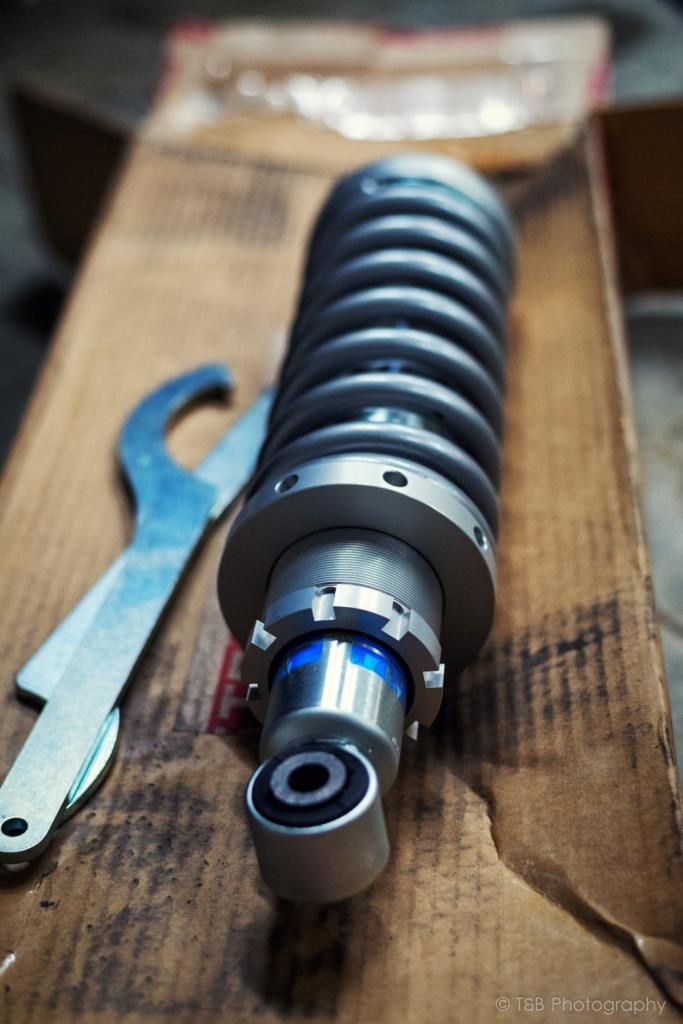
10. Slide new coilovers in, aligning the studs with the holes in the coil bucket
11. Finger tighten new 14mm nuts
12. Apply downward pressure to upper control arm
13. Slip lower shock mount into position and insert lower shock bolt
14. Finger tighten lower shock mount bolt
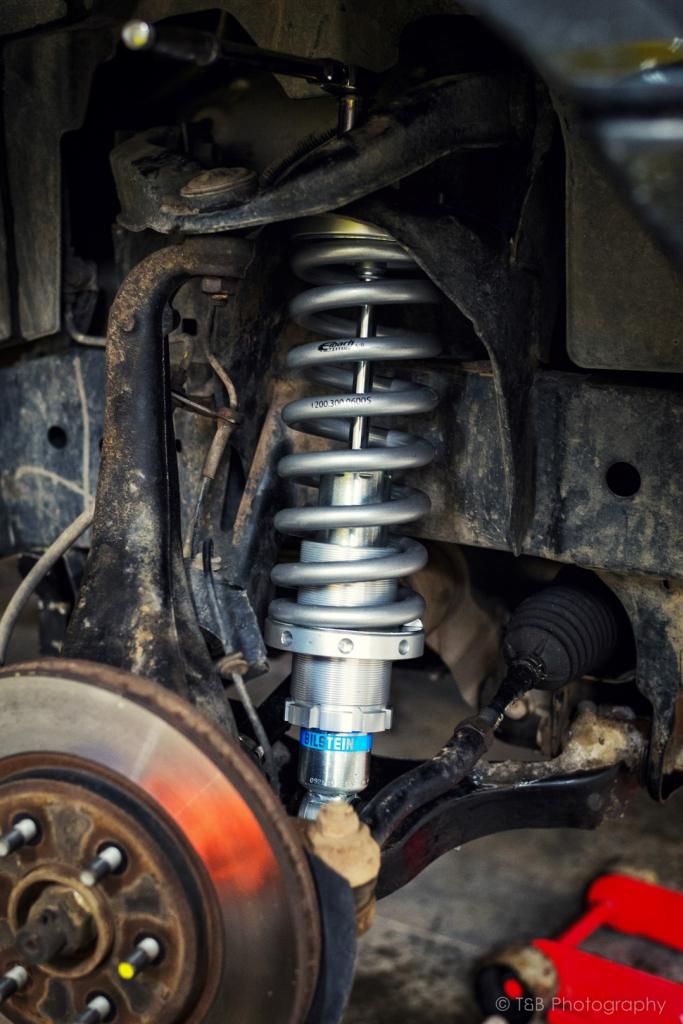
15. Tighten upper 14mm nuts
16. Tighten lower 19mm bolt
17. Double check that bolts are tightened (ask me why this step is important

)
18. Reinstall tire
19. Remove jackstand
20. Quickly release pressure in the floor jack, causing truck to fall back to the ground
21. Repeat steps 1-20 on the other side.
22. Adjust front coilovers to desired height + 1/2" using included spanner wrenches. There is a lot of pressure on the adjustable perch, so it's a good idea to use a cheater pipe.
Next thing I did was back the truck out, turn it around, and back it into the shop. I engaged 4WD so when the transmission was in park, it would hold the front wheels stationary. I then chocked the front wheels and proceeded to place the floor jack under rear differential. I set my jackstand to its highest setting and lifted the truck until I could place the stand under the hitch receiver. I then lowered the truck onto the jackstand, but didn't allow the rear tires to reach the ground. Since I'm only installing shackles, this next part is pretty easy.
1. Remove one tire
2. Remove factory shackle nuts (19mm I think)
3. Use a hammer to tap out the old shackle assembly. After the shackle is removed, the spring will come back up and meet the frame.
4. Get really annoyed when the old shackle pulls some old bushings out with it, along with the factory install grease, which gets on EVERYTHING!
5. You need to make more room between the frame and the spring eye. When doing this job by yourself, the easiest way to do this is by using the factory scissor jack! Place the jack between the spring and the frame and lift.
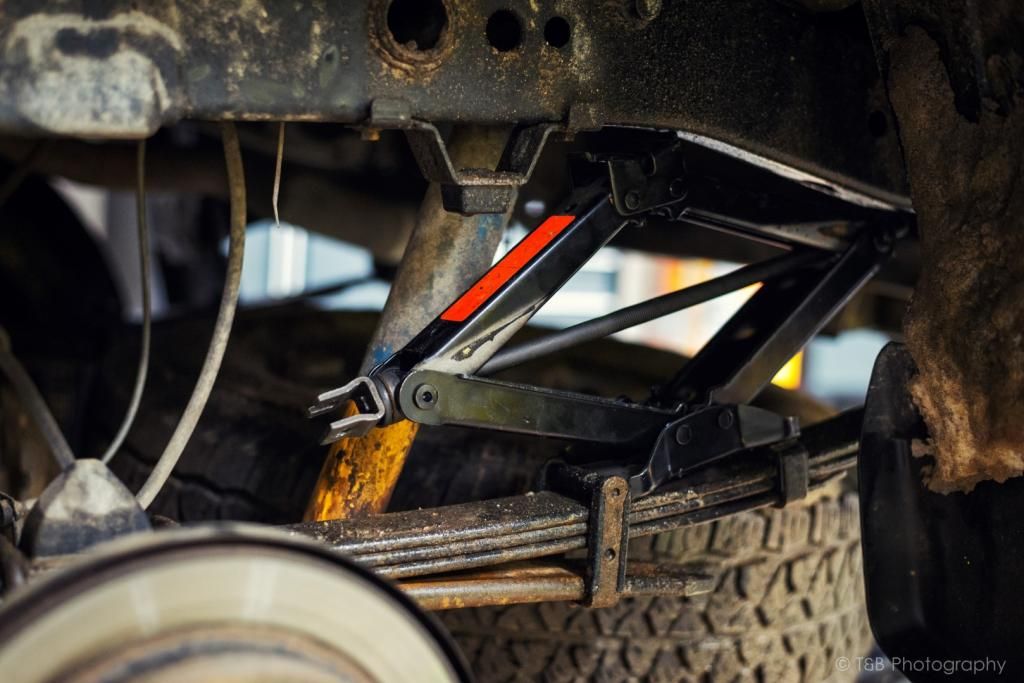
6. When there is enough space, install the new shackle and tighten the bolts (18mm bolt and 18mm nut)
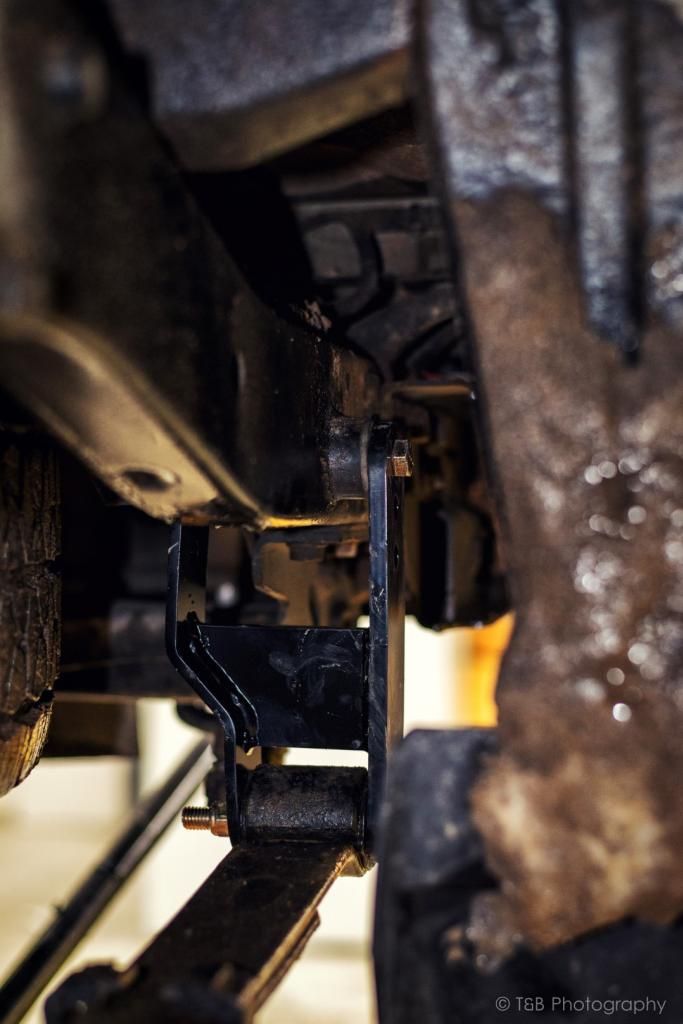
7. Reinstall tire
8. Repeat on the other side.
Now, you're not quite done yet. Like all new suspension kits, the springs will need an opportunity to settle (hence the extre 1/2" of height added). Take the truck out for a drive and hit every pothole on the road. About five minutes with a lot of suspension movement should do it (potholes, speedbumps, rocks, etc.). Now drive back into the garage/driveway/carport and re-measure. Odds are the springs will have settled, usually between 1/2"-3/4". If the numbers aren't quite what you want, adjust the coilovers again. Go out for another drive whether you adjusted a second time or not. This time drive for 10-15 minutes on aforementioned potholed road. Now measure once more. If the numbers have changed, adjust accordingly. Repeat this procedure until the numbers remain static.
Now you're done. Call and make an appointment to get the truck aligned. Make sure to give your alignment shop these instructions:
http://www.clubfrontier.org/forums/f26/alignment-instructions-give-your-tech-via-brutal-nismo4x-134009/
Now take a few pictures and have a few beers. :sombrero:
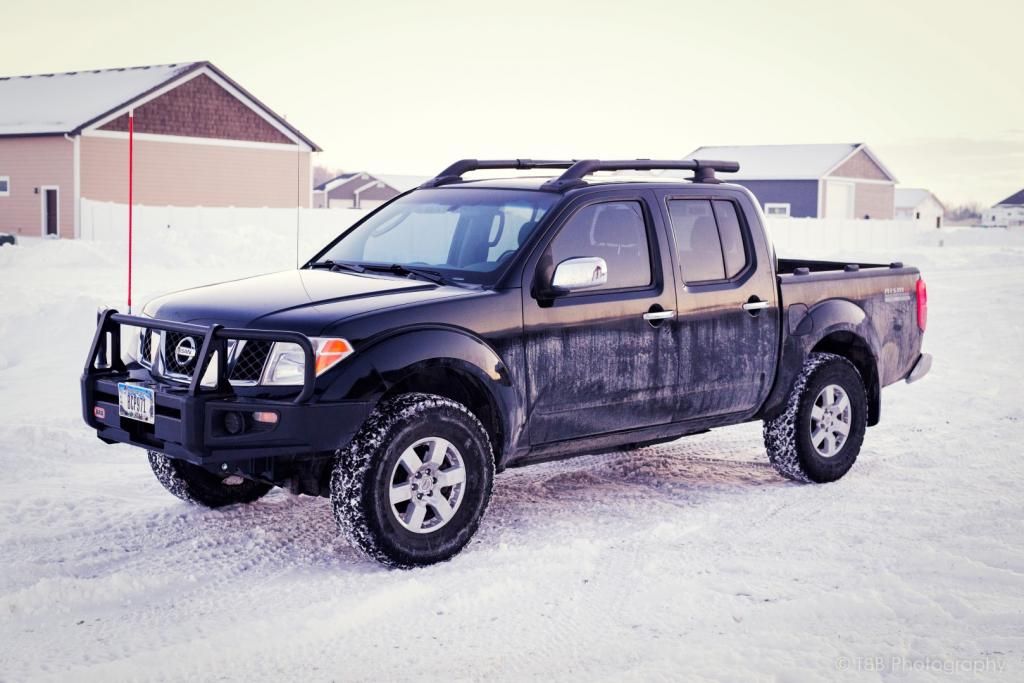
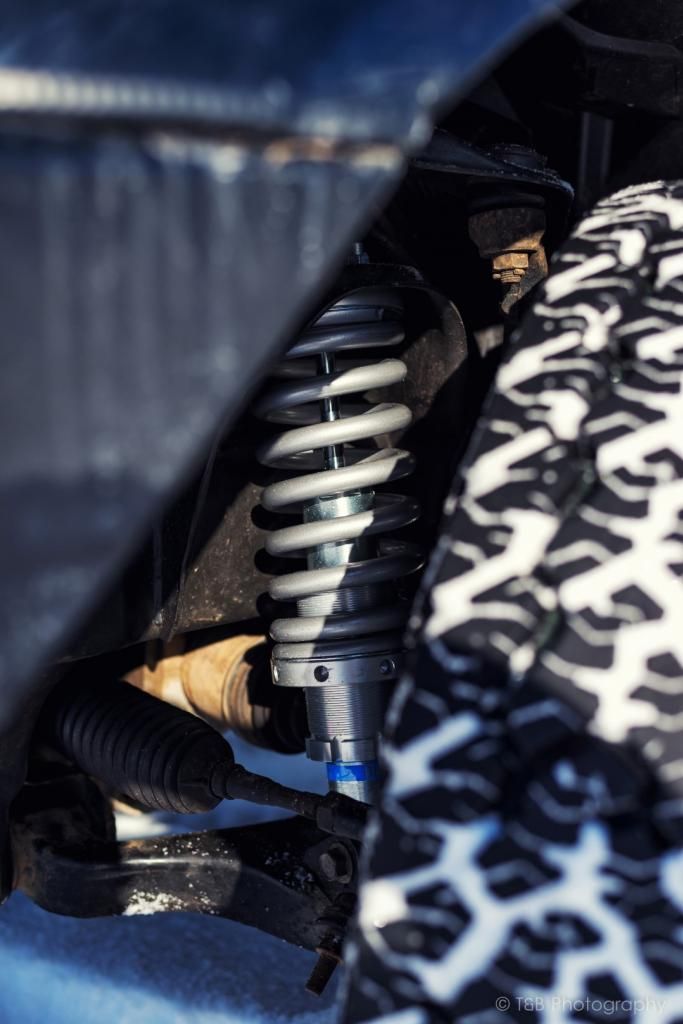 Center of hub to wheel arch measurements, post-lift
FRONT (left and right): 21 7/16" - 1 15/16" of lift (backed off 1/16" from 2" to prevent shock topping out. Yes, it really does make a difference.)
REAR (left and right): 22 7/8" - 2 1/4" of lift


)
