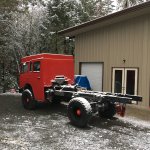
Lowly Update:
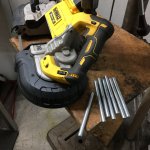
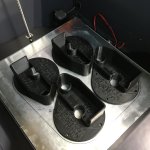
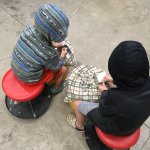
Put the Critters to work doing some child-labor type activities such as hardware assembly for the habitat corner caps.
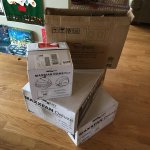
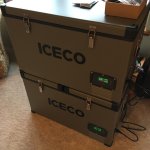
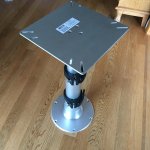
Goodies for Lowly keep arriving from my Black Friday shopping spree. The dining table will be able to lower down to provide additional sleeping real-estate should the need arise.
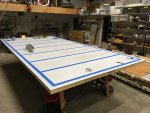
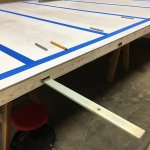
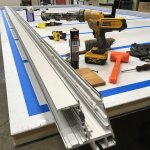
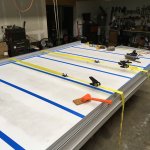
Gave the front wall a couple days to cure before attempting to install the side panels. This gave me plenty of time to prep the side panels with layout tape and formulate a game plan for when the helpers arrived.

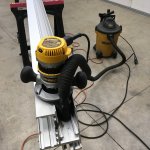
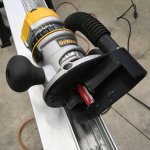
I also used this time to dialogue with the fellas at Globe Trekker (company who made my habitat box's components) about some tight tolerances between the panels and one of the extrusion sockets where the thermal break is located. It was determined that more of this thermal break bump needed to be removed to allow for easier panel installation so I designed and 3D printed a jig for my router and a 3/4" diameter straight cutting bit.

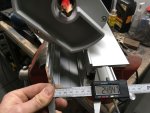
With their blessing I tested the jig/router on a sample piece of extrusion and it worked fantastic.
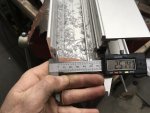
I'm planning to adjust the jig so it cuts a little wider than this test to make it easier for the remaining 16 foot long extrusions to be snugged into place. Full disclosure: this is habitat #3 for Globe Trekker and I purchased this kit knowing full well there might be some minor issues they were still in the process of getting dialed. So far GT has been fantastic about receiving my feedback and collaborating on any necessary tweaks (like this one). Based on my experiences and other habitats currently being assembled, I'd expect this thermal break gap distance to be widened and quality controlled by GT to a point where DIY assemblers won't even know it was an issue. I'm very happy thus far with their product and wouldn't hesitate to give them my business if I was to do it over again.
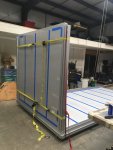
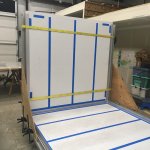
The offer of pizza lured some friends to help assemble the 2 side panels. All things considered (never done this before!), they went together pretty well.
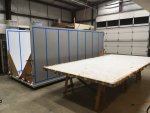
Here's some tips from Mr. T:
1) "I pity the fool who doesn't use a battery powered or pneumatic caulking gun"
2) "I pity the fool who doesn't warm up his Sikaflex 552 if the shop is cold"
3) "I pity the fool who doesn't have at least 3, 20 foot long ratchet straps"
4) "I pity the fool who doesn't have at least 5 friends who can be suckered into helping by offering to feed them cheap pizza"
5) "I pity the fool who attempts to assemble a habitat when it is so hot out the curing time of his Sikaflex is accelerated"
6) "I pity the fool who doesn't have at least 3 plywood corner squares and enough quick clamps"
7) "I pity the fool who doesn't watch the how-to videos provided by the habitat manufacturer"
With the sides assembled, the ceiling/lid panel layout is currently underway. Internal ceiling wiring has to be run before the lid panel extrusions can be assembled. This necessitates the habitat's internal and external design to be nearly 100% complete in order to determine positions of lights, fans, vents, switches, etc. Feels great to have made it this far in the construction, but who knew eating this elephant would take so many highly thought-out bites!
- Sheik

