Project update : Washer Relocation
This will be a quick one.
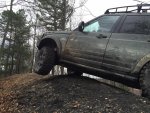
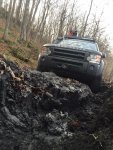
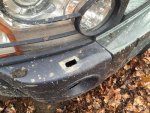
I need to address the tree incident at Guyfawks. Clearly a steel bumper in the front of the LR3 was necessary. In the past there were only a few options available and they all decreased the approach angle. When you're in a "heavy use" situation adding 10 inches the front of the truck quickly becomes a large disadvantage. At the time the Platinum was the best option because the approach angle remained the same.
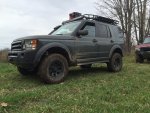
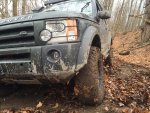
For those of you that want the cliff notes to this project build we are currently running the Proud Rhino bumper now and could not be happier.
https://www.lucky8llc.com/collections/bumpers-3/products/proud-rhino-lr3-front-bumper
Now lets get to the useful part. Most aftermarket LR3 bumpers need a washer bottle relocation kit because the factory washer bottle hangs almost down to the street. When you remove the front bumper cover you will see the plastic monstrosity.
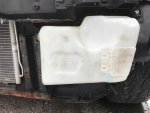
Our relocation kit uses a Defender washer bottle. I always got a kick out of that for some reason. I'm sure there's different washer bottle you can put in there but we always have the Defender one in stock and it works amazingly.
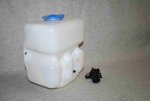
The original washer bottle was located directly below the drivers headlight and this is where all of the plumbing and electrical connections are. I have found directly behind the drivers side headlight to be the most convenient place to install the new washer bottle.
This is a quick step by step on how we install the bottle.
Set the washer bottle In and mark where you're going to drill two holes to hold it in place.
View attachment 388255
Below you will see where I've drilled two holes to accommodate my bolts. I used some long 10 mm bolts we had in the shop but in theory you could use almost anything. A simple 1/4 - 20 Rod would hold it in place.
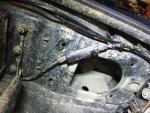
I put the bolts through and lock them in the place with a nut. This side is fairly easy with plenty of access.
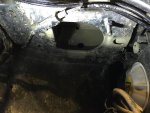
Next, you need to slide the bolt through opening and then do some ninja work to get a wrench in there to hold it in place while you tighten the nut down. It's a little more of a hassle to get to but it's doable. I did a quick test fit to make sure I had everything in the right place. Then I put on a washer and nut to use as a stopper/jam to provide the washer bottle with a backstop. This will help while you put a nut on the other side to lock it into position.
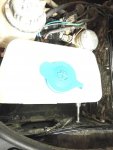
Here's the tricky part. You need to use a stepper bit to drill a hole in the bottom of the washer bottle. This hole needs to be the exact size as the original hole in the factory washer bottle.
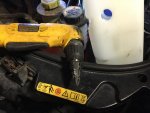
Take special care when deciding the location to drill the hole. It needs to be closer to the front of the truck in order for the washer motor to have room once the bottle is in its final location. Also, the large washer motor will do both front and rear windows. You only need to drill one hole.
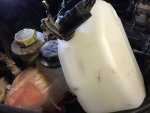
Unfortunately, I didn't take any pictures of this next step but you will need to plug the two factory holes in the new washer bottle. I normally use RTV with washers, nuts, and bolts. I'll try to take a picture next time we do one in the shop and update this project.
OK back to it
Put everything in place and tighten down with another nut and washer
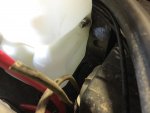
And there you have it. The bottle will hold almost a gallon. It's bigger than you think!
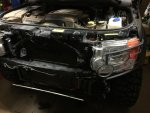
And here's a quick poser picture from Rovers on the Rocks way back when....
