Bonofied Suiter
Bonofied Suiter
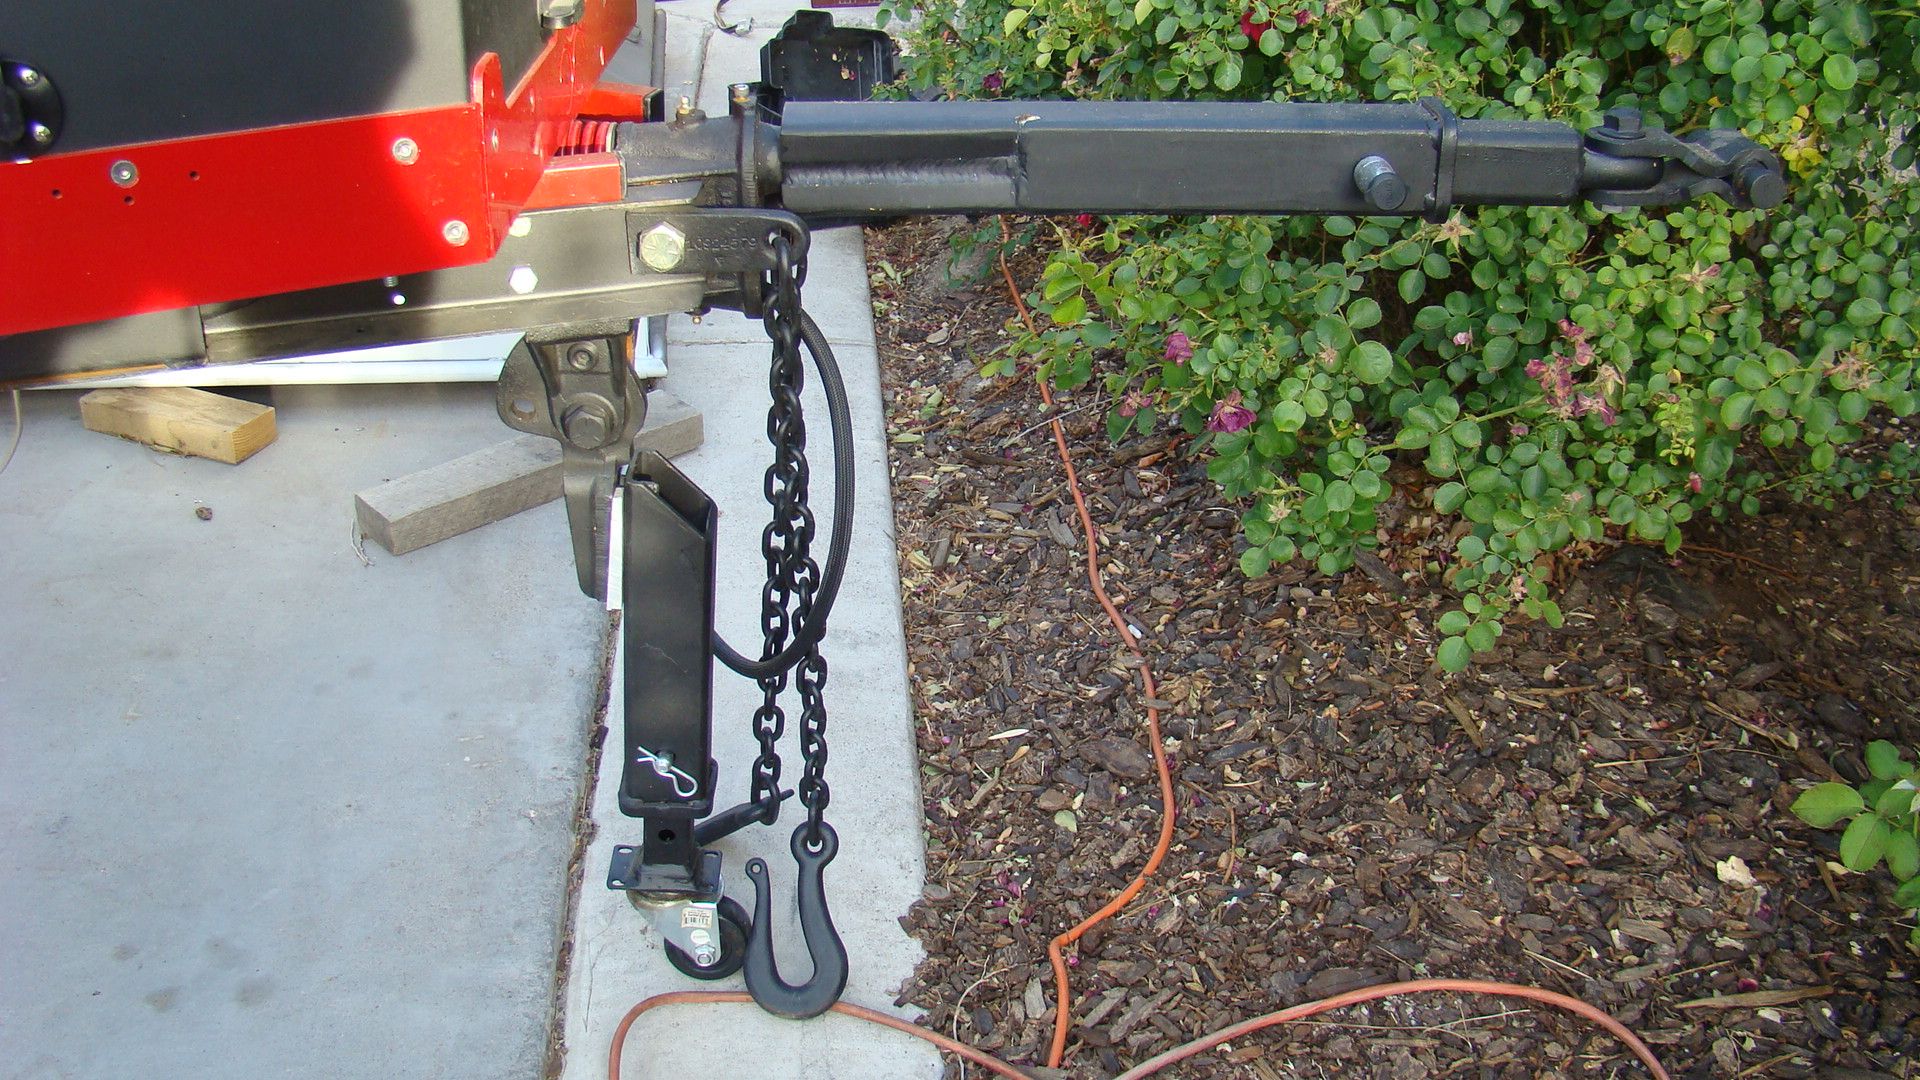
Sorry, it’s been a while since I've updated this build. It seems like our Jeep has required my attention far more lately. I found that the landing leg wheel I originally went with was not up to the task. I cut it off and replaced it with a heavy duty hard plastic HF plastic caster. I cut down an aluminum alignment shim to go between the landing leg casting and the square tubing to help to level telescopic landing leg.
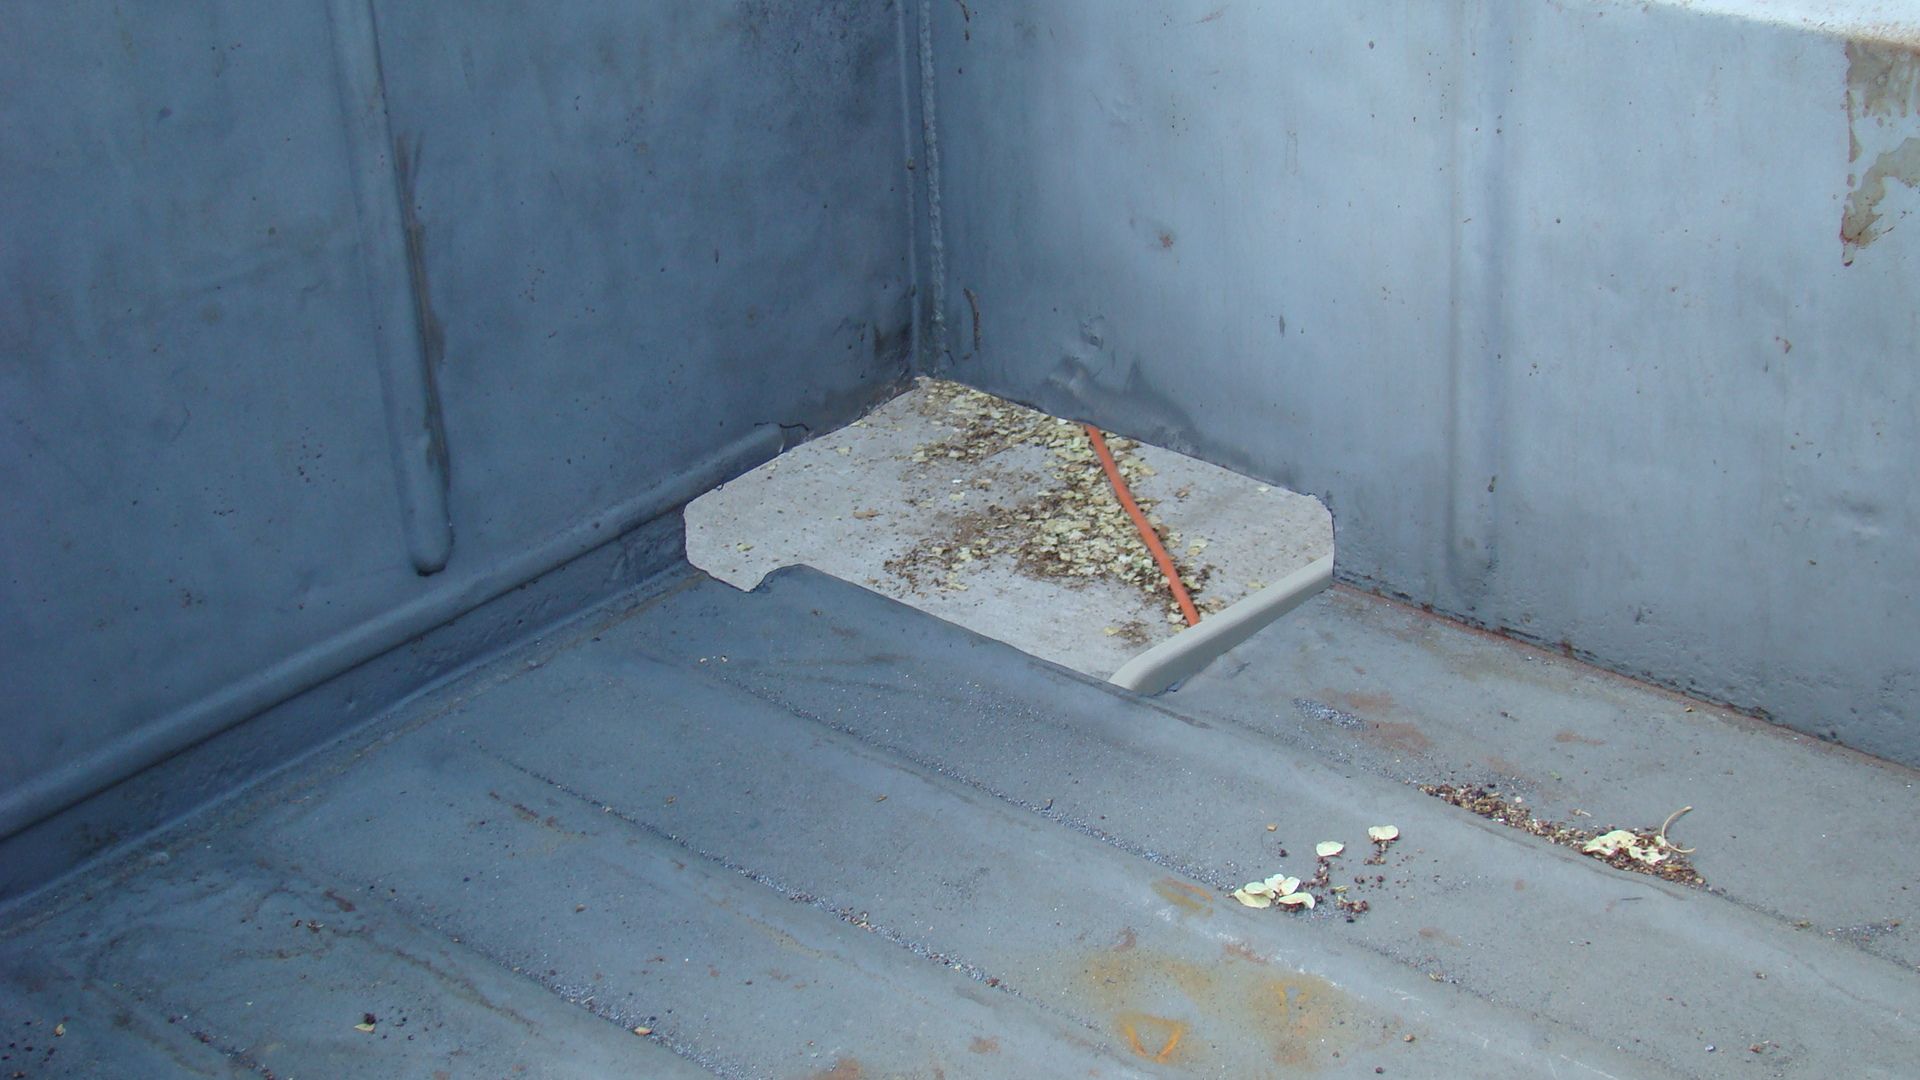
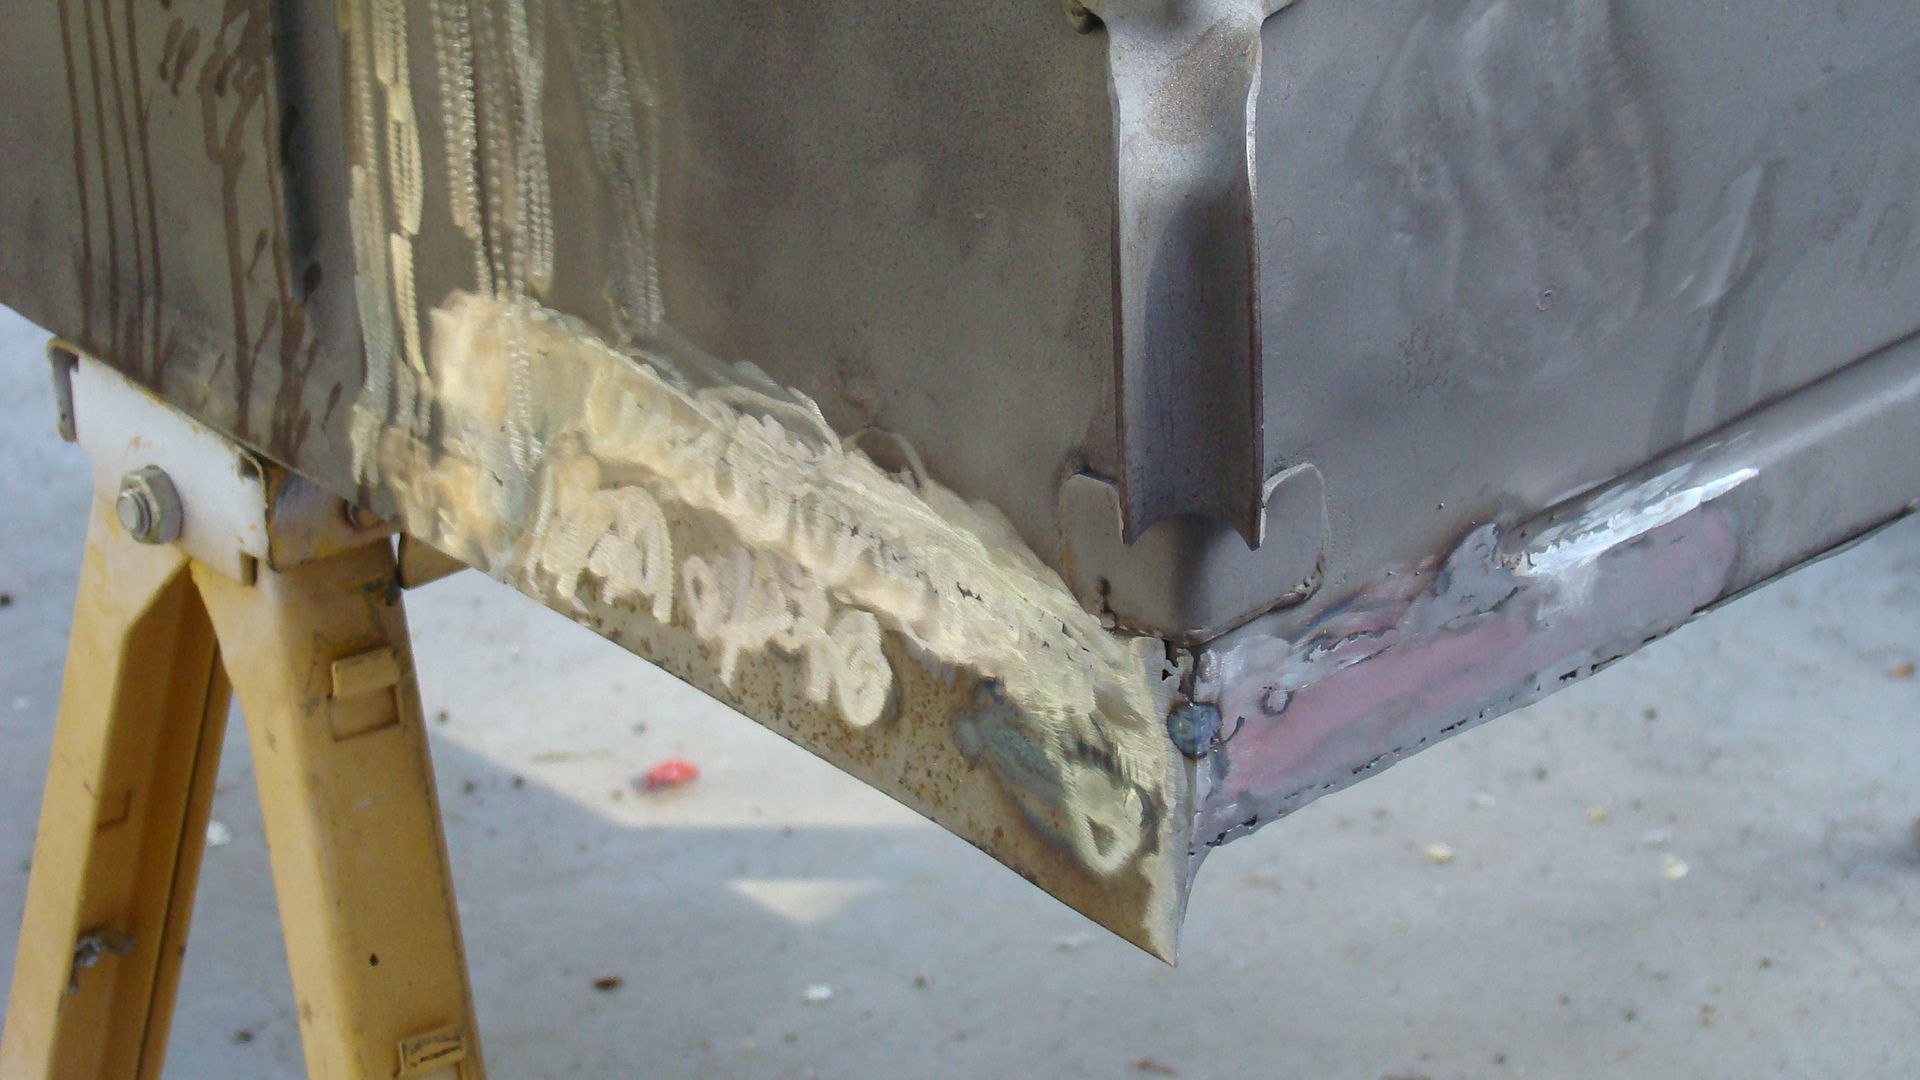
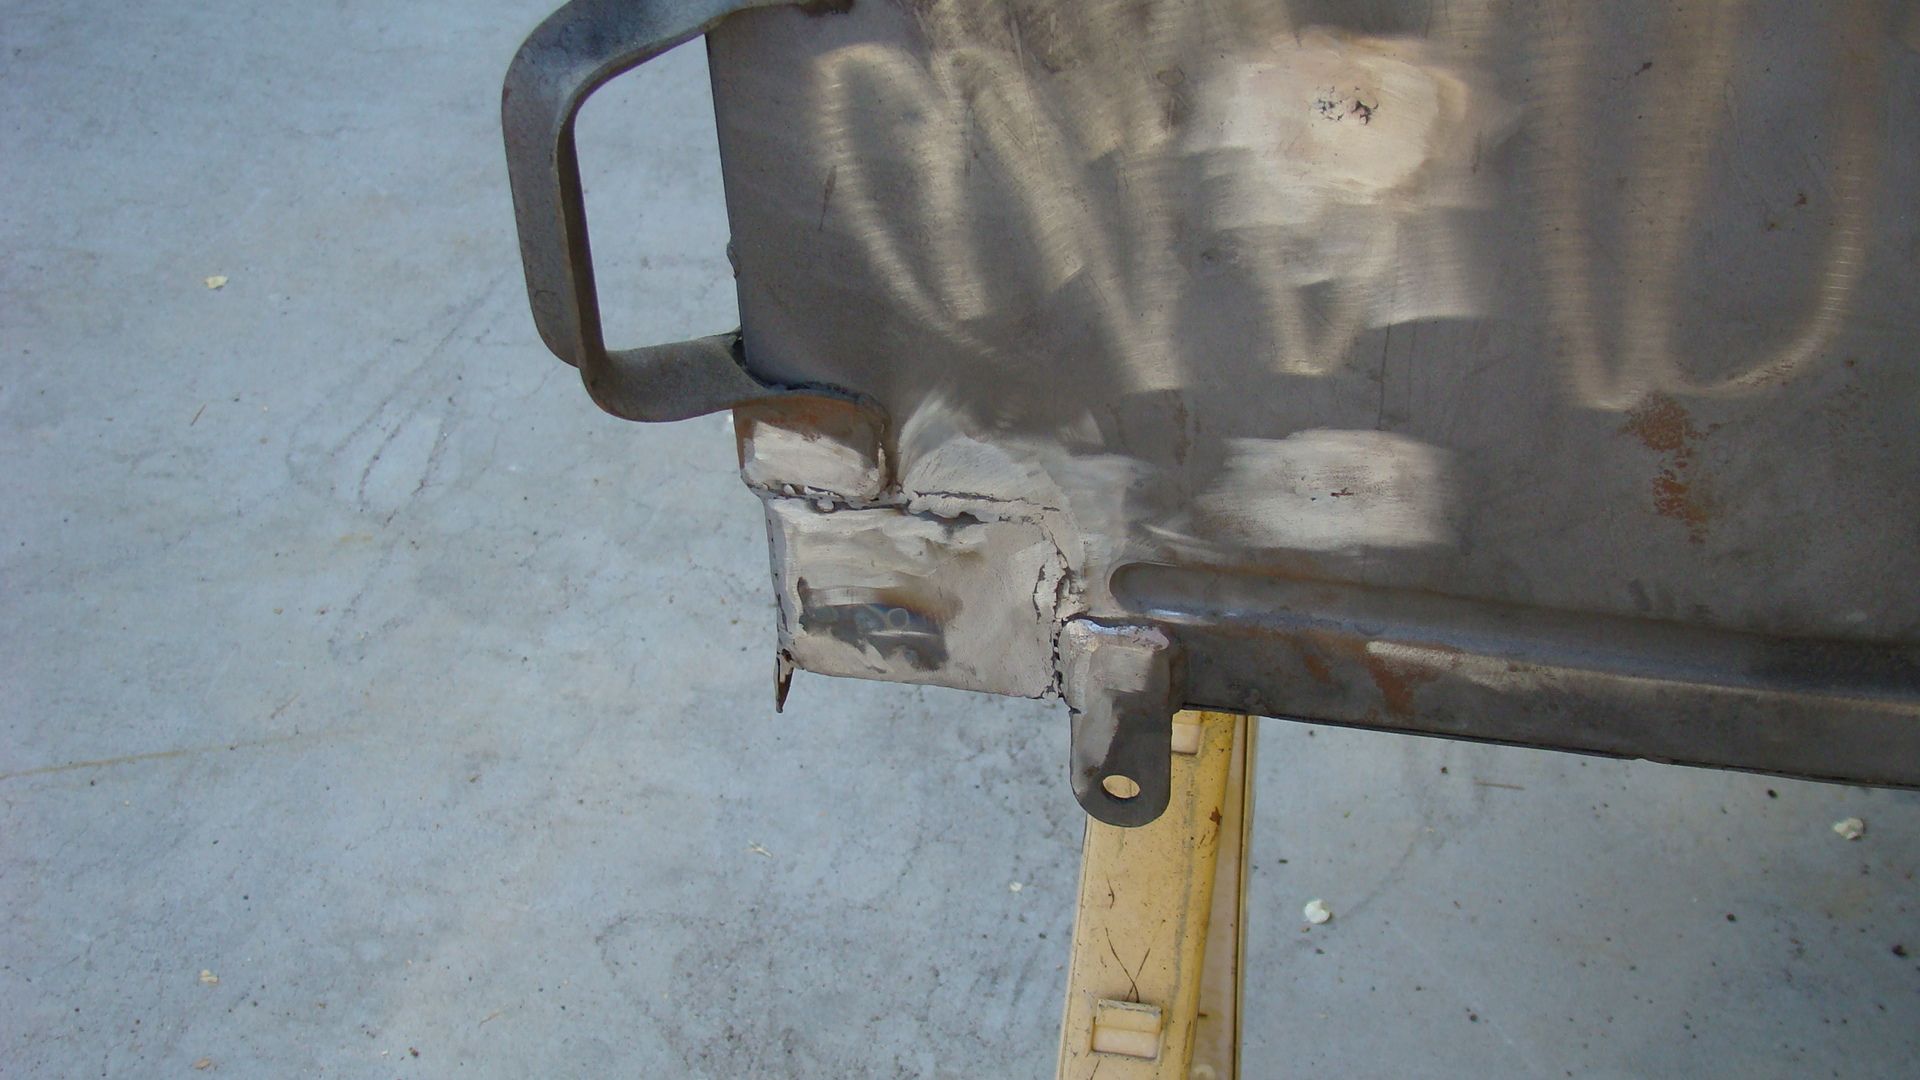
I'm at a point where the chassis is just about complete and I've turned my attention back to the tub. As many of you will find when you remove all the paint more holes show up than you expected. I found that the body was rusted out in two corners. As you can see in the photos I cut out the weak sections and cut and fit in replacement 16 gauge panels. I purchased a bending brake from HF that I used to bend needed 90 degree lips on the replacement tub pieces.
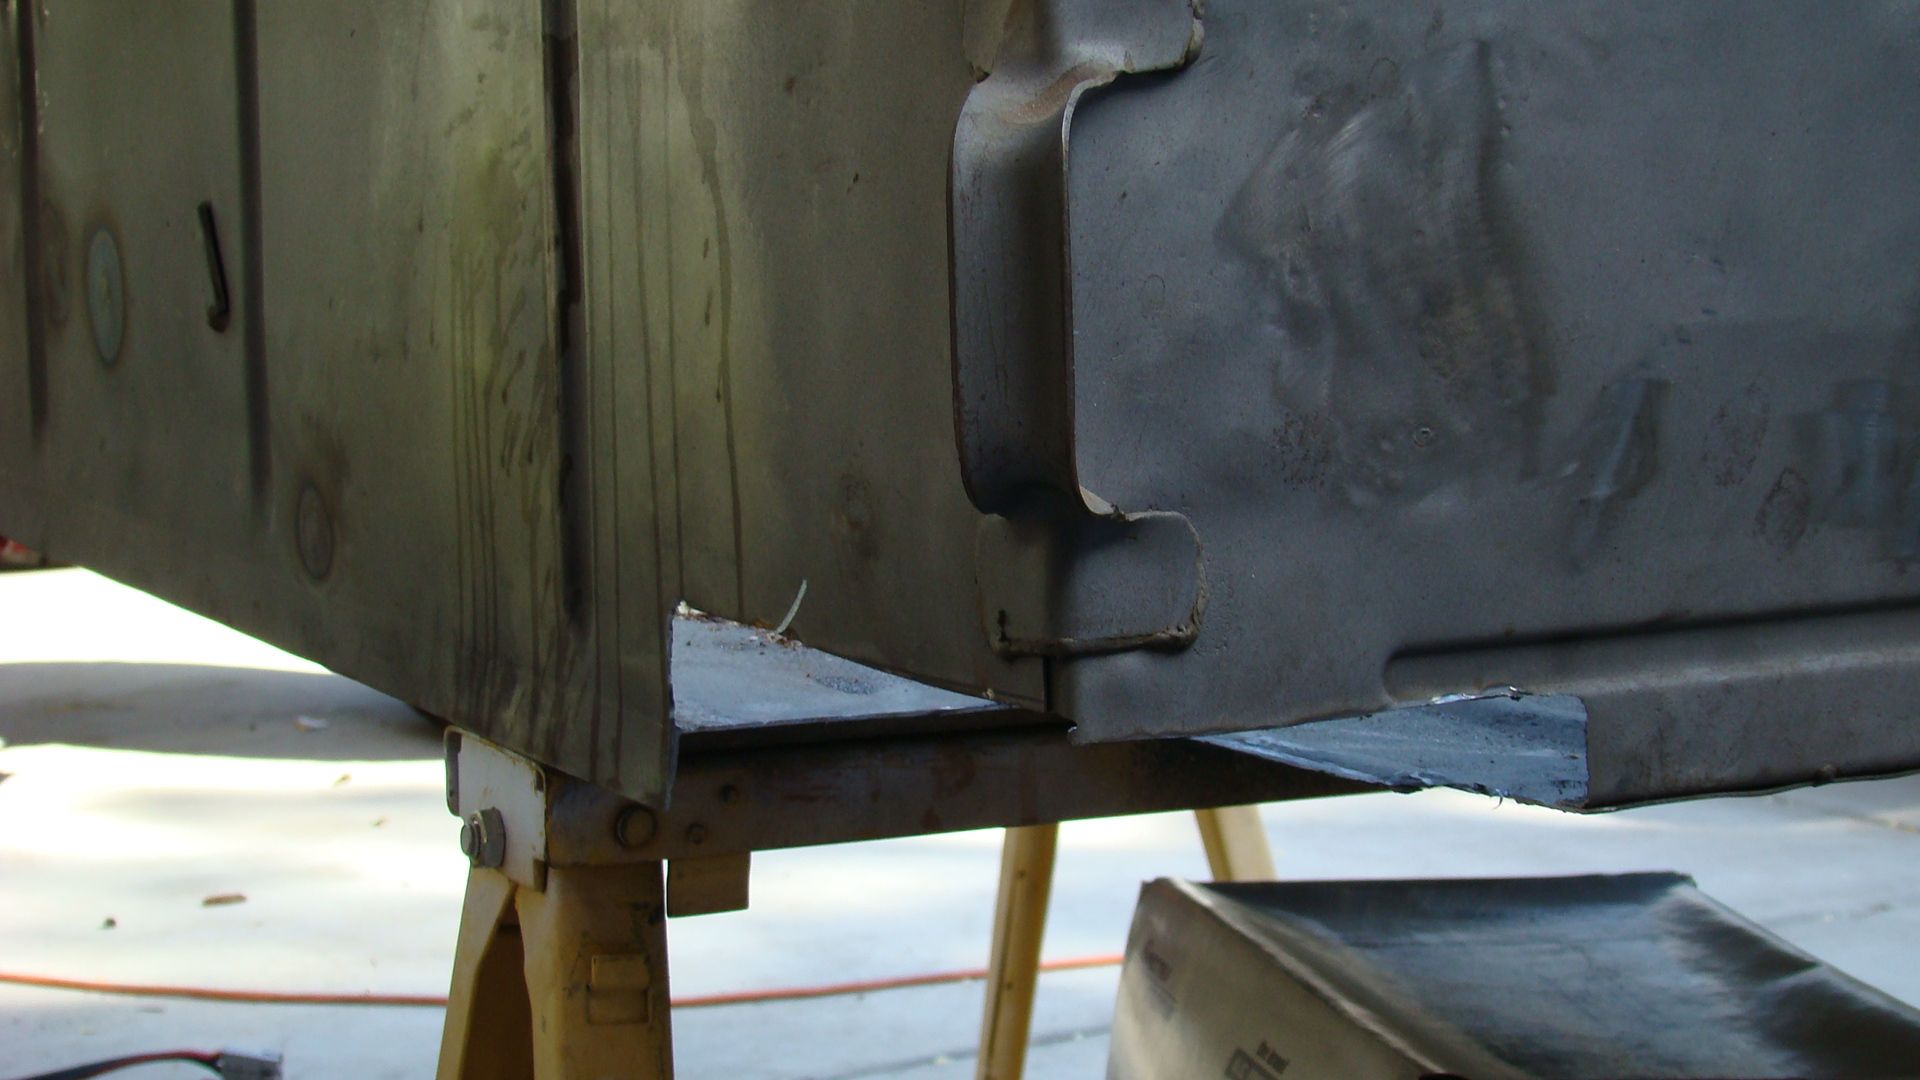
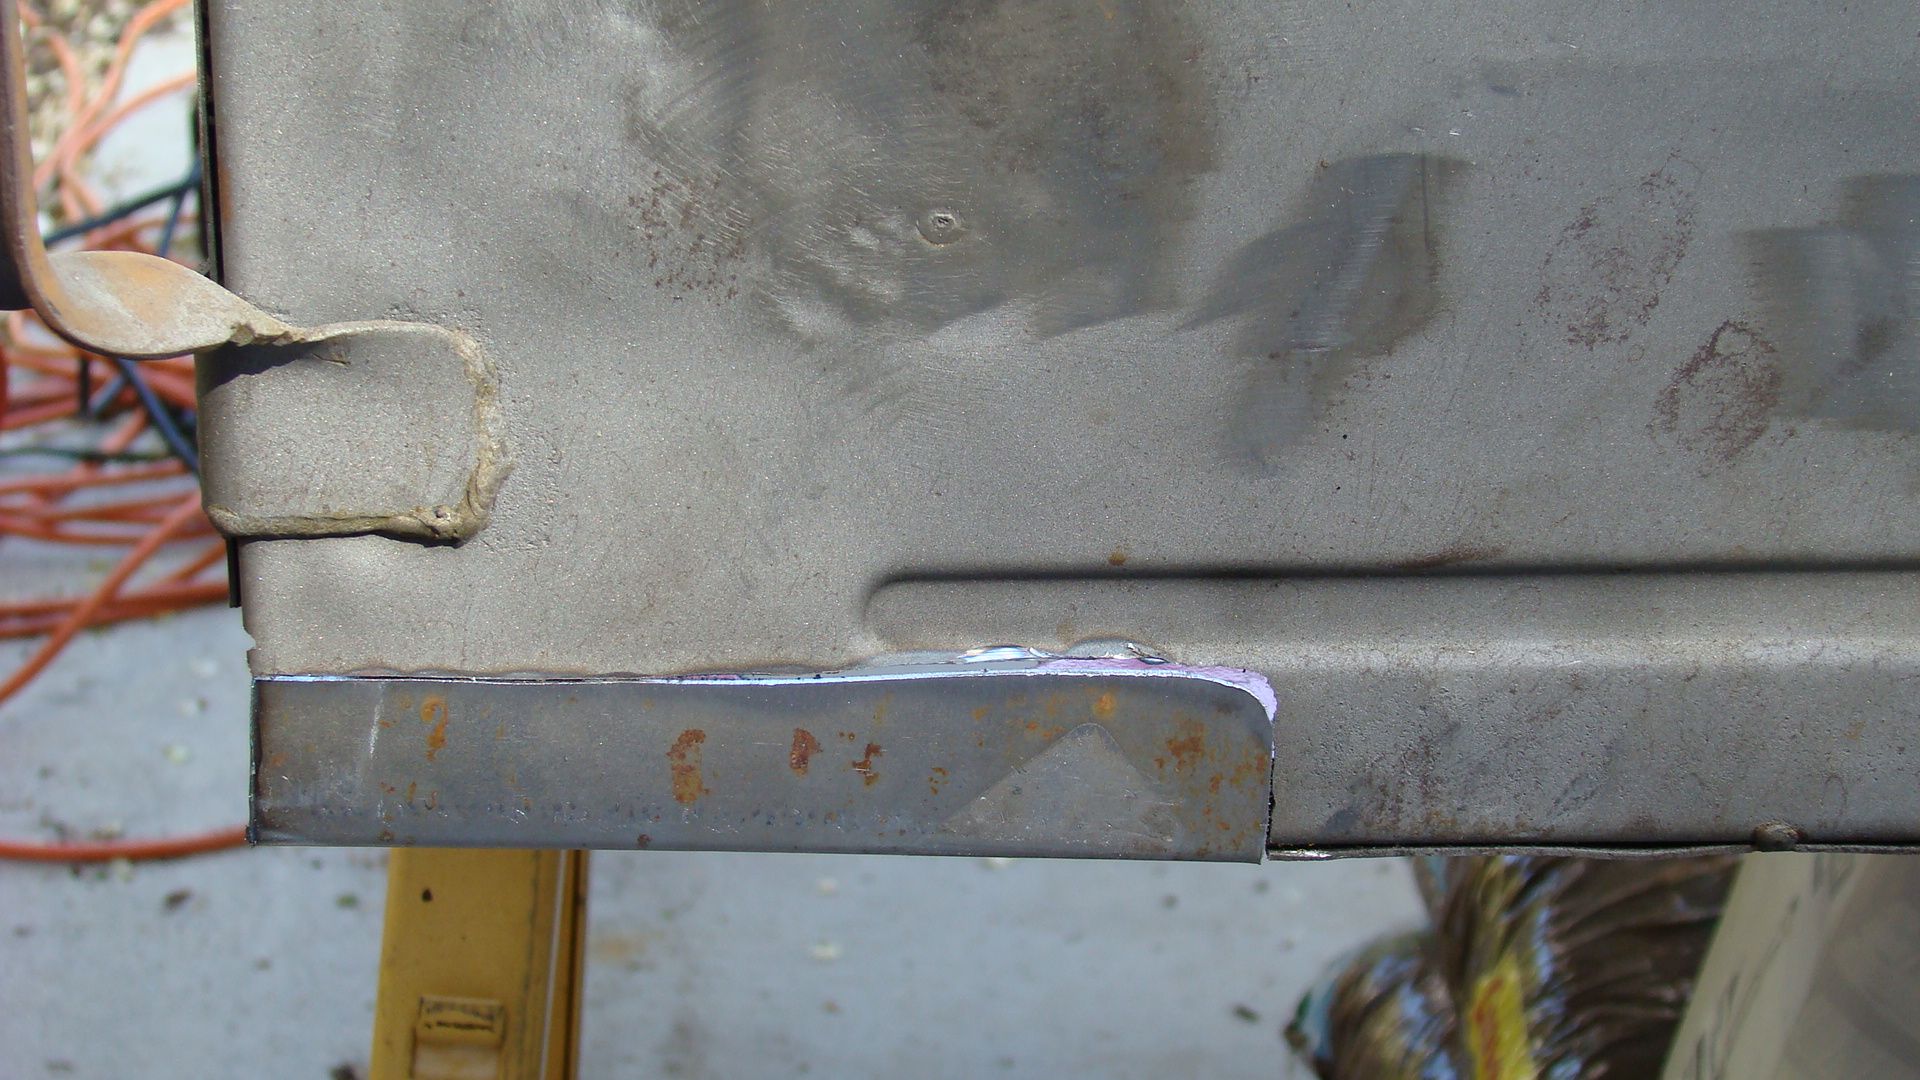
I used my 110V Lincoln MIG welder with .30 solid core wire and a CO2/Argon mix. Flux core wire burns too hot and would burn right through the thin 16 gauge sheet metal.
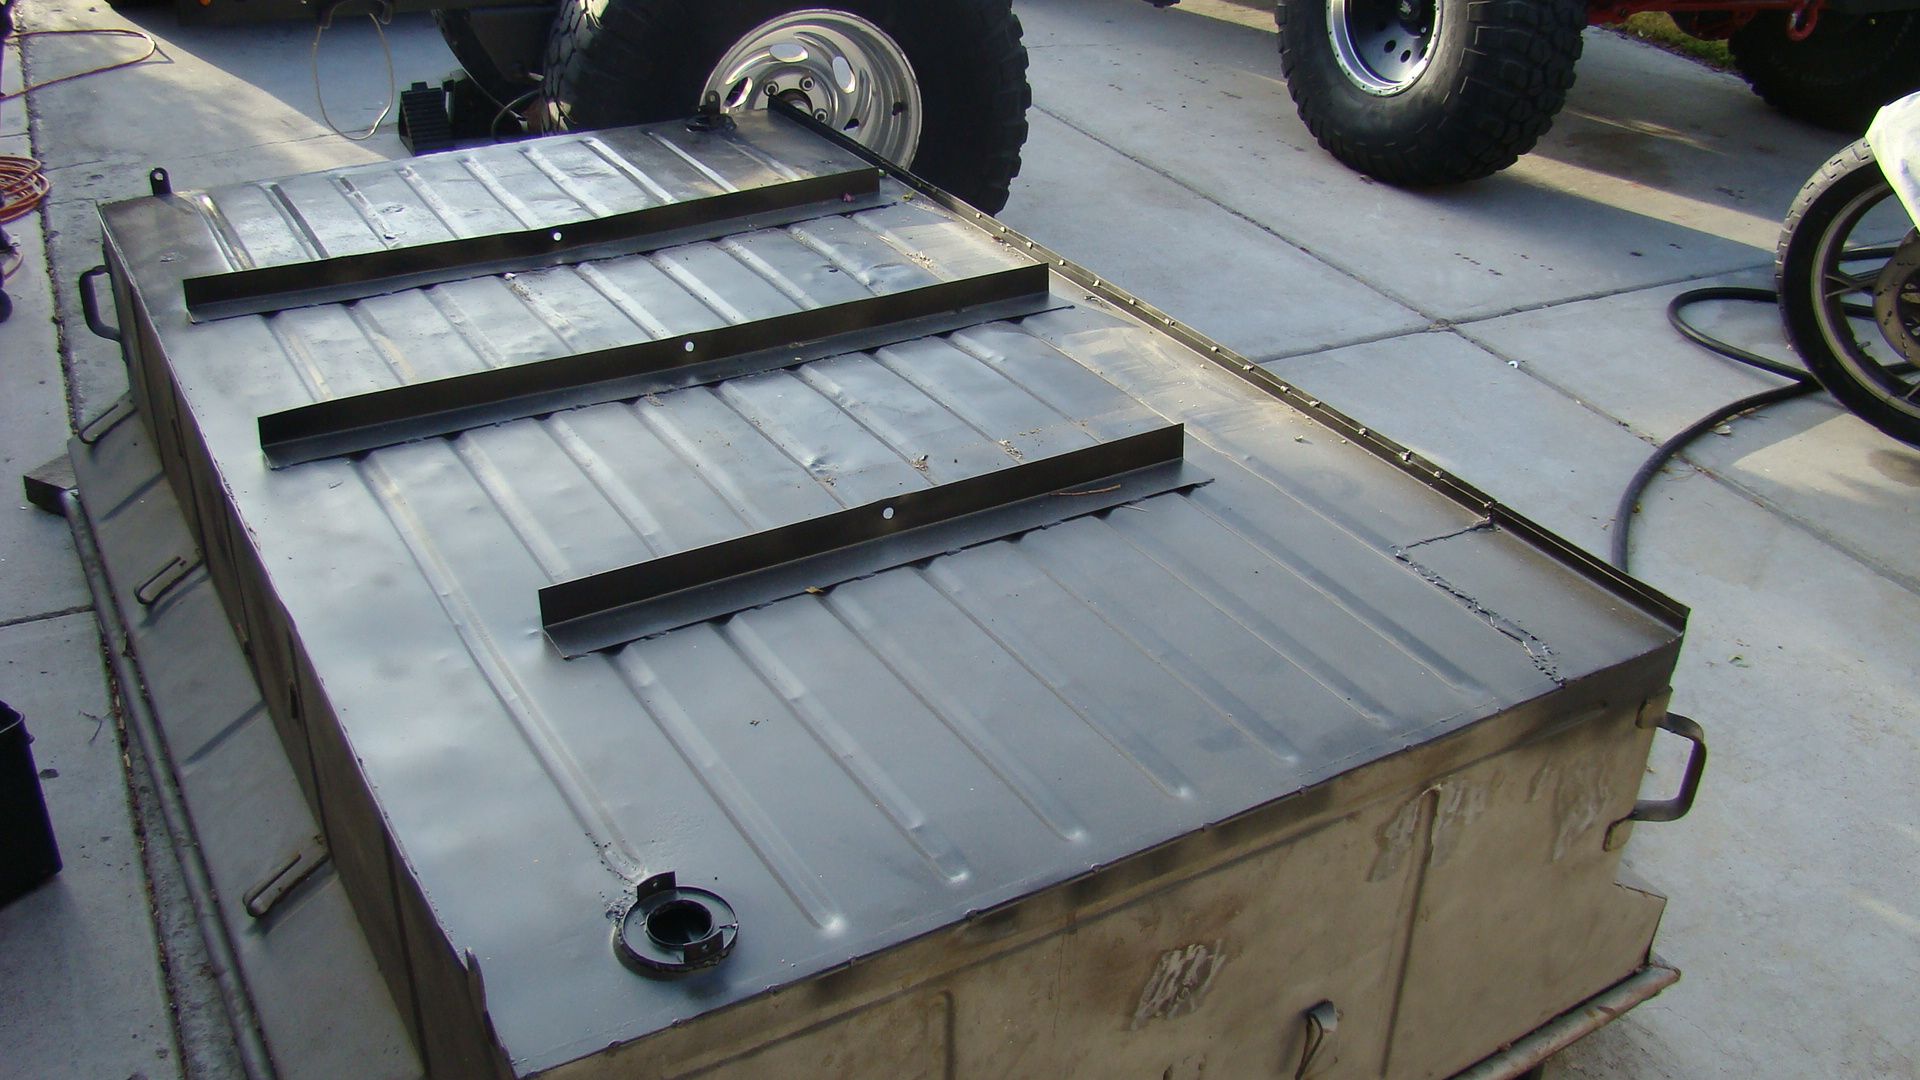
Considering that the M416 tub is 50+ years old I've resigned myself to not work out all of the little dings especially the ones in the floor. To get the floor flat again I flipped it over, jumped on top and stomped it down and then attempted to shrink the metal using a propane torch and a cold wet rag. I soldered over the patch seams to seal them then painted the bottom black just to keep it from rusting if it rained. It will be undercoated when finished. After the inside of the tub is texture lined I'm going to install six small clip in aircraft type anchors into the floor to help secure cargo. The body sides will get a light coat of Bondo to smooth it out a bit prior to paint to match the Jeep.
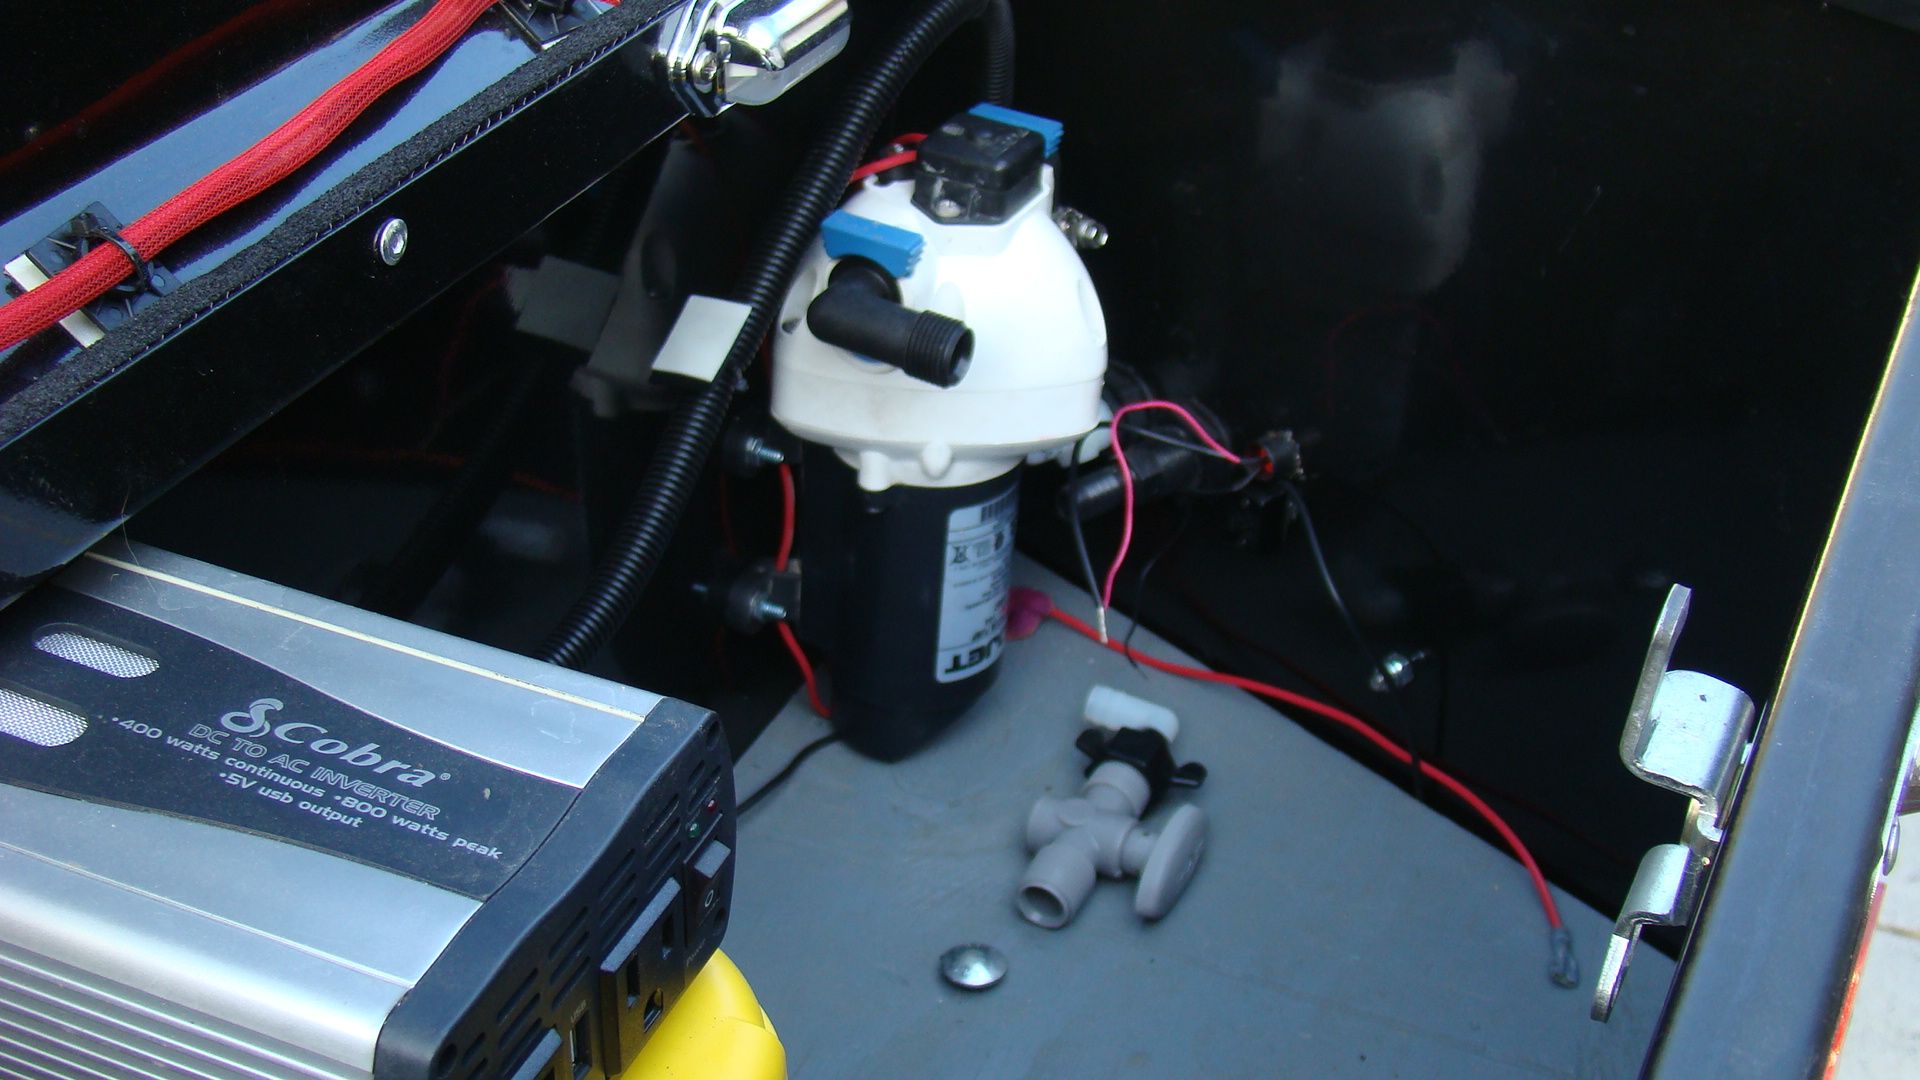
I came up with a nice used RV water pump that had sucked up some small rocks. Once I took it apart and cleaned it out and put it back together. I found it worked great and thought it would make a nice addition to my project. I’ve installed it into the tool box with a power switch, LED indicator and two external ½” hose connections. I still need to complete the wiring and plumbing in the box. One external 1/2" pipe connection is for a 5' suction hose with a screen filter on the end which drops into our water jug /source. The other connection is for a portable sprayer / shower head. Inside the box is a small PVC ball valve that will allow us to reduce the 3.5 GPM water flow so our limited available water can last longer.
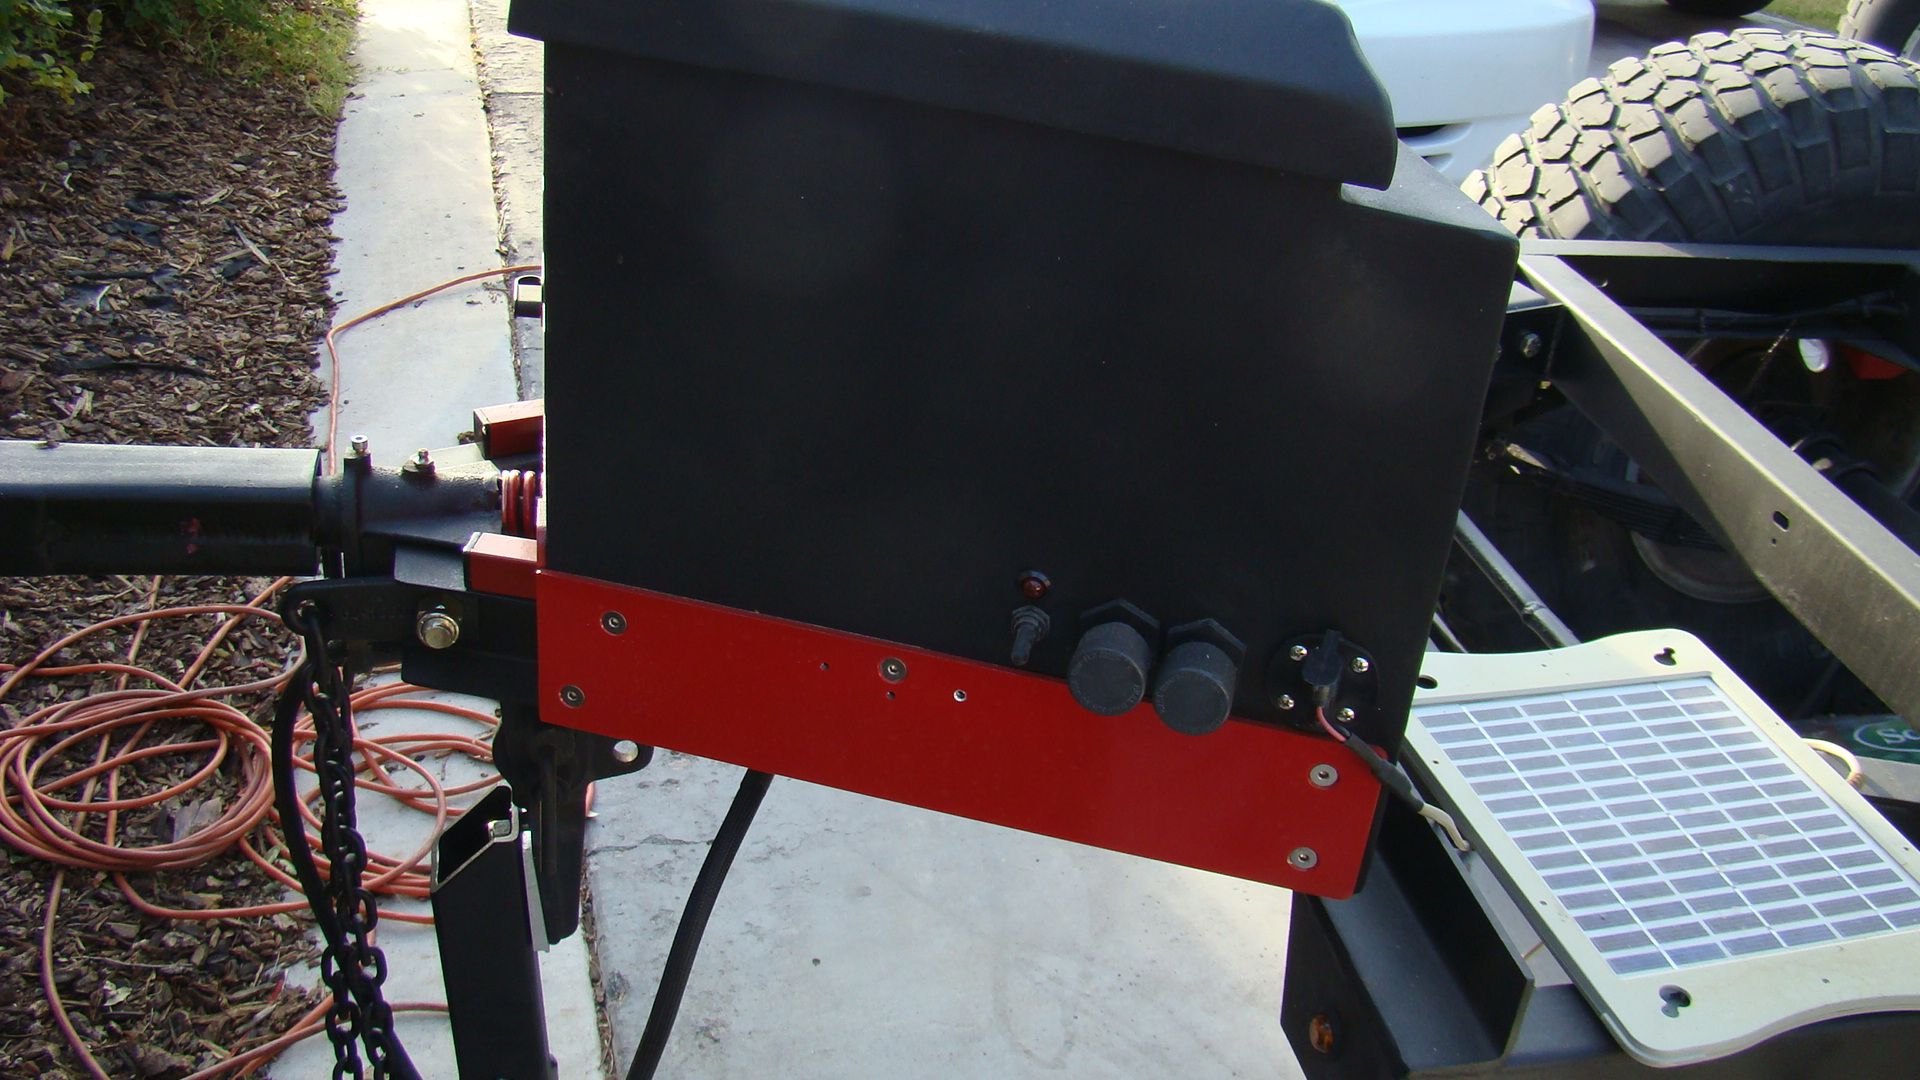
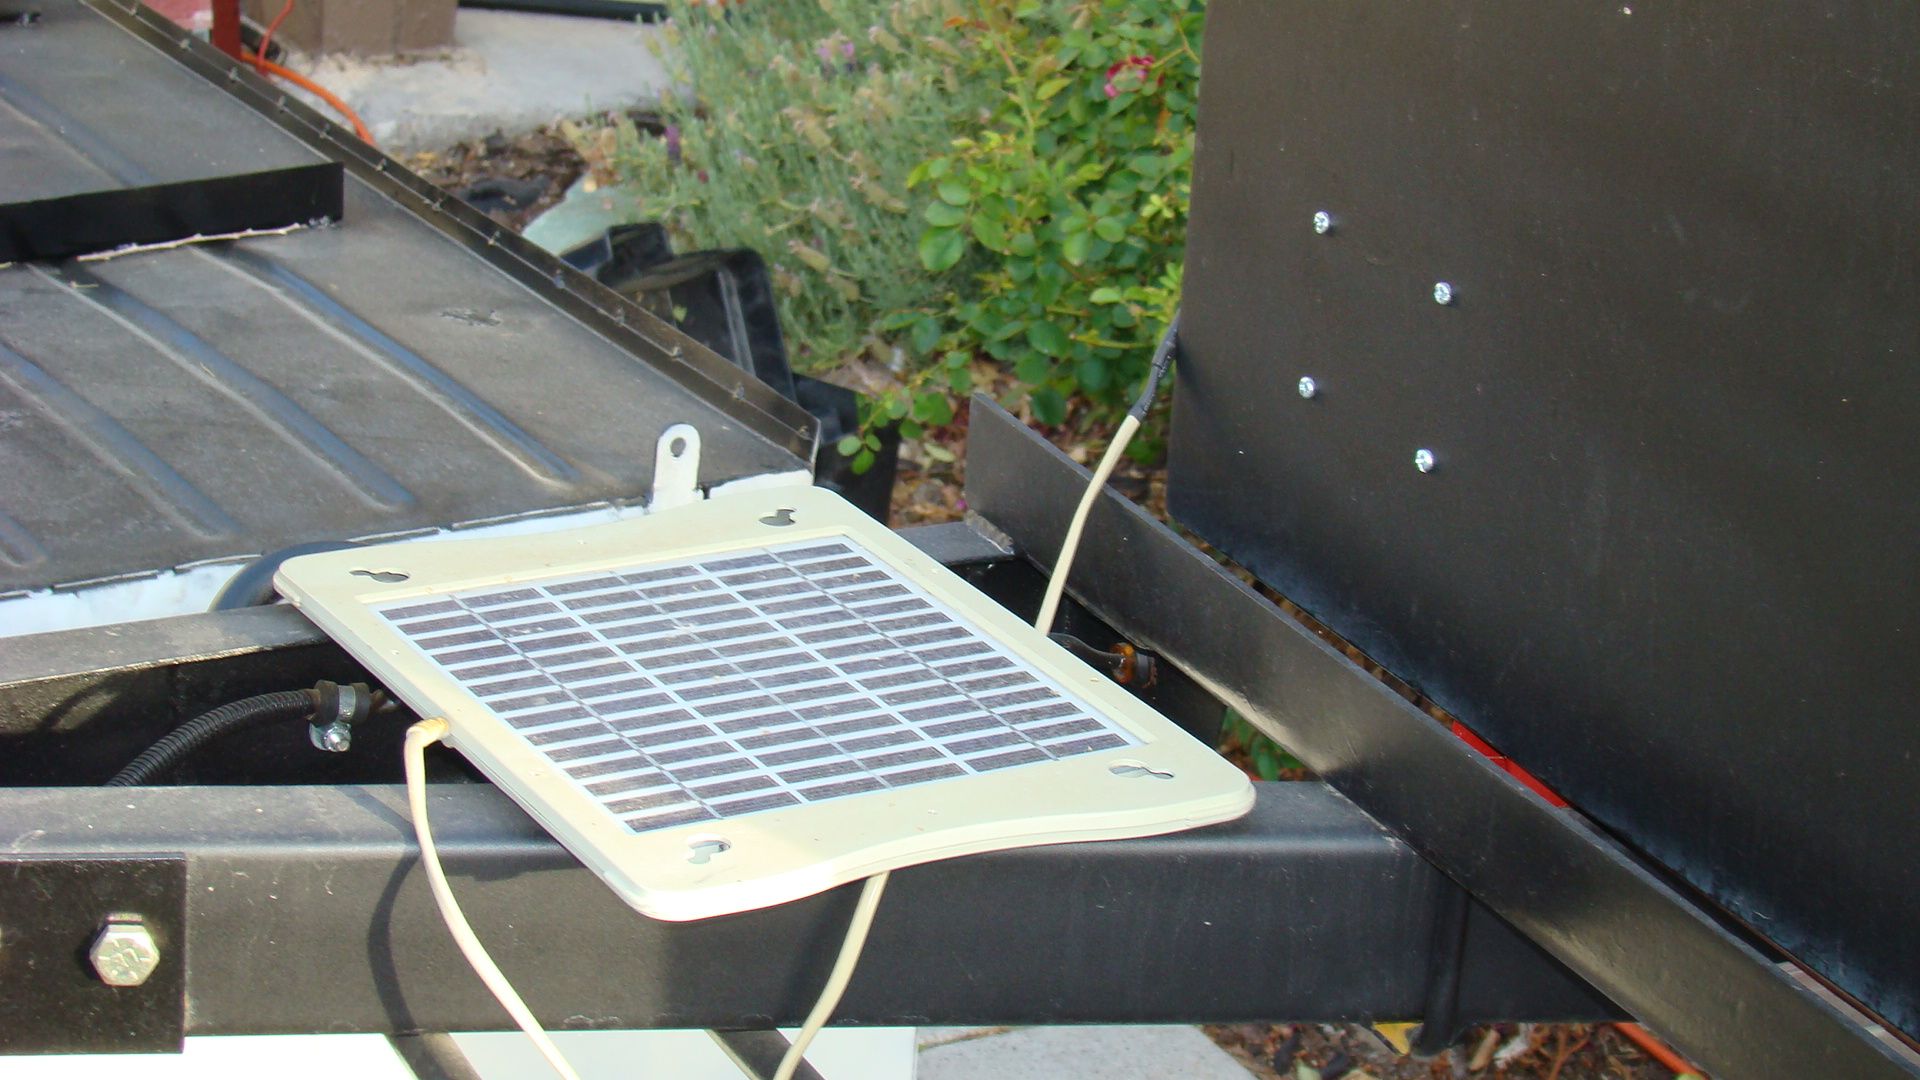
Solar Panel to maintain battery charge when not in use.
Sorry again for the delay in updates. Hopefully I can get it finished in the next month or so.

I'm at a point where the chassis is just about complete and I've turned my attention back to the tub. As many of you will find when you remove all the paint more holes show up than you expected. I found that the body was rusted out in two corners. As you can see in the photos I cut out the weak sections and cut and fit in replacement 16 gauge panels. I purchased a bending brake from HF that I used to bend needed 90 degree lips on the replacement tub pieces.


I used my 110V Lincoln MIG welder with .30 solid core wire and a CO2/Argon mix. Flux core wire burns too hot and would burn right through the thin 16 gauge sheet metal.


Considering that the M416 tub is 50+ years old I've resigned myself to not work out all of the little dings especially the ones in the floor. To get the floor flat again I flipped it over, jumped on top and stomped it down and then attempted to shrink the metal using a propane torch and a cold wet rag. I soldered over the patch seams to seal them then painted the bottom black just to keep it from rusting if it rained. It will be undercoated when finished. After the inside of the tub is texture lined I'm going to install six small clip in aircraft type anchors into the floor to help secure cargo. The body sides will get a light coat of Bondo to smooth it out a bit prior to paint to match the Jeep.

I came up with a nice used RV water pump that had sucked up some small rocks. Once I took it apart and cleaned it out and put it back together. I found it worked great and thought it would make a nice addition to my project. I’ve installed it into the tool box with a power switch, LED indicator and two external ½” hose connections. I still need to complete the wiring and plumbing in the box. One external 1/2" pipe connection is for a 5' suction hose with a screen filter on the end which drops into our water jug /source. The other connection is for a portable sprayer / shower head. Inside the box is a small PVC ball valve that will allow us to reduce the 3.5 GPM water flow so our limited available water can last longer.


Solar Panel to maintain battery charge when not in use.
Sorry again for the delay in updates. Hopefully I can get it finished in the next month or so.
Last edited:

