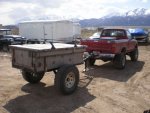
M416 Build

dieselcruiserhead

16 Years on ExPo. Whoa!!
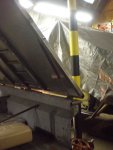
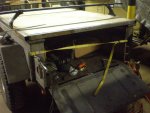
On the lid side I needed to add some as well..
attachment.php


And installed...

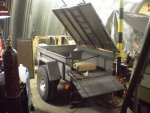
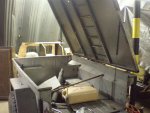
The bad news? Despite the heavy duty nature of the shocks, in this position they fail to keep the lid open. There is definitely ease of lifting but they only cycle about 3" on the piston here and its understandable.

attachment.php


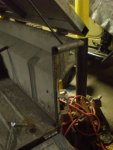
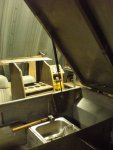
So, rethinking the mounting spot, I moved the tongue side mount inwards/more vertical and it worked. Now the tailgate side acts as a limiting strap.
attachment.php


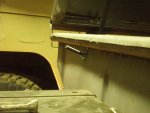
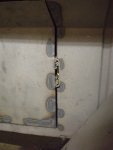
I added steel here but too chincy even at 14 gauge. A lot of force from those shocks!
attachment.php


attachment.php


But you can see the new shock location is so strong that just one keeps the lid up, which is nice...
attachment.php
 

Attachments

  • SM_Picture 031.jpg
    SM_Picture 031.jpg
    762 KB · Views: 1,222
  • SM_Picture 033.jpg
    SM_Picture 033.jpg
    458 KB · Views: 1,210
  • SM_Picture 035.jpg
    SM_Picture 035.jpg
    124.3 KB · Views: 1,194
  • SM_Picture 036.jpg
    SM_Picture 036.jpg
    458.8 KB · Views: 1,206
  • SM_Picture 038.jpg
    SM_Picture 038.jpg
    143.3 KB · Views: 1,196

dieselcruiserhead

16 Years on ExPo. Whoa!!
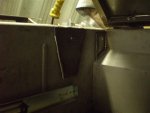
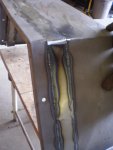
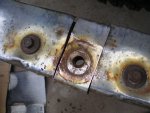
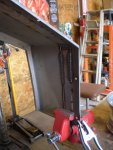
So a different approach. "Slightly" more heavy duty... The hole has already been tapped which is nice...
attachment.php


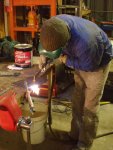
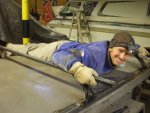
Scotty Ray killin' it on the torch after getting a lesson on how to use it...
attachment.php


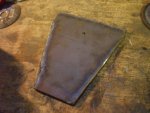
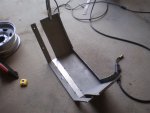
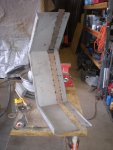
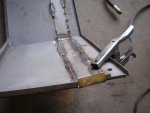
The "chalas" as I was calling it last night, ground on one side. Only took maybe a minute total of grinding to get it nice and smooth...
attachment.php


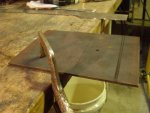
And welded in and in place. Installed pictures later...
attachment.php
 

Attachments

  • SM_Picture 050.jpg
    SM_Picture 050.jpg
    145.9 KB · Views: 1,175
  • SM_Picture 046.jpg
    SM_Picture 046.jpg
    165 KB · Views: 1,178
  • SM_Picture 041.jpg
    SM_Picture 041.jpg
    137.6 KB · Views: 1,187
  • SM_Picture 056.jpg
    SM_Picture 056.jpg
    133.9 KB · Views: 1,178

dieselcruiserhead

16 Years on ExPo. Whoa!!
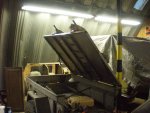
Our concerns at this point was the ease at which it opened and closed with no weight despite the apparent strength of the gas shocks. Roof Top Tents are about 150lbs so how to test? Scotty Ray happens to weigh about that :)
attachment.php


It works!
attachment.php
 

Attachments

  • SM_Picture 059.jpg
    SM_Picture 059.jpg
    152.9 KB · Views: 1,227
  • SM_Picture 058.jpg
    SM_Picture 058.jpg
    136.4 KB · Views: 1,176
Last edited:

dieselcruiserhead

16 Years on ExPo. Whoa!!
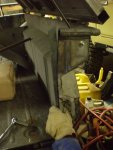
The chalas in action... Works great and very heavy duty of course. This issue is the tub wall is so thin it flexes so I needed a plane of this size.

attachment.php


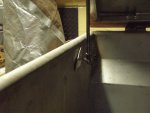
But check out what happens on the back side. Even with the rigidity added on, and the fact that this shock acts as the limiting strap causes significant flex:
attachment.php


Solution:
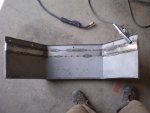
attachment.php


Welded in. I'm still going to add an actual limiting strap on the front to stop all flex though it is minimal now. This will also work for insulation/mounting weather stripping:
attachment.php
 

Attachments

  • SM_Picture 080.jpg
    SM_Picture 080.jpg
    152.4 KB · Views: 1,172
  • SM_Picture 081.jpg
    SM_Picture 081.jpg
    149.5 KB · Views: 1,172
  • SM_Picture 083.jpg
    SM_Picture 083.jpg
    150.6 KB · Views: 1,167
  • SM_Picture 074.jpg
    SM_Picture 074.jpg
    147.7 KB · Views: 1,174

dieselcruiserhead

16 Years on ExPo. Whoa!!
And that's it for now. This also took a few hours surprisingly but most was just dicking around with the shocks... Here are a couple other badly needed pics of the drawer that I never took & posted.

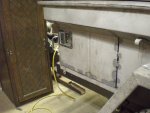
The drawer with locking paddle latch in place. This still needs to be finalized and bolted in though... The key matches the lid key as well.
attachment.php


And you can see my upcoming weather strip challenges. I dont want to ruin these sweet ball bearing sliders with dust getting in them...
attachment.php


Again 3 working days and I should be (and need to be) done before I leave for a trip with the trailer and a million things to do (on both the trailer and my vehicle)... Down to the wire...
Cheers,
Andre
 

Attachments

  • SM_Picture 077.jpg
    SM_Picture 077.jpg
    141.6 KB · Views: 1,167
  • SM_Picture 078.jpg
    SM_Picture 078.jpg
    123.7 KB · Views: 1,170

Willman

Active member
Looking good Andre!

Great idea on supporting your shock mounts....mine so far are doing great...but i could see your reasoning behind the backing! Some thin sheet metal holding a lot of weight!

:ylsmoke:
 

X_Trippin

Observer
That thing is awesome, I got a friend doing a build on an M416 also. I love those little trailers, would pick one up if I had a place to put it. Damn apartments. lol :ylsmoke:
 

dieselcruiserhead

16 Years on ExPo. Whoa!!
One thing I must point out though is the more you build the larger they get. In photos they always looked small to me but the truth is it easily occupies the size of a small car. In a perfect world I would take the whole thing but maybe 20% smaller. That said of course I'm very excited for it. Again, maiden voyage 2 minus 12 days!

Thank you guys!
 

X_Trippin

Observer
One thing I must point out though is the more you build the larger they get. In photos they always looked small to me but the truth is it easily occupies the size of a small car. In a perfect world I would take the whole thing but maybe 20% smaller. That said of course I'm very excited for it. Again, maiden voyage 2 minus 12 days!

Thank you guys!

That's true, I have towed it a few time camping. Maybe it just feels small compared to the boat I tow. I bet if we tried we could get a smart car in the trailer. :sombrero:
 

dieselcruiserhead

16 Years on ExPo. Whoa!!
Hi guys,

I have a few more days of updates and the maiden voyage is in, again, a week exactly so I'm getting down to the final updates... I have two nights I forgot to bring a camera for updates so there is more coming tomorrow mostly just working hard down to the final hours...
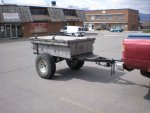
I currently have the trailer all torn down for paint so I'll have good shots of the work before the paint comes... With luck I'll have the time to paint it tomorrow..


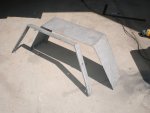
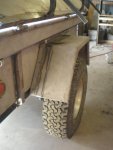
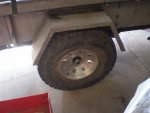
Widening of the fenders. 2" strips. Versus AT fenders? Again, I think the ATs are absolutely worth it. It took several hours to get these dialed and the 2" widening will show up even through the paint to the extent that I even through about bondoing them. And it was a lot of work for reasons to be posted...

Careful lineup using squares/levels/etc.
attachment.php


Chop...
attachment.php


Starting to piece together...
attachment.php


And fully tacked...
attachment.php
 

Attachments

  • SM_Picture 024.jpg
    SM_Picture 024.jpg
    451.8 KB · Views: 991
  • SM_Picture 023.jpg
    SM_Picture 023.jpg
    382.2 KB · Views: 991
  • SM_Picture 022.jpg
    SM_Picture 022.jpg
    369.2 KB · Views: 993
  • SM_Picture 025.jpg
    SM_Picture 025.jpg
    552.5 KB · Views: 9,678

dieselcruiserhead

16 Years on ExPo. Whoa!!
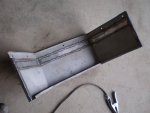
Starting to weld. Warping occured easily to it took considerably massaging with the hammer and smart heat restricted welding...

I messed with welding via the outside and via the inside and on the strongest recommended setting via the inside + grinding with flapper disk came out best...
attachment.php


Using the vice for straightening. The fenders are actually quite strong..
attachment.php


Not perfect but clean, about that of an aftermarket body panel on a car repair perhaps...
attachment.php


You can see my heat control welding techniques...
attachment.php
 

Attachments

  • SM_Picture 028.jpg
    SM_Picture 028.jpg
    587.3 KB · Views: 1,073
  • SM_Picture 029.jpg
    SM_Picture 029.jpg
    147.8 KB · Views: 1,059
  • SM_Picture 033.jpg
    SM_Picture 033.jpg
    445.4 KB · Views: 1,066
  • SM_Picture 034.jpg
    SM_Picture 034.jpg
    475.9 KB · Views: 1,067

dieselcruiserhead

16 Years on ExPo. Whoa!!
Test fit... :wings:

At first oddly I didn't like them but now I am definitely a fan...
attachment.php


Air bag deflated, fits perfectly with no rubbing at full stop if an airbag or other air related issue we to occur....
attachment.php
 

Attachments

  • SM_Picture 037.jpg
    SM_Picture 037.jpg
    522.7 KB · Views: 9,751
  • SM_Picture 038.jpg
    SM_Picture 038.jpg
    509.4 KB · Views: 1,058

dieselcruiserhead

16 Years on ExPo. Whoa!!
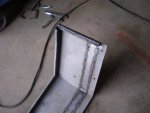
Weld finish and you can see the appearance of welding inside out...
attachment.php


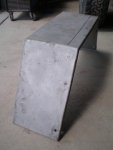
Final. Also note the 3/4" box tube welded at the ends for additional strength if the fender were to hit a rock or something... Again does not hit at full compression of the tire...
attachment.php


This was ground smooth on the ends and I'm pretty pleased with it all!
attachment.php
 

Attachments

  • SM_Picture 049.jpg
    SM_Picture 049.jpg
    526.3 KB · Views: 1,049
  • SM_Picture 047.jpg
    SM_Picture 047.jpg
    516.9 KB · Views: 1,057
  • SM_Picture 046.jpg
    SM_Picture 046.jpg
    520.1 KB · Views: 1,055

dieselcruiserhead

16 Years on ExPo. Whoa!!
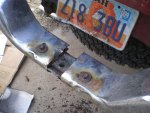
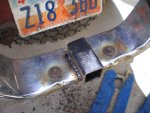
Now... For something I'm less proud of. I'm moving on to a new pickup very shortly so I don't want to put a lot of time/energy/modifications into it, and the bumper I have in mind (hand made of course ) would require light body alteration so I didn't want to build one for this and move it over. I only have the stock bumper and needed something to add a pintly hitch to, so... Here it is. It is very ghhhhetto (noticeable emphasis on the "hh") but is strong and will work...

attachment.php


Good steel under there and you can see the weight rating of this bumper from the above pic...
attachment.php


Hard to see but there is a hole for the locking pin...
attachment.php
 

Attachments

  • SM_Picture 051.jpg
    SM_Picture 051.jpg
    124 KB · Views: 1,031
  • SM_Picture 052.jpg
    SM_Picture 052.jpg
    142.7 KB · Views: 1,029
  • SM_Picture 054.jpg
    SM_Picture 054.jpg
    133.3 KB · Views: 1,028

dieselcruiserhead

16 Years on ExPo. Whoa!!
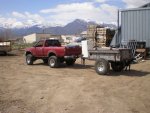
The point of it all... Maiden voyage, test drive! I took the fenders off get a clear view of the wheels while spinning to make sure it was 100%... The good news, 1) it is so light/tows so well that it feels like almost nothing is there just like before. Wonderful! 2) 60, 70, 85 mph... Flawless! Even with unbalanced tires oddly enough no hopping and a very smooth ride very carefully watching in the rear view mirror.. Awesome :)

Pardon the dirty-recycling-center-come-spring photos of the shop...
attachment.php


attachment.php


attachment.php
 

Attachments

  • SM_Picture 057.jpg
    SM_Picture 057.jpg
    120.1 KB · Views: 1,032
  • SM_Picture 058.jpg
    SM_Picture 058.jpg
    137.1 KB · Views: 1,033
  • SM_Picture 060.jpg
    SM_Picture 060.jpg
    128.1 KB · Views: 1,029

Forum statistics

Threads
188,347
Messages
2,906,002
Members
229,958
Latest member
bdpkauai
Top