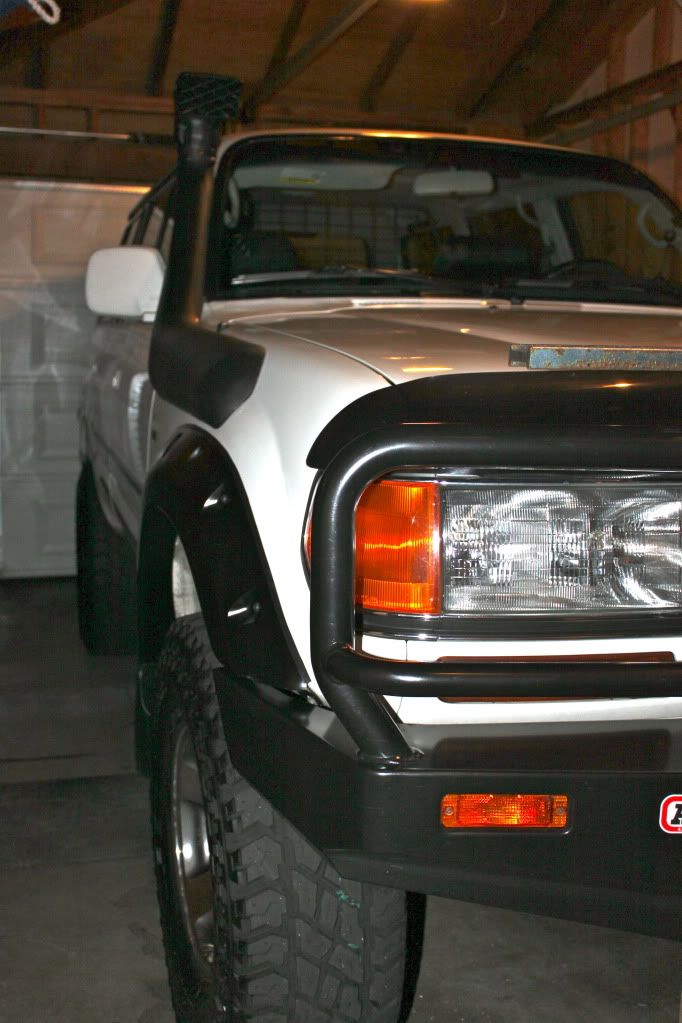
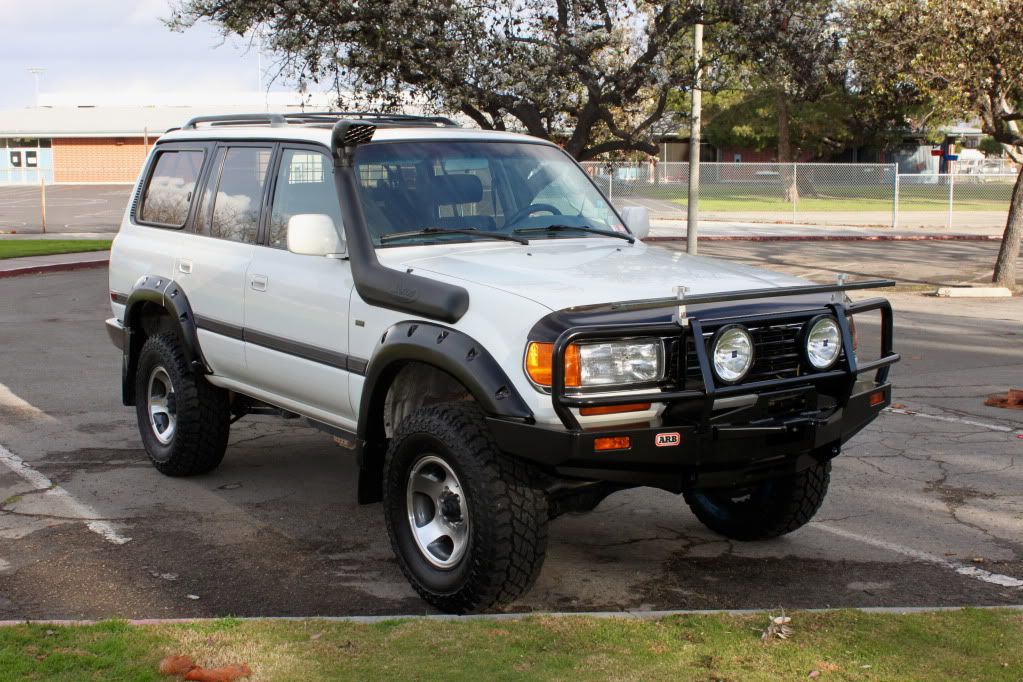
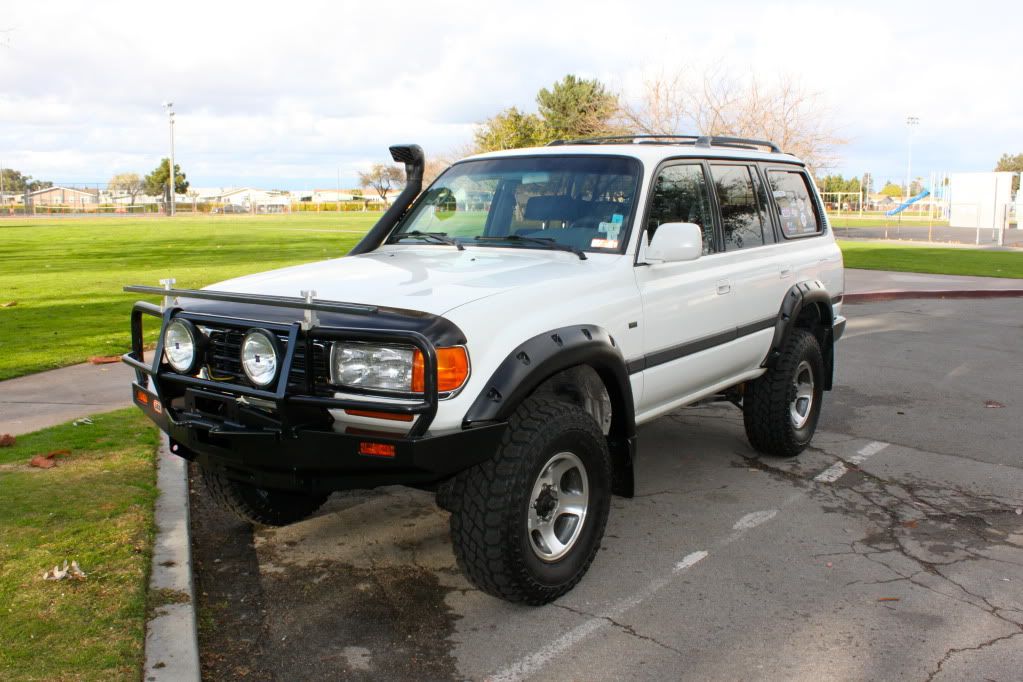
Pocket Flare Install
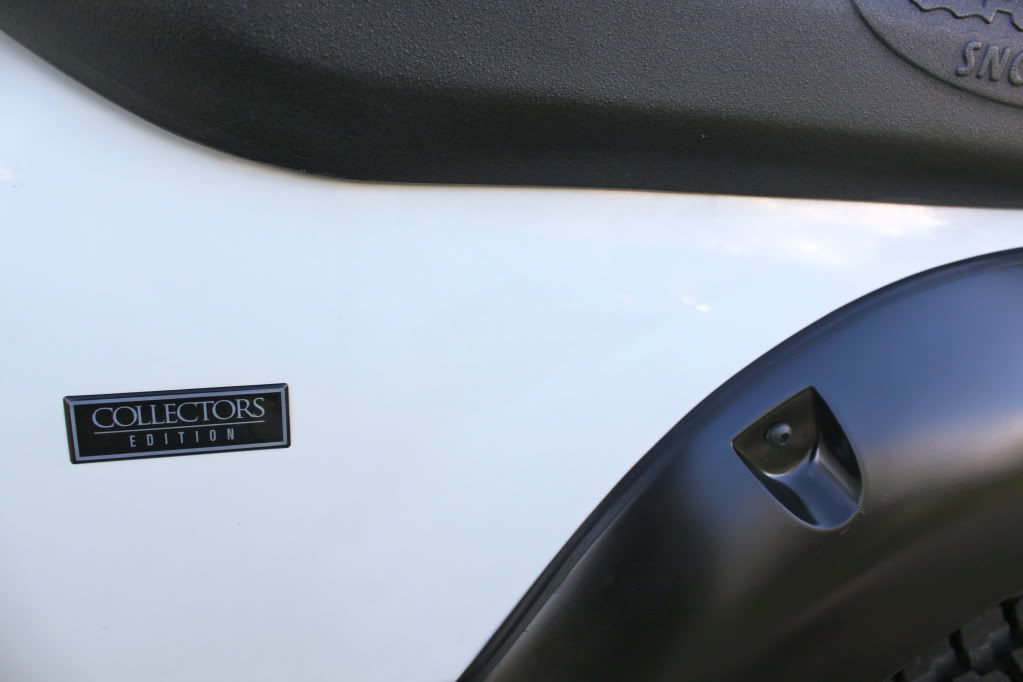
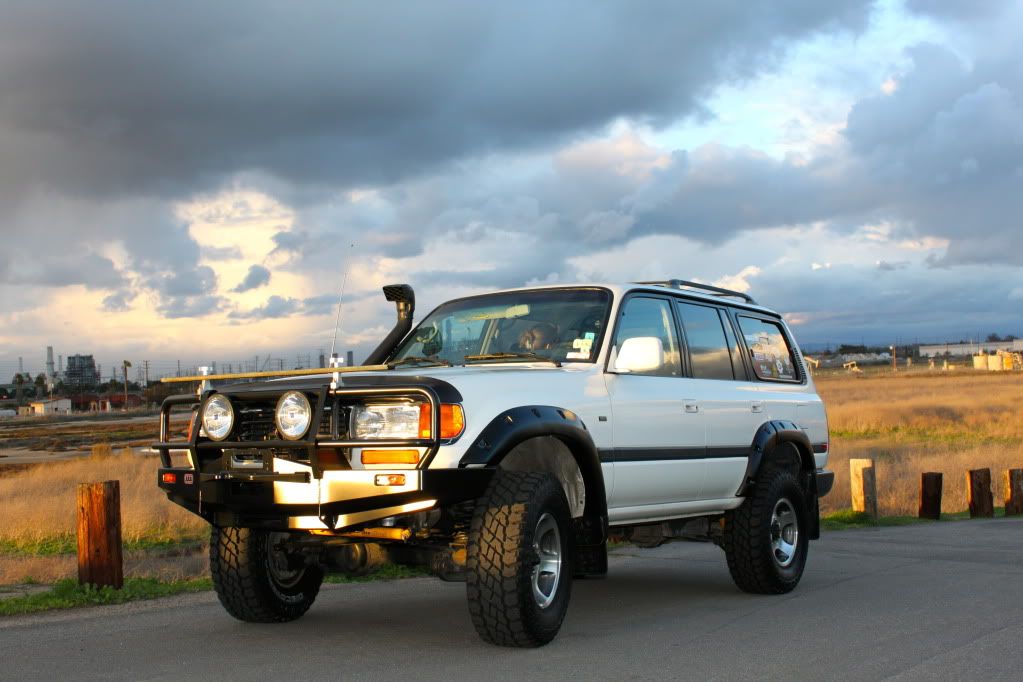
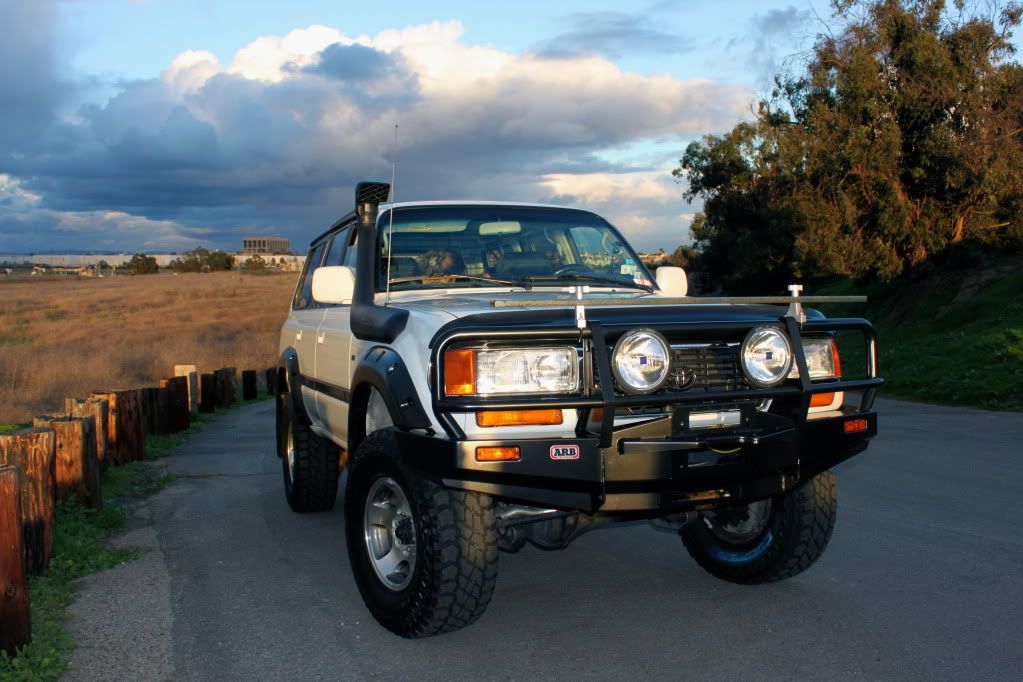
When I first removed the original OEM flares last thing I thought was that I'd be replacing them with Pocket Flares. Yes, I could have easily reinstalled the OEM flares and repainted them semi gloss black as the pocket flares. With the OEM flares off, I guarantee you, I spent way to much time debating what route to go. Should I reinstall the OEM flares, should I go with lining, should I go with weld and repaint, or should I take a chance and install something new and unique. Ideally I would have liked to have gone with a weld of the flare holes and a fresh repaint of the whole vehicle . My compromise of the situation was to install a set of pocket flares, with the whole idea of reinvigorating the look of the LC... keeping it fresh. As noted earlier the Bushwaker style pocket flares are made to order and are made with fiberglass and high quality flexible resin so that they are very durable and flexible. They are repairable or available for individual replacement if damaged beyond repair. They are installed with Torx hardware and come with new trim gaskets and allow for the reinstallation of the OEM front and rear mud flaps. Around a month and a half later...
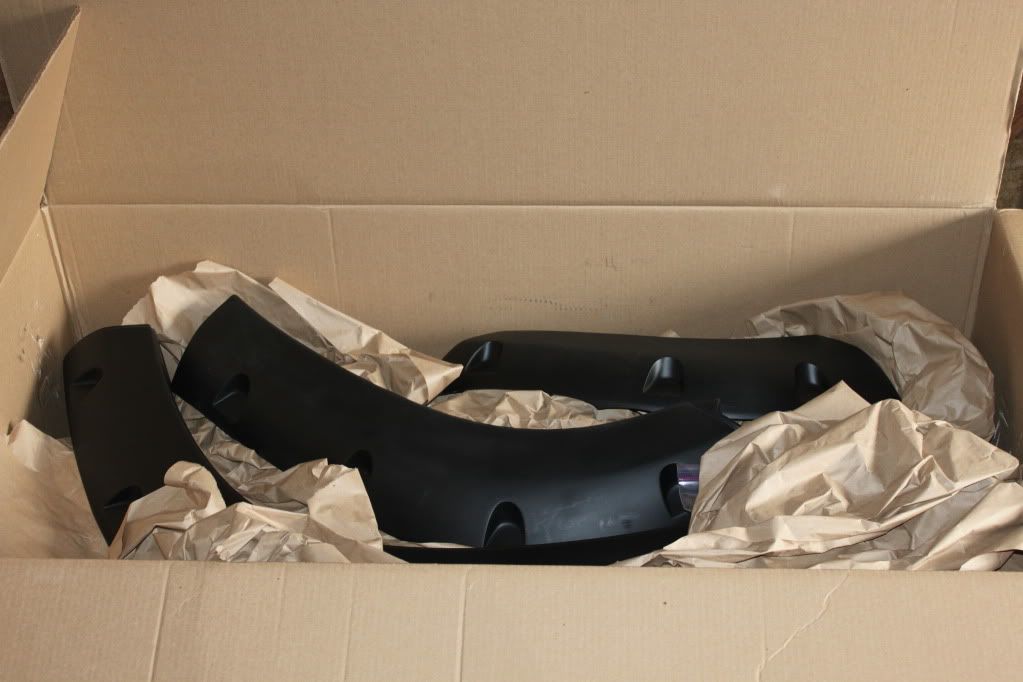
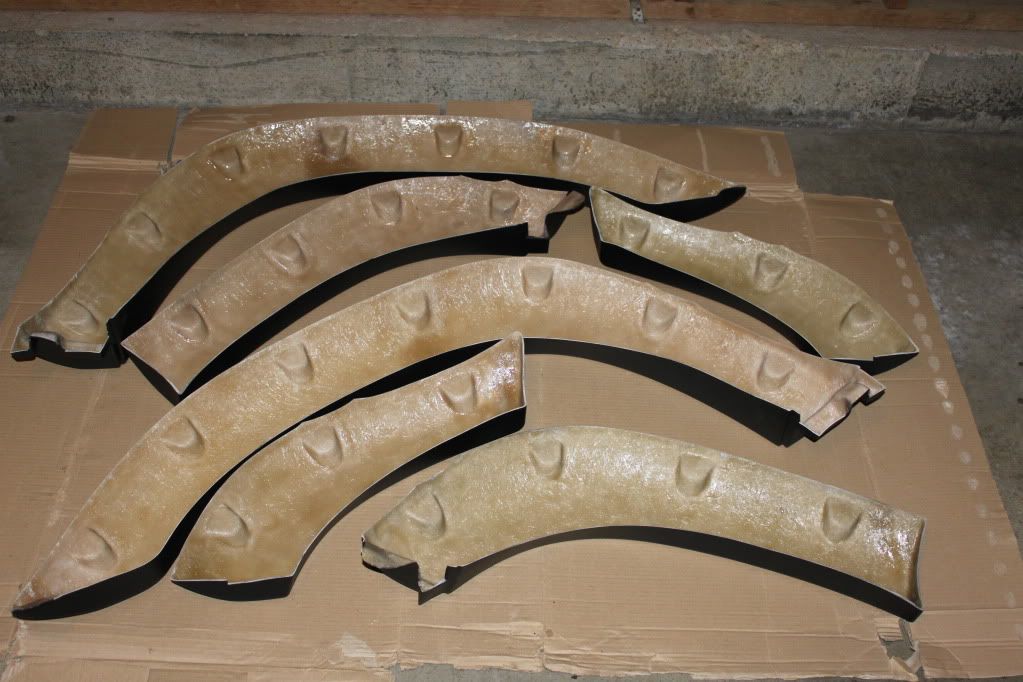
The flares arrived packaged well and intact. First thing I noticed was that the insides were unpainted.
Composite fibers when exposed to water can induce a wicking affect that could lead to swelling of the composite material and breakdown of the epoxy.
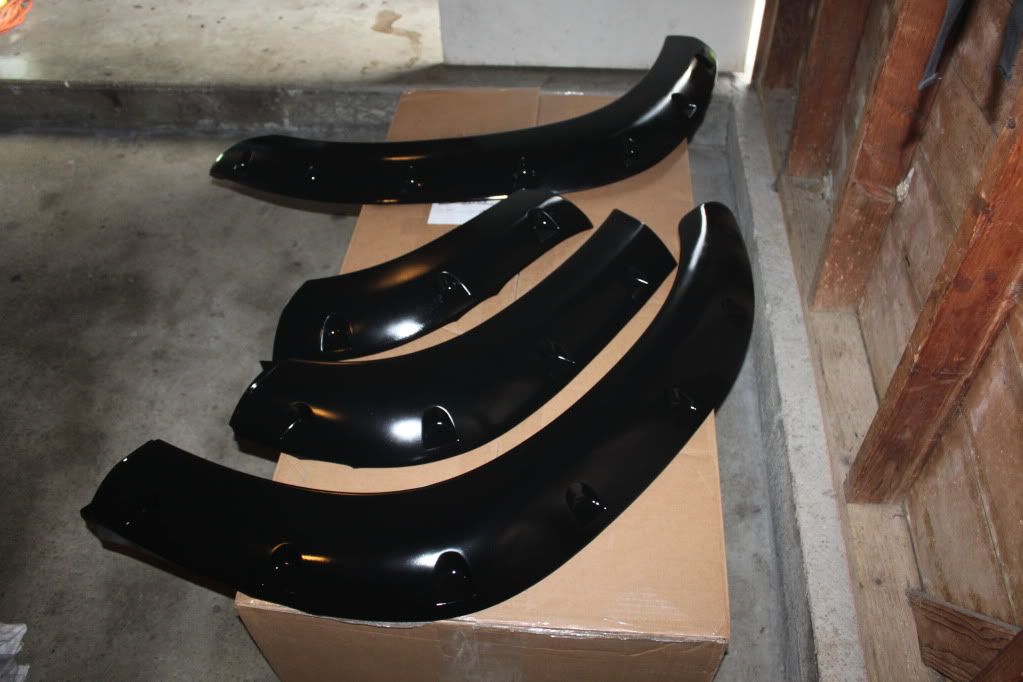
Flares painted Semi Gloss Black inside and out. Matches ARB bumper finish nicely.
Installation was fairly straight forward:
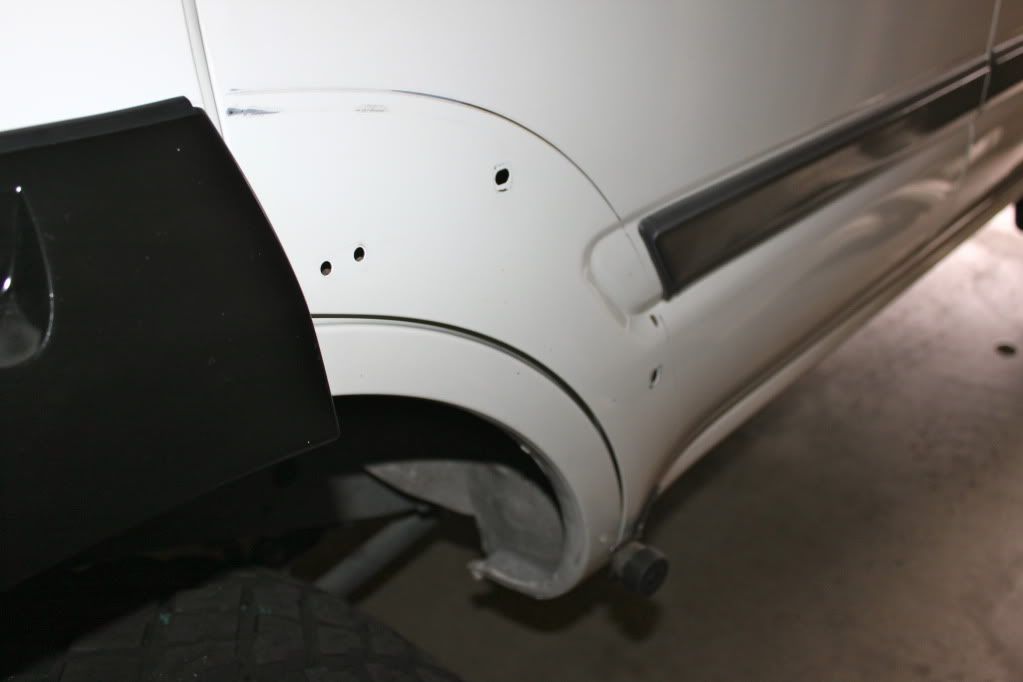
I measured to find center and predrilled the holes on the flares first. Very important 3/16" only.
Installed the new flare trim. The trim could have been an inch longer for each flare.
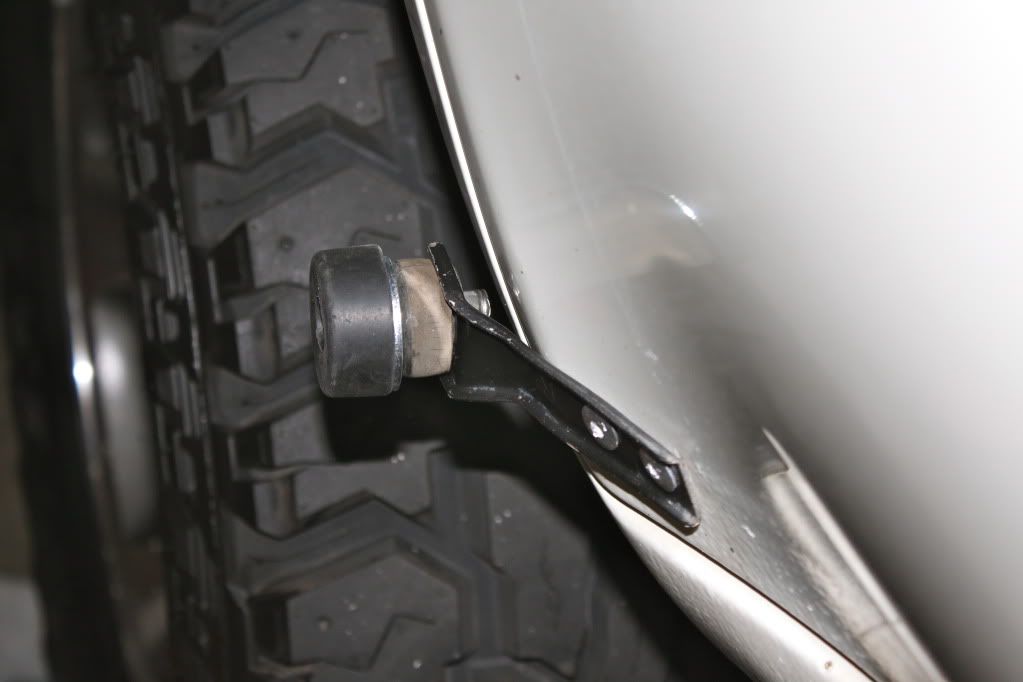
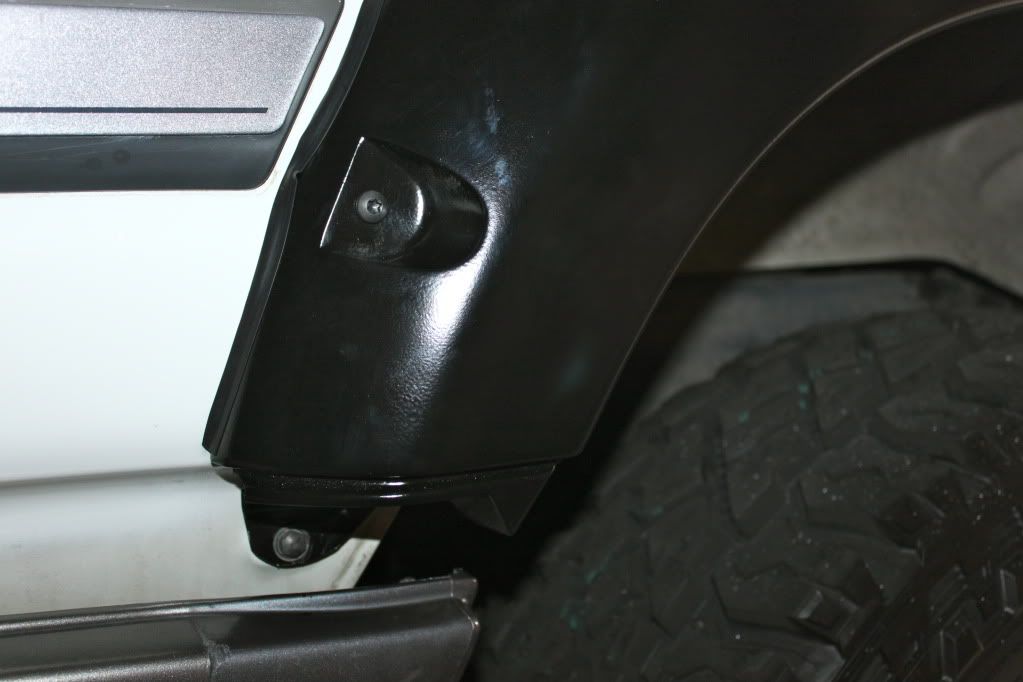
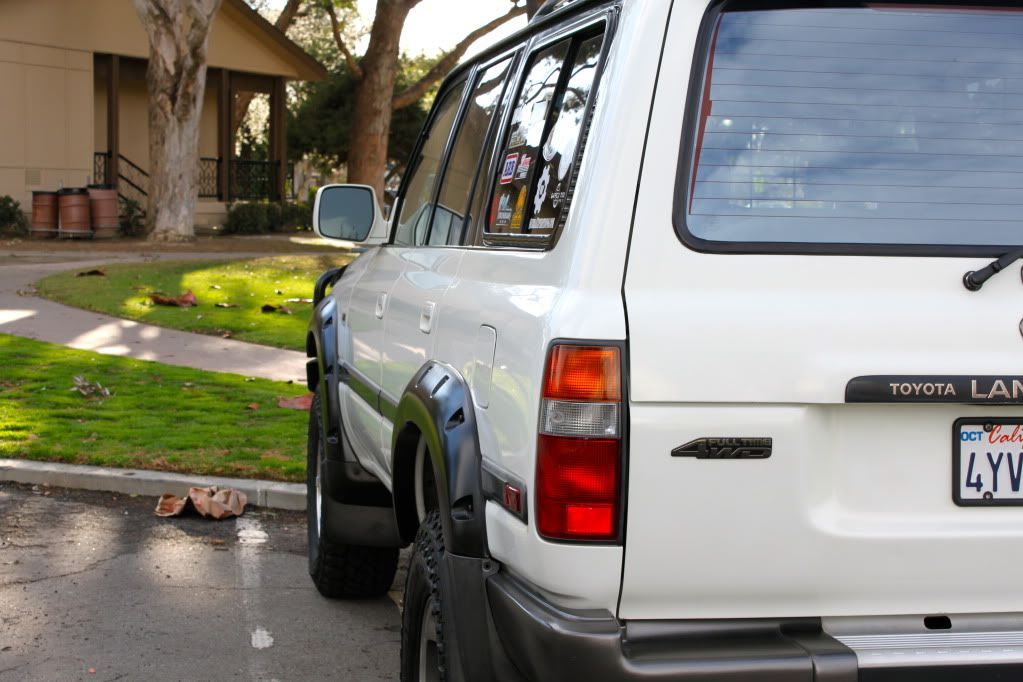
Reinstalled the lower rear door brackets with new 1/4"x1/2" rivets.
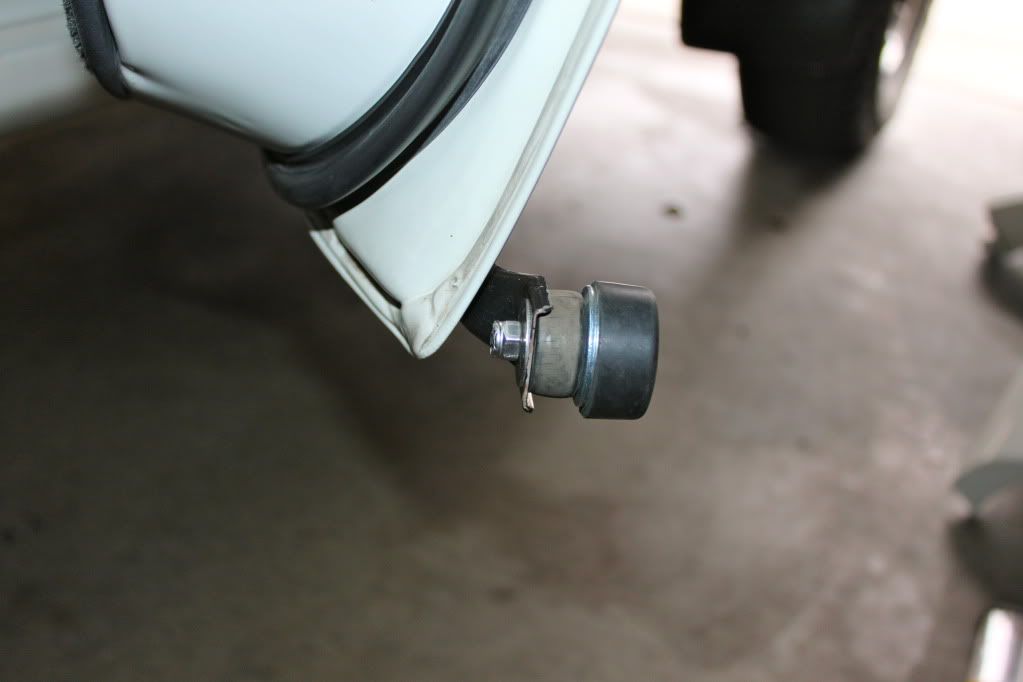
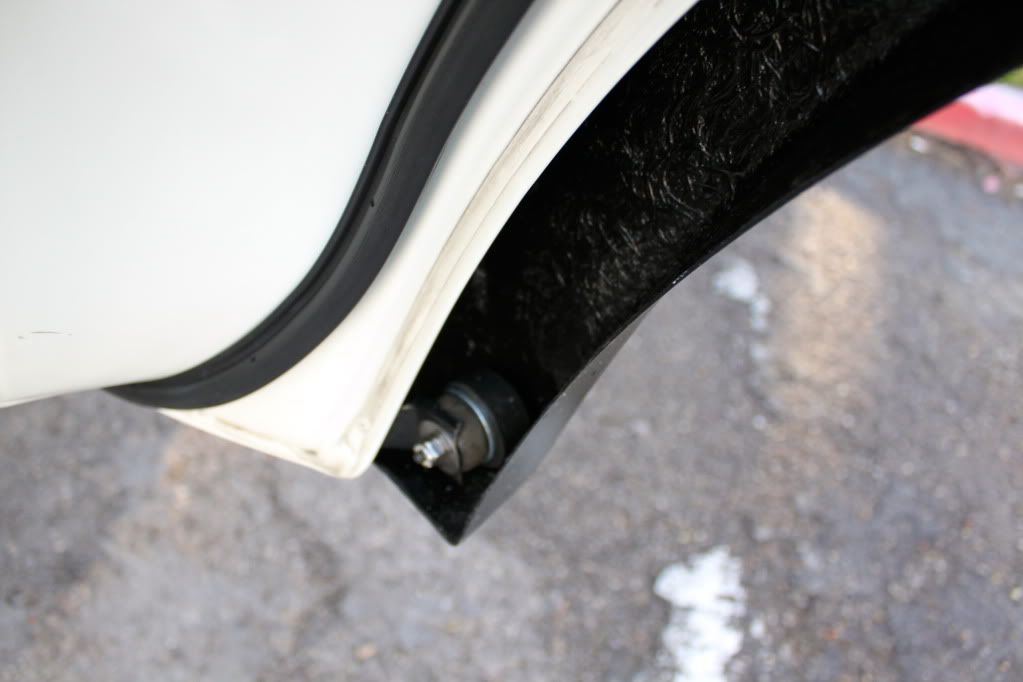
Rubber bumpers are installed on the rear door lower brackets to provide bump stop for the flares. I installed an additional 1" rubber bushing to provide constant contact with the flare.
Now comes the fun part of aligning the flares to match the OEM flare lines. For the fronts I installed the mud flaps which allowed the rear portion of the pocket flare to sit in and soft secured the forward most screw of flare behind the front bumper wing. This allowed the flare to be leveled and aligned with OEM flare outline. Start drilling from the center and work your way outwards alternating front and back while installing Torx screw at each hole. When tightening the Torx hardware be very careful not to over torque as to avoid stripping the screw or hole. Alternately you could install nuts on the backside or rivnuts which I may do in the future.
For the rear flares I installed the back ones first. I soft installed the screw behind the rear bumper wing and aligned to OEM flare outline. Once again drill 3/16" hole, install Torx screw, and maintain alignment.
The forward rear flare on passenger door had to be held in place while drilling making for a very tense time ensuring alignment. I must have aligned twenty times before my first drill in center position.
Bump stop shown in contact with flare to help maintain position and reduce stress to flare if lower portion bumped.
My greatest suggestions during the installation of these flares is to allow ample time for installation and to not rush. Do not over-torque the Torx screws. Paint the inside portion of flares. Avoid removing screws once installed to prevent cross-threading and stripping of screw holes. Long term solution as in next time they are removed for cleaning (maybe a year or two, hopefully more) I'm thinking of adding nuts to the back end or rivnuts. I'm sure more will come along.
My overall thought of these flares is that they are of good quality. They would be fairly easy to repair. They do provide a unique and distinct look. Long term we'll see how they hold up.
")