You are using an out of date browser. It may not display this or other websites correctly.
You should upgrade or use an alternative browser.
You should upgrade or use an alternative browser.
Meet the Trot'n Turtle - Unimog U1300L Build
- Thread starter Hodakaguy
- Start date
Hodakaguy
Adventurer
Stop posting pictures before I go out and by a Mog!
Add me to the list of people admiring your dads TIG skills.
Best not to fight it...just buy a Mog
Hodakaguy
Hodakaguy
Adventurer
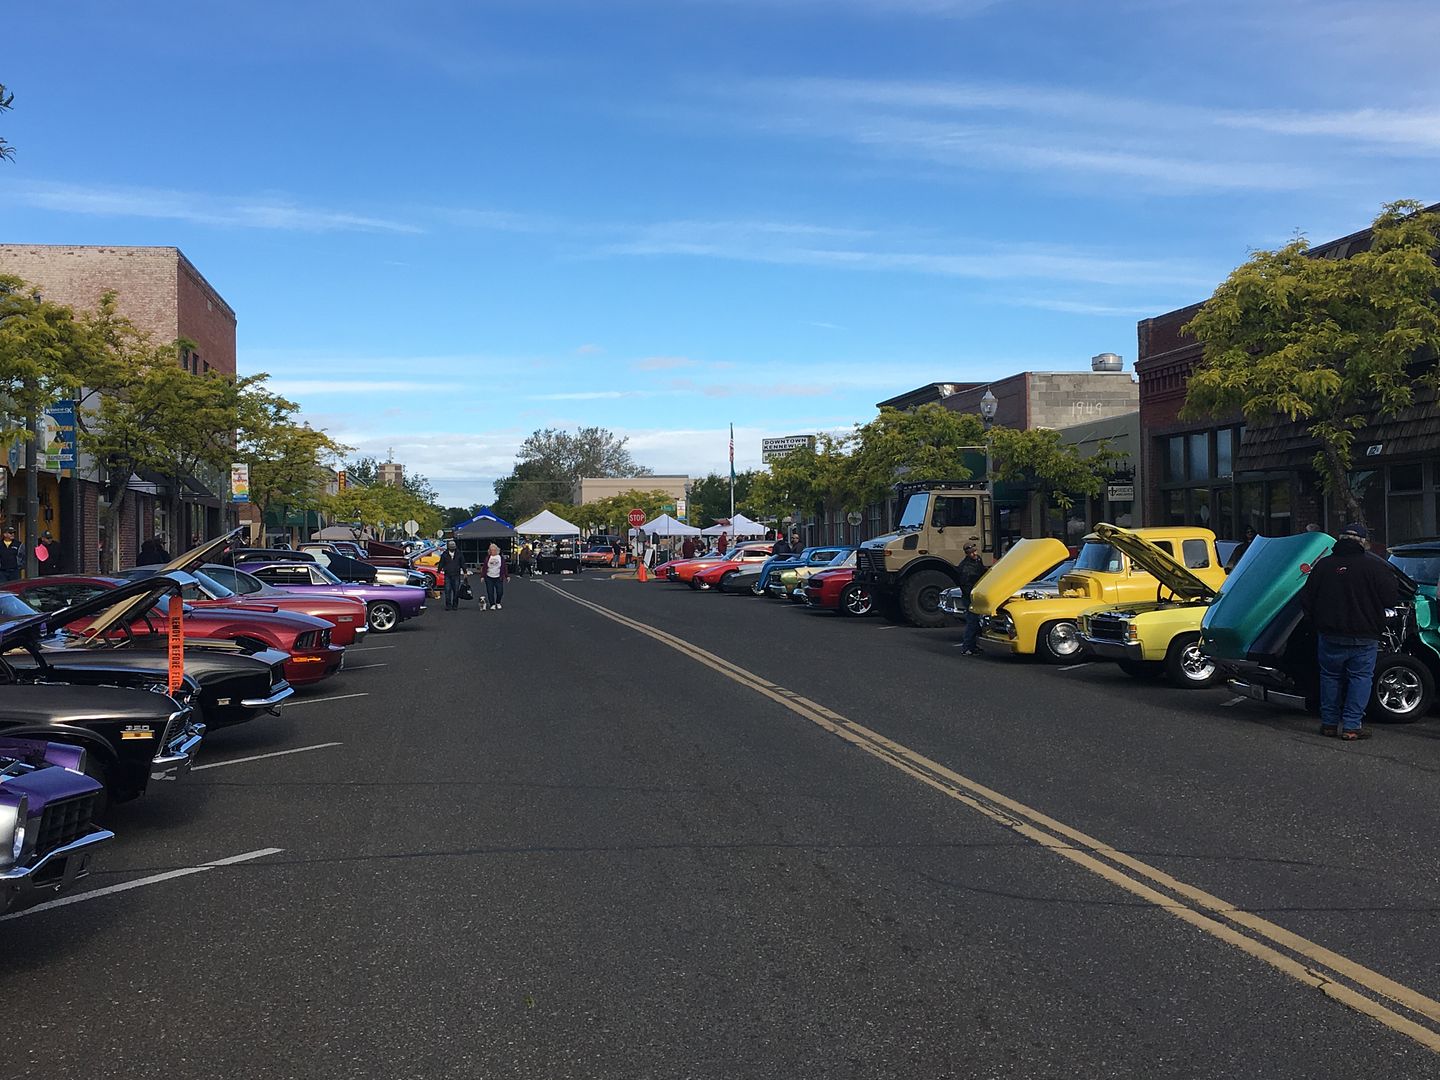
Took the Mog to a local car show last weekend, it blended right in with the hot rods....barely noticeable 
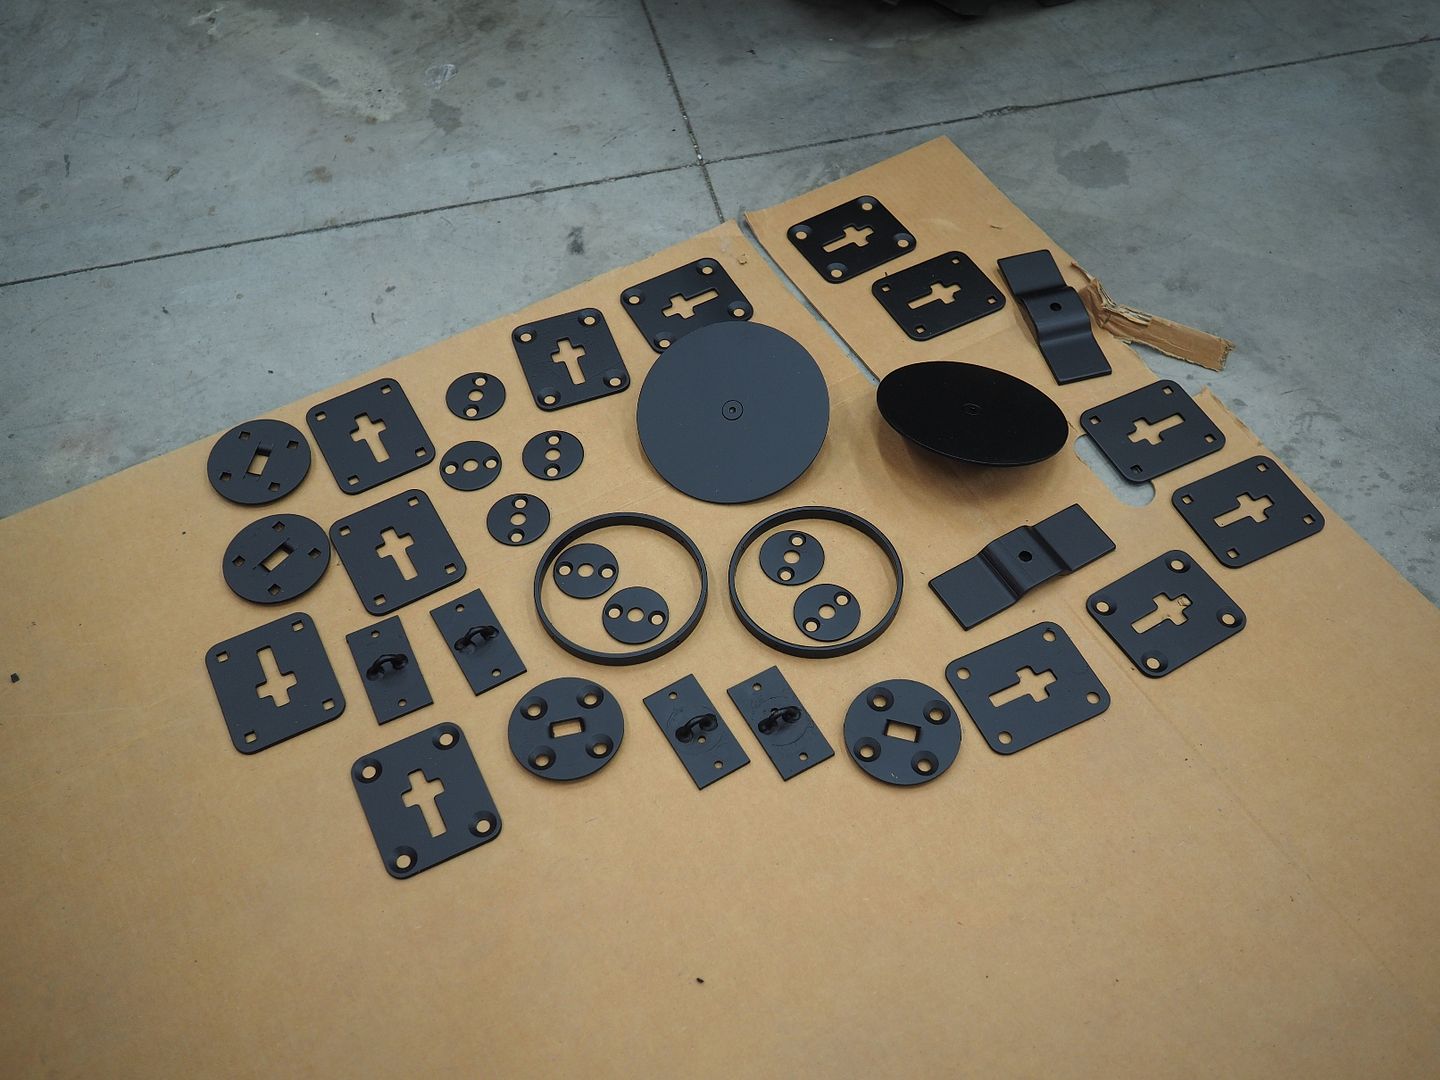
Working on the small bits before re-installing the bed.
All the small parts of the bed needed to be spiffed up before going back on the truck. These parts were all sand blasted, primed/sealed and top coated. Still have a couple parts to go.
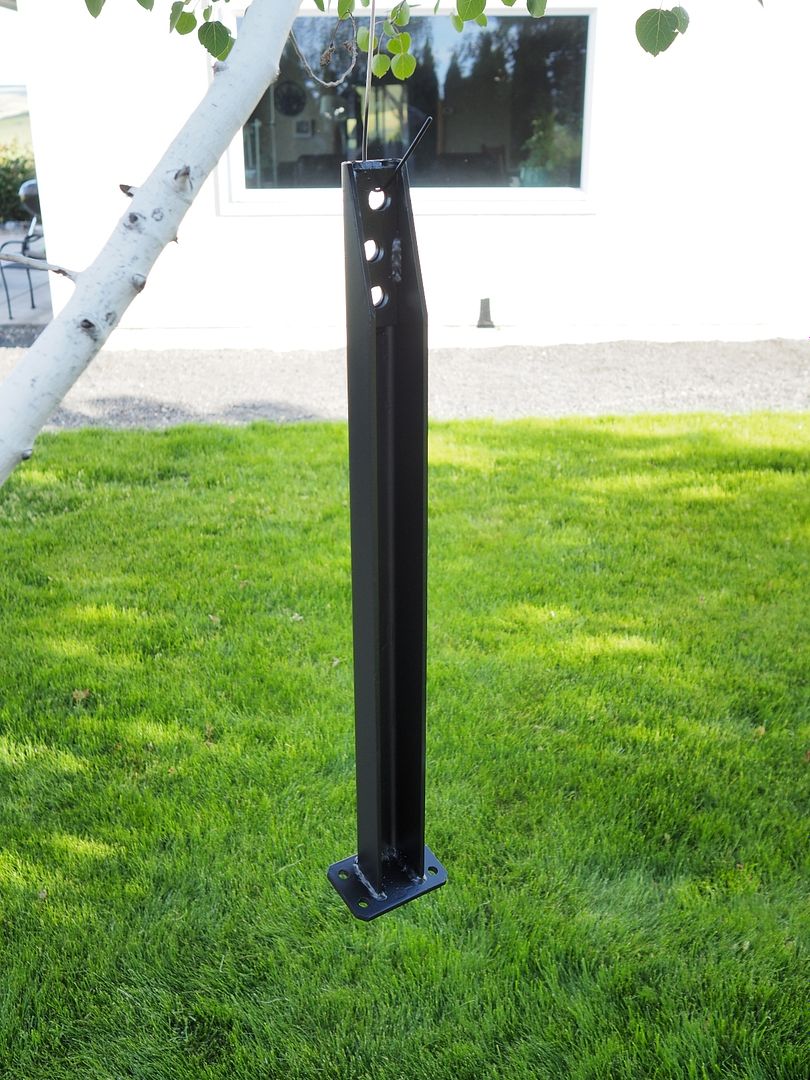
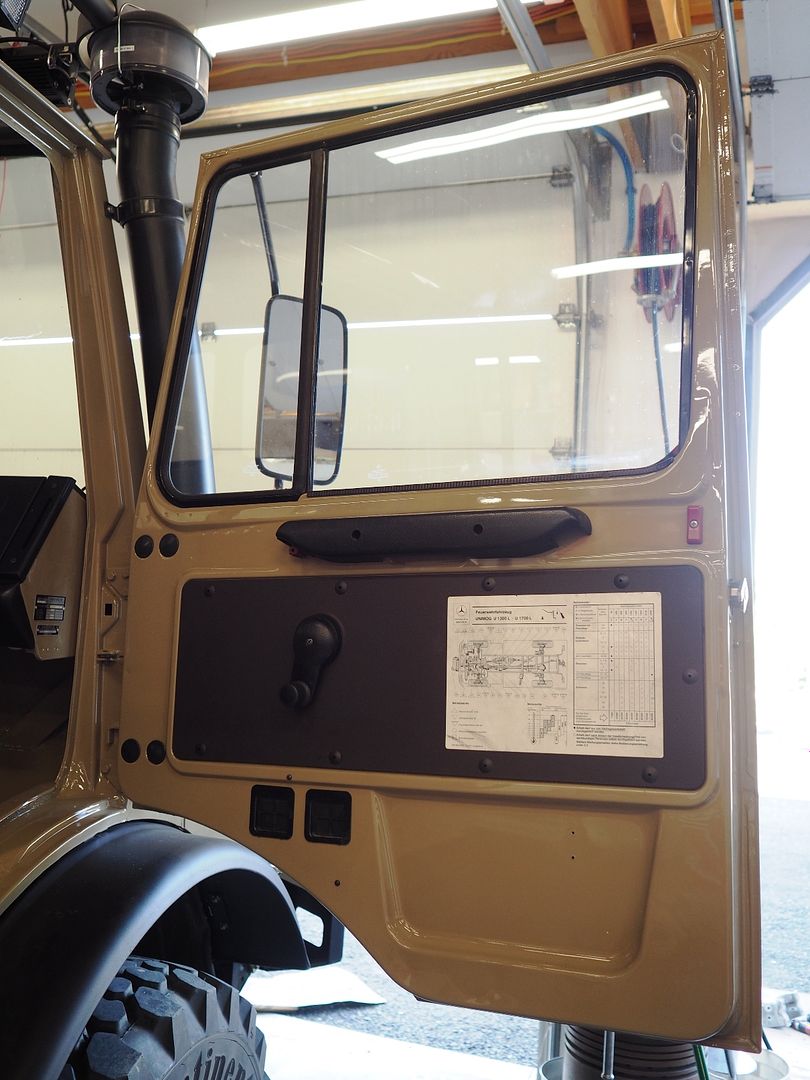
While the paint is drying I decided to assemble the passenger side door. Here the vapor barrier has been re-installed along with other small bits.
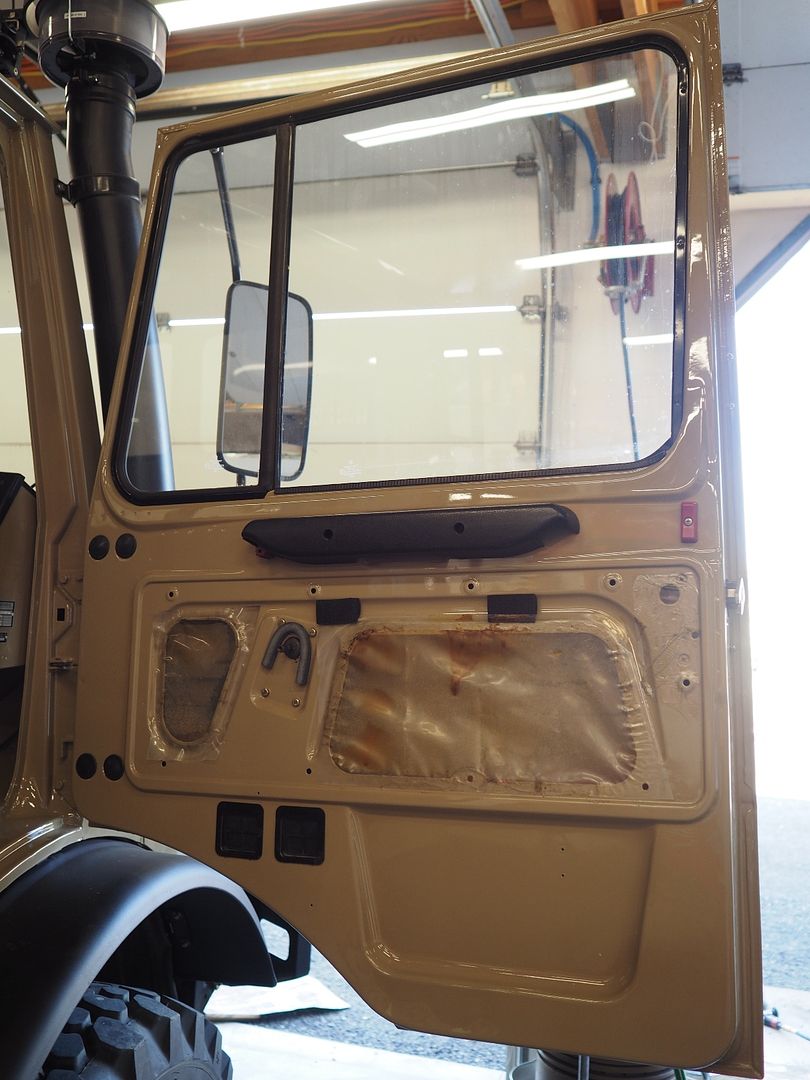
And back together. I'll be adding a newer style door pocket to this door soon. Was able to keep the original service chart
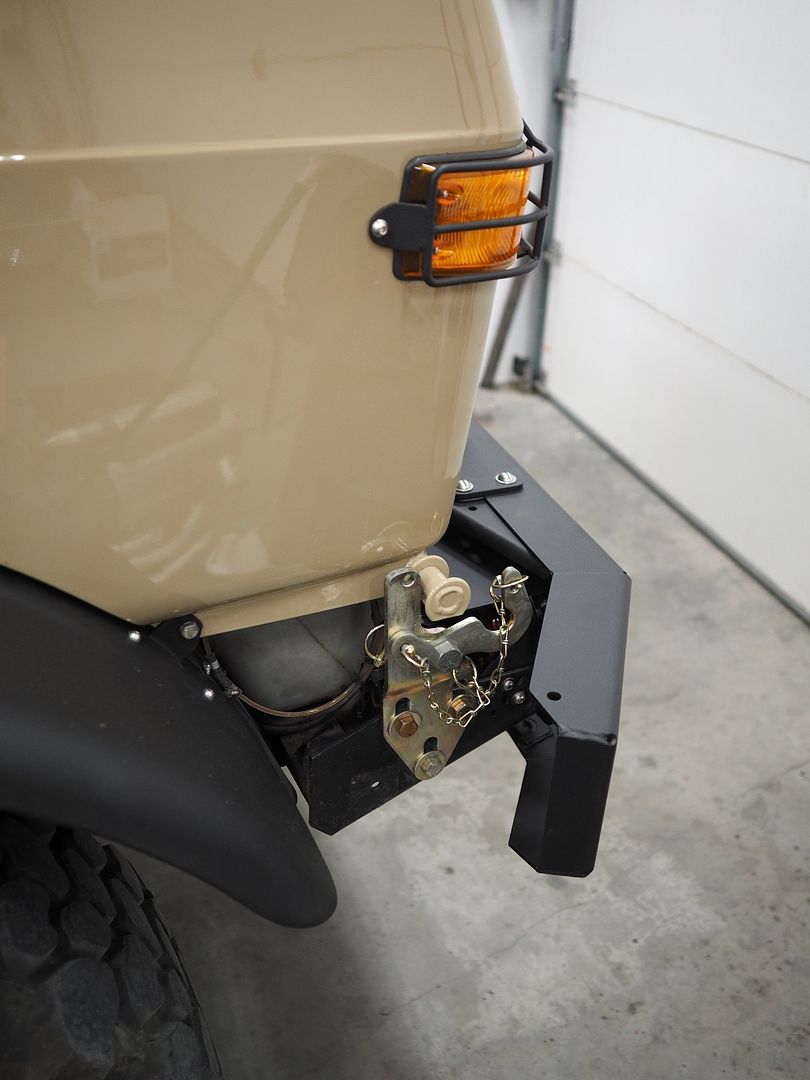
Re-installed the cab tilt brackets, they were painted black originally but when we cleaned off the original paint I decided that I liked the natural plated look.
More to come....
Hodakaguy

Working on the small bits before re-installing the bed.
All the small parts of the bed needed to be spiffed up before going back on the truck. These parts were all sand blasted, primed/sealed and top coated. Still have a couple parts to go.


While the paint is drying I decided to assemble the passenger side door. Here the vapor barrier has been re-installed along with other small bits.

And back together. I'll be adding a newer style door pocket to this door soon. Was able to keep the original service chart

Re-installed the cab tilt brackets, they were painted black originally but when we cleaned off the original paint I decided that I liked the natural plated look.

More to come....
Hodakaguy
Nashorn101
Observer
This is the absolute coolest Unimog build. You gotta be so excited for when it's finally finished!
Sent from my iPhone using Tapatalk
Sent from my iPhone using Tapatalk
Hodakaguy
Adventurer
You should dye your hair black & get a flattop haircut to match your roof top.
I think I'll pass on that one lol
Hodakaguy
Hodakaguy
Adventurer
This is the absolute coolest Unimog build. You gotta be so excited for when it's finally finished!
Sent from my iPhone using Tapatalk
Thanks, Yeah I'm really hyped to see it finished for sure...getting close.
Hodakaguy
Hodakaguy
Adventurer
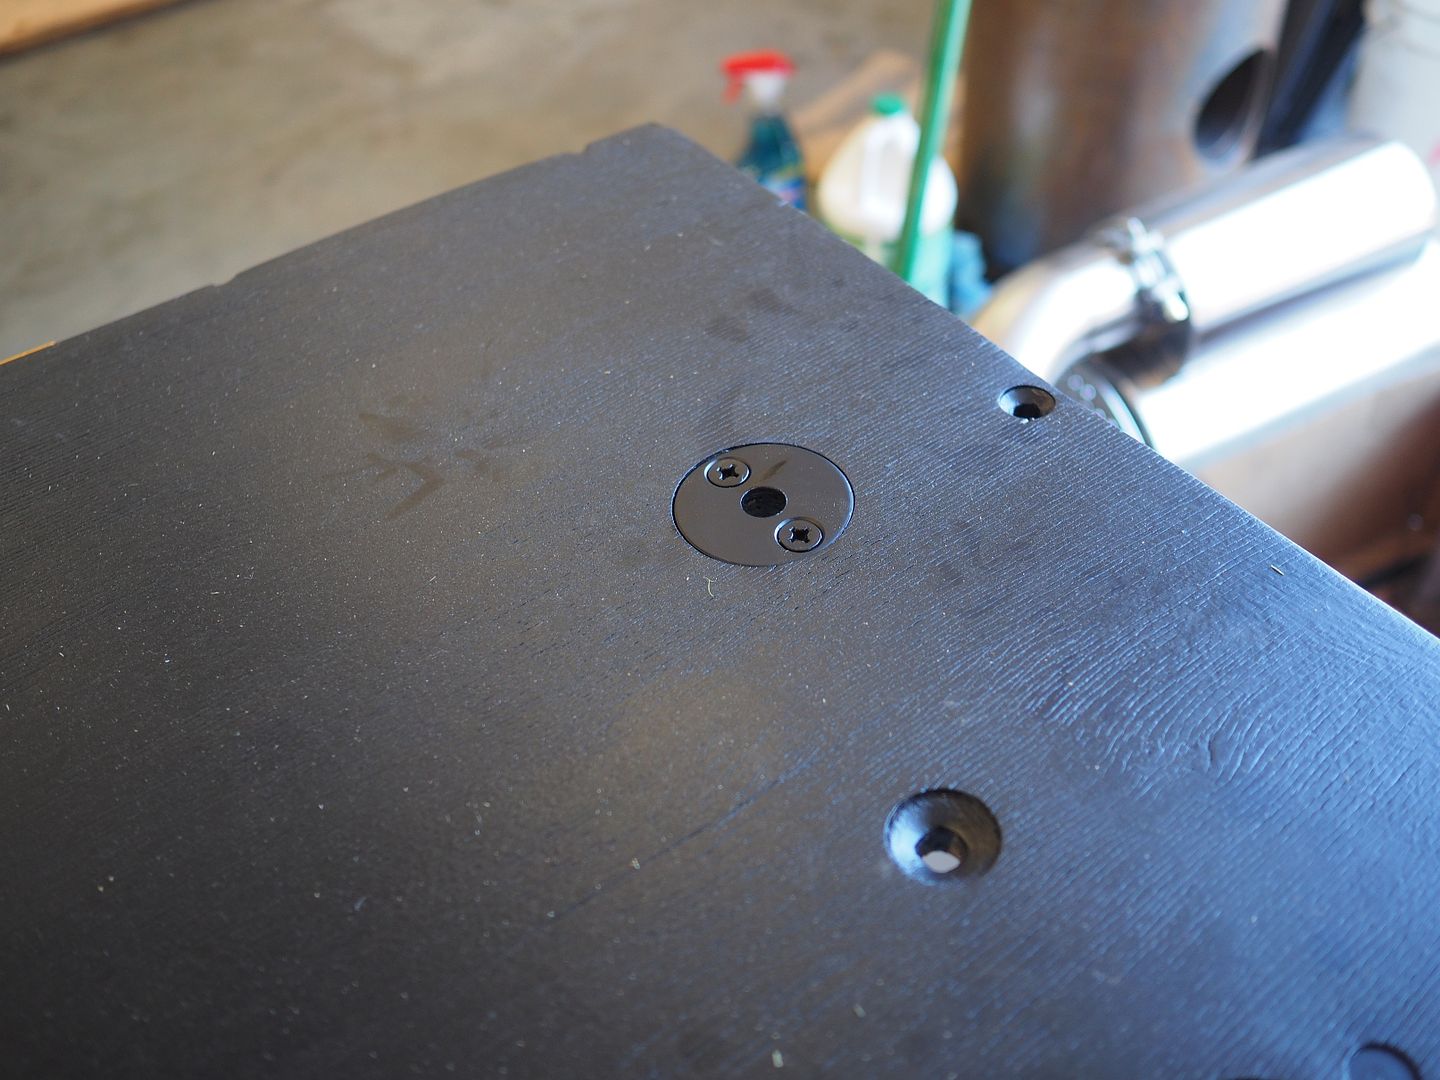
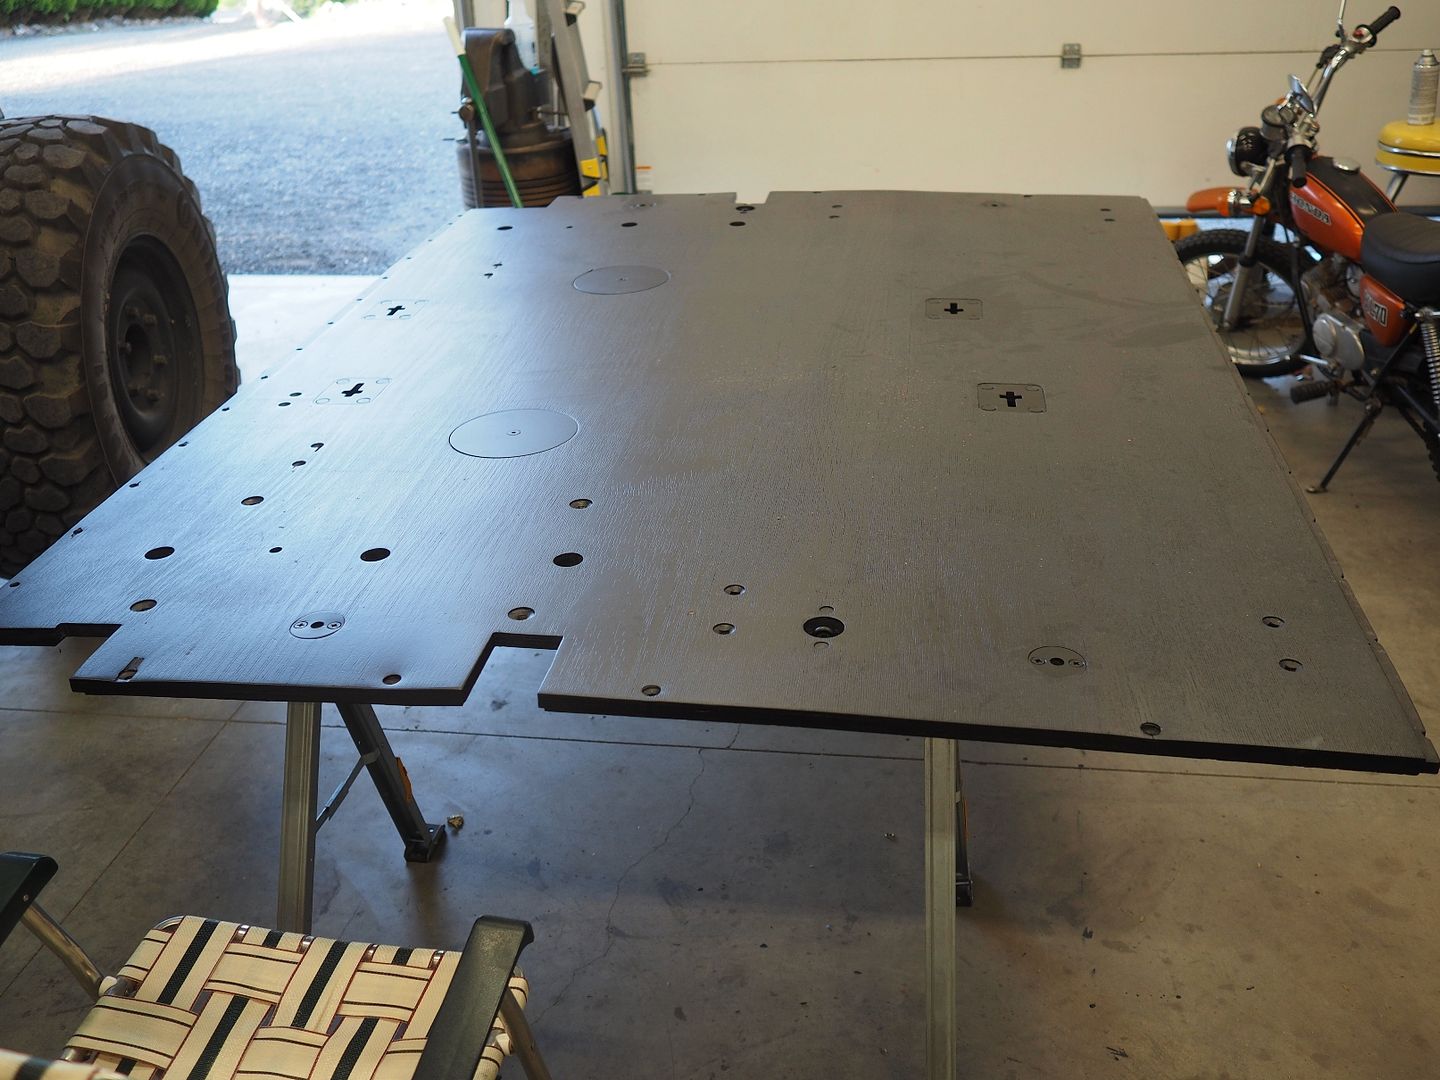
Assembled the small bits back onto the bed boards...getting closer to having the bed back on the truck again.
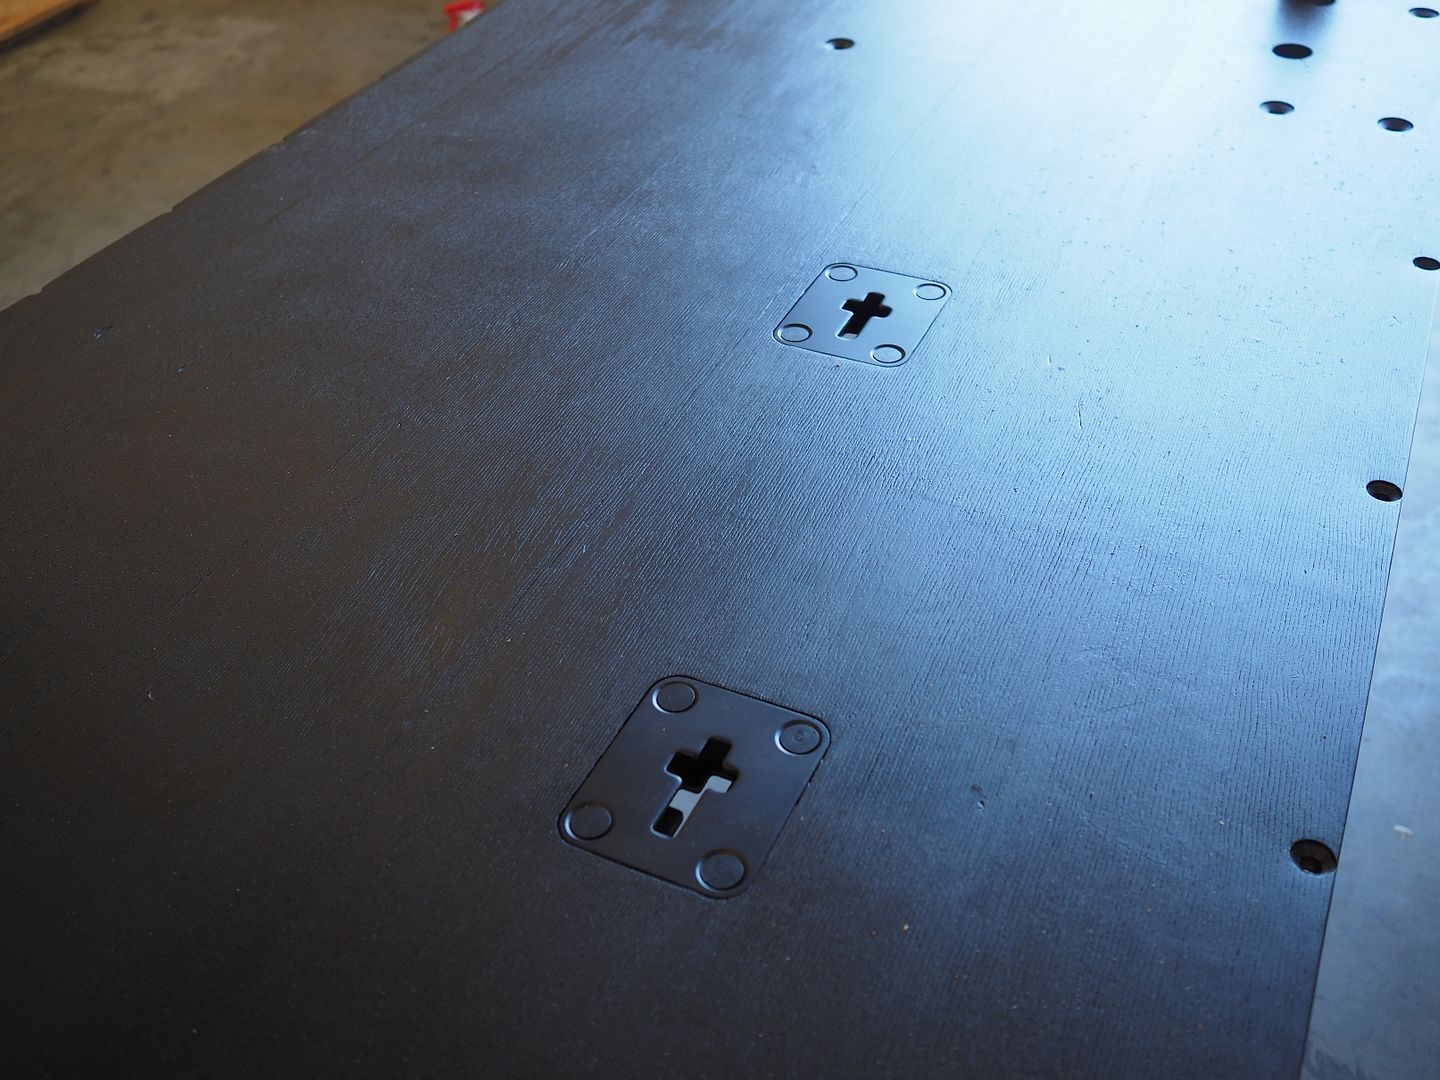
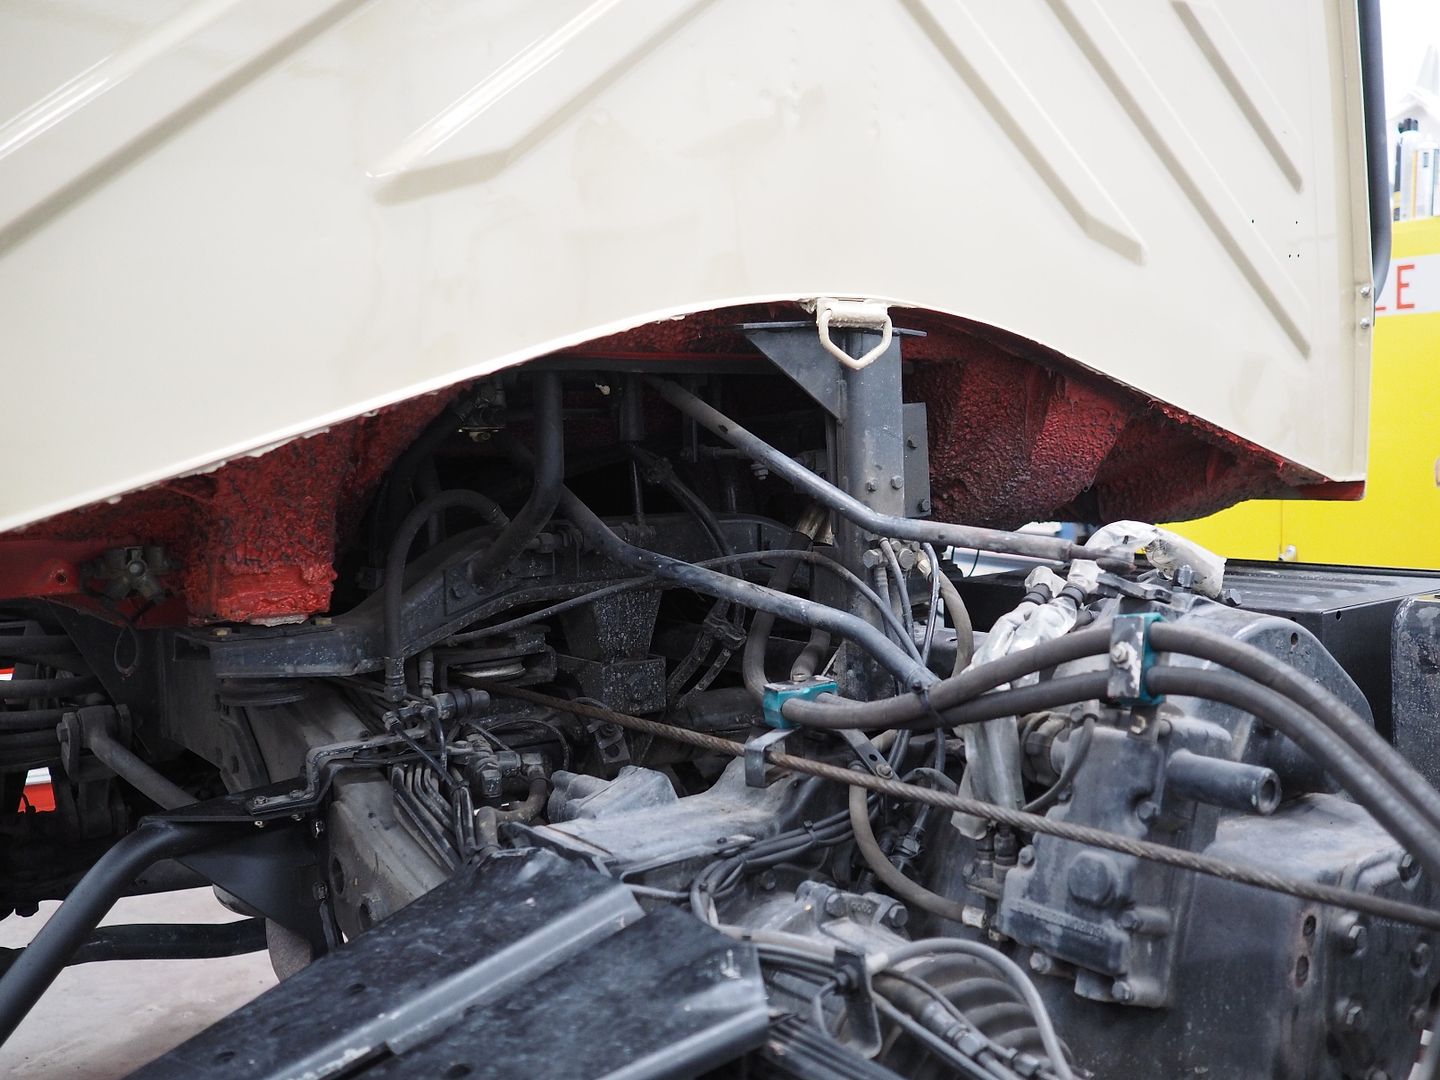
Time to change the red undercoating to black so it matches the truck. This morning we De-greased/cleaned the undercoating then coated it with Blitz Black....looks a lot better now
Factory red undercoating...
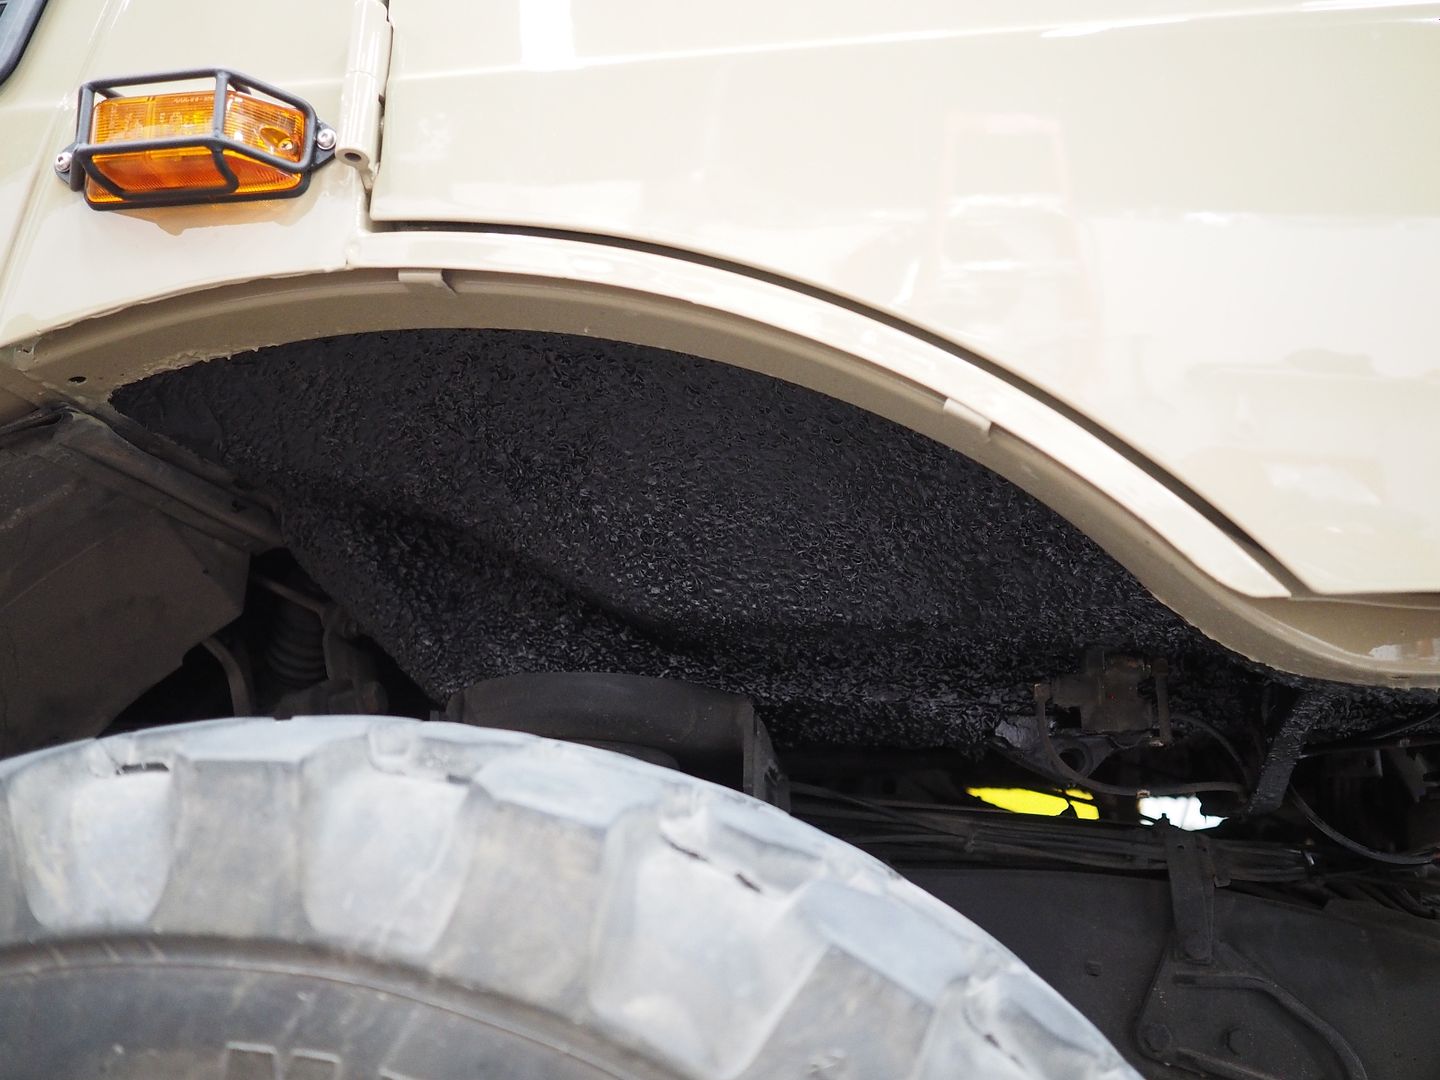
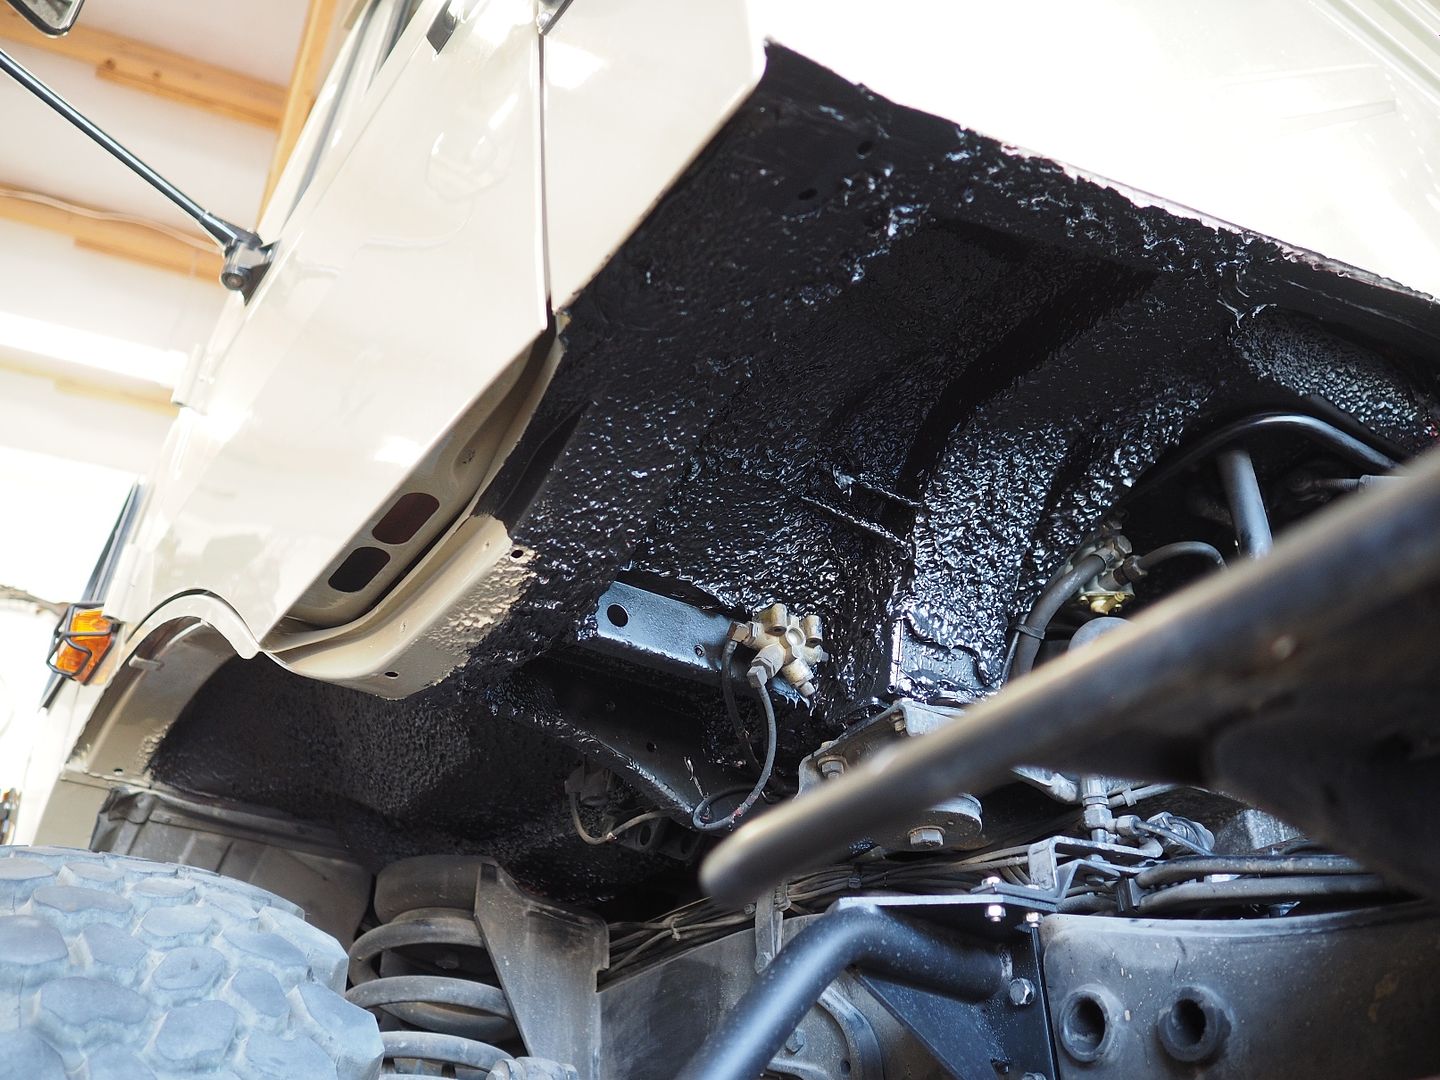
And changed to black, it will dry to a flat/satin finish.
More to come....
Hodakaguy


Time to change the red undercoating to black so it matches the truck. This morning we De-greased/cleaned the undercoating then coated it with Blitz Black....looks a lot better now
Factory red undercoating...

And changed to black, it will dry to a flat/satin finish.


More to come....
Hodakaguy
Nashorn101
Observer
I think someone already suggested this, but you should put a clear plastic plaque or something similar behind the ladders. That way, your feet won't scuff up the paint!
Sent from my iPhone using Tapatalk
Sent from my iPhone using Tapatalk
Hodakaguy
Adventurer
I think someone already suggested this, but you should put a clear plastic plaque or something similar behind the ladders. That way, your feet won't scuff up the paint!
Sent from my iPhone using Tapatalk
Yeah I haven't decided what I want to do there yet, might just use some 3M rock shield.
Hodakaguy
Hodakaguy
Adventurer
Got a little work in today, was going to work on the bed but a storm rolled through and it started raining....time to do something in the shop 
Decided it was time to install the new Stainless Exhaust...first up remove the stock unit.
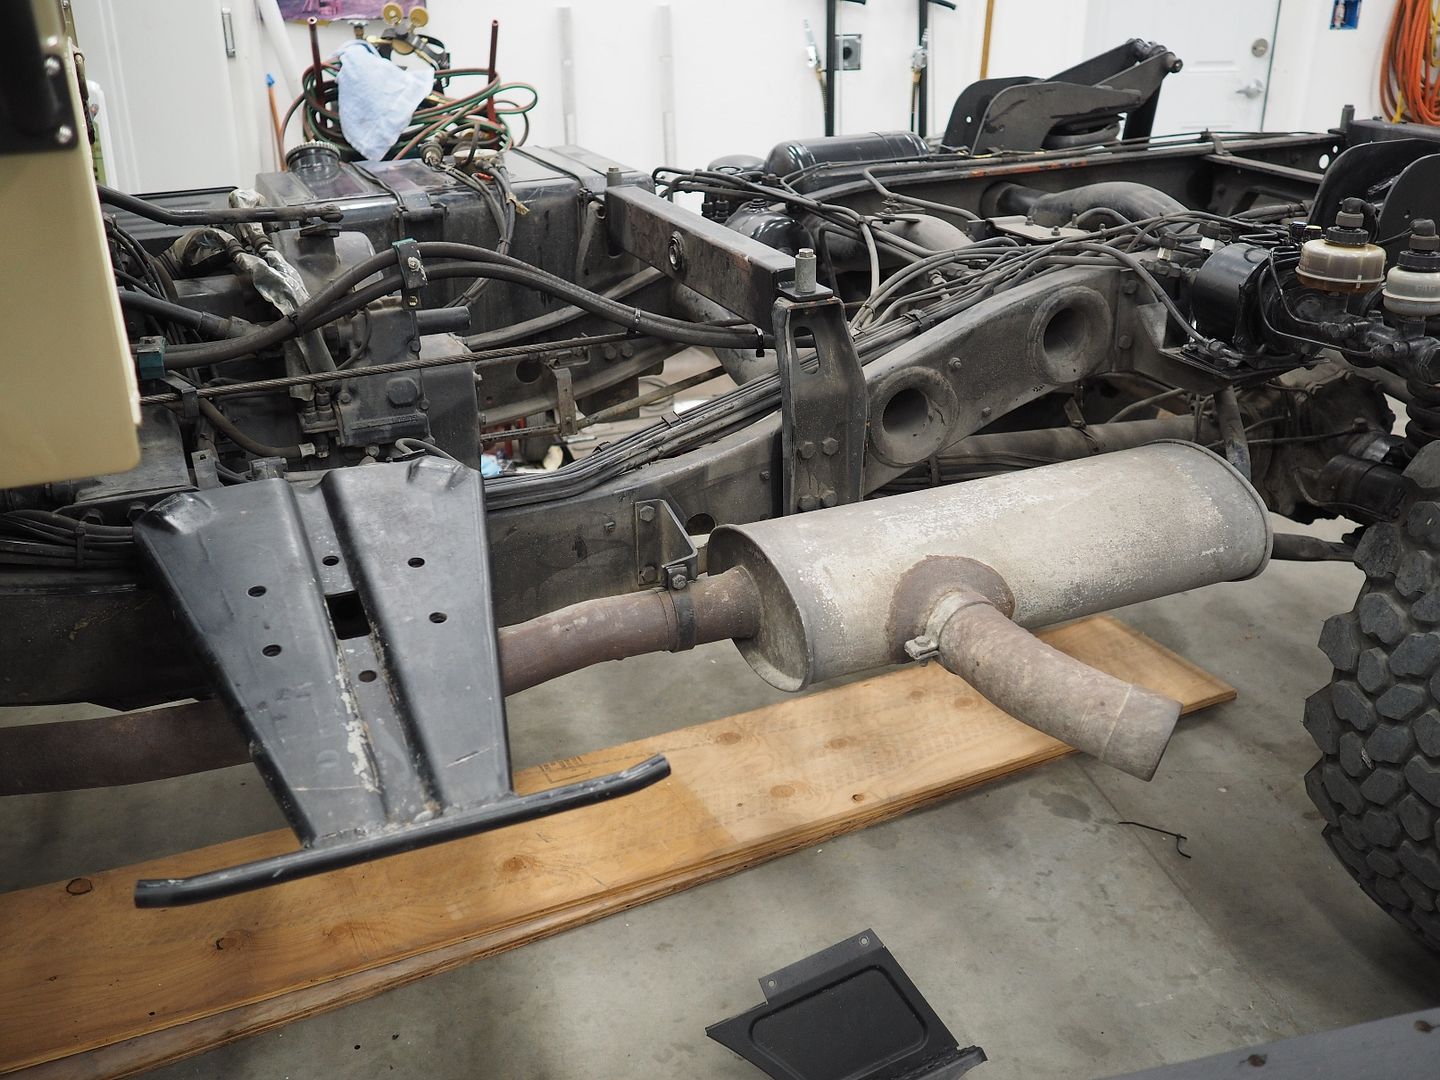
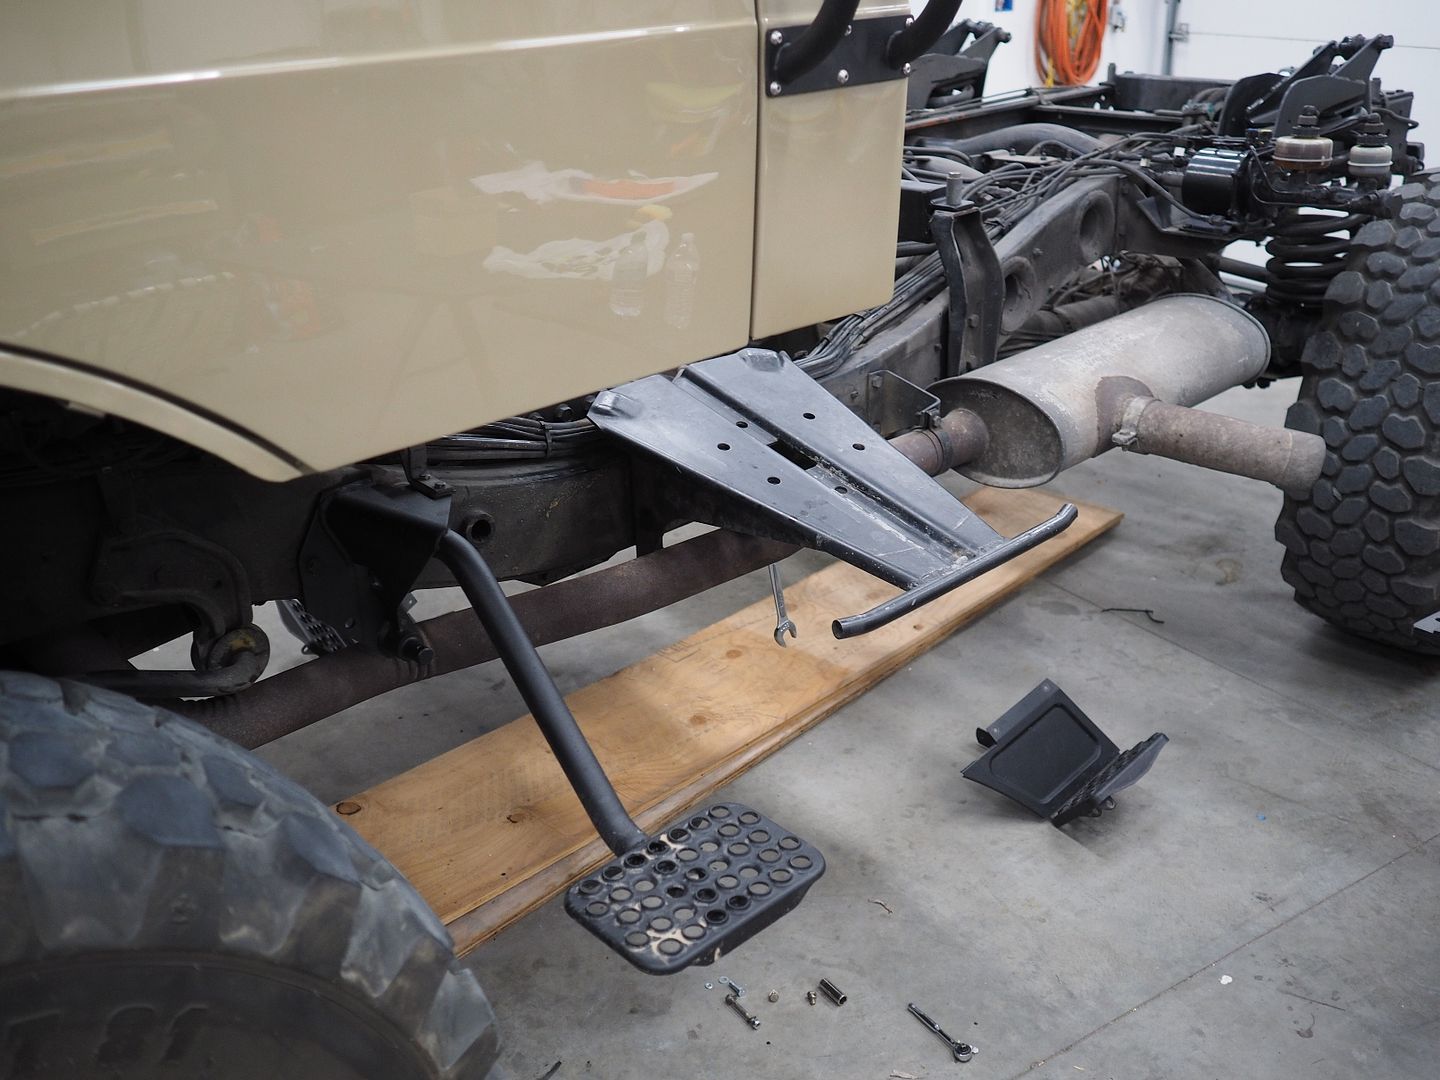
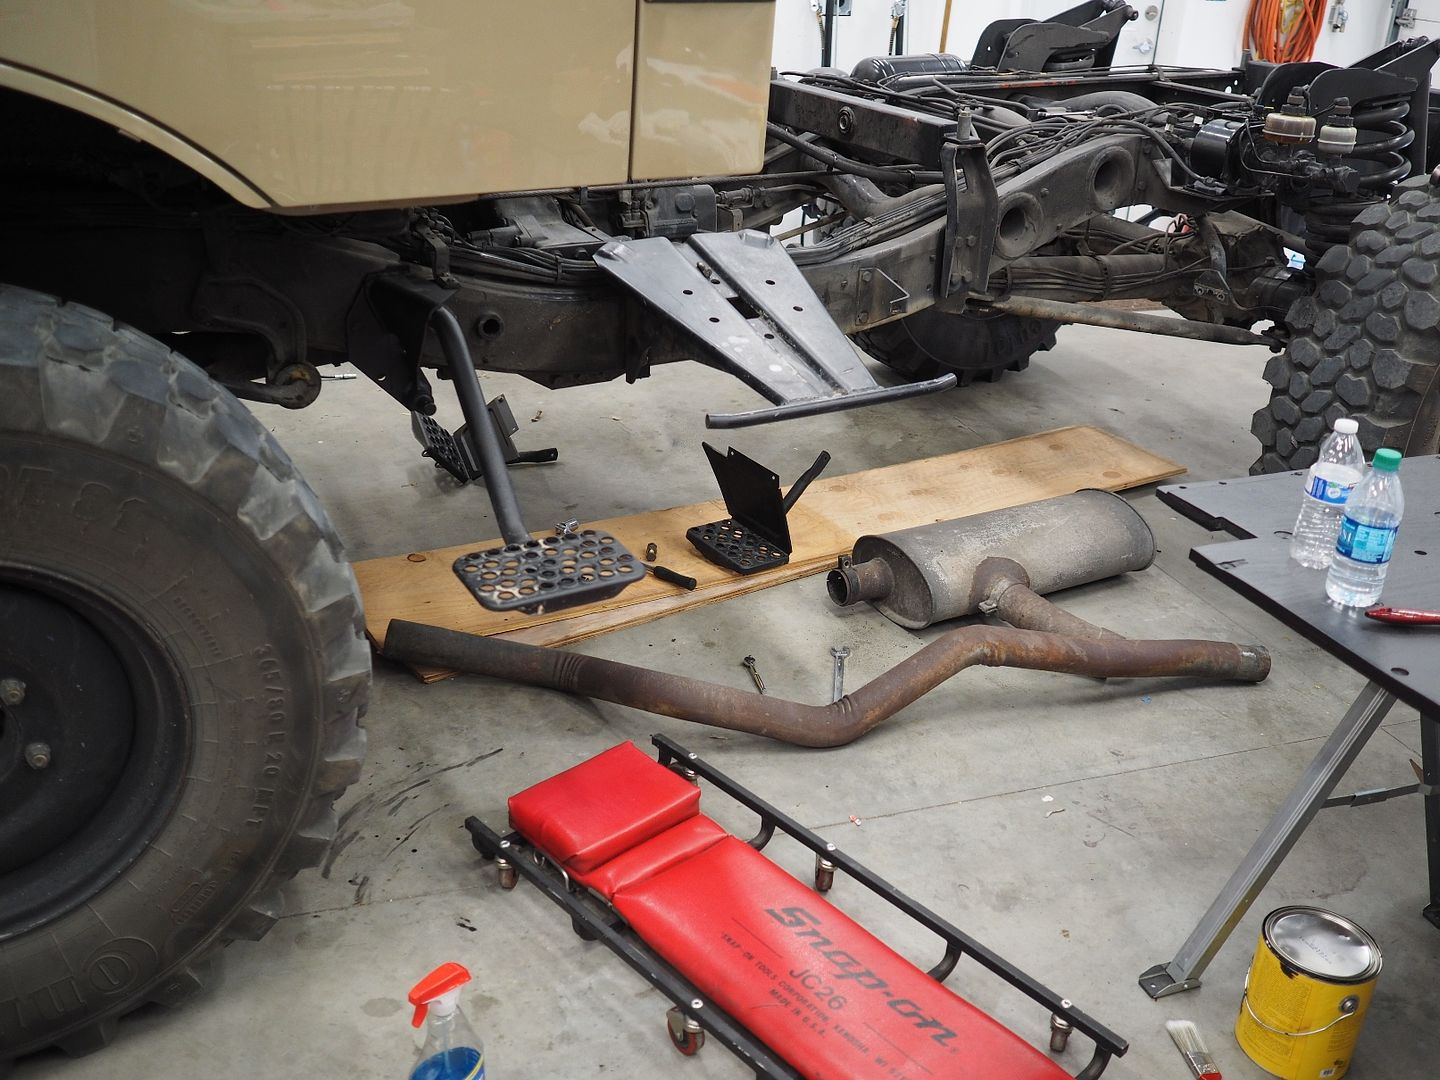
The unit comes with no instructions and the seller is no help, he might answer a email every few weeks and only gives general answers. The pieces are like a puzzle and it takes a bit to find the right order, I had to modify a piece to adapt to the OEM header since his supplied piece was to small. Not a bad piece of kit for the price but you need to be mechanically inclined to install it.
Here I'm figuring out where the holes in the stainless mount needs to be drilled. The pipes are not in the right order in this picture.
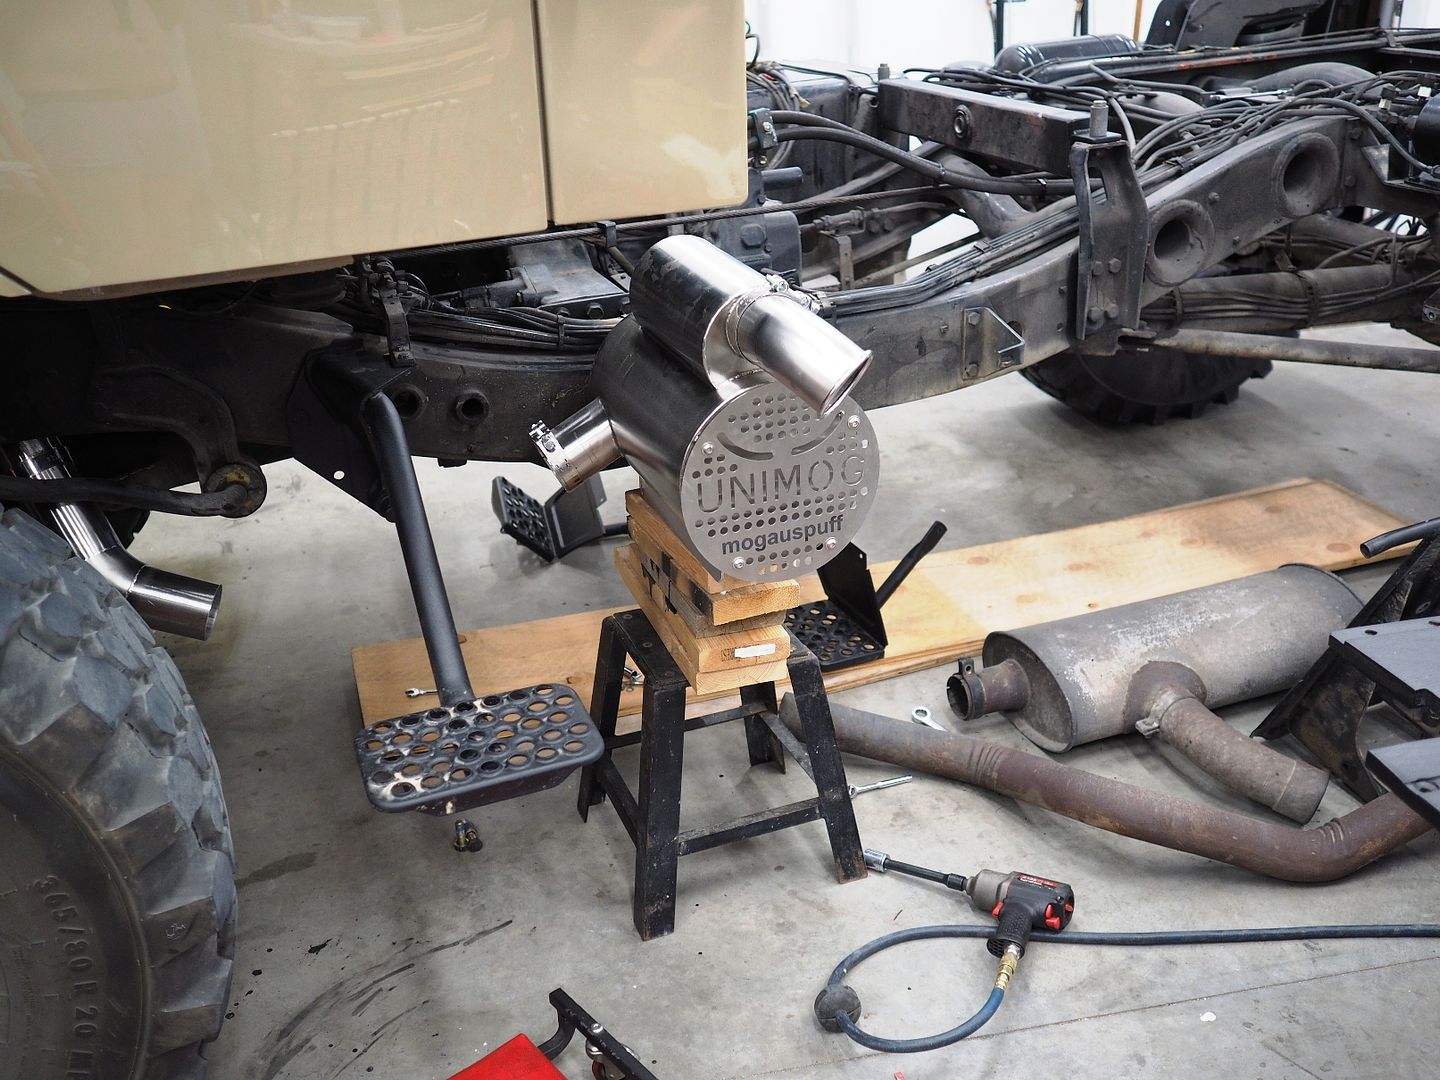
Bracket getting ready to be drilled, pipes now in the right order.
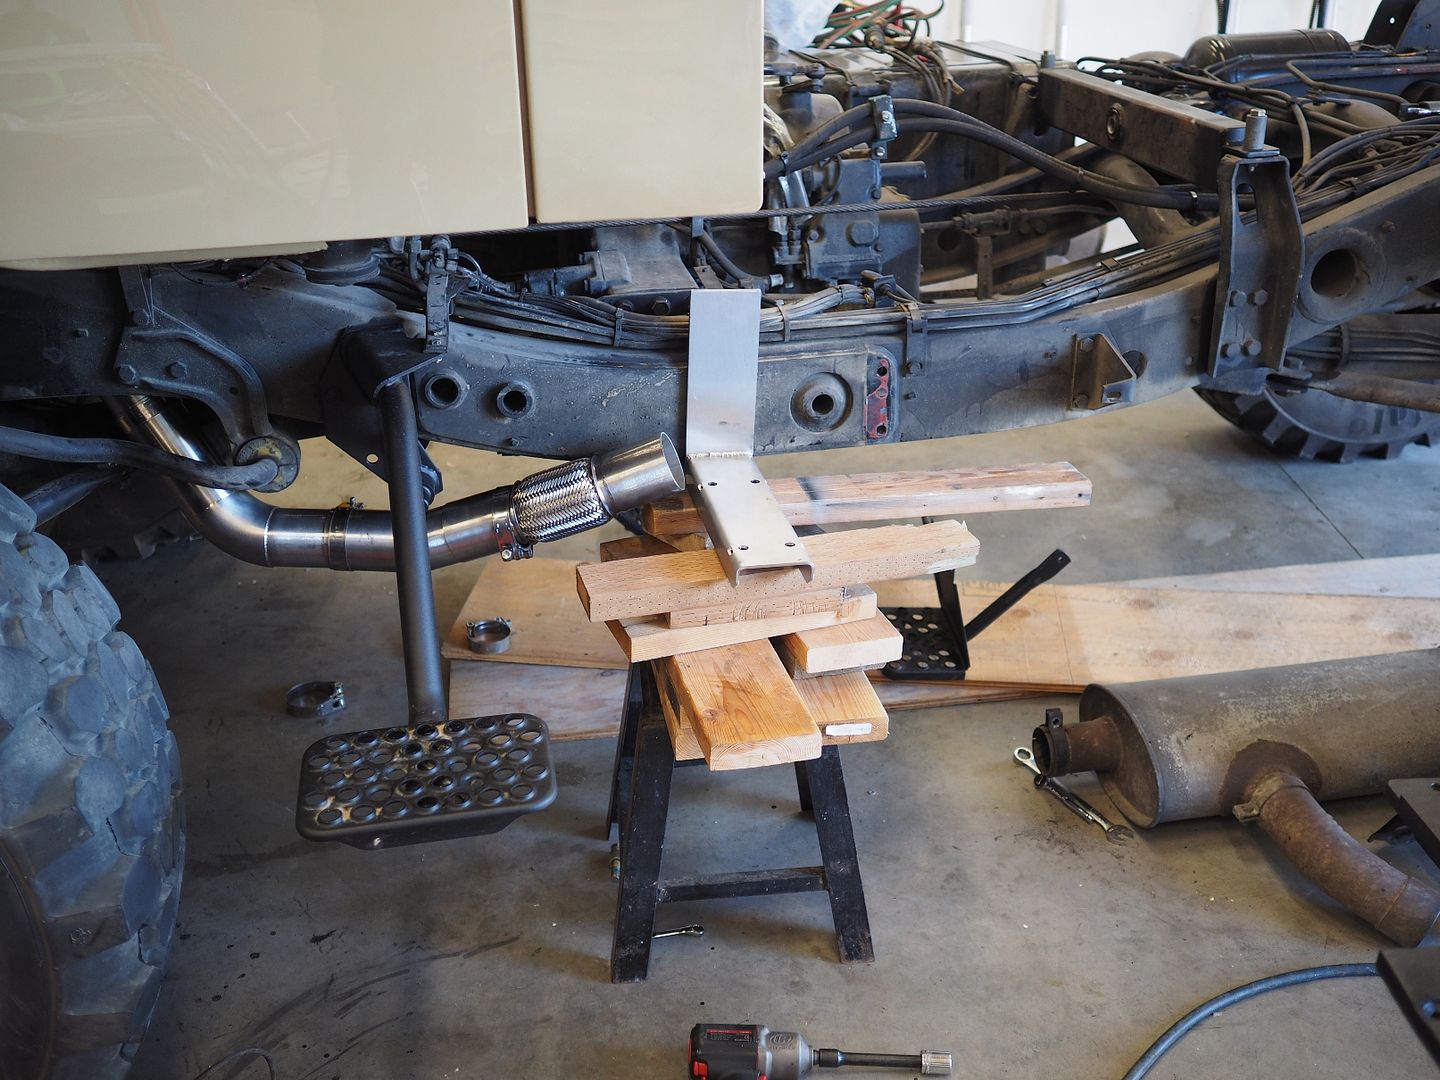
And installed. The flex joint is in a little bind still, I might go back and lower the unit just slightly.
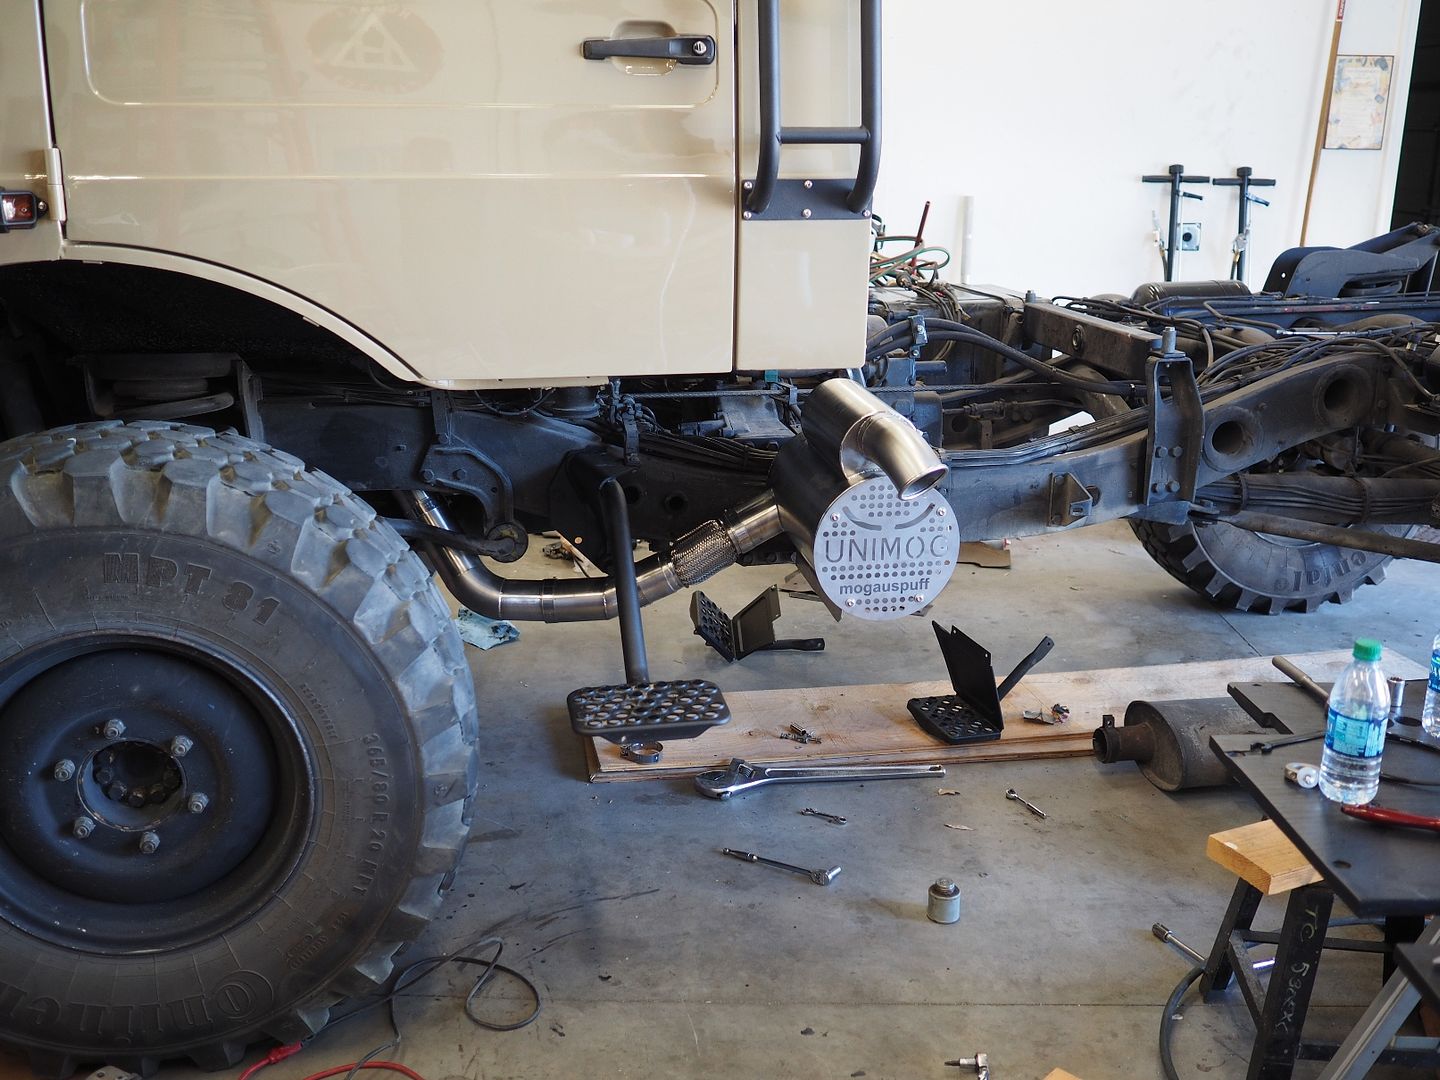
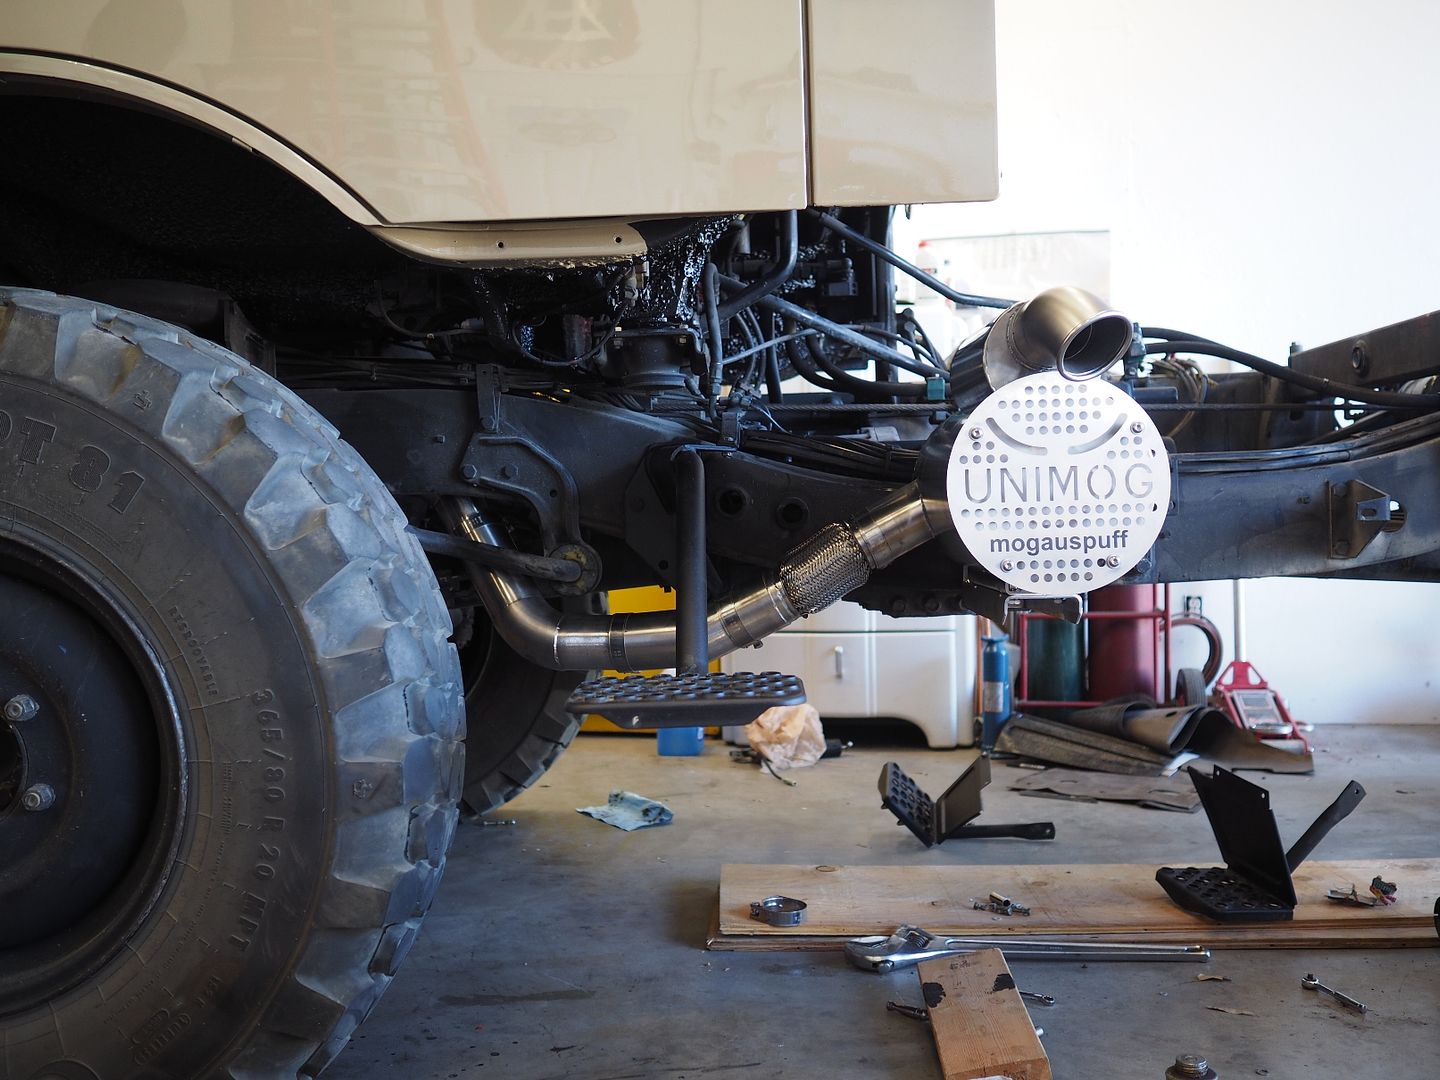
The sound is great, it's quieter than the OEM exhaust and has a really cool sound when you rev it up. Overall I'm pretty happy with the unit.
Hodakaguy
Decided it was time to install the new Stainless Exhaust...first up remove the stock unit.


The unit comes with no instructions and the seller is no help, he might answer a email every few weeks and only gives general answers. The pieces are like a puzzle and it takes a bit to find the right order, I had to modify a piece to adapt to the OEM header since his supplied piece was to small. Not a bad piece of kit for the price but you need to be mechanically inclined to install it.
Here I'm figuring out where the holes in the stainless mount needs to be drilled. The pipes are not in the right order in this picture.

Bracket getting ready to be drilled, pipes now in the right order.

And installed. The flex joint is in a little bind still, I might go back and lower the unit just slightly.


The sound is great, it's quieter than the OEM exhaust and has a really cool sound when you rev it up. Overall I'm pretty happy with the unit.
Hodakaguy
Hodakaguy
Adventurer
Working on bed paint, time to get this bed installed again soon!
The factory applied a coating of waxoil to the paint as a top coat for rust protection. While the coating worked great it's a mess and a pain in the butt to remove in preparation for paint. Lot's of scrubbing with wax/grease remover.
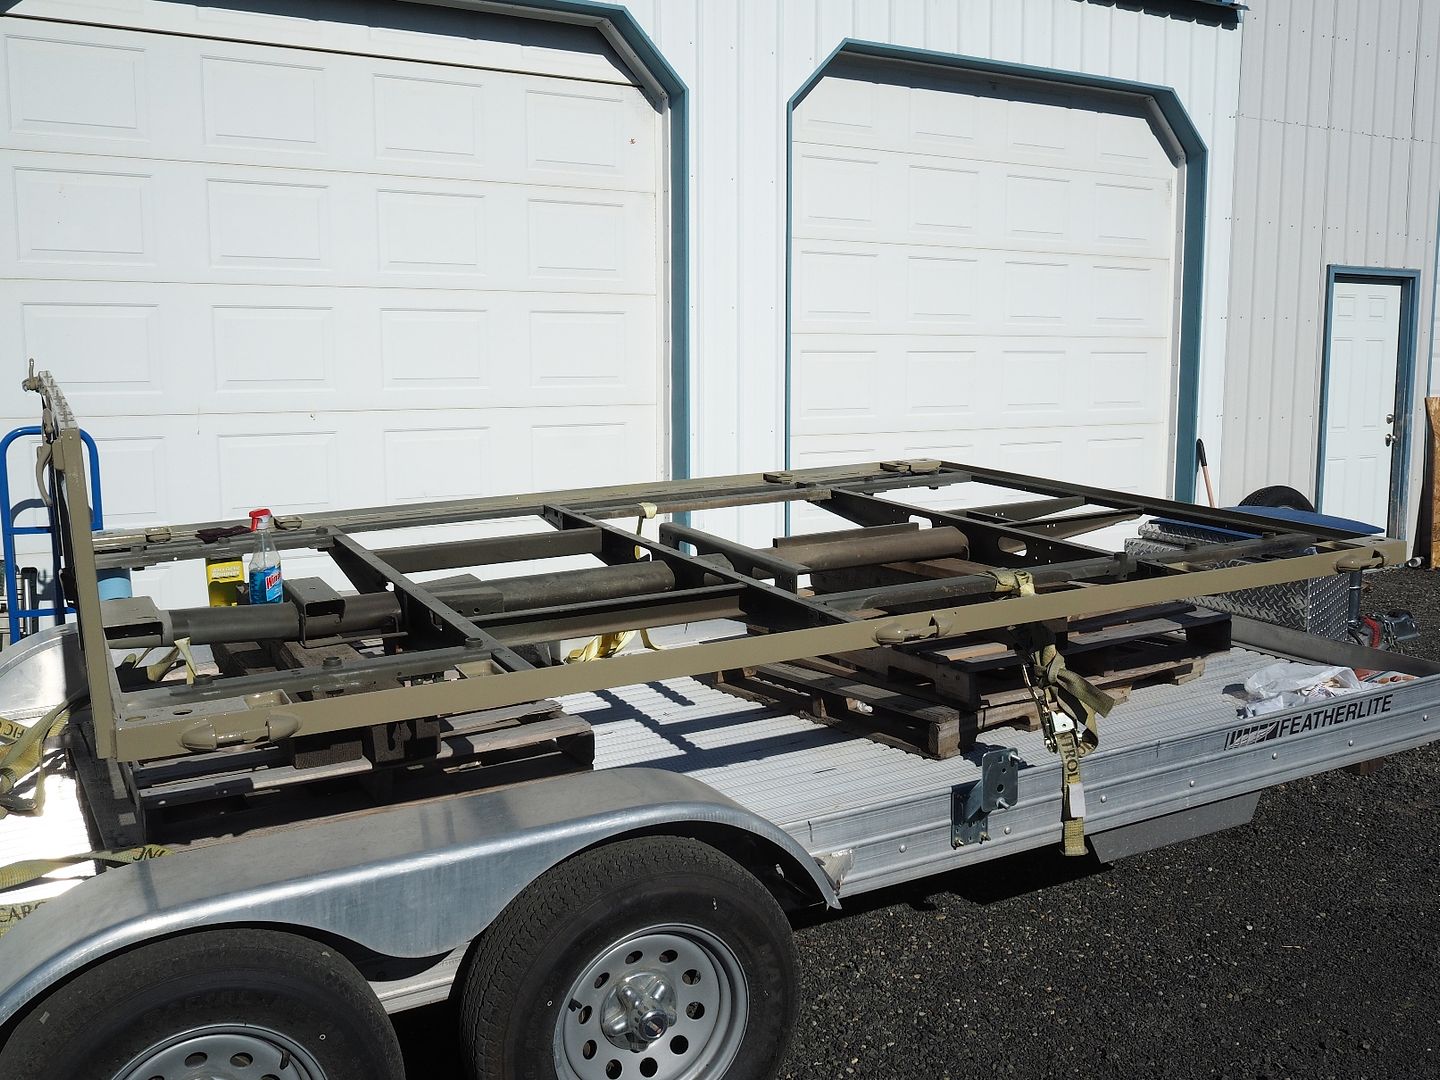
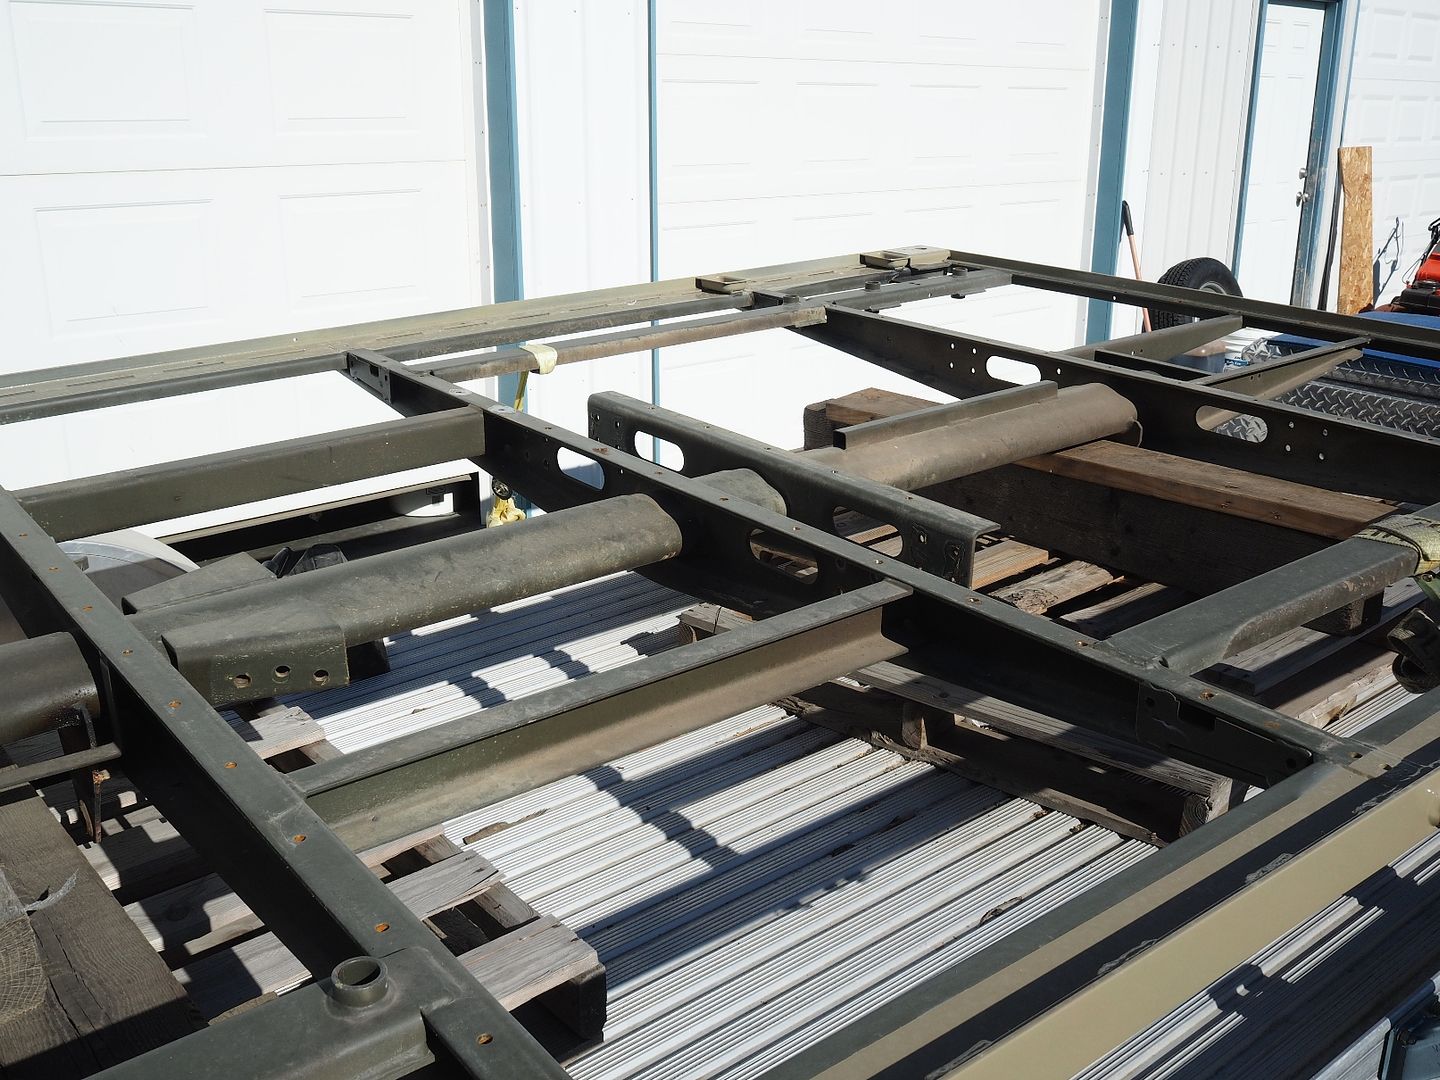
Here all the wax coating has been removed and I'm getting ready to rough up the paint a bit before applying the primer/sealer.
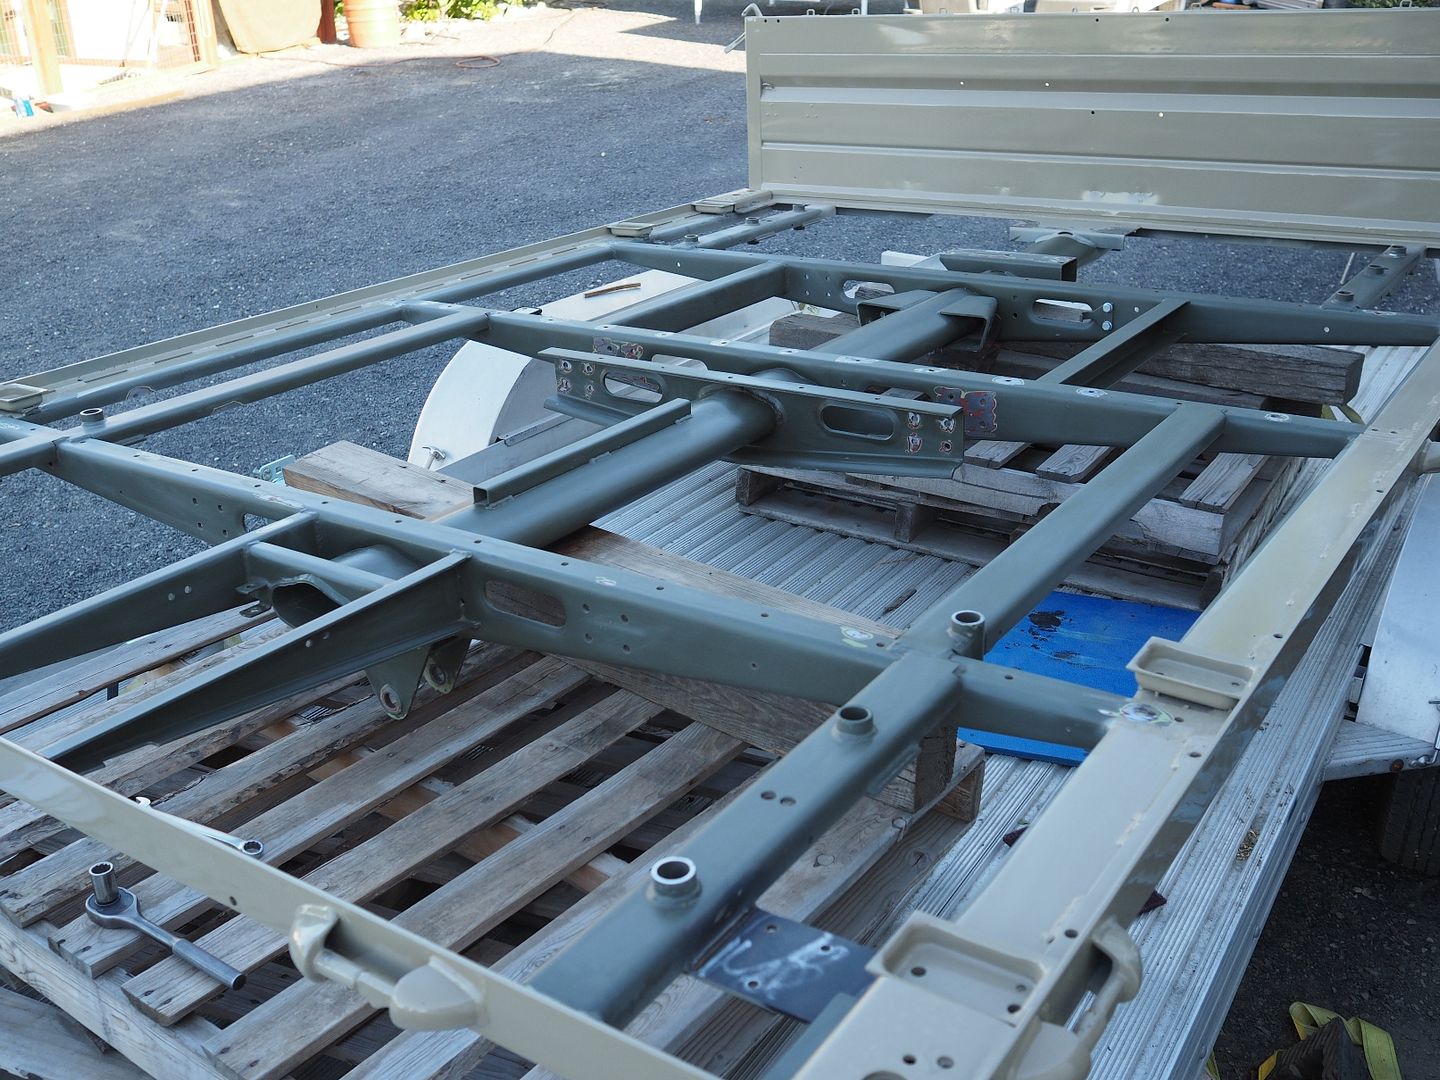
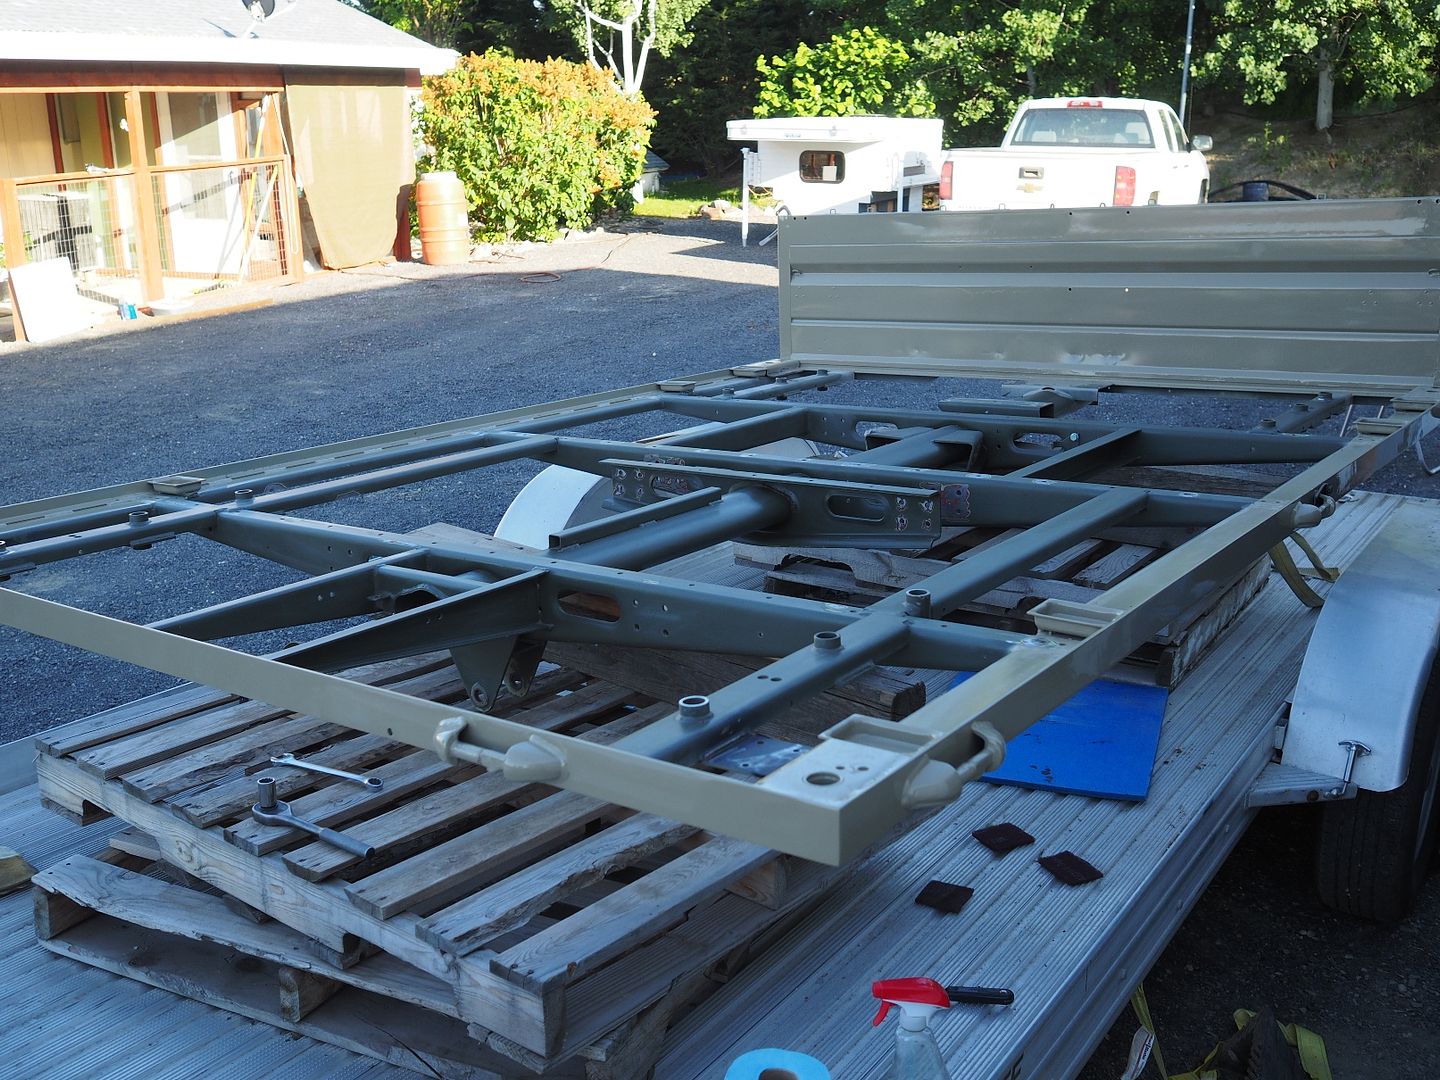
Starting to apply the primer/sealer.
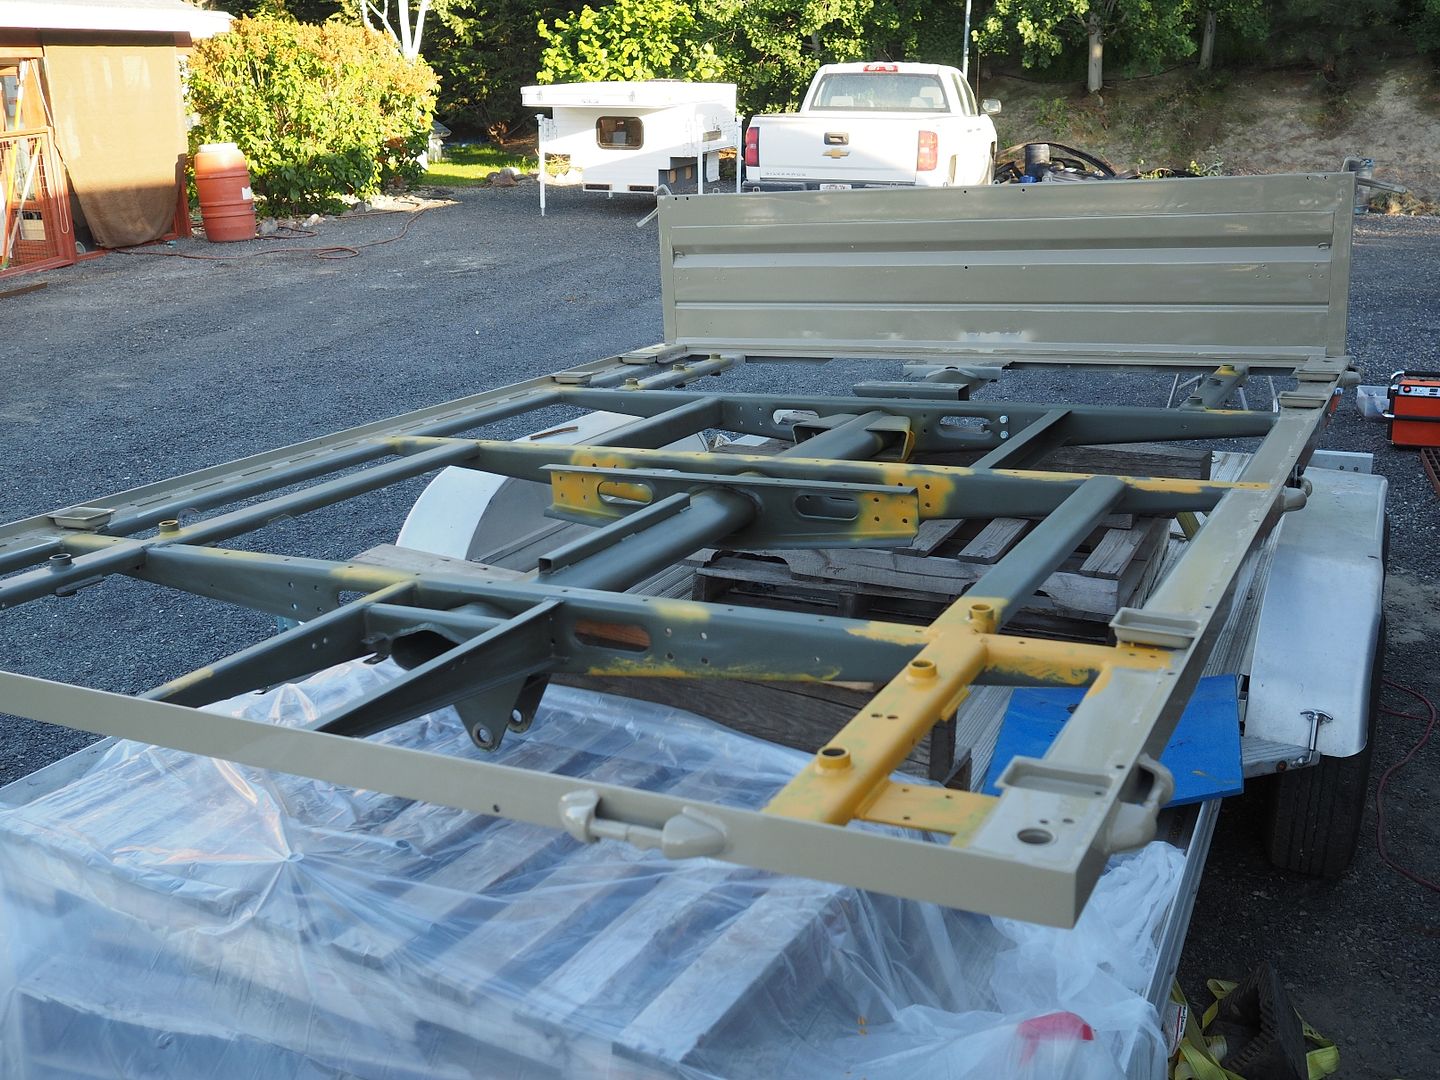
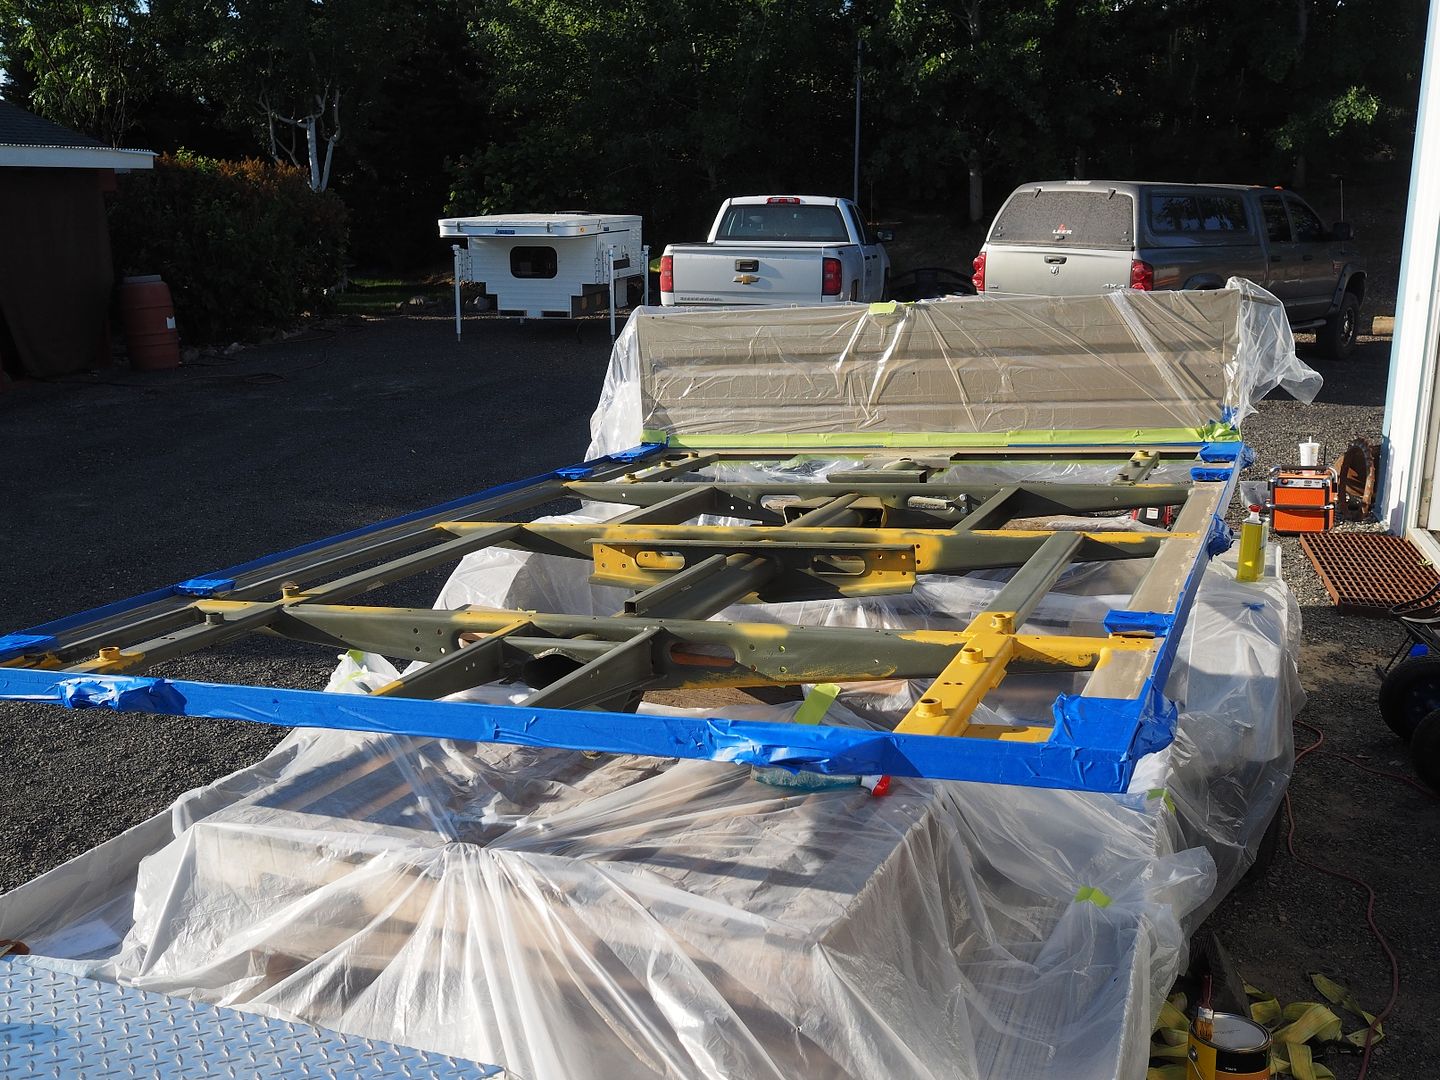
Didn't get any pictures of the bed in full primer but I ended up coating the entire frame. Here the Blitz black top coat has been applied.
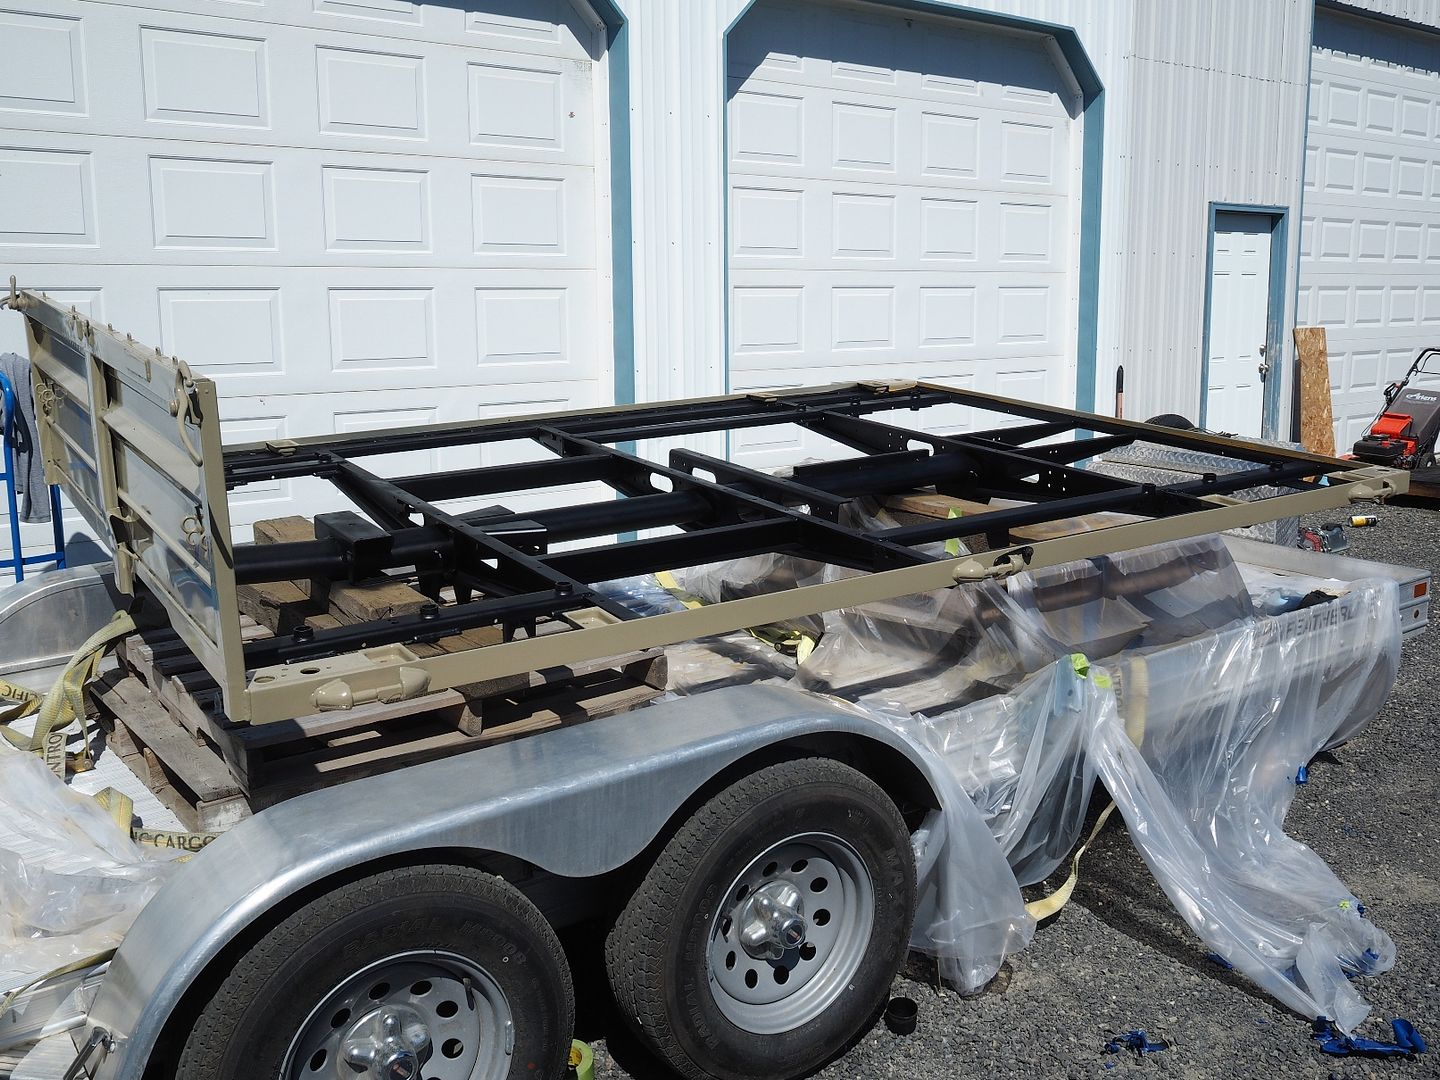
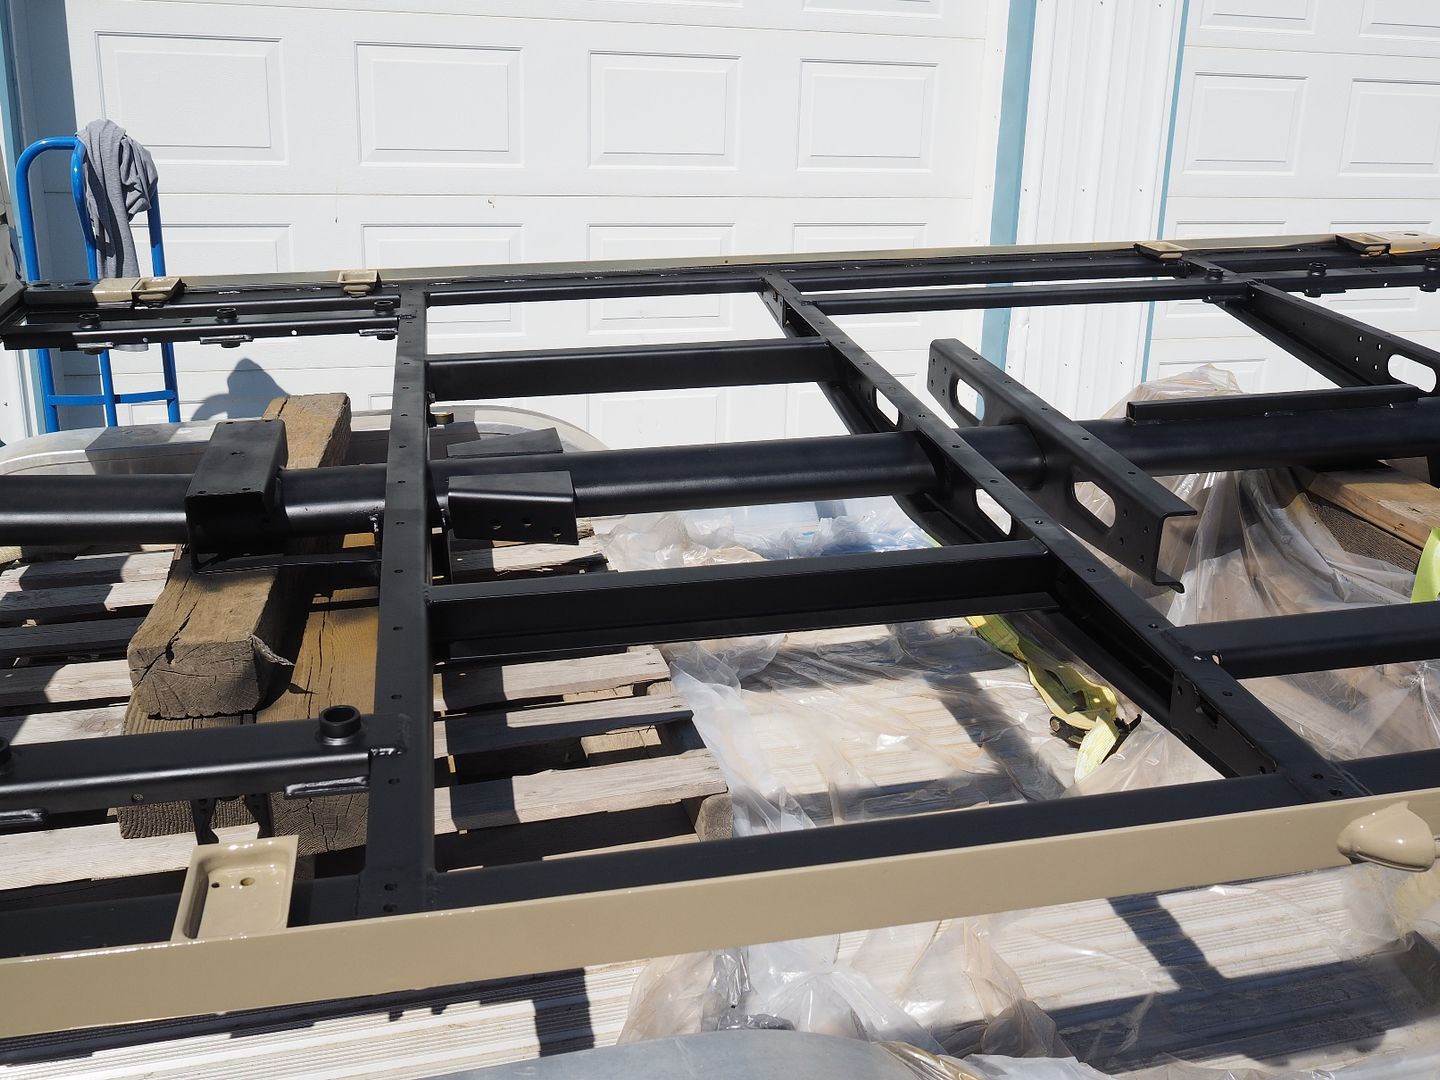
More to come soon.
Hodakaguy
The factory applied a coating of waxoil to the paint as a top coat for rust protection. While the coating worked great it's a mess and a pain in the butt to remove in preparation for paint. Lot's of scrubbing with wax/grease remover.


Here all the wax coating has been removed and I'm getting ready to rough up the paint a bit before applying the primer/sealer.


Starting to apply the primer/sealer.


Didn't get any pictures of the bed in full primer but I ended up coating the entire frame. Here the Blitz black top coat has been applied.


More to come soon.
Hodakaguy
Jostt
Adventurer
Nice Job, as usuall in you, jeje, these structure is a nice piece of engineering, is a good idea to expend some money to keep it in a good shape, I was in doubt to make my own one because my one was a little bit rusty, but after some jobs was again alive, and Im using as a base for my camper, congrats anyway for your progres
Similar threads
- Replies
- 0
- Views
- 182
- Replies
- 2
- Views
- 1K
