Meet the Trot'n Turtle - Unimog U1300L Build

Hodakaguy

Adventurer
Very nice Job, It is amazing how do you take care about details, I have a question, how the lihgts work compare whit the std ones, as a power, I dont want to lose on that side, did you add some more extra lights for that? Thanks and congrats

The Headlights should work a lot better than stock but I haven't wired them up yet to try them out. I'll have plenty of additional LED lighting if needed though :)

Hodakaguy
 

Hodakaguy

Adventurer
Managed to get a little work in on the truck tonight.

Setting up the Butyl putty for the passenger side ladder, you can use a gasket punch to clear the bolt holes.

P5080001.jpg


P5080005.jpg


And installed.

P5080020.jpg


Decided to keep another piece of the trucks RW1 service history, it's RW1 badge. Here I'm getting it ready to re-install in the original location. To paint the truck I drilled out the rivets that held on the tag, now just to rivet it back on.

Applying 3M tape to the back side of the badge.

P5080009.jpg


And riveting the badge back into place.

P5080011.jpg


P5080013.jpg


P5080015.jpg


Door bits being re-installed

P5080017.jpg


Removing the grill and the hood, it's a tight fit removing the grill with the brush guard in place but it does just slip out.

P5080027.jpg


More to come....

Hodakaguy
 

patoz

Expedition Leader
That's cool! I'm glad you kept a few pieces to show it's original Fire Service history. thumbsup.gif
 

Hodakaguy

Adventurer
More progress...

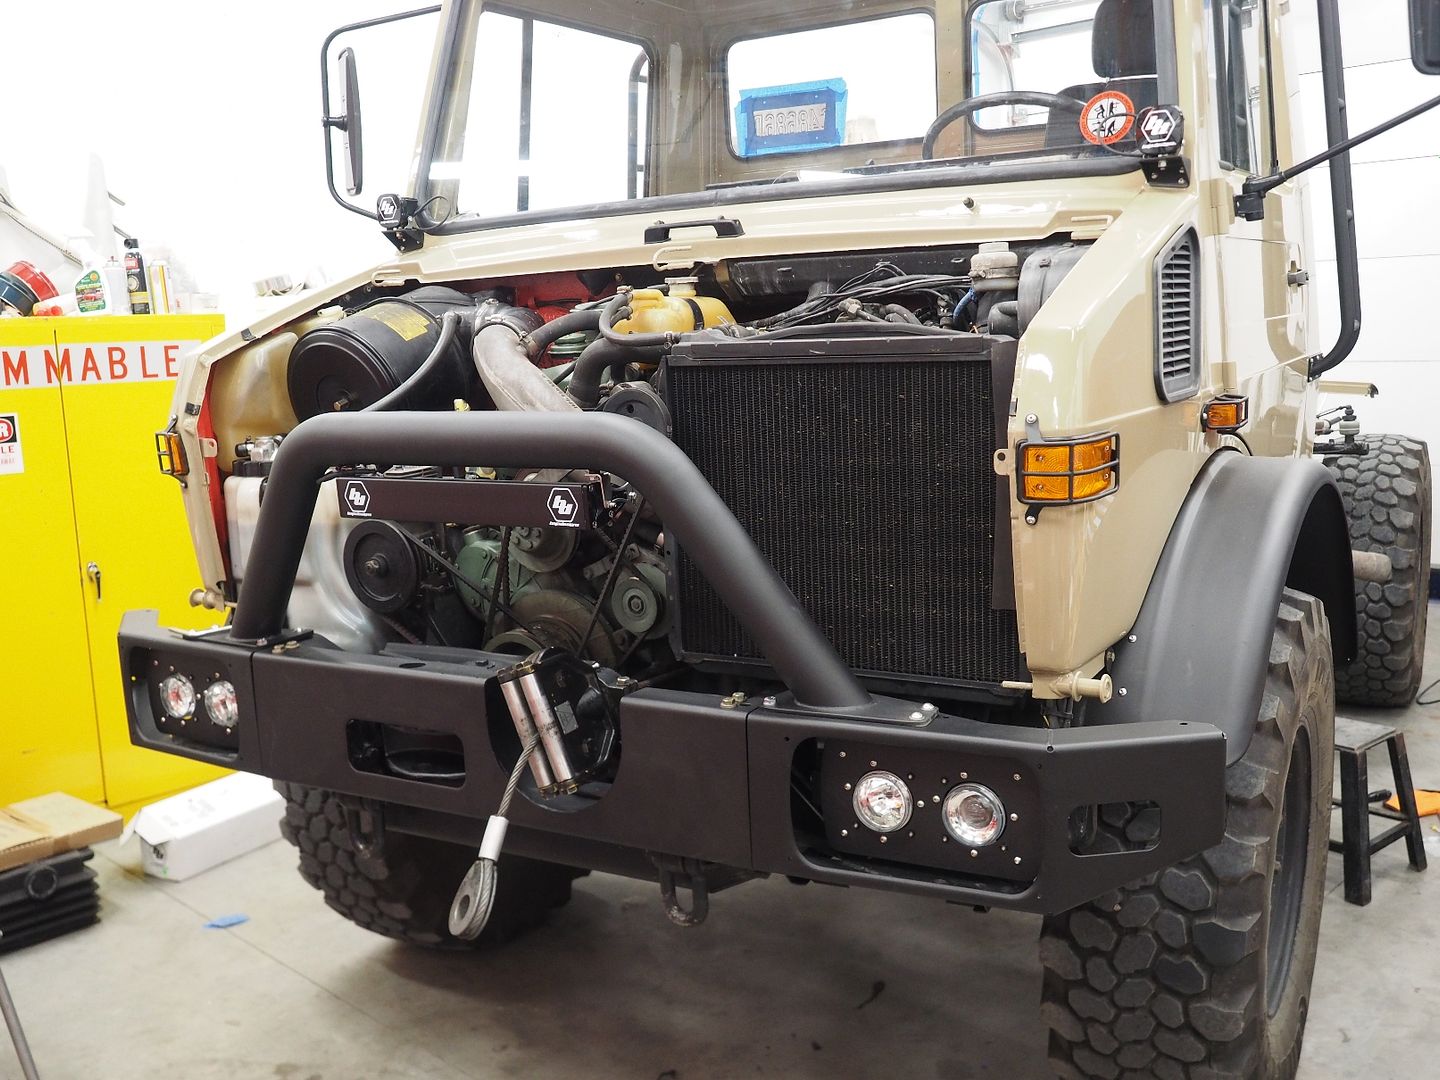
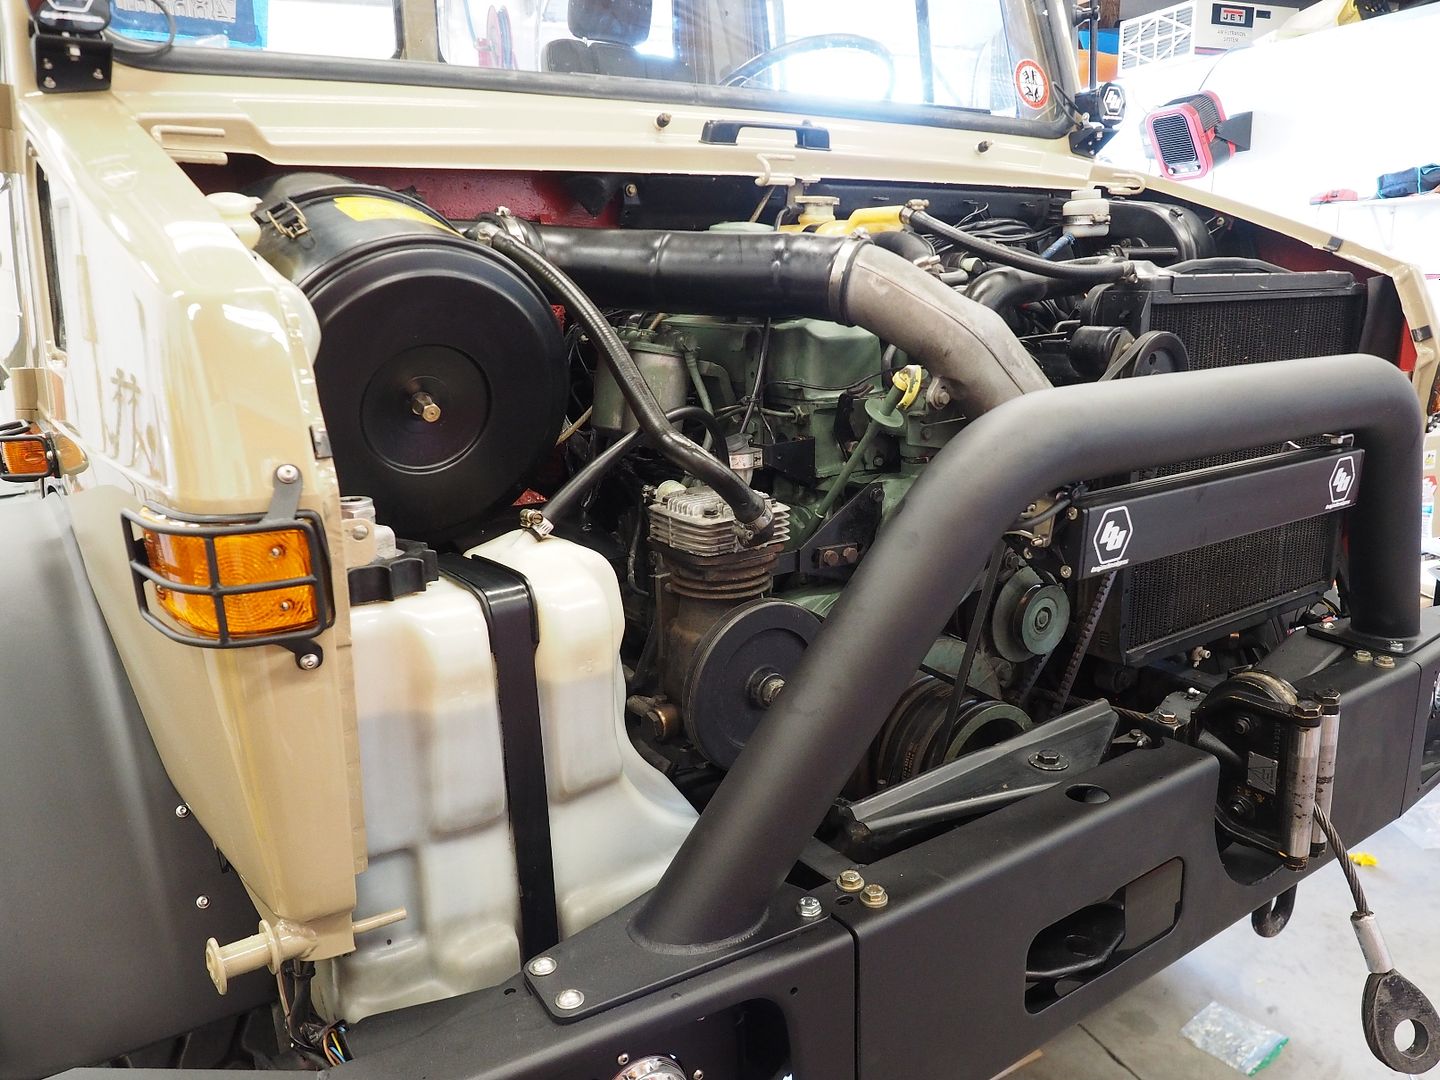
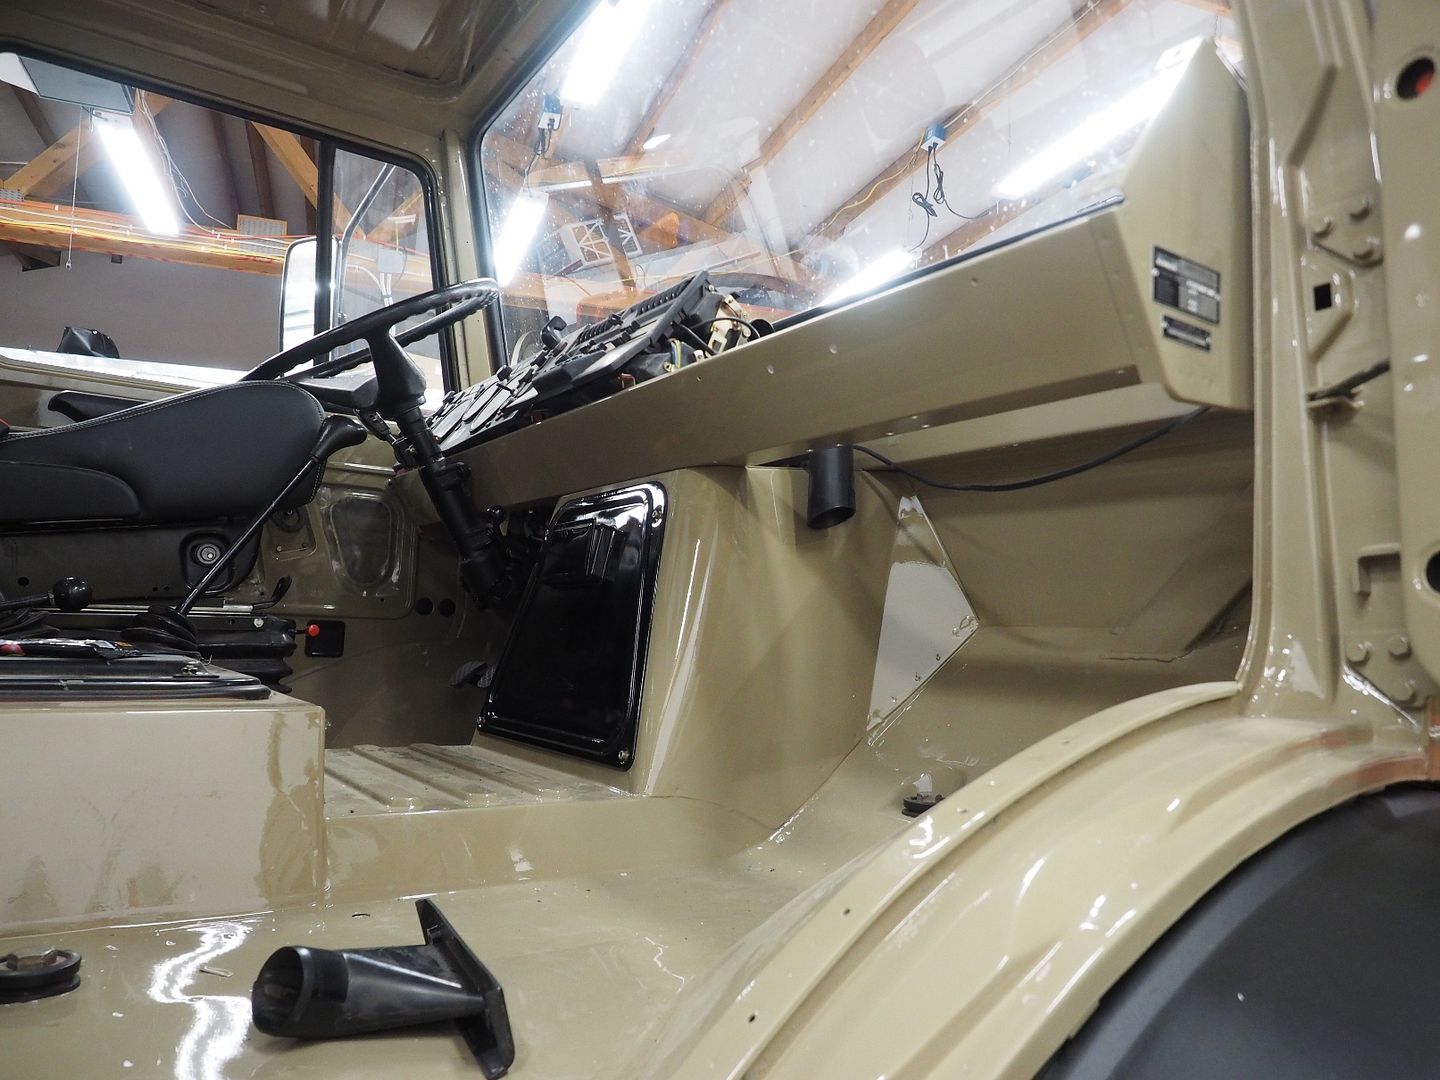
My father came over yesterday and spent a few hrs doing some detail cleaning, the engine bay is looking great! Turning the red to black is still on my list of things to do.

P5091967.jpg


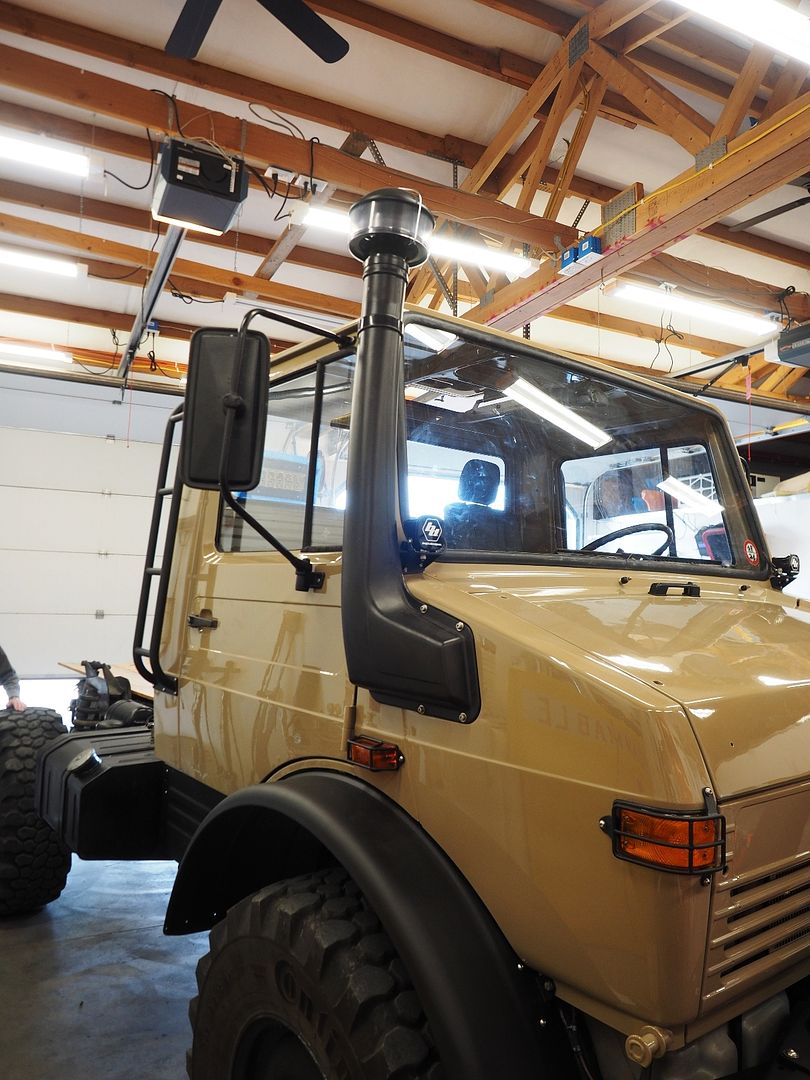
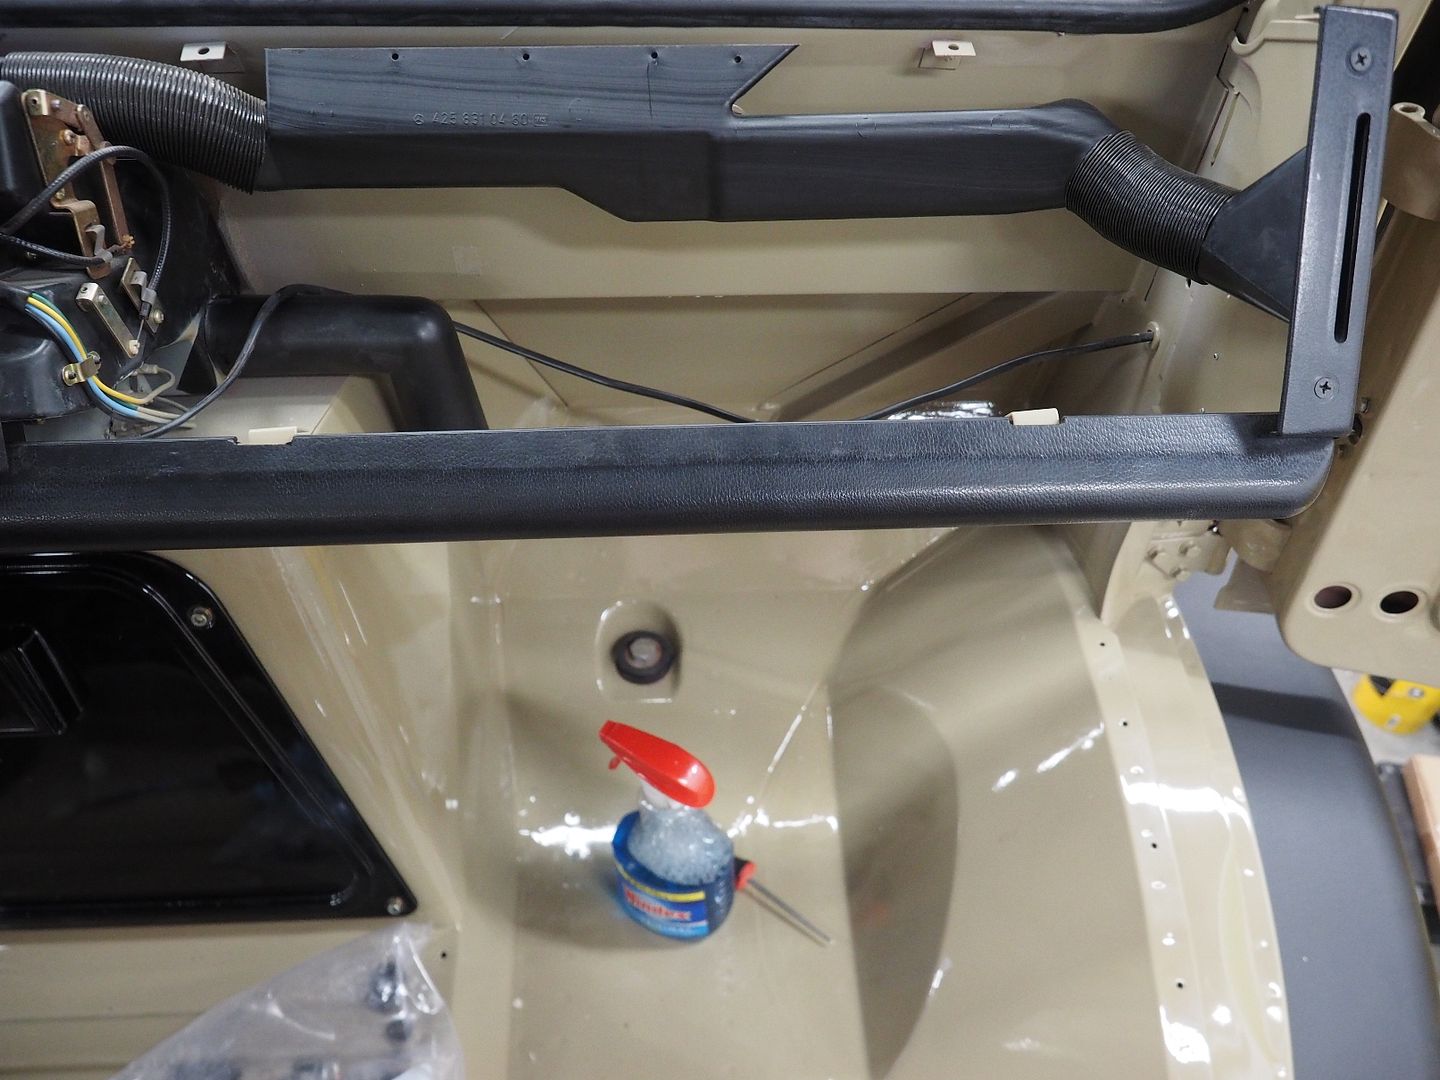
Snorkel re-installed.

P5091973.jpg


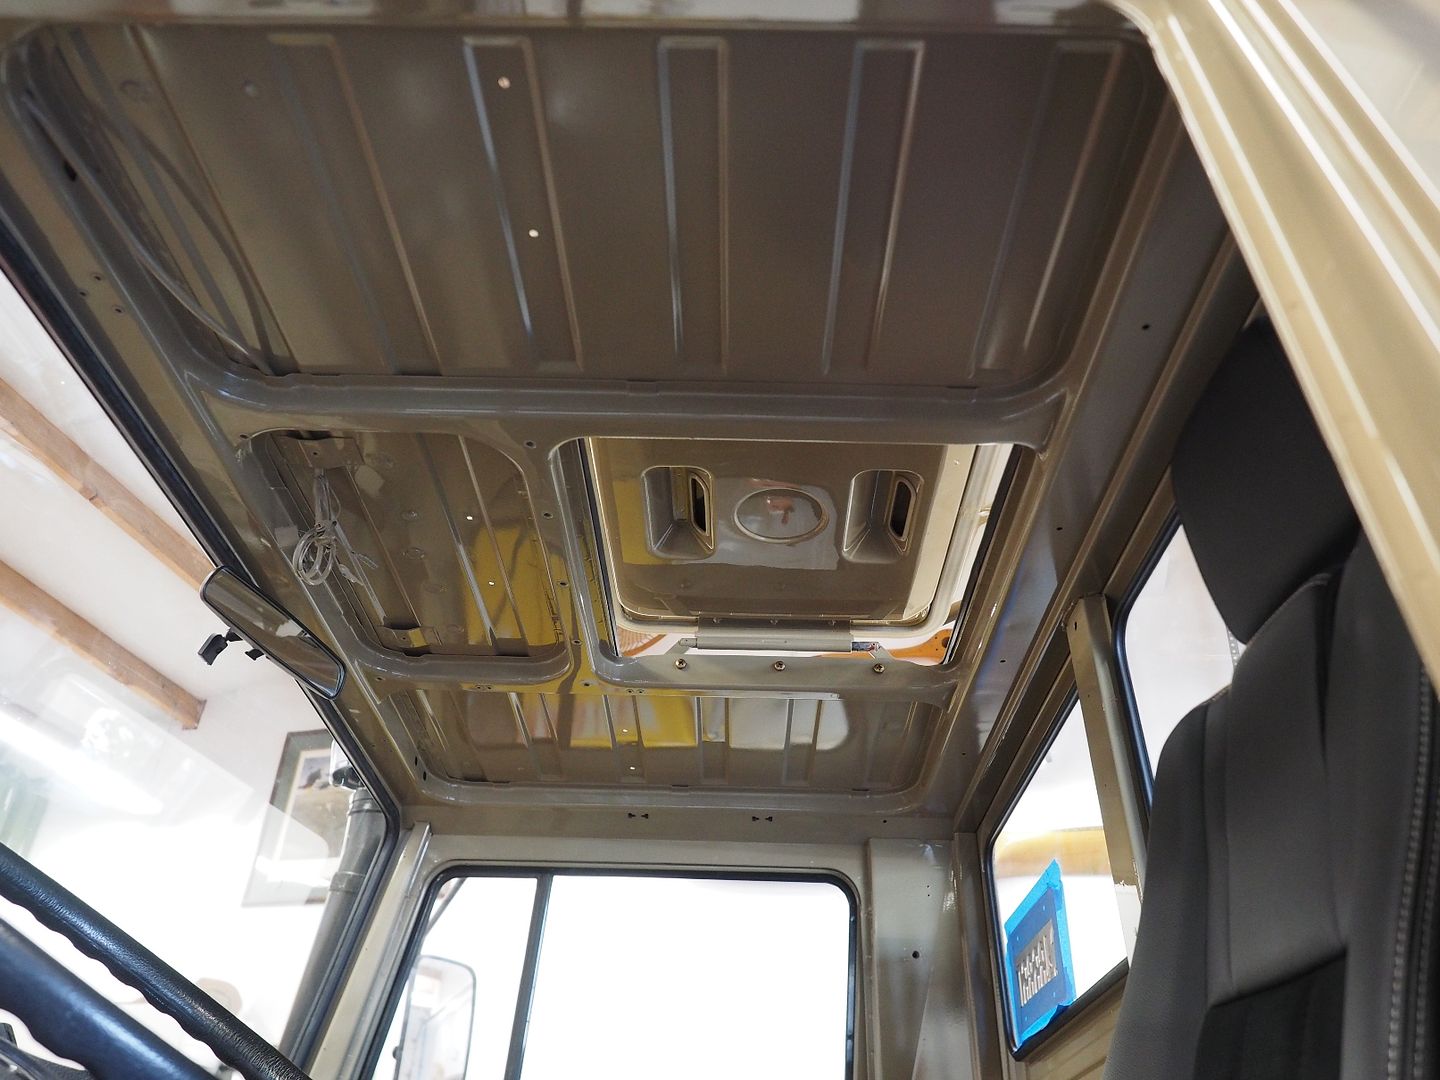
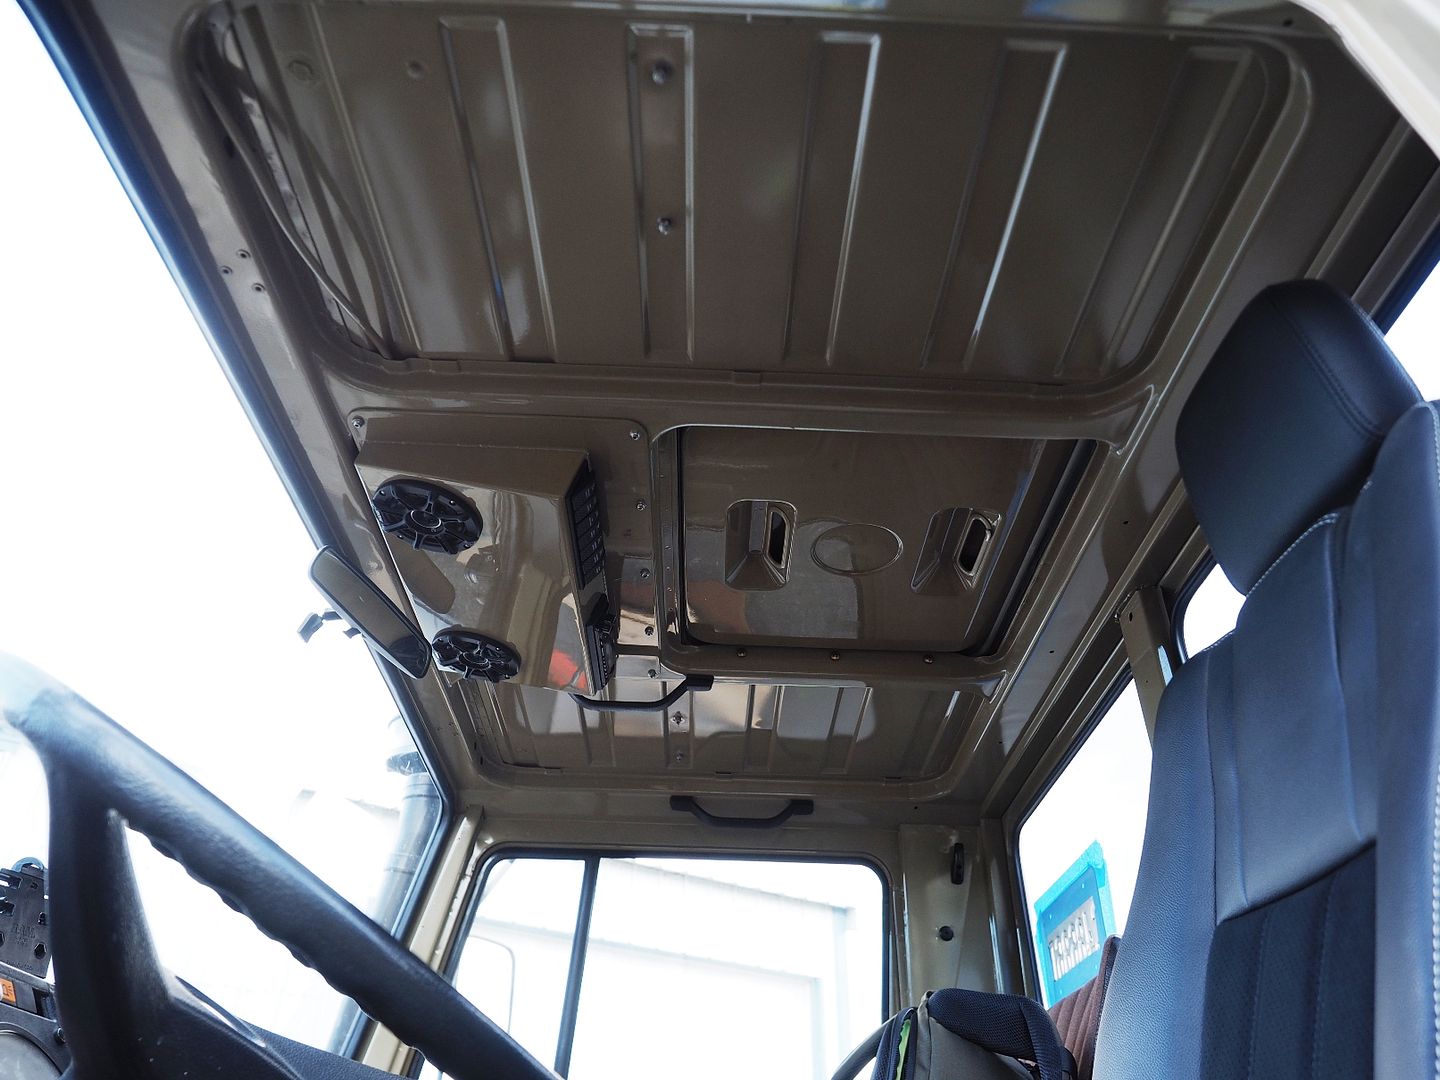
Vent hatch re-installed.

P5091975.jpg


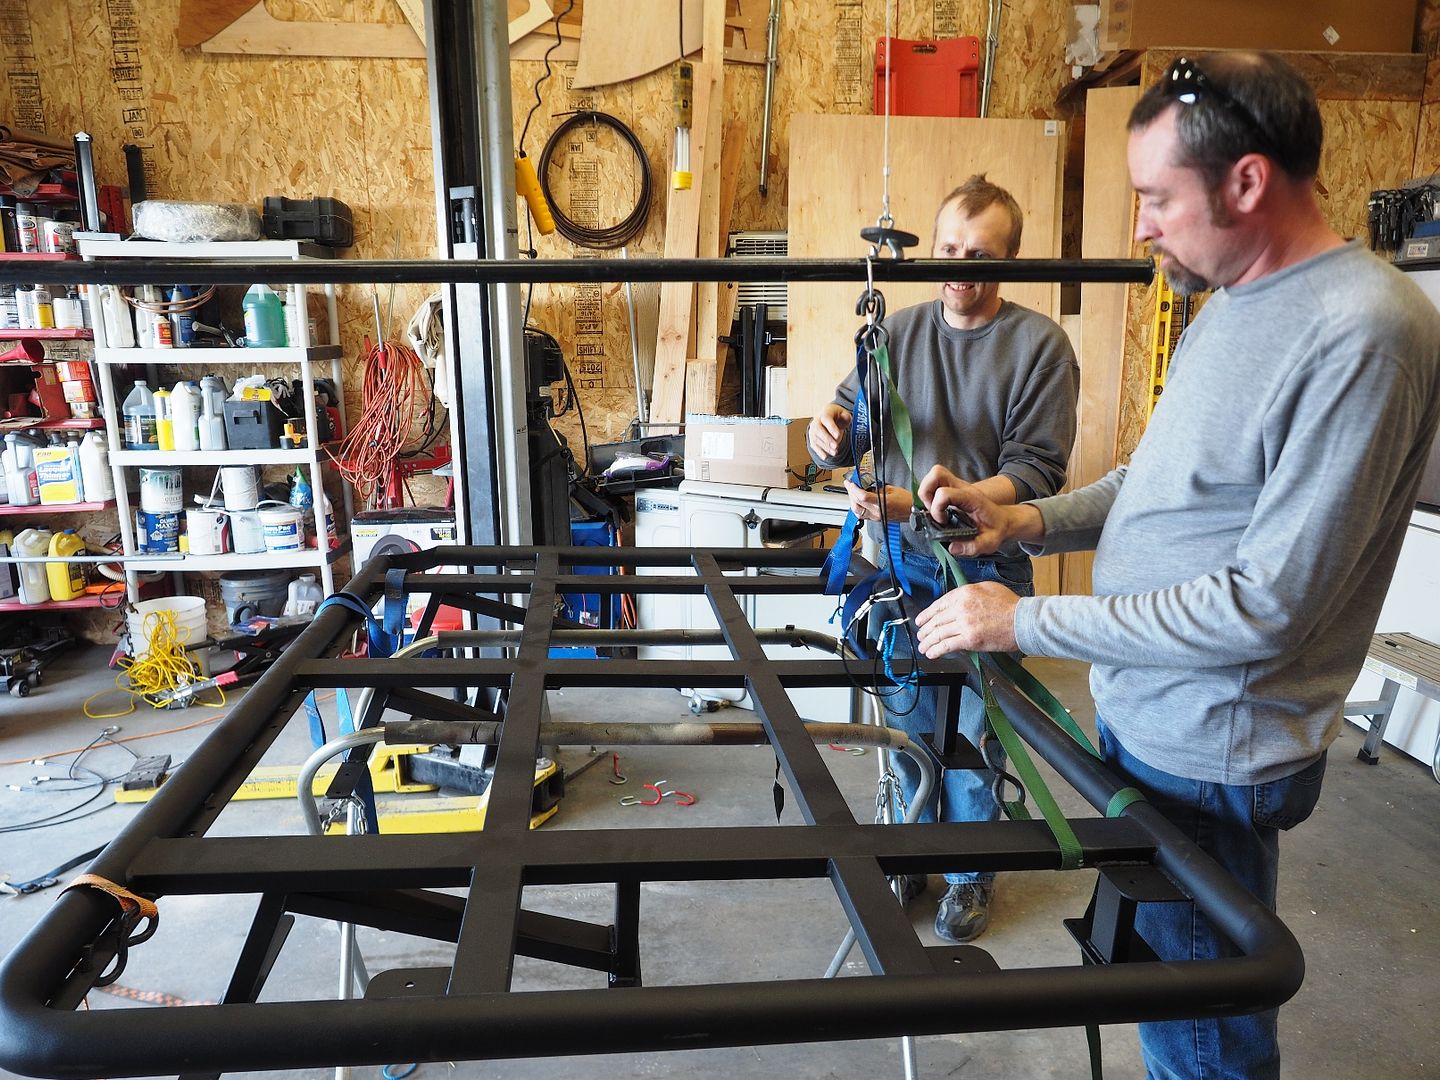
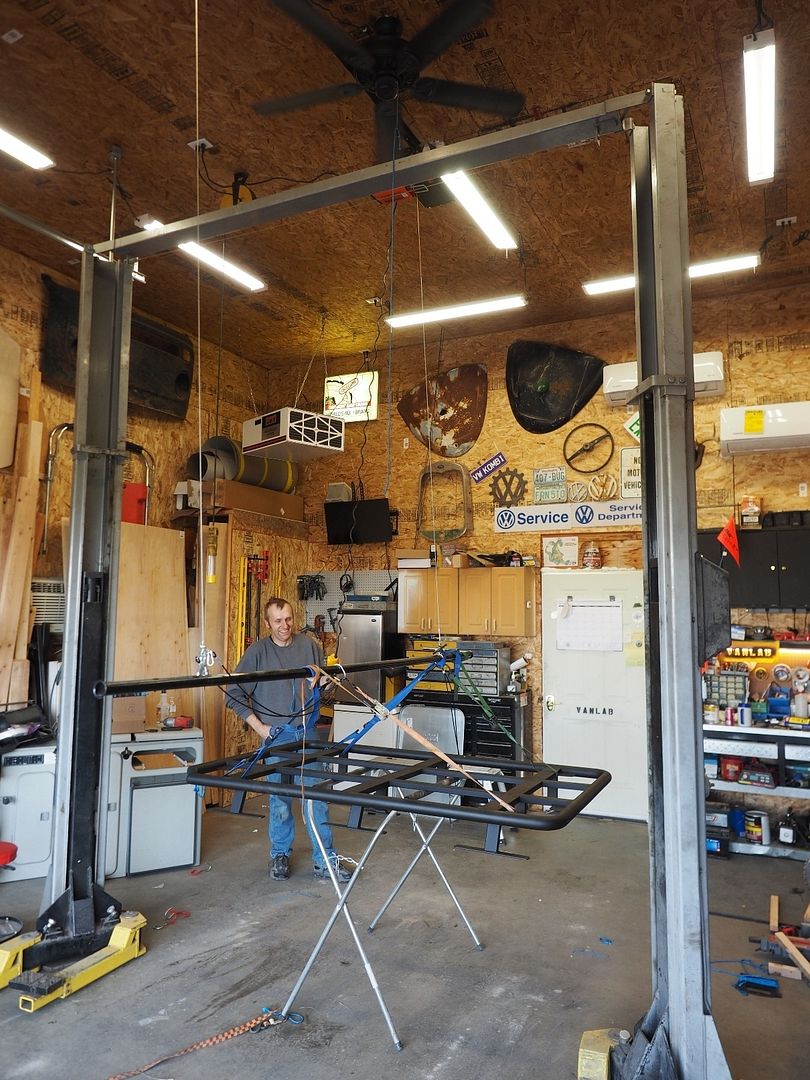
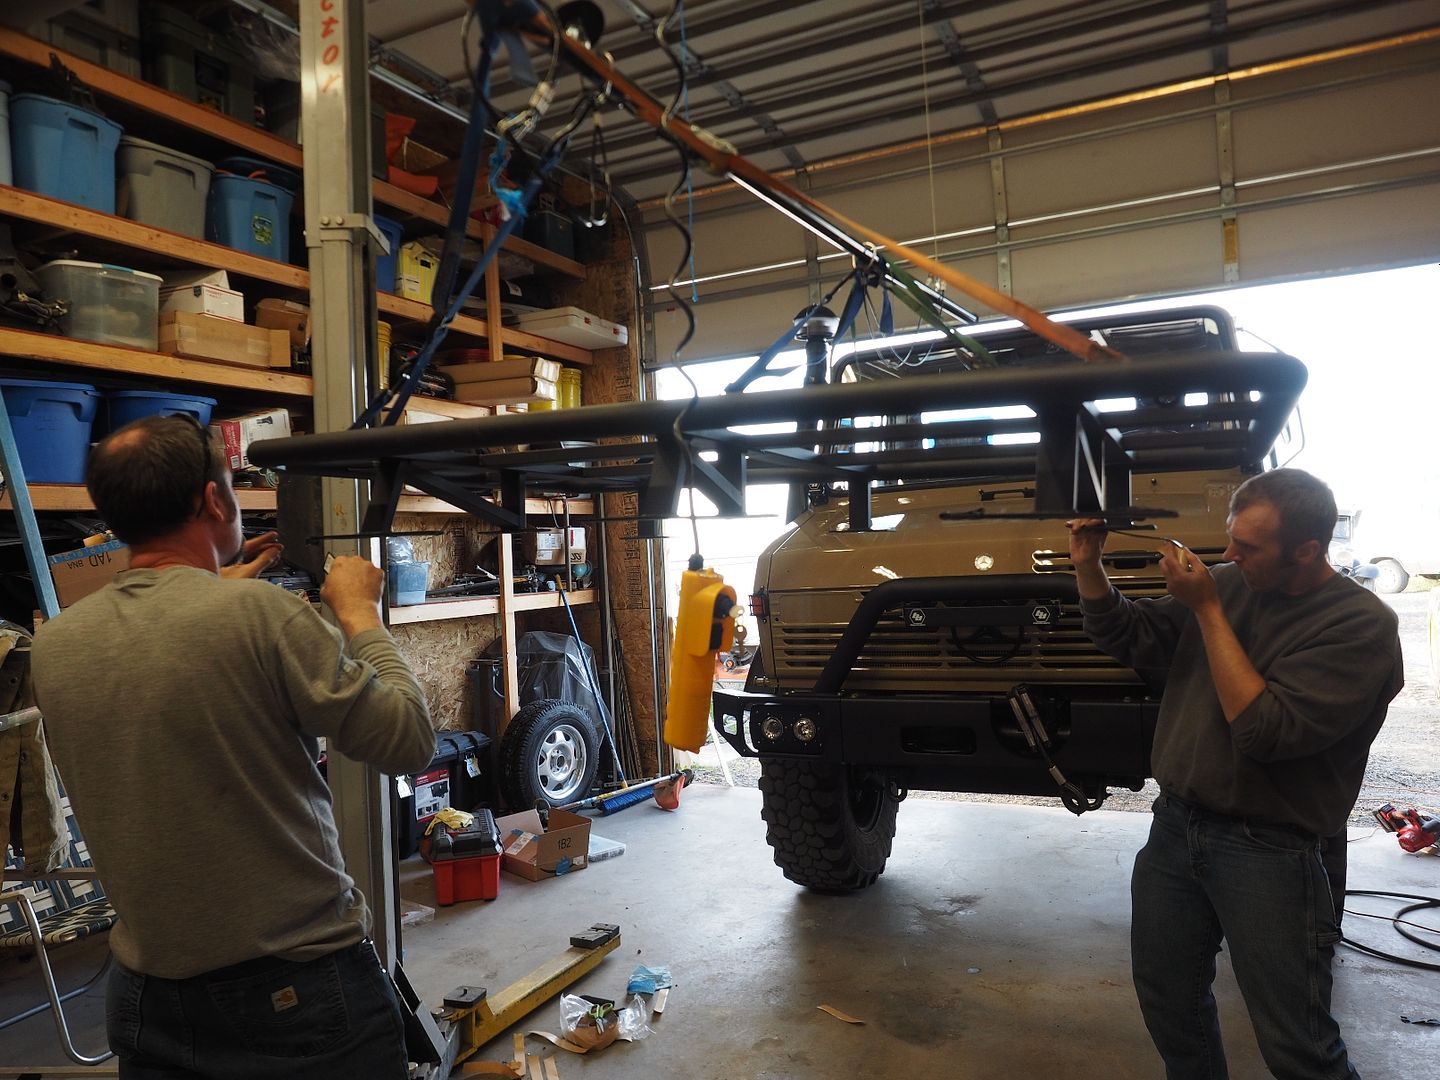
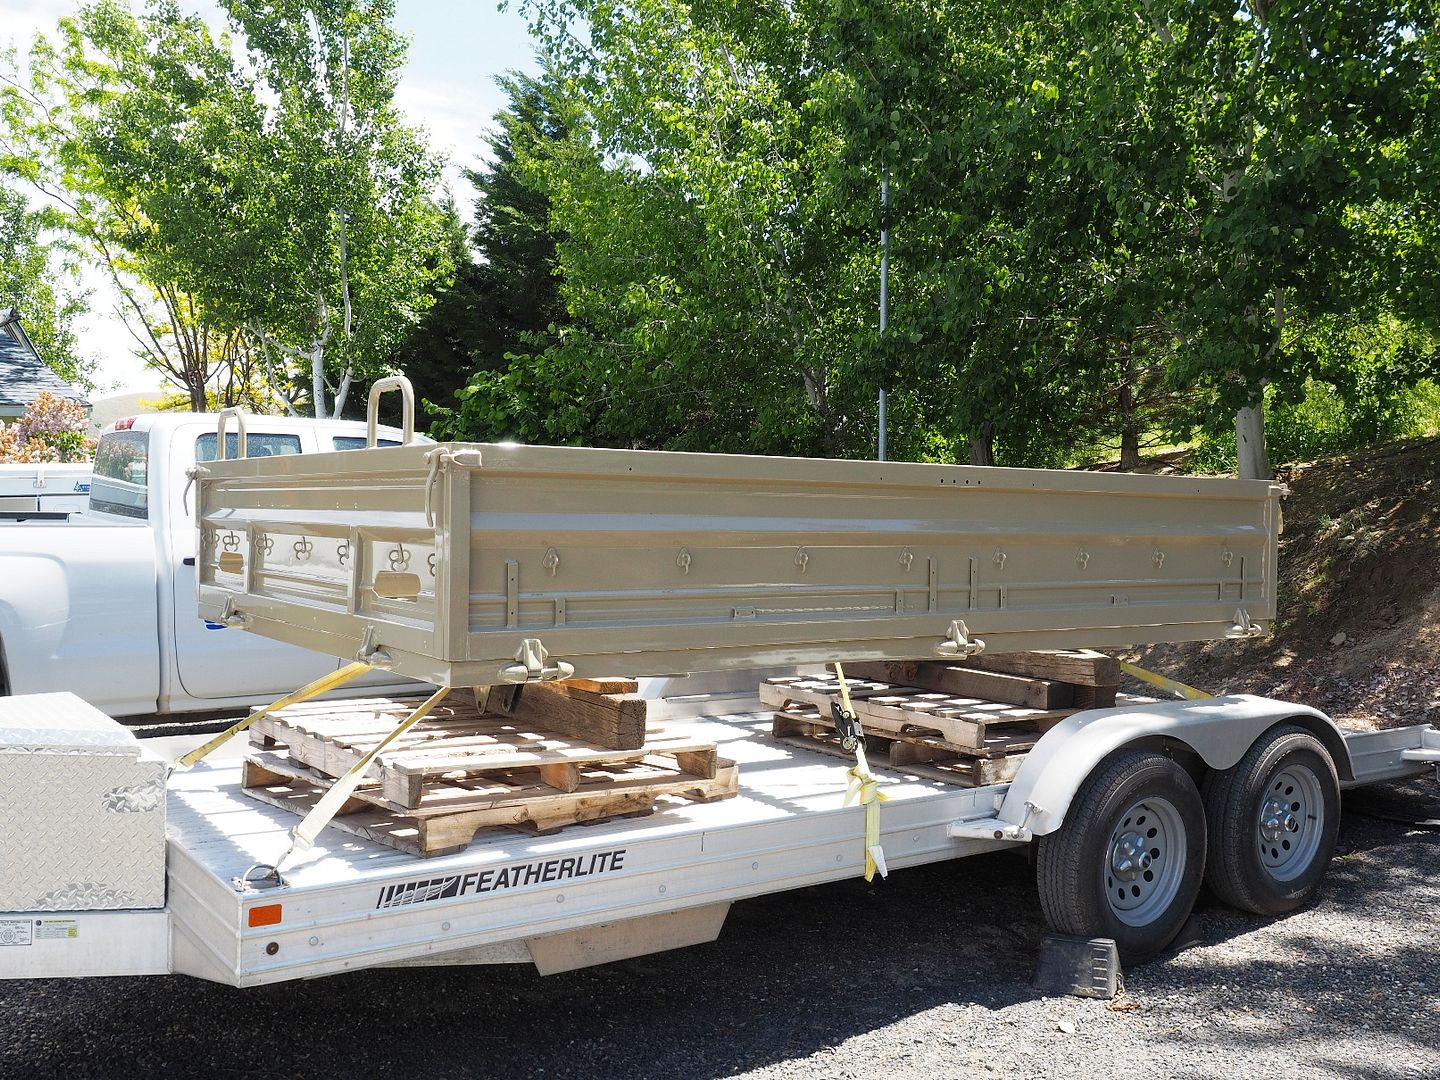
Loading up the roof rack to take to a friends house for install. My buddy Mike has a nice electric hoist that should make installation of the rack a lot easier than standing on ladders and trying to not scratch the paint while doing the install.

P5091977.jpg


Setting up the tie downs for the lift.

P5091984.jpg


P5091990.jpg


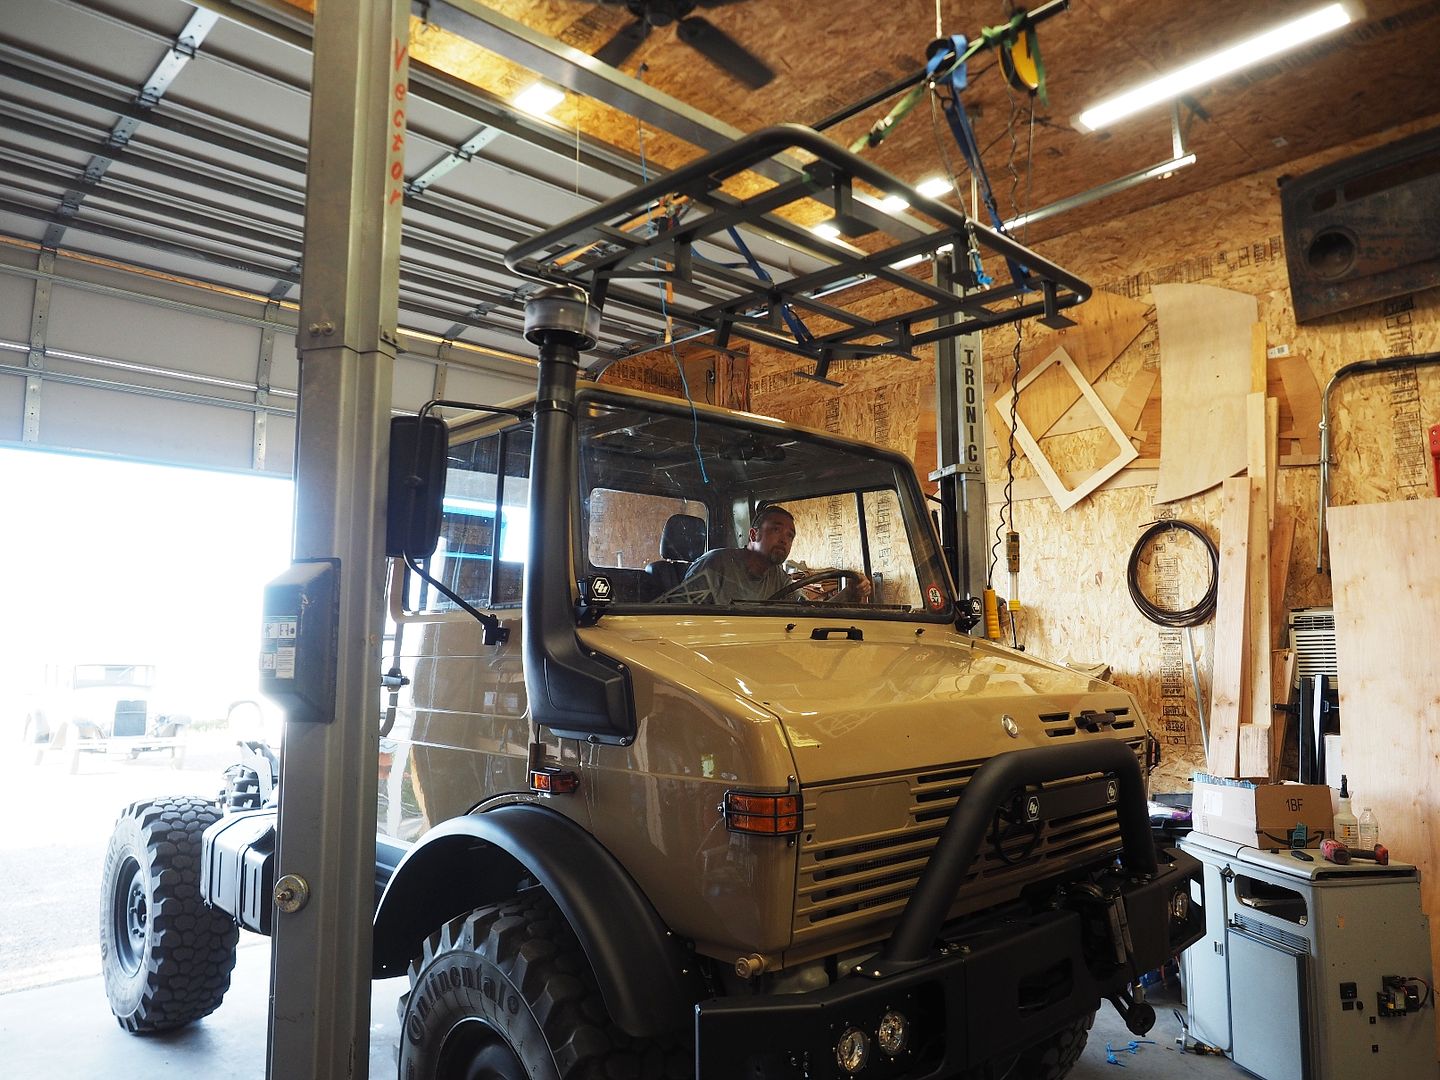
Pulling the truck in under the rack for a test fit. At this point I just wanted to make sure nothing got bent out of shape at powder coating etc and that all the bolt holes still lined up, a lot easier to do before the Butyl is installed.

P5091991.jpg


Checking for fit up, everything lined up as it should.

P5092028.jpg


P5092030.jpg


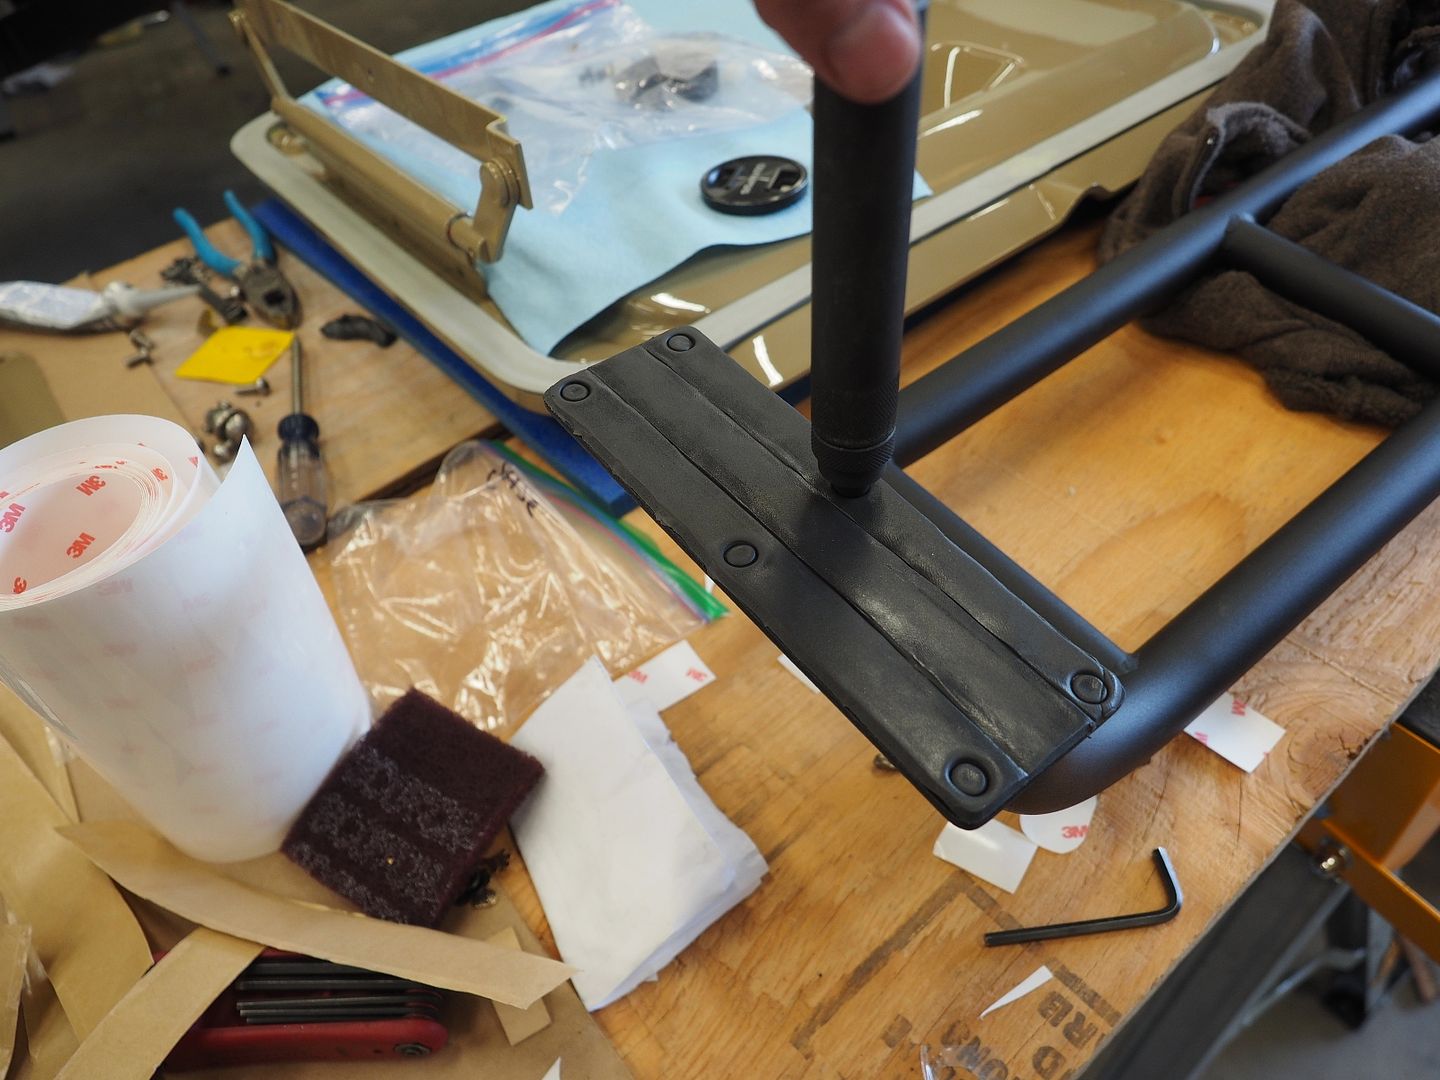
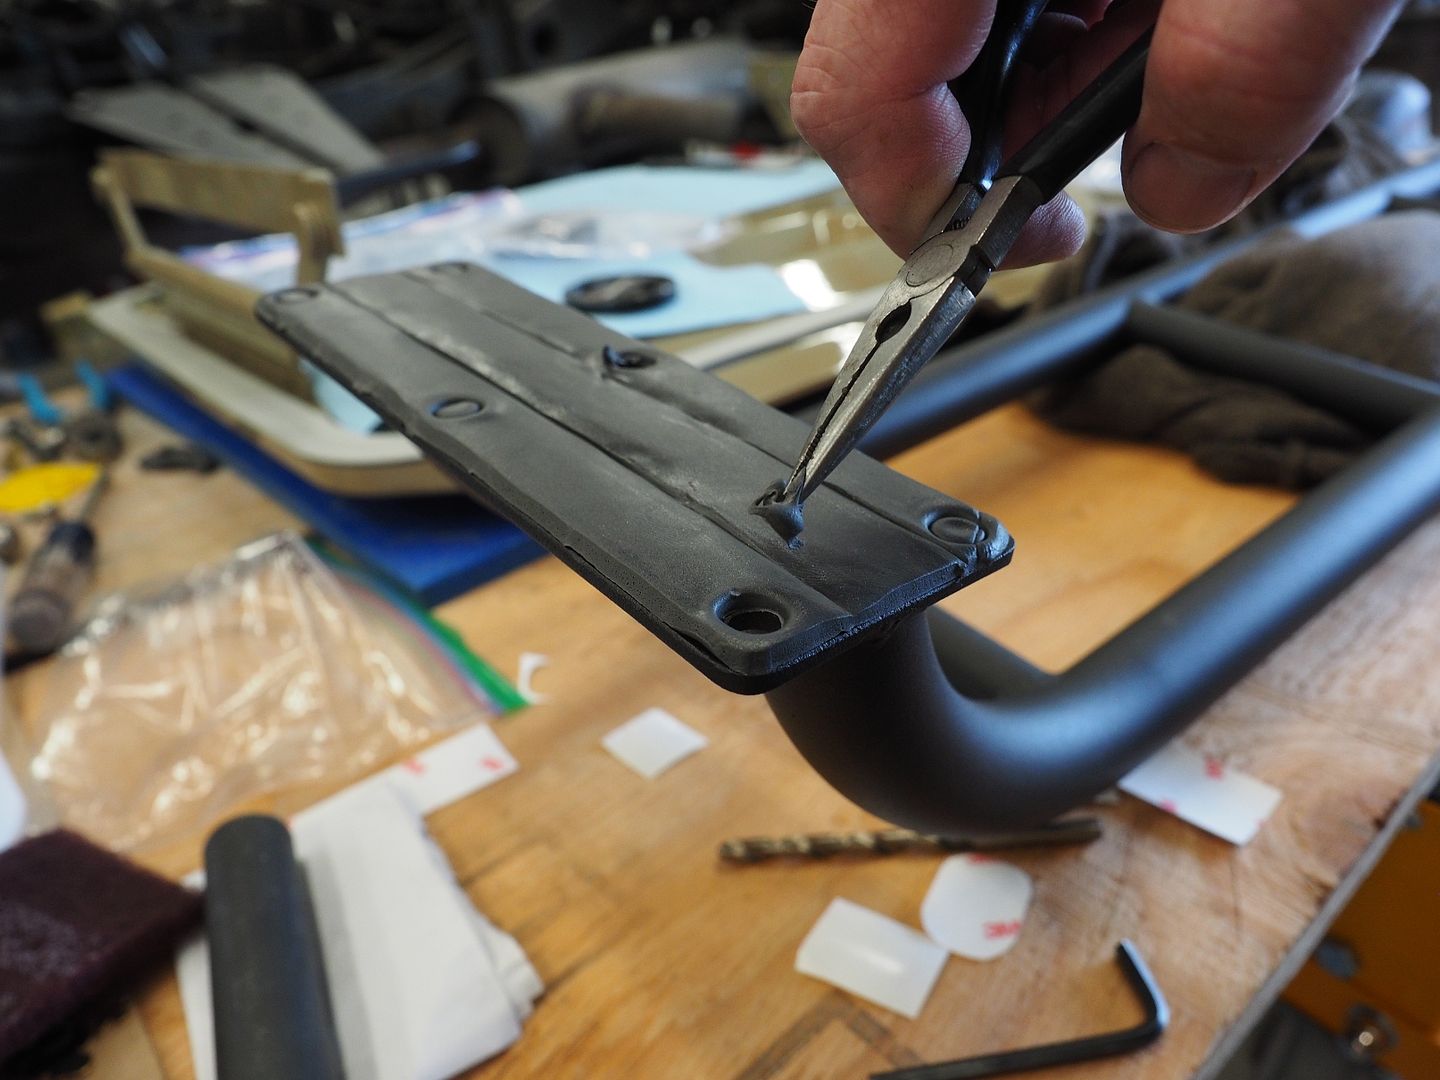
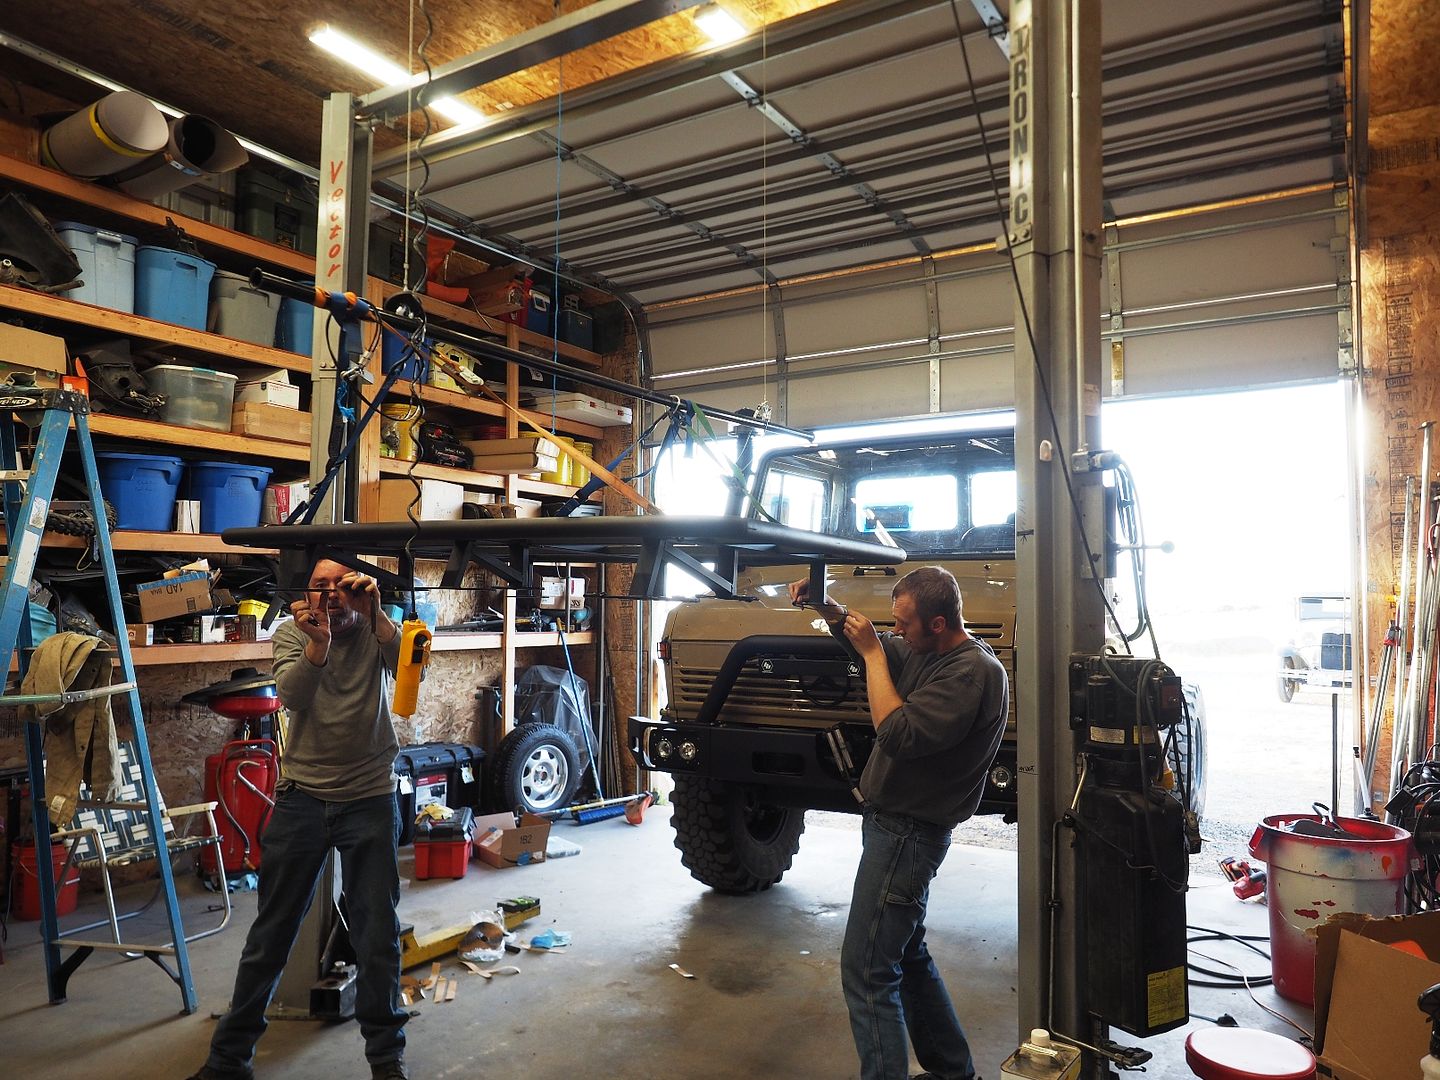
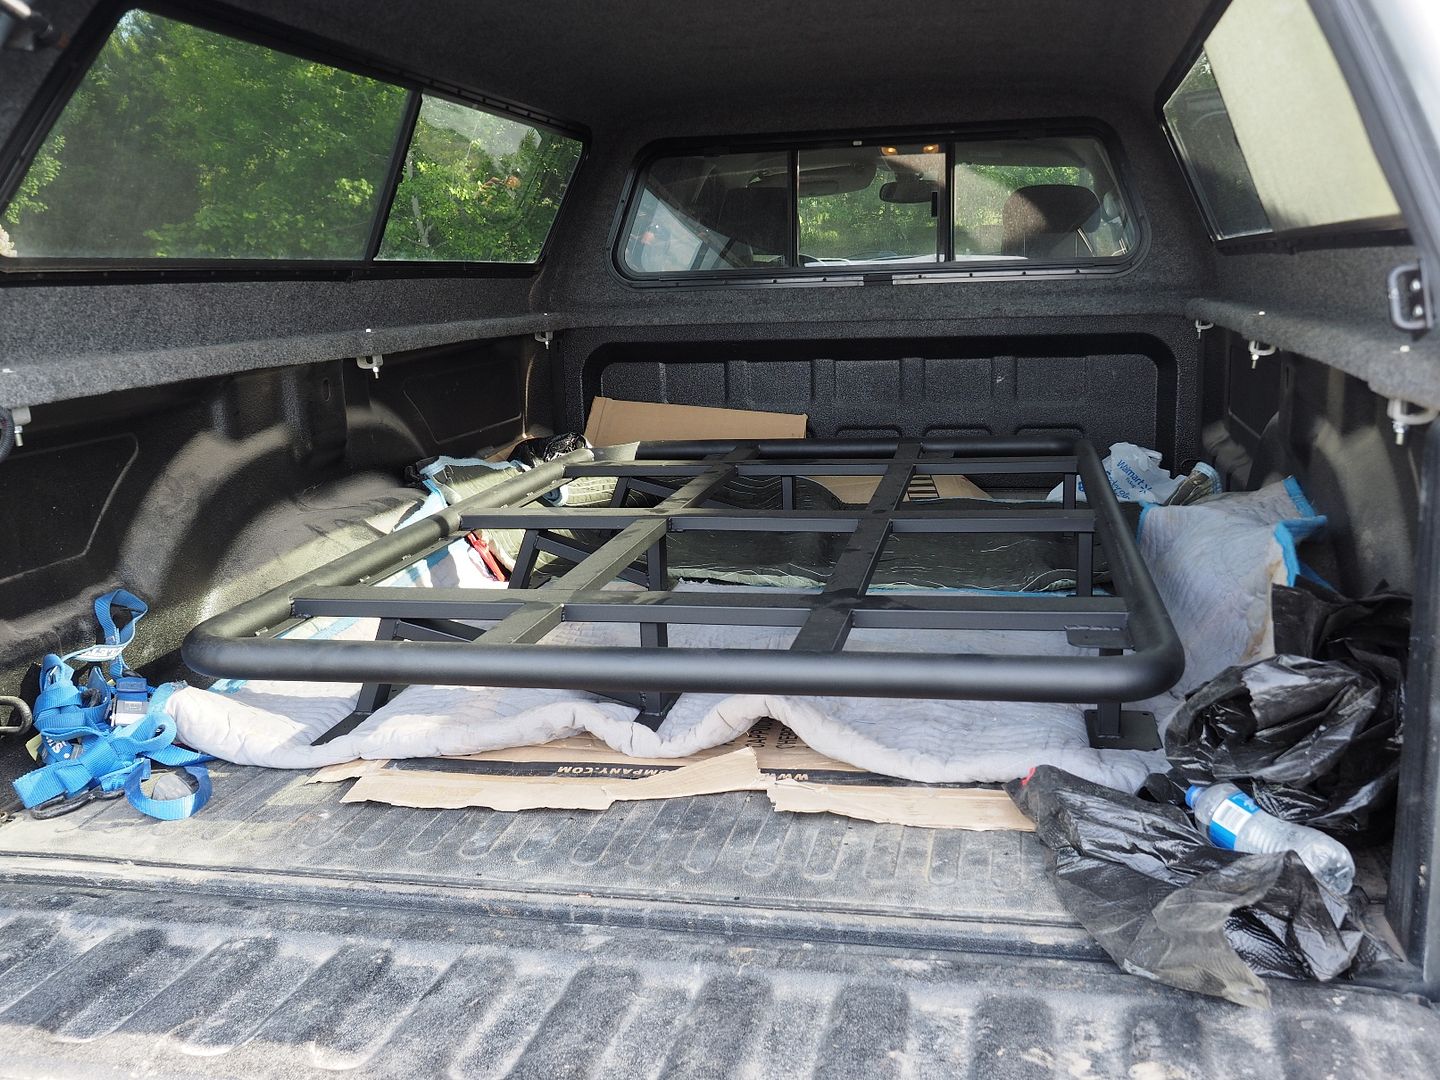
Rack back off the truck, here we are applying the Butyl putty tape to the bottom of the roof pads. I used the same process of applying gasket maker as well to all the bolt threads to ensure a waterproof seal on the roof.

P5092039.jpg


P5092043.jpg


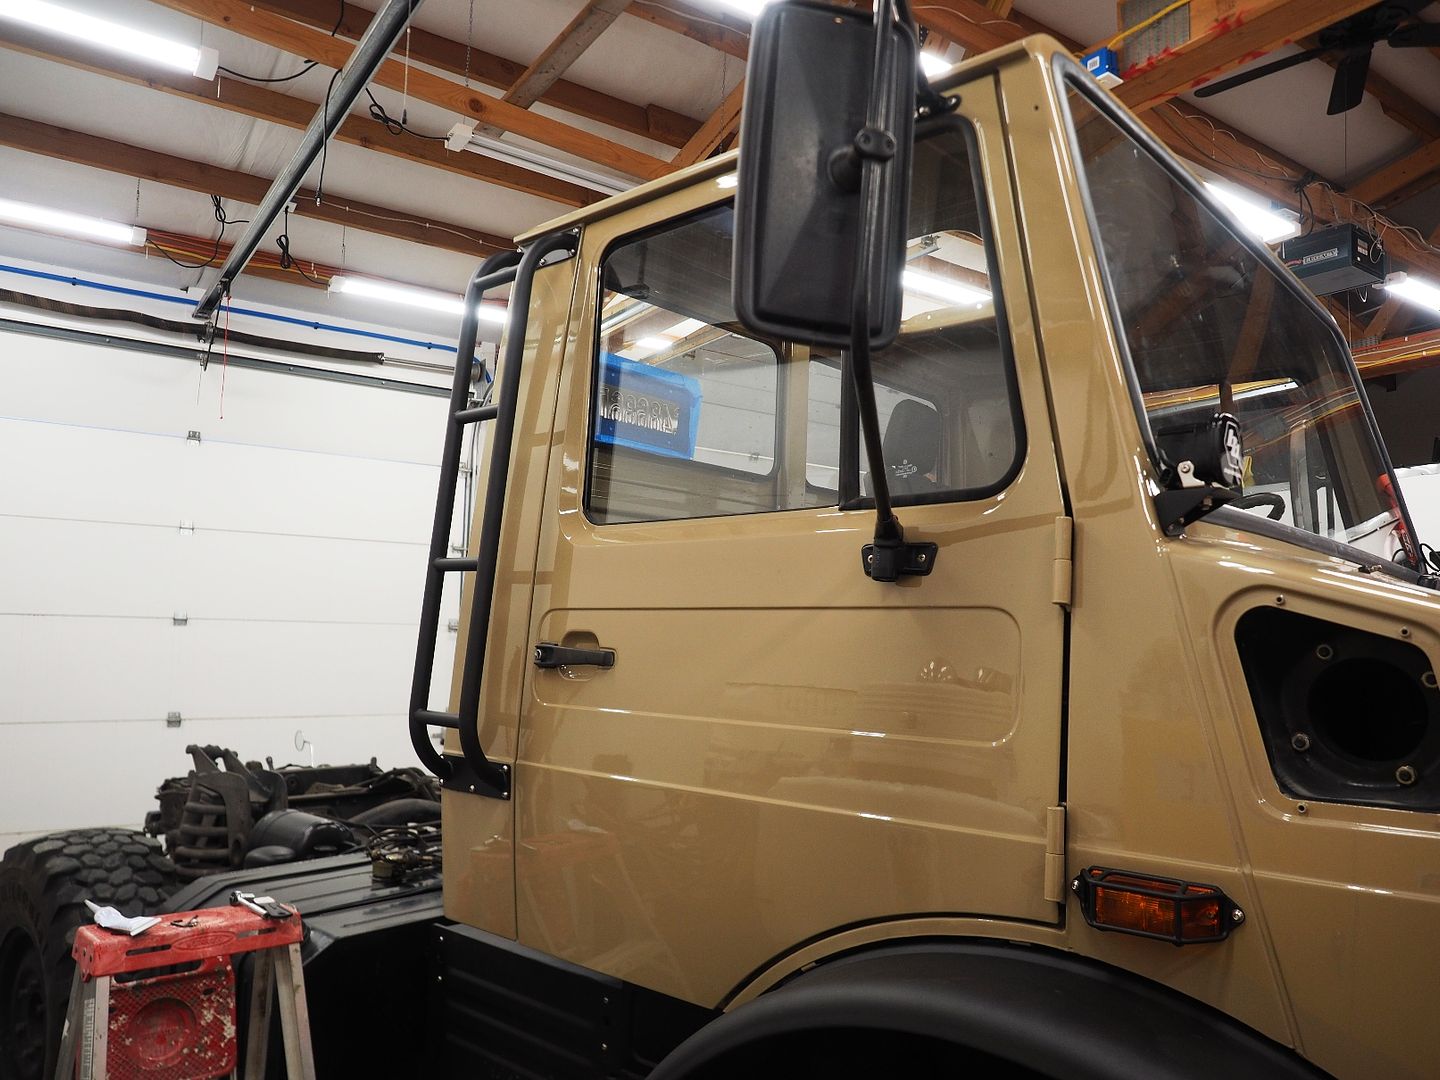
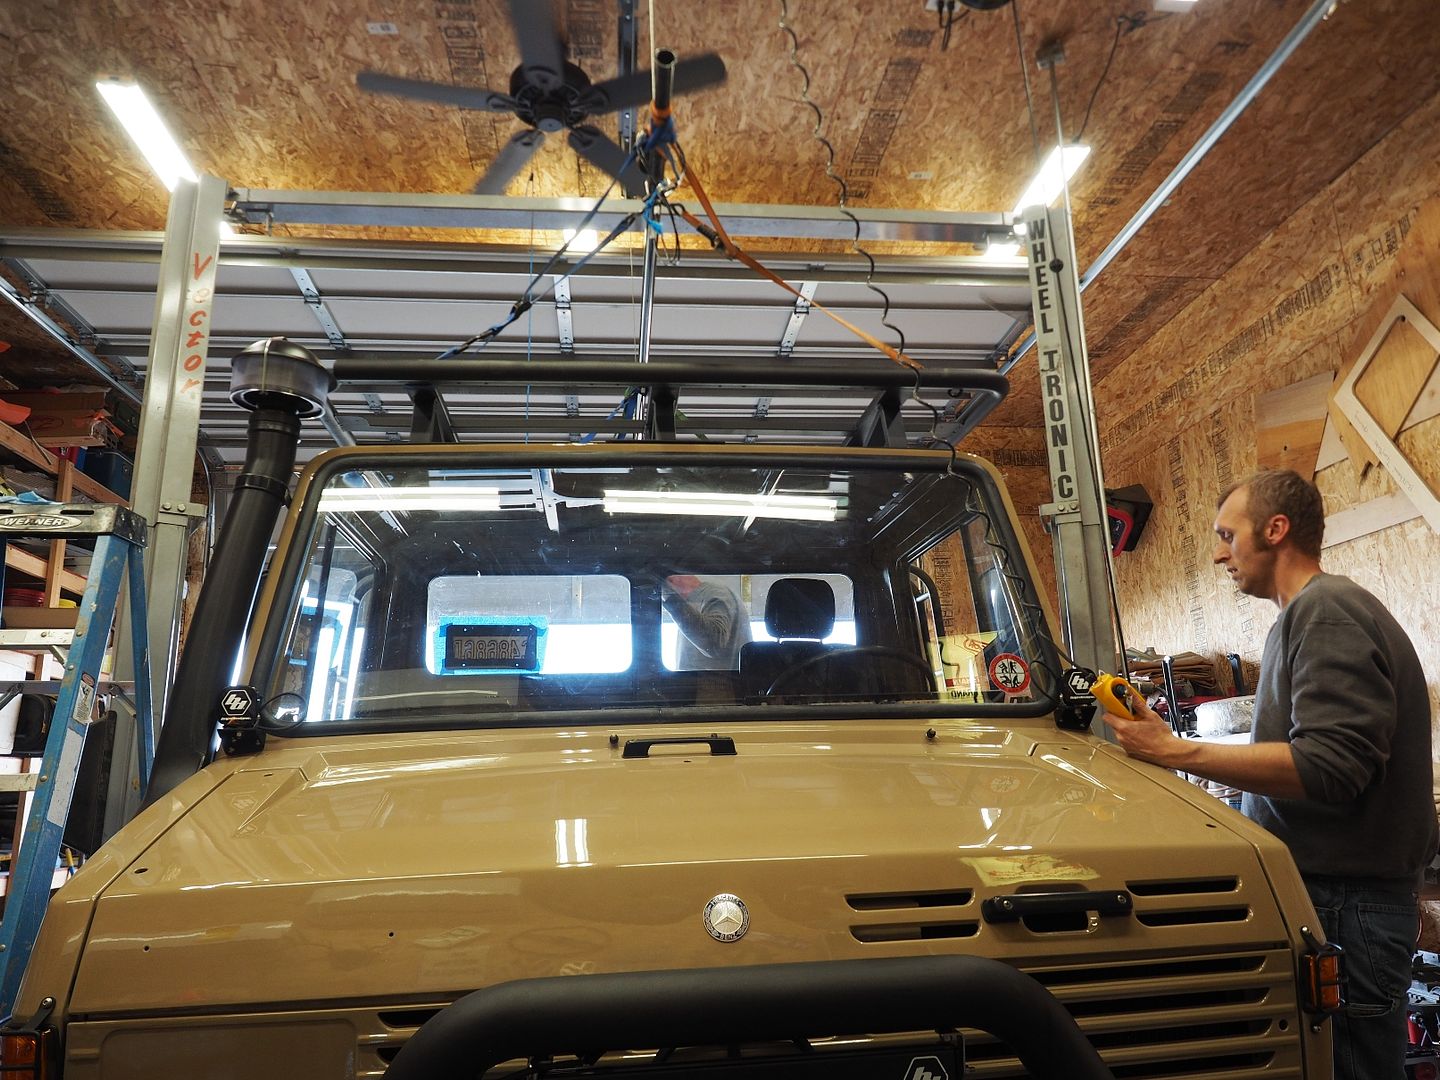
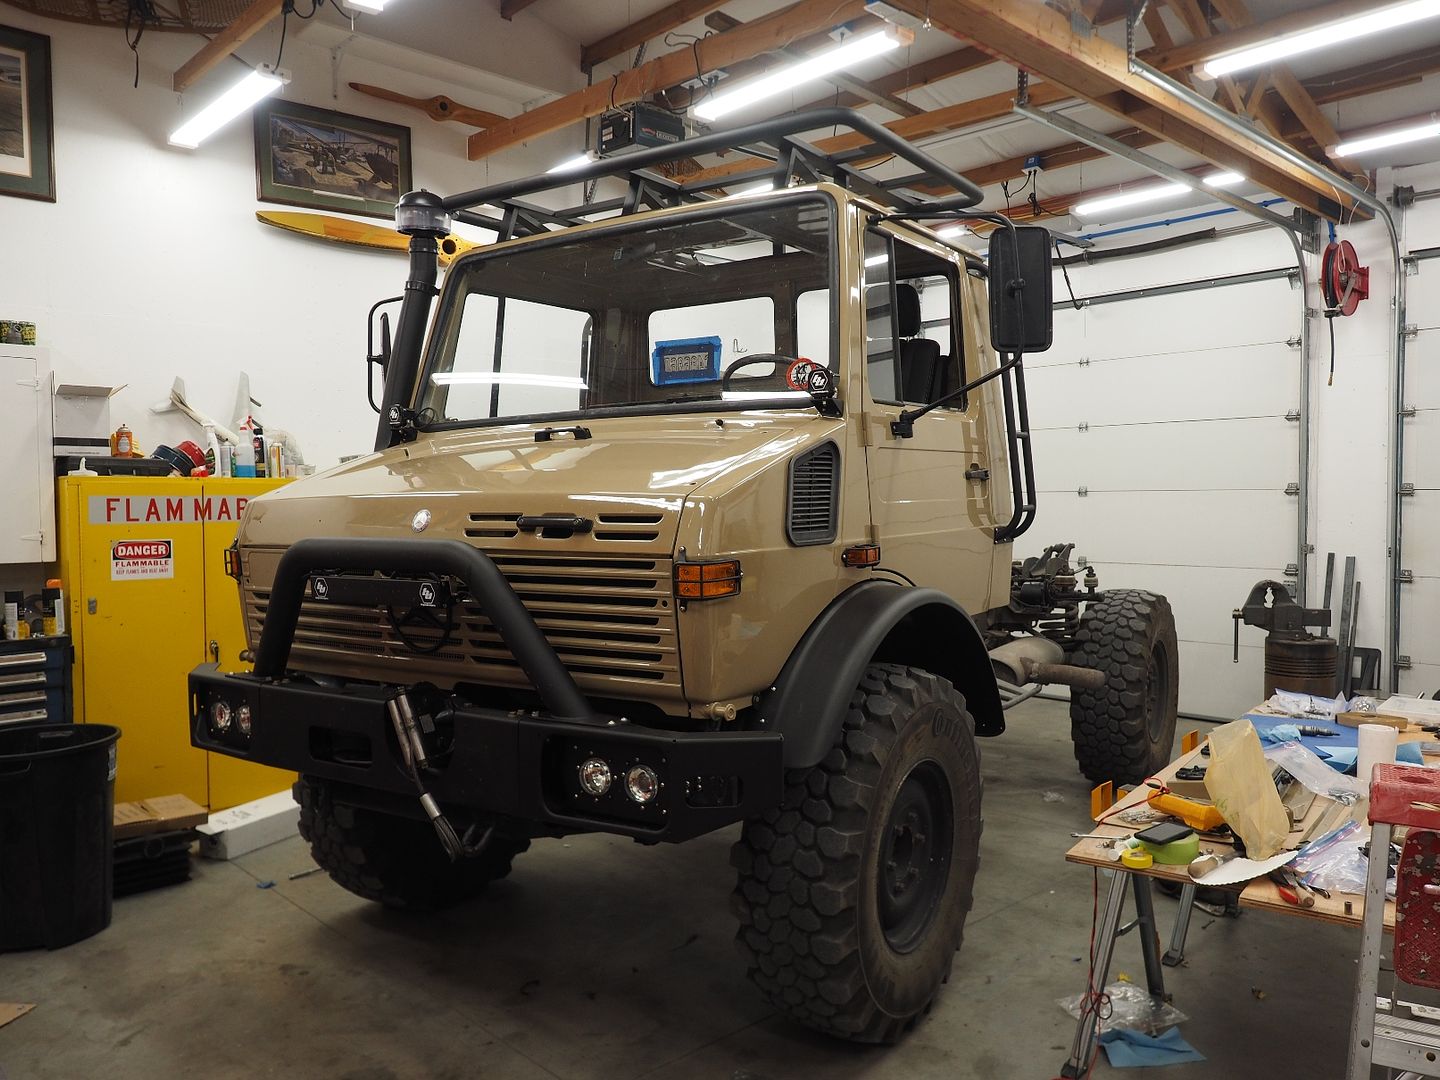
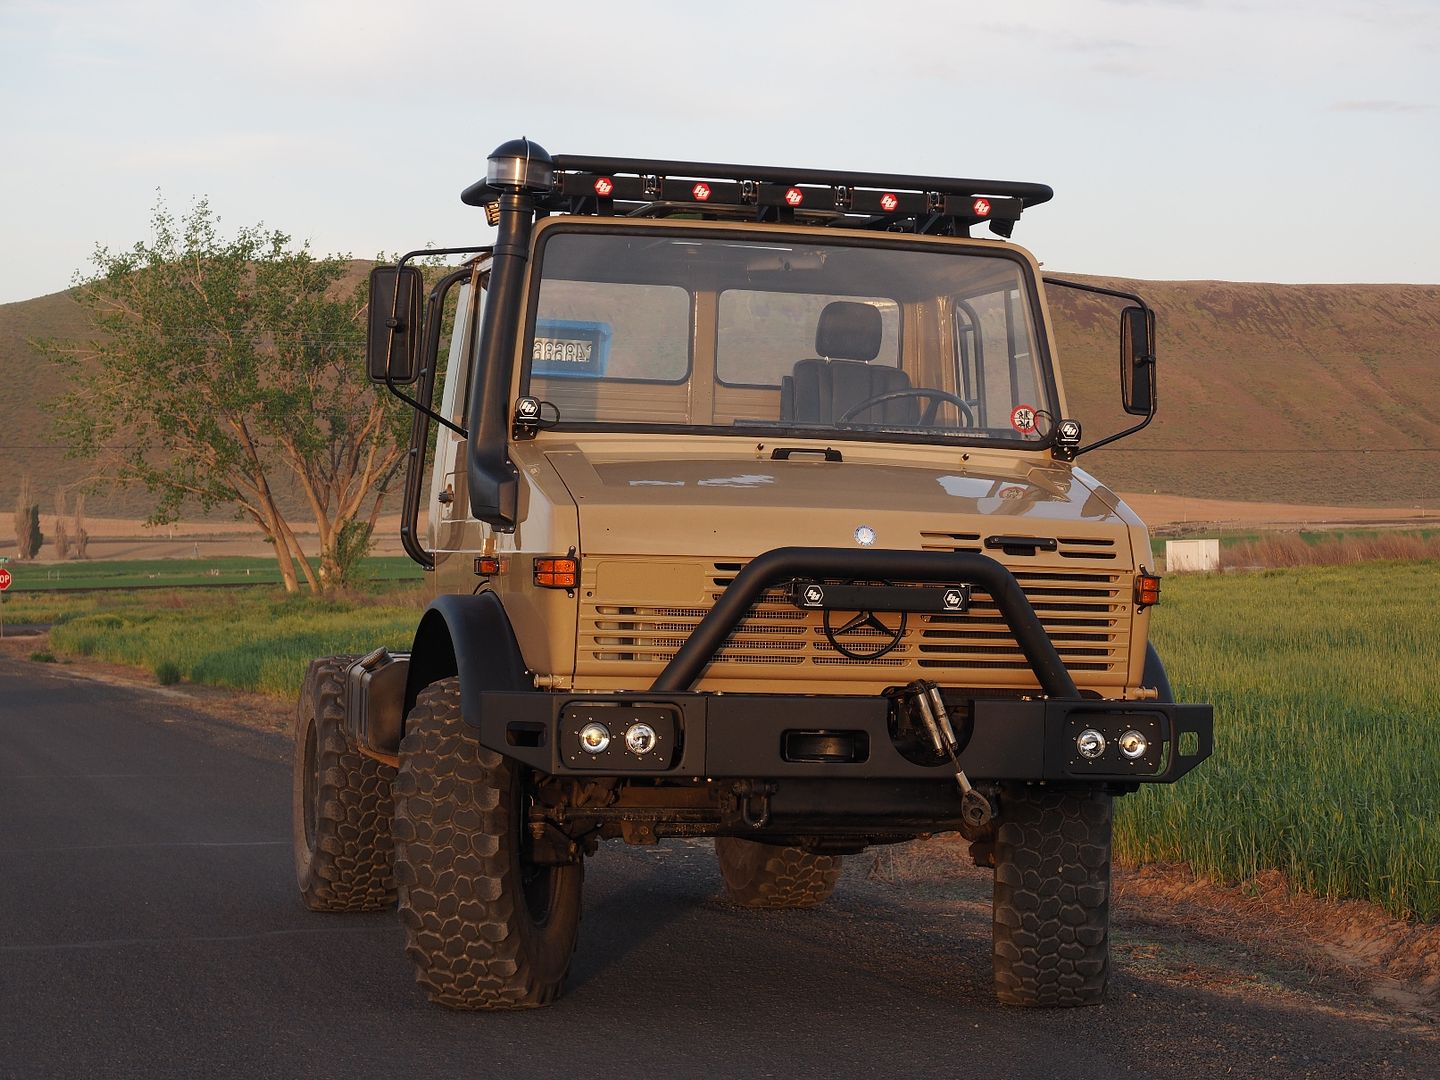
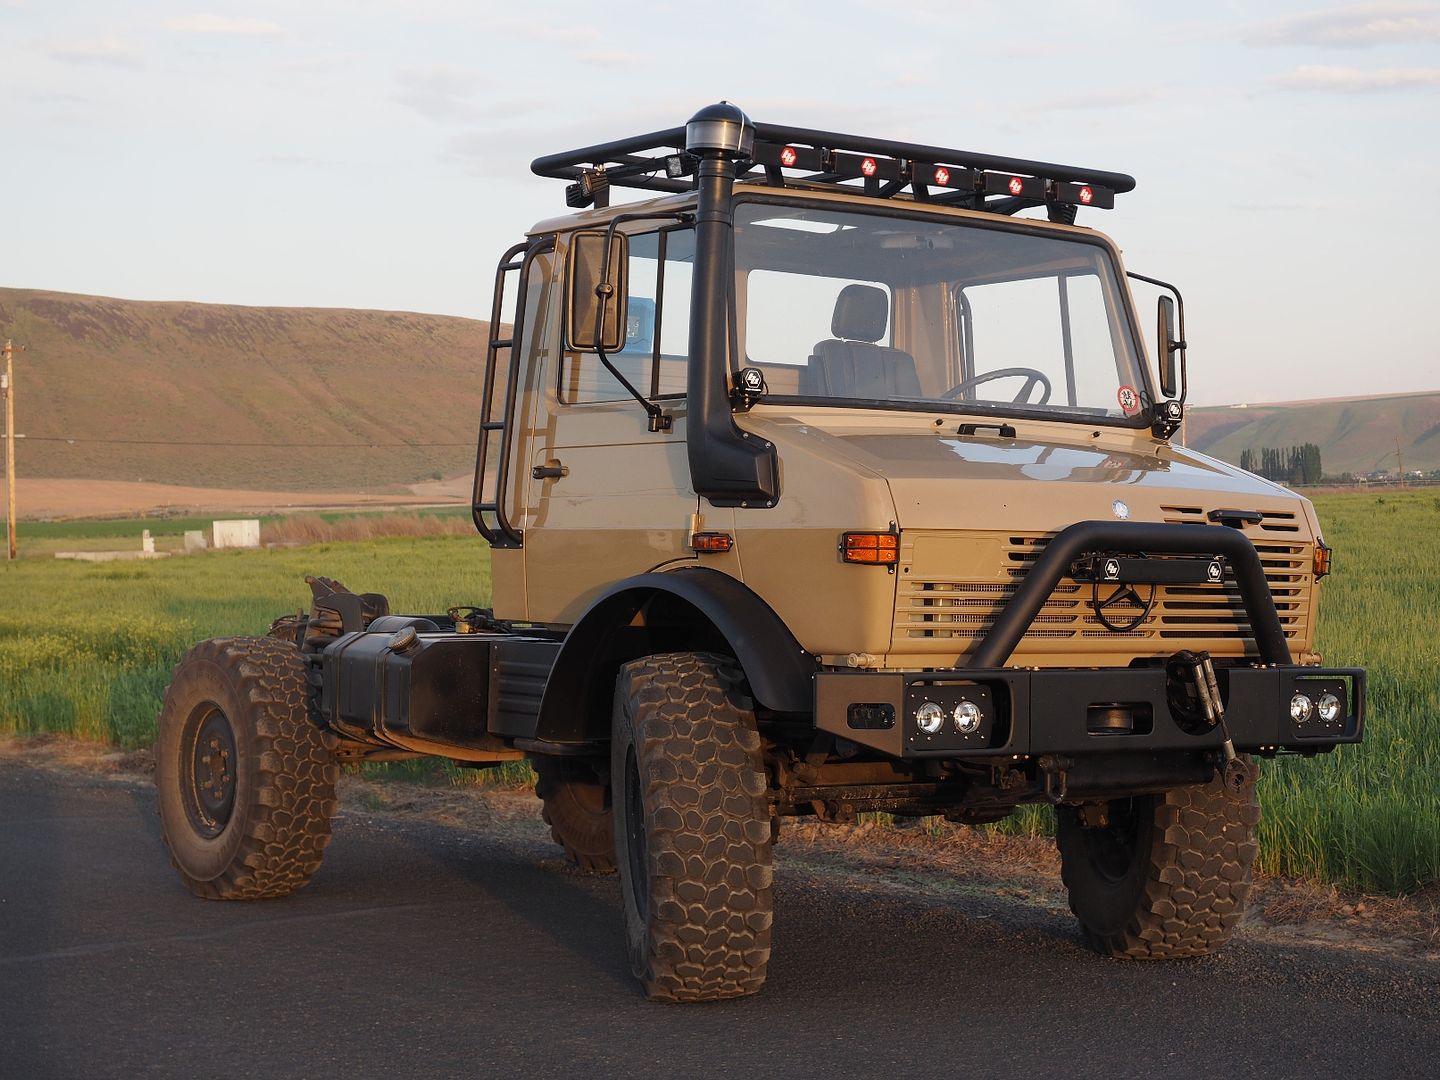
And the rack is installed on the truck. I haven't wired the headlights yet and it was very close getting home before dark, just make it :) I'll install the lights on the rack next then on to cab assembly.

P5092056.jpg


More to come soon.

Hodakaguy
 

patoz

Expedition Leader
P5091977.jpg


Those are some interesting clamps holding that camper shell on, and I've never seen any like that. I have an A.R.E. shell mounted on a F-250 using their traditional 'C' clamps and they are a PITA sometimes. They're constantly getting knocked out of place and eventually work themselves loose.

Can you tell me anything about yours, such as who makes them or even post a link for them if you have one handy?

Thanks, and the truck is looking great! I have no doubt it will look like a brand new one, once you're done with it.
 
Patrick, those clamps look like they are on a Leer topper. I think your best bet would be to stop by a Leer dealer. Notice the bump out from the shelf ledge, that's where the bolt goes through. The clamp is U shaped, with one side under the top of the bed side, and the other under that little bump.

Look for the Tite Lok 70104
 
Last edited:

patoz

Expedition Leader

Hodakaguy

Adventurer
Not a lot of work on the truck today, I did manage to get the lights installed on the roof rack.

After installing the lights I needed an excuse to go play with the truck so I decided to roll down to the fuel station and fill the tank since it was almost on empty.

Lights installed....not wired yet.

P5100004.jpg


P5100005.jpg


Getting fuel.

P5100007.jpg


Hodakaguy
 

patoz

Expedition Leader
I love how you can look under that truck, and there's nothing under there. Fantastic ground clearance!
 

CoolMooseMan

Samurai Investor
I don't want to make this awesome thread go off on too much of a tangent, but I had a quick question.

I was just reading your trip to NV on the bikes and visiting the B-24D. Is this the Mog you plan to go down there with and are you still in contact with Susan and going to take her there??

The plaque was an amazing idea and gesture to the fallen from the crash. I was actually surprised there wasn't one already. That makes me wonder who installed the plaque at a crash in eastern Oregon.

Just wanted to see how all that panned out!

Now continue this awesome Unimog as I look forward to the updates!
 

Hodakaguy

Adventurer
I don't want to make this awesome thread go off on too much of a tangent, but I had a quick question.

I was just reading your trip to NV on the bikes and visiting the B-24D. Is this the Mog you plan to go down there with and are you still in contact with Susan and going to take her there??

The plaque was an amazing idea and gesture to the fallen from the crash. I was actually surprised there wasn't one already. That makes me wonder who installed the plaque at a crash in eastern Oregon.

Just wanted to see how all that panned out!

Now continue this awesome Unimog as I look forward to the updates!


Yep this is the truck that I'll take my father and son down to the crash site with. I did get in contact with Susan and offered to take her up to the crash site but she said she's not feeling up to it, I sent her a bunch of photo's from the crash site. Thanks, I really felt the plaque was something that needed to be at the site to honor those who lost their lives serving our country.

Can't wait to roll the Mog down there this fall.

Hodakaguy
 

Hodakaguy

Adventurer
Little bit of progress today between other chores.

Picked up the bed from the paint shop this morning, Looks a lot better than the army green :) I'll start working on re-assembly soon.

P5121967.jpg


Assembled the dash today. I'll be fabricating/installing a relay bank for the lights in the space behind the glove box.

P5121976.jpg


P5121979.jpg


P5121994.jpg


Drivers door assembled, minus the door seal which will be installed soon.

P5121985.jpg


Installed the overhead Console...still needs wiring.

P5121989.jpg


P5122006.jpg


My son was anxious to go for a ride so I installed the bench seat and we went cruising around a bit, stopped in at a friends house for a quick photo shoot :)

P5121980.jpg


P5121982.jpg


And back home for the night.

P5121997.jpg


More progress tomorrow....

Hodakaguy
 

Forum statistics

Threads
188,655
Messages
2,908,552
Members
230,892
Latest member
jesus m anderson
Top