You are using an out of date browser. It may not display this or other websites correctly.
You should upgrade or use an alternative browser.
You should upgrade or use an alternative browser.
Mrgalantguys 1998 Montero Winter package aka "Groot" Build & Adventure thread.
- Thread starter MrGalantguy
- Start date
MrGalantguy
Mitsubishi Loyalist
Its starting to get hot again in florida and after a week 1/2 of constant rain from that tropical storm a few weeks aga and cloudy days the sun has made it debut and its been killer the past couple of weeks. Last week heat index was above 100 degrees and a weakness in Groots cooling system showed up.
On normal street driving my temps are normal till I enter the highway where it creeps up above the half way point. I noticed this early in the week and it progressively got worse to the point the highest it got was right under the 3/4 mark on the temp gauge. Then normal street driving it was starting to float a tad bit higher than normal. I posted on facebook and got a overwhelming response that it was my radiator clogged. If anyone has kept up to my build...everything in the cooling system is new, other than my radiator. I was going to rod it out but didn't have time to and visually inspecting the radiator it looked ok and its been 7 months since.
So I decided to remove the radiator and get it rodded out. Once I drained the coolant I already noticed the inside top innards of the radiator there was build up which backed up the suggestions that it was clogged. I took it to a reputable place in Orlando where I have encountered the shop before in the past working for Toyota and friends who had work done for them with their radiators and intercoolers called Prater Radiator. I took it to them and visually the radiator looks good for being the original from 98 and gave me a quote of $137 to get my radiator back to optimal condition.
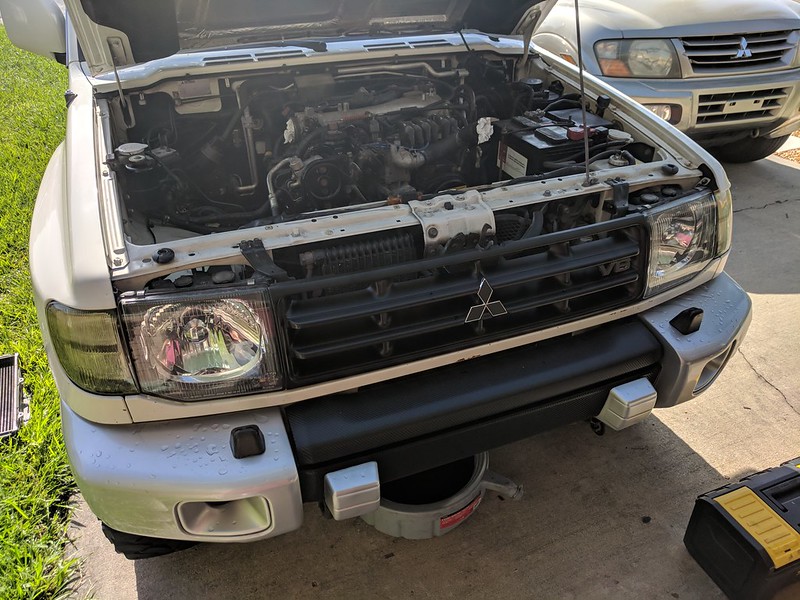 Groot by grimgs, on Flickr
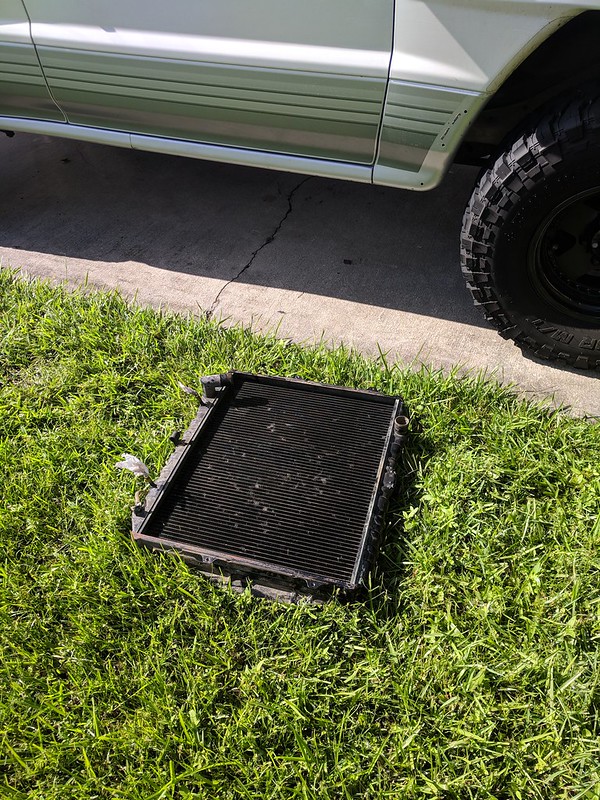 Groot by grimgs, on Flickr
Here it is when I dropped it off. Should be ready tomorrow and update the thread accordingly.
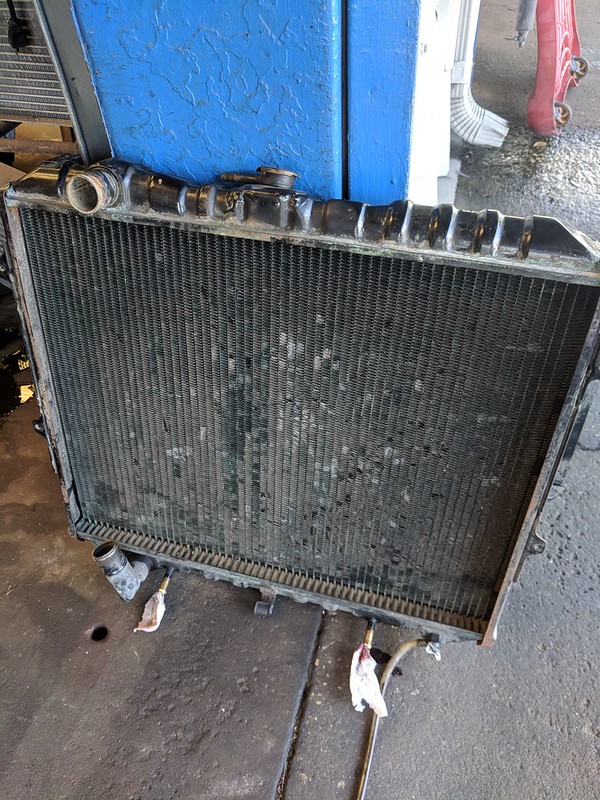 Groot by grimgs, on Flickr
On normal street driving my temps are normal till I enter the highway where it creeps up above the half way point. I noticed this early in the week and it progressively got worse to the point the highest it got was right under the 3/4 mark on the temp gauge. Then normal street driving it was starting to float a tad bit higher than normal. I posted on facebook and got a overwhelming response that it was my radiator clogged. If anyone has kept up to my build...everything in the cooling system is new, other than my radiator. I was going to rod it out but didn't have time to and visually inspecting the radiator it looked ok and its been 7 months since.
So I decided to remove the radiator and get it rodded out. Once I drained the coolant I already noticed the inside top innards of the radiator there was build up which backed up the suggestions that it was clogged. I took it to a reputable place in Orlando where I have encountered the shop before in the past working for Toyota and friends who had work done for them with their radiators and intercoolers called Prater Radiator. I took it to them and visually the radiator looks good for being the original from 98 and gave me a quote of $137 to get my radiator back to optimal condition.
 Groot by grimgs, on Flickr
 Groot by grimgs, on Flickr
Here it is when I dropped it off. Should be ready tomorrow and update the thread accordingly.
 Groot by grimgs, on Flickr
MrGalantguy
Mitsubishi Loyalist
 Groot by grimgs, on Flickr
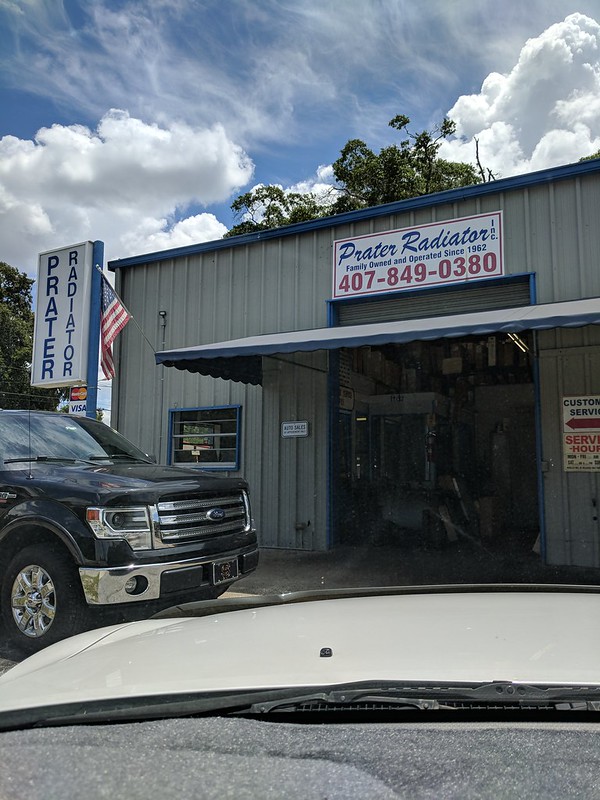
Took my radiator to Prater Radiator here in Orlando, FL and took them 2 days to rod out my radiator. They said it was clogged a good bit but other than that the radiator is in pretty good condition. The shop owner highly recommended me to flush out to remaining coolant out of my motor/system before I install the newly rodded radiator to get rid of any remaining material in the system that caused the clog in the 1st place.
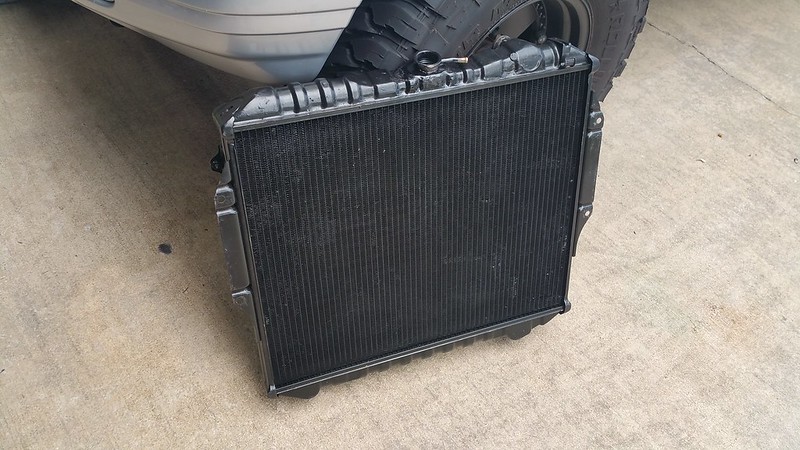 Groot by grimgs, on Flickr
I read up on the garden hose method but Florida tap water isn't the cleanest water. It has hard deposits especially limestone etc etc so I didn't want to flush my cooling system with that water. I came up with the idea to flush my system with distilled water and using a transfer pump. I published my method in this thread:https://forum.adventuredrivendesign.com/index.php/topic,675.new.html#new
I am very happy with the results as I was able to flush my system out and used distilled purified water while at it.
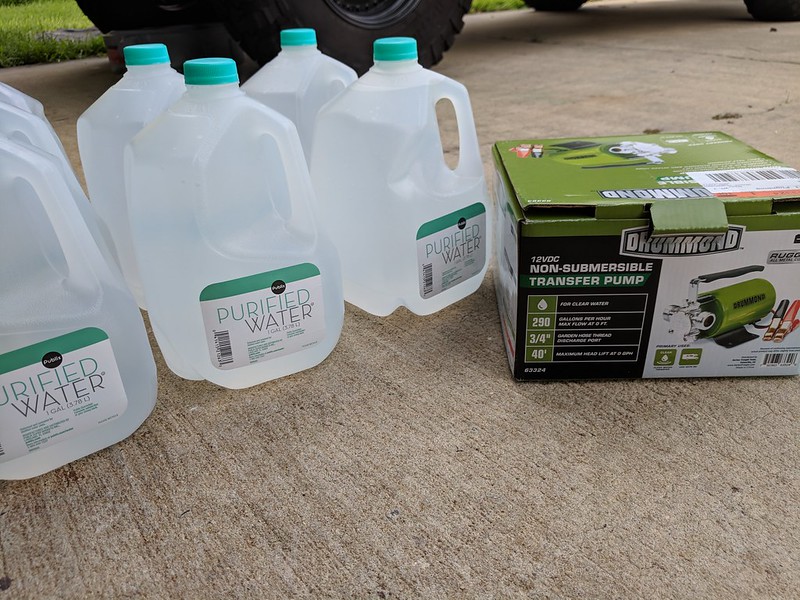 Groot by grimgs, on Flickr
Last edited:
MrGalantguy
Mitsubishi Loyalist
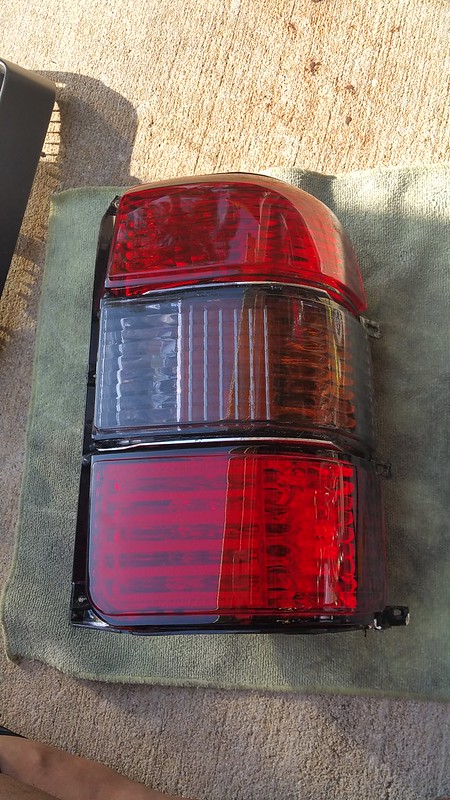
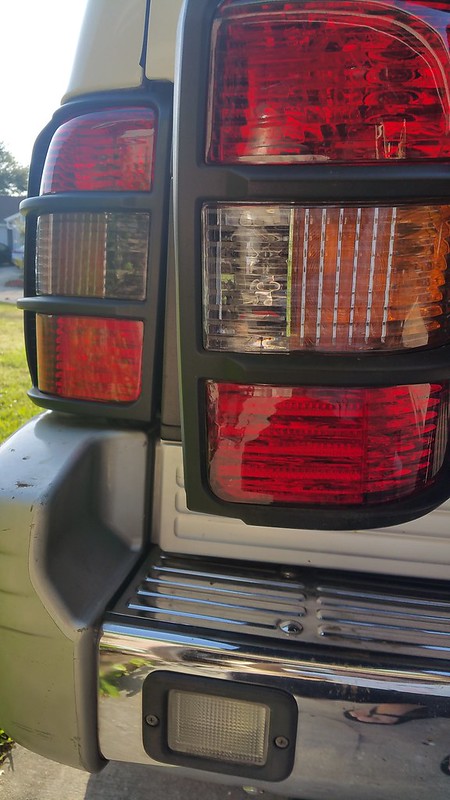
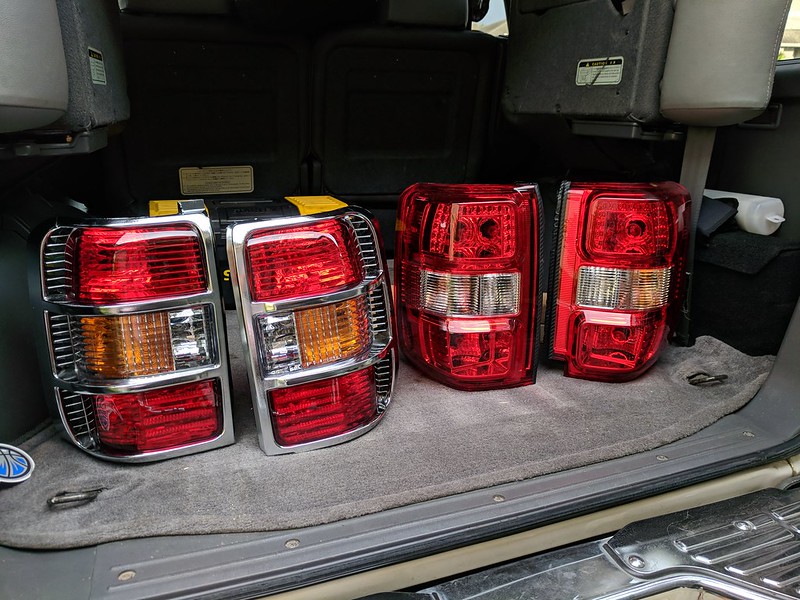
I got 2 pairs of Asian market taillights from my uncles vacation to Hong Kong a couple months ago. He got me a pair of Leibao tails and a pair of Pajero crystal lens taillights. The Leibao tails have some fitment issues as they are "taller" compared to the OEM tails. I am going to have to figure out a solution but in the mean time I am went ahead and installed the crystal tails as they do look better and have better light output than the OEM taillights.
Currently I haven't wired up the backup lights yet...waiting till I get some time remove my rear bumper to black it out and install the cree LED's in place of the stock location rear backup lights.
The only thing I wanted was a smoked out clear section so I got some smoke vinyl and applied it to the turn/backup section of the tails.
This is the crystal taillights and I swapped over the OEM taillight grille in place of the chrome grille they came in
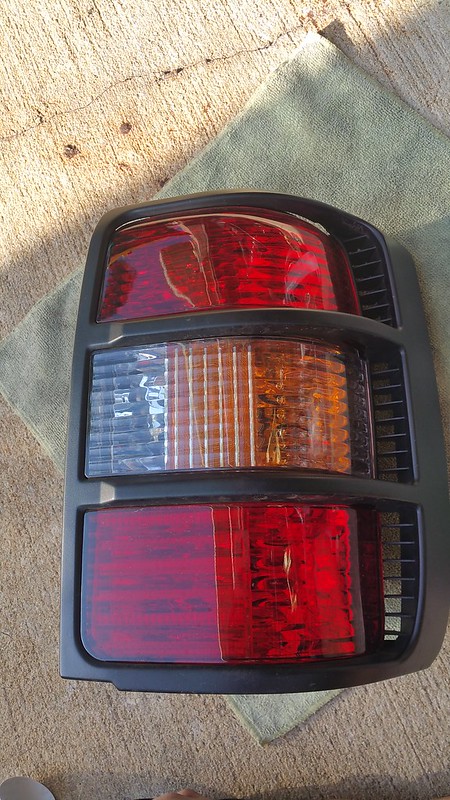 Groot by grimgs, on Flickr
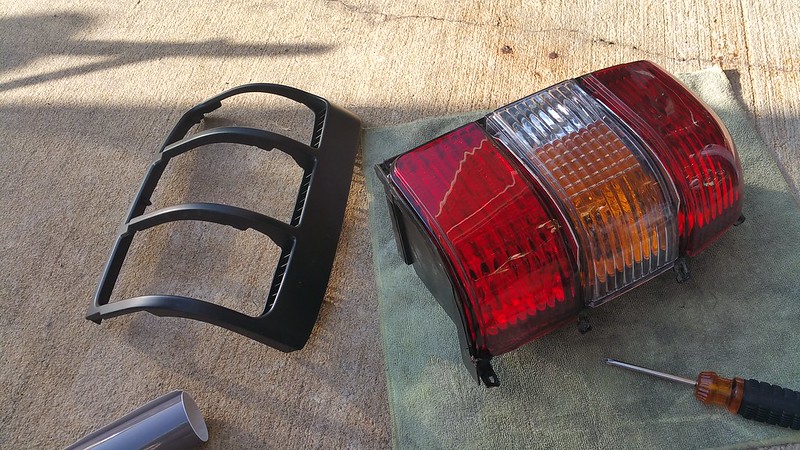 Groot by grimgs, on Flickr
This is after I applied the smoke vinyl
 Groot by grimgs, on Flickr
Smoked vinyl installed on the left compared to it being non smoke on the right.
 Groot by grimgs, on Flickr
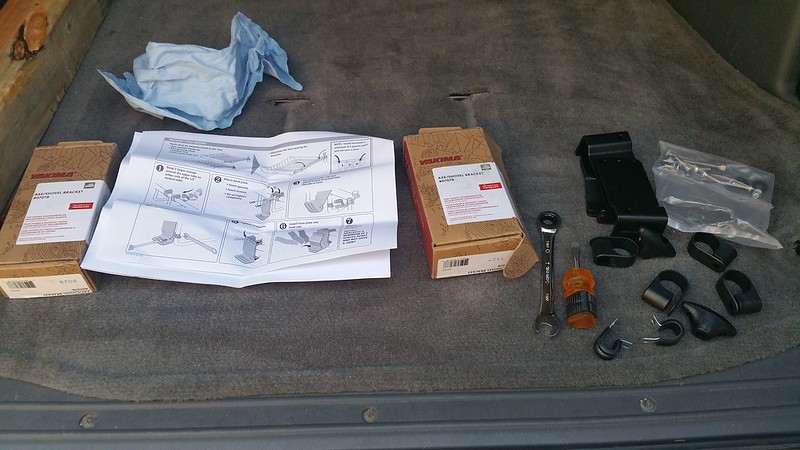
My wife got me some cool fathers day gifts...so I needed these Yakima holder brackets for the roof basket
 Groot by grimgs, on Flickr
Currently I haven't wired up the backup lights yet...waiting till I get some time remove my rear bumper to black it out and install the cree LED's in place of the stock location rear backup lights.
The only thing I wanted was a smoked out clear section so I got some smoke vinyl and applied it to the turn/backup section of the tails.
This is the crystal taillights and I swapped over the OEM taillight grille in place of the chrome grille they came in
 Groot by grimgs, on Flickr
 Groot by grimgs, on Flickr
This is after I applied the smoke vinyl
 Groot by grimgs, on Flickr
Smoked vinyl installed on the left compared to it being non smoke on the right.
 Groot by grimgs, on Flickr
My wife got me some cool fathers day gifts...so I needed these Yakima holder brackets for the roof basket
 Groot by grimgs, on Flickr
MrGalantguy
Mitsubishi Loyalist
So for quite some time I have been shopping for manual hubs for my Gen 2.5 and only looking for Aisin hubs. I missed out on a couple deals ..but I was either lookin for FHM-002 or FHM-003. I found a seller on Amazon that was selling them but not the greatest deal at $150 each. Seller would sell them out and then have them for a short time before selling them again. A couple weeks ago I got a notification on my Pixel amazon app that offered FHM-002 "used". I checked it out and sure enough Amazon had 2 listed each different price as "used but great condition". Me and my wife have bought similar "used" deals from Amazon before and all it was the box was slightly damaged but the actual item packaging inside was in perfect condition and still to this day work like they should.
I did some research and apparently items returned or when order picking if the original packaging is not to there standards the warehouse sells them as "used" items at usually a discounted rate. Amazon will though inspect the product inside to make sure if its meets quality inspection to "sell". Also they are covered under Amazons 30 day return policy so I can still return the items. I went ahead and bought both of the only 2 "used" FHM-002 Aisin hubs for $177. 8)
 Groot by grimgs, on Flickr
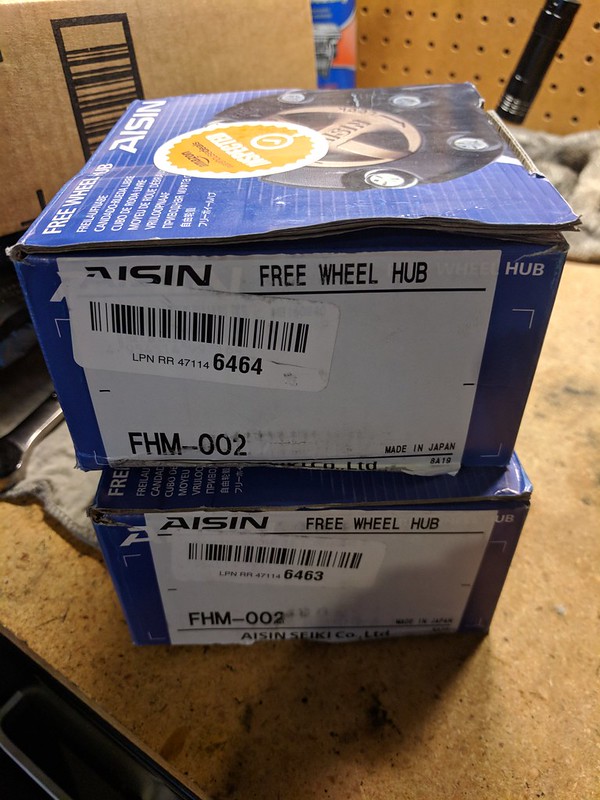
So 2 days (Amazon Prime 8))...this is what I got.
 Groot by grimgs, on Flickr
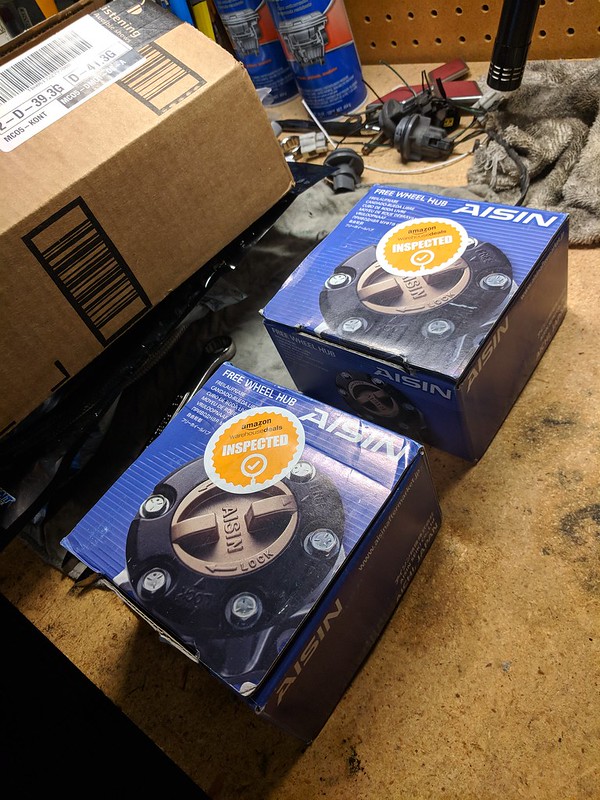 Groot by grimgs, on Flickr
Like the other "used deals" I got from Amazon..the boxes weren't perfect with some imperfections. I opened up the boxes and the hubs were still in original packaging, still factory greased....honestly brand new, never opended.
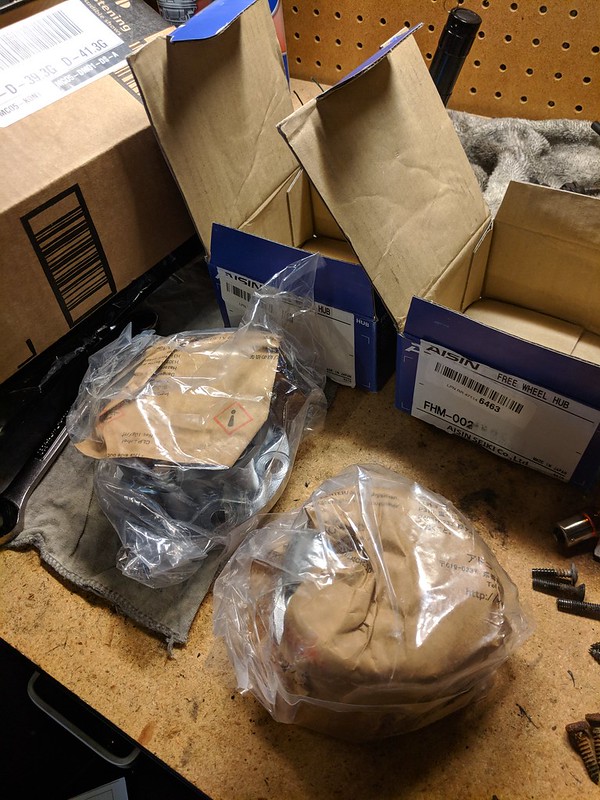 Groot by grimgs, on Flickr
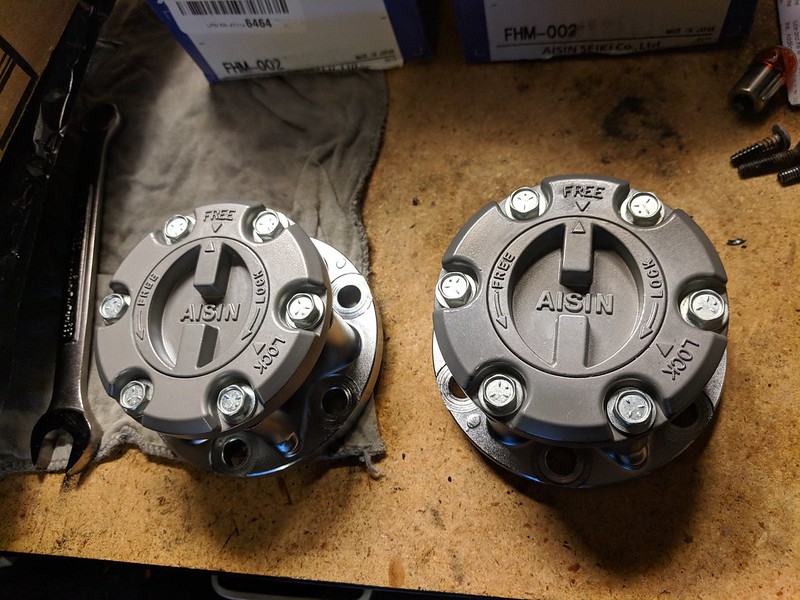 Groot by grimgs, on Flickr
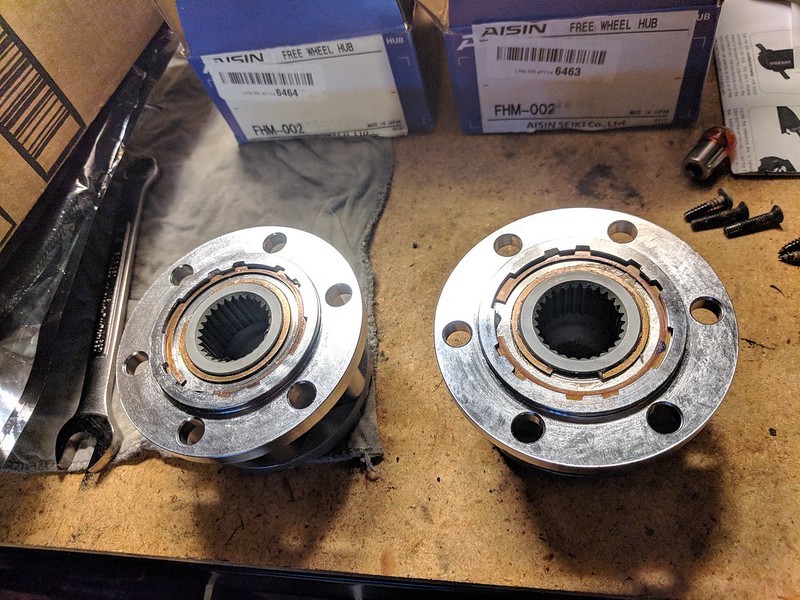 Groot by grimgs, on Flickr
I will be installing these probably next week, but I got a deal I couldn't pass up.
Currently the seller has them for sale brand new for $110, but currently out of stock.
I did some research and apparently items returned or when order picking if the original packaging is not to there standards the warehouse sells them as "used" items at usually a discounted rate. Amazon will though inspect the product inside to make sure if its meets quality inspection to "sell". Also they are covered under Amazons 30 day return policy so I can still return the items. I went ahead and bought both of the only 2 "used" FHM-002 Aisin hubs for $177. 8)
 Groot by grimgs, on Flickr
So 2 days (Amazon Prime 8))...this is what I got.
 Groot by grimgs, on Flickr
 Groot by grimgs, on Flickr
Like the other "used deals" I got from Amazon..the boxes weren't perfect with some imperfections. I opened up the boxes and the hubs were still in original packaging, still factory greased....honestly brand new, never opended.
 Groot by grimgs, on Flickr
 Groot by grimgs, on Flickr
 Groot by grimgs, on Flickr
I will be installing these probably next week, but I got a deal I couldn't pass up.
Currently the seller has them for sale brand new for $110, but currently out of stock.
MrGalantguy
Mitsubishi Loyalist
Got around to installing the Aisin hubs this past weekend. Very easy job to do...the hardest and most time consuming part was removing and reinstalling the snap rings.
For just general information Aisin manual hub FHM-002 and FHM-003 will fit Gen 1 and Gen 2/2.5 Monteros,Pajero,Shogun. FHM-002 has the metal dial and FHM-003 has the plastic dial
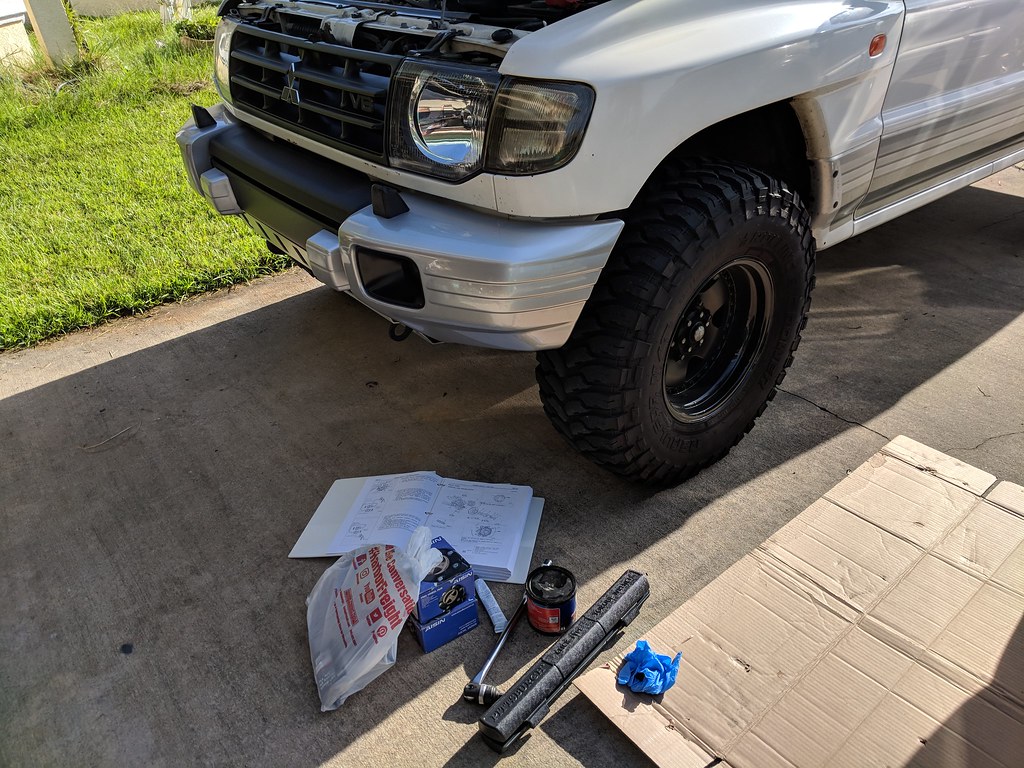 Groot by grimgs, on Flickr
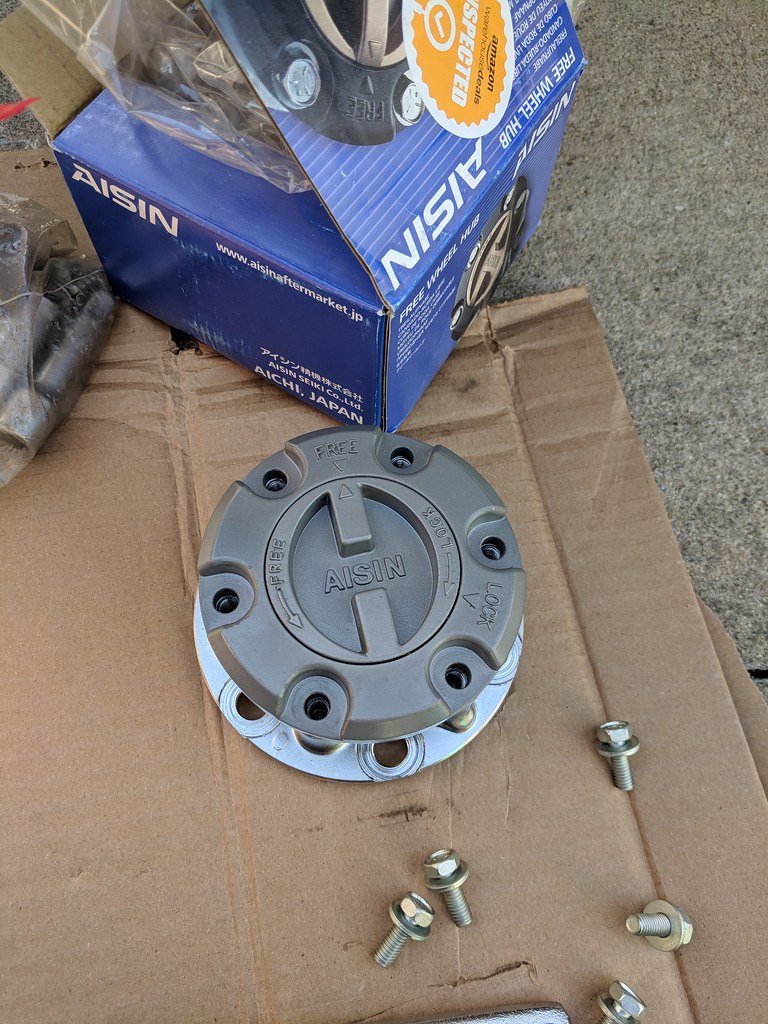 Groot by grimgs, on Flickr
Before you do anything make sure the manual hubs are in the "Free" position before you install them.
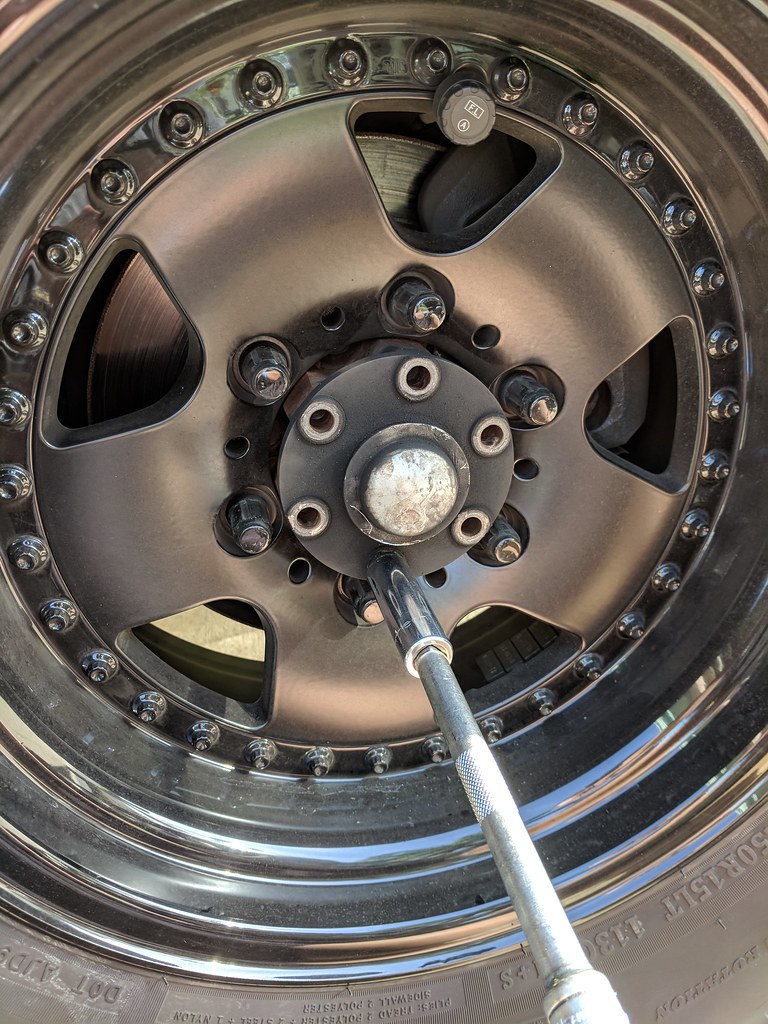 Groot by grimgs, on Flickr
Hub face bolts are 14mm.
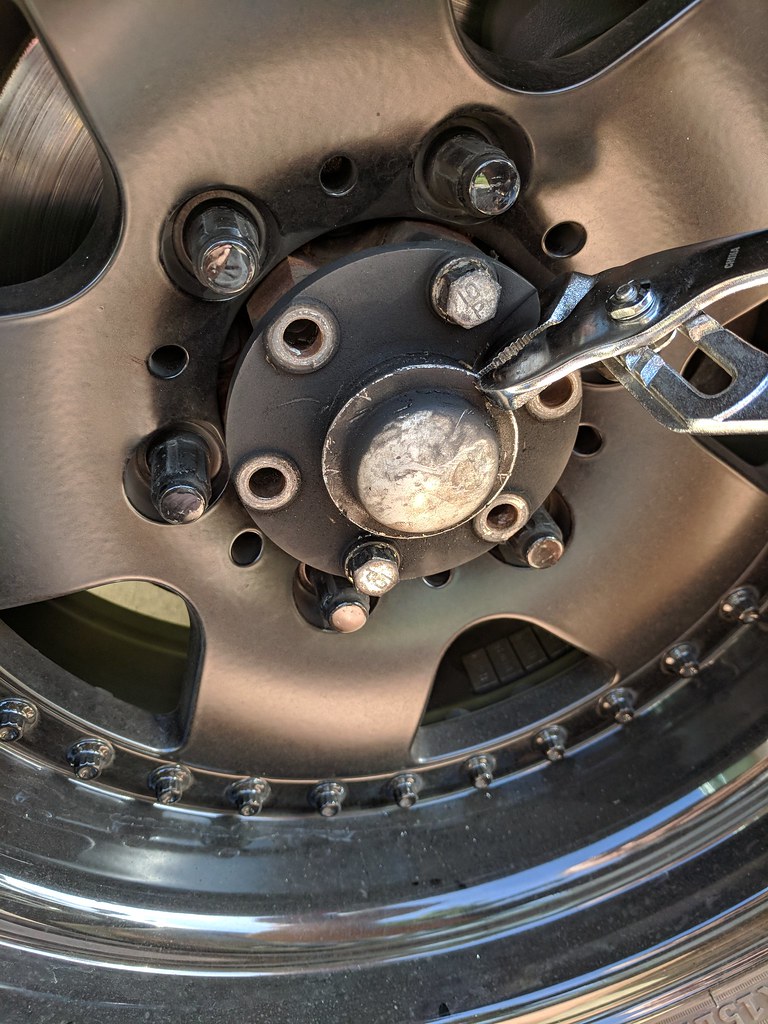 Groot by grimgs, on Flickr
 Groot by grimgs, on Flickr
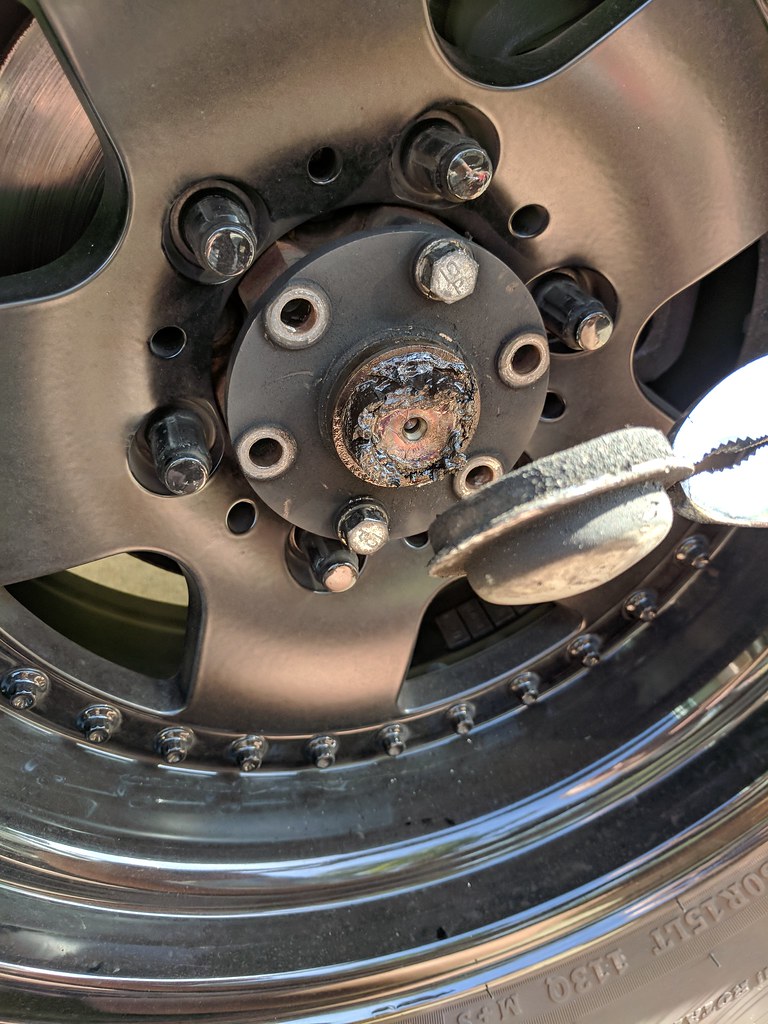
Mitsubishi calls this a "hub cap" which in essence is. This isn't a twisted on threaded cap..you have to pry it off.
 Groot by grimgs, on Flickr
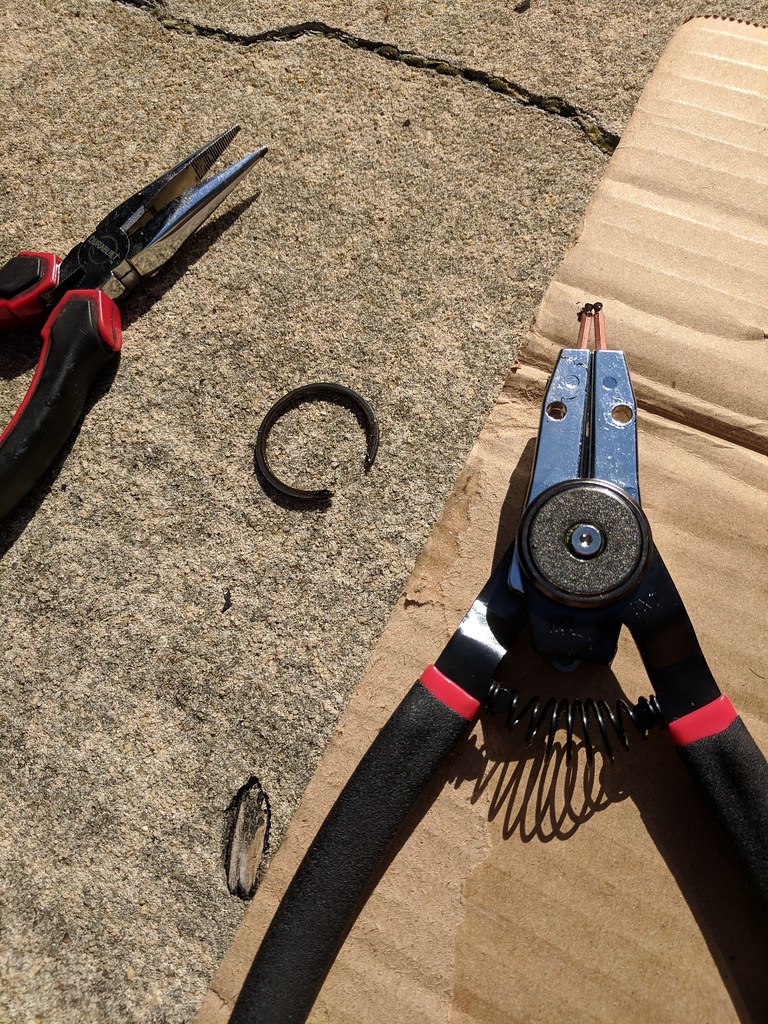
In order to remove the auto hub base you will need to remove the snap ring on the end of the cv shaft. A good set of snap ring priers will do the job...even the set I bought from Harbor Freight worked fine. The snap rings don't have the "holes" on the ends so it takes some skill and patience to remove them and reinstalling them.
 Groot by grimgs, on Flickr
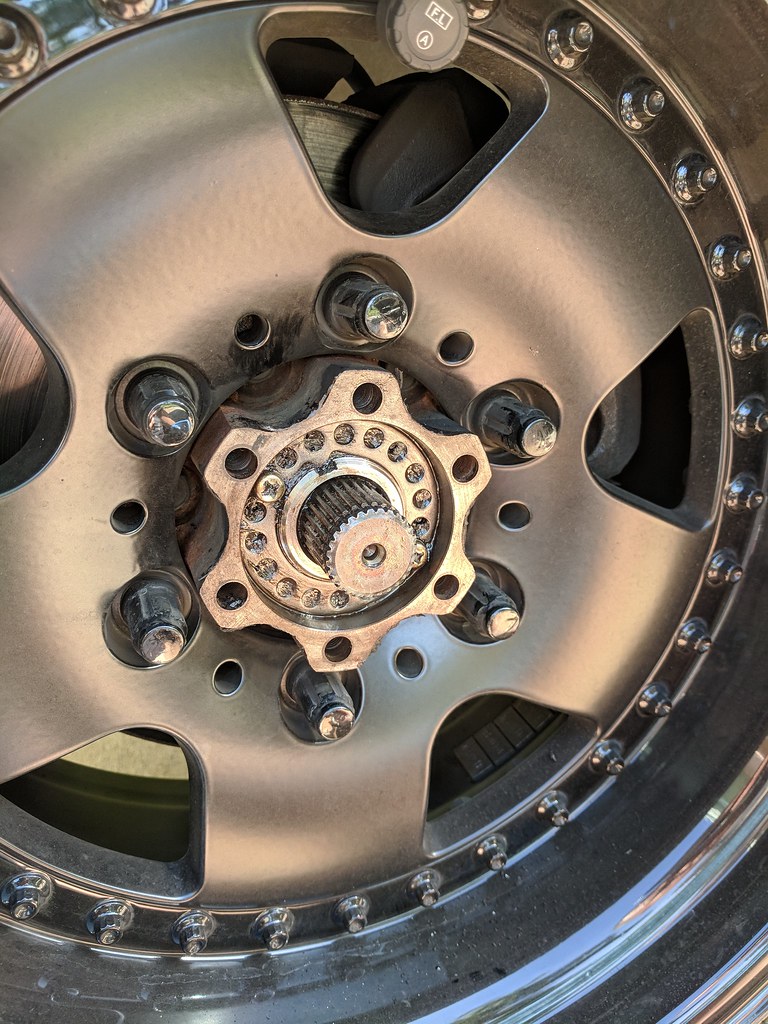
Once you get the snap ring off you should be able to pull off the hub face and expose the hub assembly. Take the opportunity to clean off the old grease and inspect the hub and bearings. Here pictured is after I cleaned off most of the hold grease. Prior to installing the manual hub base apply some wheel bearing grease.
 Groot by grimgs, on Flickr
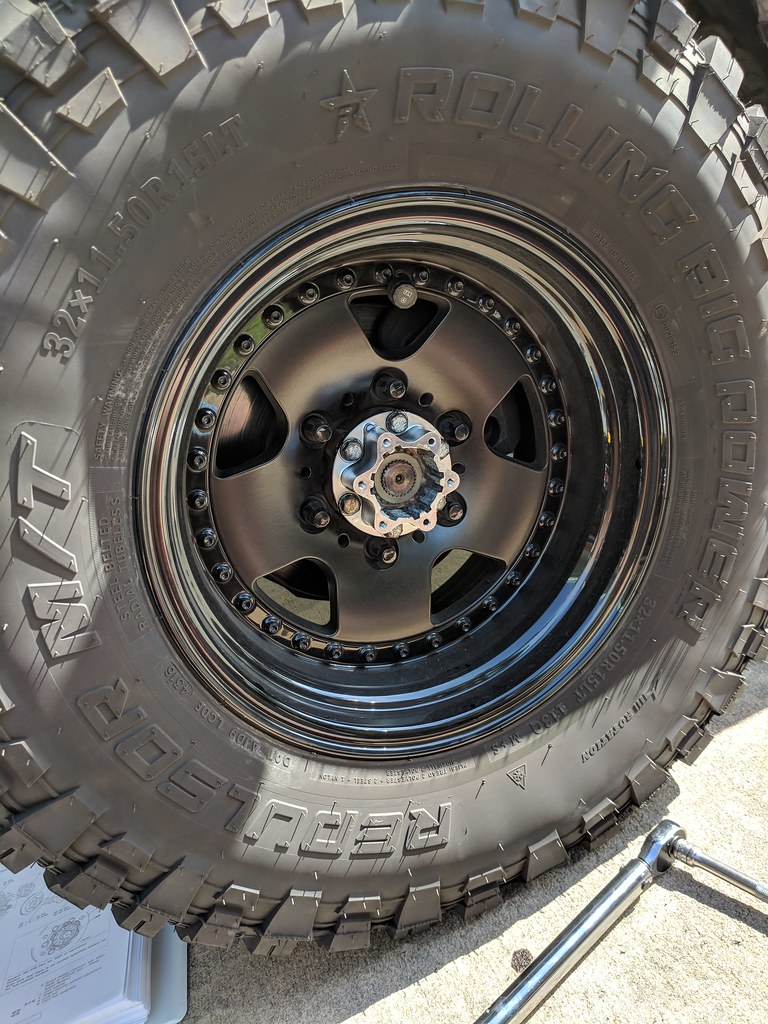
After you apply new wheel bearing grease go ahead and install the hub base. Since there is no gasket..apply some RTV sealant on the mating surface to help keep a seal to prevent water / debris intrusion. You can use a little bit a Loctite or not before you thread in the 14mm bolts back. Thread them all to snug and then torque them down like wheel lug nuts in a star pattern. FSM suggest 38-42 ft lbs but I torqued mine at 40 ft lbs.
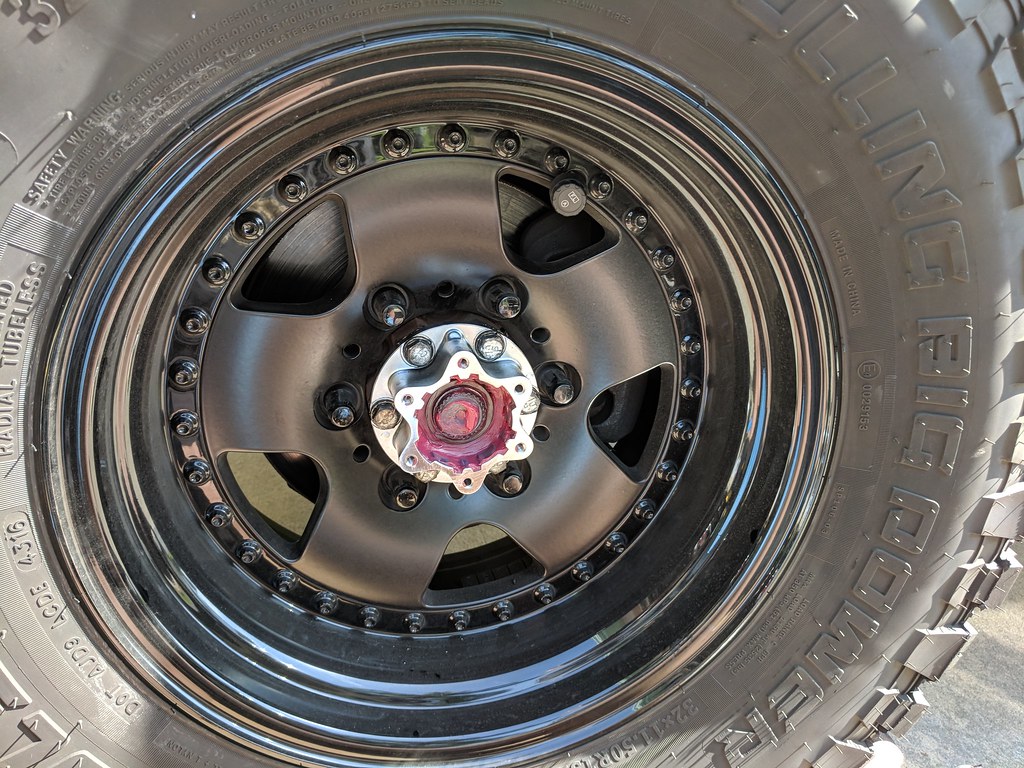 Groot by grimgs, on Flickr
Once the hub base is installed go ahead and apply some wheel bearing grease inside. Make sure the hub face gasket is aligned and then thread in the bolts. The Aisin hub face bolts are 10mm and do NOT require a lot of ft lbs to torque them down. I torqued them down till I got resistance and half turn.
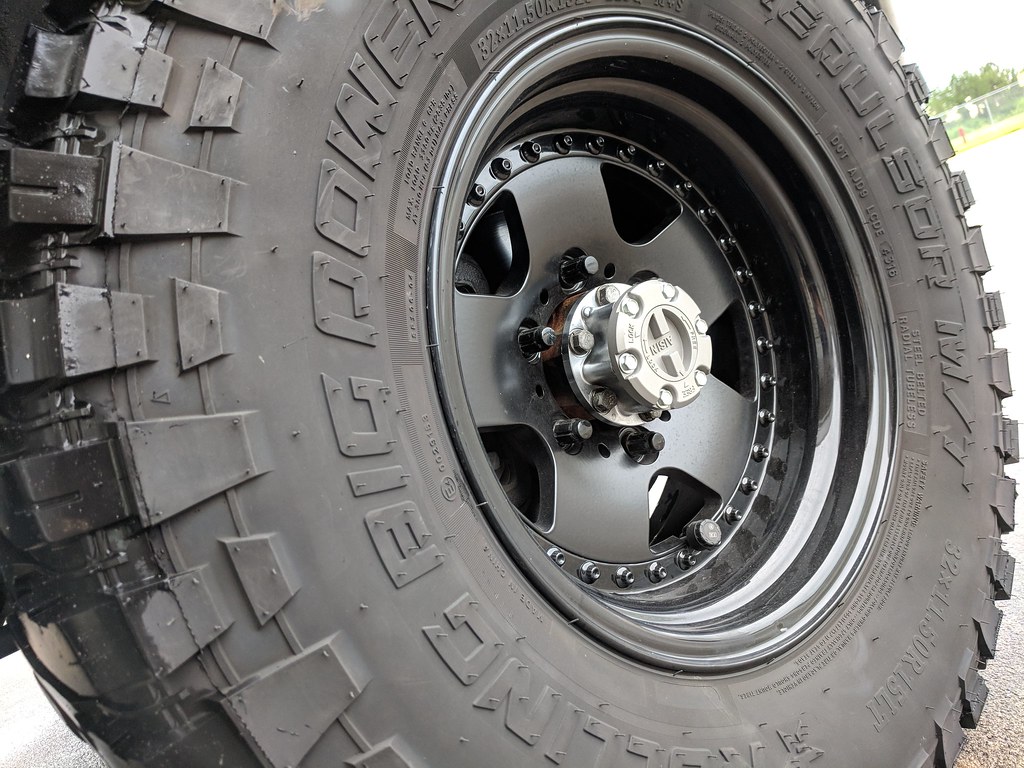 Groot by grimgs, on Flickr
After you install them just turn the knob to make sure it turns and test drive.
For just general information Aisin manual hub FHM-002 and FHM-003 will fit Gen 1 and Gen 2/2.5 Monteros,Pajero,Shogun. FHM-002 has the metal dial and FHM-003 has the plastic dial
 Groot by grimgs, on Flickr
 Groot by grimgs, on Flickr
Before you do anything make sure the manual hubs are in the "Free" position before you install them.
 Groot by grimgs, on Flickr
Hub face bolts are 14mm.
 Groot by grimgs, on Flickr
 Groot by grimgs, on Flickr
Mitsubishi calls this a "hub cap" which in essence is. This isn't a twisted on threaded cap..you have to pry it off.
 Groot by grimgs, on Flickr
In order to remove the auto hub base you will need to remove the snap ring on the end of the cv shaft. A good set of snap ring priers will do the job...even the set I bought from Harbor Freight worked fine. The snap rings don't have the "holes" on the ends so it takes some skill and patience to remove them and reinstalling them.
 Groot by grimgs, on Flickr
Once you get the snap ring off you should be able to pull off the hub face and expose the hub assembly. Take the opportunity to clean off the old grease and inspect the hub and bearings. Here pictured is after I cleaned off most of the hold grease. Prior to installing the manual hub base apply some wheel bearing grease.
 Groot by grimgs, on Flickr
After you apply new wheel bearing grease go ahead and install the hub base. Since there is no gasket..apply some RTV sealant on the mating surface to help keep a seal to prevent water / debris intrusion. You can use a little bit a Loctite or not before you thread in the 14mm bolts back. Thread them all to snug and then torque them down like wheel lug nuts in a star pattern. FSM suggest 38-42 ft lbs but I torqued mine at 40 ft lbs.
 Groot by grimgs, on Flickr
Once the hub base is installed go ahead and apply some wheel bearing grease inside. Make sure the hub face gasket is aligned and then thread in the bolts. The Aisin hub face bolts are 10mm and do NOT require a lot of ft lbs to torque them down. I torqued them down till I got resistance and half turn.
 Groot by grimgs, on Flickr
After you install them just turn the knob to make sure it turns and test drive.
Last edited:
MrGalantguy
Mitsubishi Loyalist
Thank you for that...I forgot to add that in my post.
reversecaoboy
Observer
Thanks for the awesome write up!
I need to get around to doing this.
I need to get around to doing this.
MrGalantguy
Mitsubishi Loyalist
I have had them for a week now...I do notice a little more pep on initial acceleration with the fronts "free". Maybe its just a state of mind..either or its a great upgrade.
reversecaoboy
Observer
Curious to see if your average mpg goes up as well
Similar threads
- Replies
- 7
- Views
- 1K
- Replies
- 2
- Views
- 614
- Replies
- 16
- Views
- 5K
- Replies
- 14
- Views
- 4K

 Groot
Groot Groot
Groot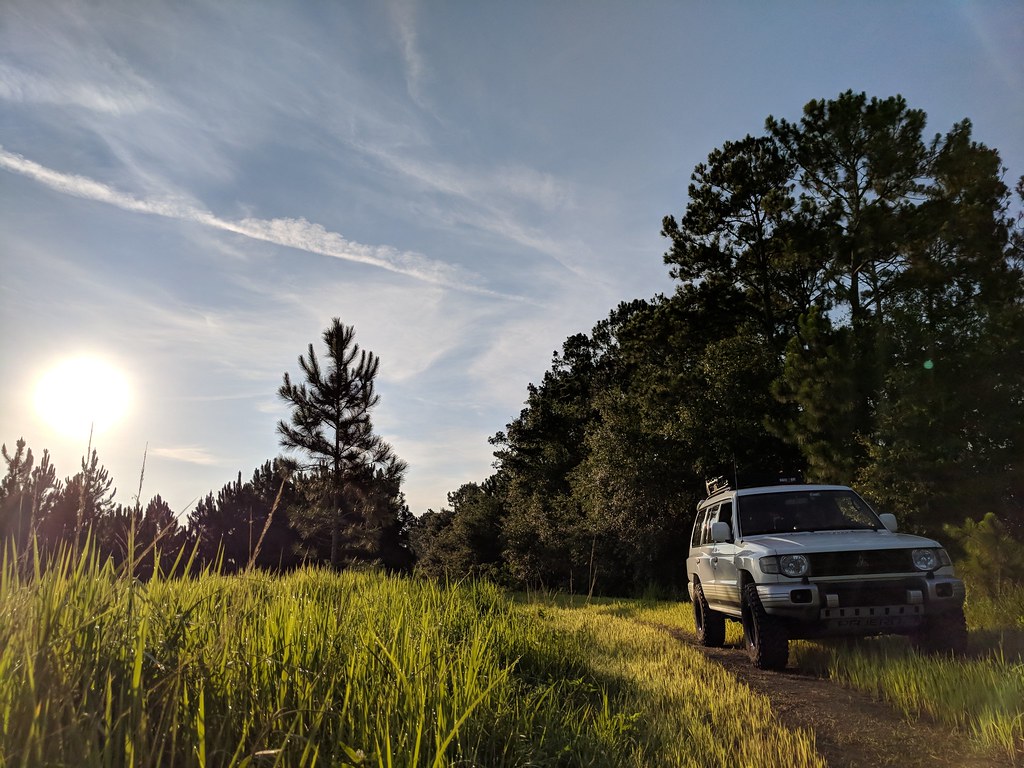 Groot
Groot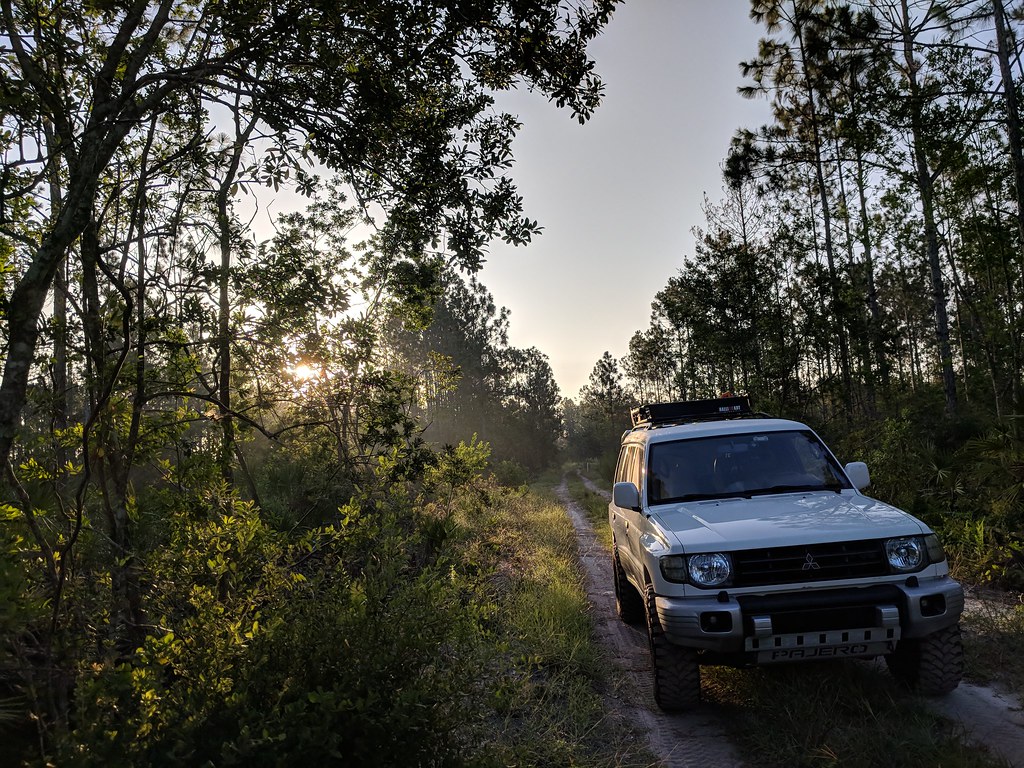 Groot
Groot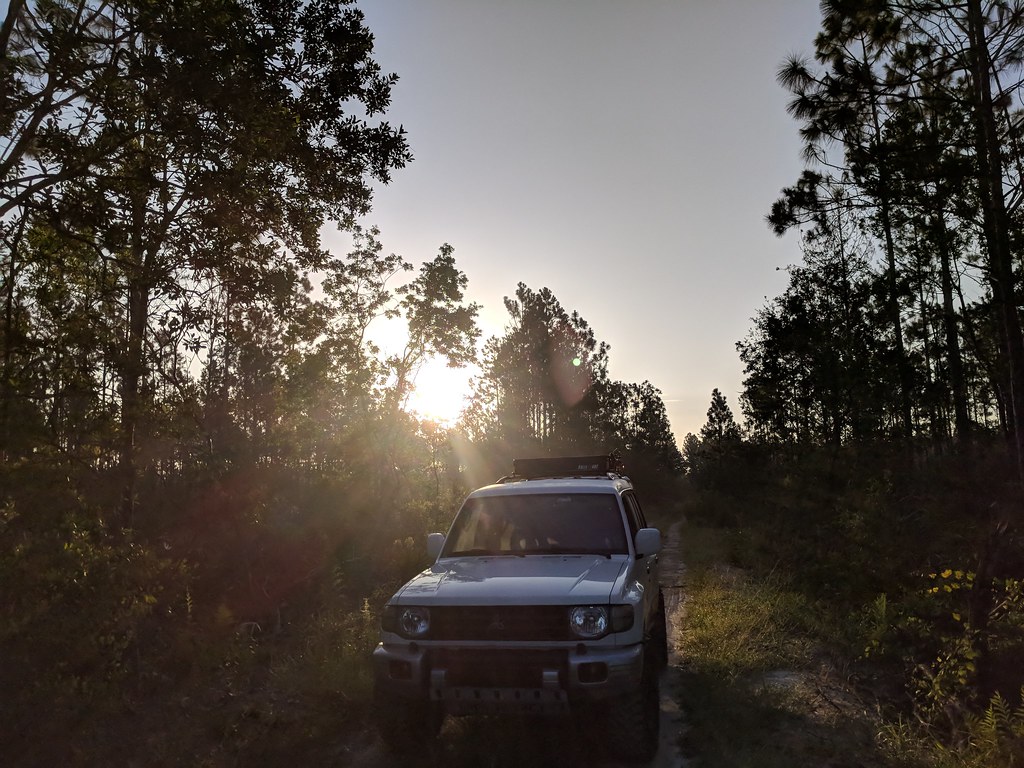 Groot
Groot