Mrgalantguys 1998 Montero Winter package aka "Groot" Build & Adventure thread.

MrGalantguy

Mitsubishi Loyalist
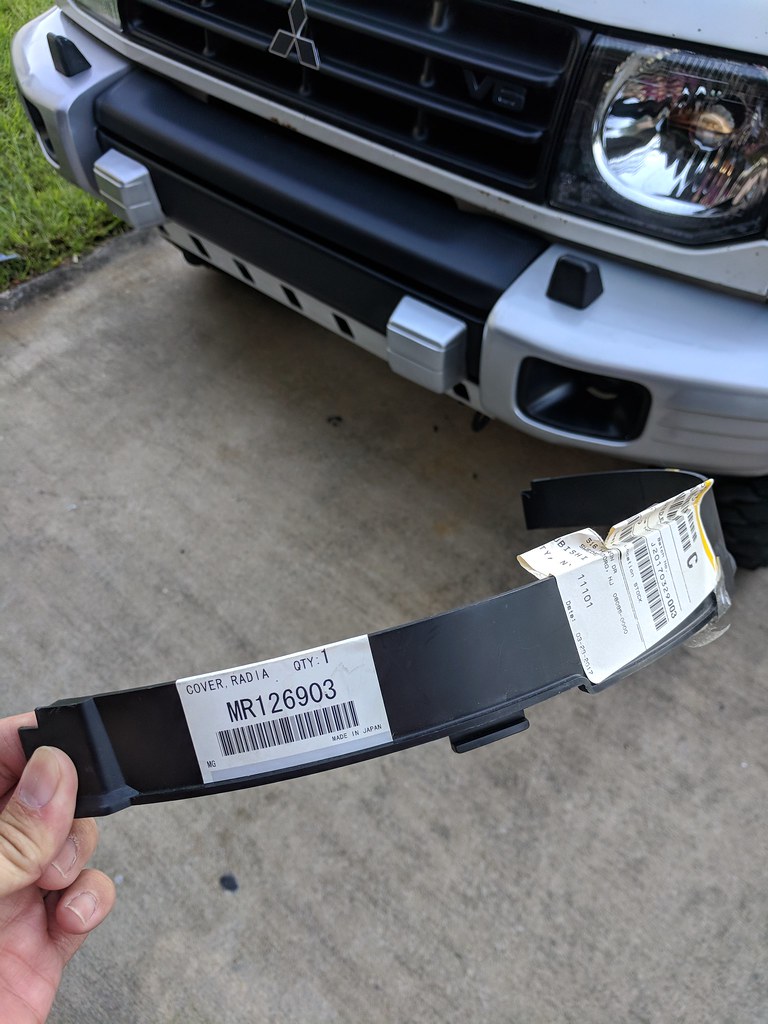
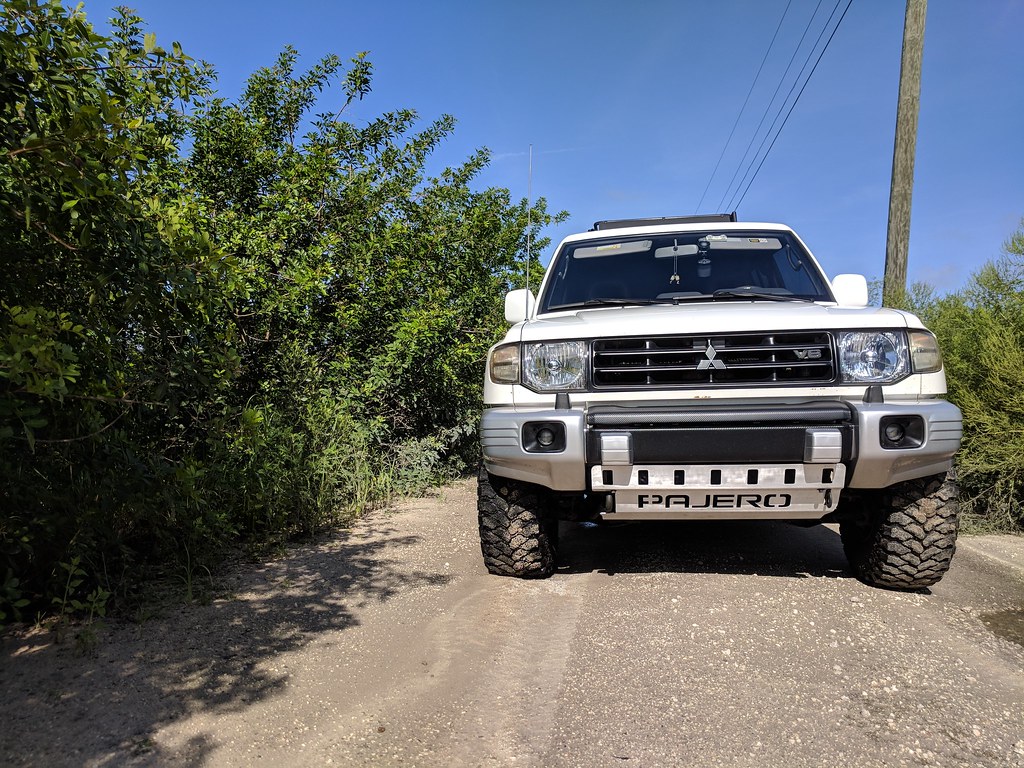
Oil change was due so perfect time to install these parts. Oil filler tube was leaking so I ordered a new OEM one....no more leaking. I also was missing the lower portion of my fan shroud that I kept forgetting to order till my radiator issue a month ago so I ordered it.
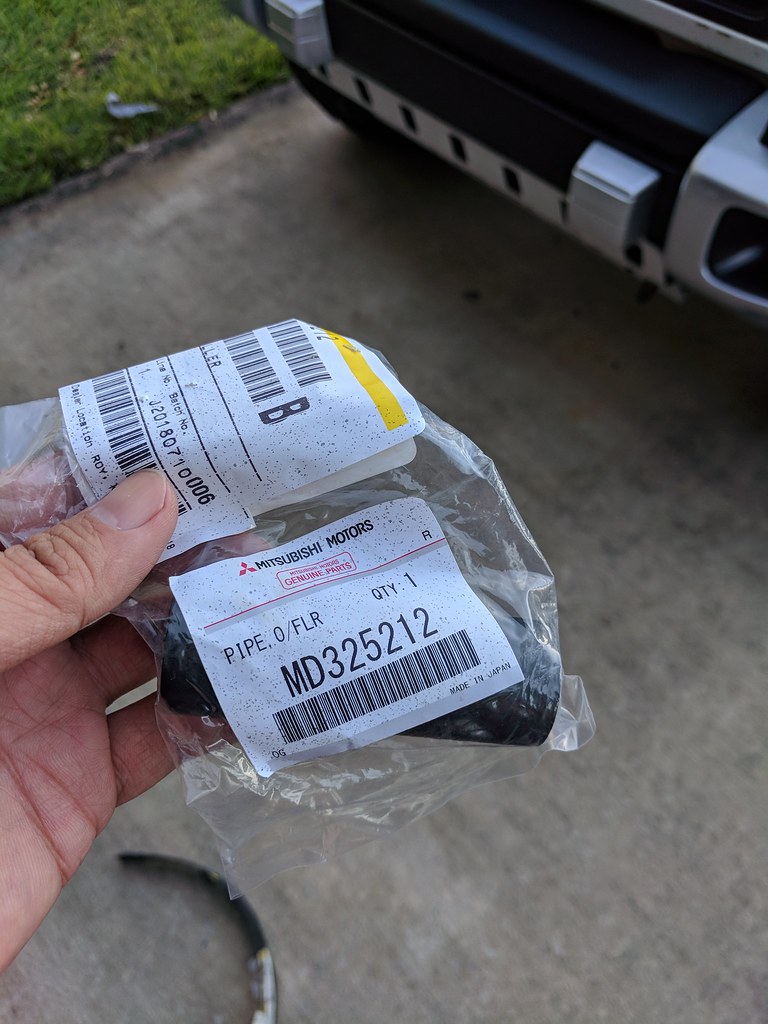
Groot by grimgs, on Flickr
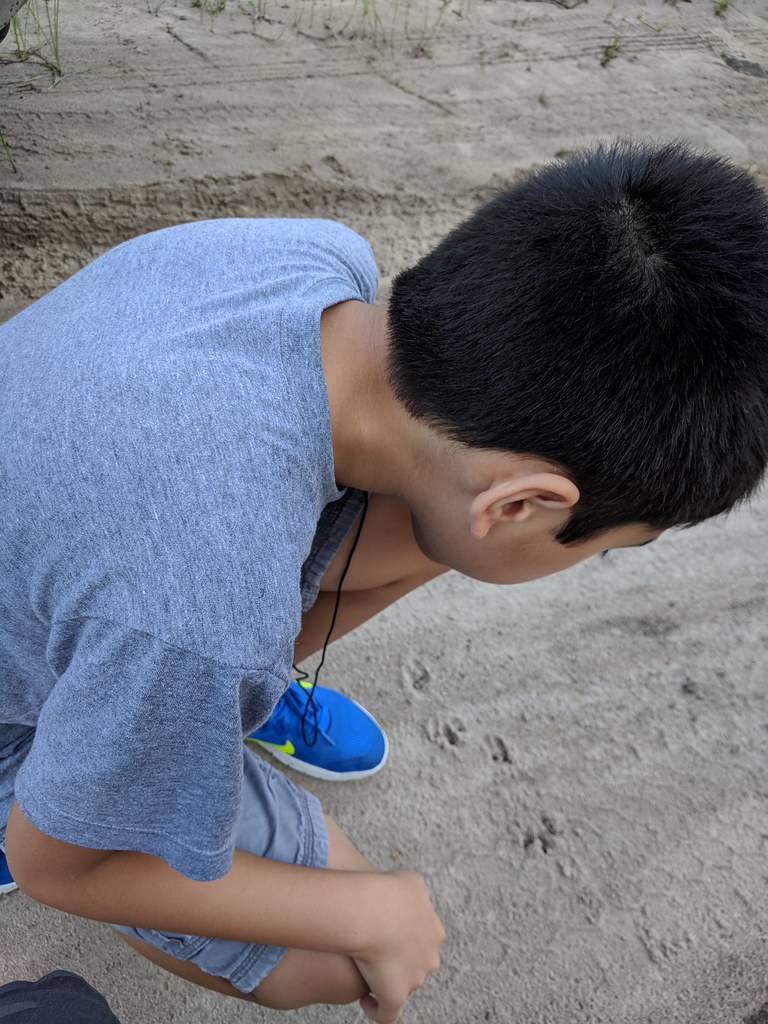
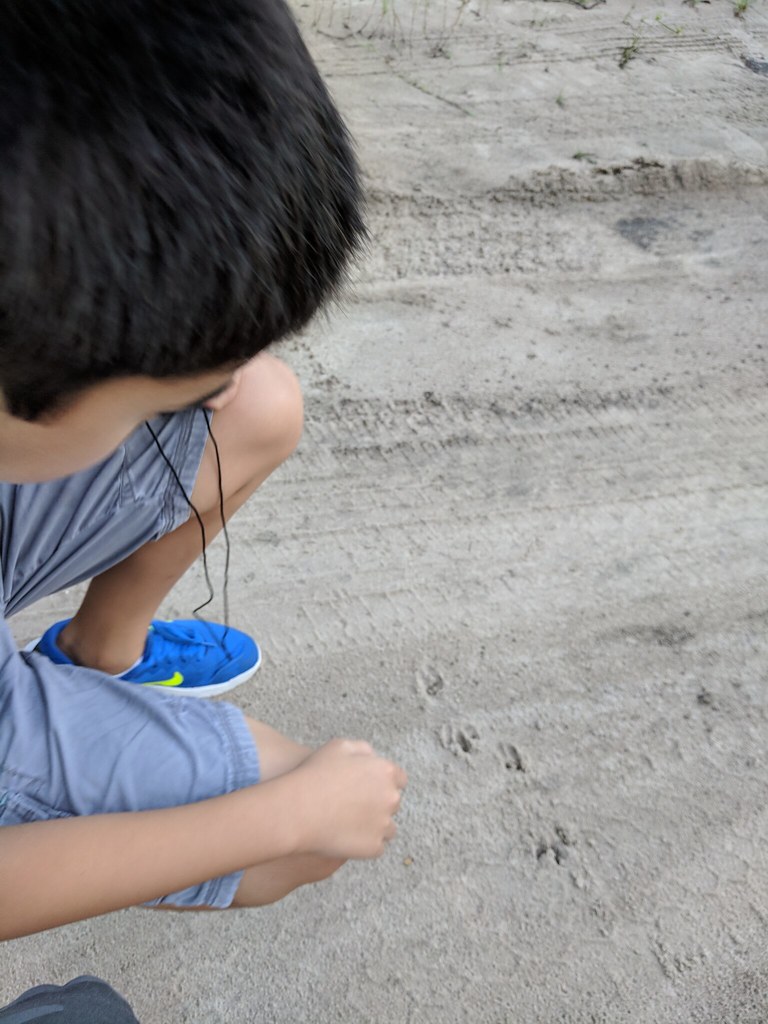
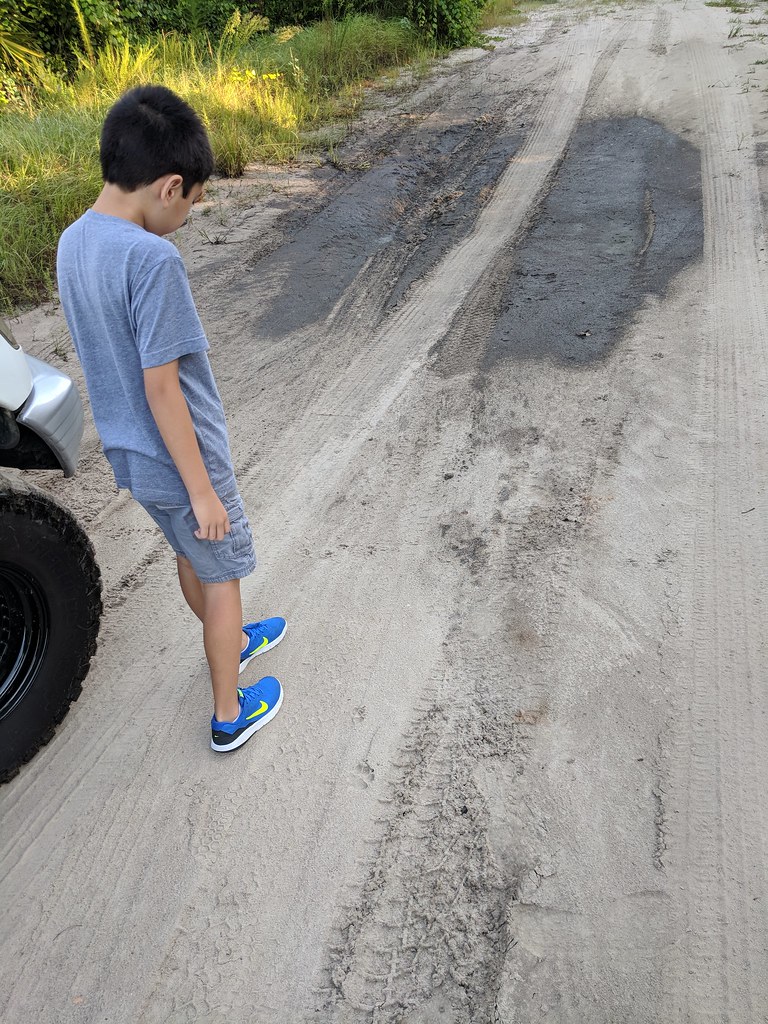
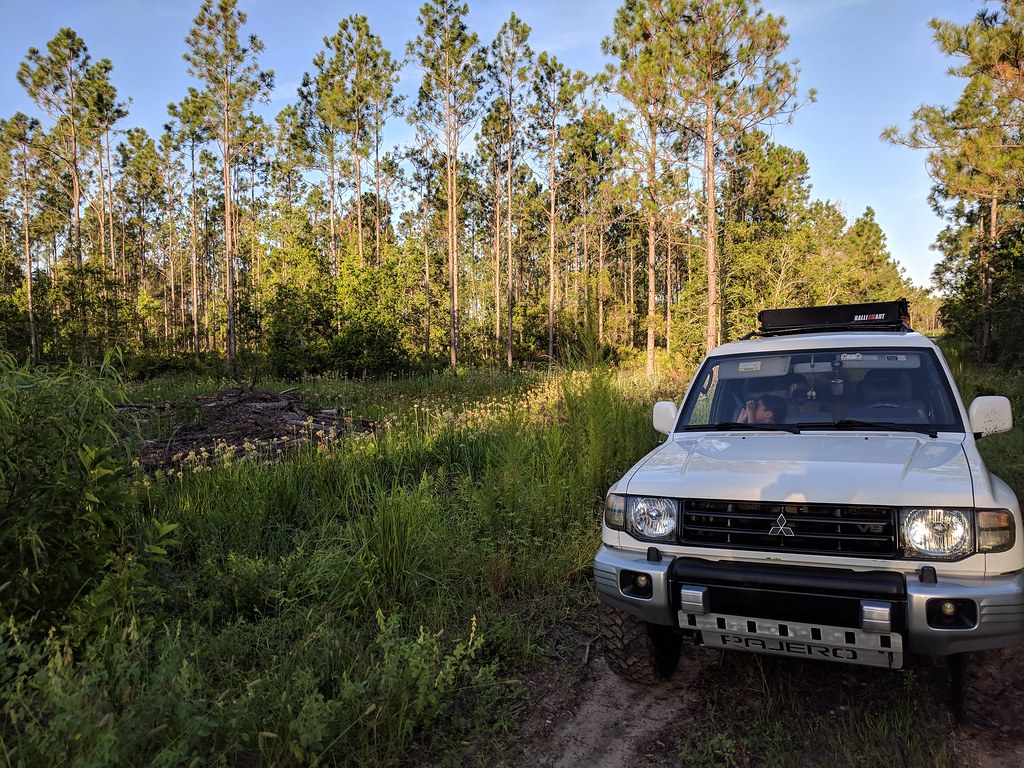
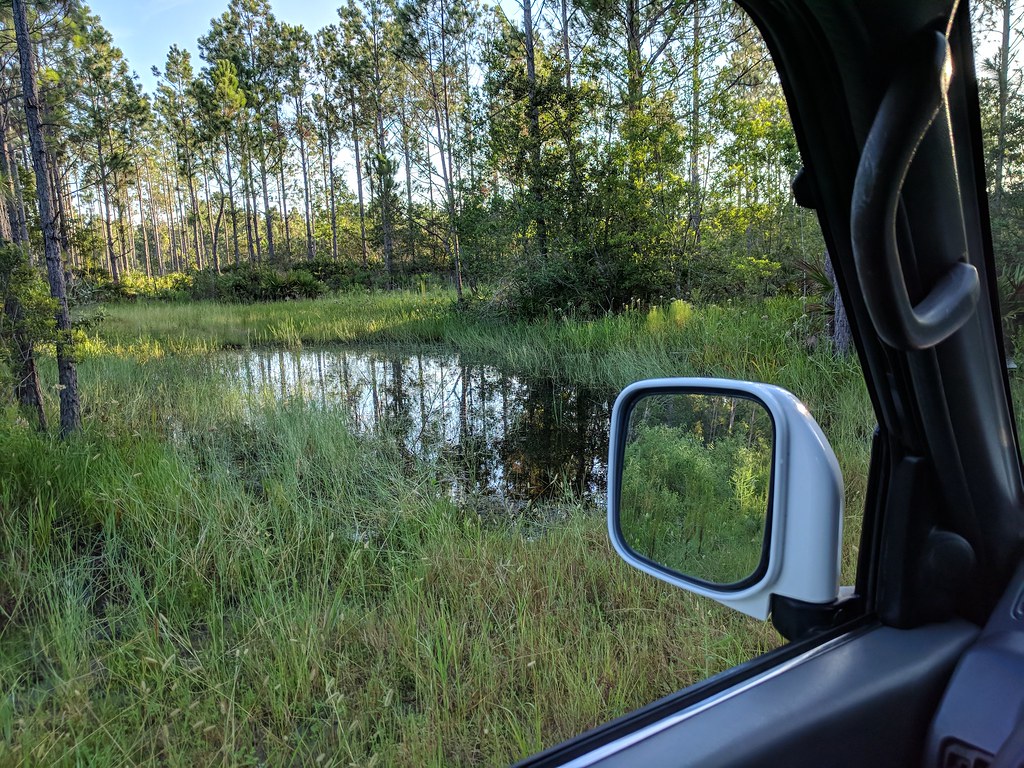
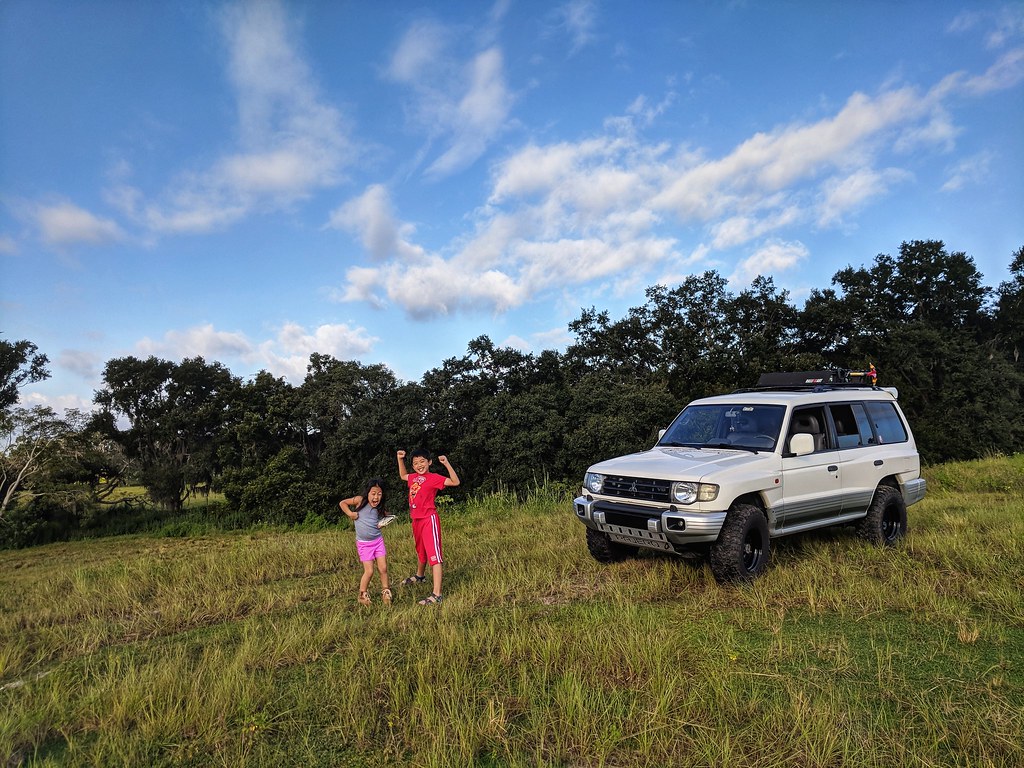
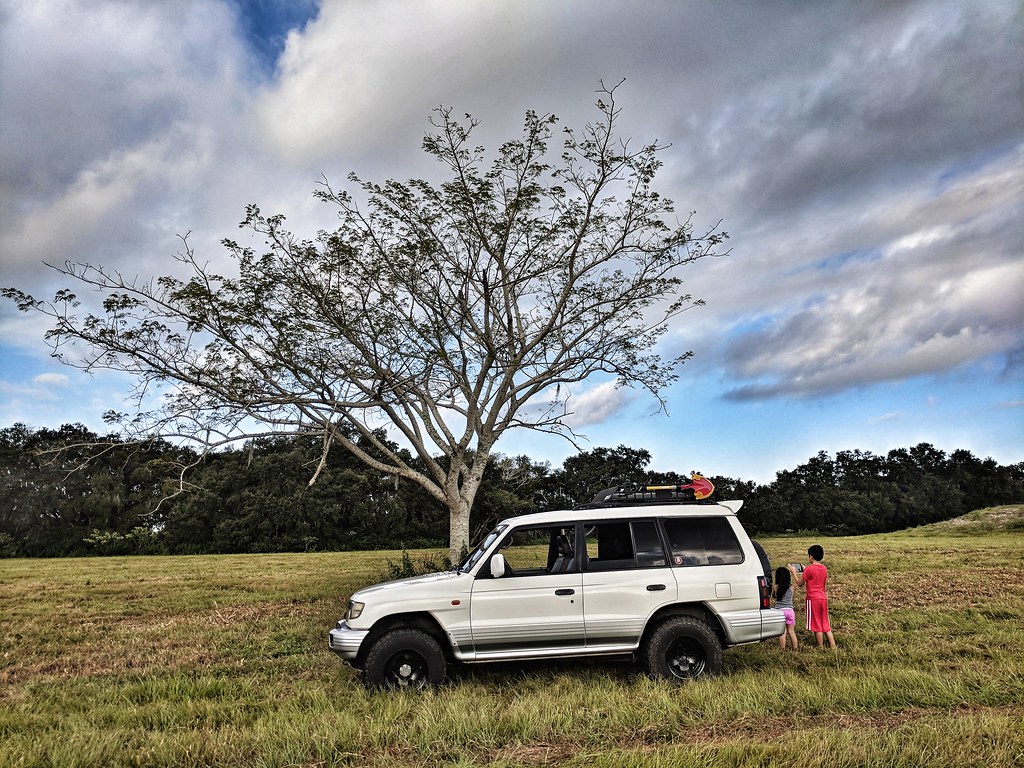
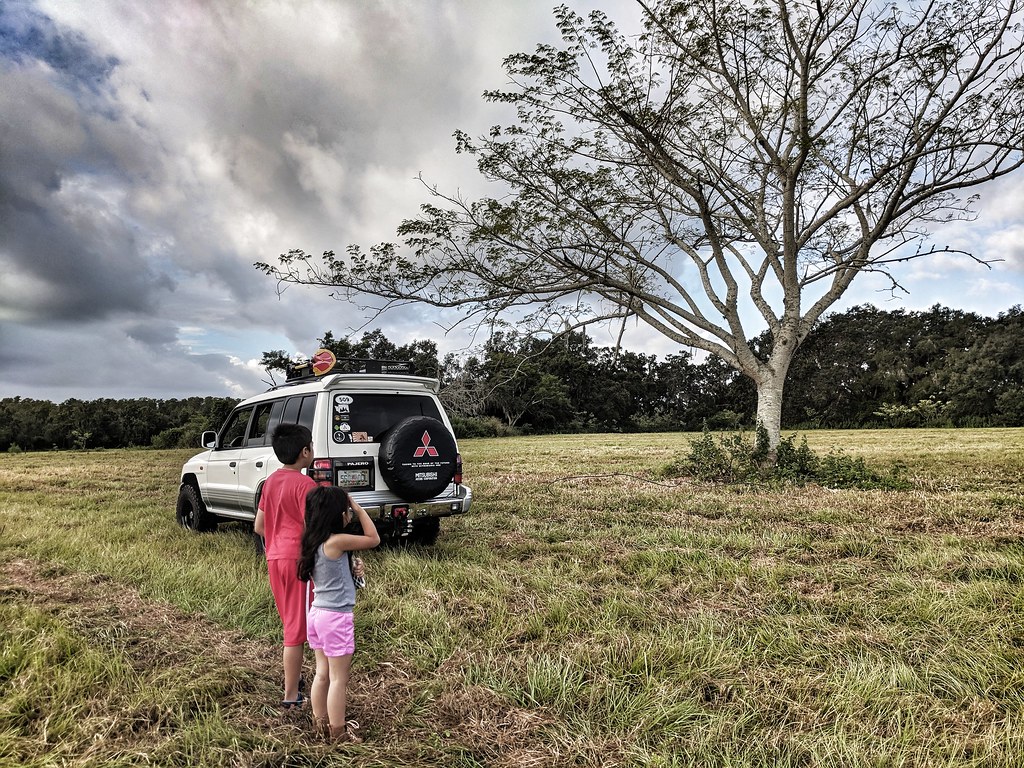
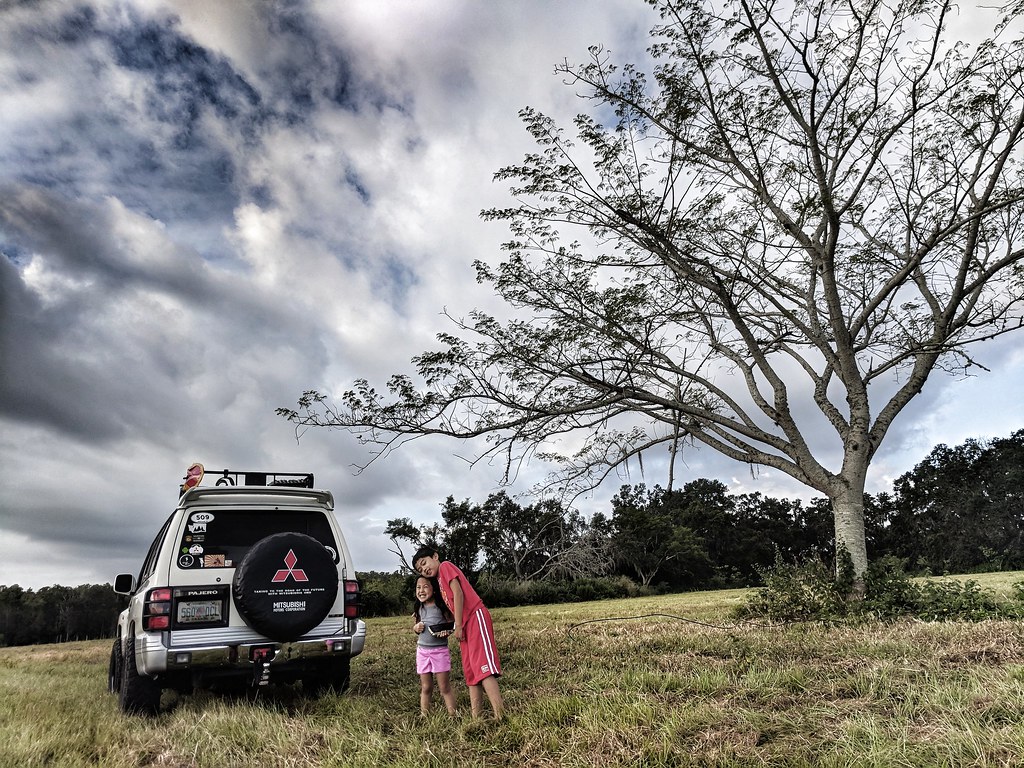
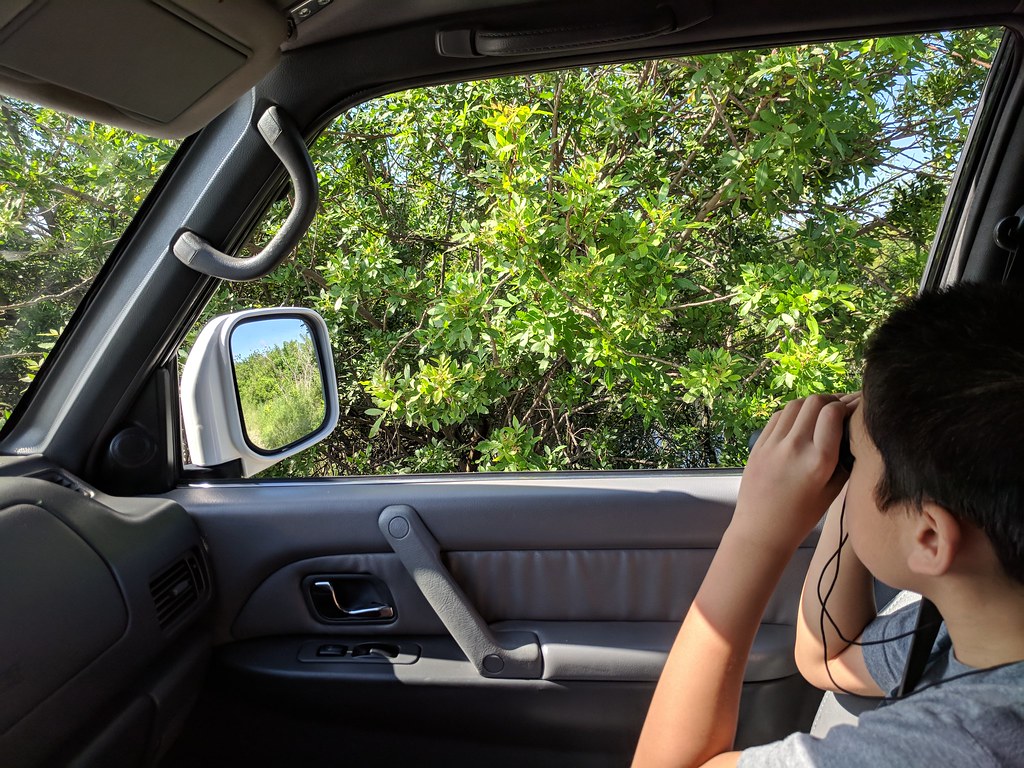
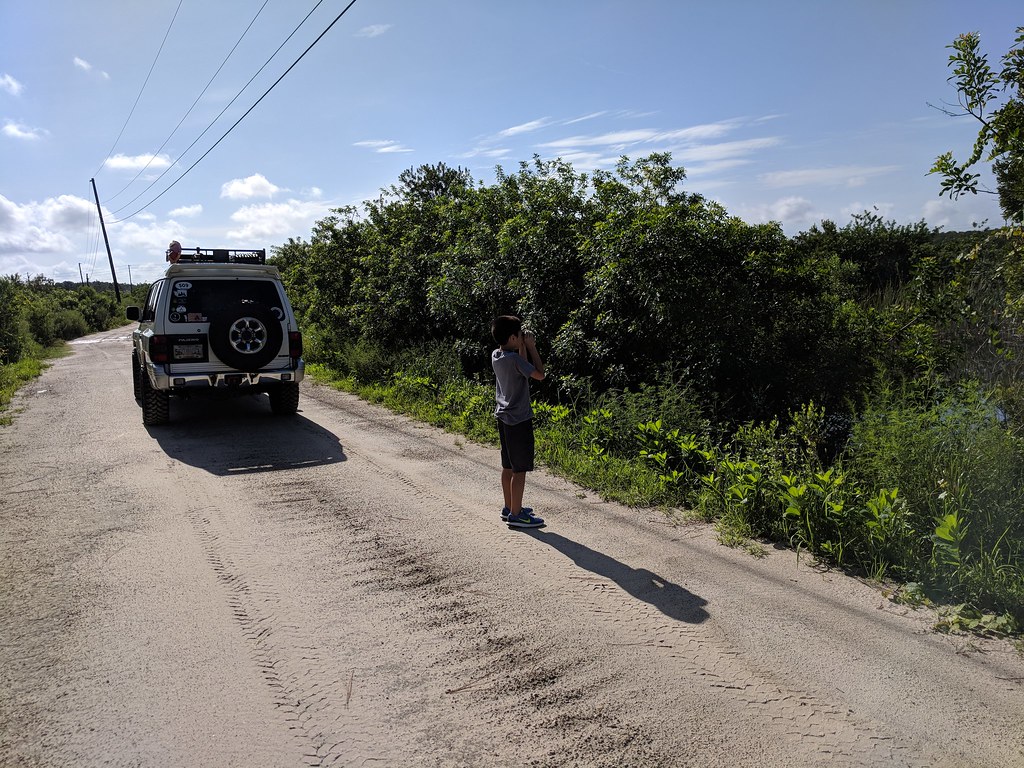
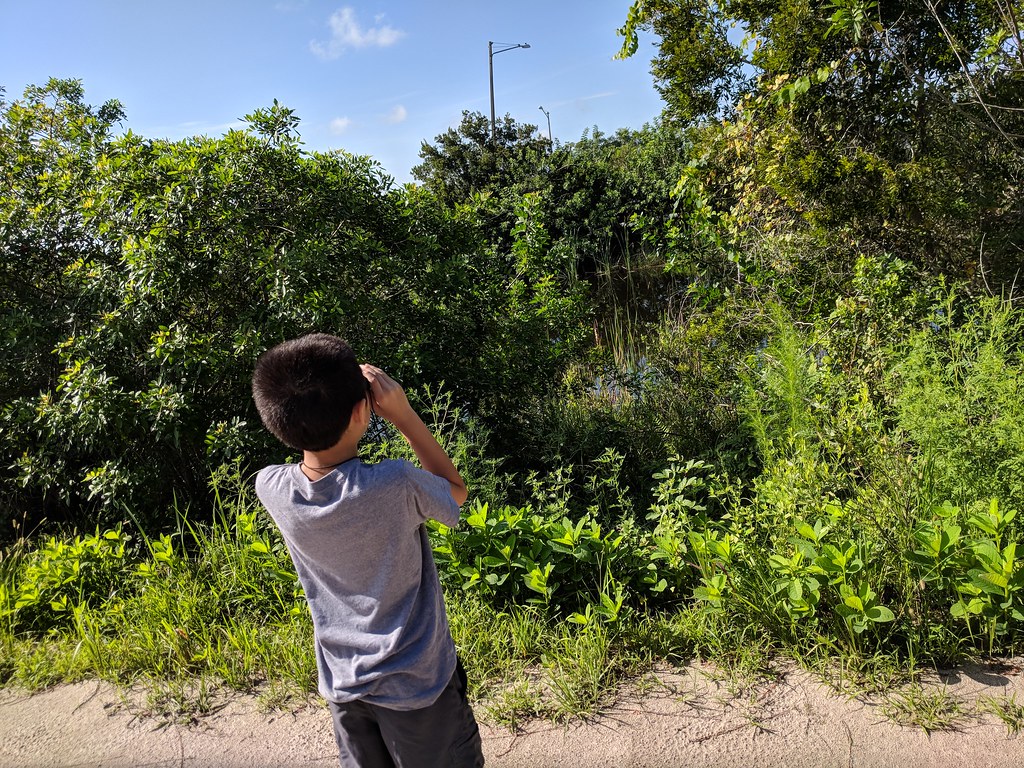
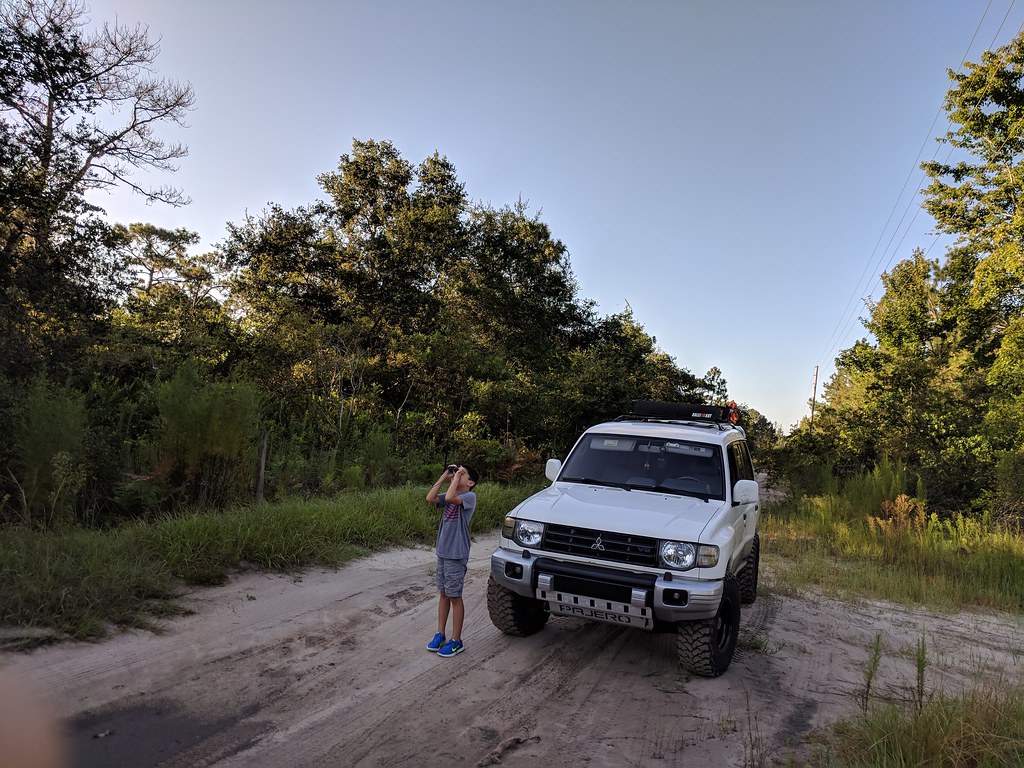
My son is a big avid nature fan , especially when it comes to wildlife. Knowing this has helped us understand him as he is autistic so when it came to therapy and understanding him. He has always wanted a pair of binoculars to sight see wildlife in their natural habitat so I bought him some binoculars. One of the main reasons I bought my Montero is to be able to explore and go offroad to more remote places to be where animals are in their natural surroundings rather than zoos, etc etc. So I found a trail near my house and took my little man with me. He is hooked and not only he wants to do more exploring he has this new found appreciation of the Montero. Looking forward to when it get cooler out...I am definitely looking to do more exploring with my son and hopefully my daughter and wife.
Groot by grimgs, on Flickr
Groot by grimgs, on Flickr Groot by grimgs, on Flickr
 

MrGalantguy

Mitsubishi Loyalist
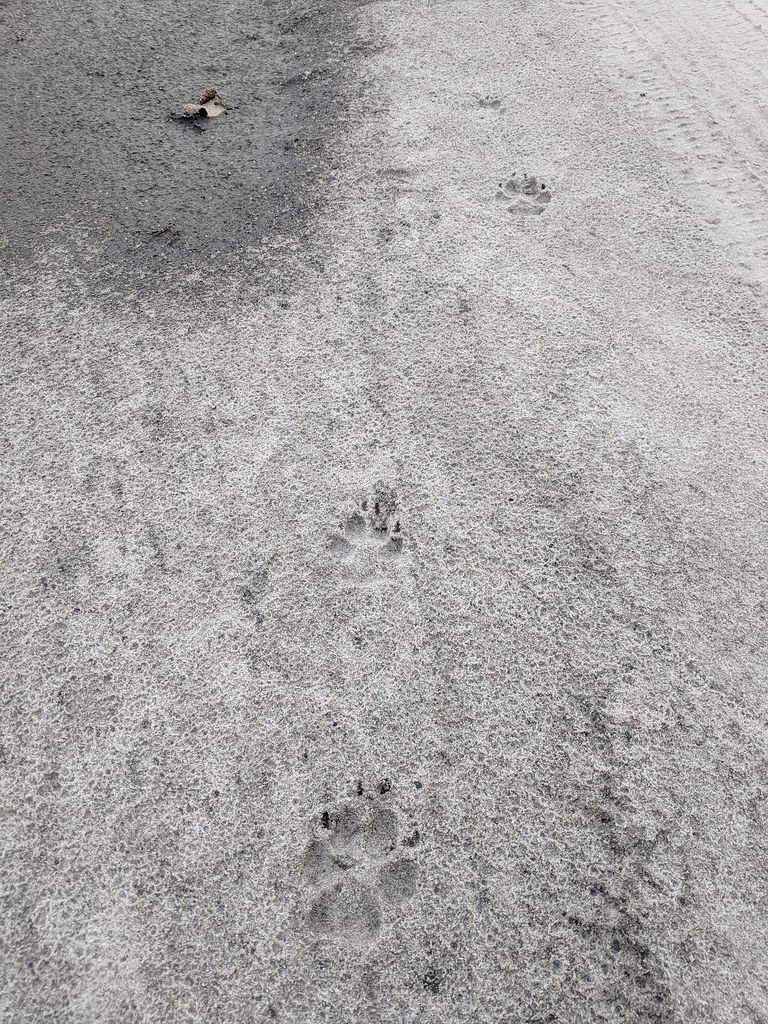
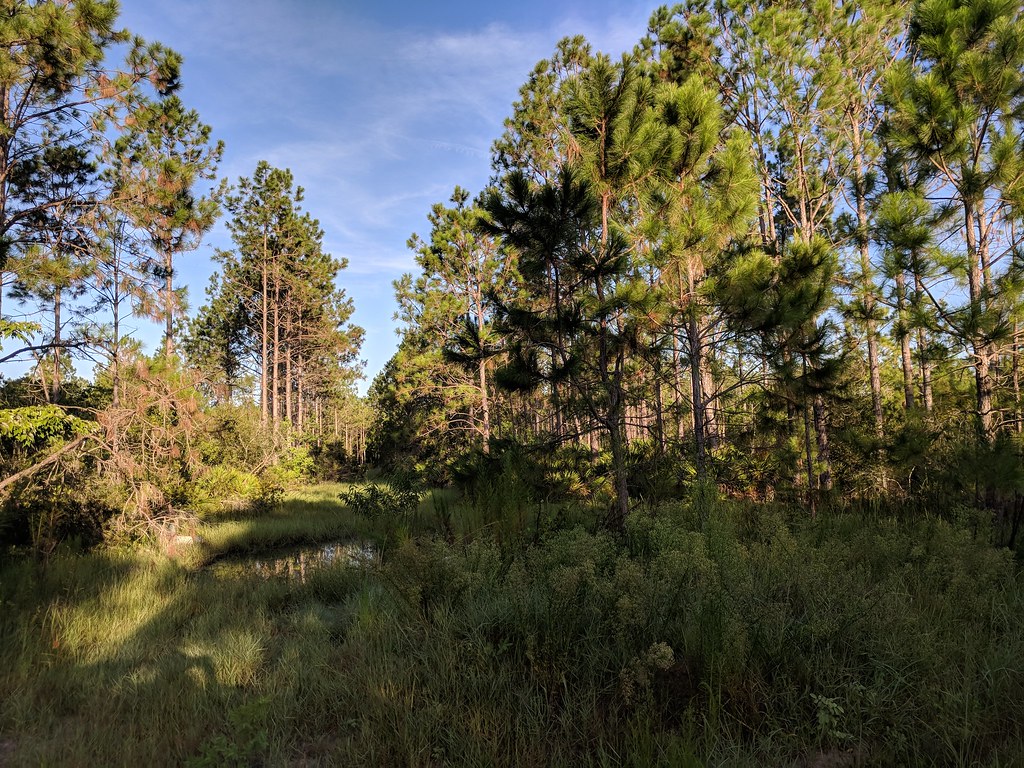
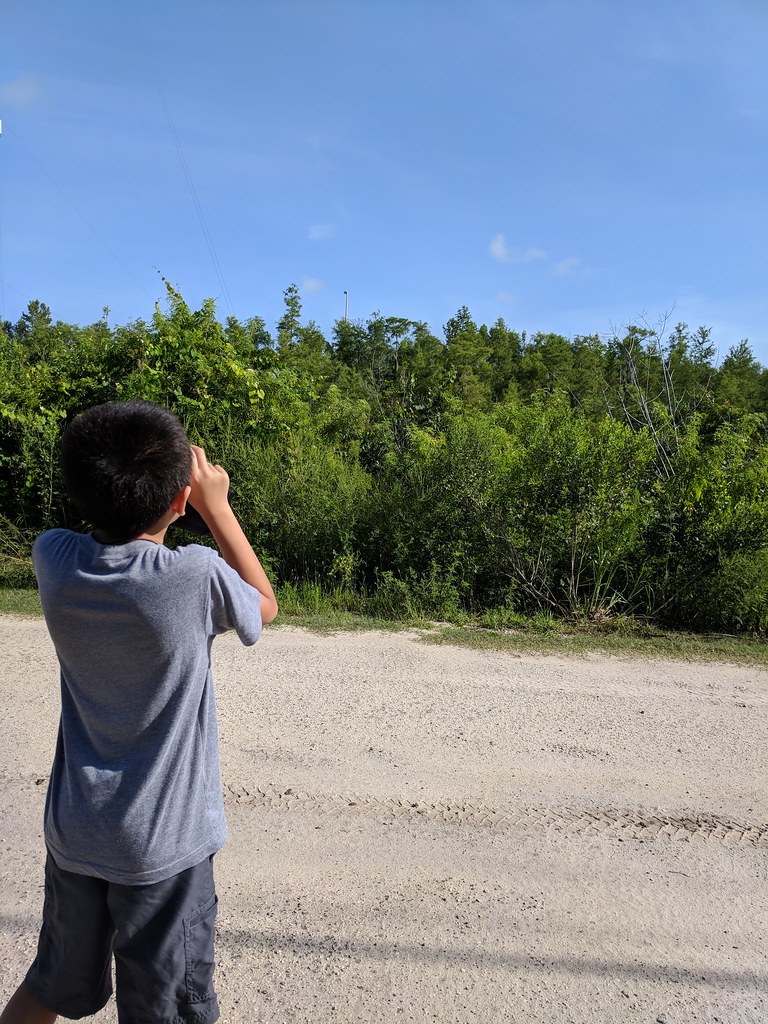
My son wanted to go exploring again so we set out to a place locally known as the Swamp Ghost. Jeepers go here a lot but there have been many stories of many of them getting stuck in the mud mostly by pure stupidity and ignorance. They started putting "No trespassing" signs in the areas that were active but I found a section with no signs in sight so I ventured out there. Since I was going in solo...I made sure I didn't trek anywhere that was suspect. Sections of the area are soft due to the afternoon torrential rains we get but the Montero did perfectly fine going through those areas. My son was on a mission to find Eagle/Hawk nests but no luck, but we did run into several Deer, some species of bird and Panther tracks.
Groot by grimgs, on Flickr
 

MrGalantguy

Mitsubishi Loyalist
Found a spot about 7 miles from where Iive so decided to check it out. The entrance is gated but was open so took the opportunity to check it out real quick. Area looks pretty nice...but its been raining every afternoon so there were areas that had a lot of water so I didn't go too further in w/o a trail buddy. Will definitely check it out when its more dry..and if the gates are still open next time.
Groot by grimgs, on Flickr
 

Steve1814

New member
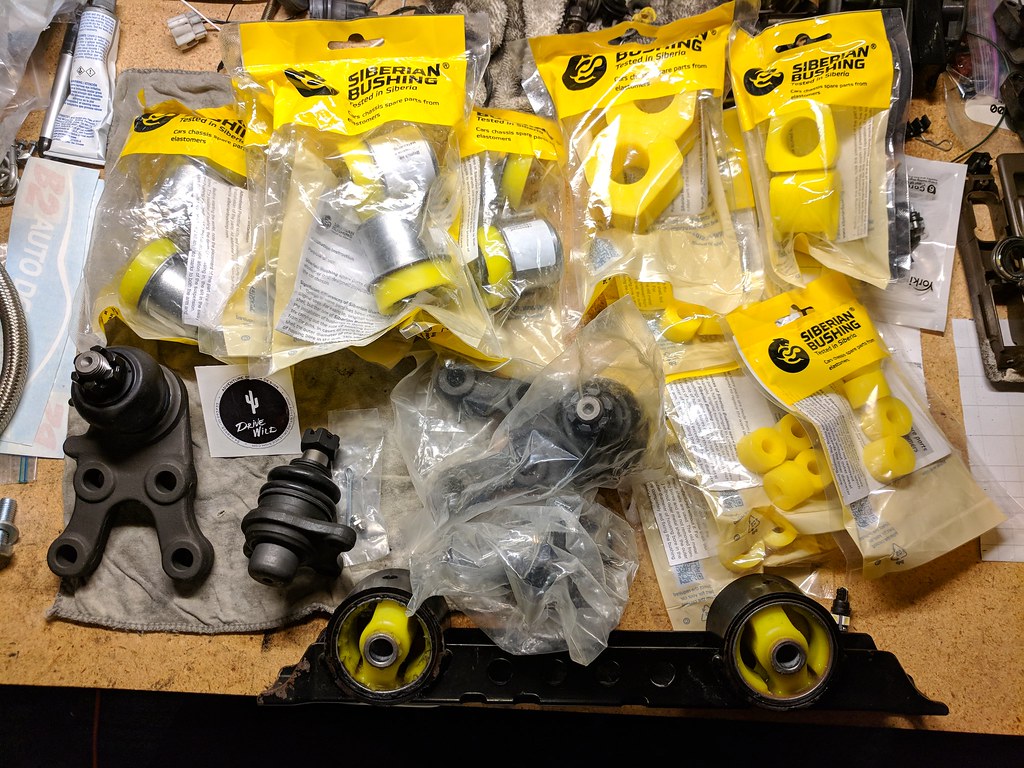
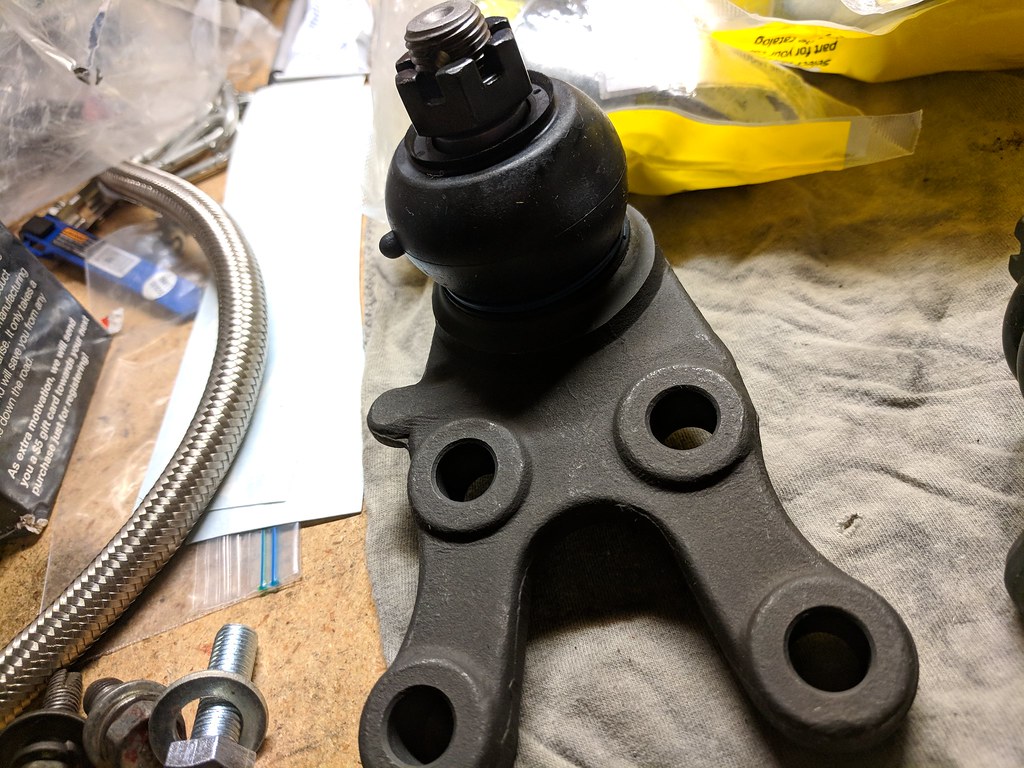
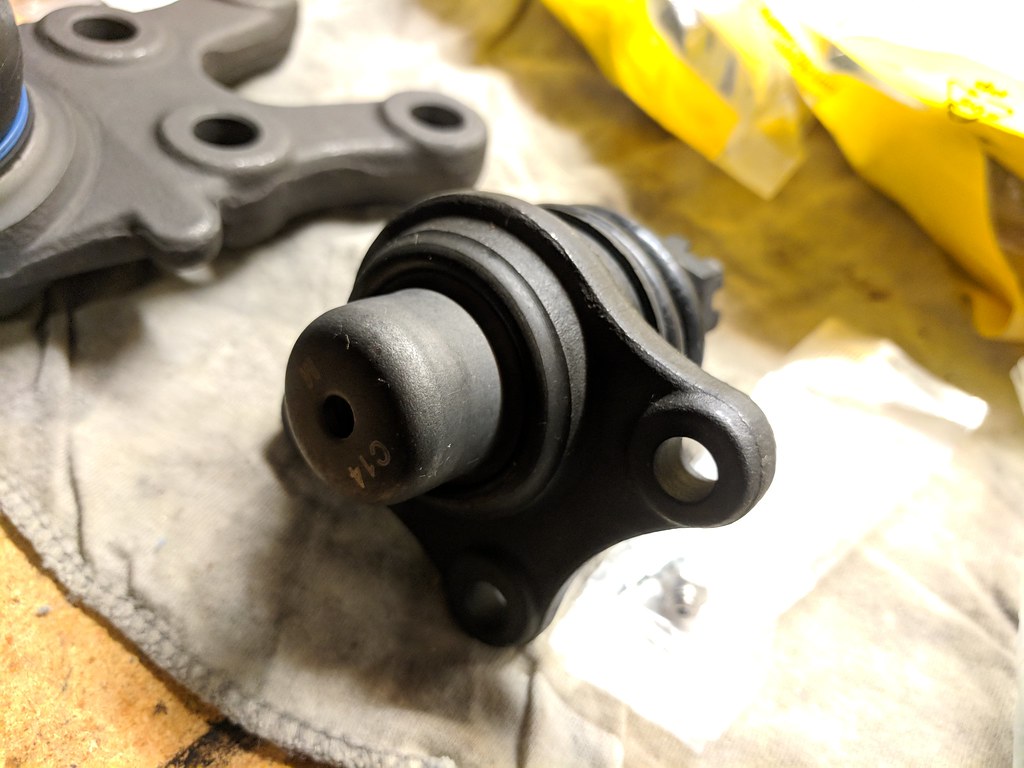
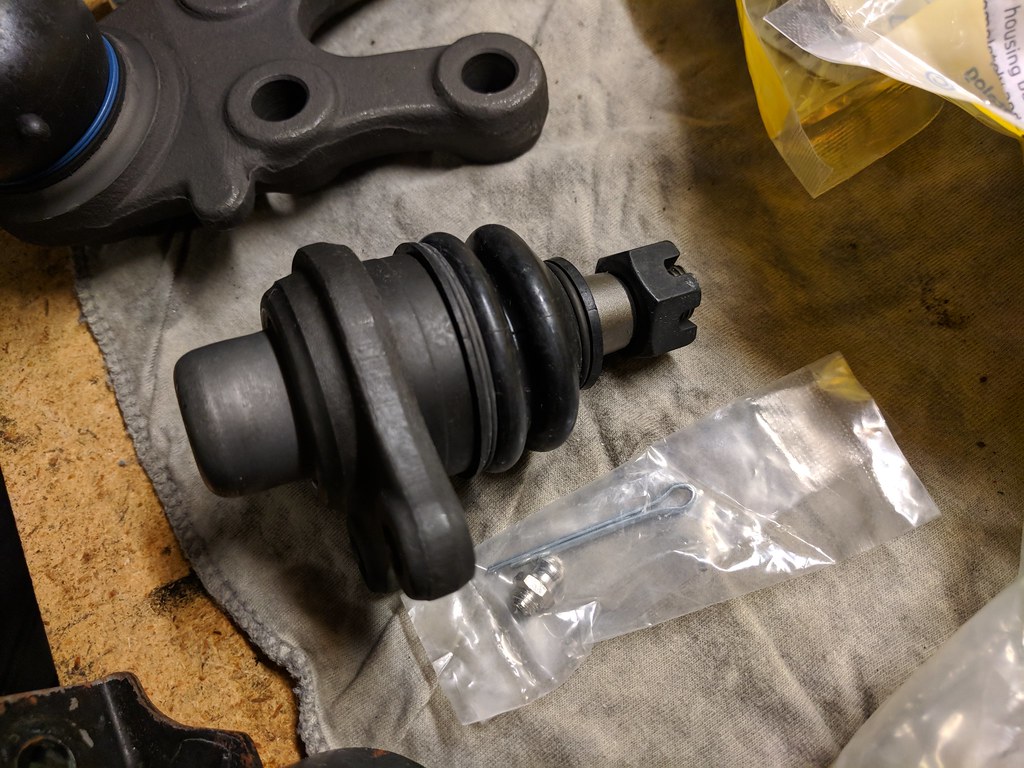
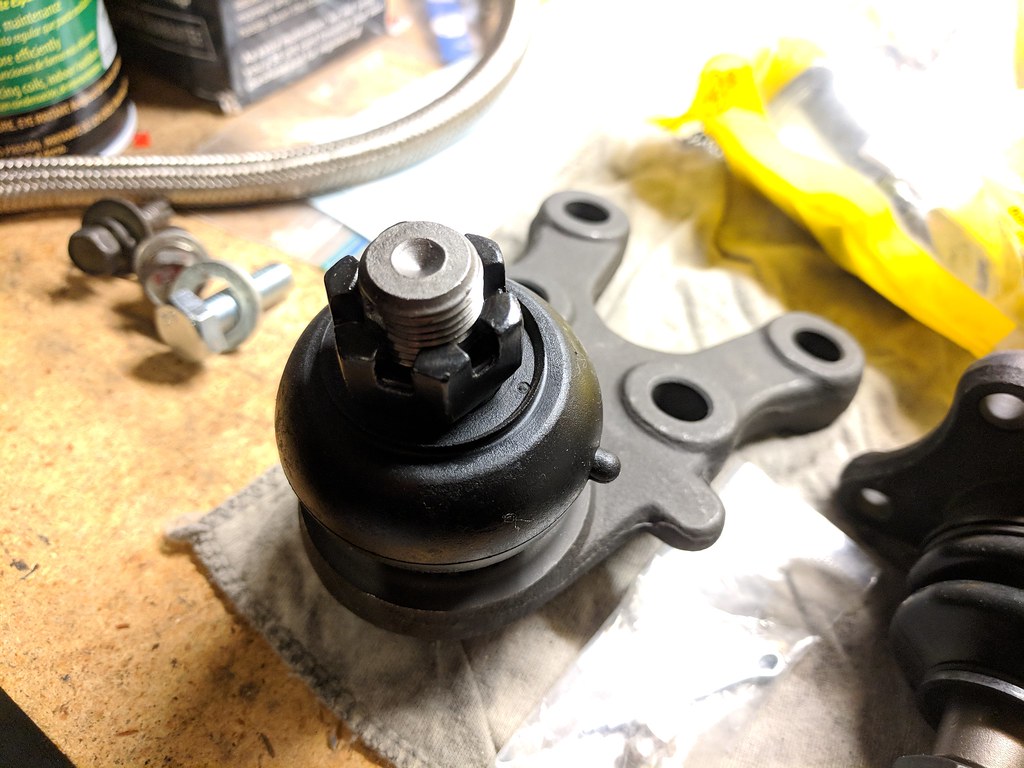
Groot needs a front suspension rebuild...so taking this opportunity to upgrade parts. ADD's new chromoly upper and lower ball joints came in and Siberian bushings galore. I just need a couple more OEM suspension parts and the rebuild starts.
Groot by grimgs, on Flickr
by grimgs, on Flickr


What swaybar bushings did your order (P/N)? I can't seem to confirm that the front and the back are the same Part Number.

Also, the assembly at the bottom, is that part of the front diff?

Thanks,
Steve
 
Last edited:

MrGalantguy

Mitsubishi Loyalist
Steve,

Sway bar bushings depends on the size sway bar you have in your Montero. Apparently size varies depending on the "package" you got.

Botton piece is the transmission mount with front diff carrier bushings fitted to it.
 

Steve1814

New member
Sway bar bushings depends on the size sway bar you have in your Montero. Apparently size varies depending on the "package" you got.
Thanks for the info - I have the winter pkg with locker, but no adjustable suspension. I assumed they are the same size as yours (sway bars)...

Bottom piece is the transmission mount with front diff carrier bushings fitted to it.
Thanks for that as well..I'll have to see about getting the bushings for mine too.
 

MrGalantguy

Mitsubishi Loyalist
I had to measure my sway bars and give Josh (Adventure Driven Designs) the measurements for him to get me the correct bushings.
 

MrGalantguy

Mitsubishi Loyalist
I noticed about 2-3 mpg increase between fuel ups depending if I use my A/C a lot for that period of time. I do notice a little more pep on initial acceleration also.
 

MrGalantguy

Mitsubishi Loyalist
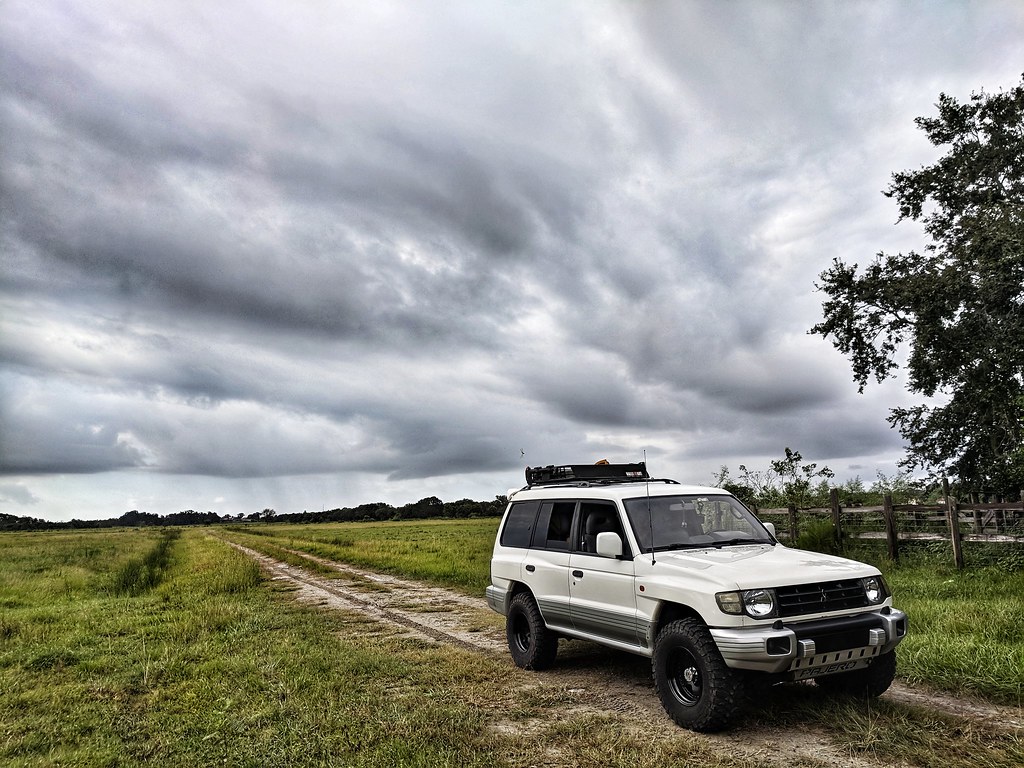
Last sunday both my son and daughter woke up pretty early and my son wanted to explore and my daughter has been wanting to tag along. I scouted a area near me a few weeks ago that look like a cattle pasture field with the entrance gate that looks to have been open for awhile with the weeds and plants growing almost on top of it. I took them there and they both were hoping to find some cows or horses but nothing than a few birds here and there. Though they had fun bouncing around some of the uneven ground traveling through this huge pasture. My daughter loved exploring and wants to do it again...so looks like I have 1 addition to the adventure gang. 8)
Groot by grimgs, on Flickr
 

MrGalantguy

Mitsubishi Loyalist
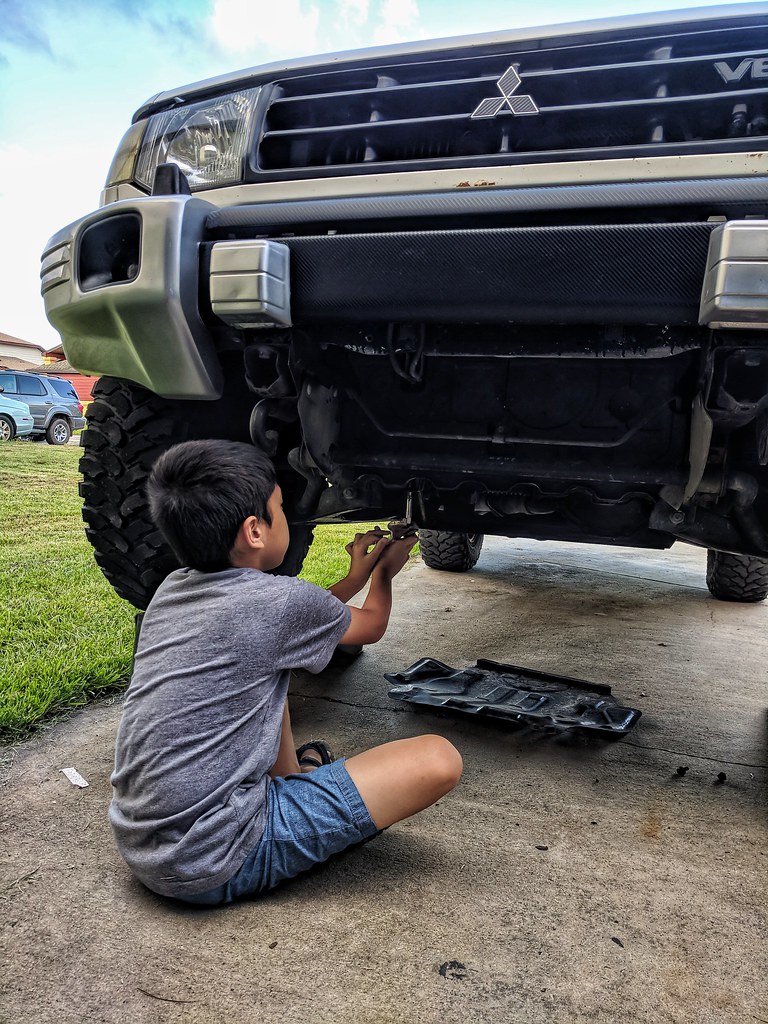
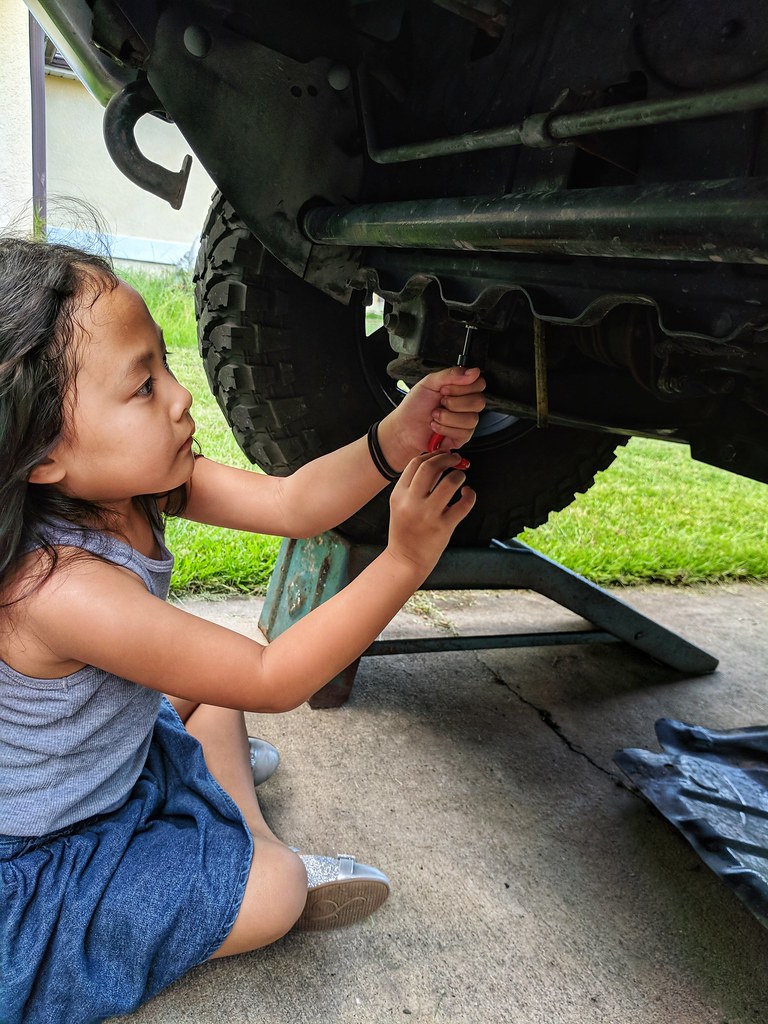
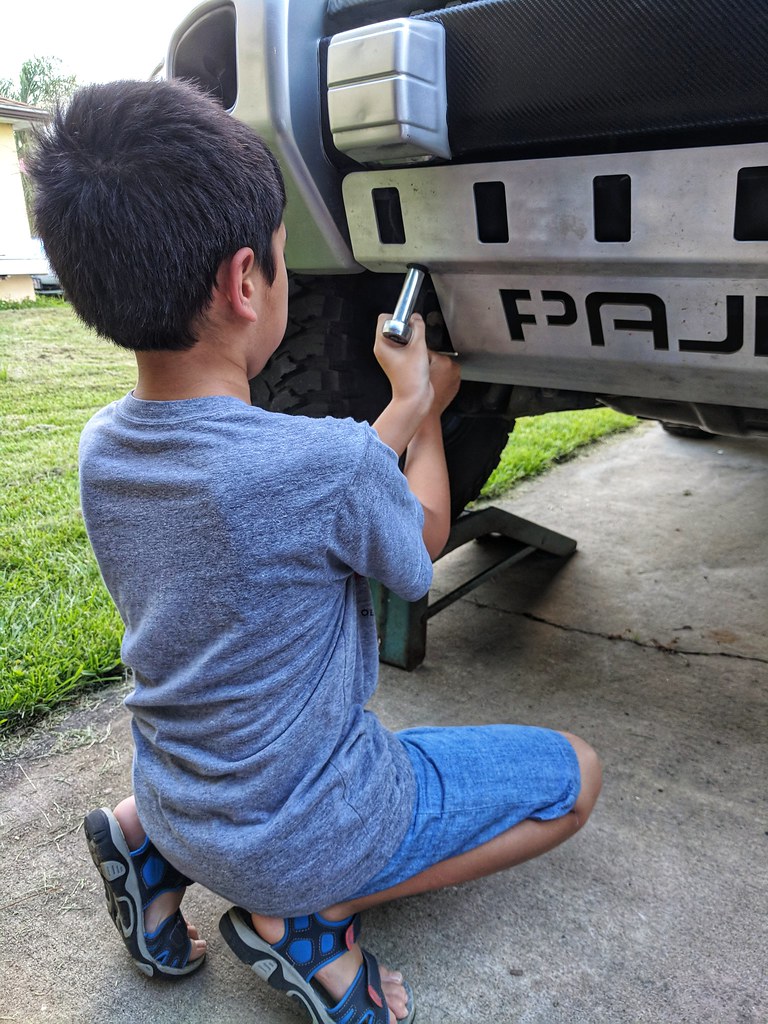
One of the bolt threads for the skid plates war barely threaded when I got my Montero and finally after the last oil change the last remaining useful threads gave up. I thought this would be a good opportunity to teach my son and daughter something and had them help me helicoil the stripped thread.
Groot by grimgs, on Flickr
My son threading for the helicoil
Groot by grimgs, on Flickr
My daughter installing the helicoil
Groot by grimgs, on Flickr
Lil man tighting the bolts for the front skid.
 

MrGalantguy

Mitsubishi Loyalist
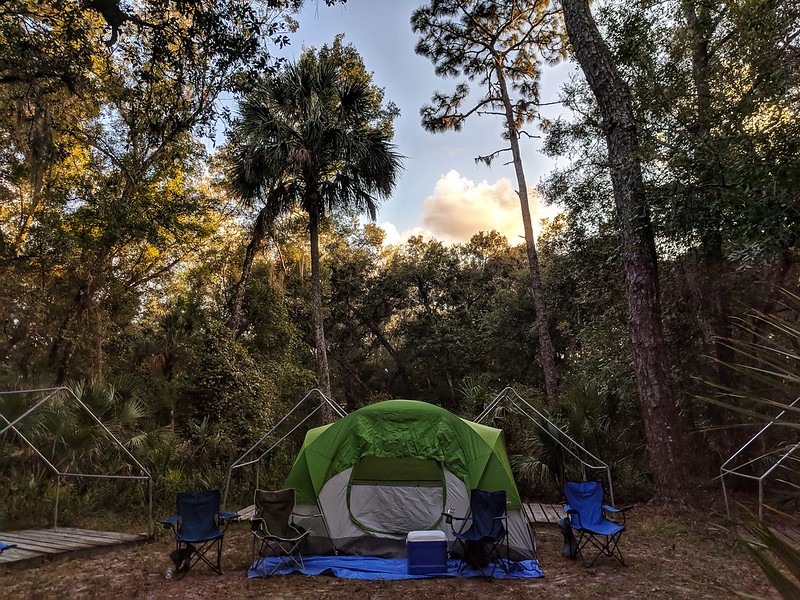
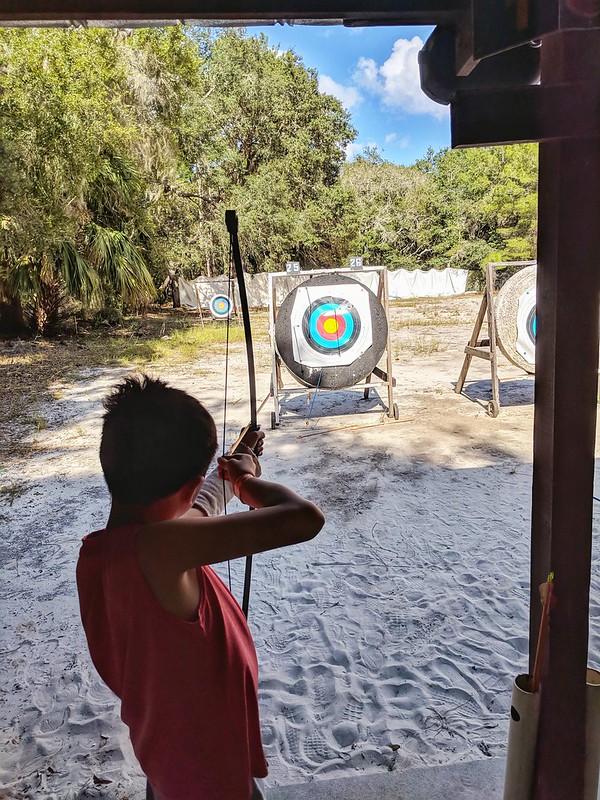
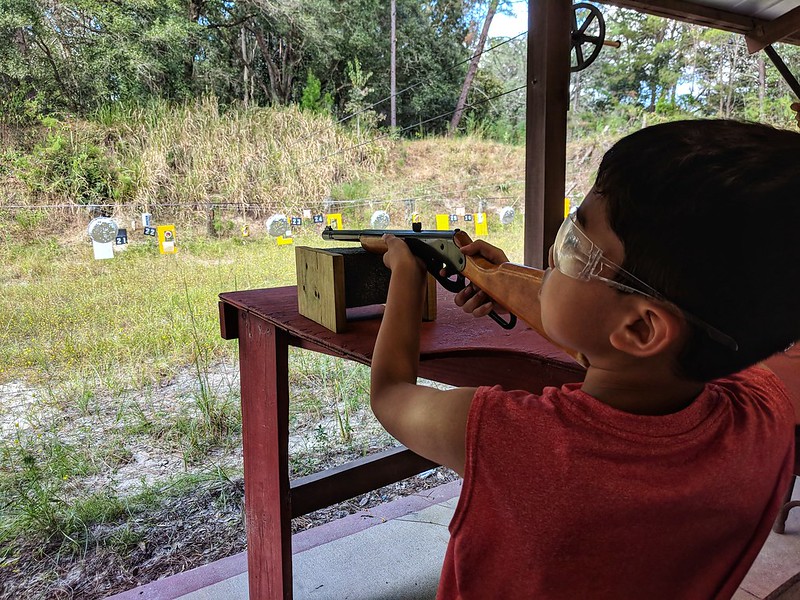
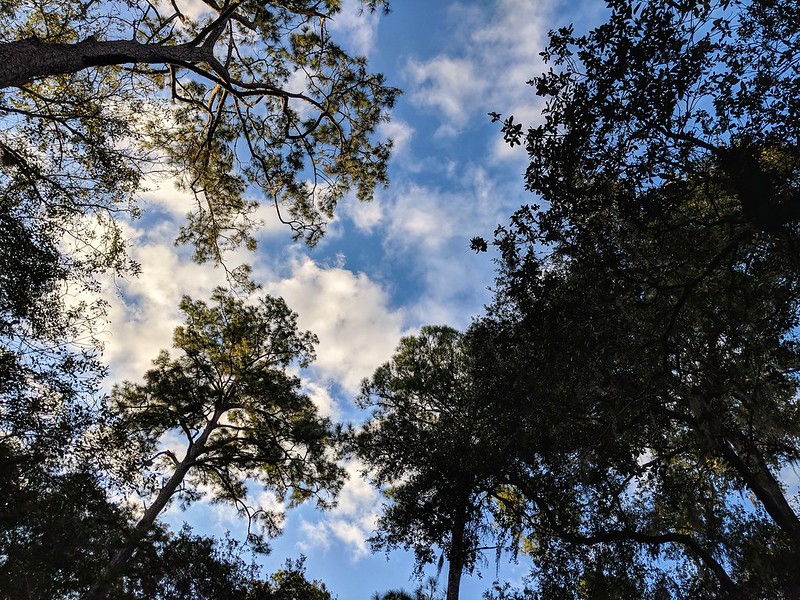
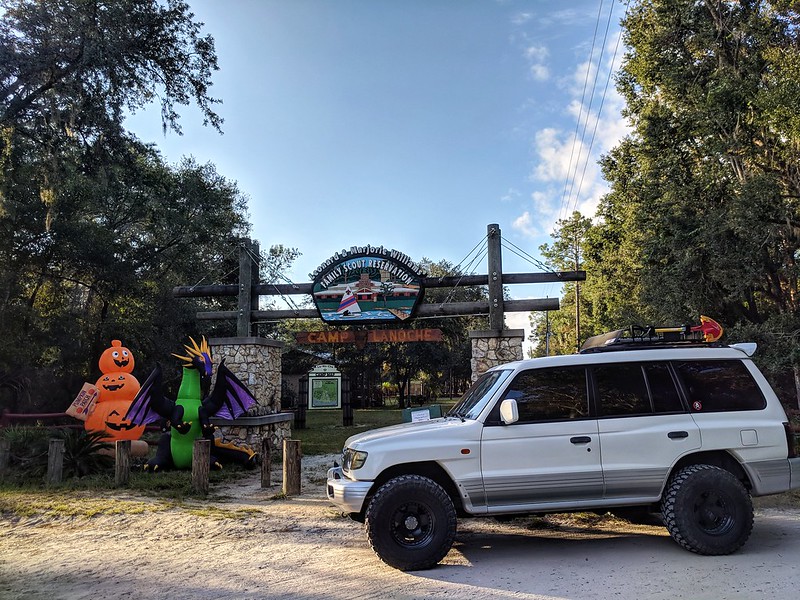
Took my son on his very 1st camping trip this past weekend as my brother in law invited us because my nephew who is in the boy scouts had a family camp weekend. Campsite was at Camp Lanoche just outside of the Ocala National forest. Plenty of activities like archery and BB guns, fishing, etc etc. My son absolutely loved it..and as a big nature/wildlife fan he felt right at home.
Camp Lanoche by grimgs, on Flickr
 

MrGalantguy

Mitsubishi Loyalist
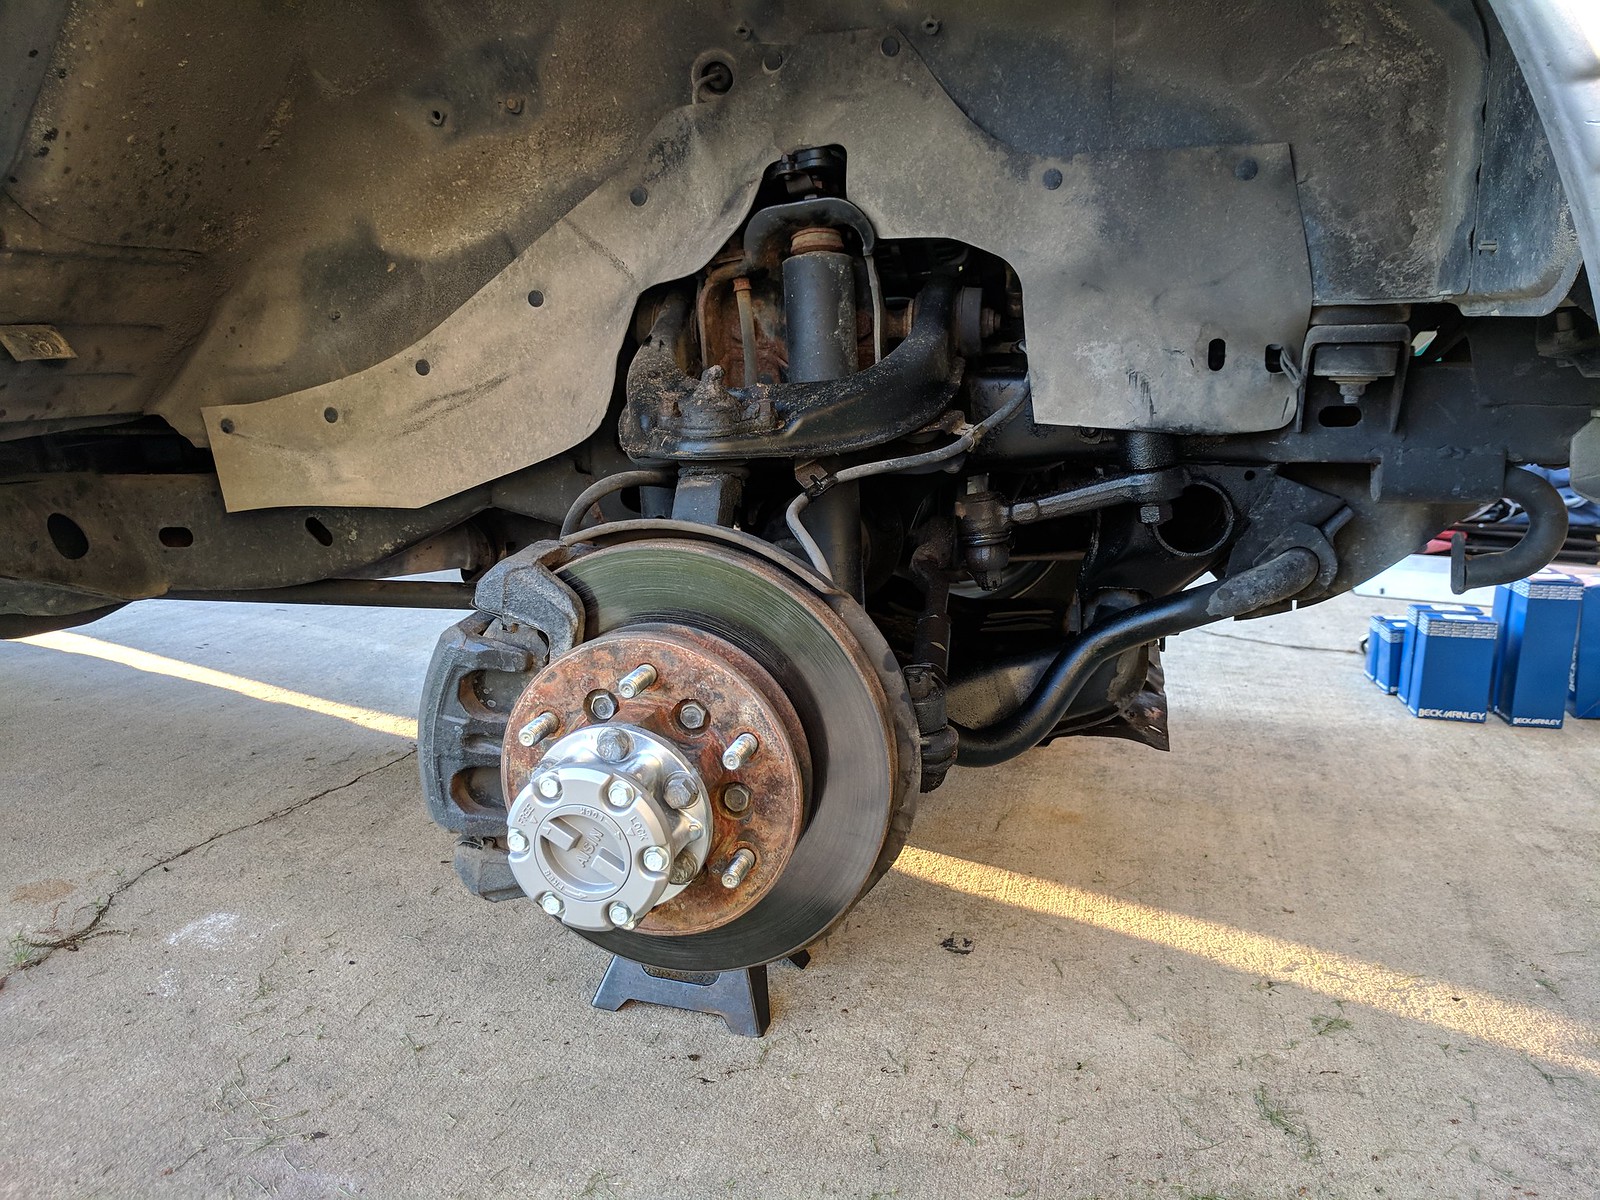
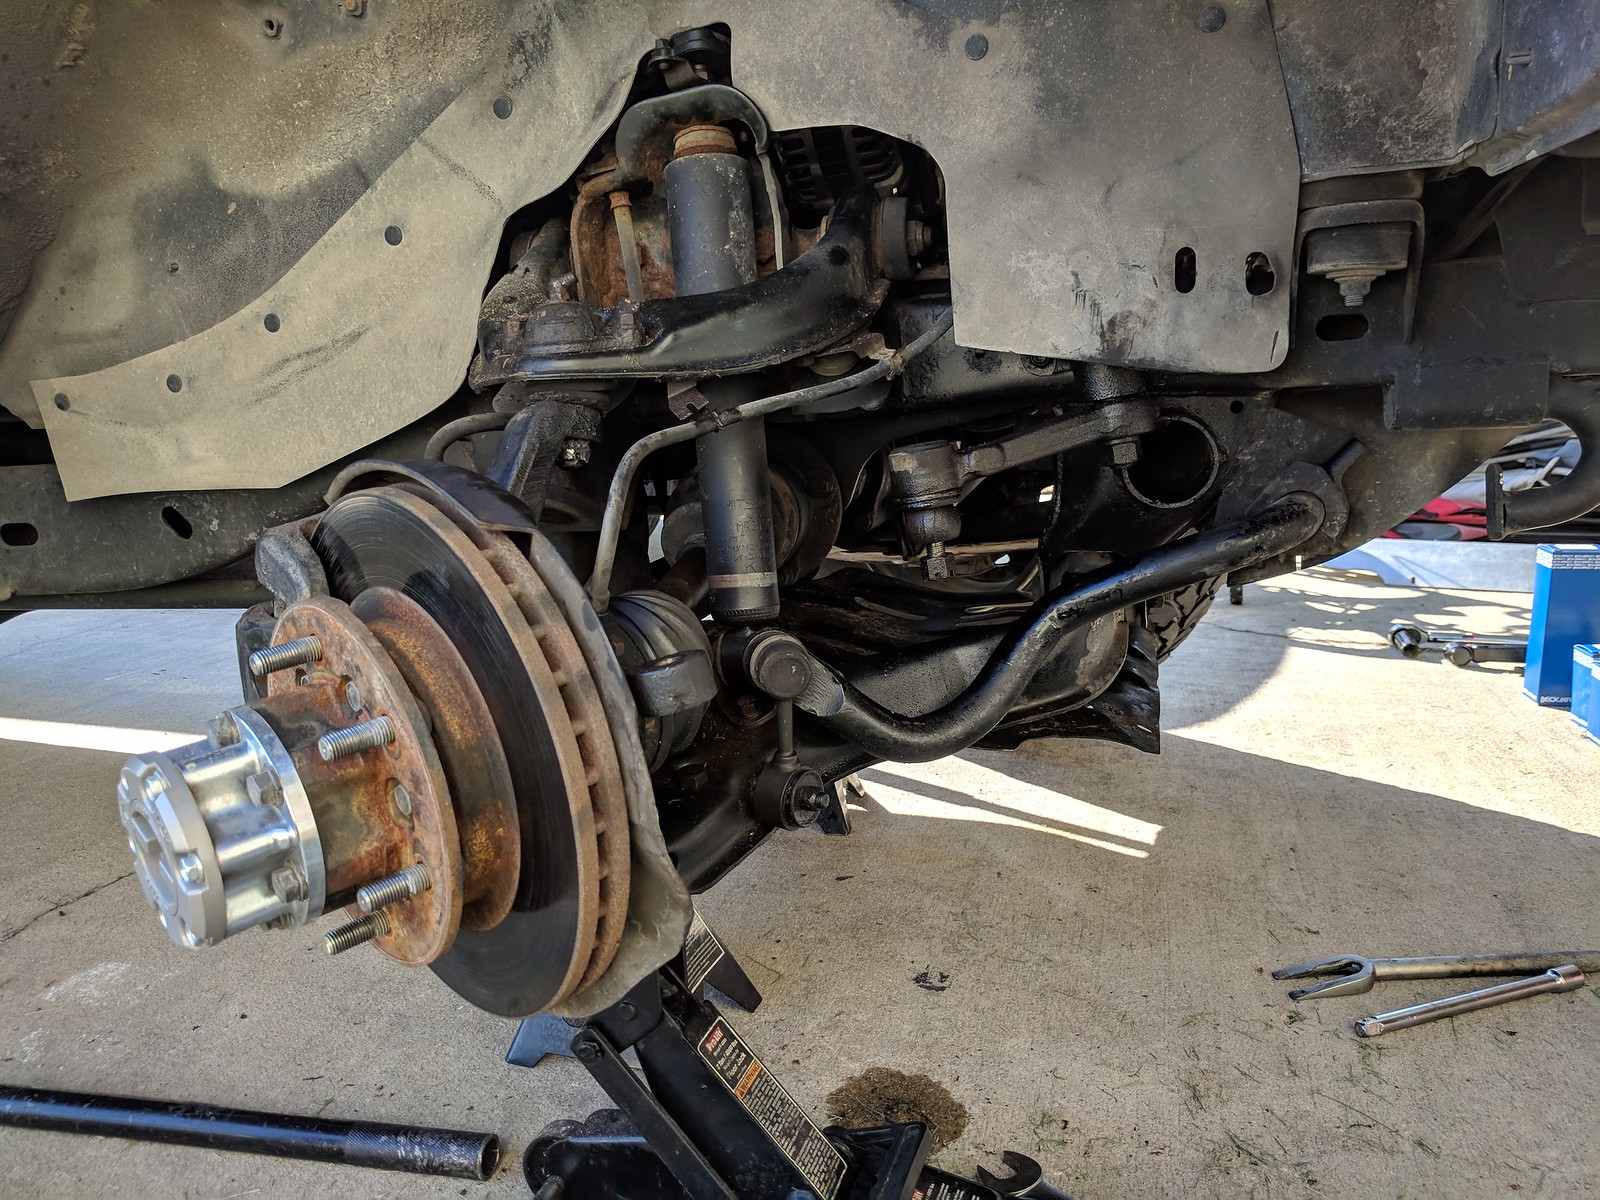
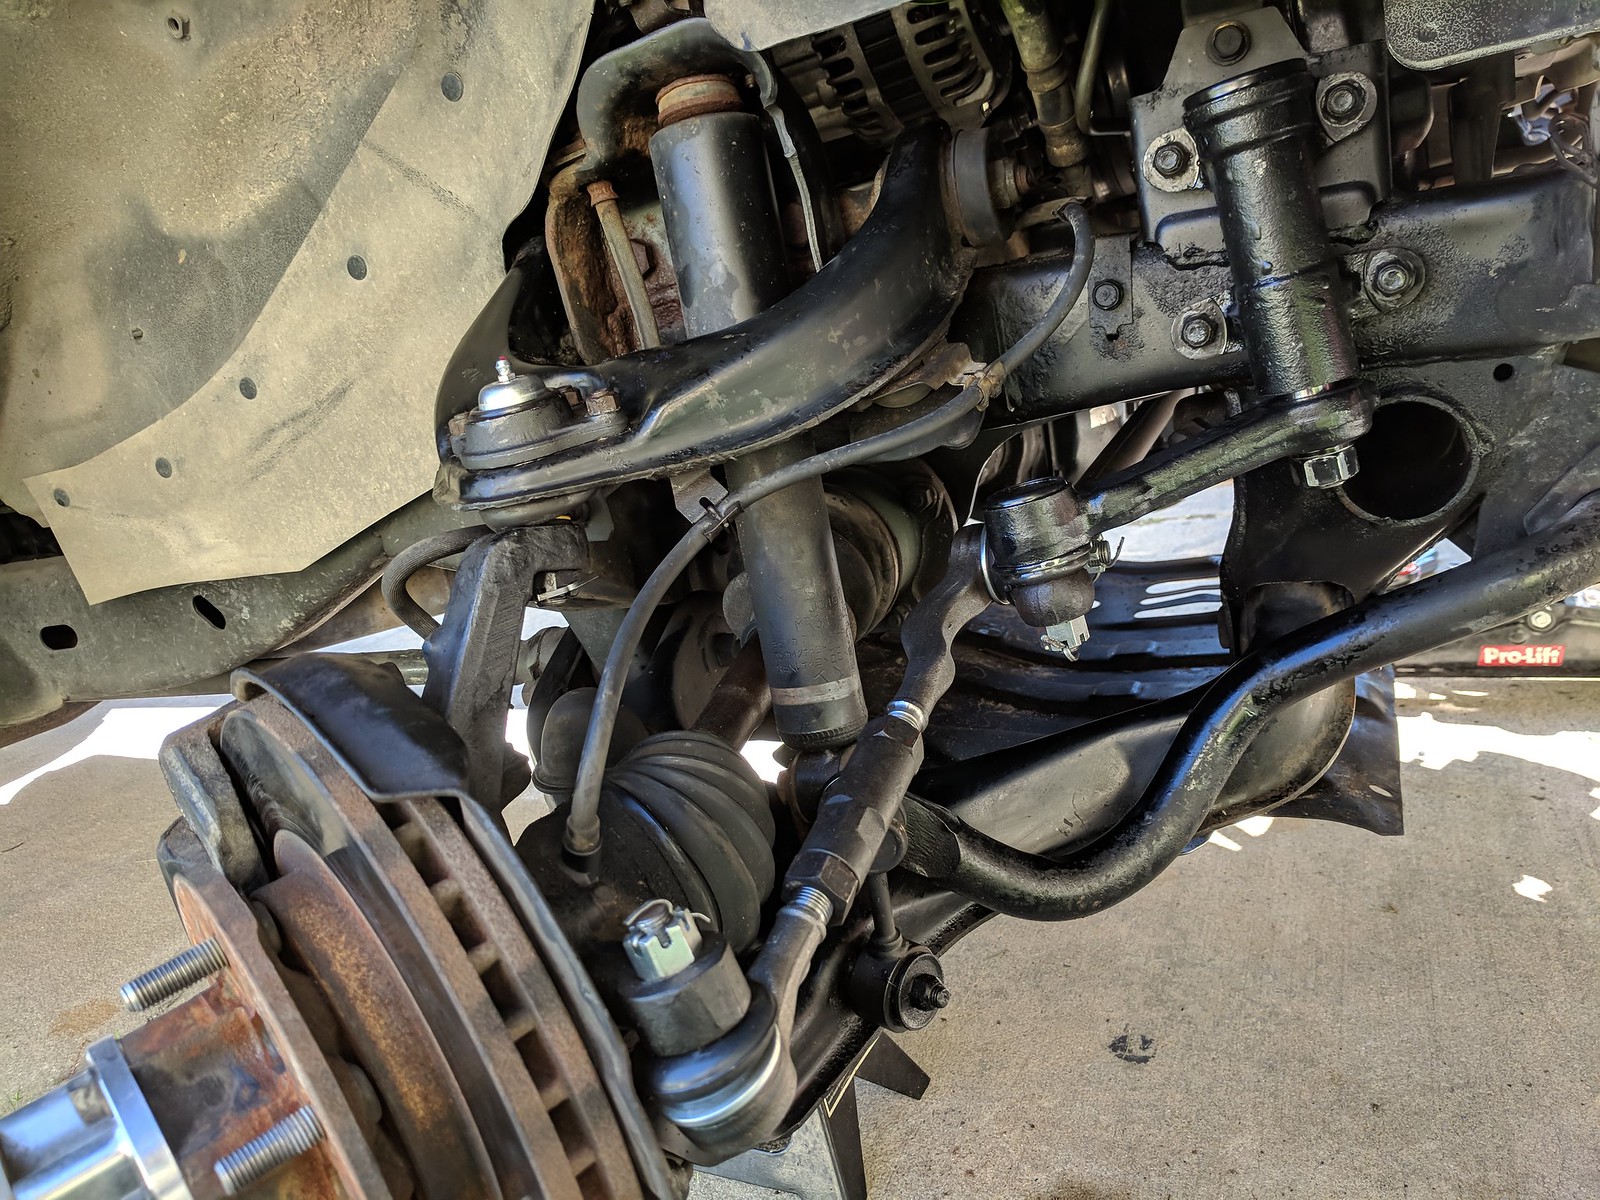
For the past couple of months my steering has gotten progressively worse. Steering started to feel vague and required more input that normal for turn in and steering wheel vibration. I figured my ball joints were the issue and probably my shocks but with work I barely had anytime to really diagnose the issue and regret it as it ate up my front tires especially the passenger side. My upper ball joints were shot but the lower ball joints were still good. As I was checking for ball joint issues or wheel bearing I noticed I was getting excessive play from the steering parts.

I went ahead and ordered inner and outer tie rods, new OEM idler arm and Pitman arm. I bought the ADD Kingpin upgrade months ago and went ahead and did the upgrade on the new OEM idler arm. I recently ordered ADD Upper and Lower chromoly ball joints but I wanted to wait to install them both when I install the UCA and LCA with Siberian bushings installed next year so I bought a Beck Arnley upper ball joint to replace the shot ball joints.

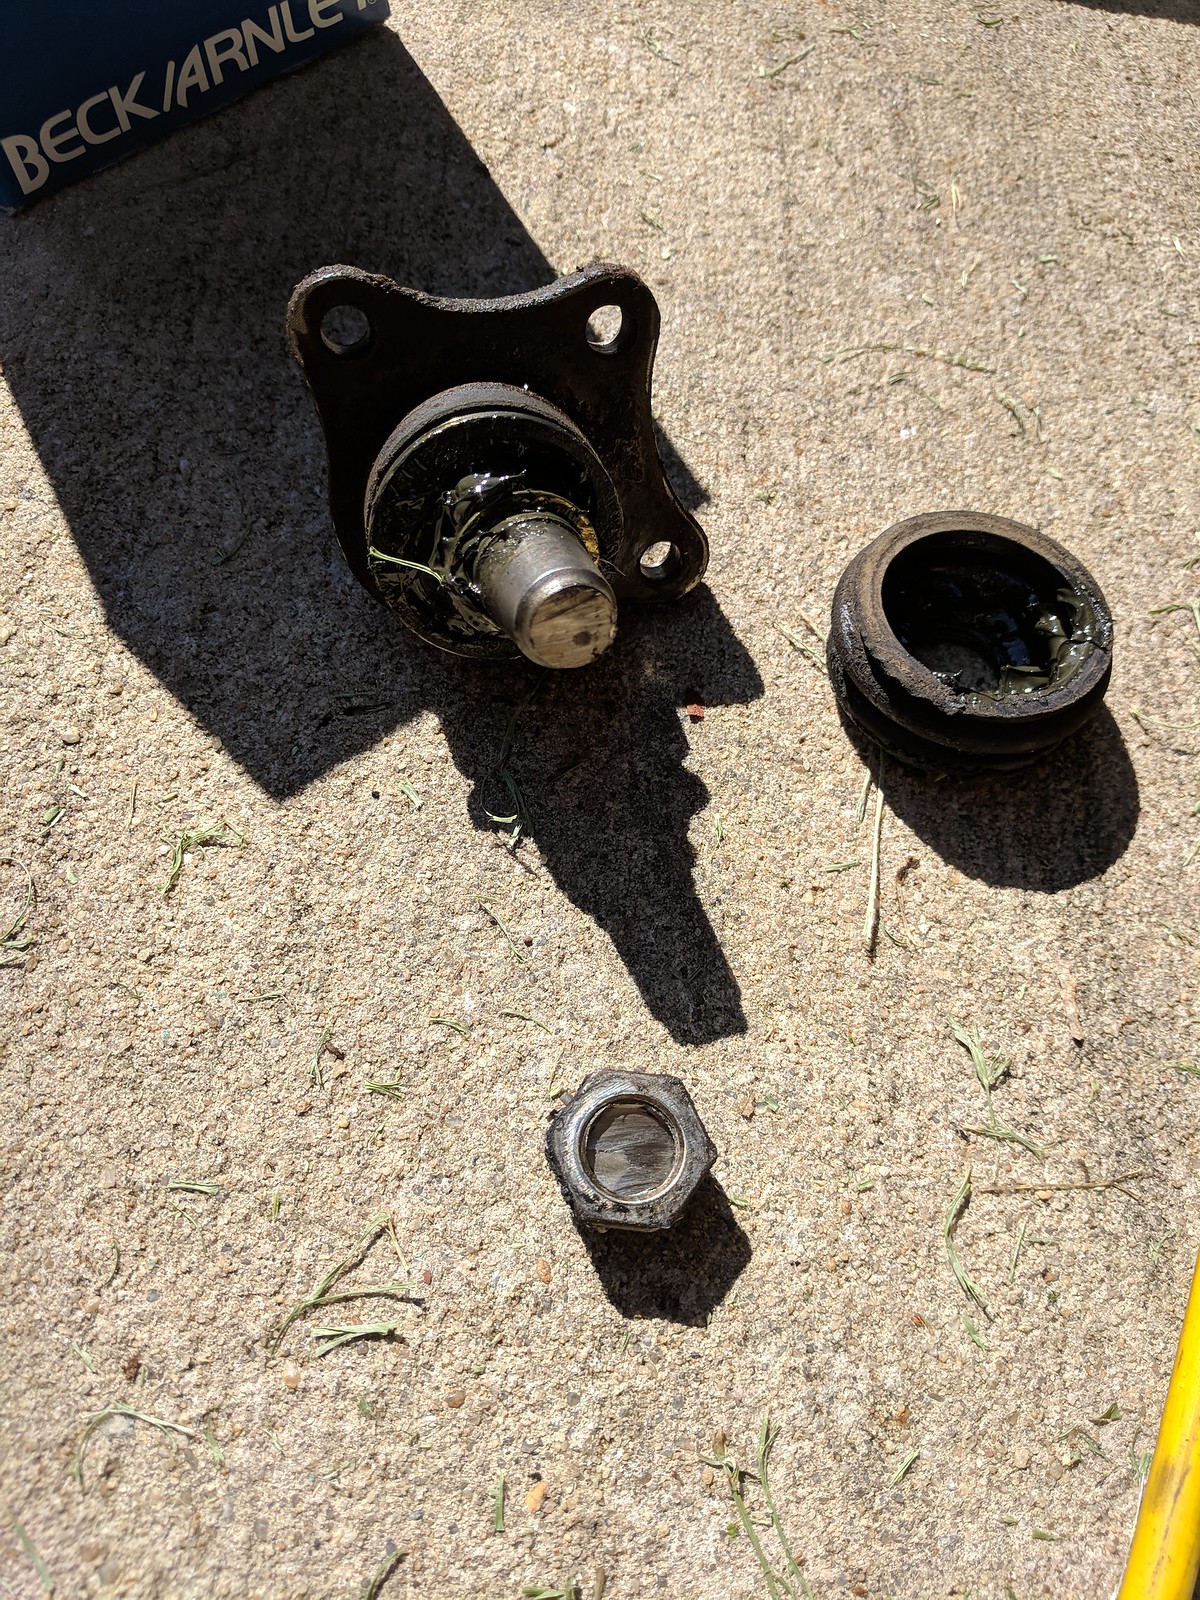
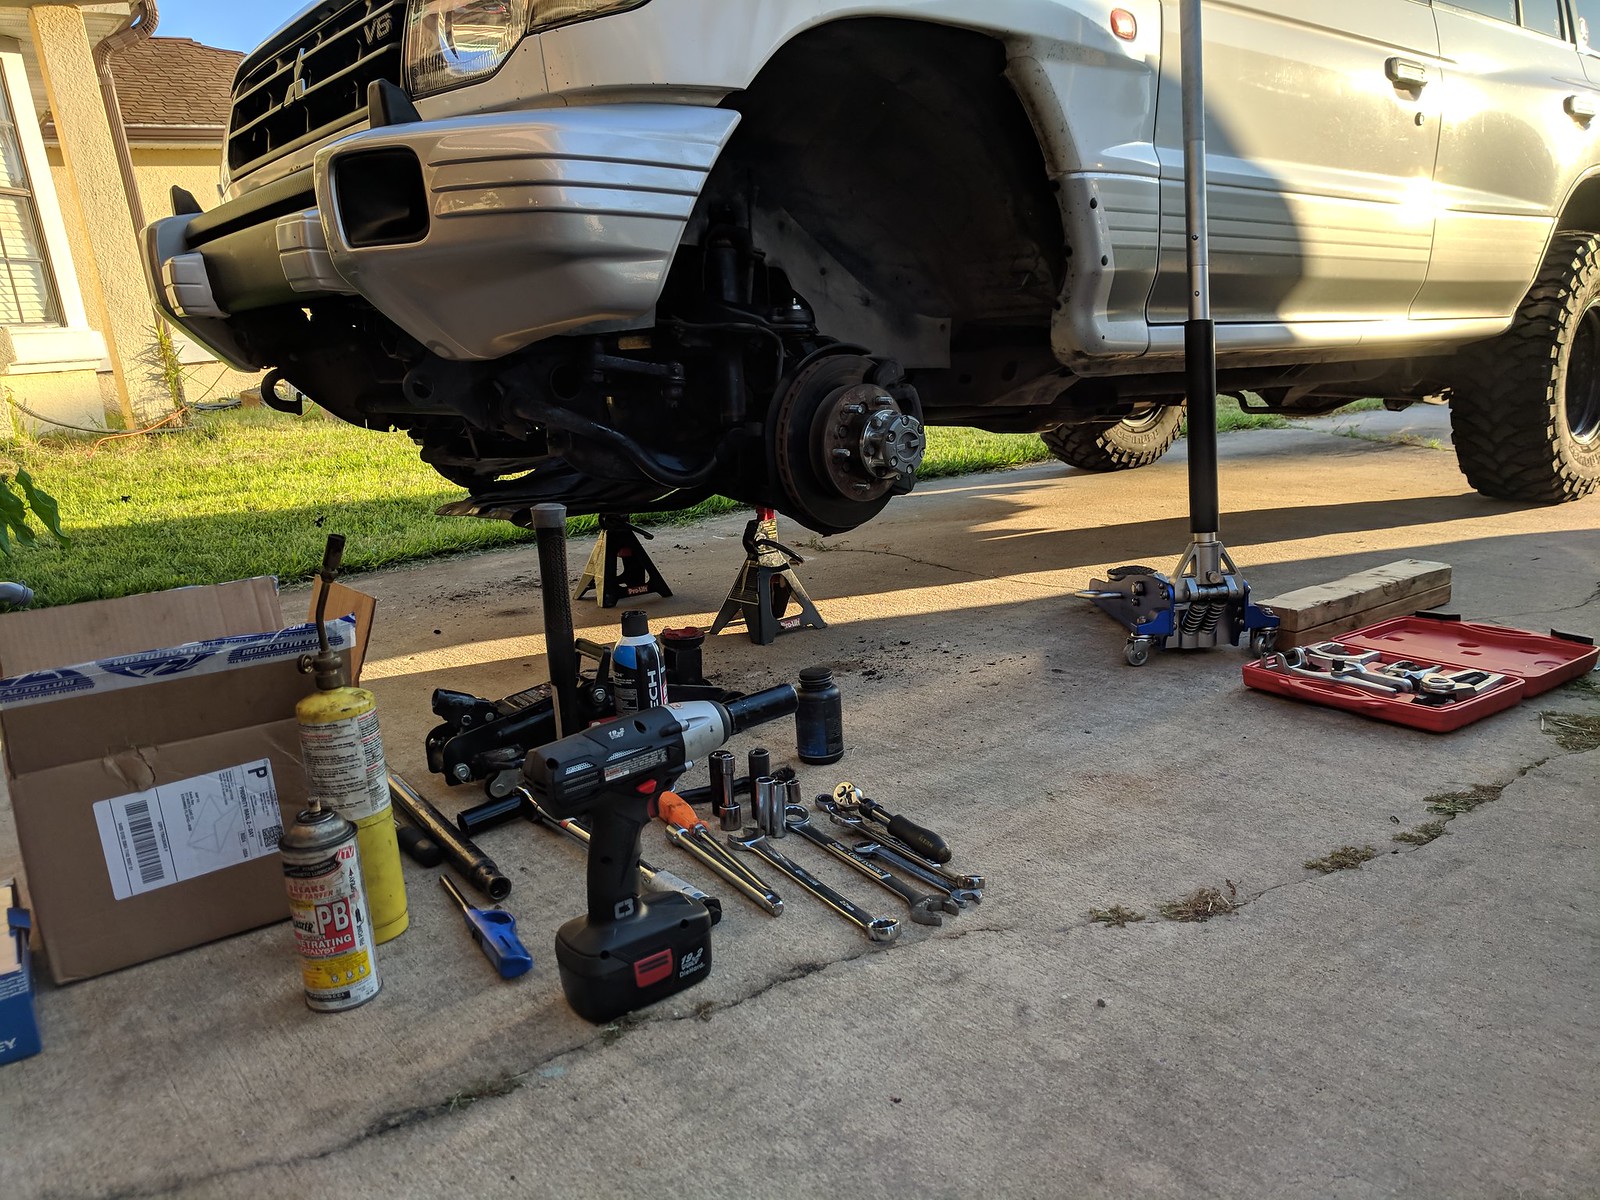
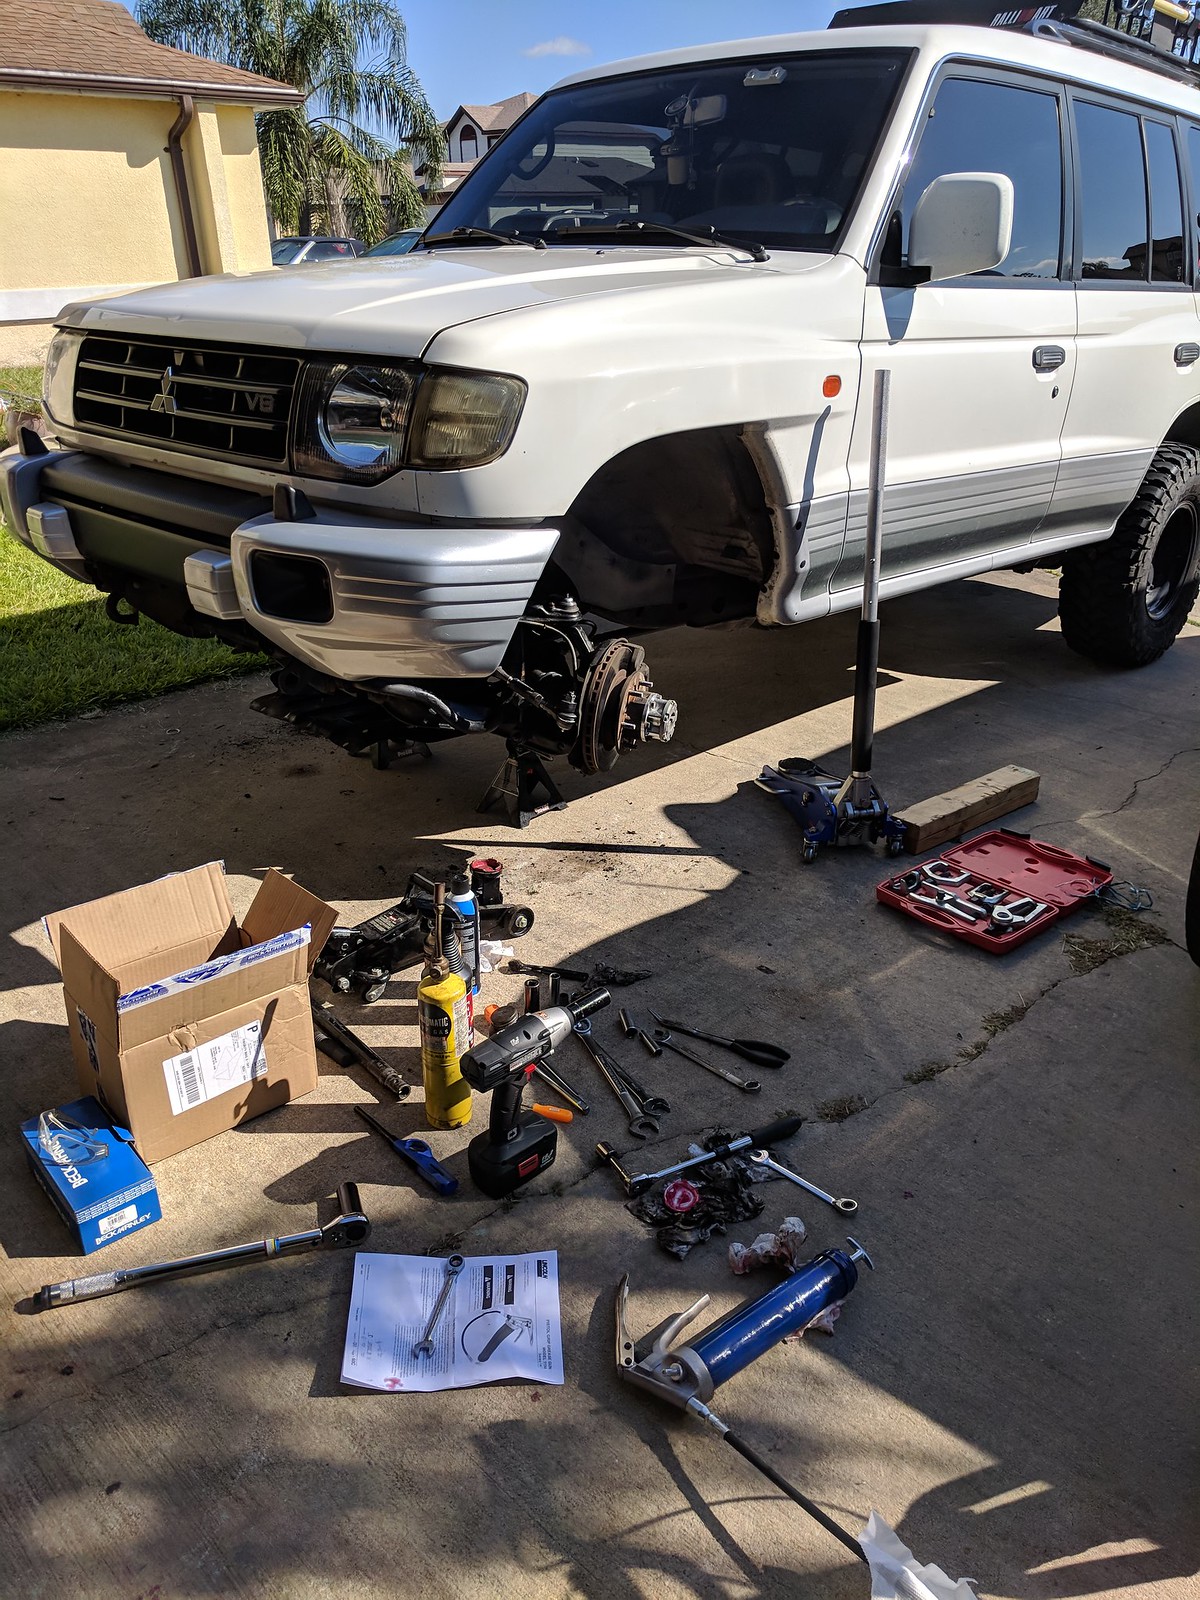
I had presoaked all the suspension parts that I was going to remove a week ahead to help aid in removal. I learned real quick on the 1st upper ball joint that I will need to use my trusty torch to remove the rest of the nuts as it rounded out when trying to remove it. I ended up cutting the lower shaft of the right side upper ball joint with my angle grinder carefully. I didn't have much of a issue with the rest of the nuts using my torch to heat them up to break them loose so the rest of the process went somewhat smoother.

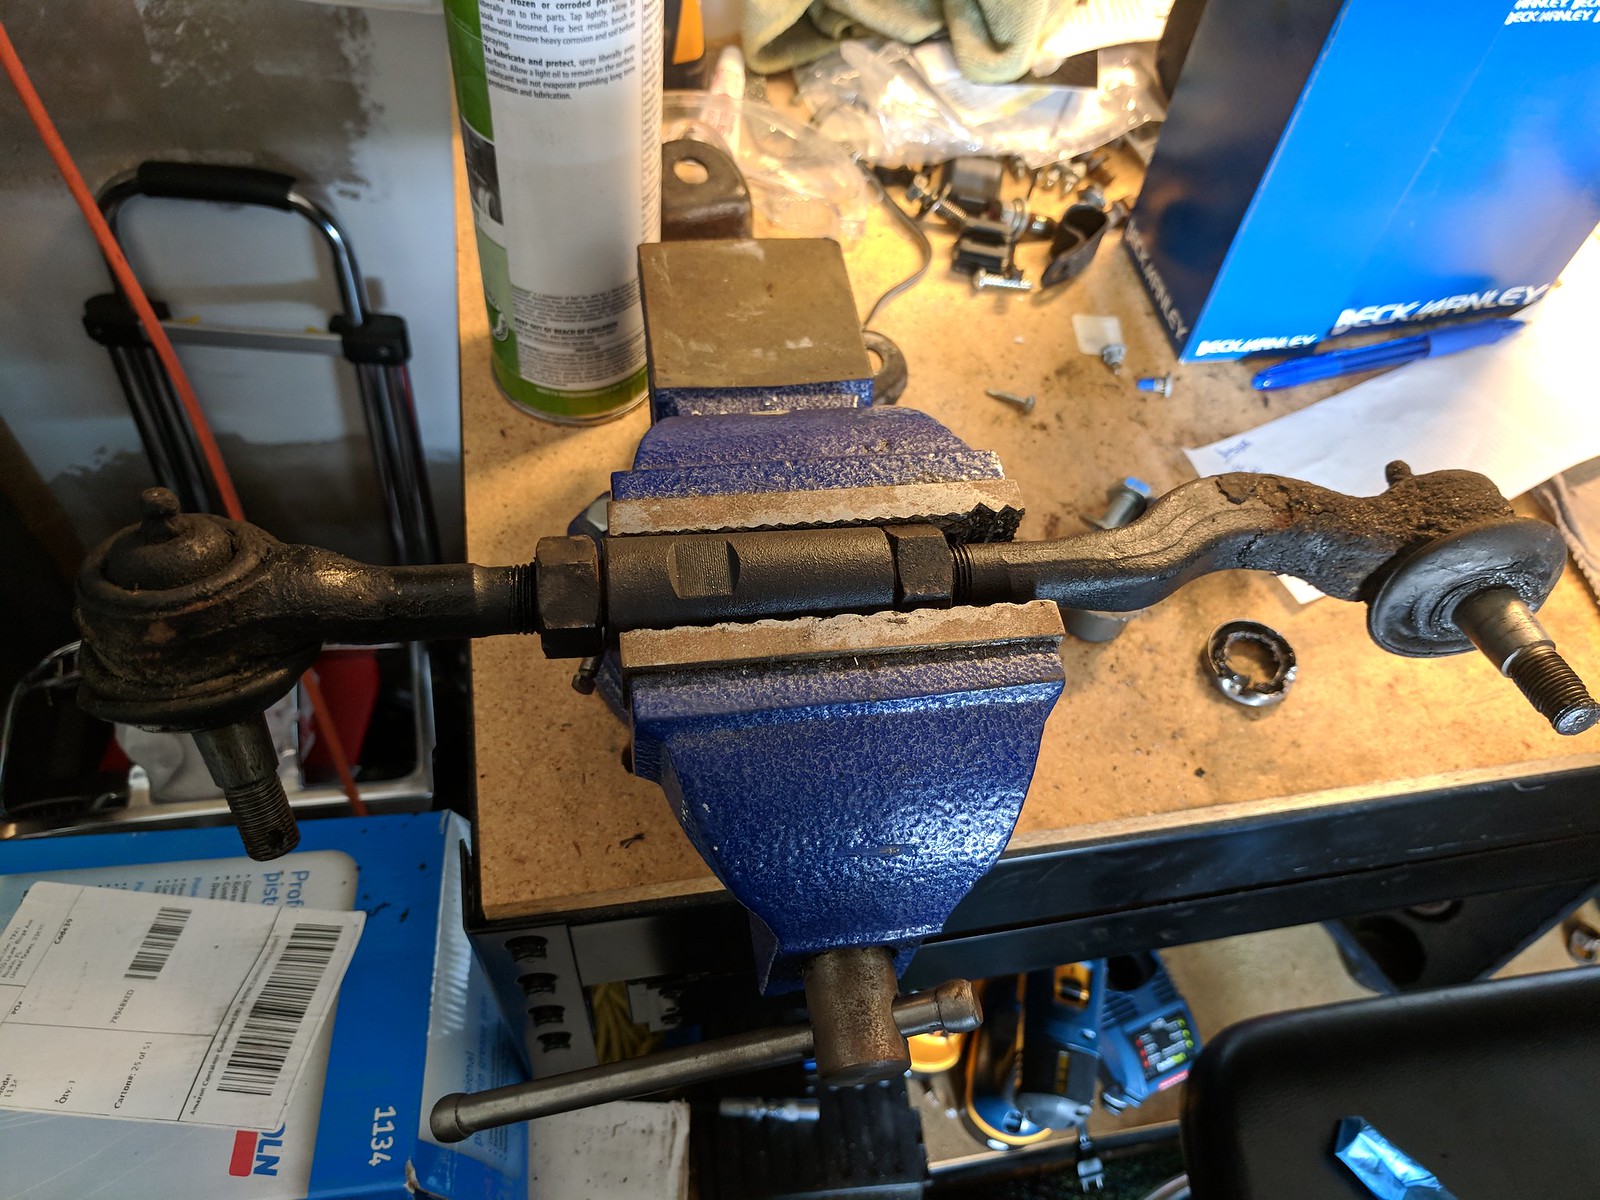
Getting ready to install the ADD Kingpin on the OEM idler arm
Groot by grimgs, on Flickr

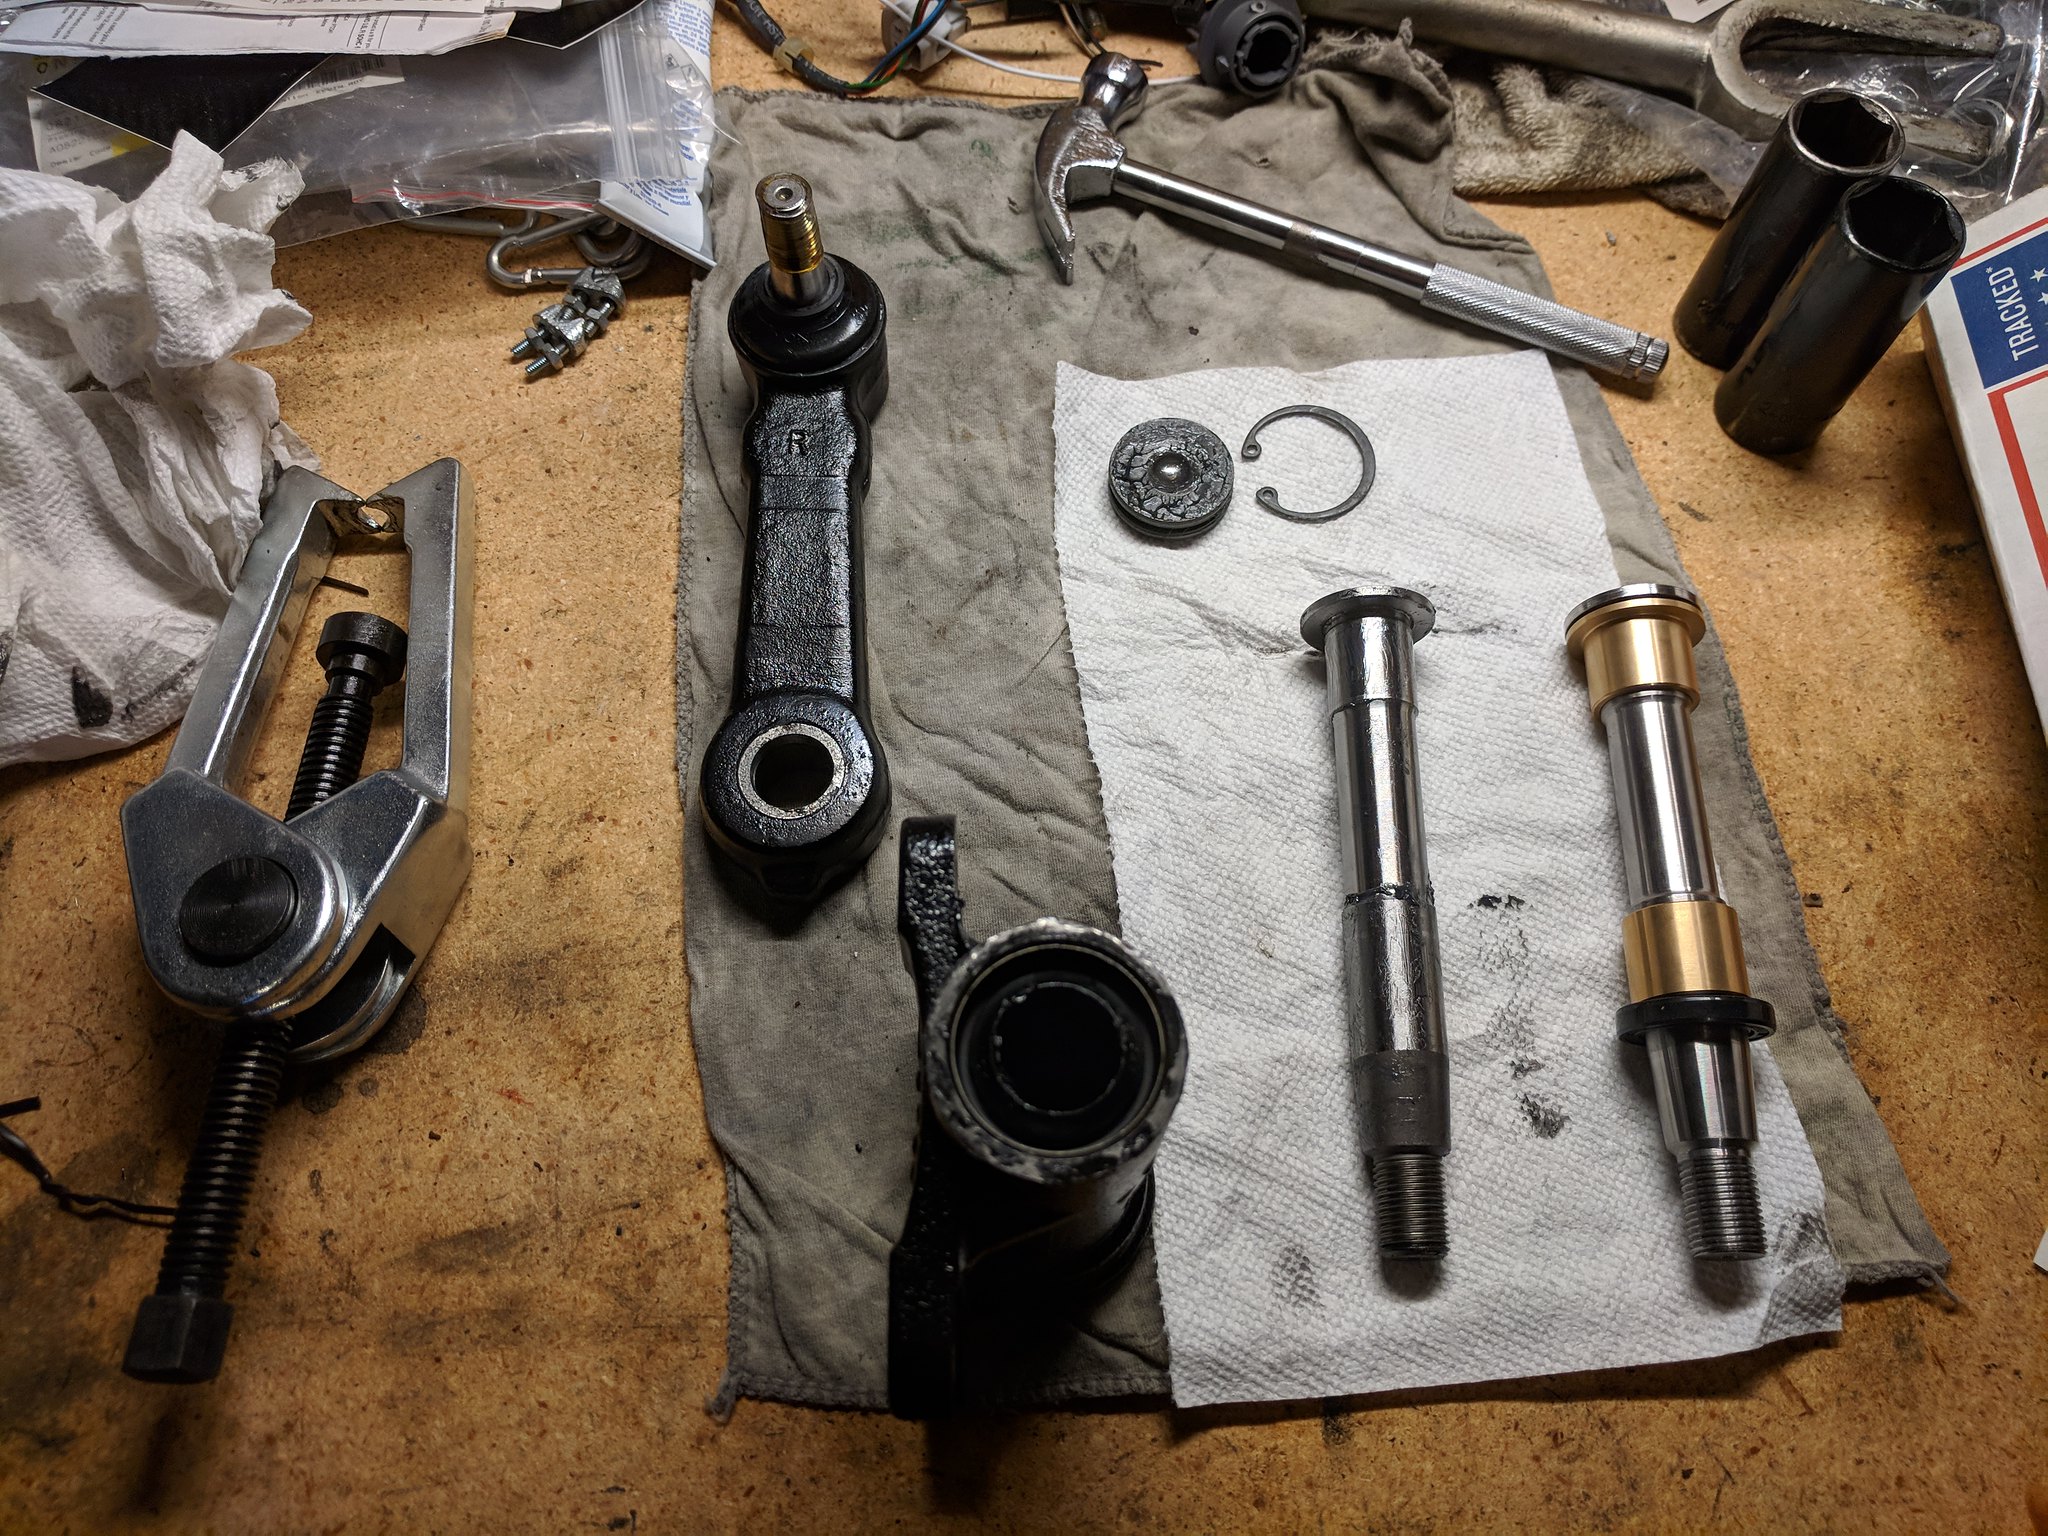
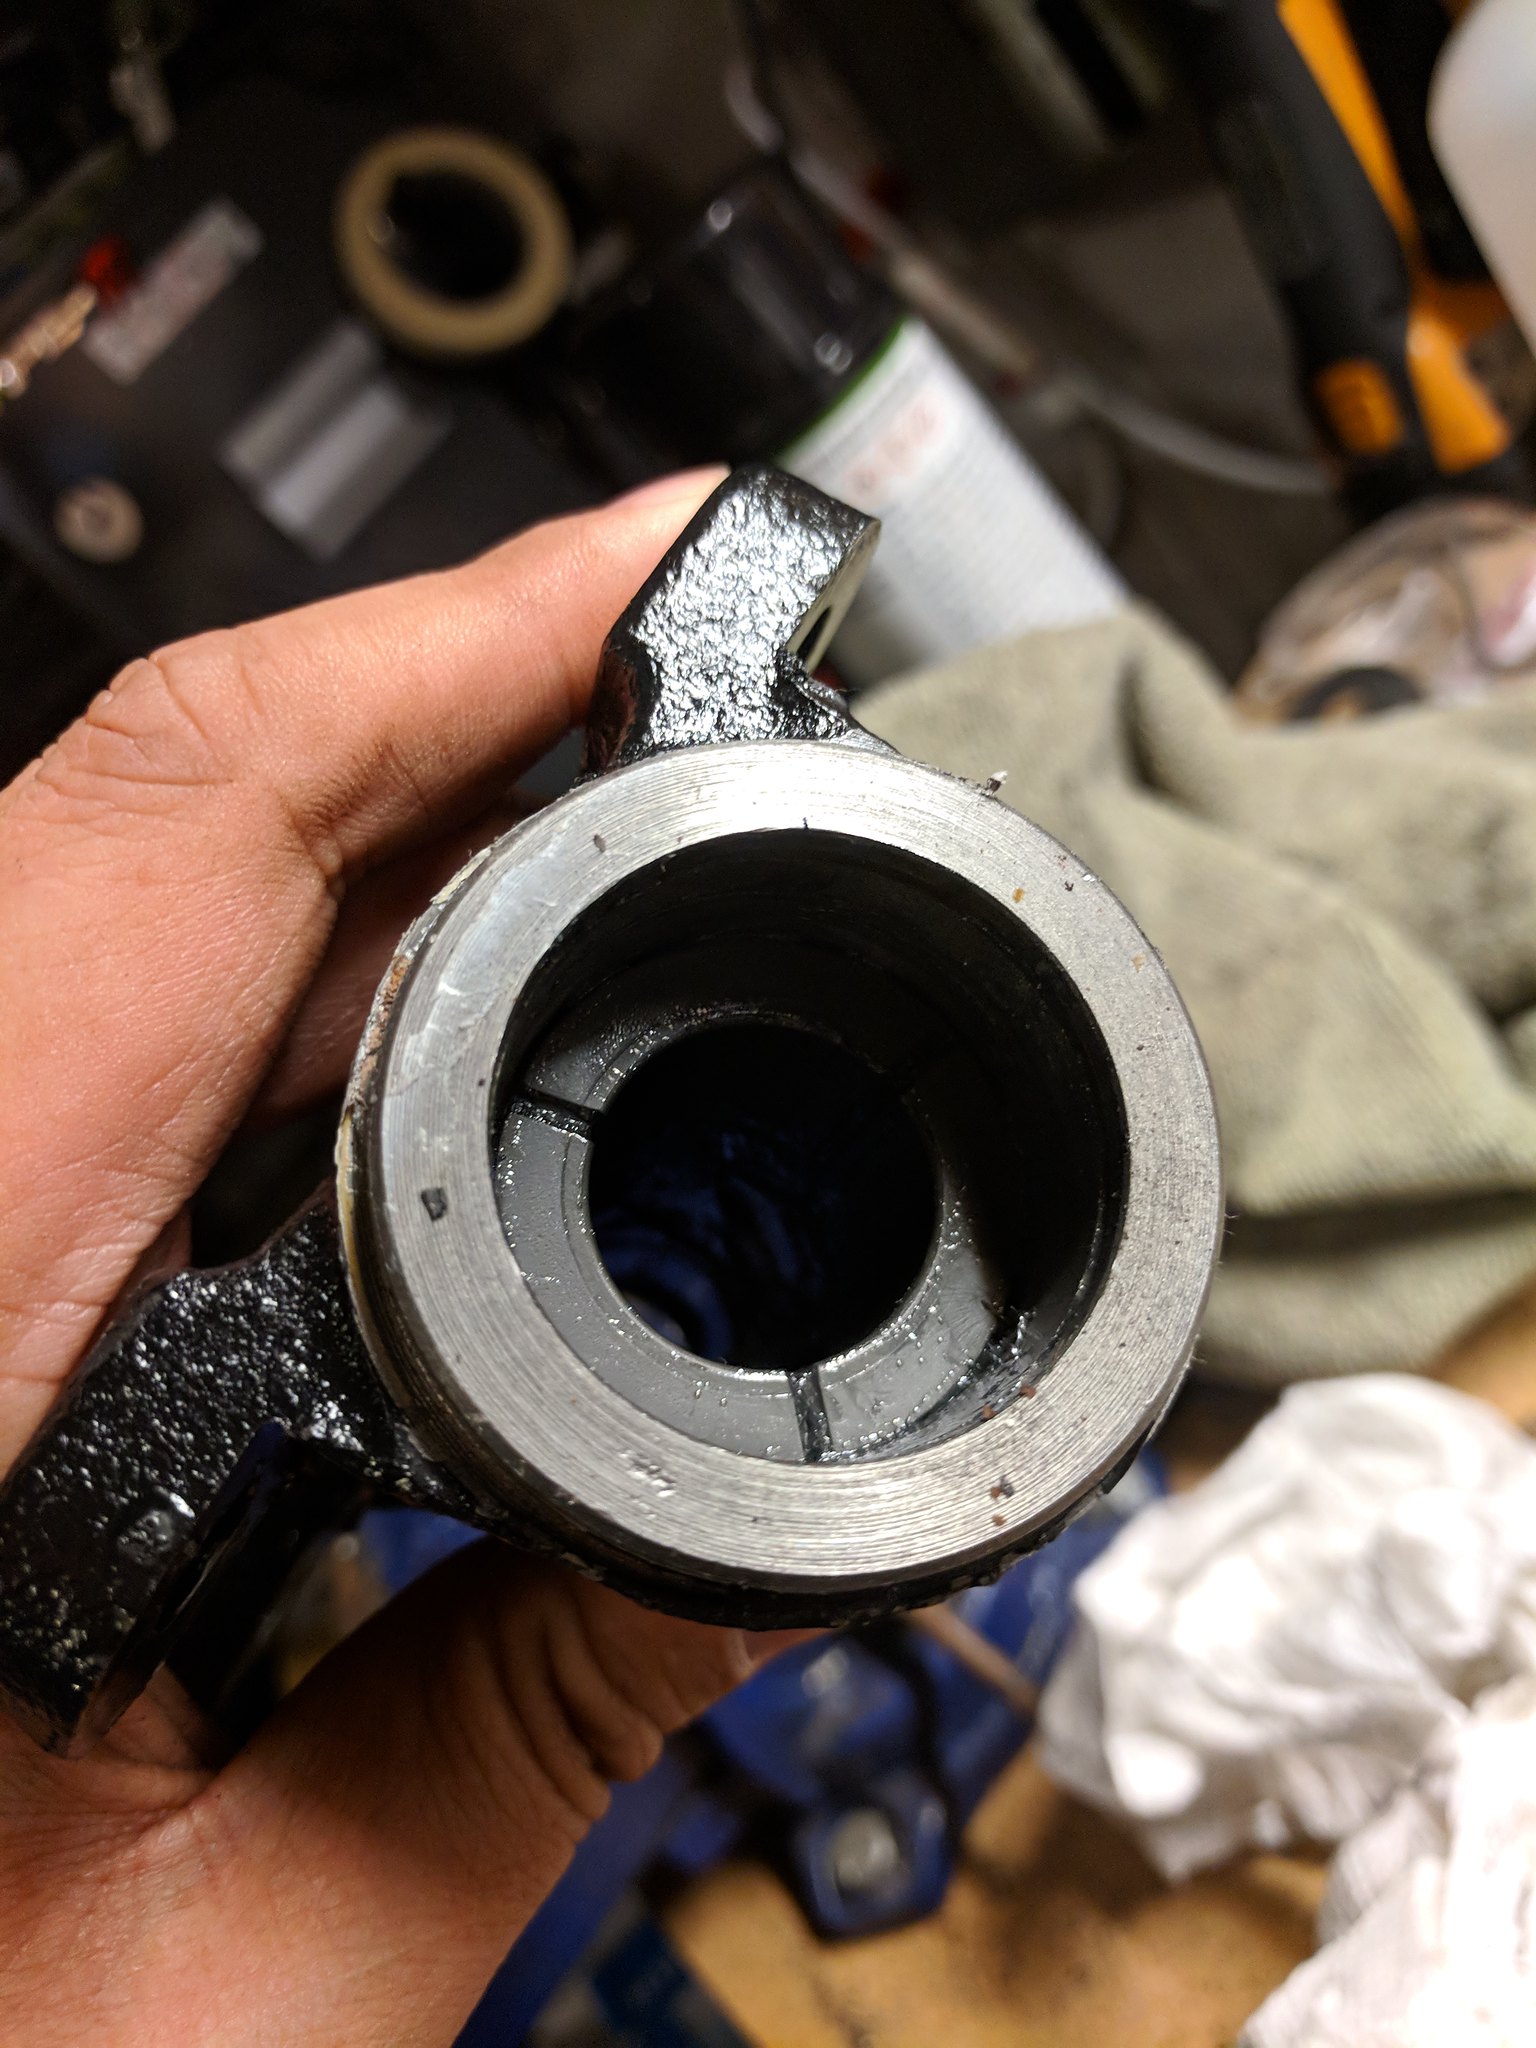
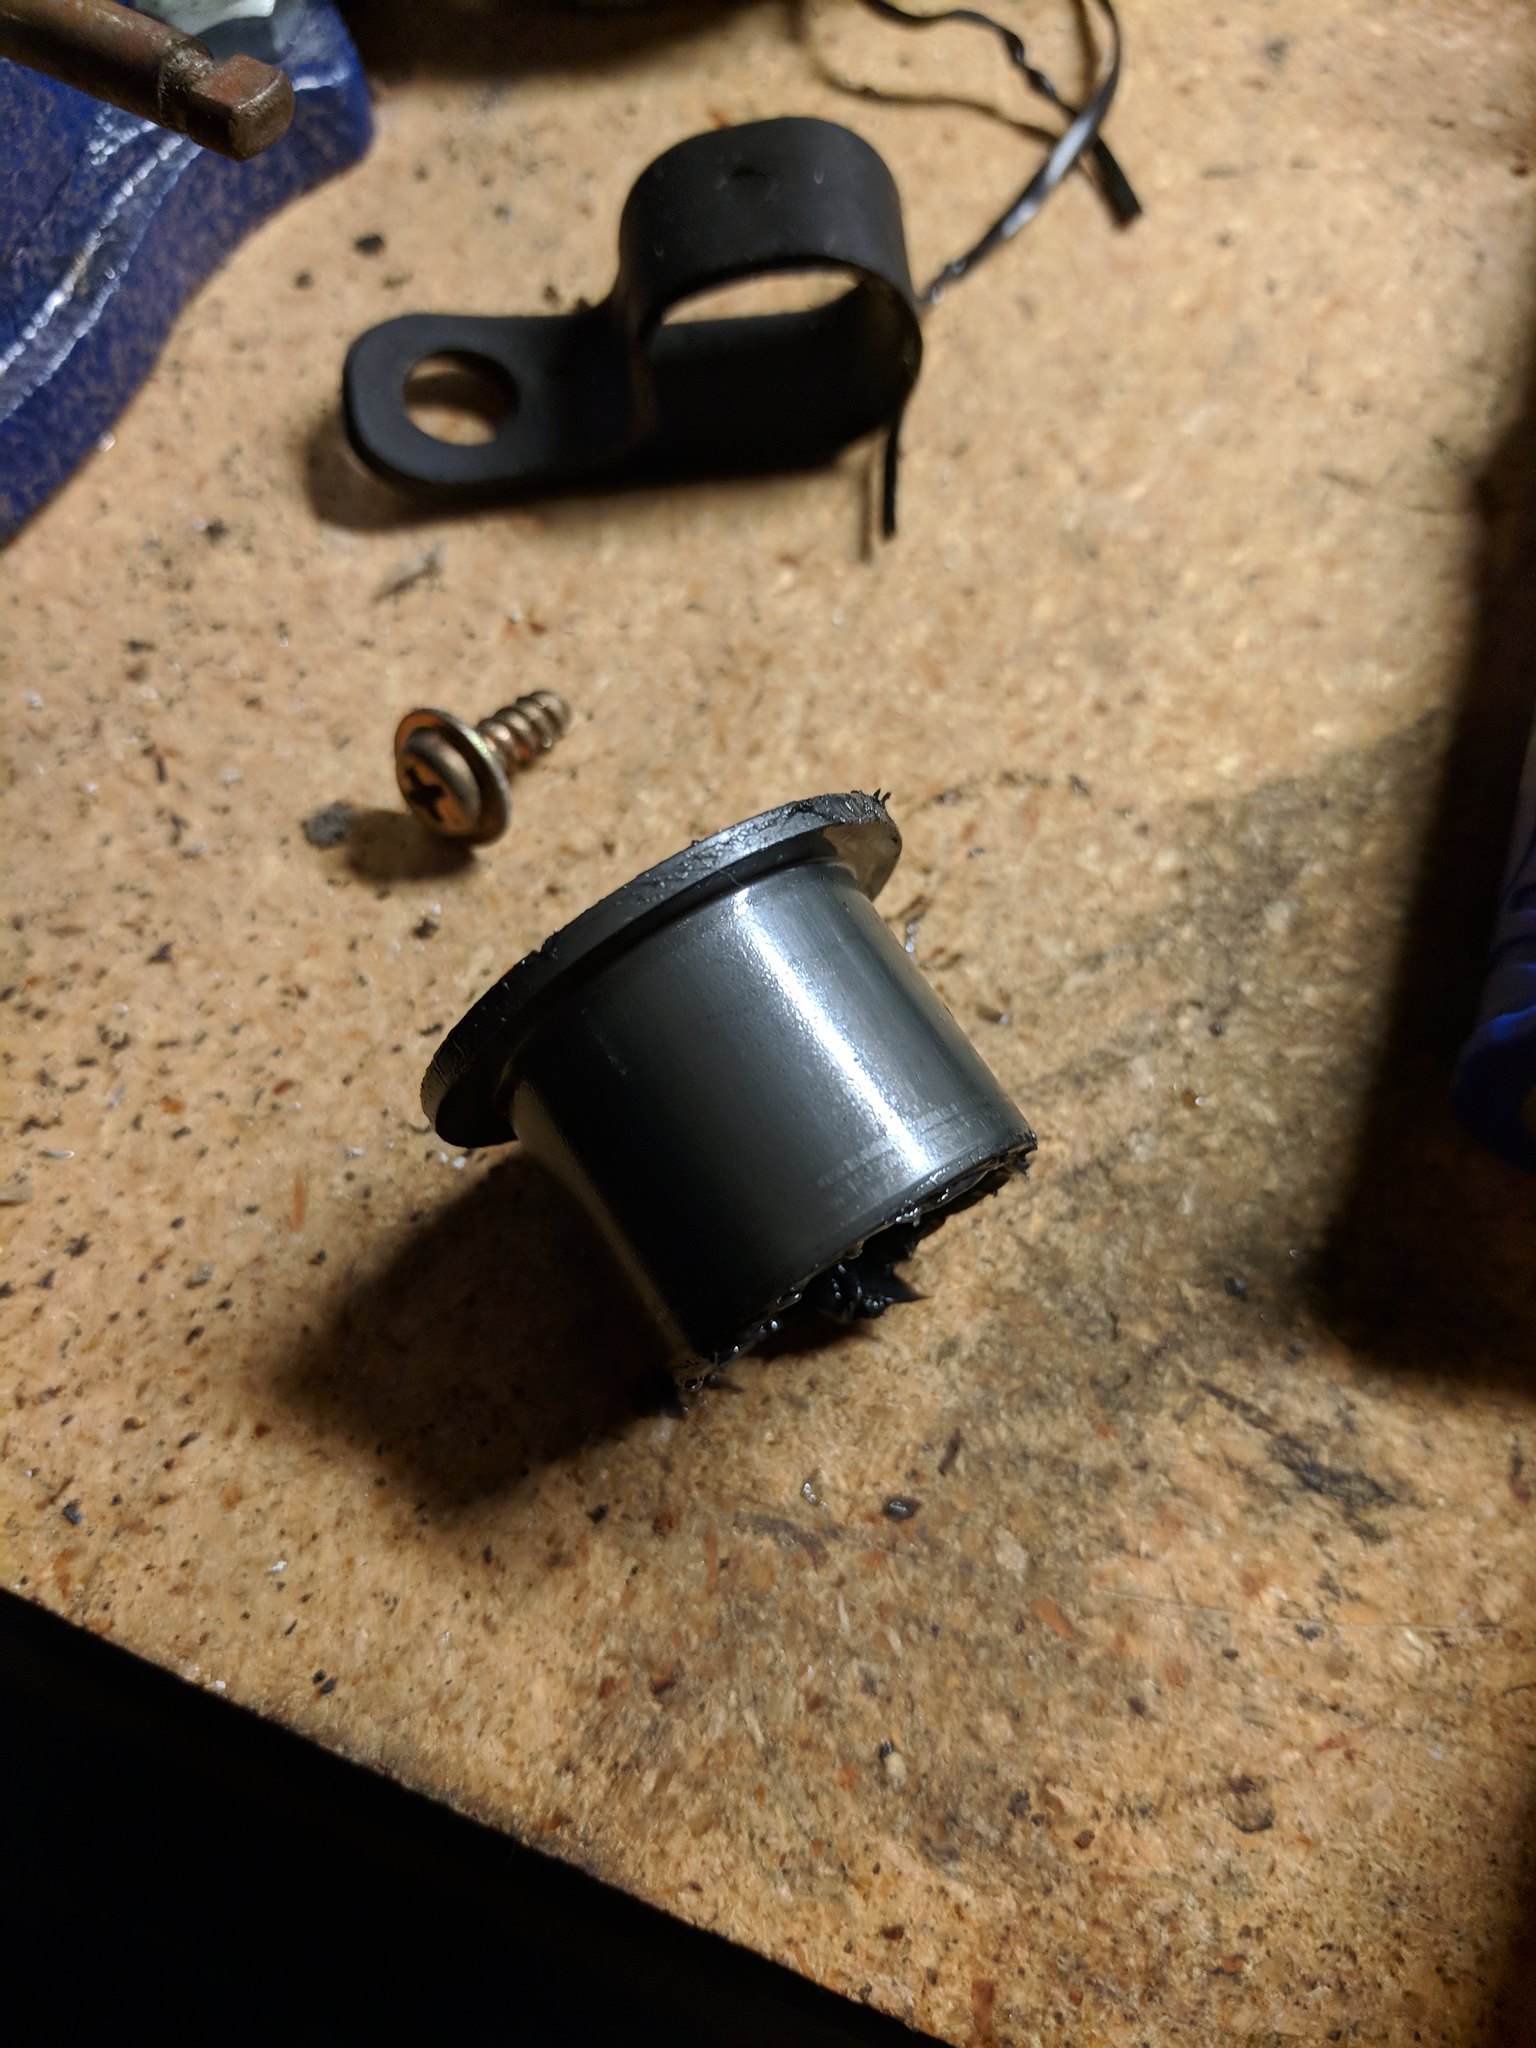
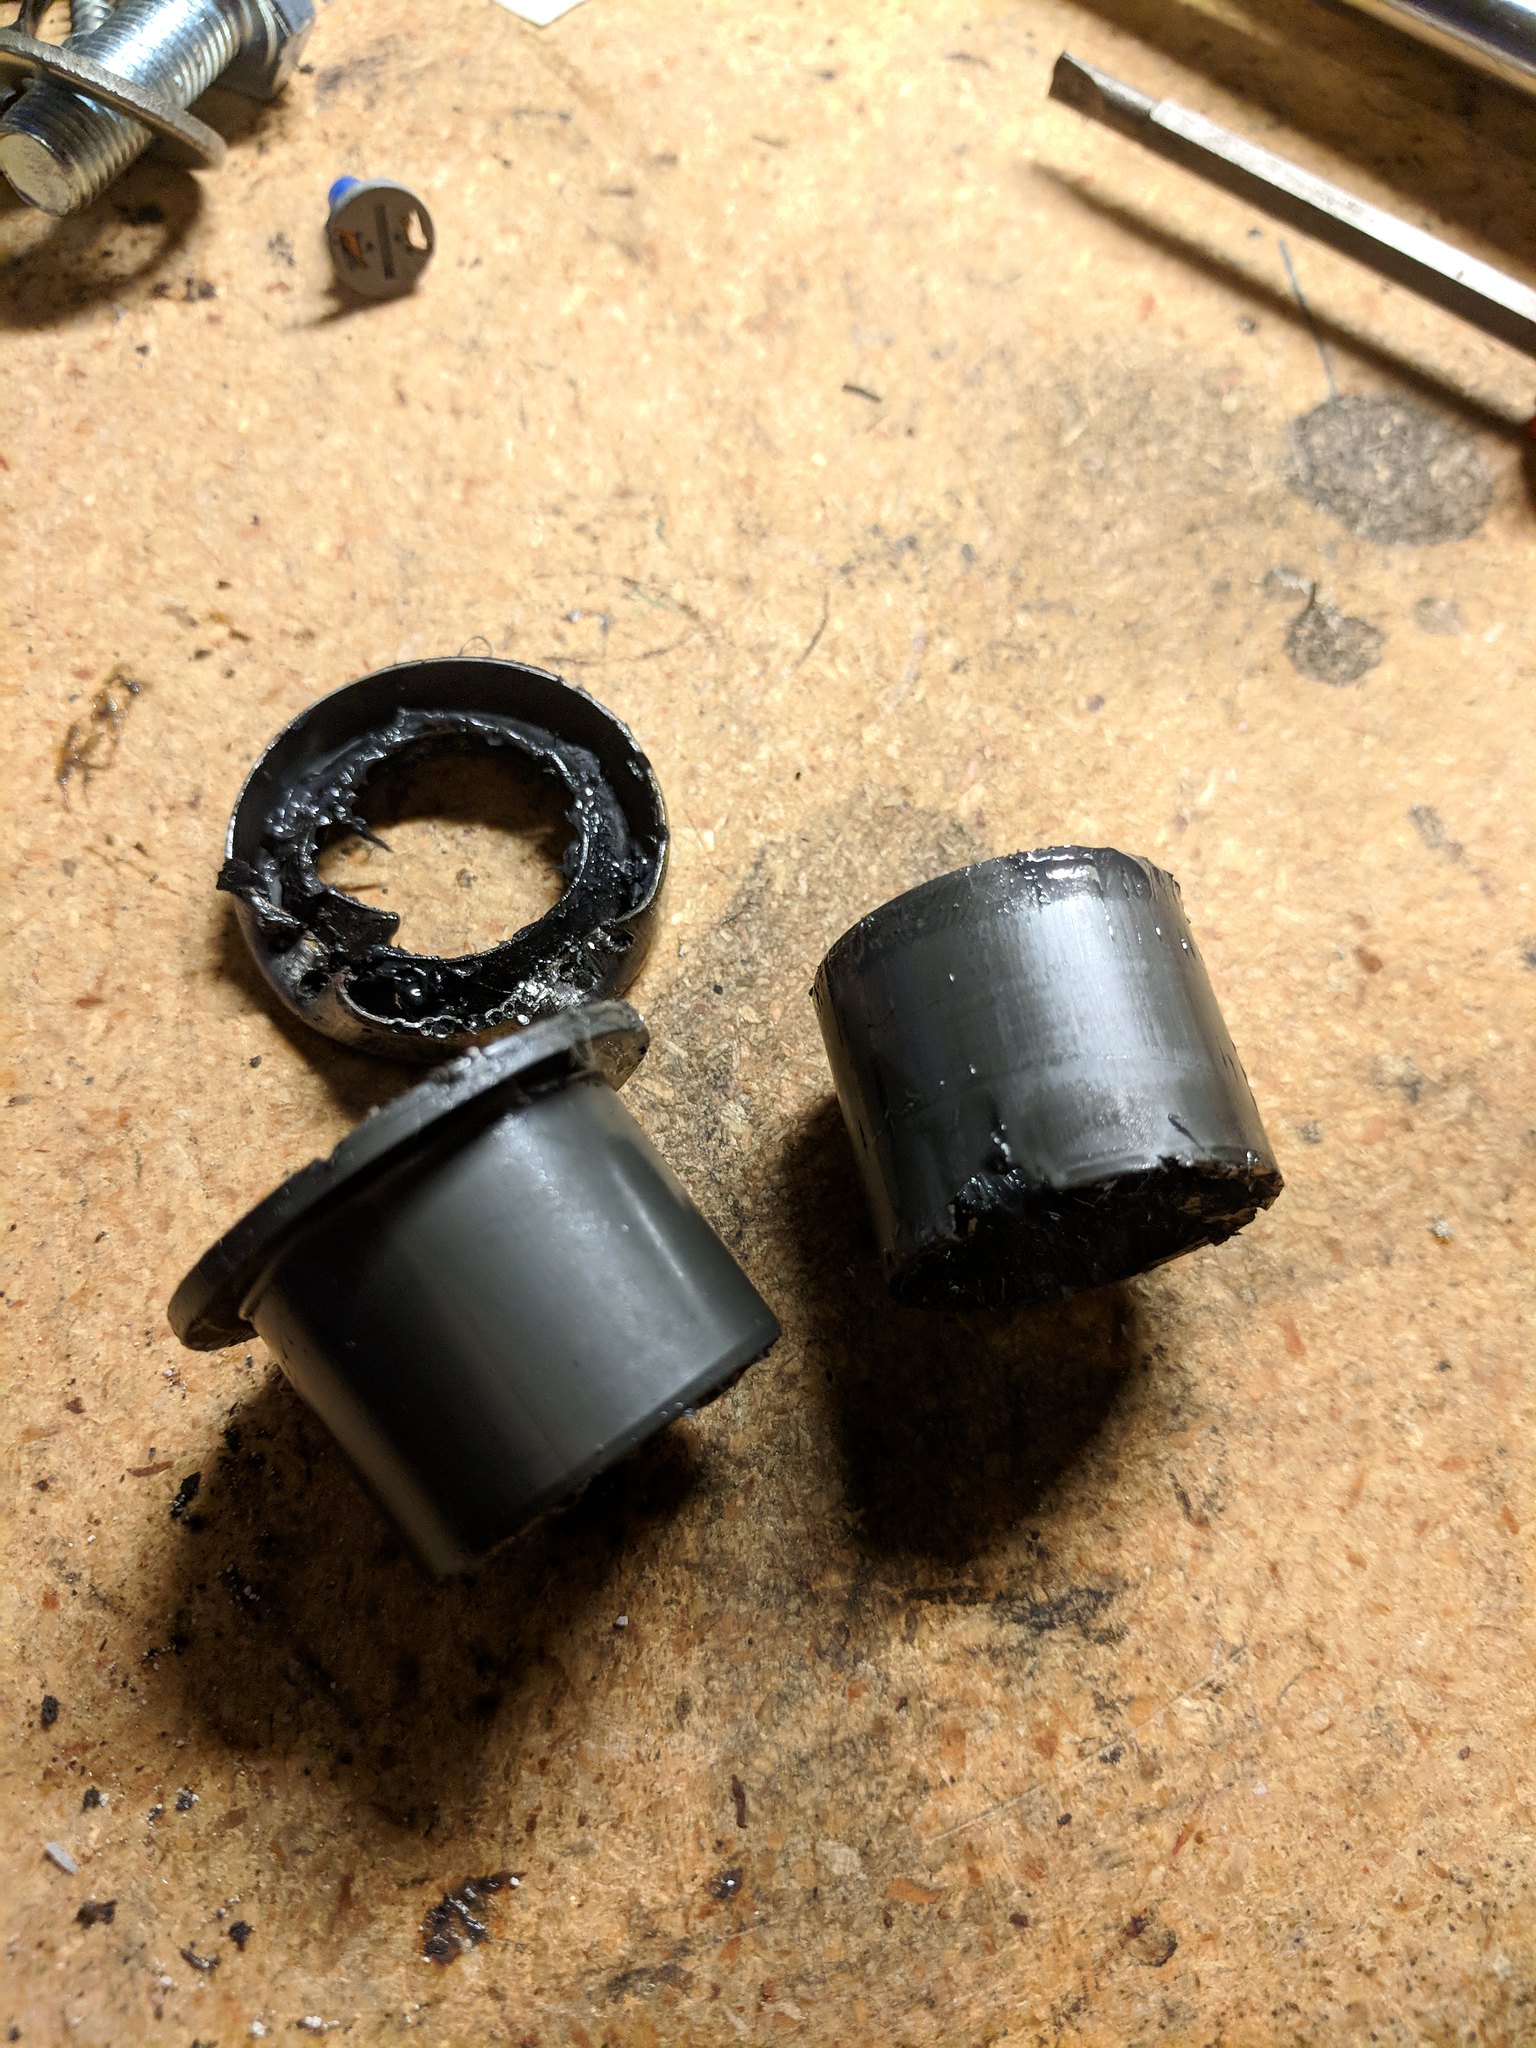
I didn't realize how tight these plastic bushings were in the idler body...thanks to John to confirm what I had to do, I went ahead forward. Just make sure you find the "lip" of the bushing and try to bang it out of the body, just make sure you don't do much damage to actual inner metal part of the body of the idler.
Groot by grimgs, on Flickr

This is the top bushing, its pretty easy to knock out.
Groot by grimgs, on Flickr

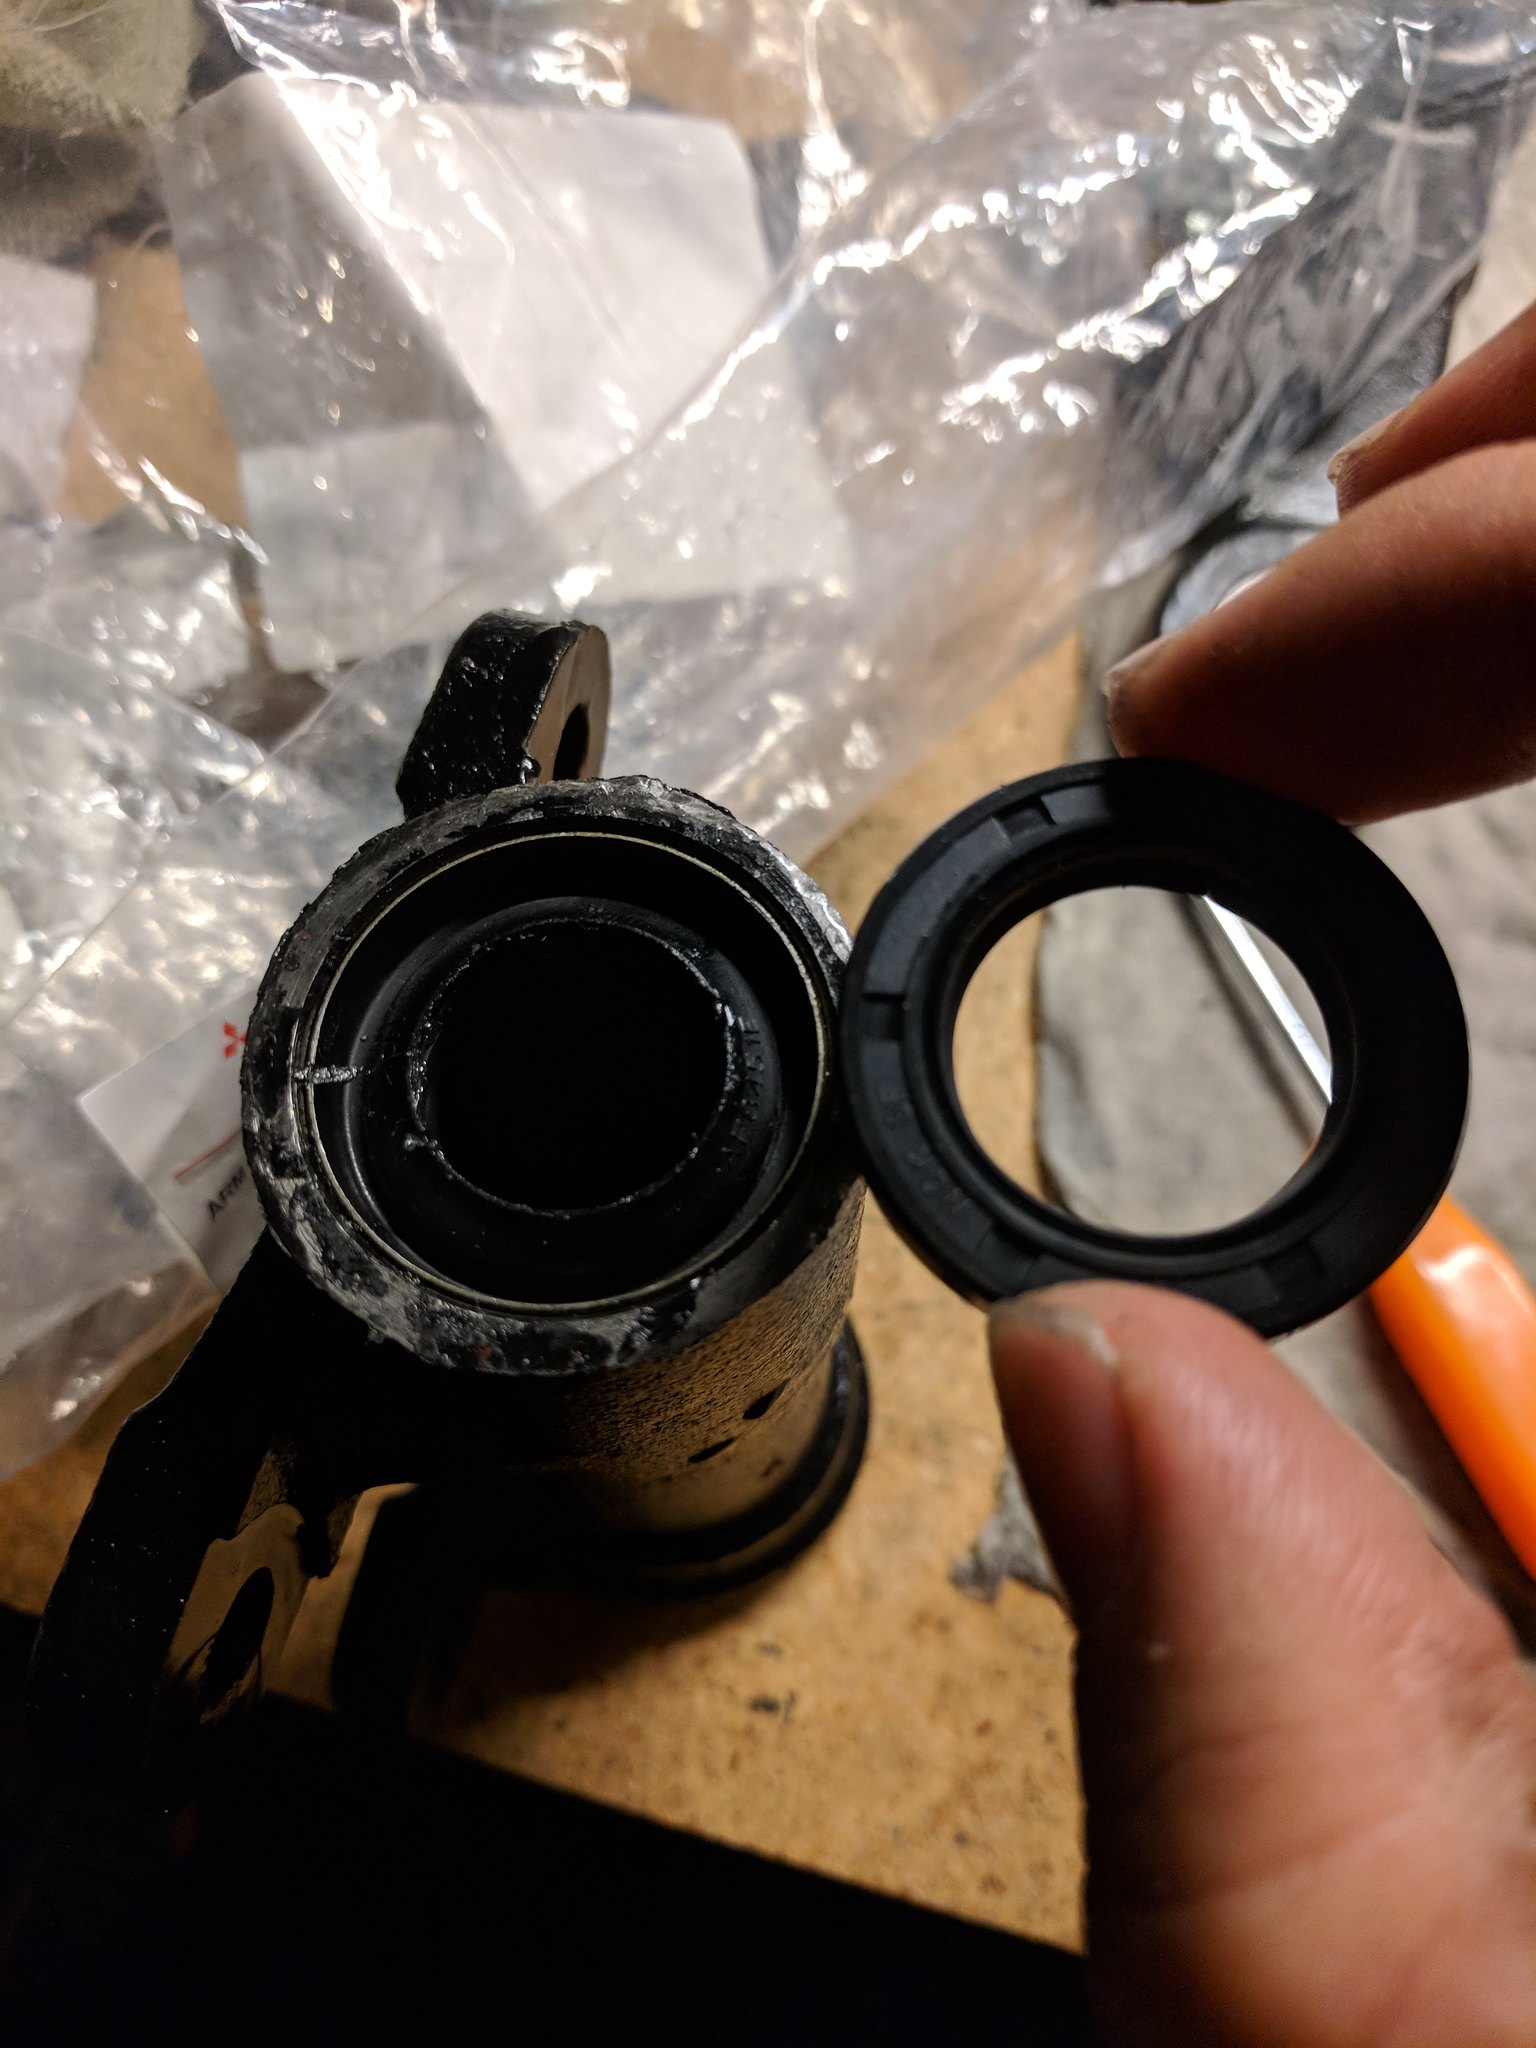
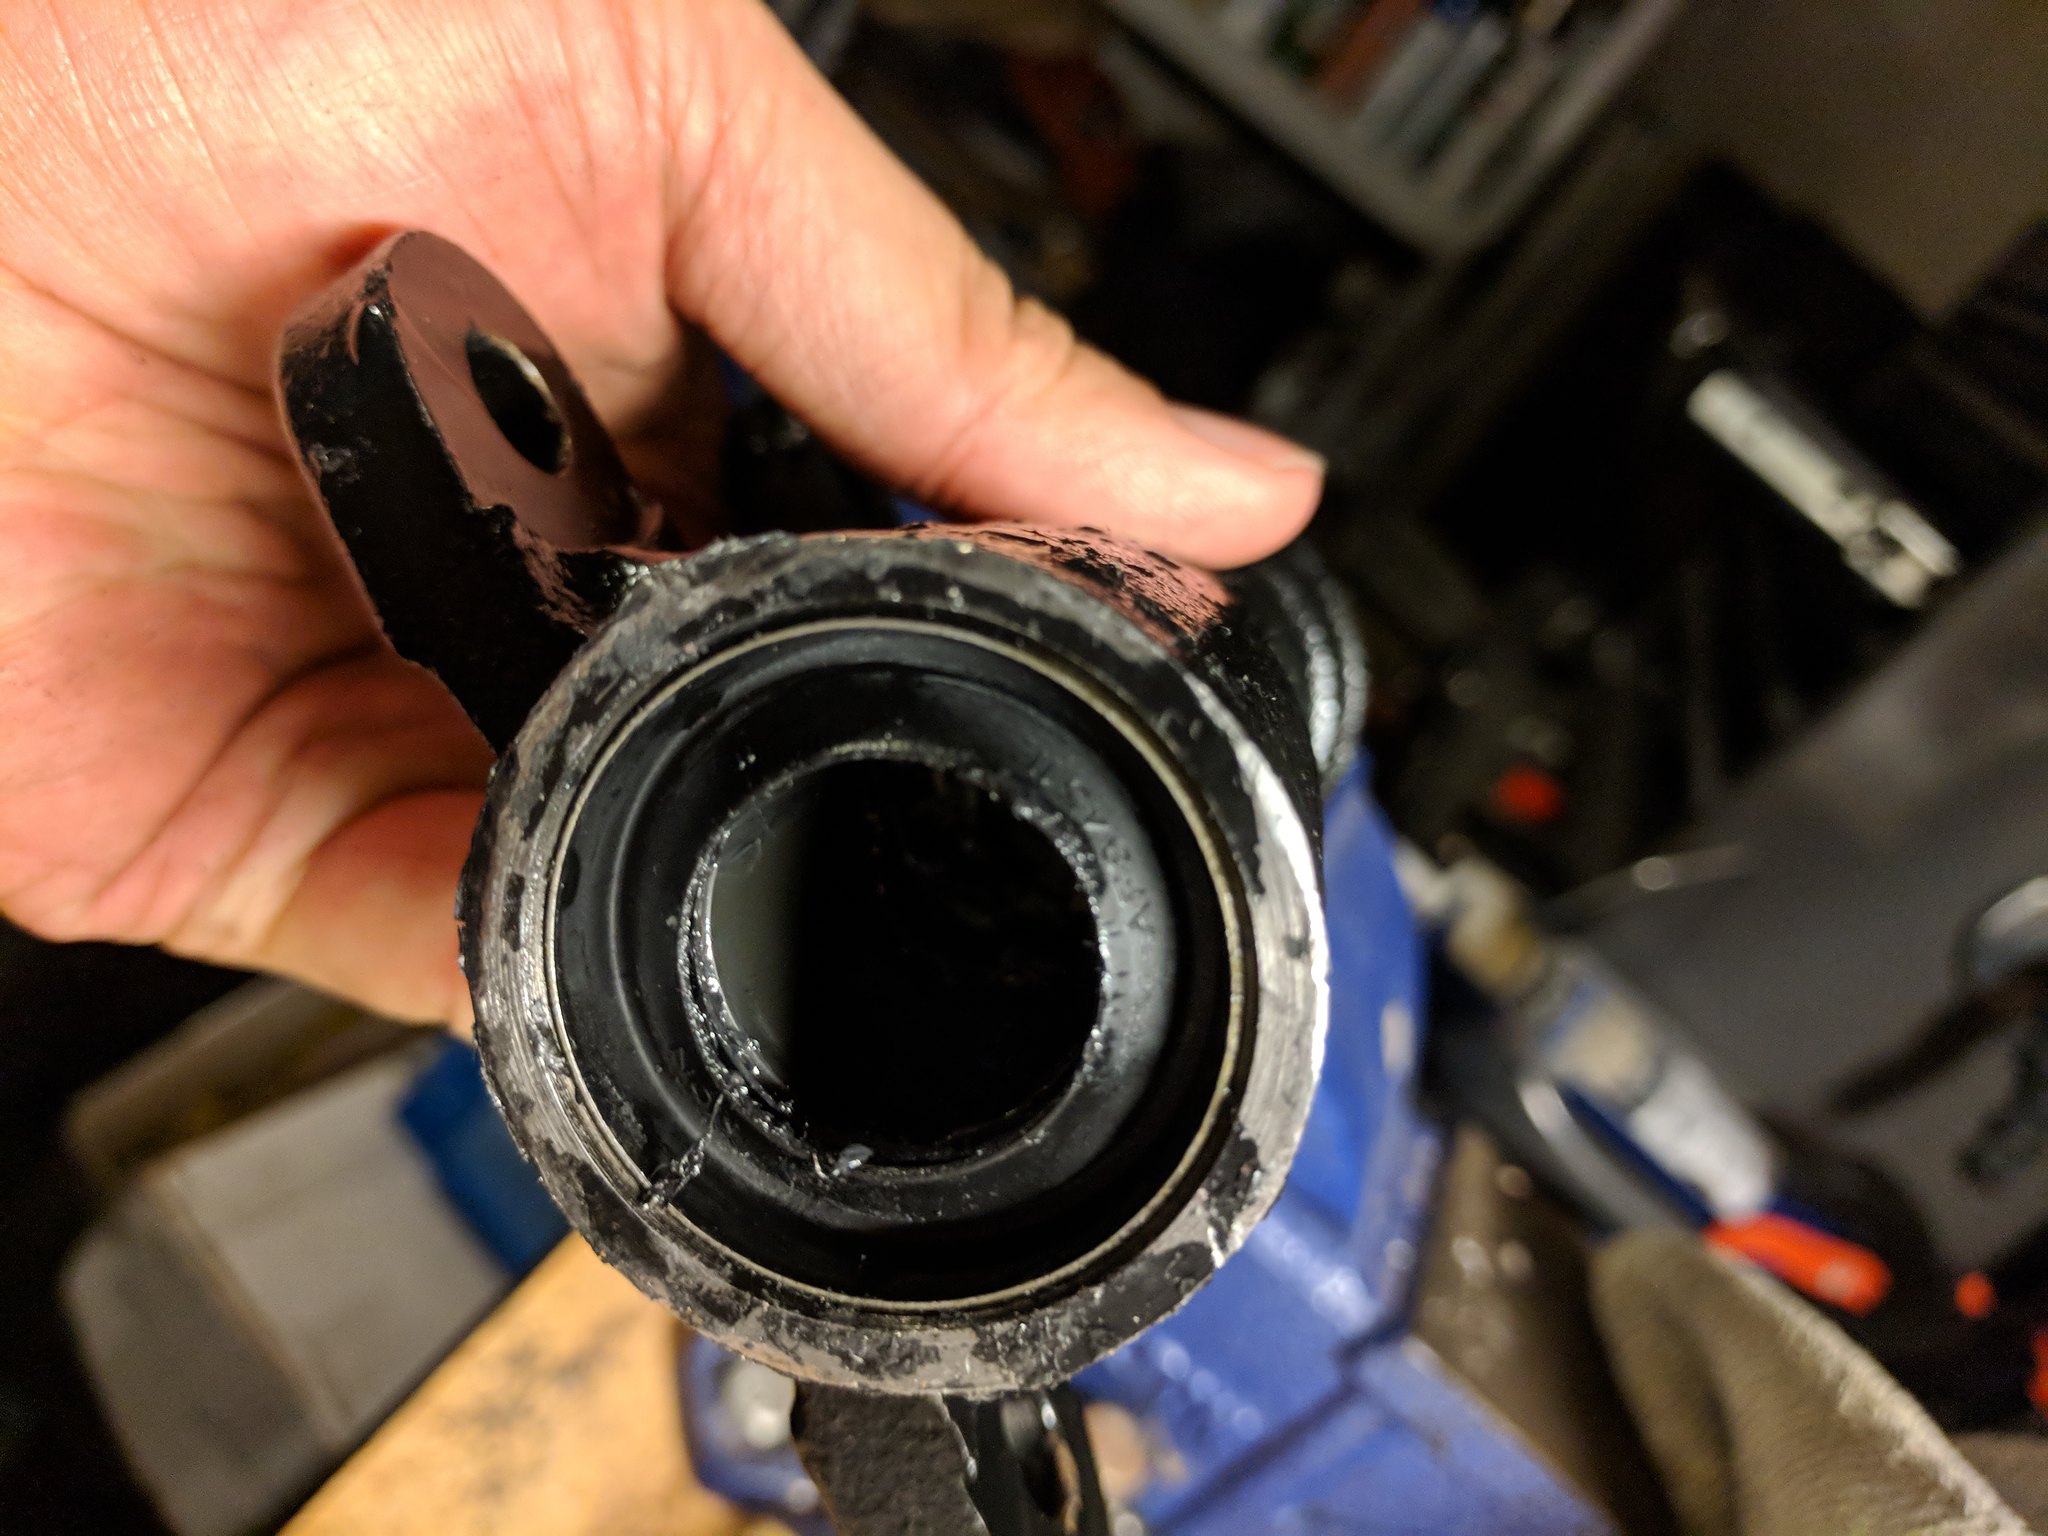
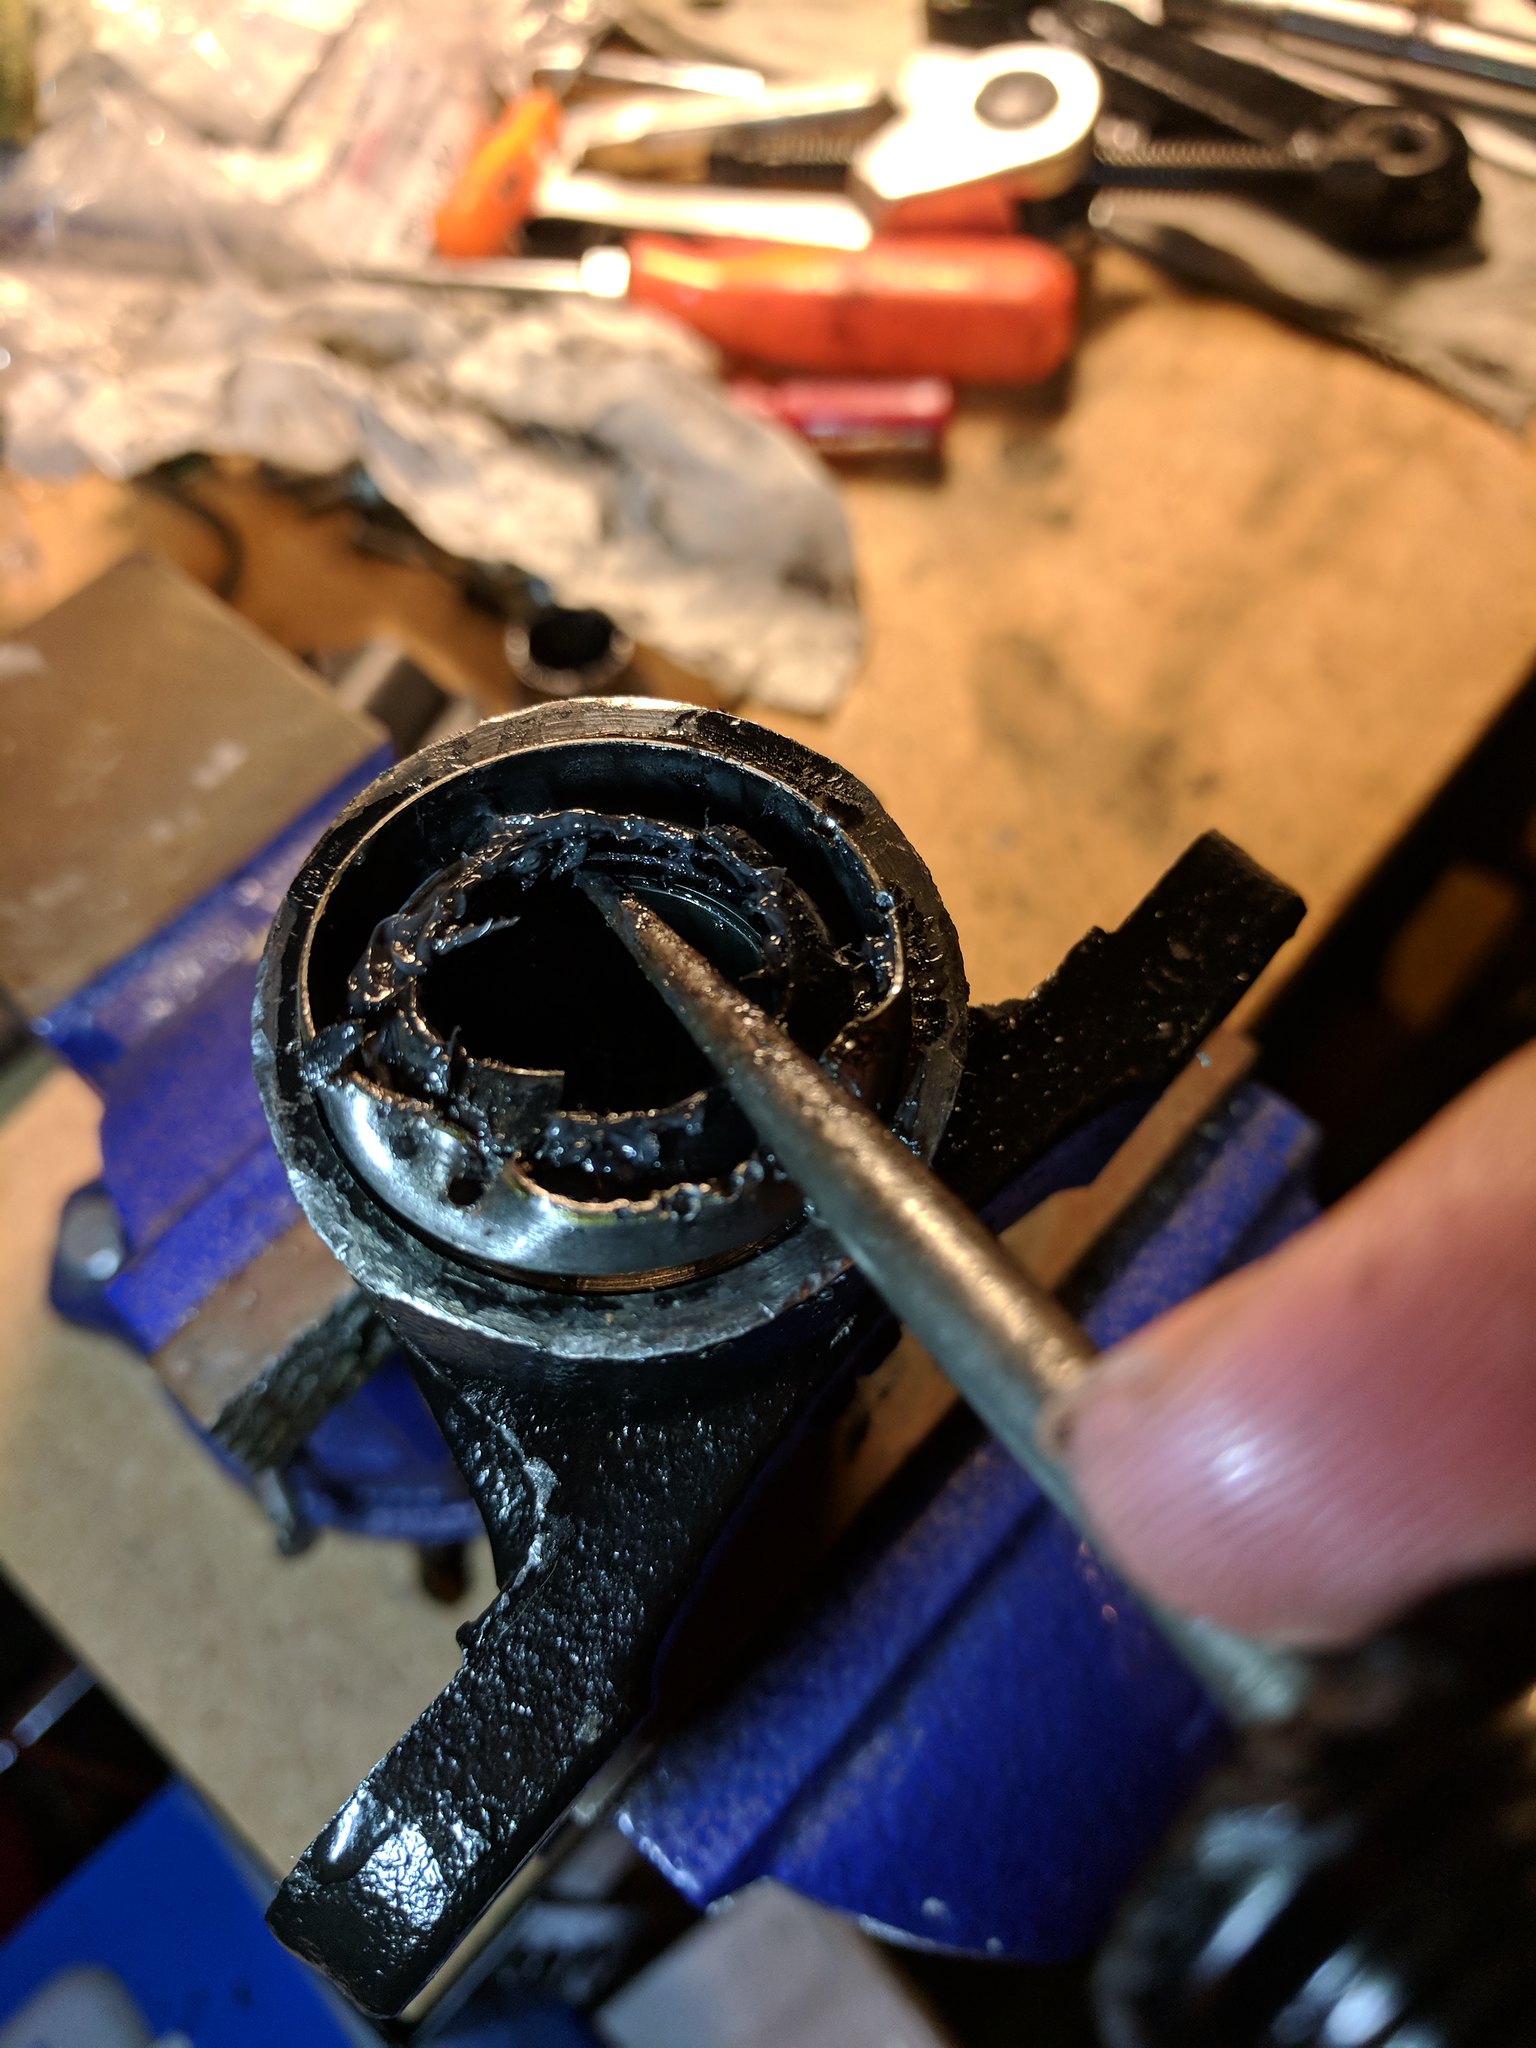
Now the bottom bushing is a bit tricky. You will have to remove the OEM seal which is pressed in tight and the clearance between the bottom bushing the the seal is very small. Initially I was just banging out the outer section of the seal but I was close to causing damage to the actual idler body. I then used a small pick and try to wedge it between the bottom bushing and the deal and once you do that the seal lifts pretty easy and comes out.
Groot by grimgs, on Flickr

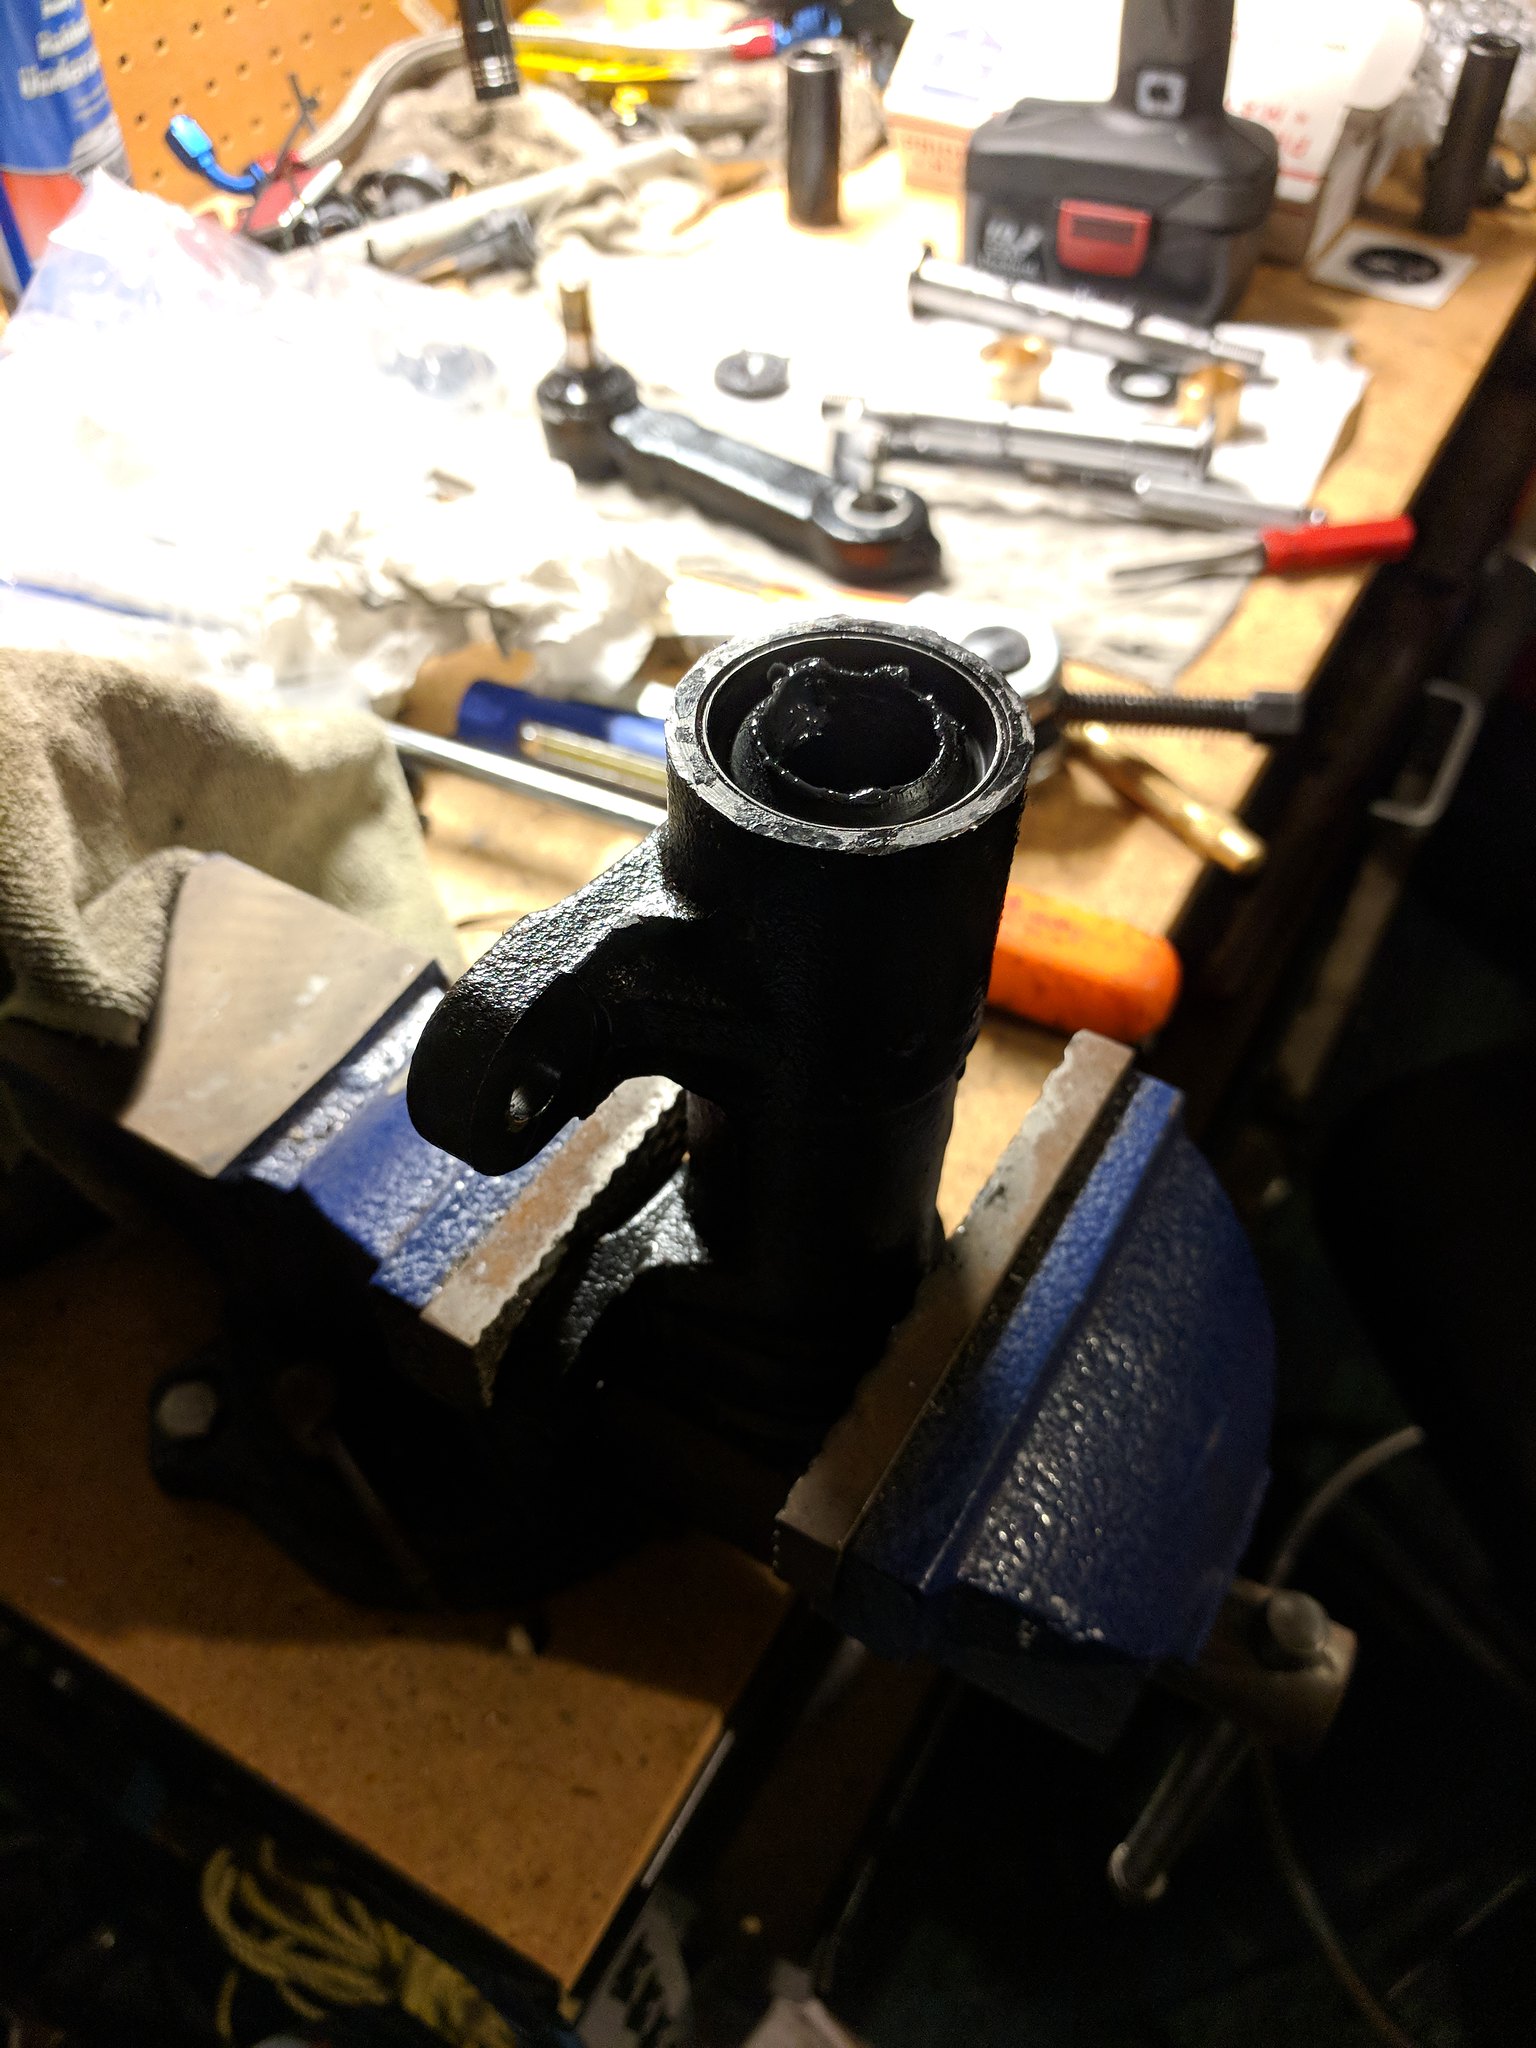
Once you pop the seal out you can then bang out the bottom bushings. Like the top...just find the lip and start chipping away. The bottom bushing is a little bit more difficult compared to the top...so patience is the key here.
Groot by grimgs, on Flickr

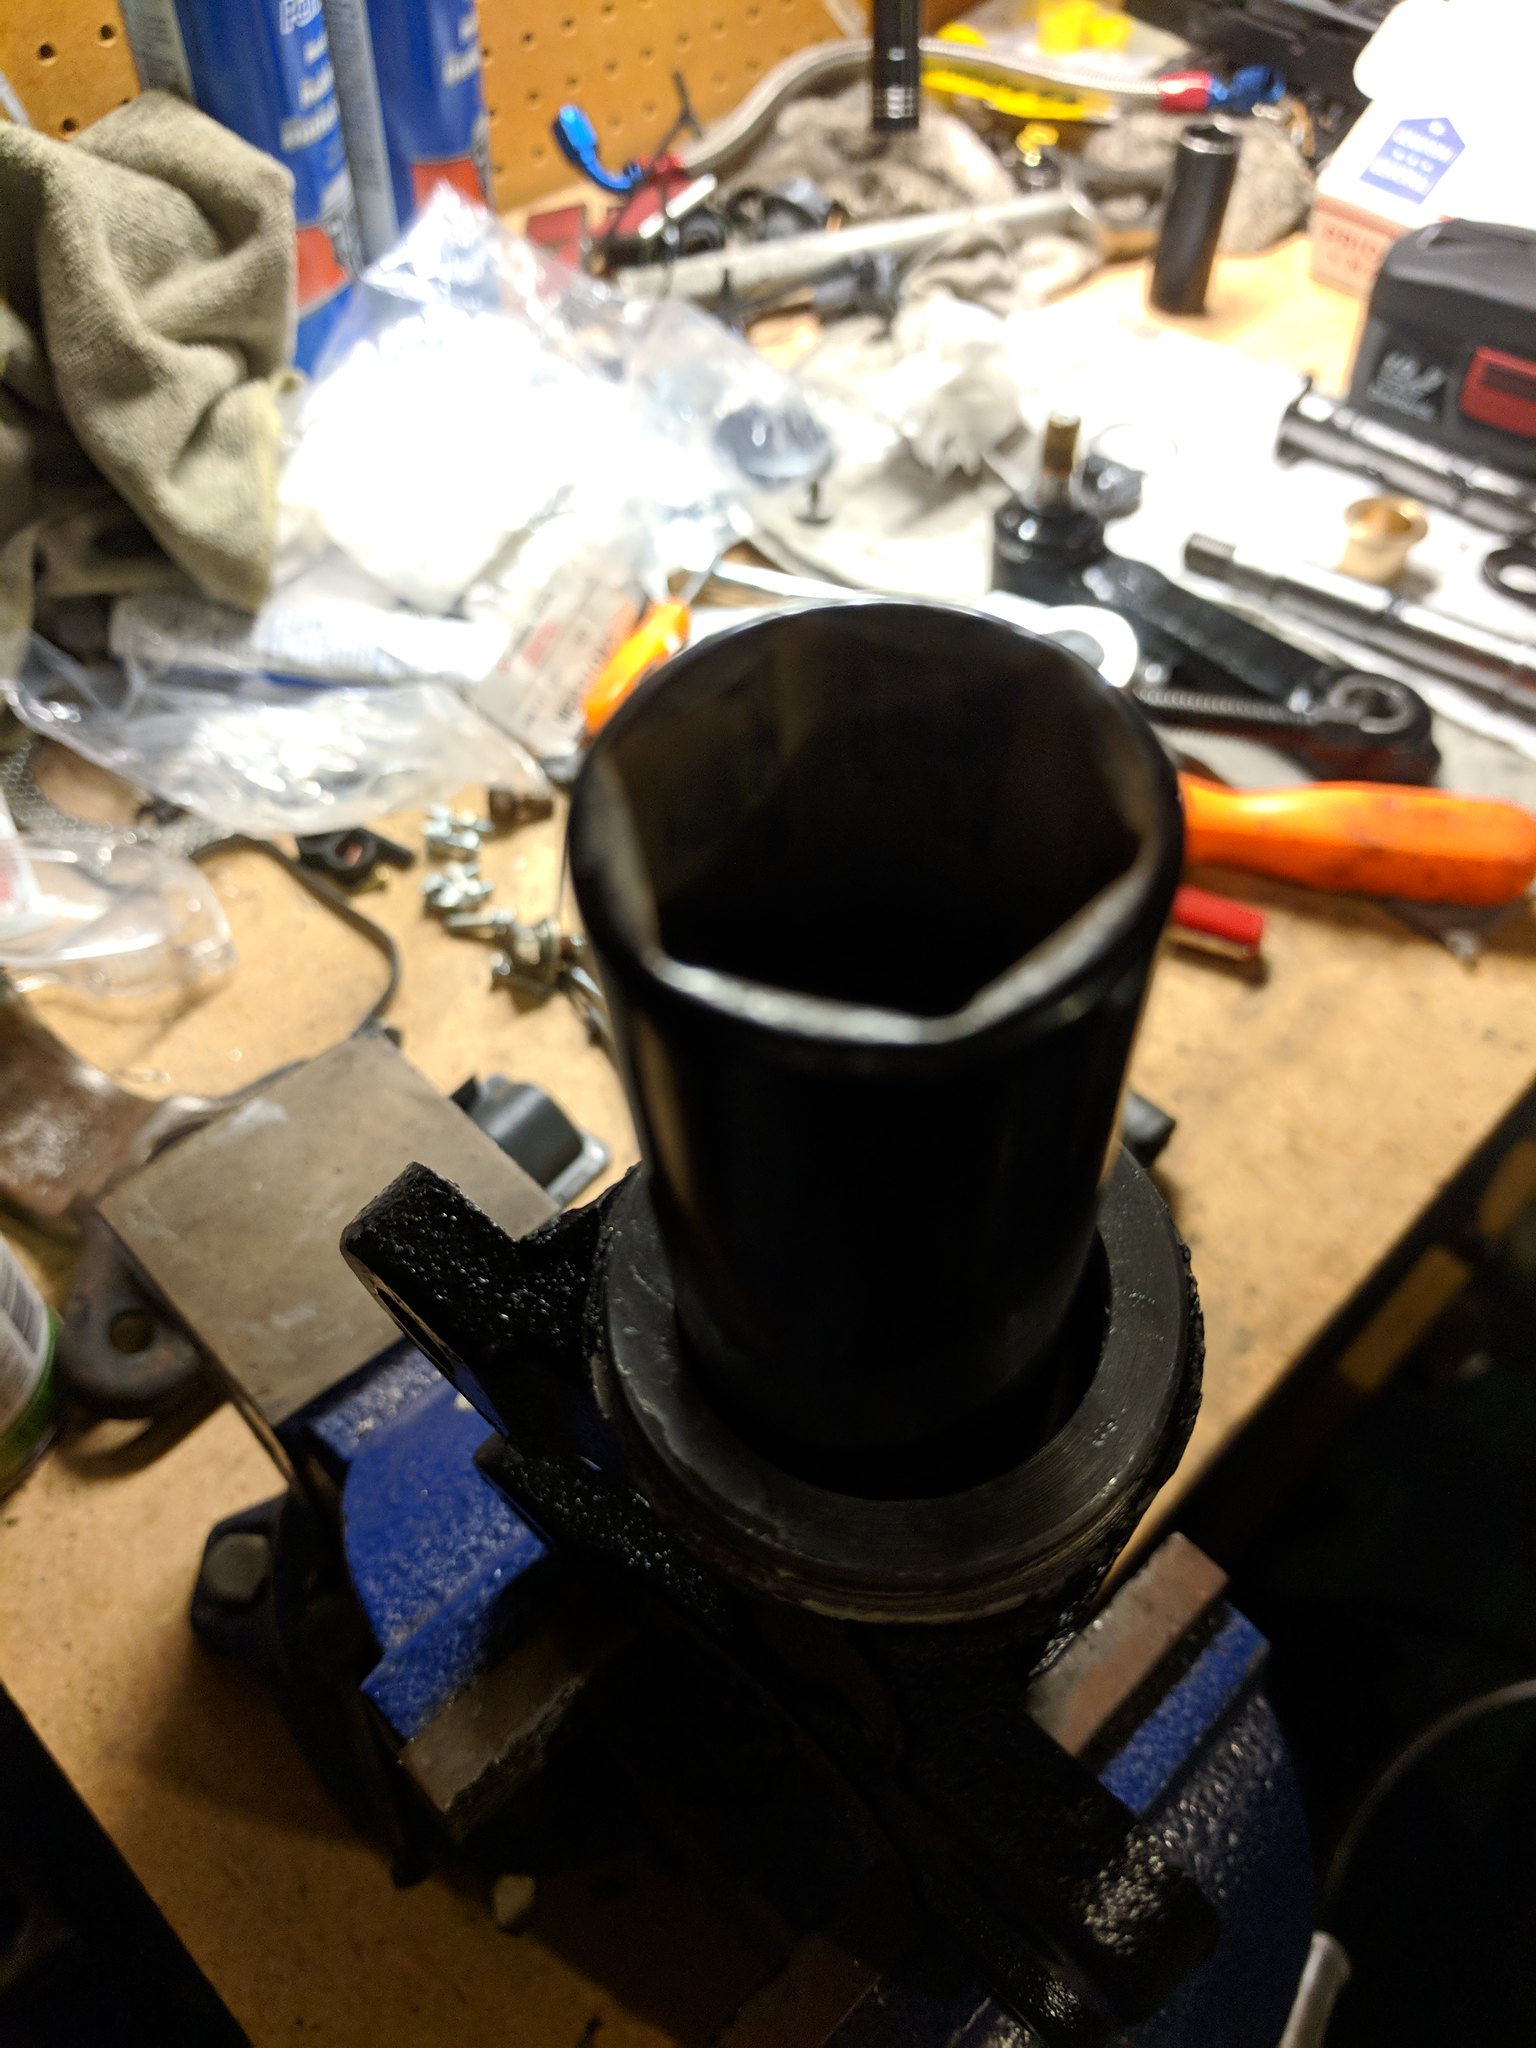
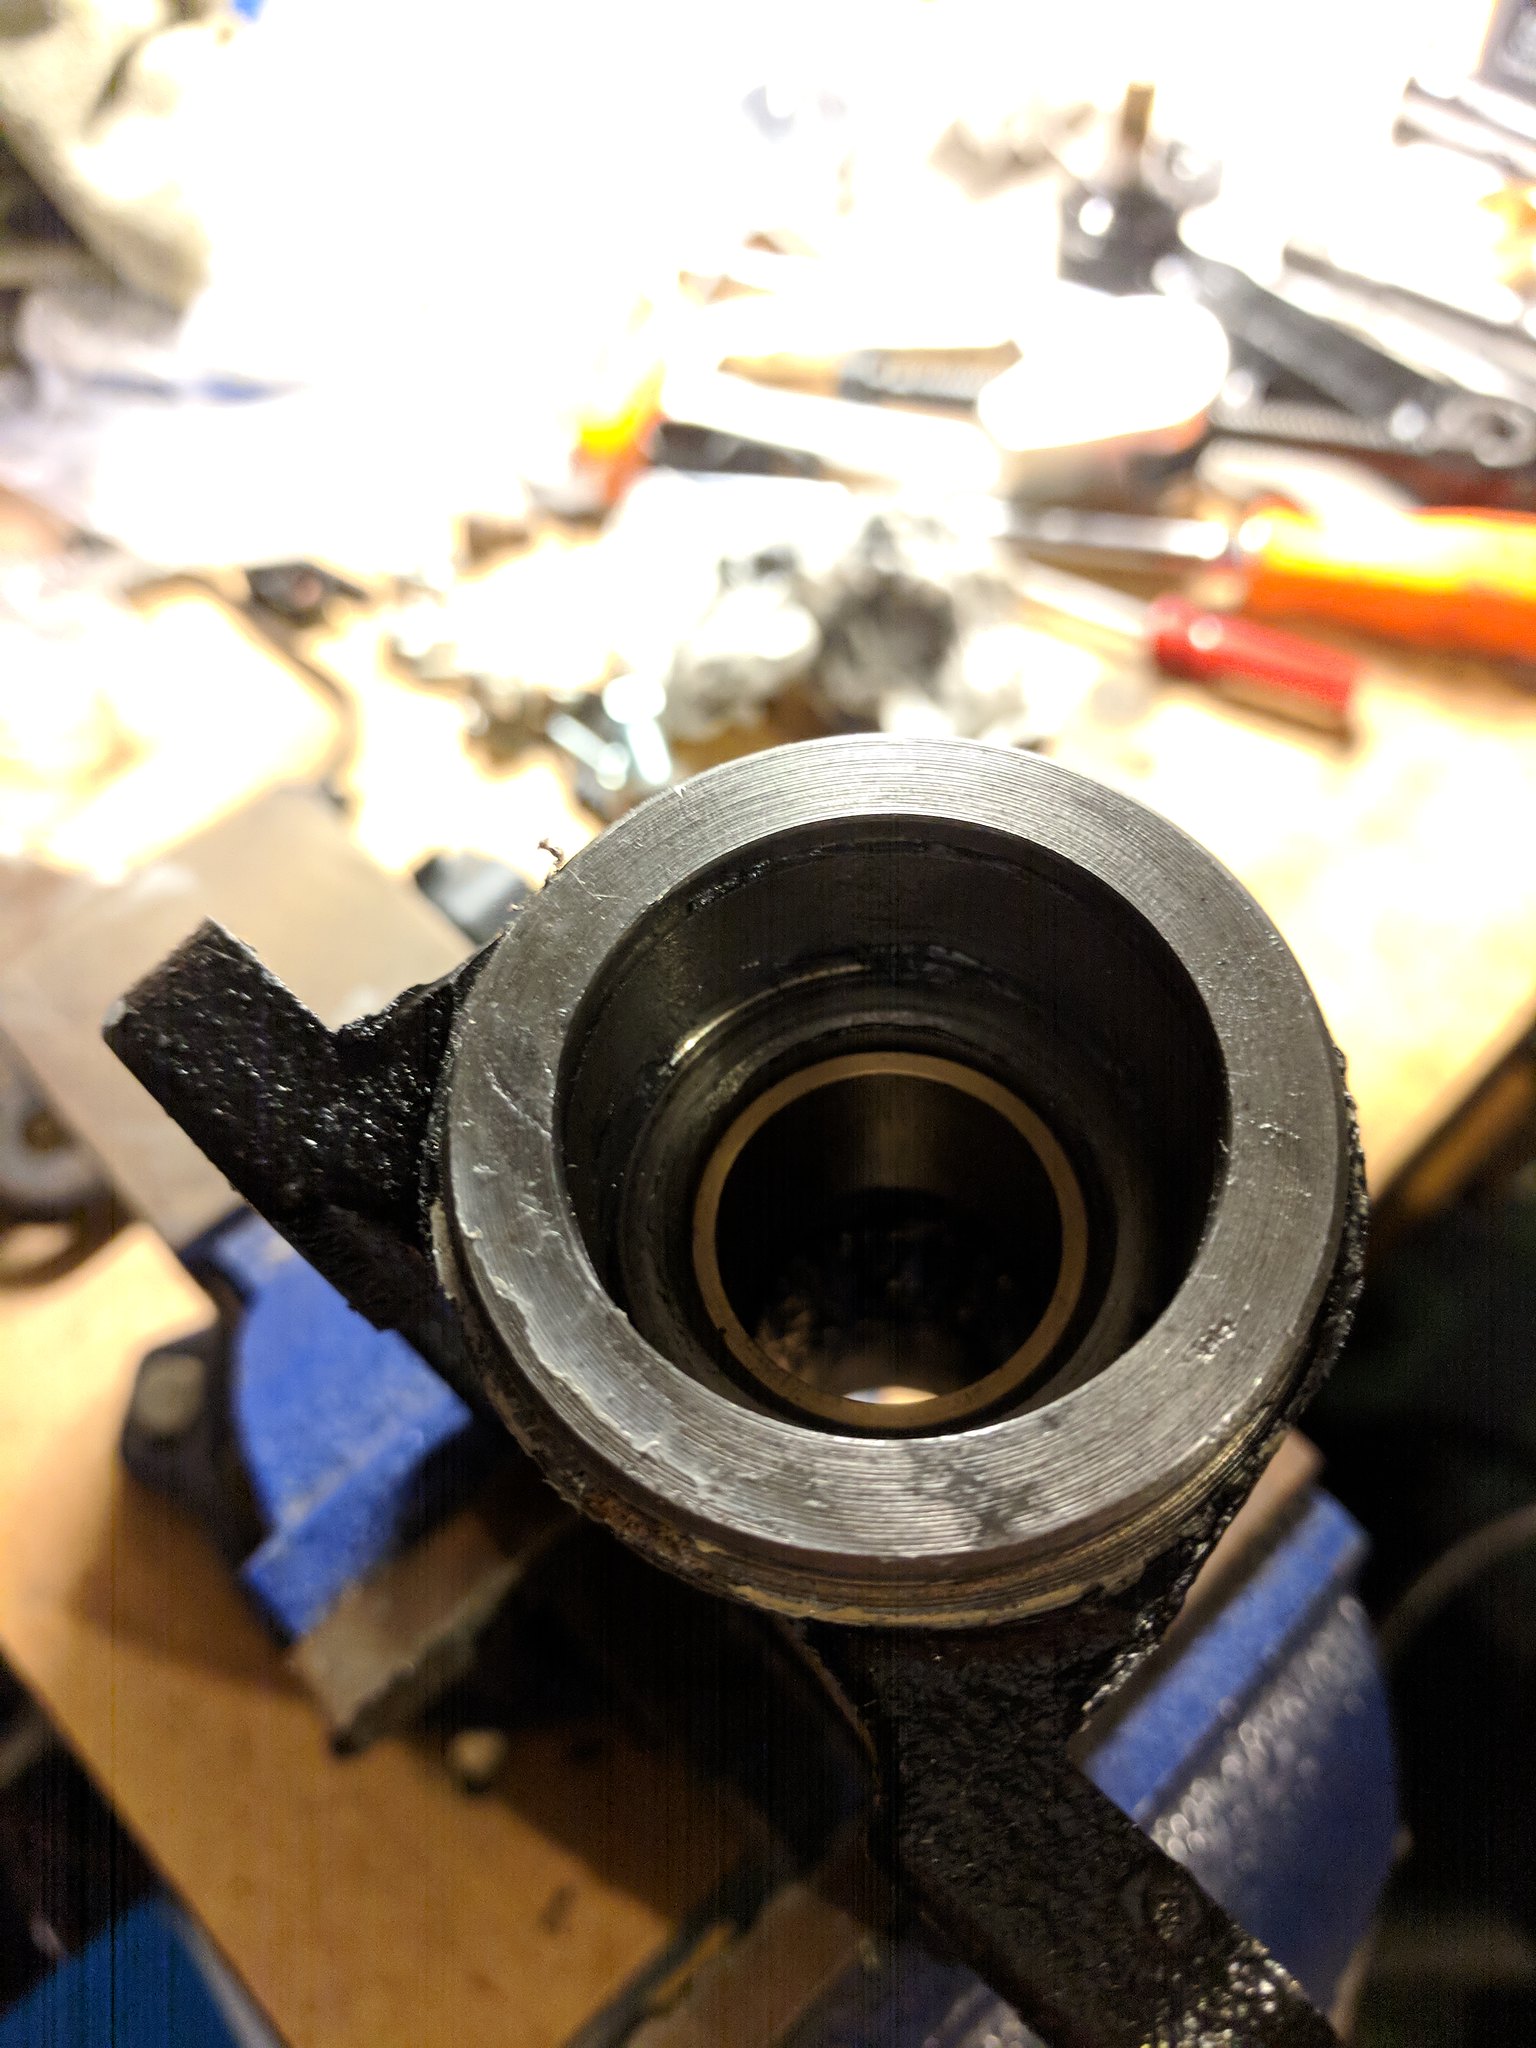
Install the brass bushings in place where the oem plastic ones used to be. Bottom one you will have to press/bang it in. I used a 22mm socket and turned it opposite way in and use it to fully seat the brass bushing. Once that's it..then I used the same technique to get the seal provided by ADD to seat it to the idler body.
Groot by grimgs, on Flickr
 

MrGalantguy

Mitsubishi Loyalist
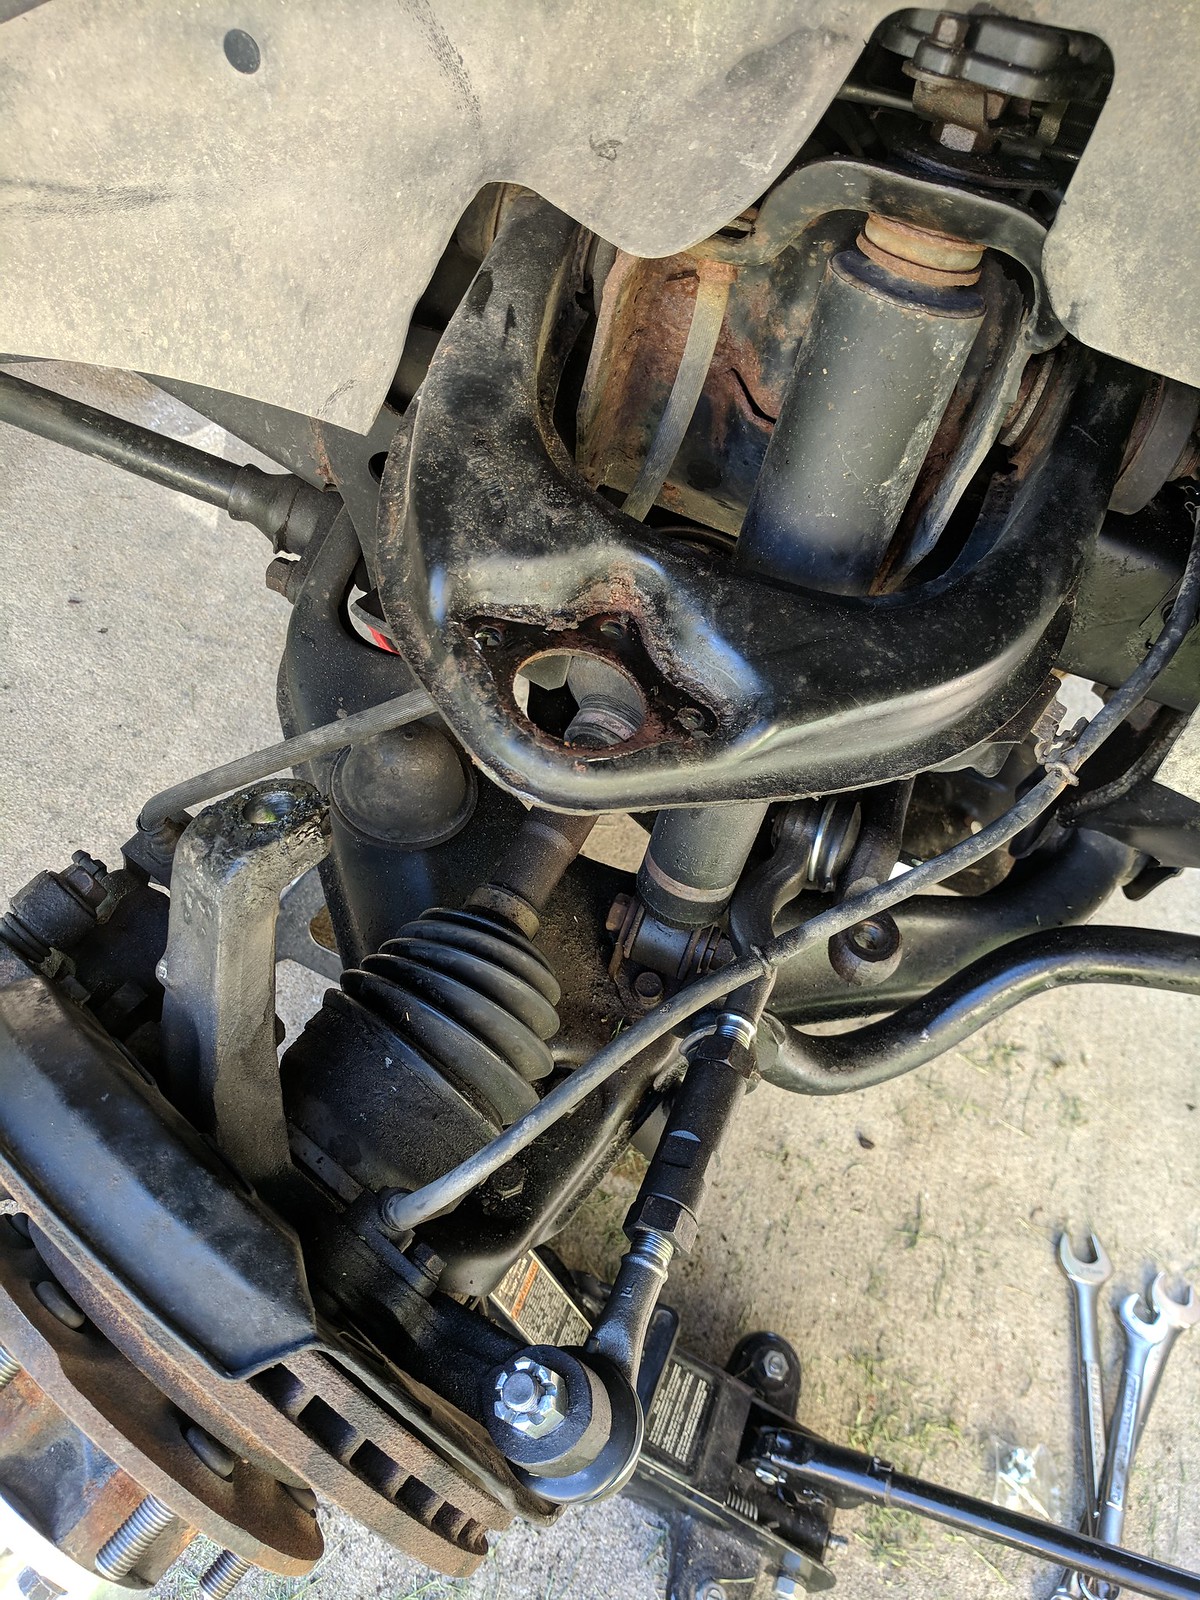
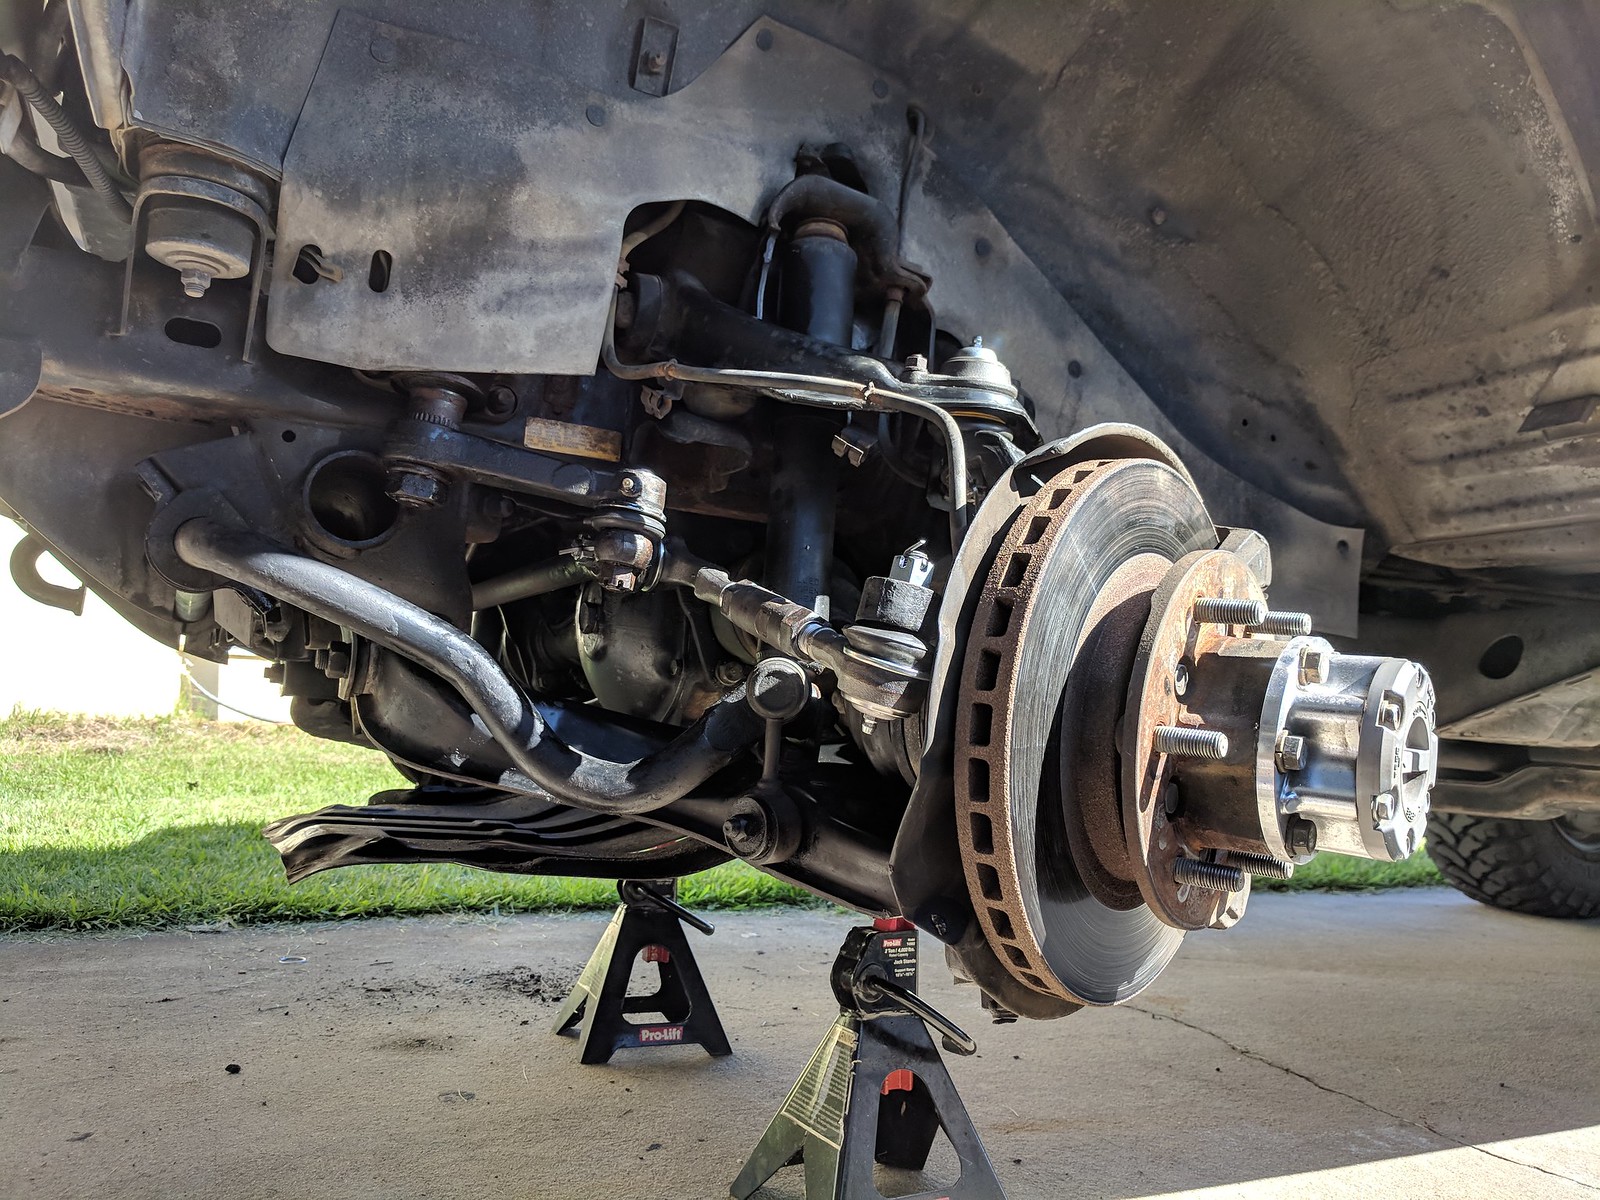
Here is the scene before teardown...doesn't look bad till you start to really inspect the parts and checking them.
Groot by grimgs, on Flickr
New idler arm installed.
Groot by grimgs, on Flickr
Even with spraying rust penetrant all week it wasn't good enough. I ended up rounding the castle nut on the passenger side upper ball joint when I thought I was loosening it. :-[ I ended up taking my angle grinder and cutting the bottom shaft off the upper ball joint. From this point I knew that I would need my trusty torch method for the rest of the other parts I was going to remove and pretty much it was smooth sailing.
Groot by grimgs, on Flickr
Upper ball joint finally out
Groot by grimgs, on Flickr
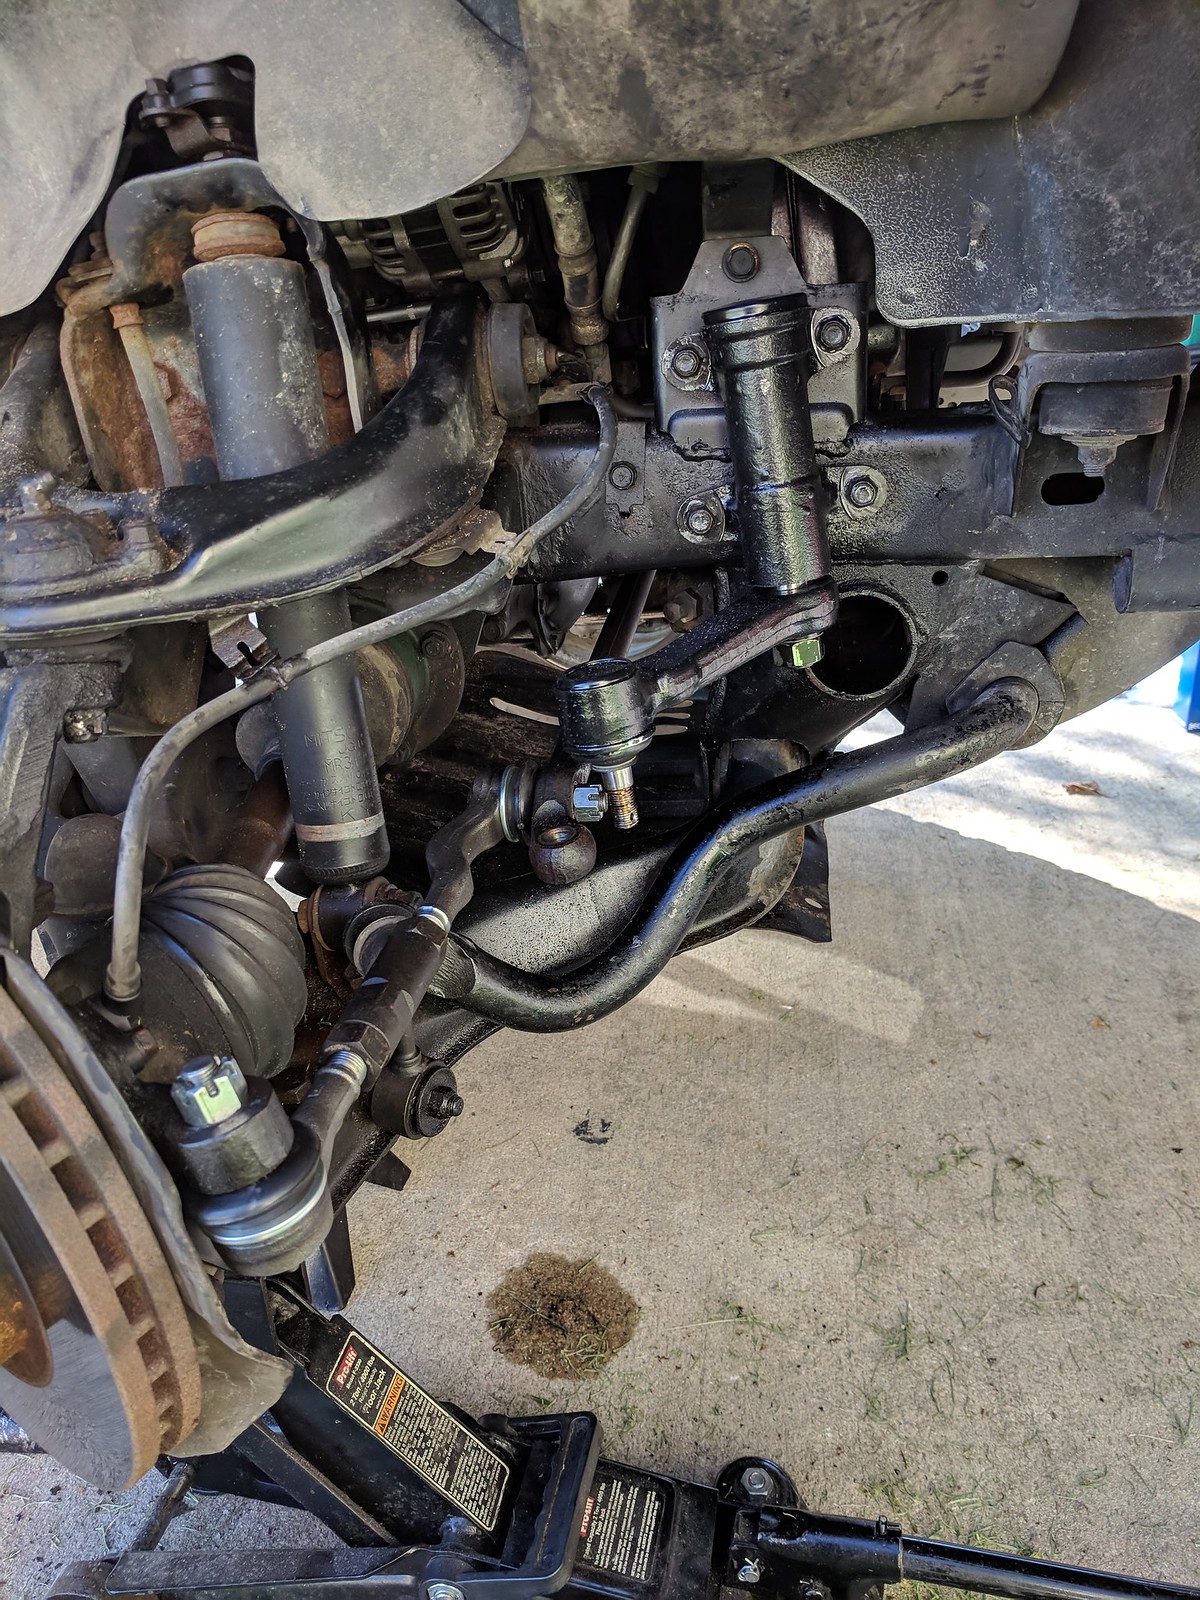
All the new steering parts installed along with new upper ball joints. Even though the joints were pre greased from factory..I went ahead and topped it off with Lucas Red tacky stuff.
Groot by grimgs, on Flickr
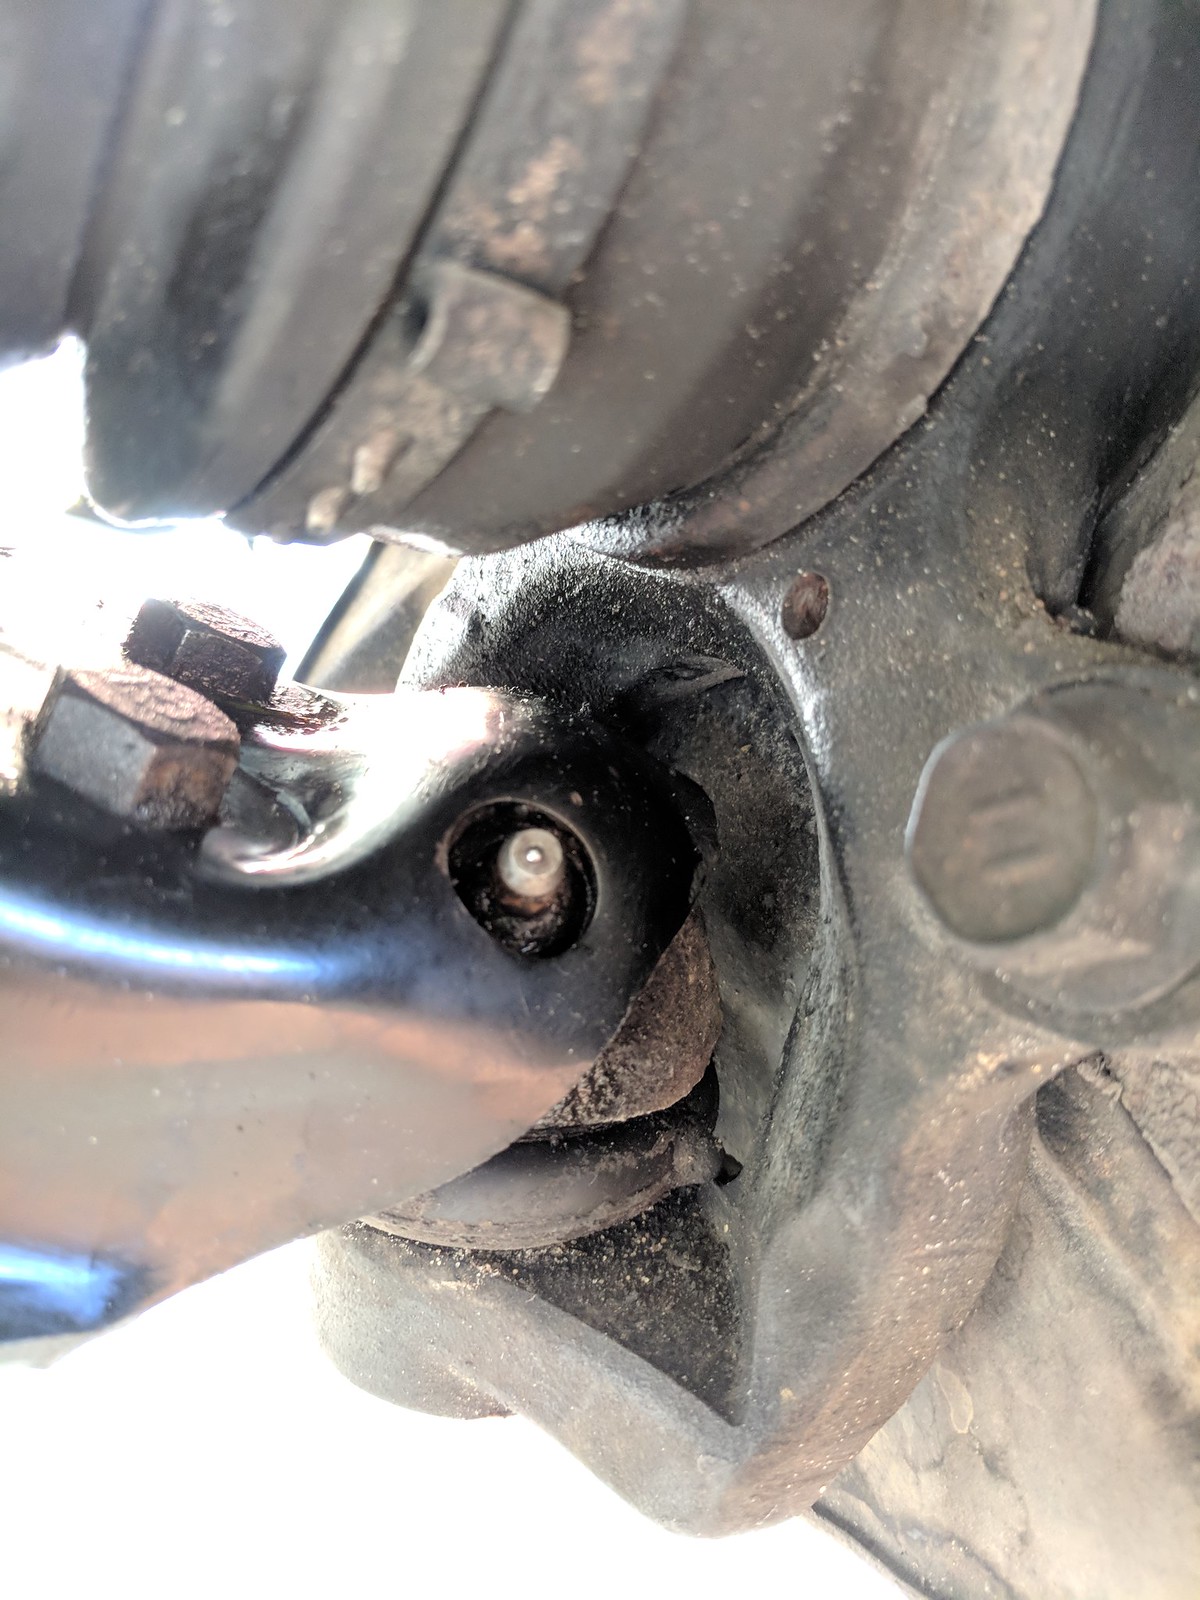
For some reason I read somewhere that the lower ball joints didn't have any zerk fittings to grease them up or maybe I was wrong but I found them hidden under dried up old grease with layers of dirt covering it. Fitting is back side of the LCA where the lower ball joint is...you will see a circular cutout on the LCA and this is where the zerk fitting is located. Once I found it I cleaned up the area and got as much of the old dirty grease out and exposed the fitting and cleaned that up too. My lower ball joints were still good..rubber actually looked good with no cracks.
Groot by grimgs, on Flickr
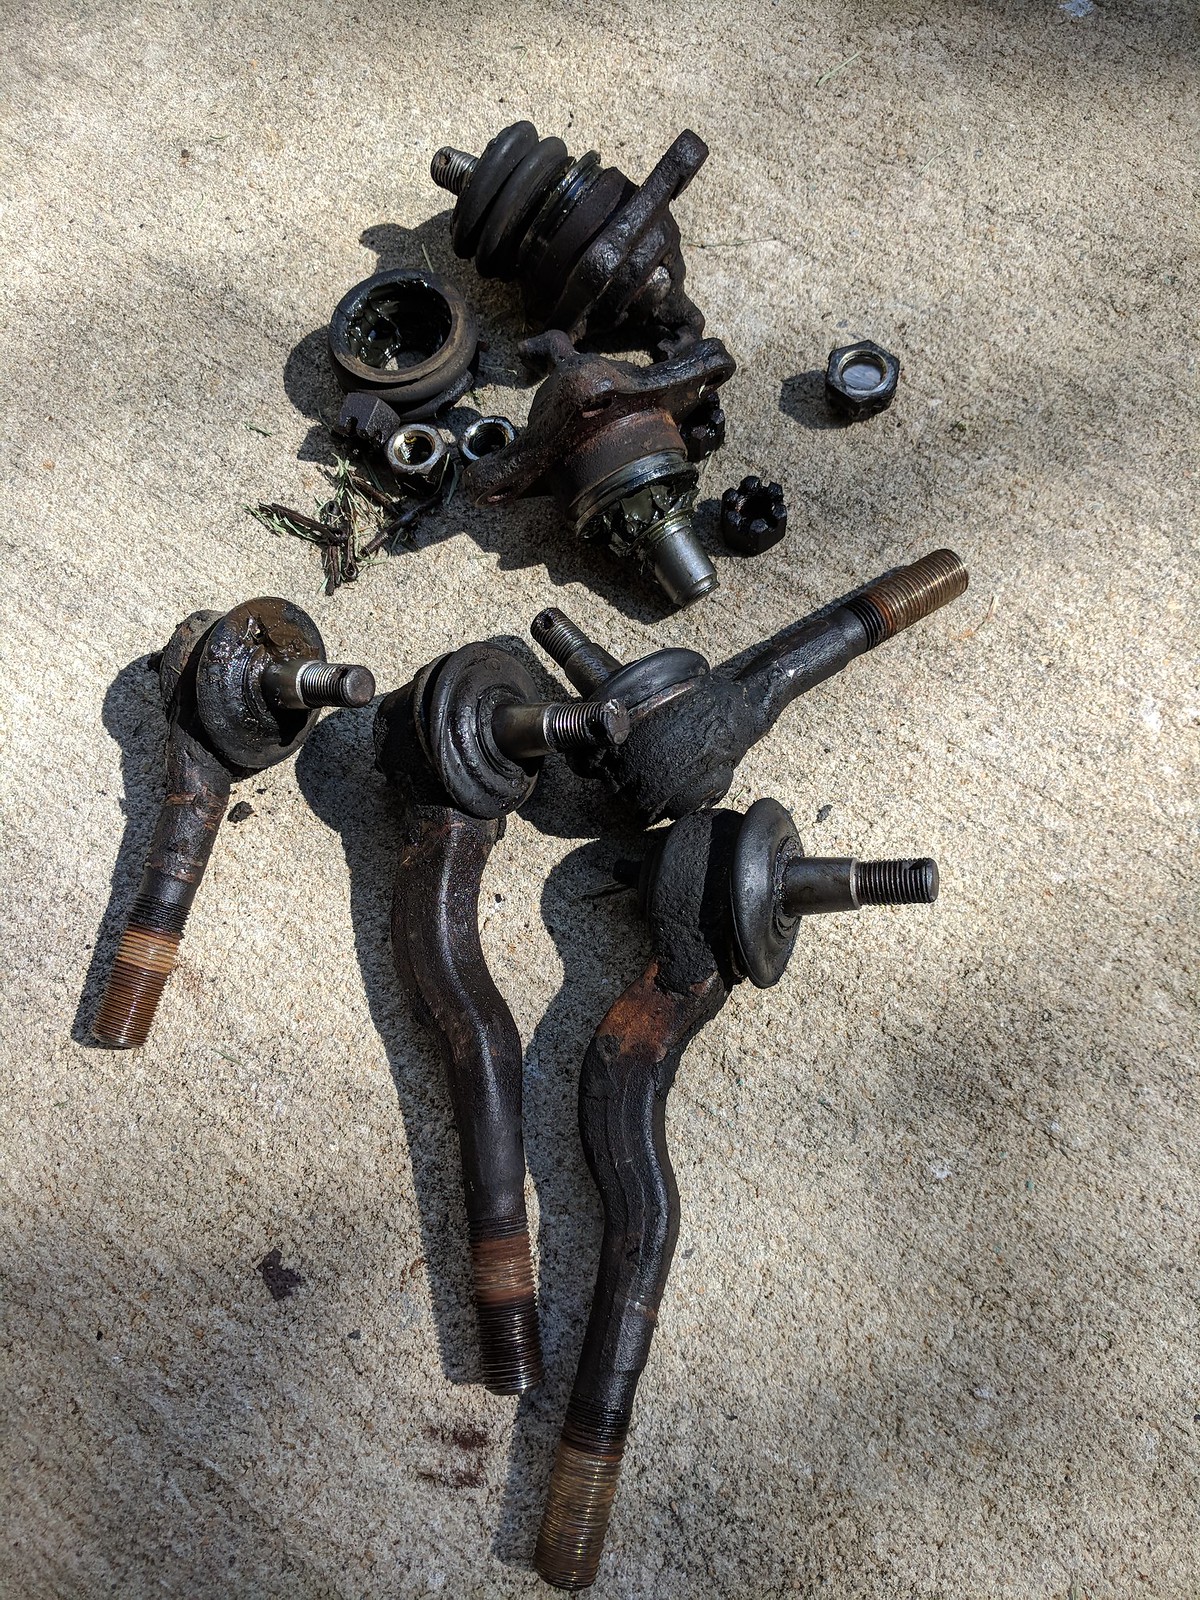
All the old steering parts and upper ball joints.
Groot by grimgs, on Flickr
 

MrGalantguy

Mitsubishi Loyalist
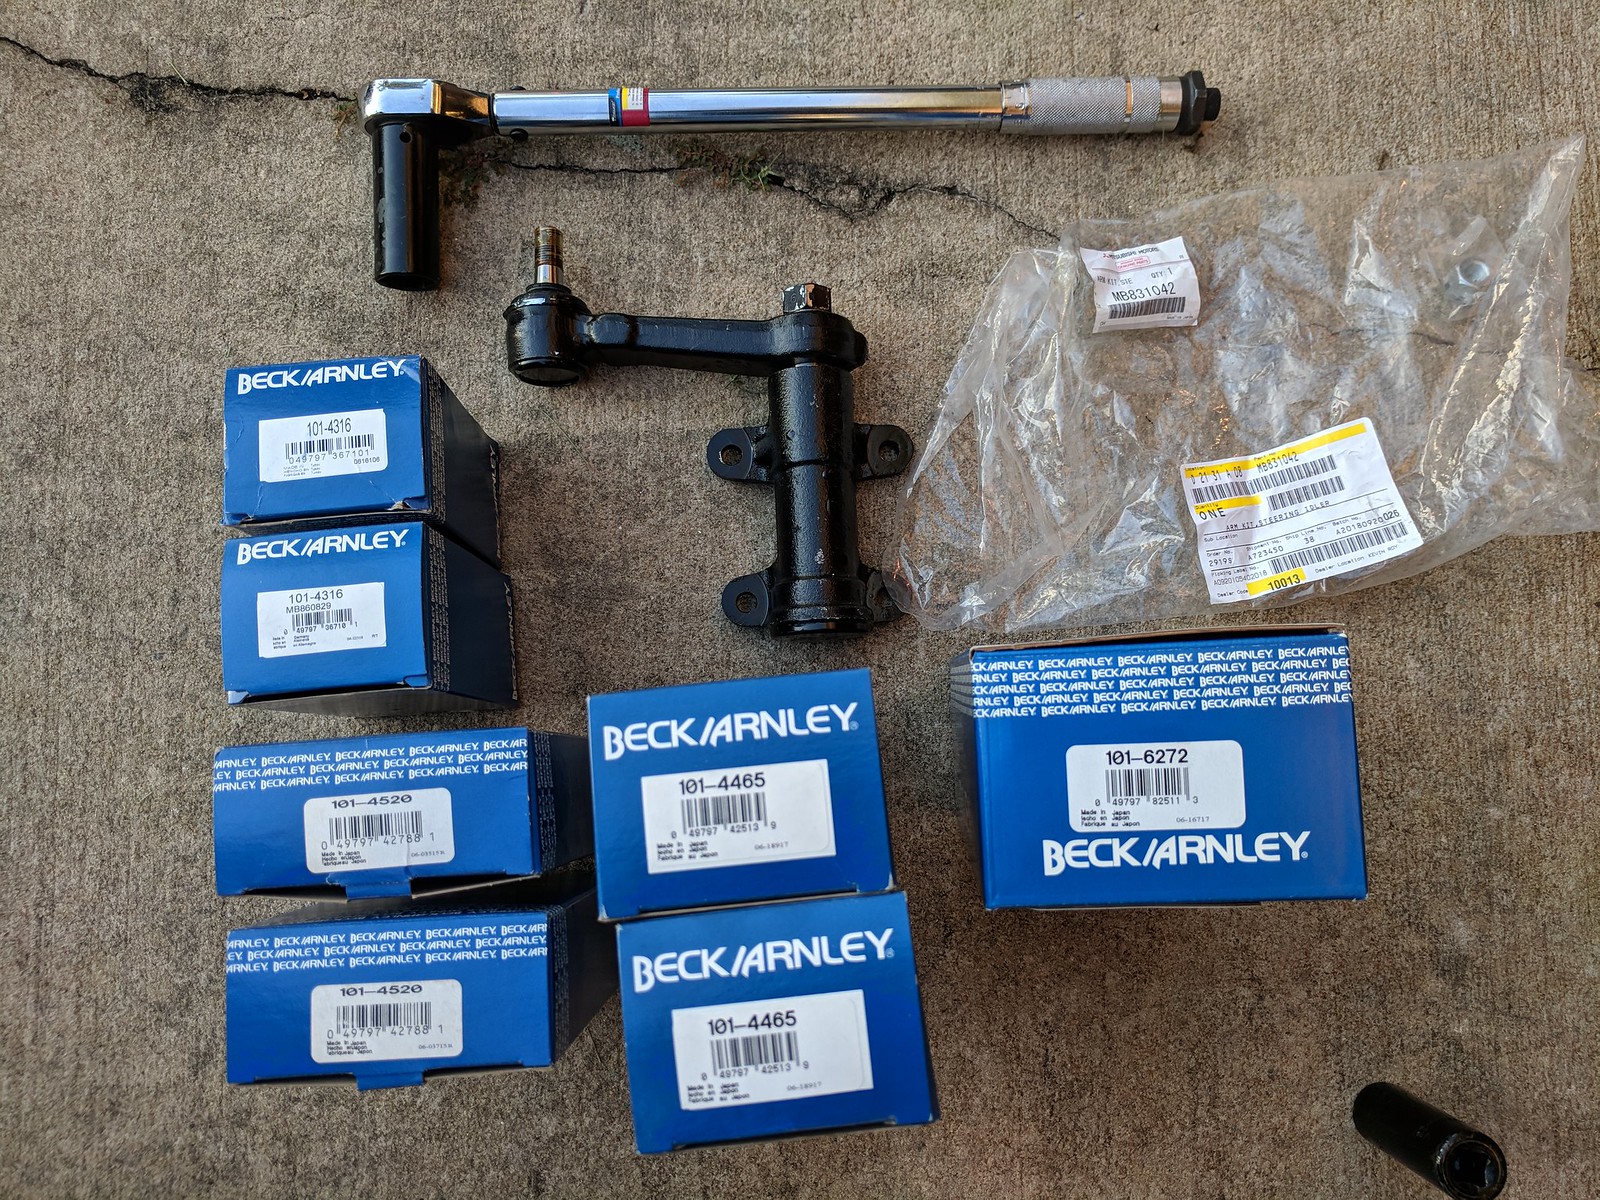
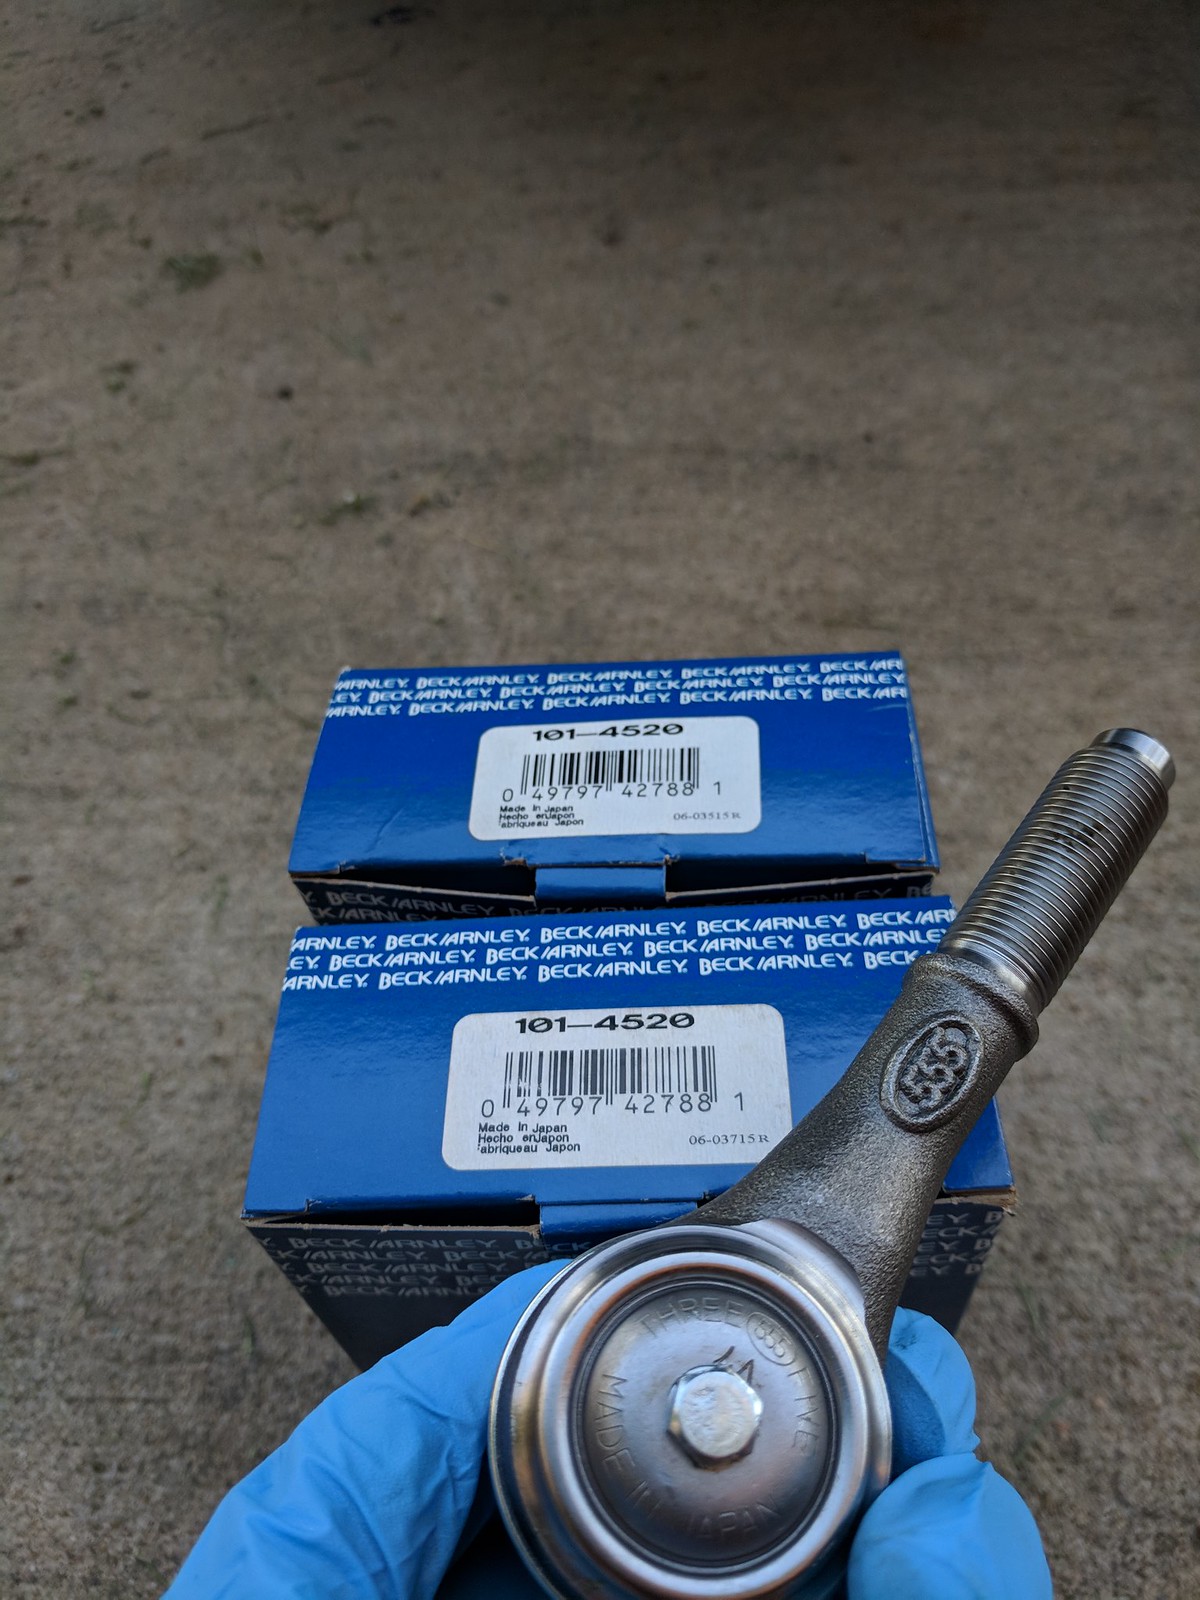
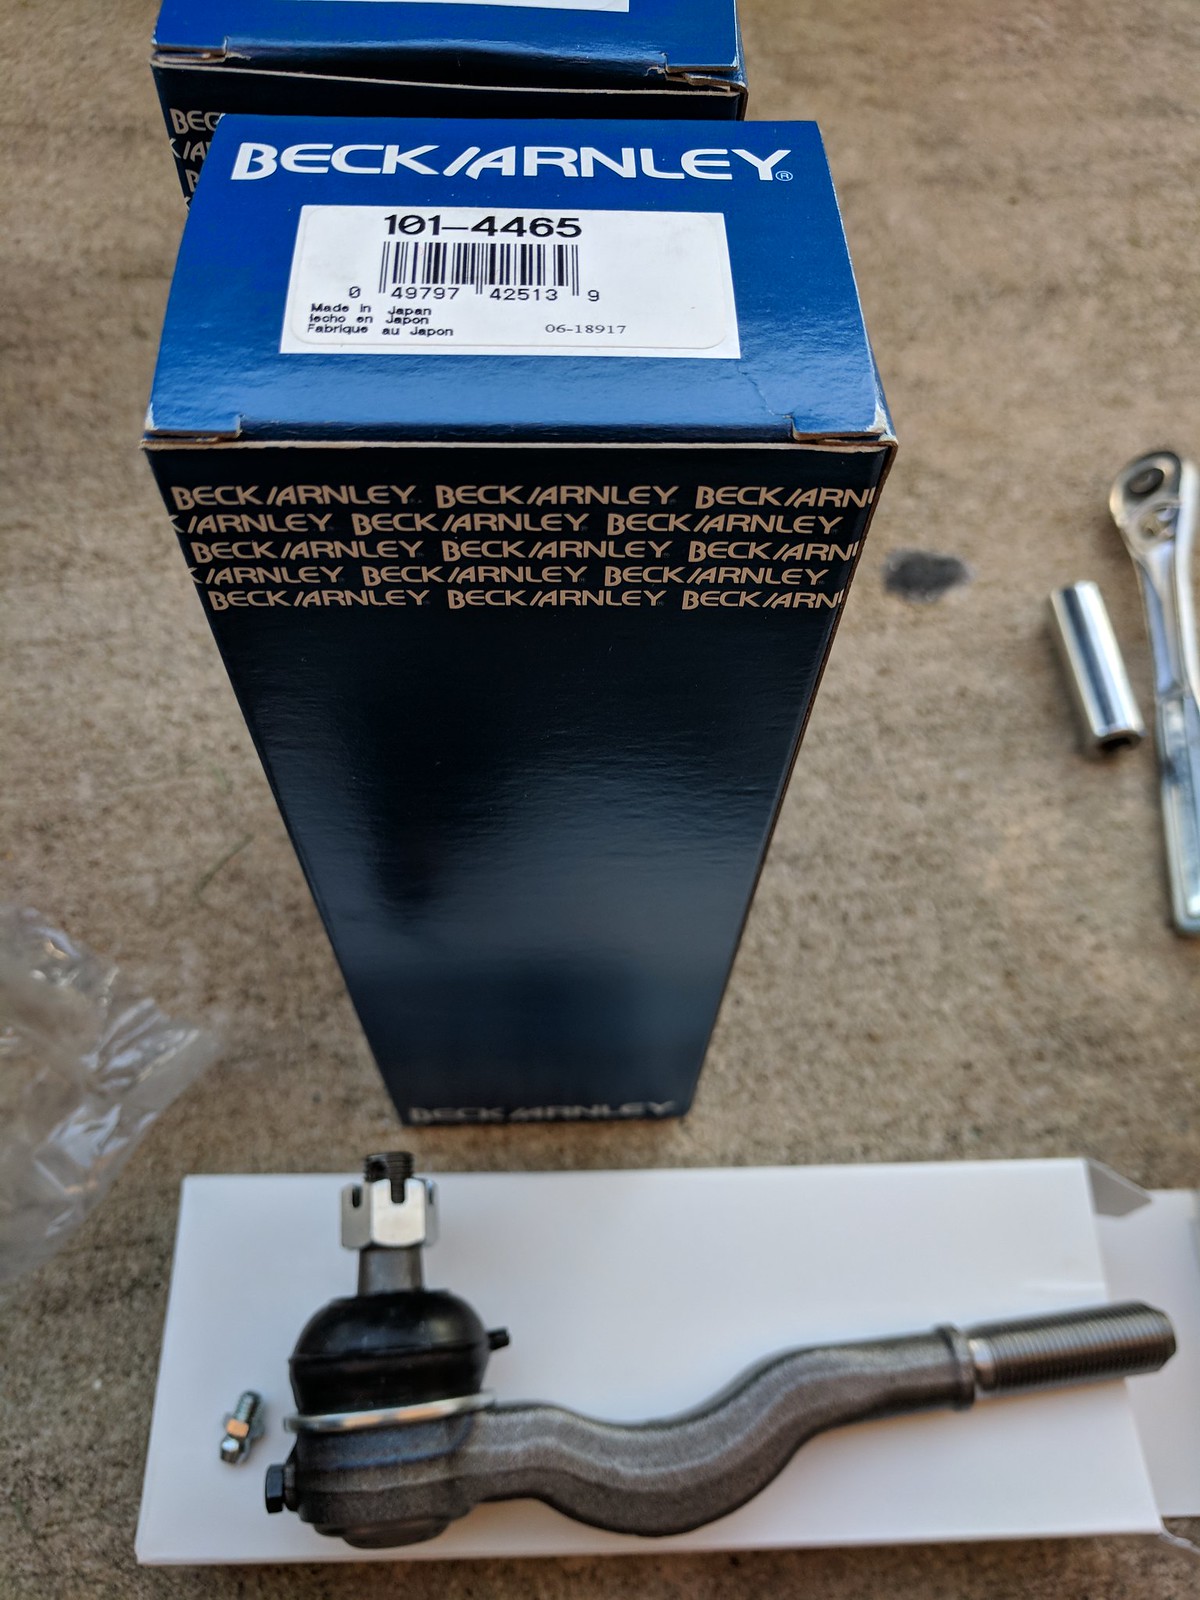
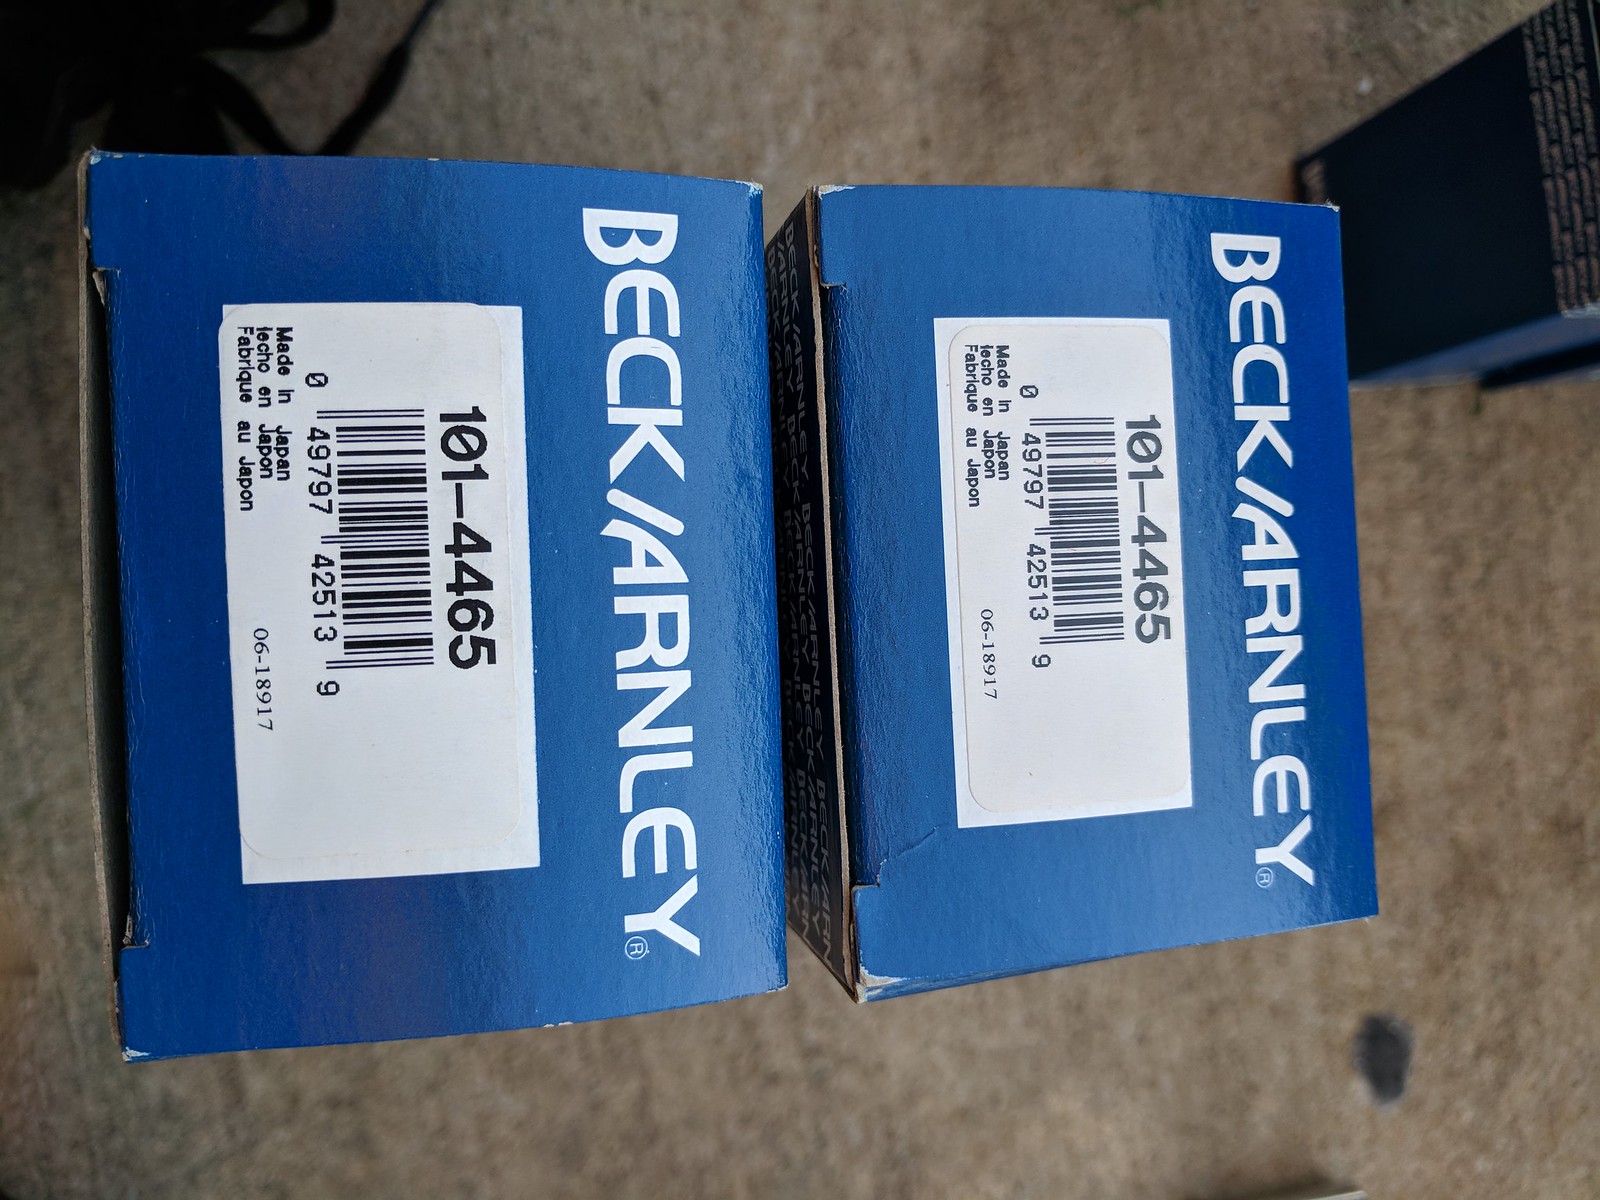
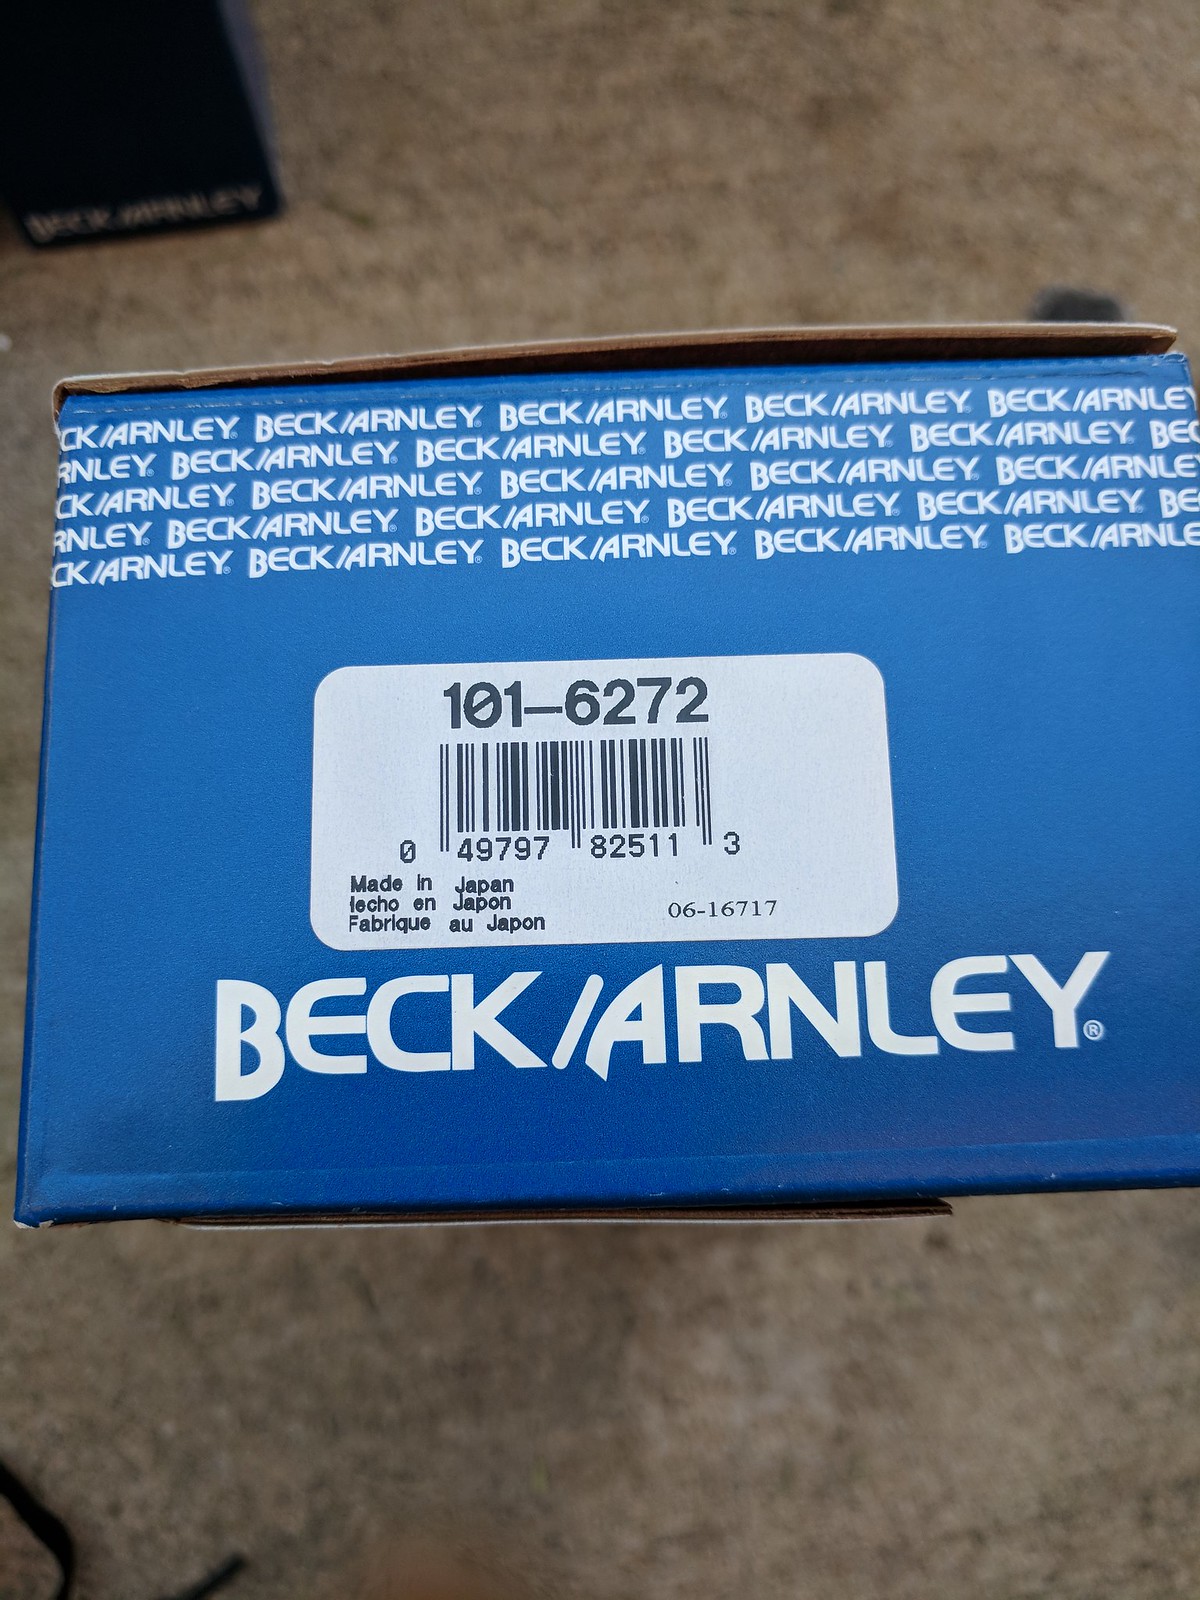
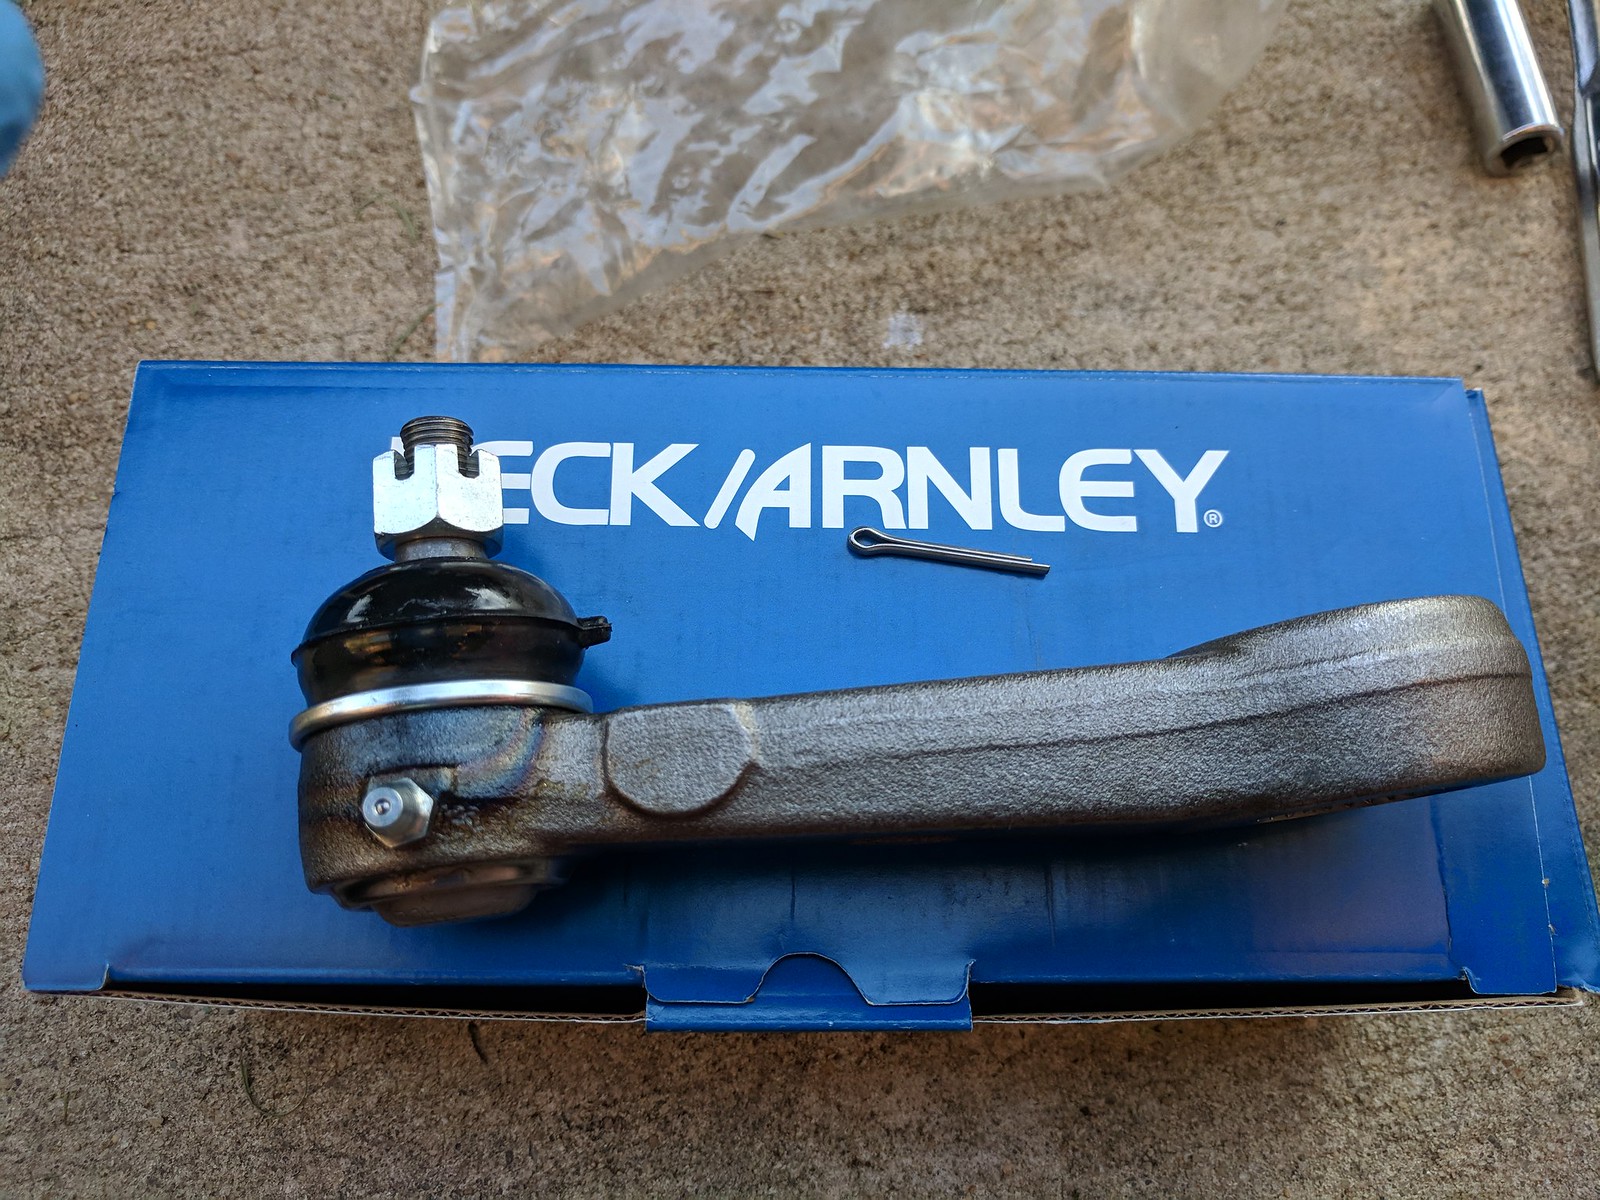
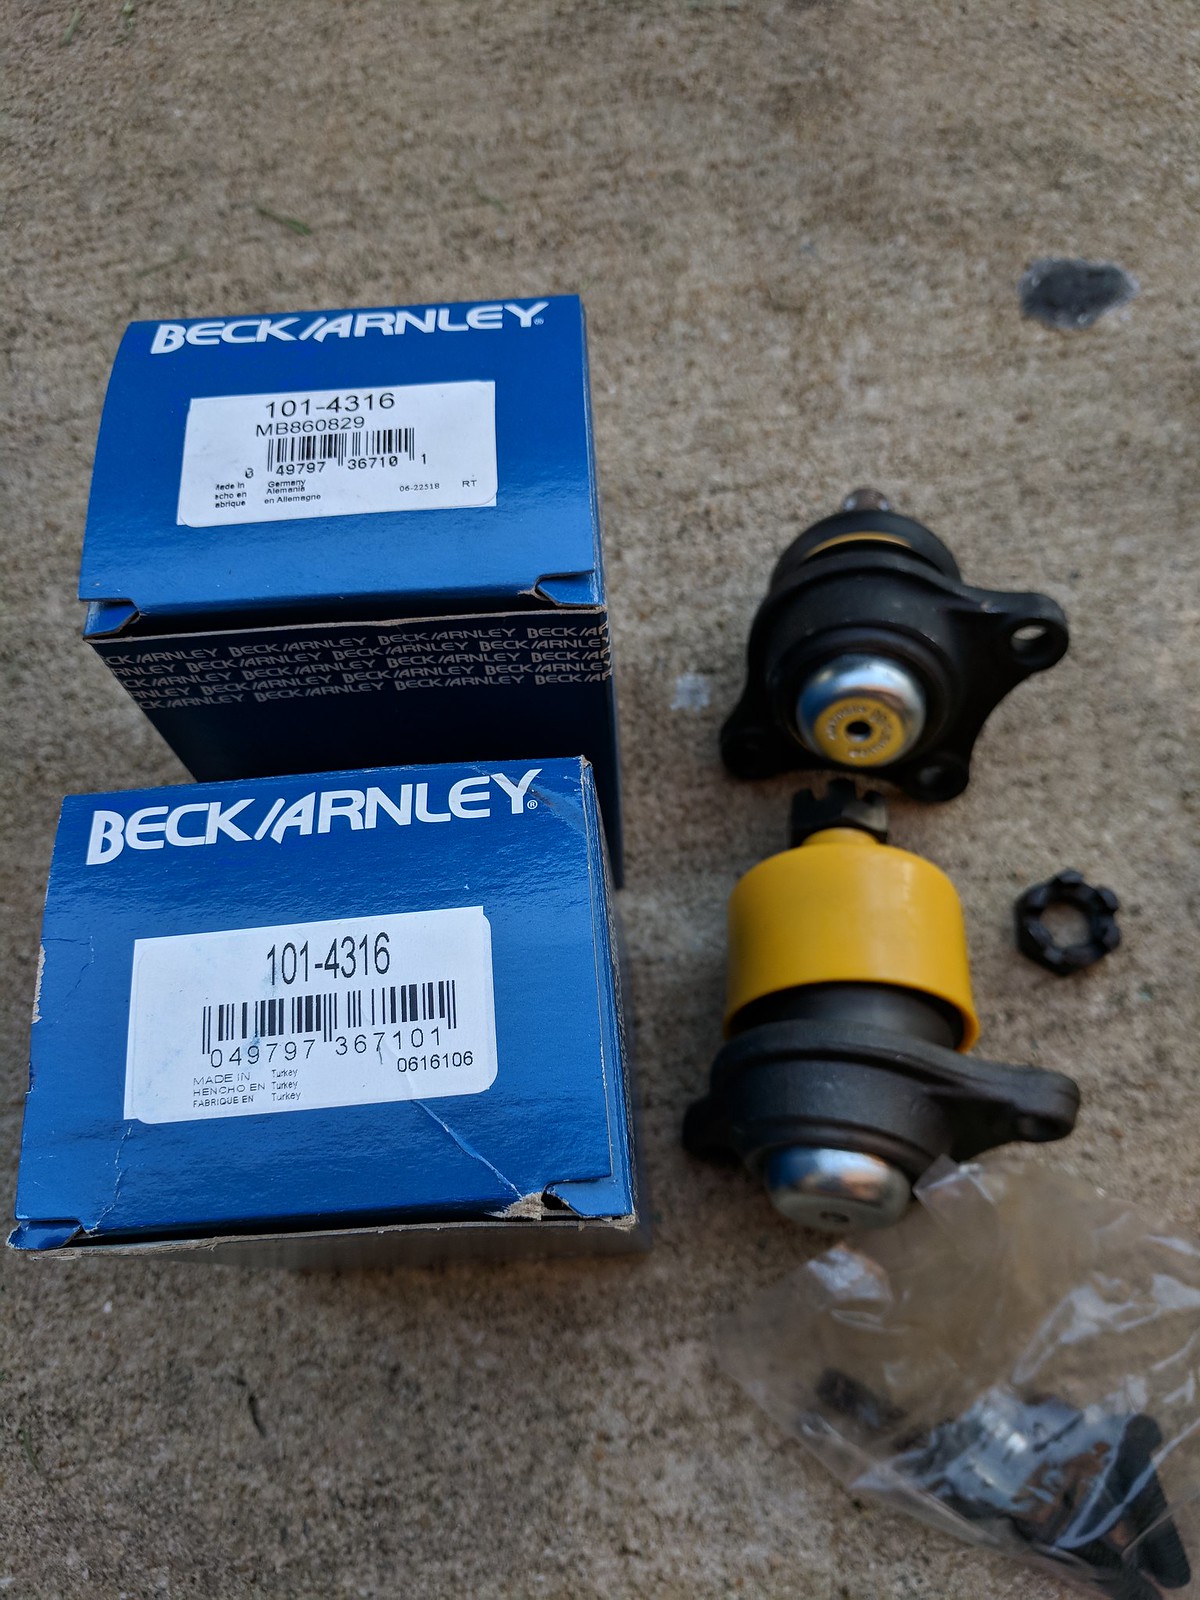
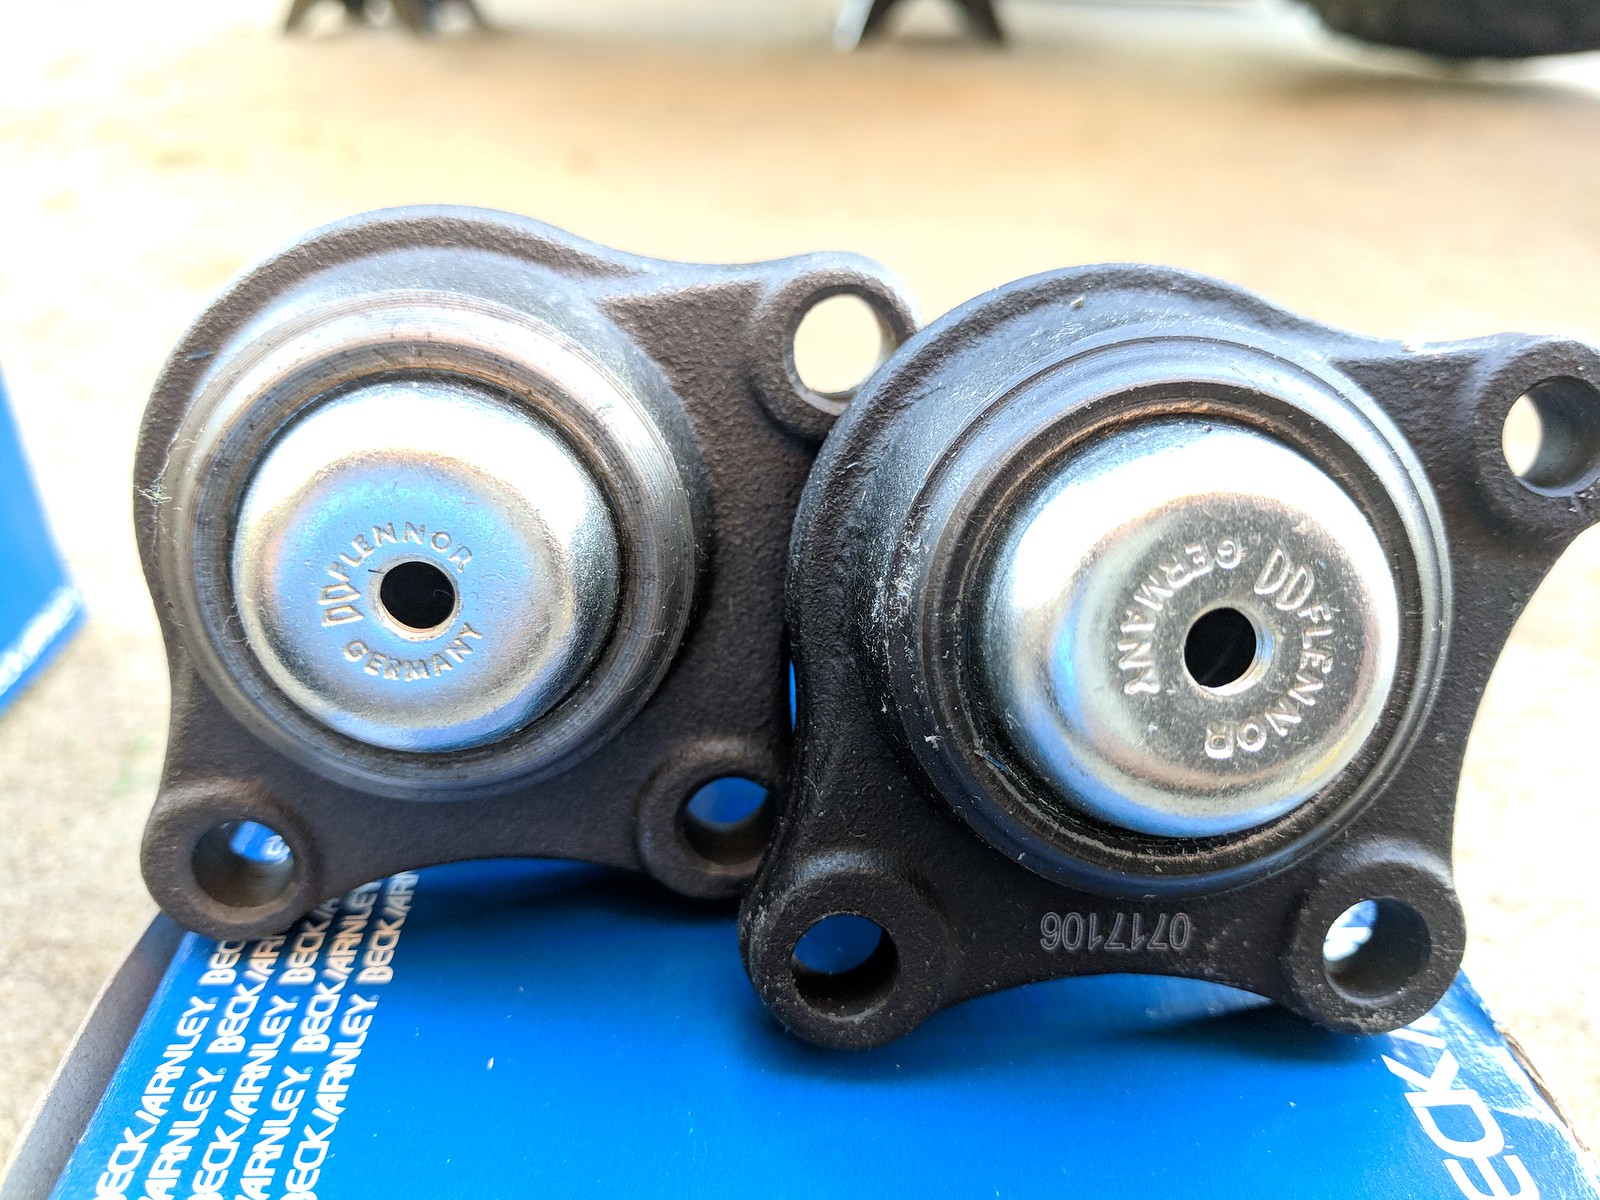
For those interested in the Beck Arnley parts I used here are pics of the parts and part #'s. I bought everything from Rockauto.com other than the OEM Idler arm which I got from my local Mitsubishi dealer.
As you can see these parts either were made in Japan or Germany.:cool:
Groot by grimgs, on Flickr
Outer Tie Rods (Beck Arnley caps the zerk fitting openings but they come with the zerk fittings in the box)
Groot by grimgs, on Flickr
Inner Tie Rods
Groot by grimgs, on Flickr
Pitman Arm
Groot by grimgs, on Flickr
Upper Ball joints
Groot by grimgs, on Flickr
 
Last edited:

Forum statistics

Threads
188,176
Messages
2,903,366
Members
229,665
Latest member
SANelson

Members online

Top