My Camping Trailer Project

Dirtco

Adventurer
With a fridge in the trailer I wanted a solar panel, mainly to extend the amount of time between charges. I don't have enough room for the 60-80 watt panels needed to make the trailer completely self sufficient, but the 20 watt panel should help, and pretty much run the fridge as long as the panel has sun.

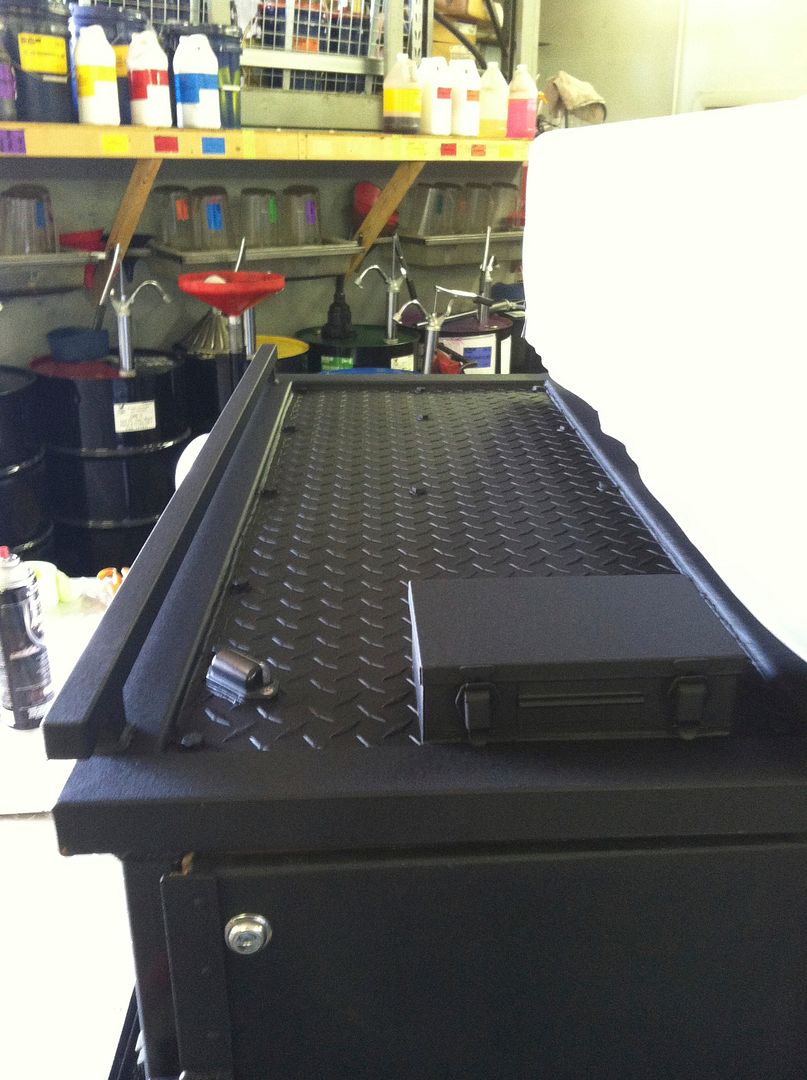
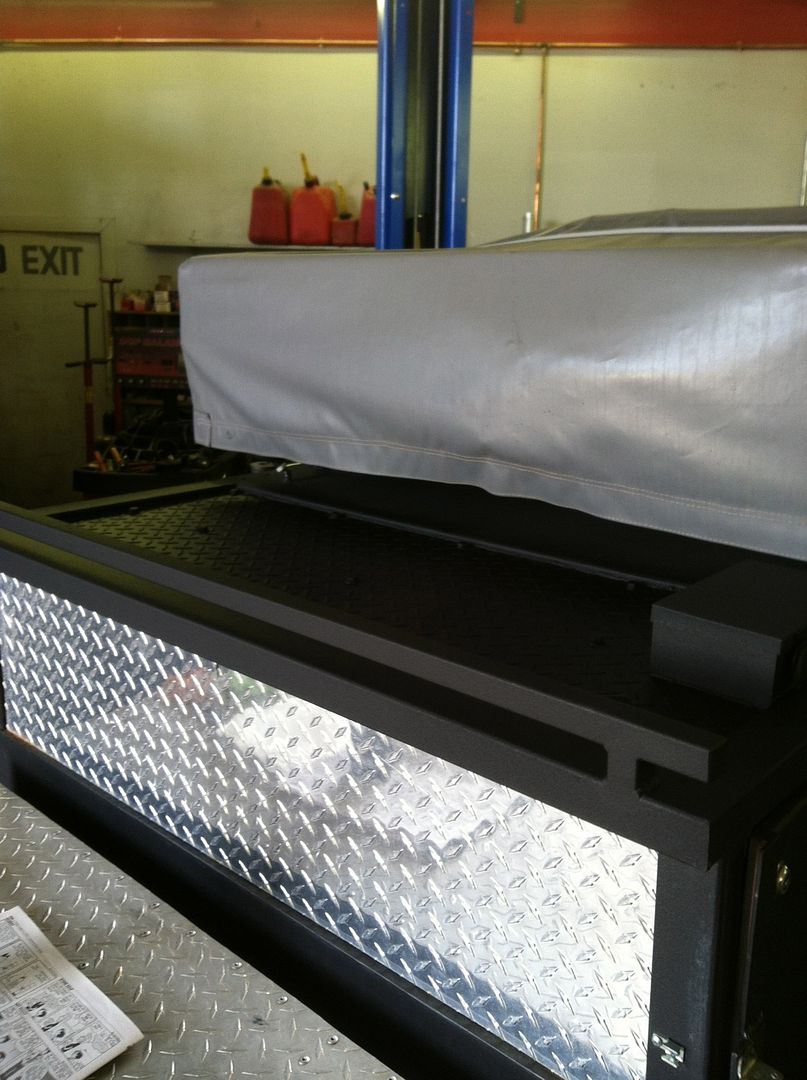
There is only one spot where I could install a panel, and that was next to the tent on the top of the trailer. I had always wanted to bedline that upper diamond plate section (mainly for looks), but I didn't want the top of the trailer that gets direct sunlight to be black. The diamond plate reflects sunlight and heat a lot better than flat black, and when the fridge is directly below that panel it makes a difference in how hard the compressor has to work. But the new solar panel will cover most of that panel and there will be an air gap below it, so I hit it with some Dupli-Color bed liner. I also added a crossbar to protect the panel from getting bumped, or rocks from the 4Runner tires hitting it.


Dirtco

Adventurer
Solar panel installed.


The crossbar should do a good job of protecting the solar panel.


And the solar controller to prevent overcharging the battery.


Dirtco

Adventurer
And while I’m at it, a couple more small things…

The handle on the firebox box was super light duty, and I was never a fan of it. So I built one that was a little more heavy duty.


I used to tie a trash bag to the side of trailer, but I got sick of the thing making noise in the wind during the middle of the night. I also figured it was only a matter of time before some little rodent made a hole in the trash bag and got inside. So I got a Trasharoo; it works perfect with my new handle, and overall should be a better setup.


Installed some levels, in the past I just did it by eye but this should help.


I installed a rubber bumper on the fridge slide to keep it from crashing into the door; it was a last minute addition before a trip. It worked better than I thought it would, but it still had an inch or so to move around and I didn’t want the fridge sliding back & forth while driving around. So I added a small extension to put pressure on the “bumper” and hold the fridge in place. There’s no latch to deal with; open the door and slide out the fridge, close the door and everything is secure.


And I installed a real bottle opener!


Dirtco

Adventurer
And how it sat after that last round of modifications. :)


Trailer stance with 4Runner and a (some what) level back ground.


Dirtco

Adventurer
I think it’s time for an update!

I have a pretty long list of things to do, especially after my last trip. The more I take the trailer the out, the more ideas I have to streamline the camping process and make it more enjoyable.

This project was not at the top of the list in terms of being most important, but I’m running out of storage room and really needed to complete some of the “larger” projects.

I bought a water tank last year and started the frame, but I ran out of time and it’s been setting around taking up room. I figured it was time to at least get the tank in. The frame was made out of 16 gauge 1” square tubing, and after looking at it again I felt it needed more strength. So I added some 1/8” angle to the upper side of the frame.


Then I bent up the tank straps and added gussets


Frame welded in place and painted


Tank straps painted and rubber padding installed


Tank installed


Dirtco

Adventurer
I have always used the little 1-gallon disposable propane tanks for the camp stove and lantern I have. They do the job, but I hate having to carry multiple extras, and the limited life they have.

So I decided to buy a larger 5-gallon propane tank and mount it on the outside of the trailer, this saves room inside the cargo area and it’s also refillable which is nice. I will still carry a small tank for the lantern (when I want it to be mobile).

I welded up some steel to mount the bracket to, and then made a guard to protect the propane tank.

Before anyone asks; don't worry about the angle of the propane tank. The bracket is straight, but I need to loosen the clamp and reseat the tank. When I tightened down the clamp I think it shifted the tank a little. I didn't notice it until I was looking through the pictures.


MROONFJ

Observer
A real beauty. I can appreciate your vision. Also, sodium.com can become addictive :)

Sent from my KFTHWI using Tapatalk
 

grogie

Like to Camp
Awesome trailer!

Neat idea how you installed the awing.

Thanks for sharing all of your hard work and cool designs. It's given me some further ideas on mine. :)
 

Dirtco

Adventurer
Awesome trailer!

Neat idea how you installed the awing.

Thanks for sharing all of your hard work and cool designs. It's given me some further ideas on mine. :)

Thank you, it’s been a fun project!

A real beauty. I can appreciate your vision. Also, sodium.com can become addictive :)

Oznium.com, haha stupid auto correct

Thanks! Haha, I was wondering what the heck sodium.com was! Yeah, Oznium has some cool stuff; it’s easy to get a little carried away looking through their products.
 

Dirtco

Adventurer
I got a couple more small things done...

On my last trip to Moab the wind blew nonstop, and it was incredibly strong. The last night at camp the tent fabric started to separate from the lower frame and the wind was literally blowing through the tent; it sucked to say the least!

To fix this issue I had to open the tent back up, and reseat the pleating (easier said than done). To keep this from happening again I installed small setscrews through the frame and fabric, this should keep the fabric from working its way out of the channel that holds it in place.


Also, the firewood box has worked out great, but there has been a few times I almost got my fingers crushed by the lid falling down. So I added a small gas lift cylinder to lift the lid, and keep it up.


Forum statistics

Threads
188,464
Messages
2,905,356
Members
230,428
Latest member
jacob_lashell
Top