Wavebreaker
Adventurer
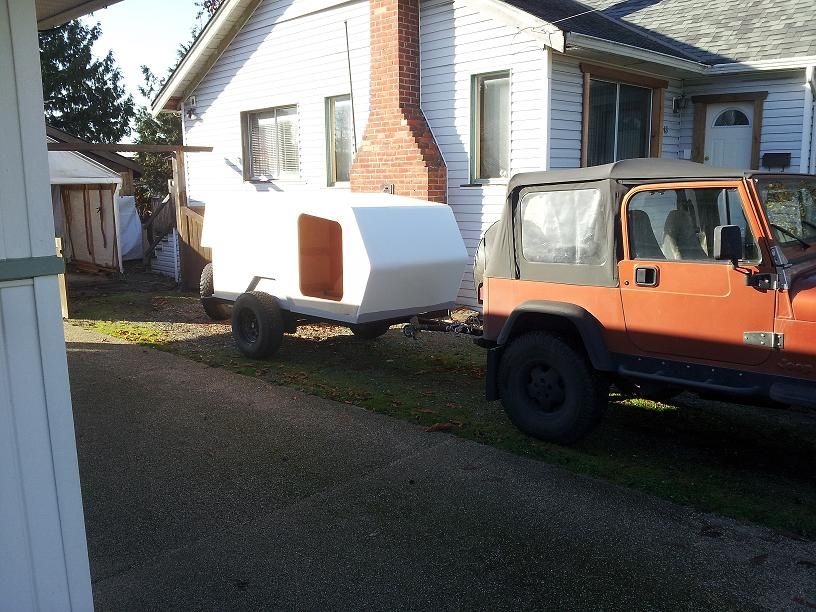
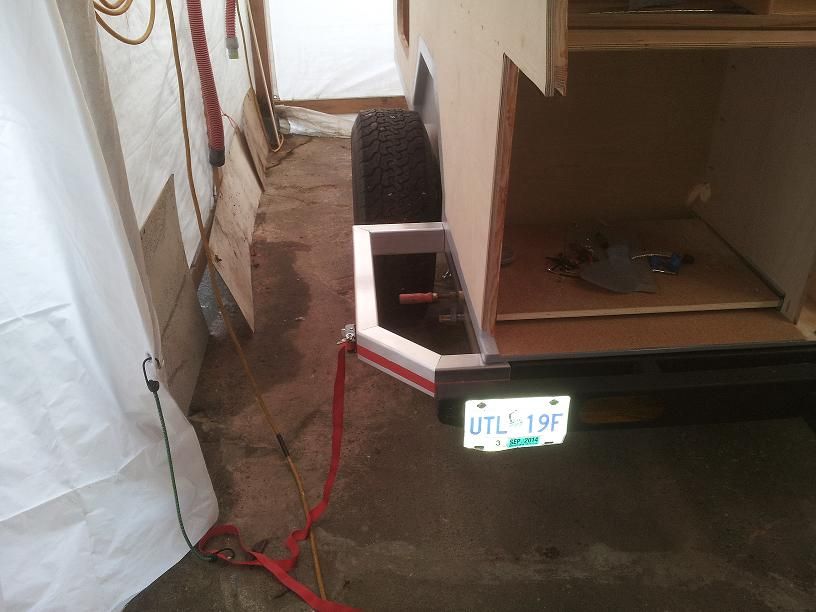
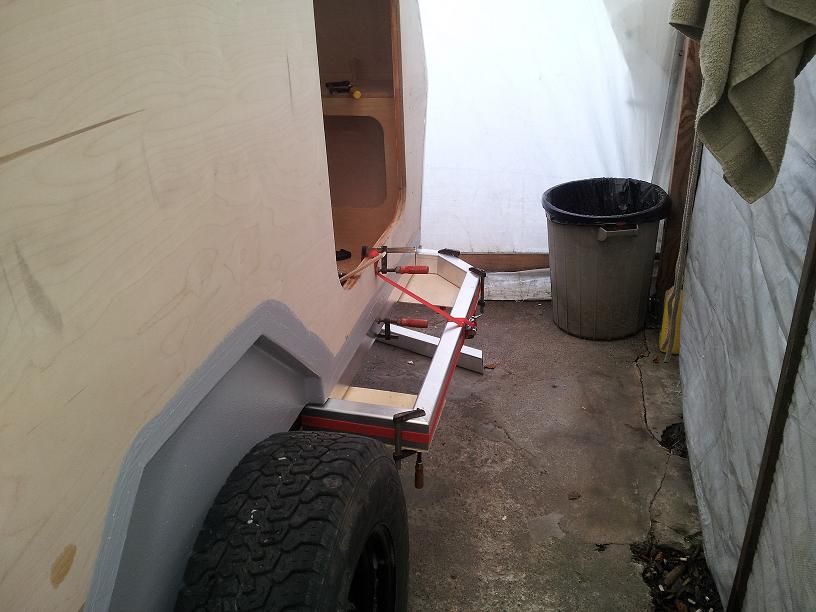
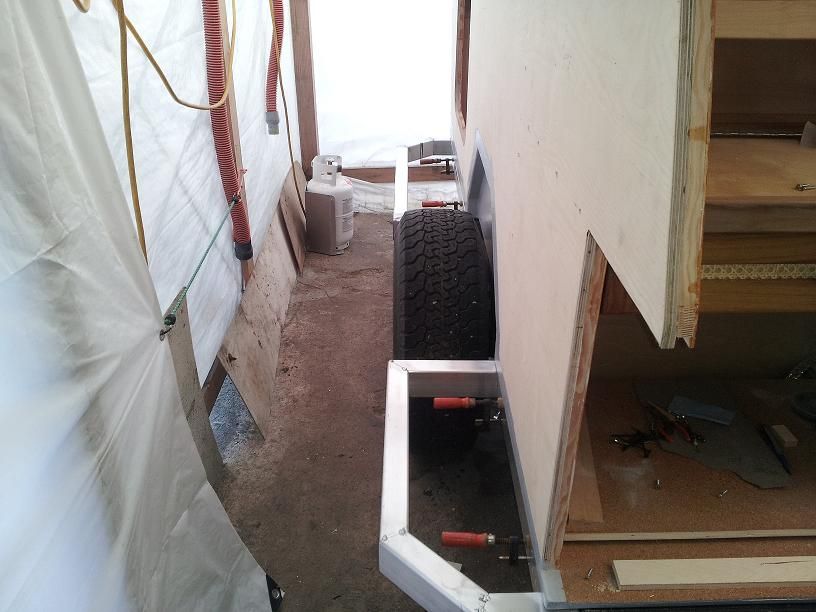
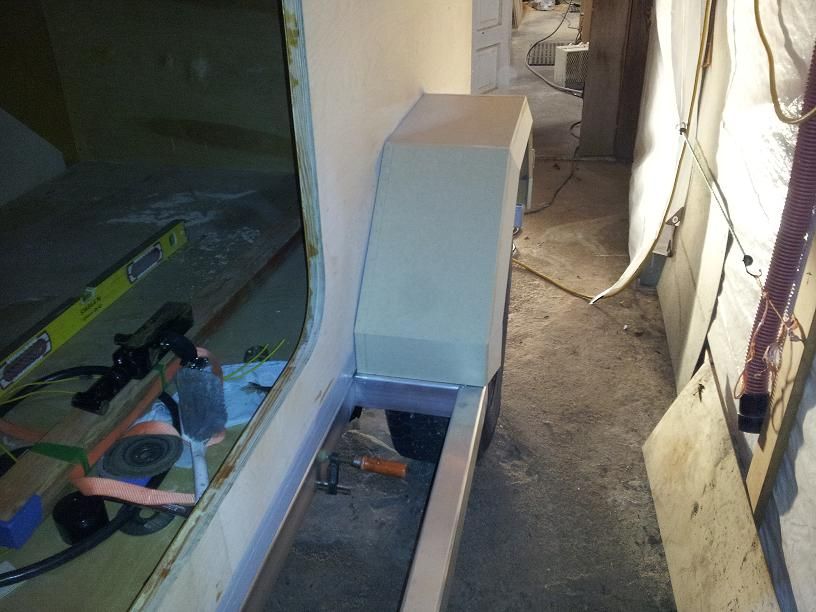
I have this posted elsewhere but seems as this is the year for Tear Drop builds I would post it here.
That and the conversations on Timbren suspension systems which I use.
This is going to be long winded i'm sure sorry about that in advance.
The whole concept of constructing a tear drop came from my wife being unable to use my previous trailer (The pod ) as i called it. http://www.expeditionportal.com/forum/threads/110701-Woody-Expo-Trailer
The Roof Top Tent on it was just to difficult for her to use.
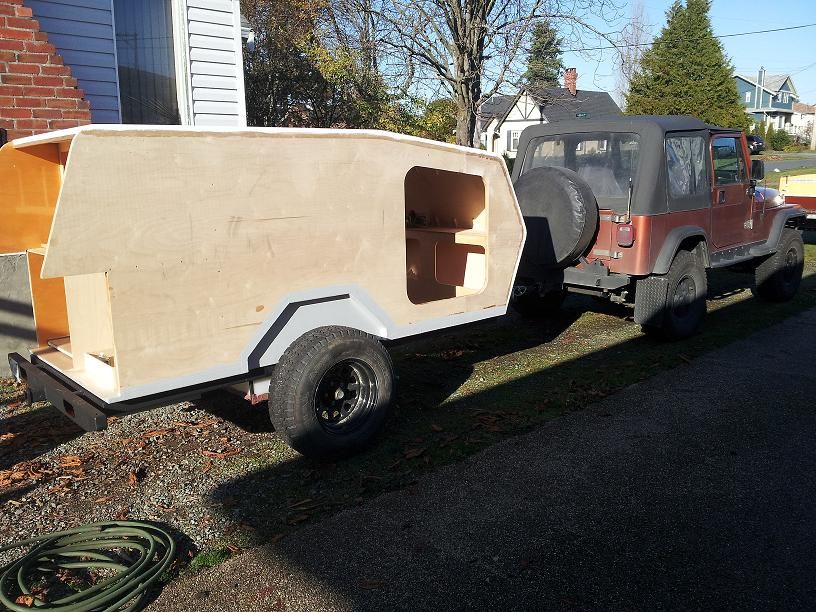
The Pod was an awesome little trailer it weight was perfect for hauling behind my Jeep a 92 YJ.
So in designing the Tear Drop weight in the end is a big considering factor.
I came across Stomper XJ's build and liked the Cricket profile so I went with that style of exterior shape.
I start planning and designing on napkins and scrap paper last summer. I decided the only way to make sure my ideas would work was to build it scale first.
My basic list of what i wanted to be able to carry.
1 – As light as possible and still retain structural strength for Off-road.
2 – Same track width as Jeep or close to as possible and give decent bed size.
3 -* Support up to 35 inch tires.
4 -* Same height as Jeep roof line for less wind resistance
5 -* Independent air bag suspension
6 -* Carry 20 gals of Fresh water in under tank storage.
7 -* *Space for a 43 qt. Fridge Freezer unit in galley area.
8 -* Propane fired hot water system with 12 volt pump.
9 -* Flat space on trailer roof for 100 watt solar panel.
10 – Space for Pro-pex propane hot air furnace.
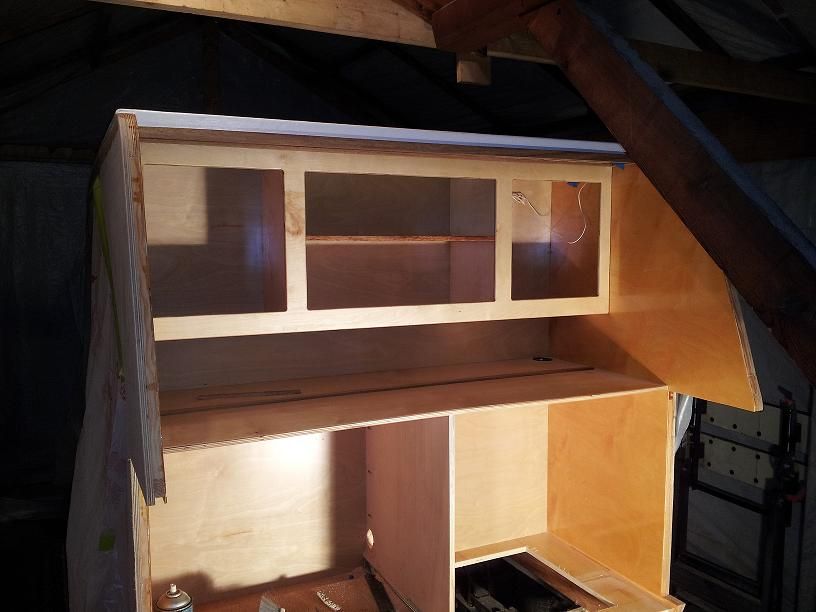
11 – Decent cooking space and counter space in galley.
12 -* Roof mounted cargo rack or exo skeleton for mounting a Fox wing awning.
13 – Split rear door system to allow height clearance for Fox wing.
14 – Dual 6 volt battery’s in series for 12v/110 power source with solar charge controller.
15 – on-board air compressor for raising and lowering trailer height.
This was my original list of what i wanted. Since then i have changed a few things.
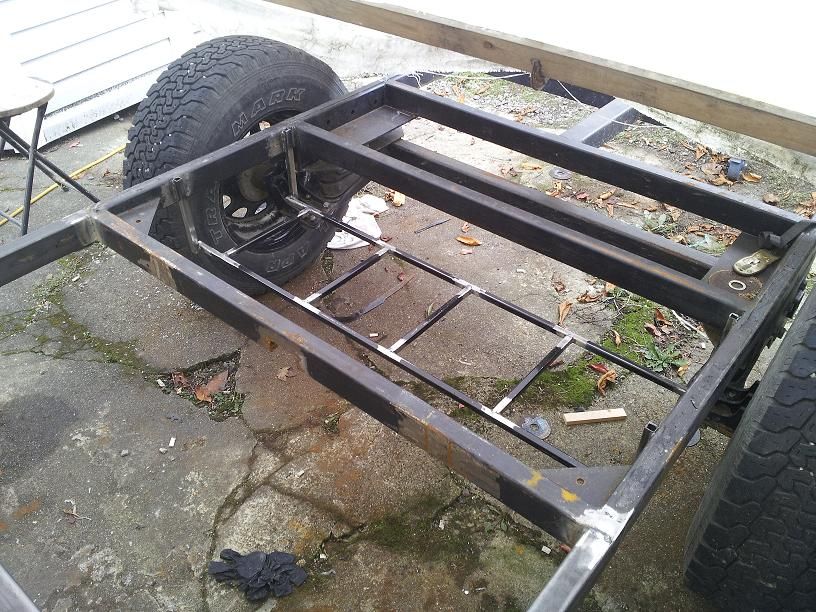
1- I decided i had good success with timbren suspension on my POD so i canceled out the air bags and air compressor.
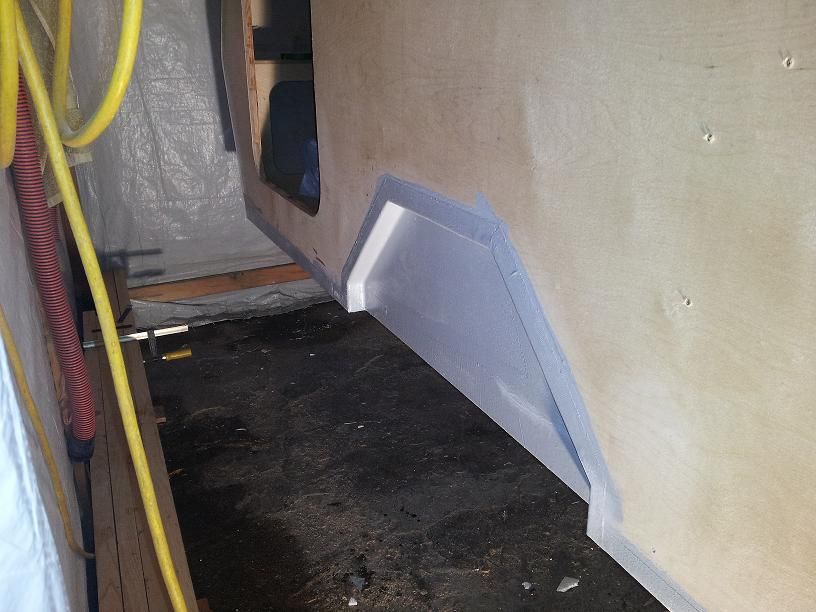
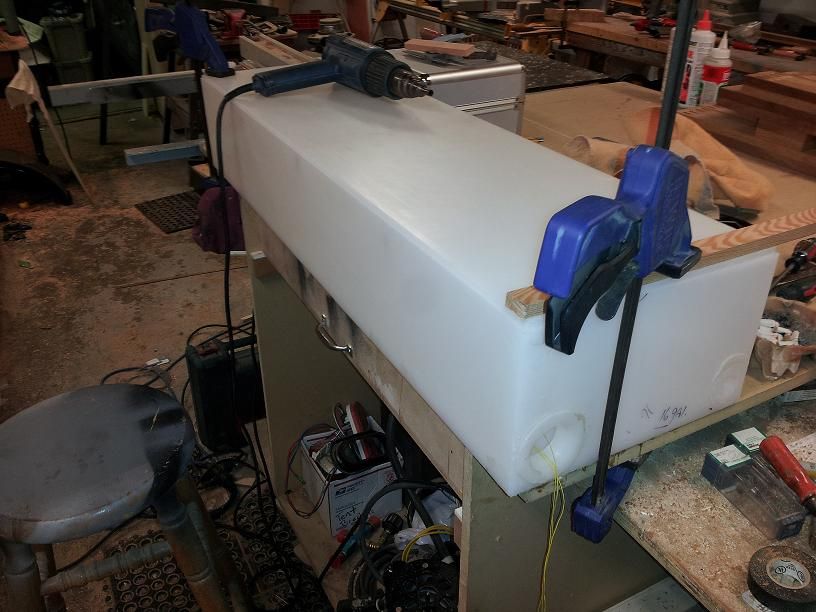
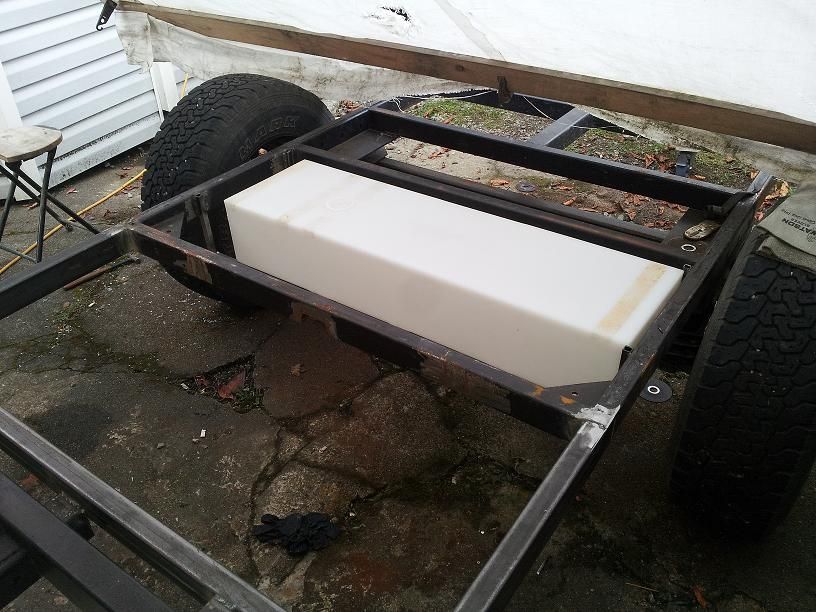
2 - 20 gal water tank won't fit with out jeopardizing clearance. so i went to a 16 gal custom.
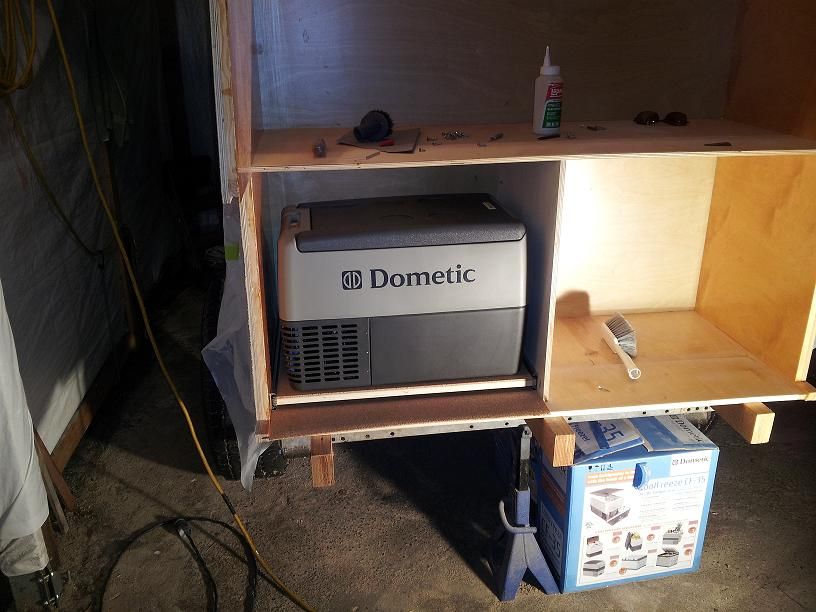
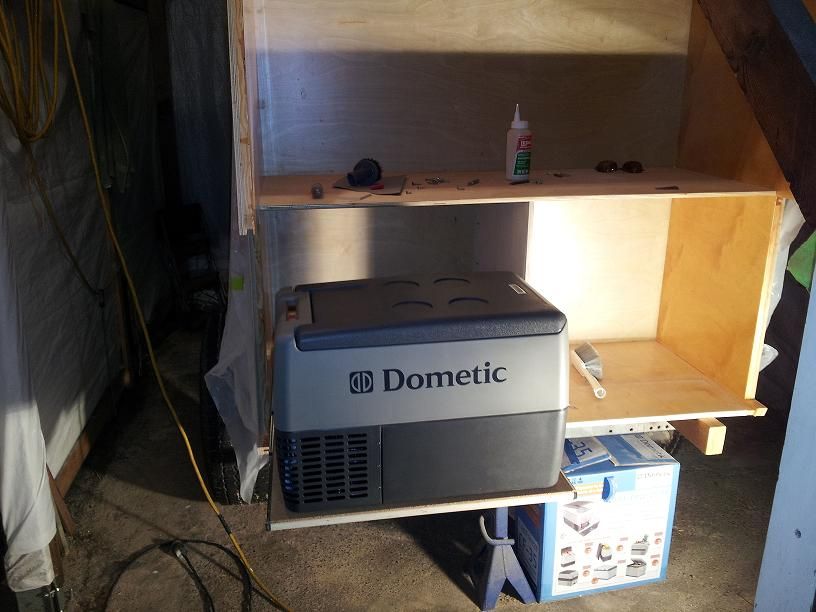
3 - 43 qt fridge takes up way to much cabinet space so i went with a 35 qt instead. Less power consumption as well.
4 - i went with 2- 40 watt solar panels instead of having 1 large panel on the roof less likely to get damaged on close trials. With a MPPT controller i should get enough amps from the 2 panels to keep battery's up.
5 - Propane furnace canceled this one takes up to much space. i have a plan for something else.
6 - Fox wing awning its just to damn long it sticks out past the front of the trailer when closed it would cause all sorts of grief. Up here in BC our trails are very tight lots of trees to catch on extrusions. I am designing my own system for it.
7- dual 12 volt instead of dual 6's
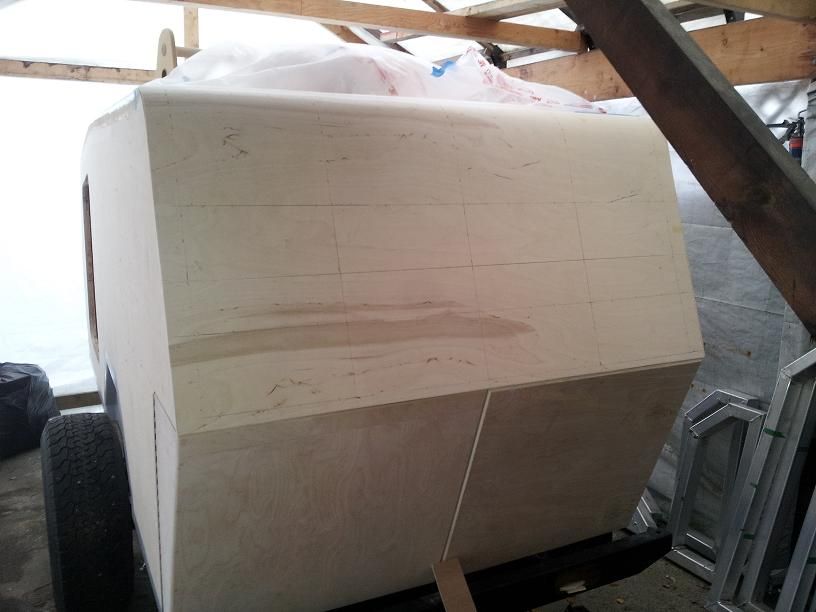
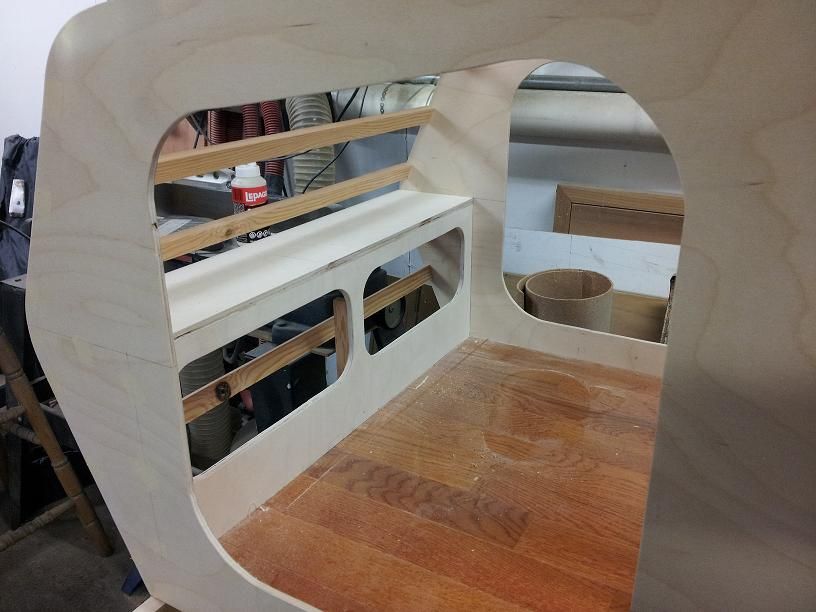
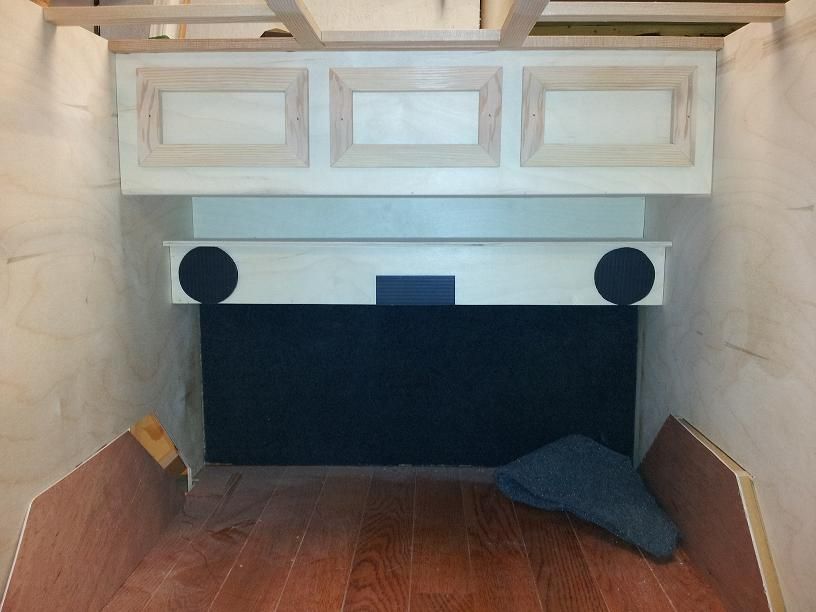
Here are some pictures of the Half Scale model. It is pictured with a 35 inch scale wheel to give you an idea of its size.
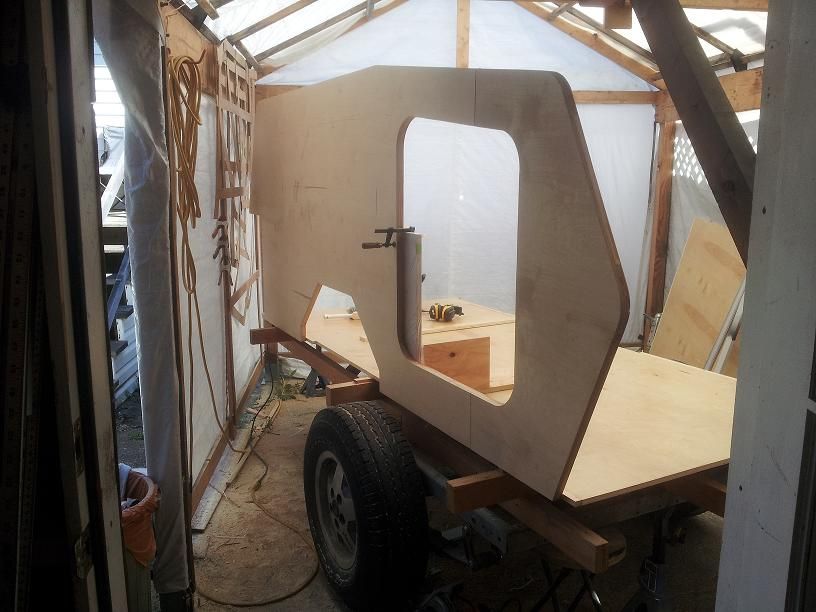
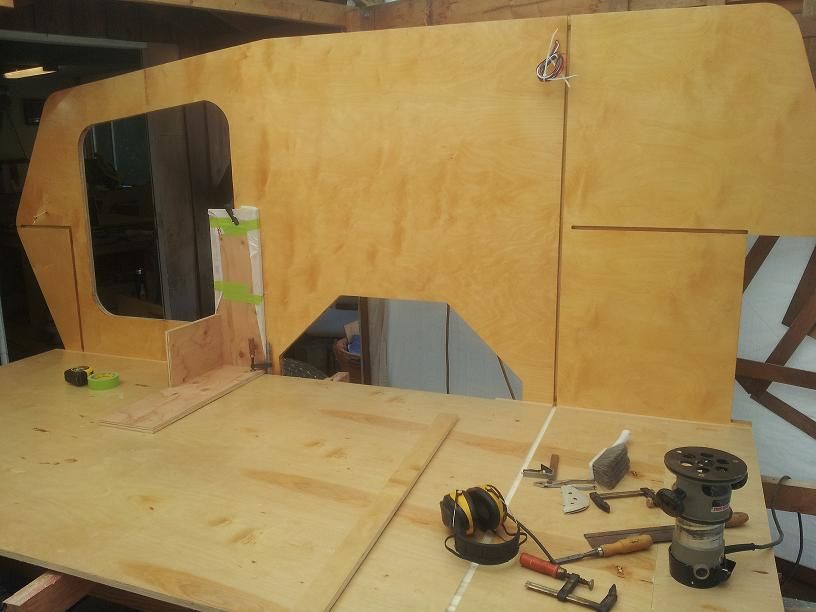
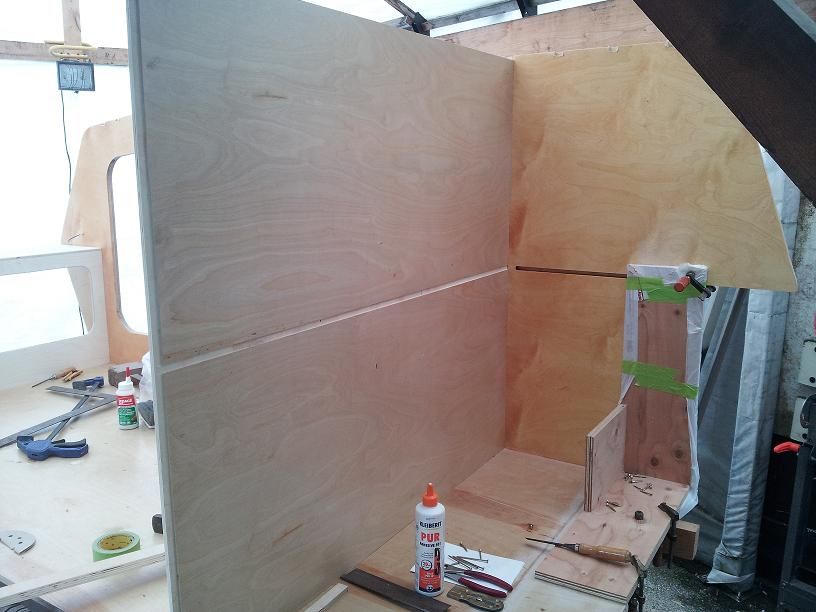
So come September i started building. I only work on this thing evenings and weekends. not full time. I build boats for a living it takes up a big part of my time when i have a contract.
Construction materials for walls.
1/2 inch Euro Ply very similar to Baltic birch except it comes in 4 x8 and 5x12 foot sheets. for exterior side walls and bulk heads shelves and cabinet carcass.
1/8 inch baltic girch for interior wall skins
1/4 inch baltic birch for roof.
1/2 x 1 inch edge grain fir for wall stringers.
Finished wall exterior thickness is 1 1/8 thick.
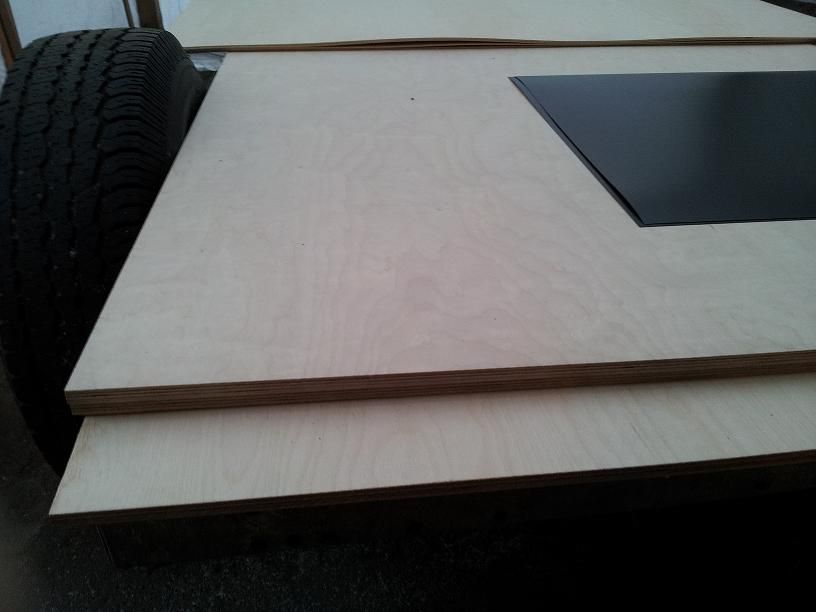
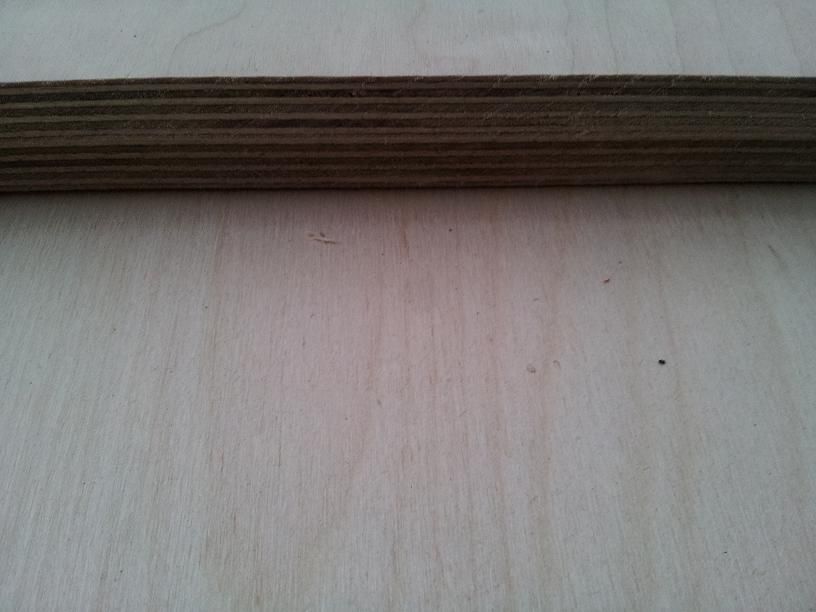
Wall construction ..
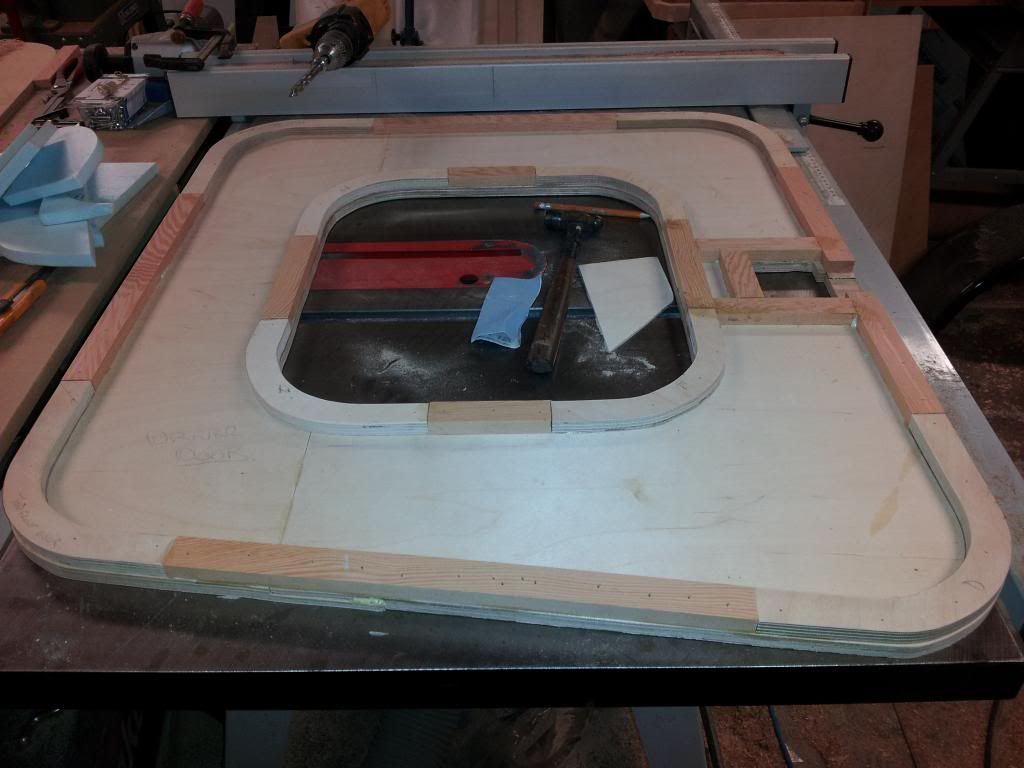
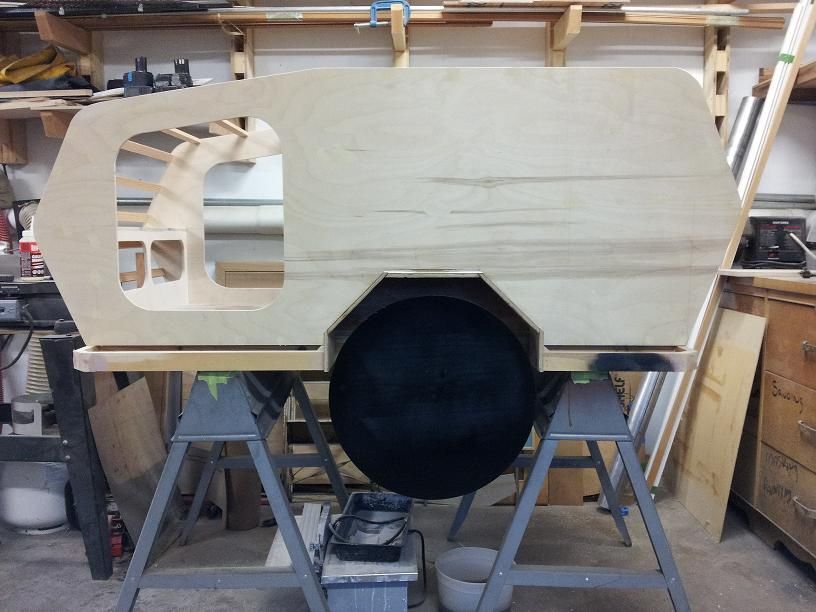
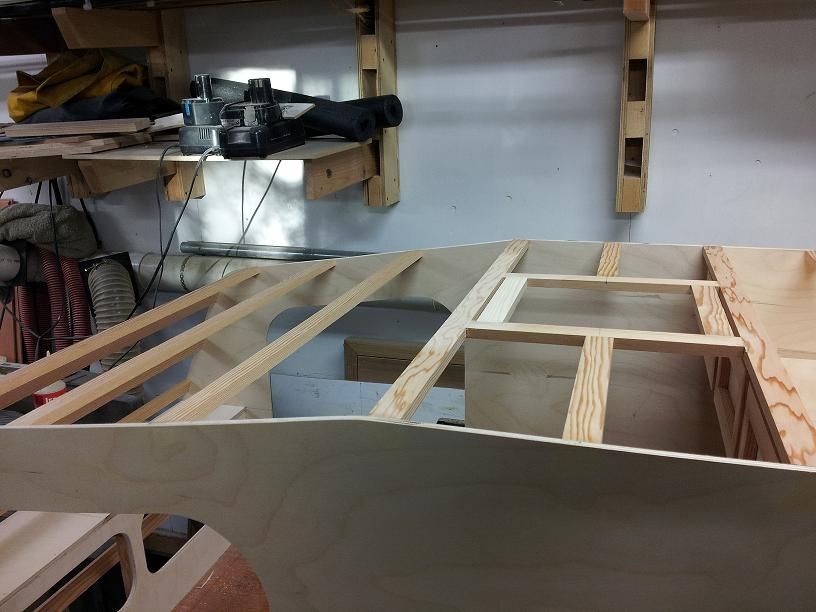
Profiles are cut and 1/2 x 1 inch edge grain fir strips are added around perimeter and spaced every 12 inches thru out.
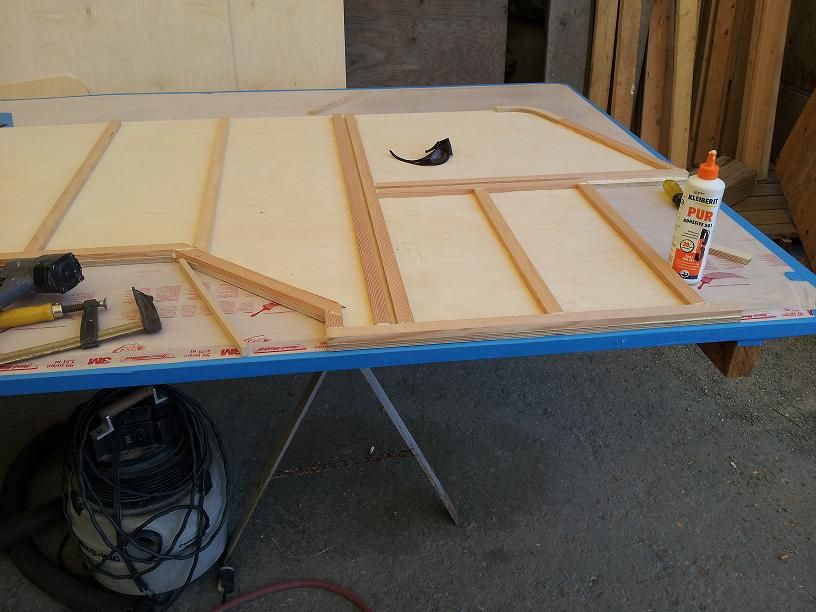
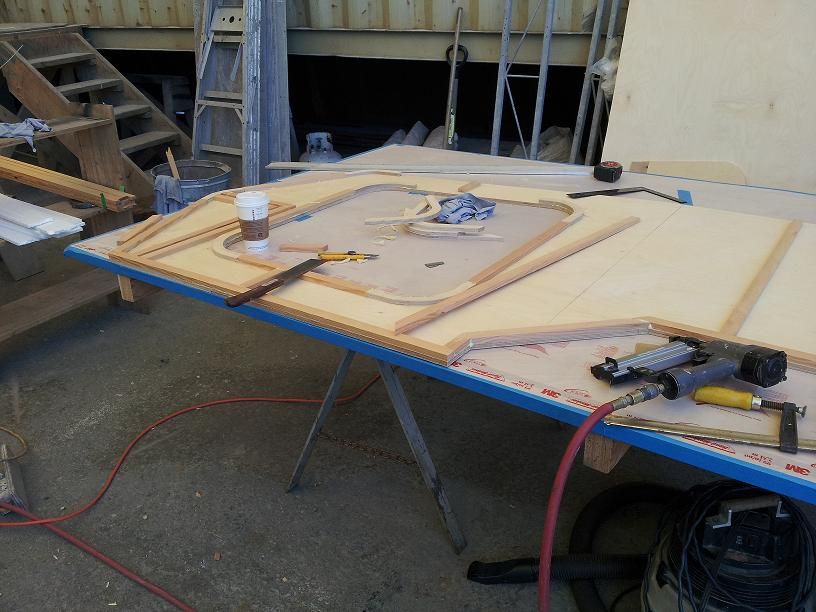
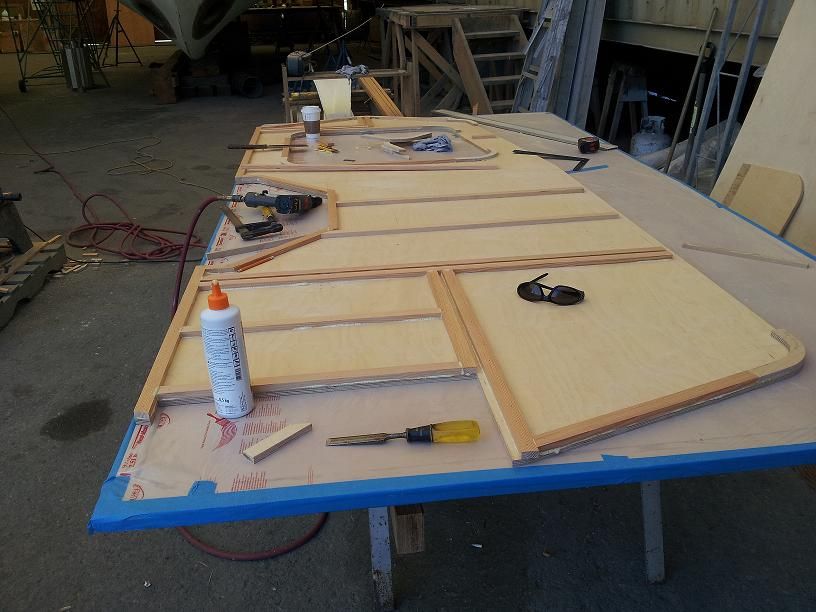
I then removed a 1/4 inch of material between strips to lighten and allow more depth for insulation.
As you can see in this next photo i indexed the top edge for roof framing.
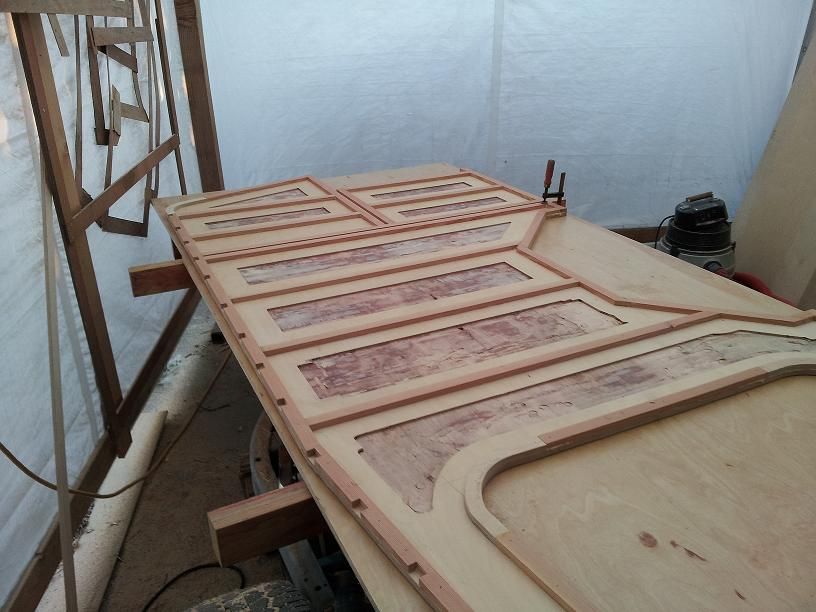
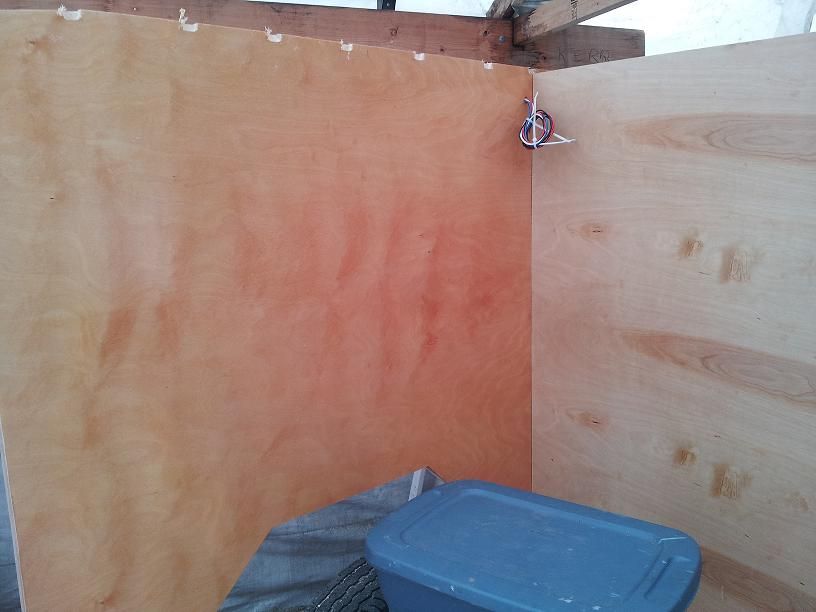
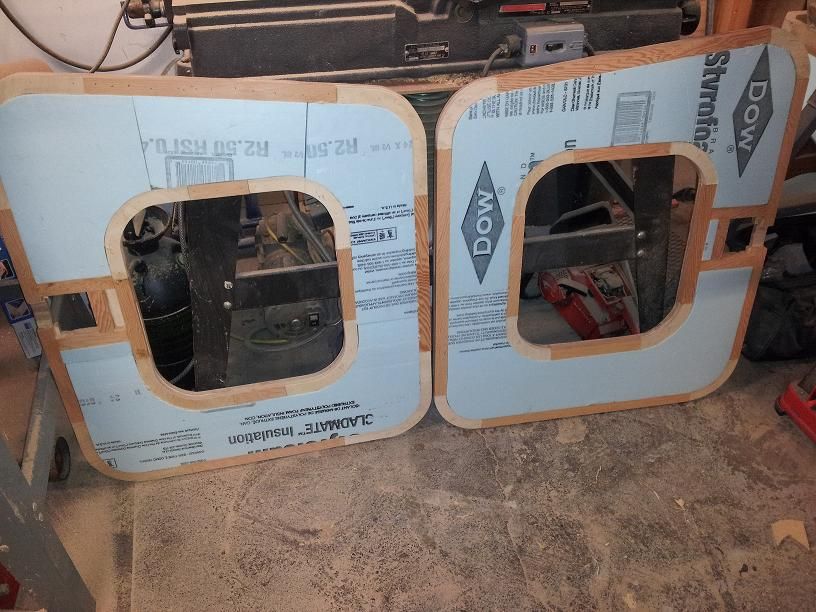
Next up was insulation and Pre-wiring of exterior walls ..
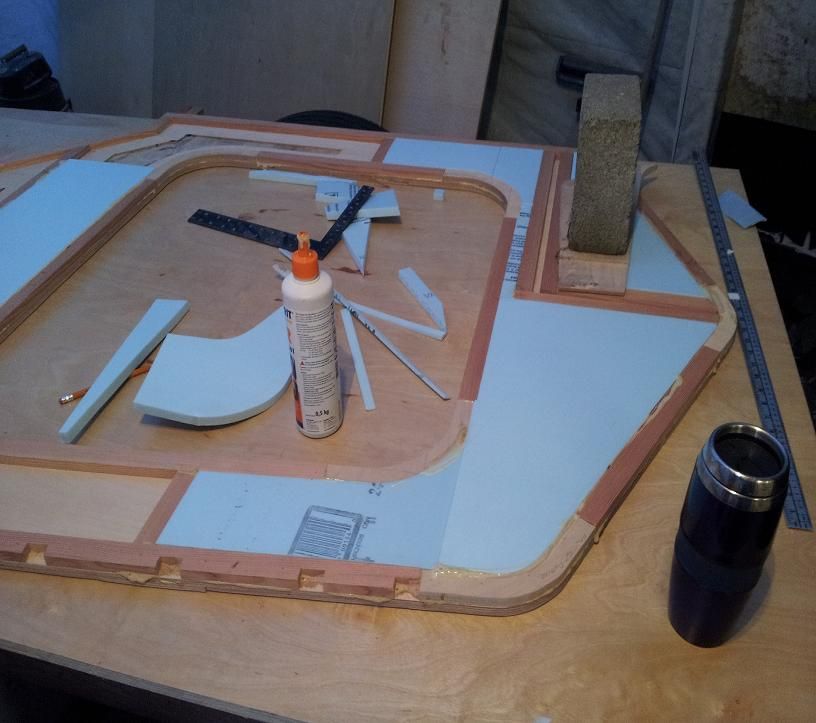
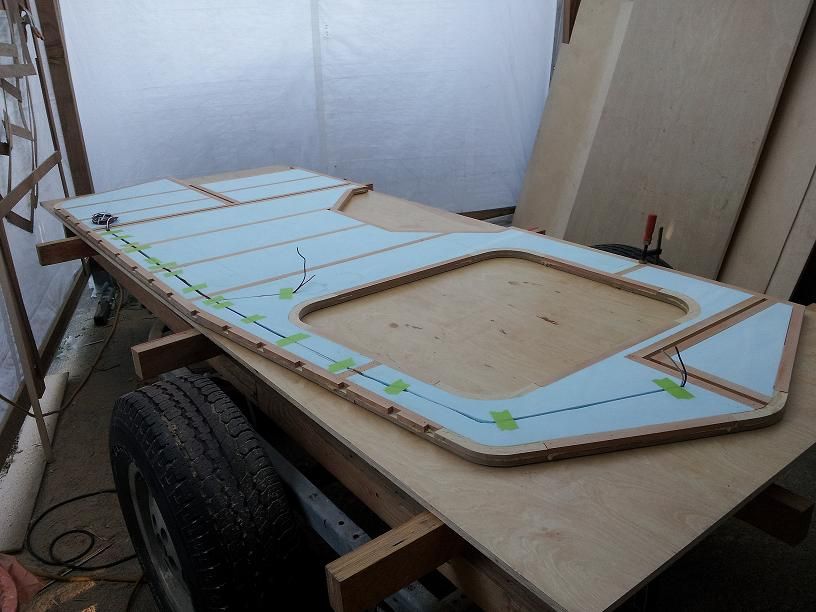
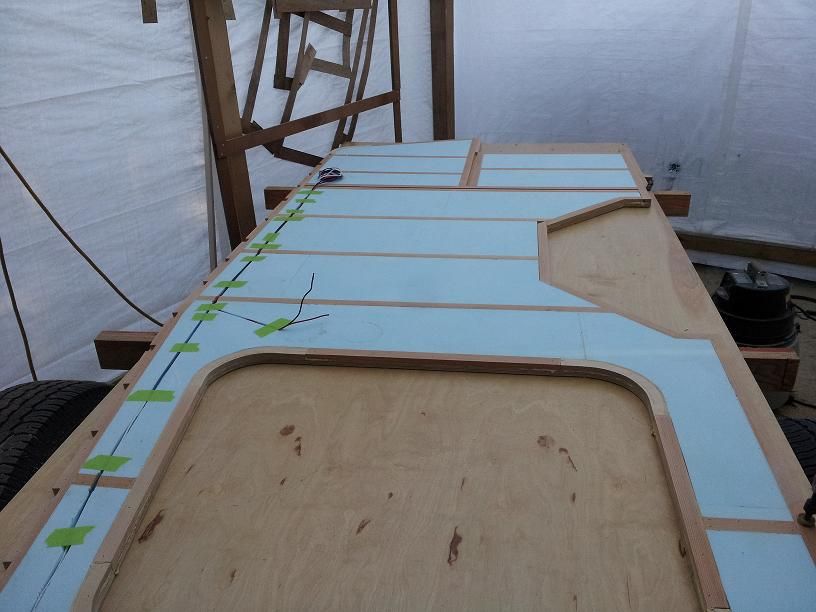
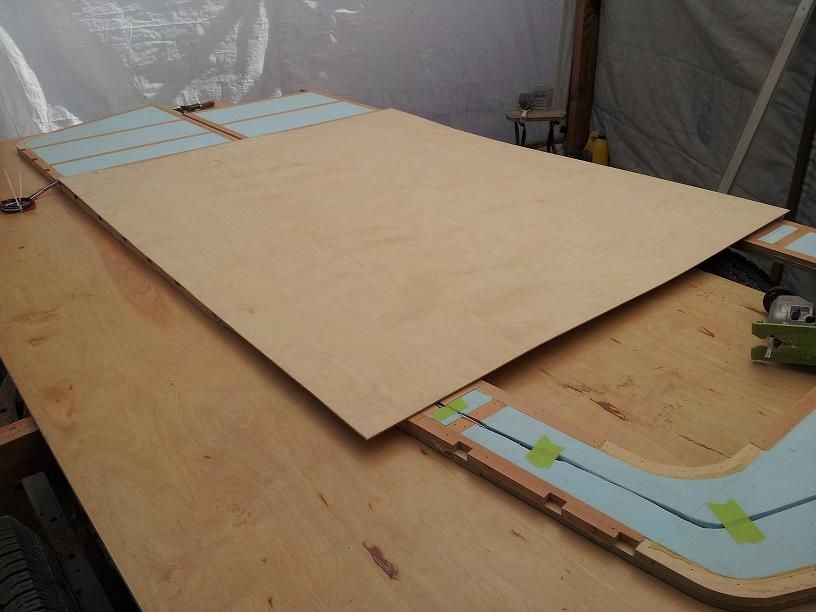
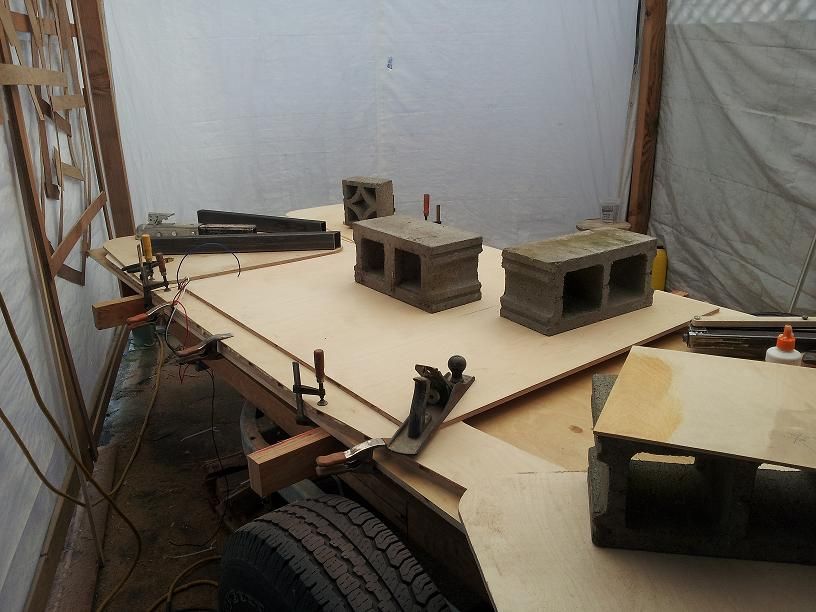
Walls routed and ready for finish coating.
First coat
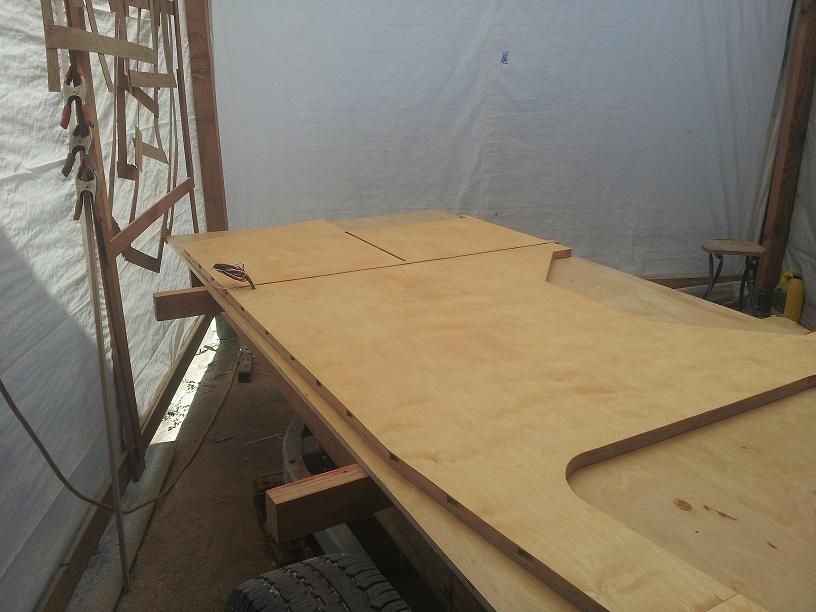
Forth coat
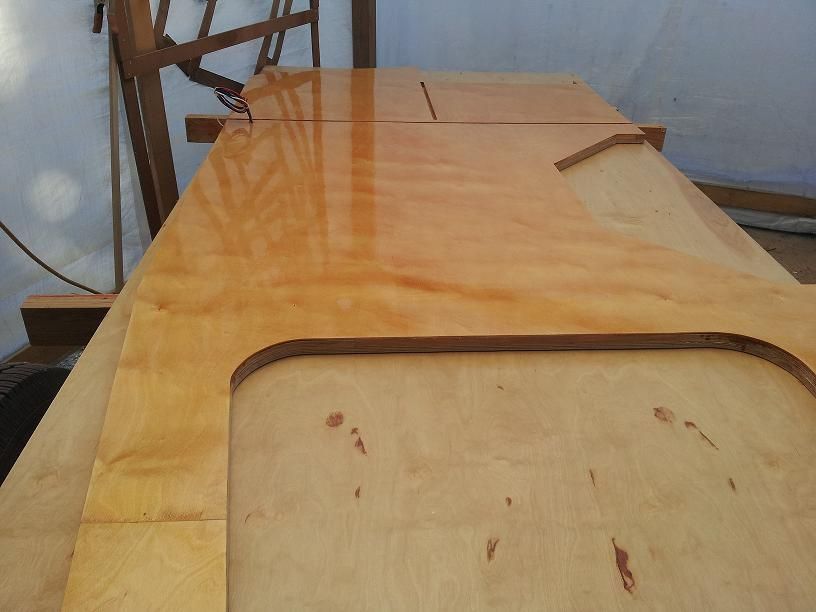
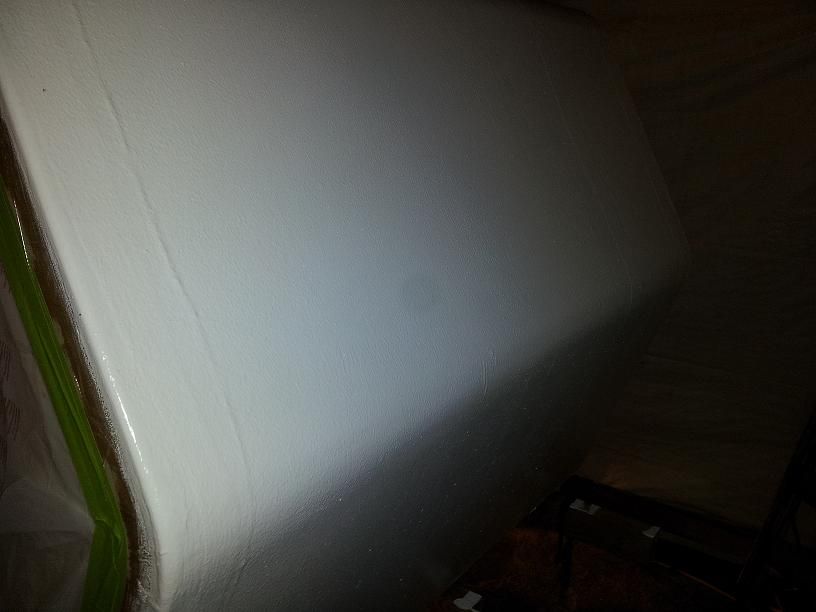
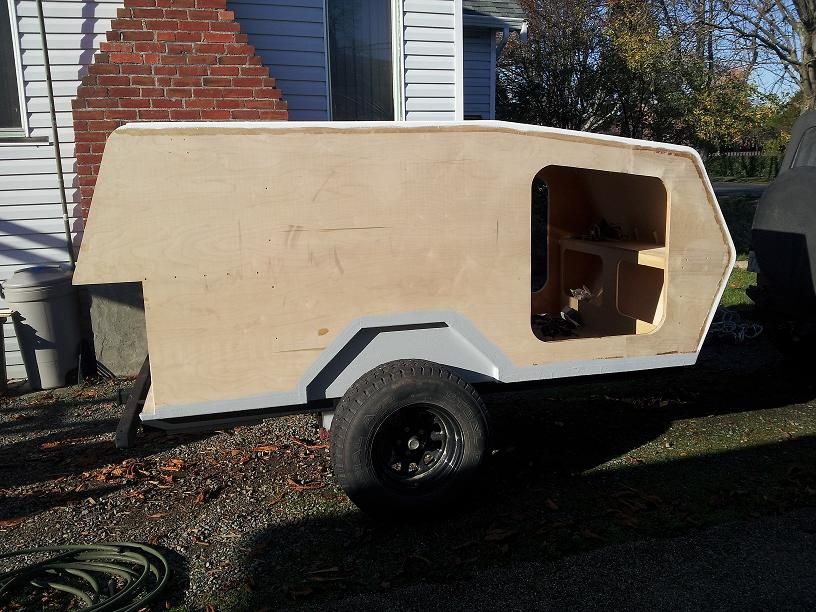
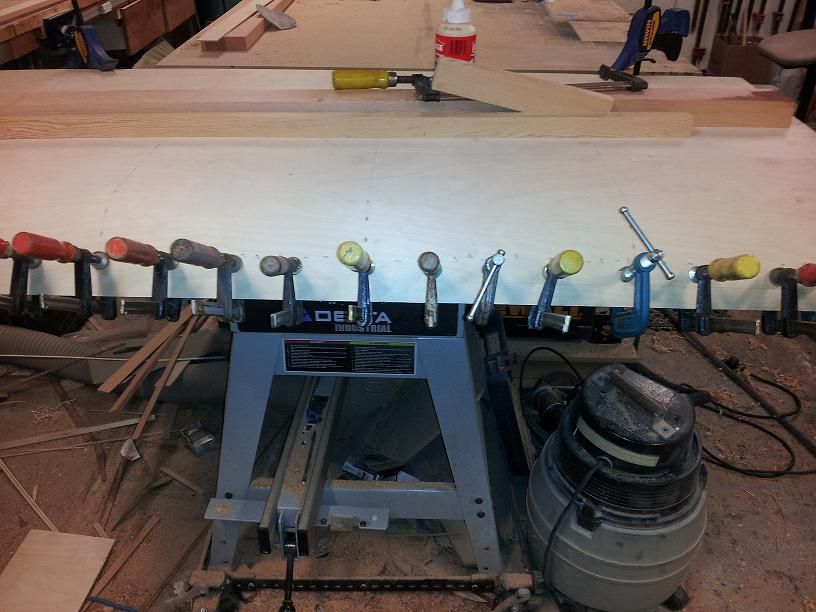
Finished side wall the wall size is basically 4 foot by 10 foot (to points) and probably weighs in at 50/60 lbs by laminating the walls on a dead flat surface they are perfectly straight and warp free.
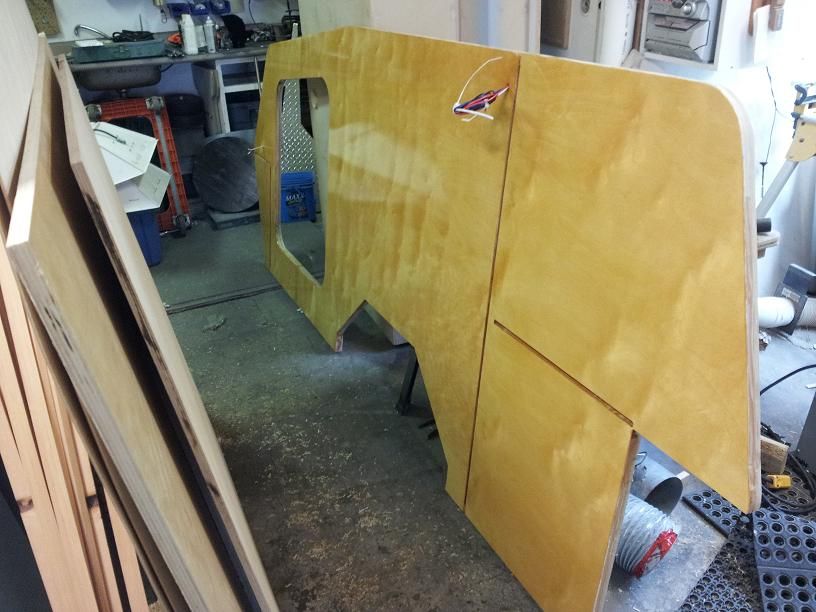
More to follow
Cheers.
That and the conversations on Timbren suspension systems which I use.
This is going to be long winded i'm sure sorry about that in advance.
The whole concept of constructing a tear drop came from my wife being unable to use my previous trailer (The pod ) as i called it. http://www.expeditionportal.com/forum/threads/110701-Woody-Expo-Trailer
The Roof Top Tent on it was just to difficult for her to use.
The Pod was an awesome little trailer it weight was perfect for hauling behind my Jeep a 92 YJ.
So in designing the Tear Drop weight in the end is a big considering factor.
I came across Stomper XJ's build and liked the Cricket profile so I went with that style of exterior shape.
I start planning and designing on napkins and scrap paper last summer. I decided the only way to make sure my ideas would work was to build it scale first.
My basic list of what i wanted to be able to carry.
1 – As light as possible and still retain structural strength for Off-road.
2 – Same track width as Jeep or close to as possible and give decent bed size.
3 -* Support up to 35 inch tires.
4 -* Same height as Jeep roof line for less wind resistance
5 -* Independent air bag suspension
6 -* Carry 20 gals of Fresh water in under tank storage.
7 -* *Space for a 43 qt. Fridge Freezer unit in galley area.
8 -* Propane fired hot water system with 12 volt pump.
9 -* Flat space on trailer roof for 100 watt solar panel.
10 – Space for Pro-pex propane hot air furnace.
11 – Decent cooking space and counter space in galley.
12 -* Roof mounted cargo rack or exo skeleton for mounting a Fox wing awning.
13 – Split rear door system to allow height clearance for Fox wing.
14 – Dual 6 volt battery’s in series for 12v/110 power source with solar charge controller.
15 – on-board air compressor for raising and lowering trailer height.
This was my original list of what i wanted. Since then i have changed a few things.
1- I decided i had good success with timbren suspension on my POD so i canceled out the air bags and air compressor.
2 - 20 gal water tank won't fit with out jeopardizing clearance. so i went to a 16 gal custom.
3 - 43 qt fridge takes up way to much cabinet space so i went with a 35 qt instead. Less power consumption as well.
4 - i went with 2- 40 watt solar panels instead of having 1 large panel on the roof less likely to get damaged on close trials. With a MPPT controller i should get enough amps from the 2 panels to keep battery's up.
5 - Propane furnace canceled this one takes up to much space. i have a plan for something else.
6 - Fox wing awning its just to damn long it sticks out past the front of the trailer when closed it would cause all sorts of grief. Up here in BC our trails are very tight lots of trees to catch on extrusions. I am designing my own system for it.
7- dual 12 volt instead of dual 6's
Here are some pictures of the Half Scale model. It is pictured with a 35 inch scale wheel to give you an idea of its size.


So come September i started building. I only work on this thing evenings and weekends. not full time. I build boats for a living it takes up a big part of my time when i have a contract.
Construction materials for walls.
1/2 inch Euro Ply very similar to Baltic birch except it comes in 4 x8 and 5x12 foot sheets. for exterior side walls and bulk heads shelves and cabinet carcass.
1/8 inch baltic girch for interior wall skins
1/4 inch baltic birch for roof.
1/2 x 1 inch edge grain fir for wall stringers.
Finished wall exterior thickness is 1 1/8 thick.


Wall construction ..
Profiles are cut and 1/2 x 1 inch edge grain fir strips are added around perimeter and spaced every 12 inches thru out.


I then removed a 1/4 inch of material between strips to lighten and allow more depth for insulation.
As you can see in this next photo i indexed the top edge for roof framing.

Next up was insulation and Pre-wiring of exterior walls ..


Walls routed and ready for finish coating.
First coat

Forth coat

Finished side wall the wall size is basically 4 foot by 10 foot (to points) and probably weighs in at 50/60 lbs by laminating the walls on a dead flat surface they are perfectly straight and warp free.

More to follow
Cheers.

