New project: The White Buffalo (Chevy Express AWD)

fike

Adventurer
Your size is the same height as stock, so it sounds like the width may be the bigger problem than the height. That suggest the 255-70R17 might work.

thanks,
fike
 

zuren

Adventurer
I haven't posted an update on my progress in a while.

Most of the wiring and Hell Roaring isolator for my aux. battery.
IMG_1829.jpg


Starting to get the house power wired in. Battery is fastened down.
IMG_1832.jpg


Roughed-out cabinetry in place. I still need to make something for the very back and finish the main kitchen unit. Try to look past the clutter. Everything is being designed to be lifted out quickly to gain access or create room for hauling cargo.
IMG_1836.jpg


IMG_1835.jpg


I figured out that the cargo vans are indeed prewired from the factory to have speakers in the rear doors. One side had a connector for the OEM speaker in the door; I had to run wire just from the back corner for the other door.
IMG_1828.jpg


I carefully made cutouts in the existing door panels and made backing plates from cheap 1/4" cutting boards you buy at Walmart. They are solid and add a lot more sound.
IMG_1837.jpg


The thin cabinet hides all of the house power and my comms equipment. Blue box is a cell signal booster. Black box is a Yaesu FT-7900R.
IMG_1839.jpg


My OEM stereo was failing so I replaced it with a Clarion. The display under that is my ScanGauge and the display to the right of that is the controls for the Yaesu radio. The black buttons under the Tow/Haul button control the PIAA lights up front.
IMG_1842.jpg


PIAA 520 driving lights (6") in the middle and PIAA 510 (4") outside of those
IMG_1834.jpg


IMG_1830.jpg


My next goals are still on the interior. I need to install seatbelts for the rear seat and finish the cabinetry. Work, school and life get in the way but I'm slowly picking away at it.
 
Last edited:

zuren

Adventurer
UPDATE:

Kitchen unit is taking form along with electric in middle cabinet
IMG_1867.jpg


Slide out platform (also note that seat belts are installed)
Top of cooler doubles as a table. Cooler will be lashed to platform. Retaining hardware has been ordered.
IMG_1868.jpg


Drawer within a drawer for added storage. Will be adding a push button drawer latch once they arrive.
IMG_1869.jpg
 

zuren

Adventurer
A much needed update:

Acquired, modified and installed a Truck Vault storage drawer (traded a case of good micro-brew for it). It now serves as the base for the rear half of the bed while providing easily accessed storage underneath:
IMG_2125.jpg


IMG_2126.jpg


Bought a Thule roof top base rack and a rear hitch receiver cargo hauler (for hauling bikes, deer, coolers, etc.):

IMG_1929.jpg


Vanwithloadedrack.jpg


Deer hunting this past fall in MI
IMG_2188_zps29fb629f.jpg


The interior has many updates as well including:

- LED bar light above kitchen unit
- LED conversions to interior dome lighting
- Sink and "grey water tank" installed
- Cabinet and drawer latches installed
- Door cabinet unit (SMB clone) installed
- Cabinets stained and varnished

I'll get more pics of the inside tomorrow.

Regrets at this point:

- PIAA 520 fog lights - These things seem to eat bulbs and I can't figure out why. I've had to put new bulbs in every 6-8 months with very little run time in between.
- SuperBrightLED dome light festoon conversion bulbs - LEDs are advertised to last 10's of thousand of hours. I'm now looking to replace my 2nd festoon bulb that I bought from SuperBrightLEDs in under a year. The festoon bulb has 9 LEDs but if one starts to go bad, the whole thing flickers. It's very annoying. On the other hand, the LEDs in the ceiling reading lights have been working well.
 
Last edited:

zuren

Adventurer
More interior pics:

The cabinet on the door has supports for the cabinet doors to be used as tables.
IMG_2249_zps140b0eeb.jpg


The cut-outs to the left of the cooler are just loose storage. I'm making these more functional. The "sink" (mixing bowl with a drain) drains into a 2.5 gal. gas can (painted grey) inside the kitchen unit.
IMG_2248_zpsb218e3fd.jpg


All of the wood was stained with Rustoleum Sunbleached wood stain. It is a light brownish grey that I think goes with the interior grey without being a 100% match. Everything got 2-3 coats of spar varnish as well.
IMG_2251_zps218fac48.jpg


The rear cabinet door hinges down to allow access from the front or back, in sofa or bed configuration. Also serves as a table surface. The shelves lift out and there is a compartment in the bottom.
IMG_2253_zpsa3e290de.jpg
 

Accrete

Explorer
Your rig is looking really good zuren.
The workmanship rivals typical commercial-van builds!
Very creative use of cabinet space.
 

Gilliejd

New member
Zuren-
I have an 03 express and want to do the same conversion with the headlights. Can you give me a that short write-up and pictures?

Thanks,
Jeff
 

truth2ak

New member
I have been wanting to put a 1" body lift on my 2012 express AWD but was advised against it not sure why or that I have given up on the idea. How did you do yours? Any help would be great!
 

zuren

Adventurer
Update 9/3/14

My apologies for dropping off the radar for a while. In the last 1.5 yrs. I was laid off, finished grad school, got a new job, got married, got a better job, moved halfway across the country, had a kid, and currently in the process of buying a home. I've been around but not fully active on the board. I’m looking forward to life settling down and playing outside with my van with my new family!

I know my answers are very late but for archive purposes, I'll give my feedback:

Body Lift
I did a 1” body lift only because the bolts for my sofa bed lined up directly over the driver side frame rail and I needed some clearance. I also had some tire rub. I had to reengineer the spare tire mechanism so it would work. Now that I’m looking at everything again and now there are proven, mild suspension lifts, I’m going to replace or trim the bolts for the sofa and remove the body lift.

For anyone who wants to do it, you need:

- 1” lift spacers
- Longer bolts ordered from Fastenal
- A custom solution for dropping the spare tire (if you carry it underneath)

In the end, I would not recommend the body lift. It has worked for me but the effort wasn’t worth the result. The body gap is not terrible but noticeable. Occasionally I hear a "creak" in the front left when braking that sounds like it could be body mount related. You might see my "kit" for sale


Sealed Beam Front End to Component Headlight Front End Conversion
This modification was not terribly difficult, just messy. People will tell you that you need a new radiator support that requires removal of the radiator, tranny cooler, etc. if you want to change from a work van grill to the nicer Chevy grill and component headlights. Not true! All you need to do is remove material and add parts.

Parts
- Component headlights for left and right (I bought some aftermarket units and after just a couple years, the coating is failing; I would source new OEM or used OEM)
- Nicer grill (I bought an aftermarket unit and it is holding up fine)
- Headlight wiring harness for GM van with component headlights (I sourced new OEM)
- Optional - Stainless fasteners if you like

Mandatory tools
- Dremel or similar rotary tool with cutting bits (the radiator support is fiberglass reinforced; you are probably going to ruin a couple bits during the work)
- Paint pen, silver marker or something that shows up against black plastic

Disconnect the battery, remove the sealed beam headlights and grill. Look at the radiator support closely and you will see a raised outline around where the headlights go. Trace this outline with your marker so it is easier to see. The chunk you just outlined needs to be removed to make space for the component headlight units. Get out the Dremel and go to work! There may be a better approach to cutting this plastic but I did not have one. It was messy, smelly and fiberglass got on my hands; wear gloves. Once the pieces were removed, I cleaned up edges with the Dremel and a file.

Now, remove the sealed beam wiring harness and install the component harness. This will be a bit of a pain working in tight places but be patient and it will snake in. The biggest issue I had was removing the cover to the fuse box in the engine where the harness connects.

Transfer your grill badge, transfer the metal clips to the new grill, snap the new grill into place, install the component headlights, install the signal lights, attach the connectors to the bulbs and see if you have light! I replaced some of my fasteners with stainless steel only because they were really rusty. I will try to put together a more formal write-up with pictures as time allows.


Fastening seats
I have found the art/science of fastening seats into a vehicle that did not originally have them to be rather inexact. Almost no one will offer specific advice, probably because they don’t want the liability if something goes wrong. Unfortunately, I'm going to follow the same path but can offer some general insight. As far as I’m concerned, there is no such thing as overkill here. My bolts go through the sofa brackets, through the plywood subfloor, through the steel van body (I centered on the floor ribs to make things easier), through 2 long pieces of plate steel (that run from one bolt to the other on the same side) followed by washers and 1-time-use security nuts. I did something similar for the lap belts. All bolts are Grade 5 or 8. Under the van body, you can see reinforced points GM welds to the body for seat mounts; they are small. By using the long pieces of plate steel, I’m distributing force over a much greater area of the floor. By my estimates, a large section of the van floor would have to completely tear away for the sofa or belts to break loose. I think the likelihood of such a failure is near to Zero, or the vehicle would have to be in an accident so severe that no occupants will be surviving regardless of seats remaining fastened to the floor.
 

zuren

Adventurer
Long Term Review - 9/3/2014

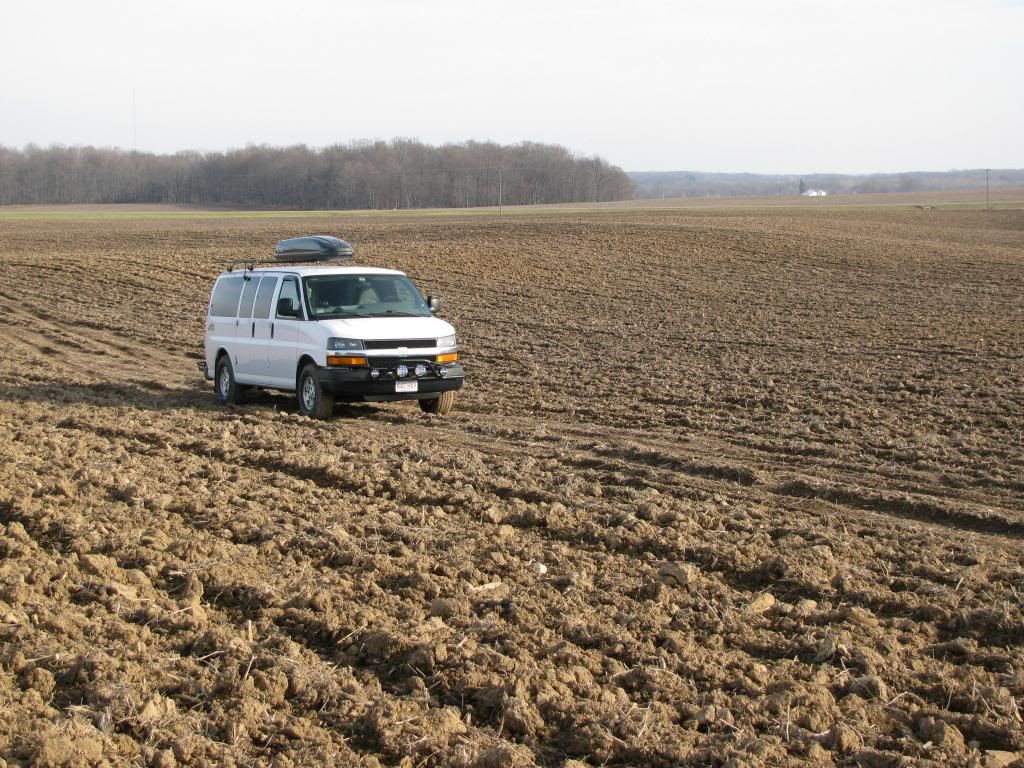
It is hard to believe that I'm approaching 4 years of White Buffalo ownership. In that time, it's been to many locales just not as many as I would have liked. If you read my post above, you'll see the past 1.5-2 years have been busy for me. In that time, the van has been to:

  • Acadia National Park, ME
  • New Hampshire
  • Gifford Woods State Park, VT
  • West Virginia/SE Ohio
  • Michigan (various locations)
  • Finger Lakes region, NY
  • Multiple trips between New England and the Midwest where I pulled off the highway and slept


Overall, the van has performed well. My wife and I had to learn to pack efficiently. We found keeping like-items in more and smaller bags/containers works better than fewer, larger bags.

Tires
The tires (Firestone Destination A/T) have been great. I have never been wanting more traction though I have never pressed them really hard. In a couple severe New England snow storms, I busted a path down our friend's driveway that had 3+ feet of snow and the van never blinked. It mostly sees pavement so I have a hard time justifying more aggressive tires.
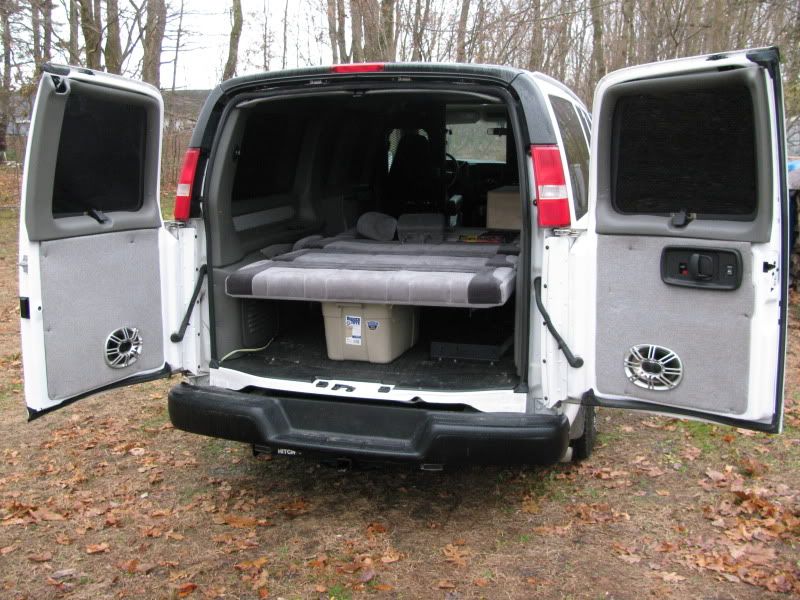
Interior
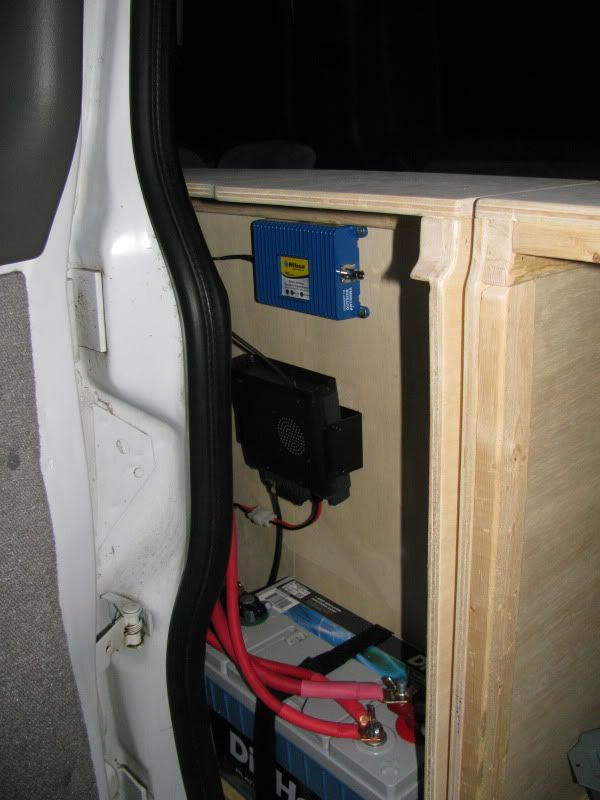
We have liked the interior layout. I need to make some improvements with my cabinet design to be lighter, stronger, have greater utility and more organization.

Drivetrain
Everything has worked flawlessly so far. I hope to make improvements on my shifter within the next year. I believe I hear, but haven't confirmed, some chain noise in the transfer case when rolling on the highway. Since the front axle is locked, everything is spinning. It's been constant since the conversion but slight; I ask my mechanic buddies what they think it is and they can't hear it. Maybe I'm just crazy.

Lighting
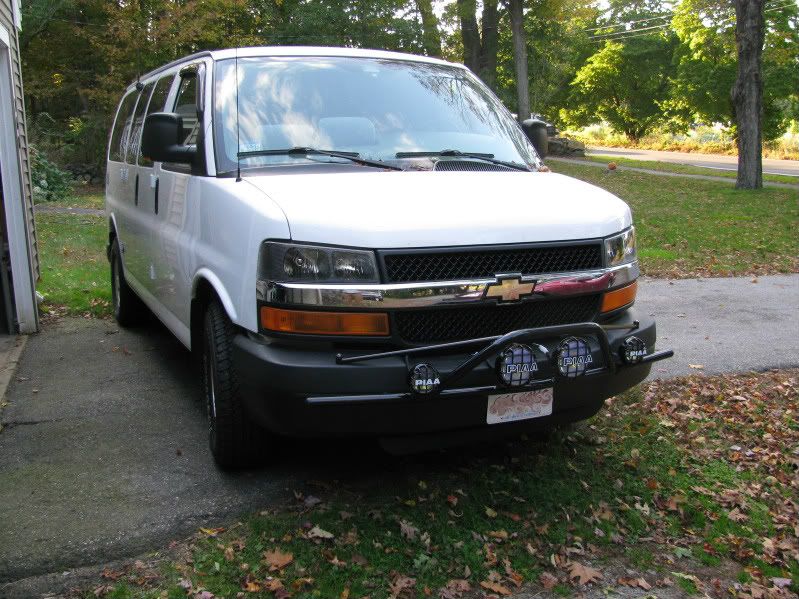
The PIAA lights I have mounted to the prerunner bar are just okay. One fog light seems to eat bulbs and I haven't figured out why. I bought the PIAA protective films to prevent rocks from shattering the lenses. They frosted over in only a year of use. If I were doing this again, PIAA works but I'm not thrilled with them.
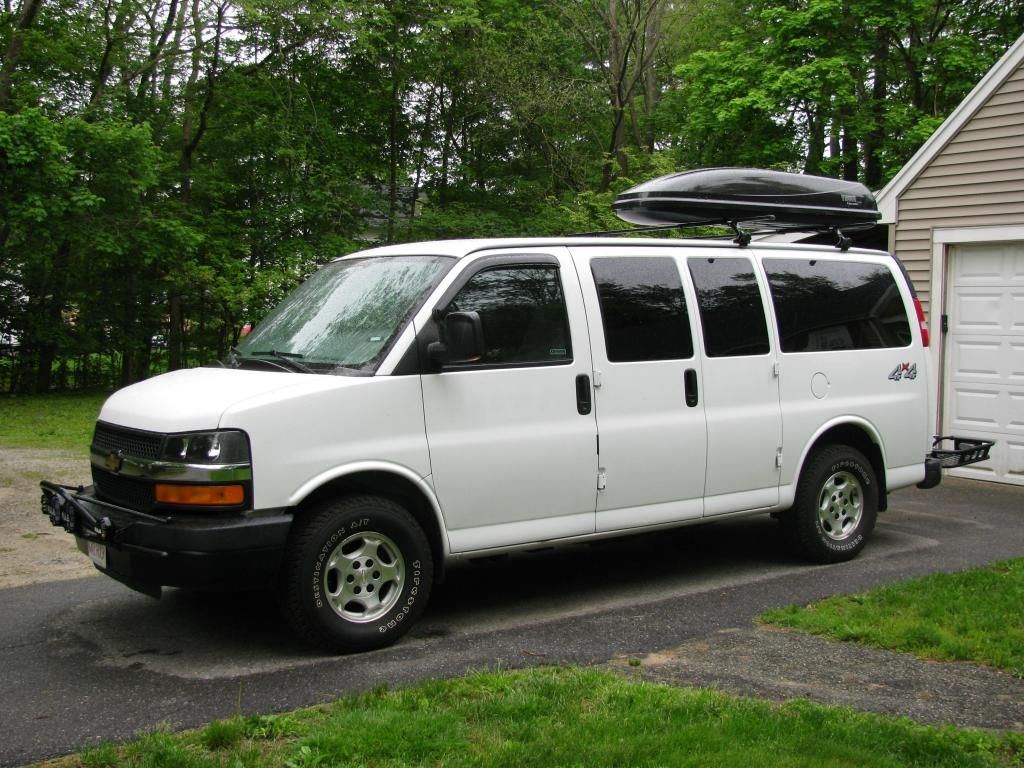
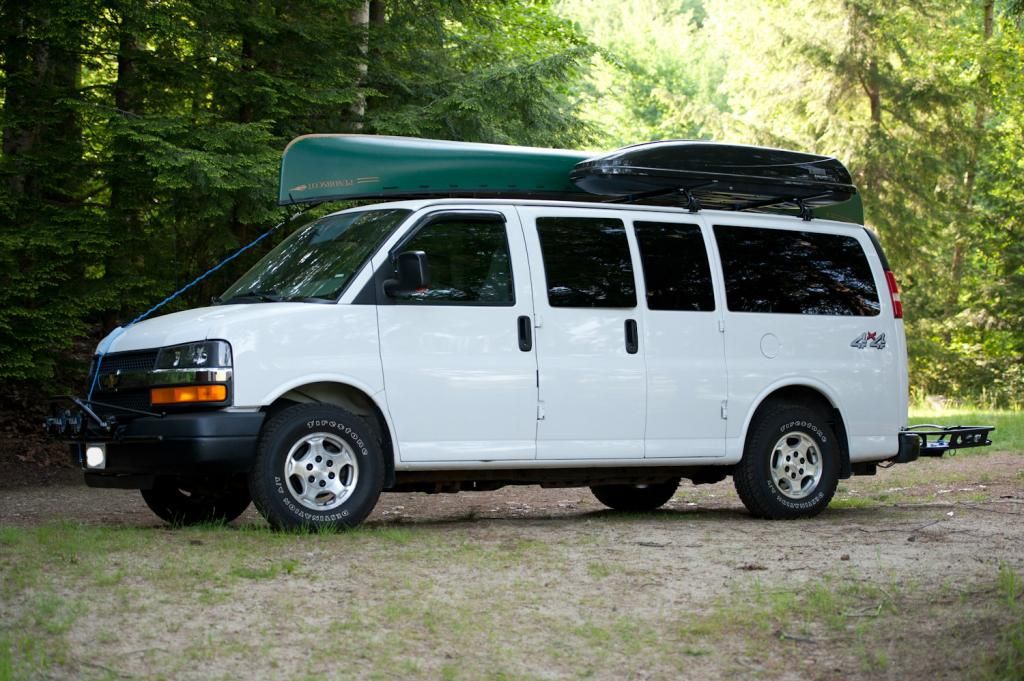
Rack
I've been happy with being able to carry a canoe and box on the load bars. I would just want to add an Aluminess side ladder to make life easier.

Issues
Ignition switch - I started having trouble with the tranny going into "limp mode". I found out that it is a known flaw/failure with the ignition switch inside the steering column cutting electrical power to the tranny. I replaced it but several months later, the new unit failed completely; I suspected something else. It locked the keys inside the van when I went to use the restroom while camping. I was able to get in then had a hard time getting it started but was able to get it moved. After I turned it off, it wouldn't restart. All kinds of random errors and codes were generated but none pointed to the ignition switch. The shop finally figured it out (after a week and $600) and I was disheartened to hear it was the item I had recently replaced. My advise for all Chevy Express owners - carry a spare ignition switch ($35ish) and the tools to remove your steering wheel. If the switch fails, it is difficult for a shop to diagnose and you are stuck until it is fixed.

Door hinges - Another mostly known design flaw is the side door hinges rusting and the pin seizing. I need to make an effort to keep mine swinging freely (frequent PB Blaster baths). There are replacement, stainless, greasable replacements, I just need access to an air chisel to drive out the existing pins (not an easy task from what I hear). The hinges are bonded to the body so full hinge replacement is not an option. If you have an Express with side barn doors, keep those hinges clean and lubed!

Paint flaking - Apparently GM sprayed many vehicles in the mid-2000s with a faulty primer. After time, the paint starts flaking off. Look at GM work vans and trucks of that era. Mine has started doing this on leading edges (hood, just above the windshield). It is mostly cosmetic but I will need a partial repaint at some point.

Future Hopes/Goals
  • Updated, more functional kitchen cabinet
  • 2" lift (maybe the Boulder Offroad option)
  • Aluminess side ladder
  • Rear bumper with tire/fuel can carrier (an Aluminess is too expensive and overkill. I may modify something)
  • Front bumper with recessed light mounts (an Aluminess is too expensive and overkill. I may modify something. The driving lights are fine outside of the bumper but I would like the fogs to be inside the bumper)
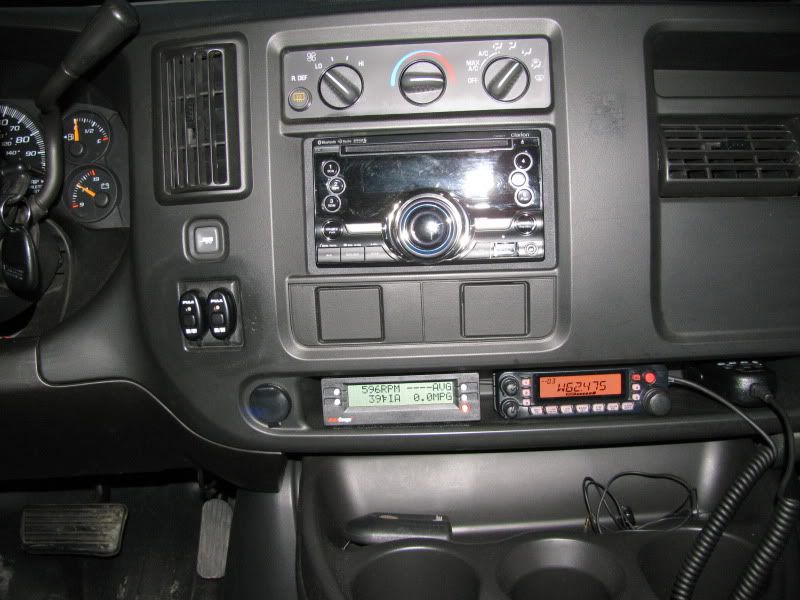
  • More elegant shifter
  • Get the family out camping more!
  • Stretch goal - Some type of camper top installed (GTRV, CCV, Westfalia DIY; SMB has stated they won't install on my van; I'm still struggling with the cost involved)
 

Forum statistics

Threads
188,604
Messages
2,907,753
Members
230,759
Latest member
Tdavis8695
Top