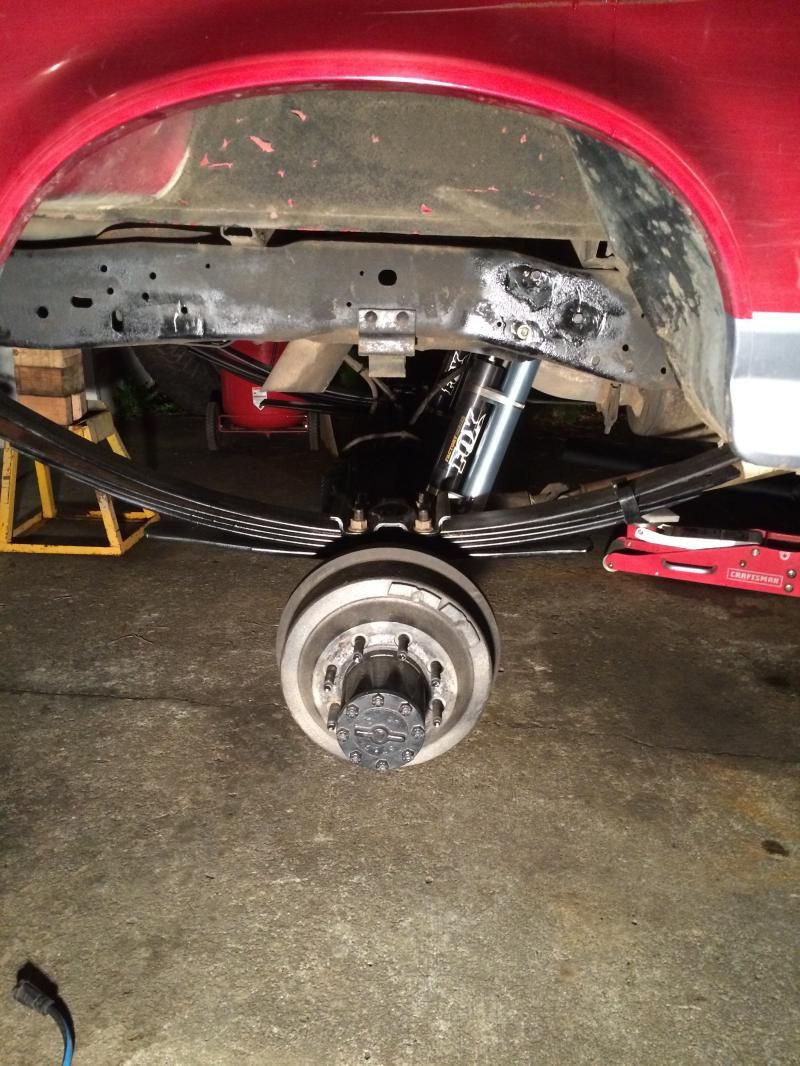
OBS F250 slow adventure build

amgvr4

Adventurer
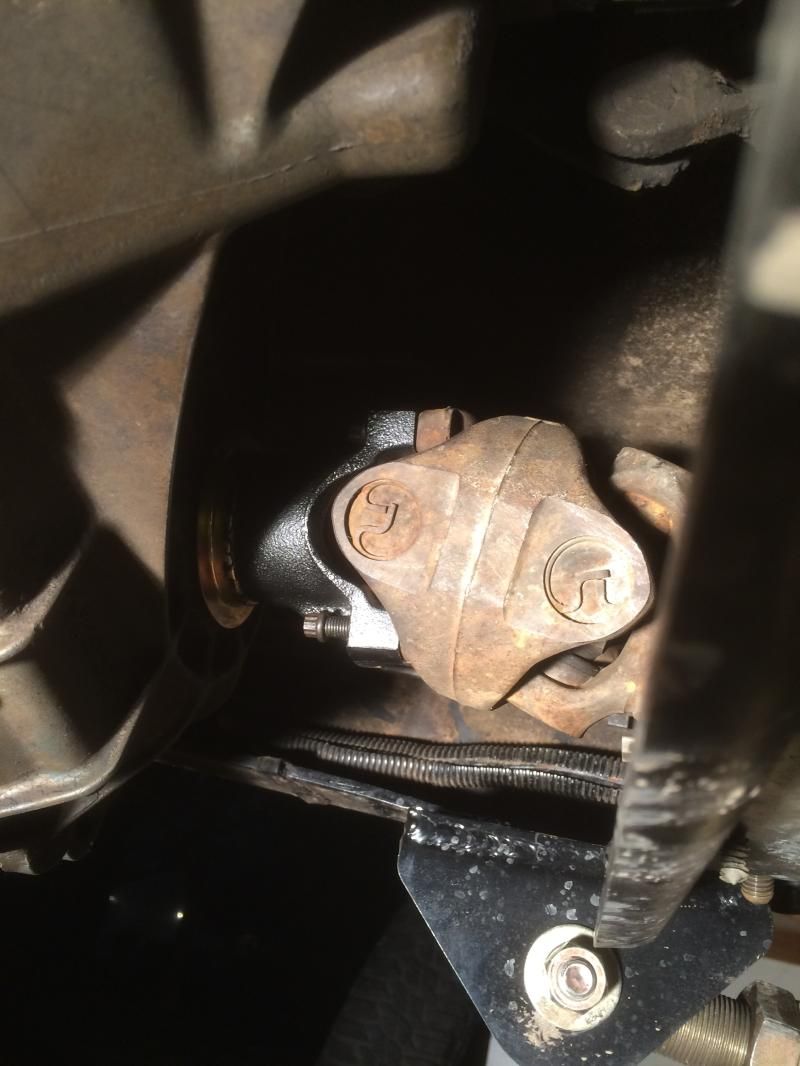
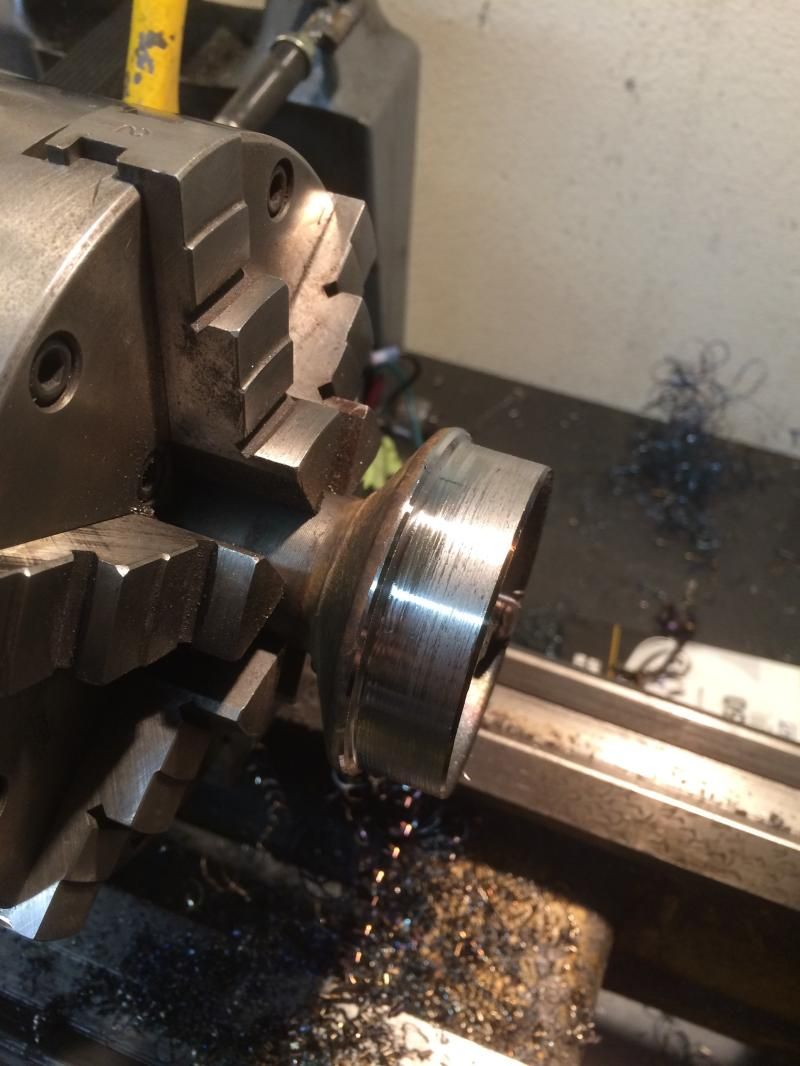
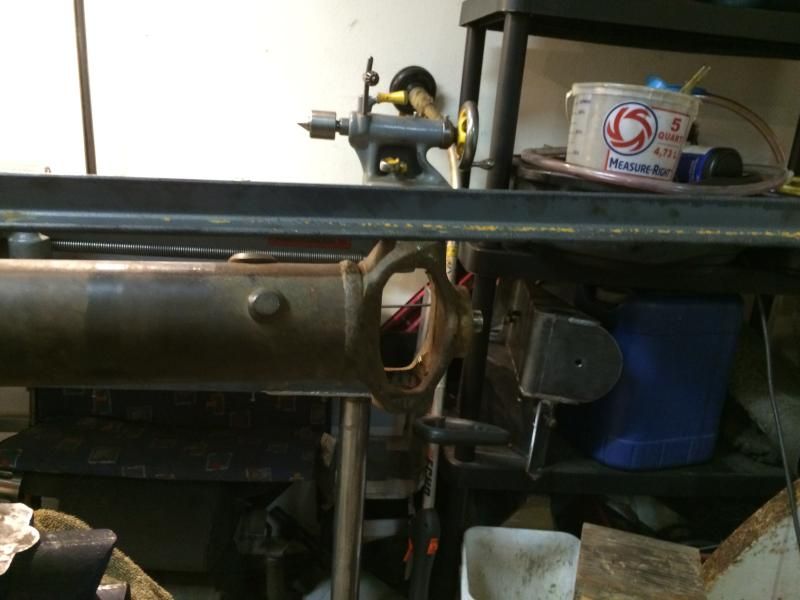
I got the t-case yoke and spring bushings in yesterday. I'm a little worried that the yoke might be the wrong one as it has the normal type splines and not the funky square ones everyone has said are specific to the 4407. The add was clearly labeled for bw 4407 so I will know more when I try to install it tomorrow. I will not be able to get to the shackle flip so I will mostly try to concentrate on the drive shaft and get that sorted. I also got my lathe up and running again so I could properly separate the slip splines from the tubing on both of the shafts.

I used a parting tool to cut the tube at the weld that way I ended up with nice and clean/perfectly square ends
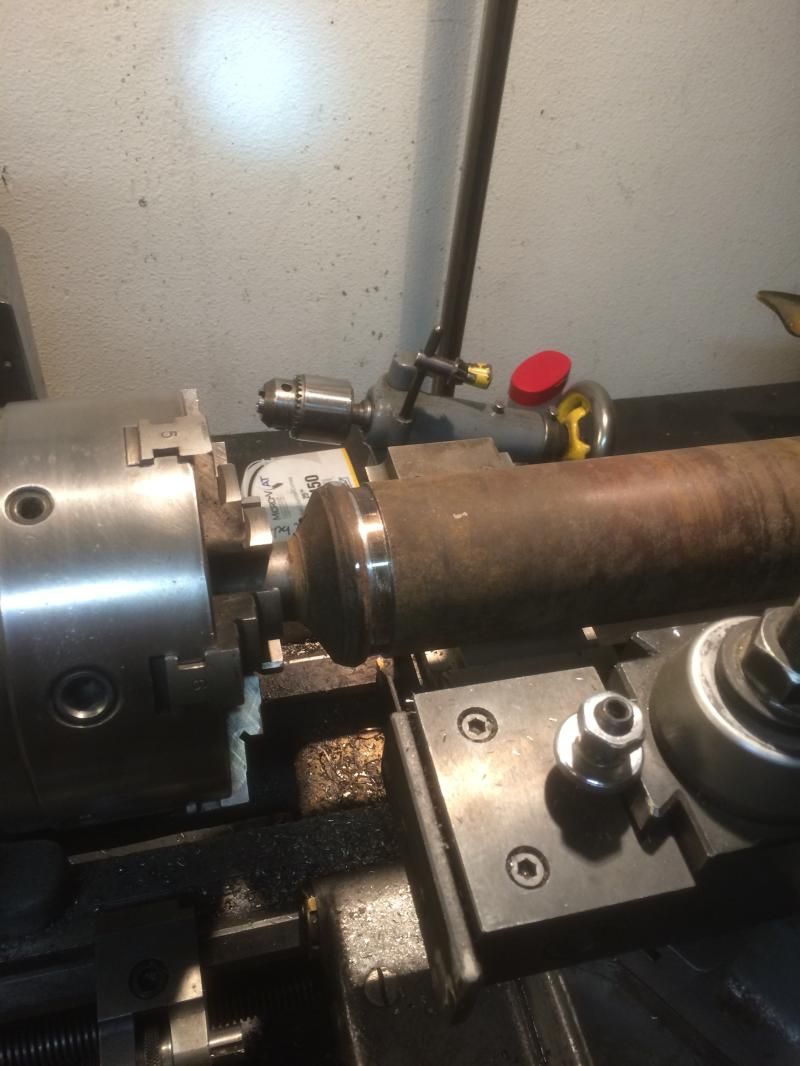

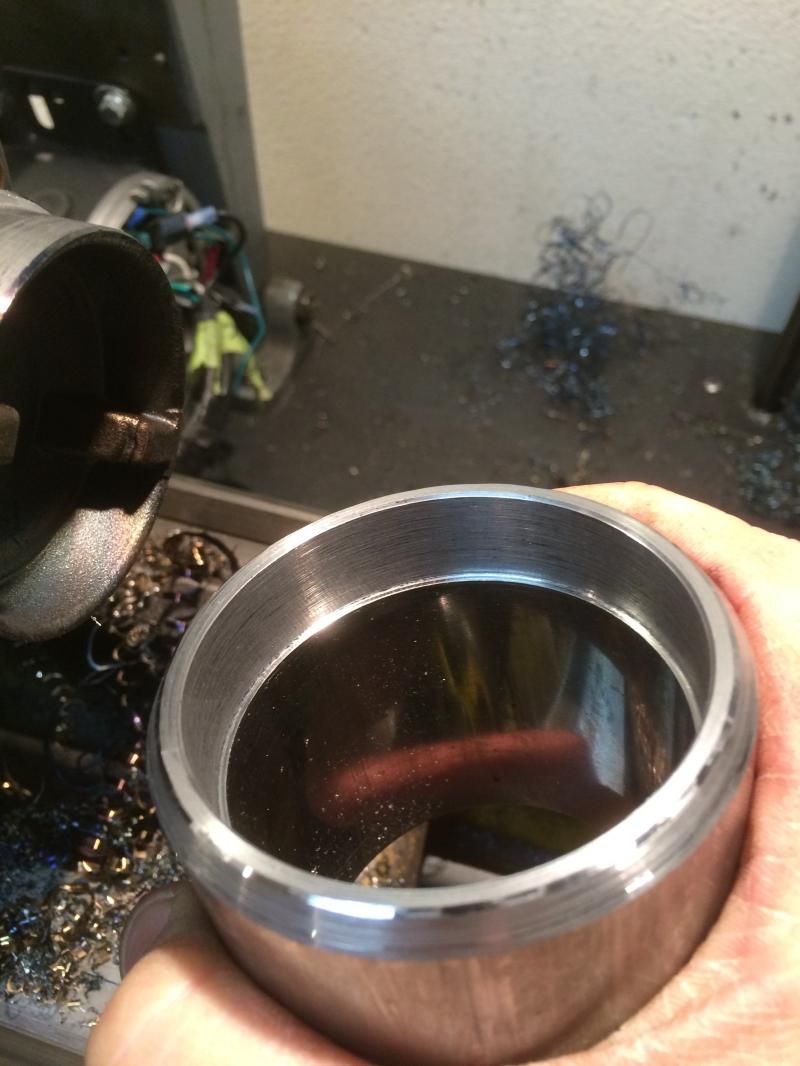
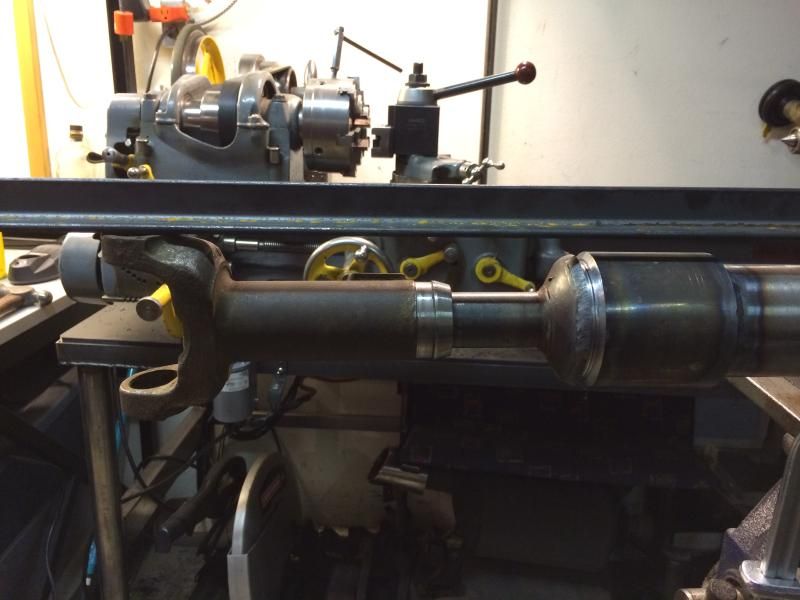
Here is what the end of the f250 slip spline looks like. There isn't enough meat there to turn it down to 2.320" and slide the f350 tube on so I picked up up some .250 wall DOM to sleeve over the tube and spline end.
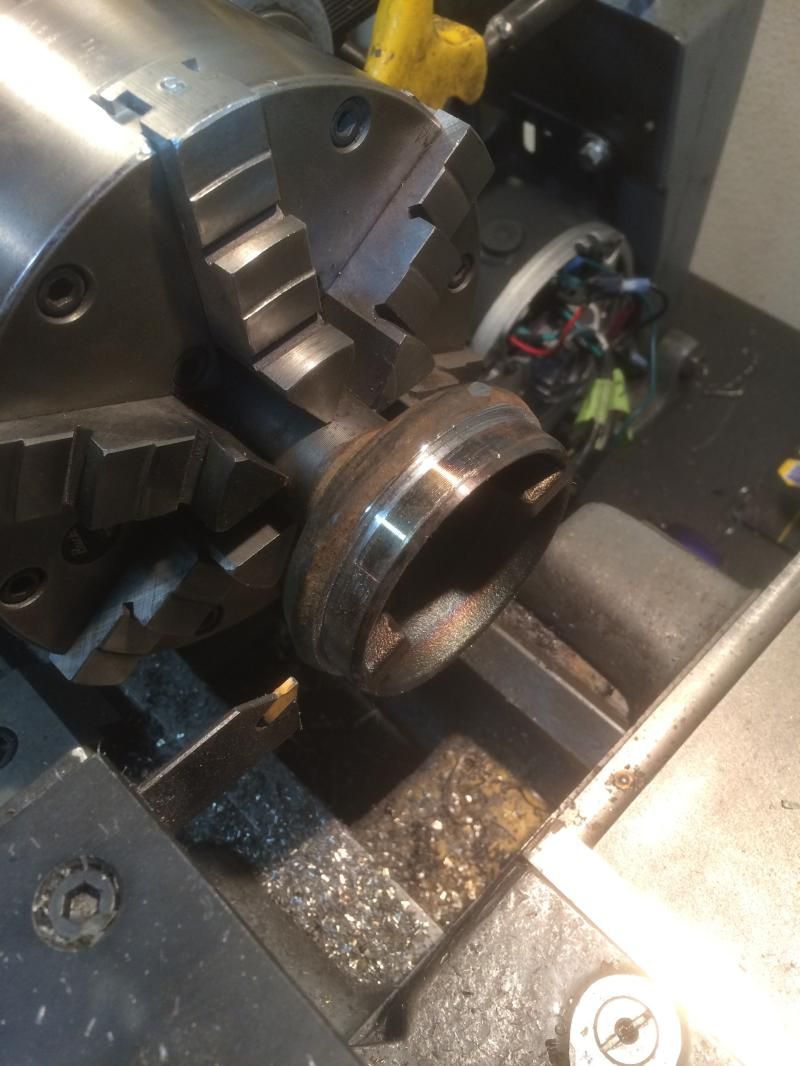

Here are the two ends removed from their respective tubes. 250 on the left 350 on the right
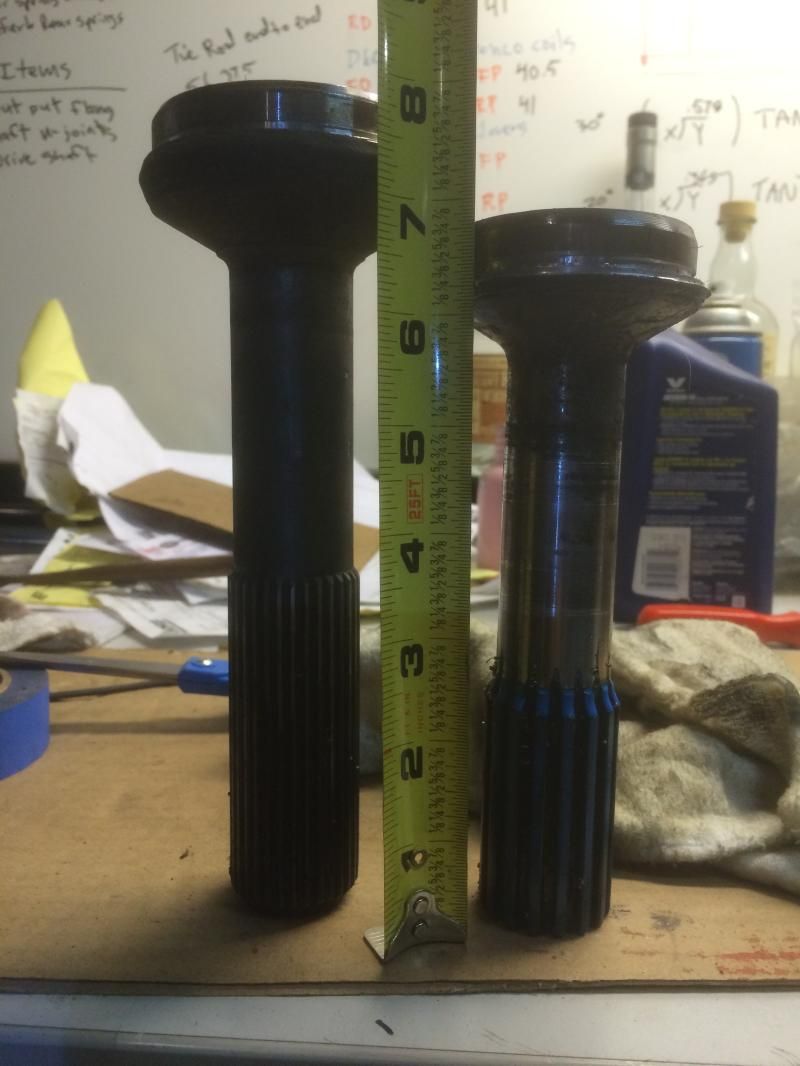

The DOM I picked up at the steel yard has a precision honed inner surface that makes me think is was hydraulic cylinder tubing. It is 2.493" and the OD for the f350 shaft is 2.50" so I should be able to just slide it over the tubing for a nice interference fit with a little heating. I have plenty of metal on the slip end to turn it down to 2.50". This should make it very easy to ensure a straight connection between the two parts. I will plan on having it balanced after I test it out and make sure everything works as intended. I also installed the .250" wheel spacers I got and even though they do not eliminate the tire rub they allow more steering angle and it makes a big difference maneuvering in parking lots. I will still need to come up with a way to fix it completely but anything helps at this point and for $15 it was money well spent.

Hopefully I will get lucky tomorrow and the t-case flange will be the correct one and I can get the drive shaft dialed in and ready to rebuild and balance. If not I will have to figure out where to get a proper yoke from. I will wait to start the rear until I have at least a full day free to hammer it out
 

98dango

Expedition Leader
I love the truck an the build. I will soon live in the PNW we will have to get our Fords together for a play date.
 

amgvr4

Adventurer
I love the truck an the build. I will soon live in the PNW we will have to get our Fords together for a play date.

Sounds like a plan. I like your superduty and would love to do what I can to show you around Washington. Where in the PNW are you moving to?
 

98dango

Expedition Leader
I will be in Long Beach I grew up there was born in Vancouver but we mostly went south to Oregon Tillamook area.
 

amgvr4

Adventurer
98dango;

The area down there is nice, my wife really wants to take a trip to the Oregon coast this summer and show the kids some of the places she used to go when she was their age.

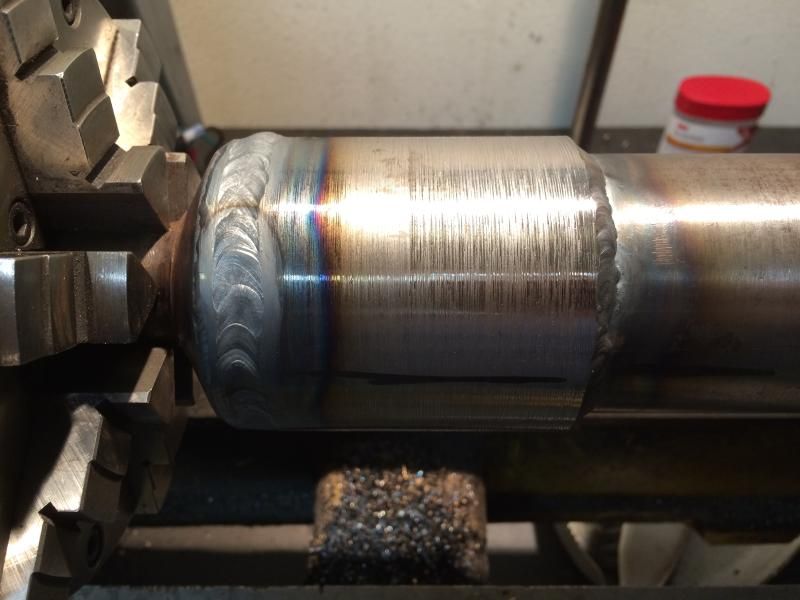
I got the T-case flange in and the oil changed. Man that stuff was old, I will probably do another flush here in the near future just for good measure. Turns out the splines were the correct square ones they just looked a little different. I also got some more work done on the drive shaft and picked up some steel angle iron for the base to my bed cage. The drive shaft was going well until I realized that I welded the sleeve on the wrong end first. I started by turning the slip spline down to 2.580" and matching the sleeve to the slip. Then I welded the two together and checked for run out. It looked pretty good, but when I pressed the tube end of the drive shaft in my little bit of run out became a lot. I will need to cut the sleeve off the slip spline and hold it in the lathe between centers and take a little more time with the welding process. After that its new u-joints and balancing and I'll have 4x4.

The new yoke


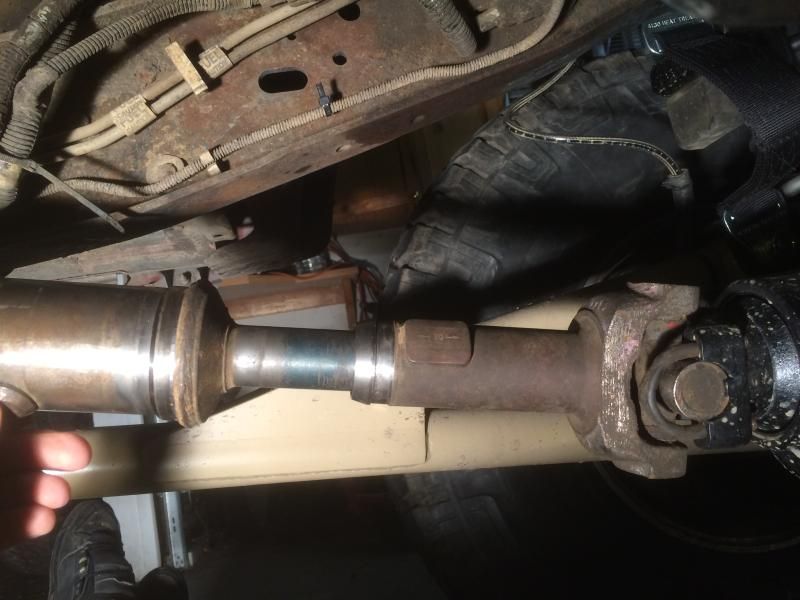
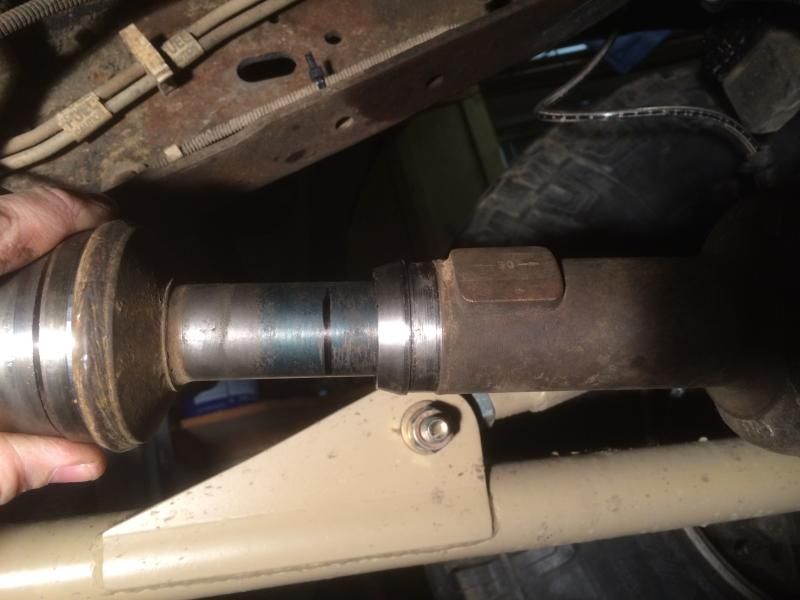
Here is the test fit with the f350 tube flush against the f250 slip spline


The mark shows the farthest the spline will slide in. I was a little worried that it was too close so I ended up trimming .75" off the tube to give it a little more compression length.


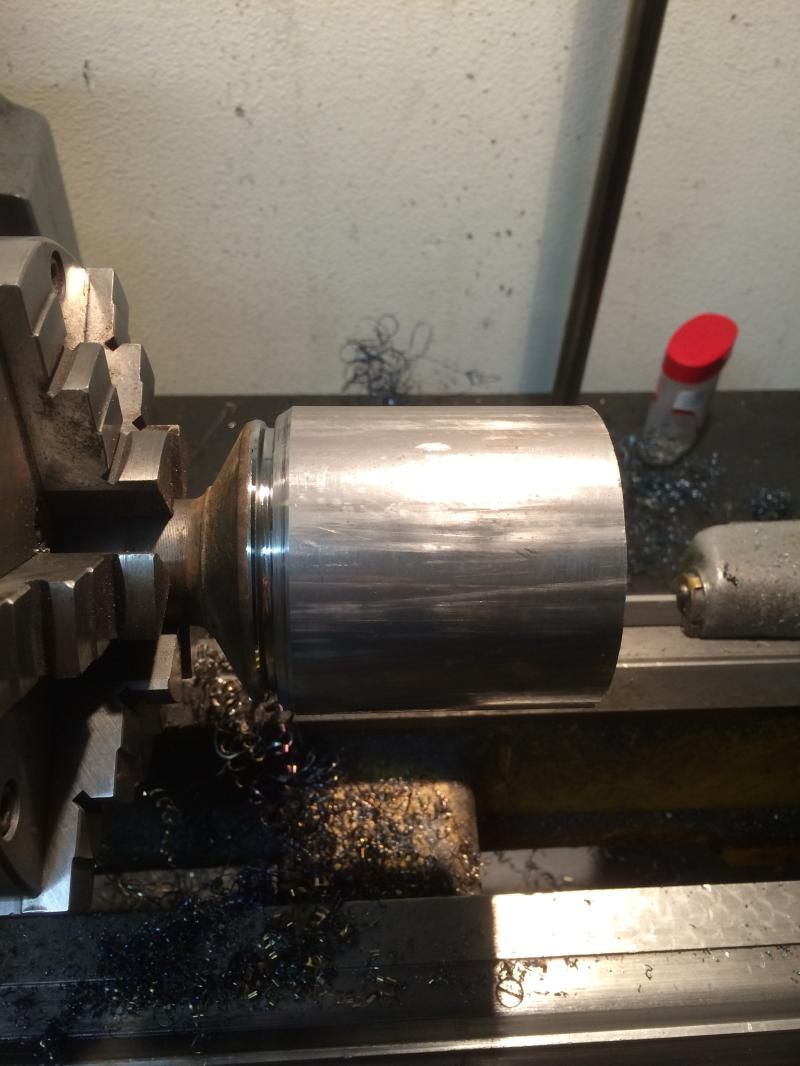
The slip turned down to 2.580"


Sleeve bored for .005 interference fit


I heated the sleeve and pressed it on. Doing things in this order later turned out to be a bad idea. I should have mated the sleeve to the tube first then It would have been easier to true the shaft


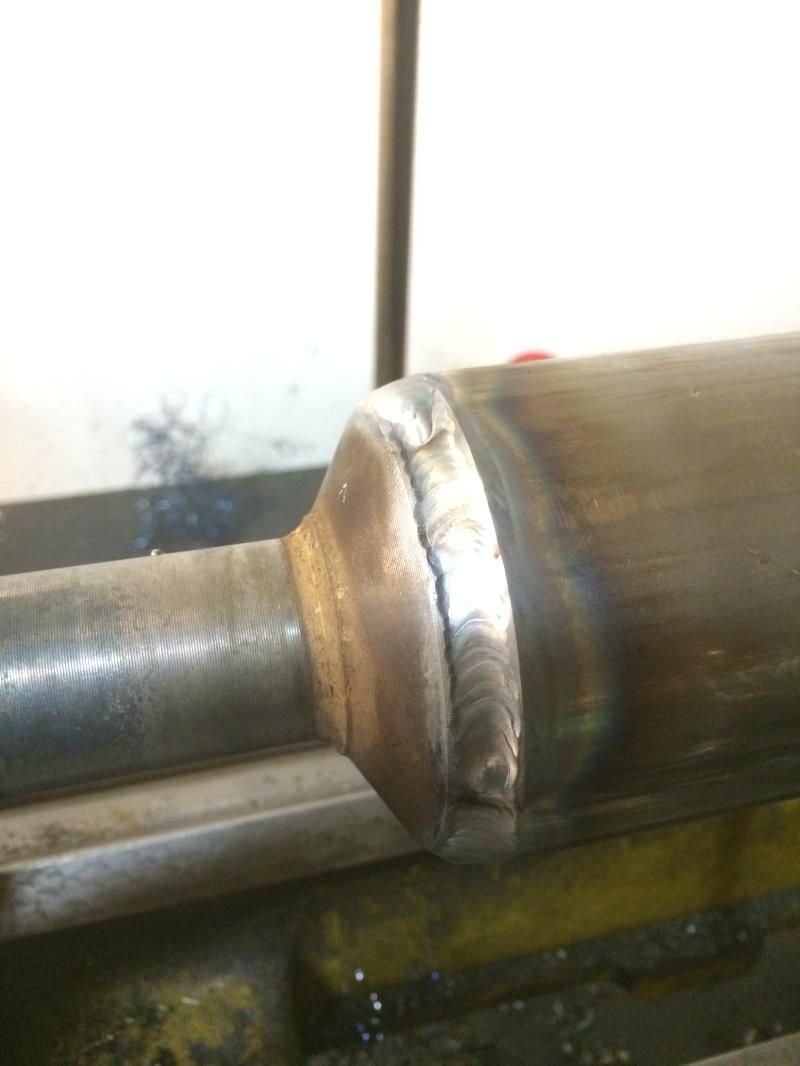
Root pass with the TIG


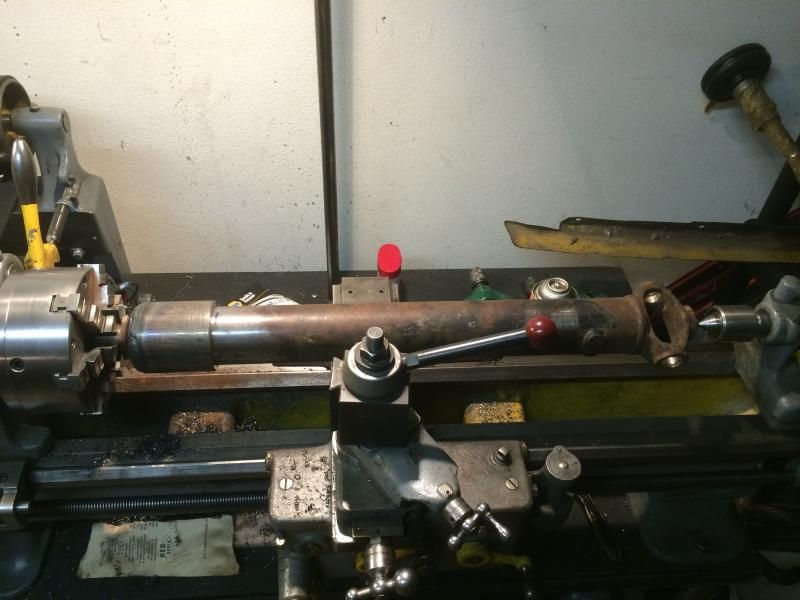
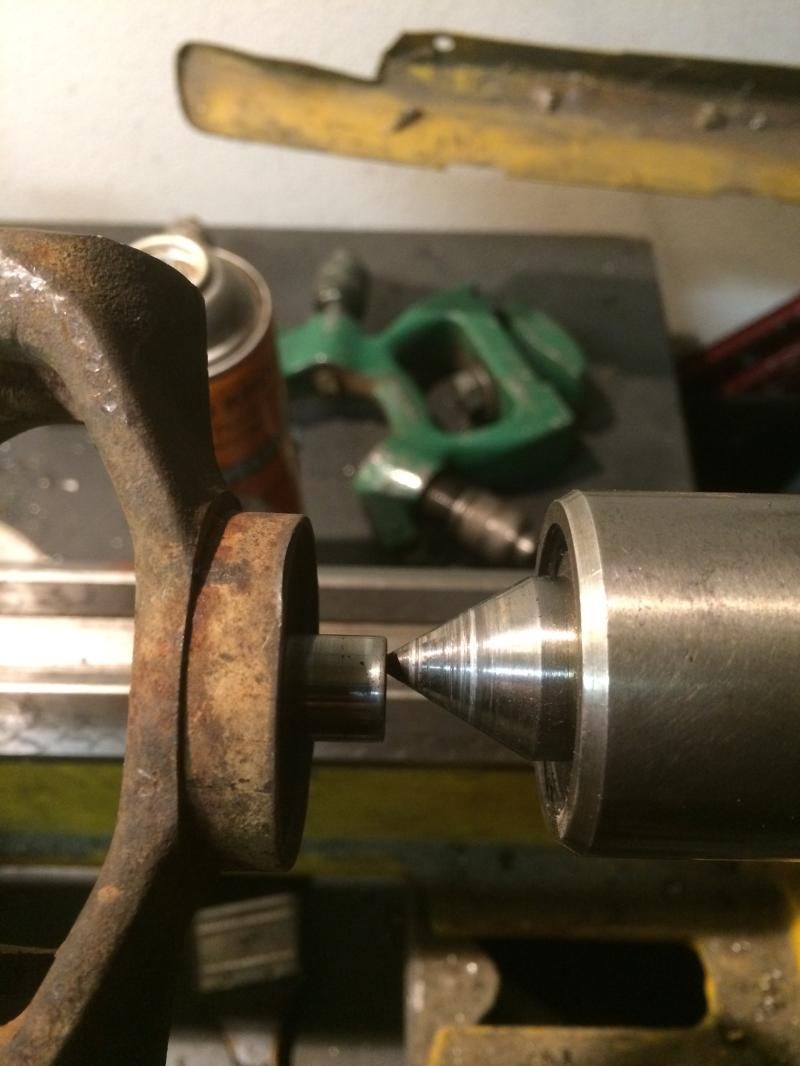
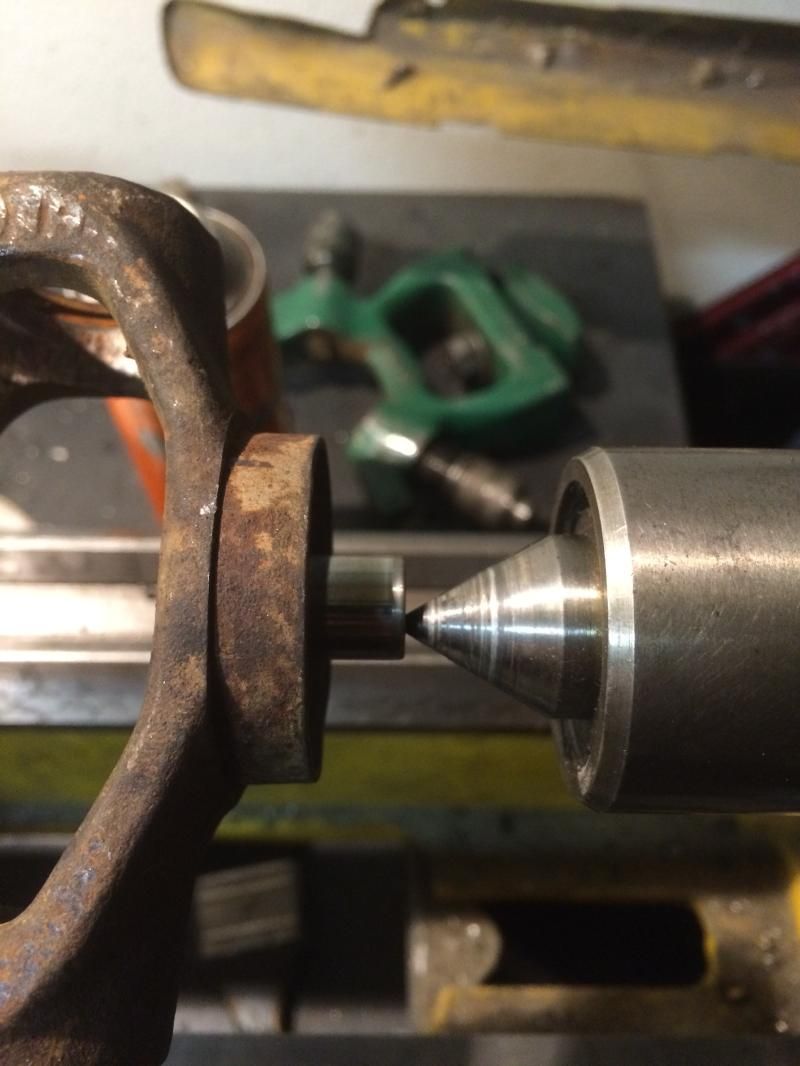
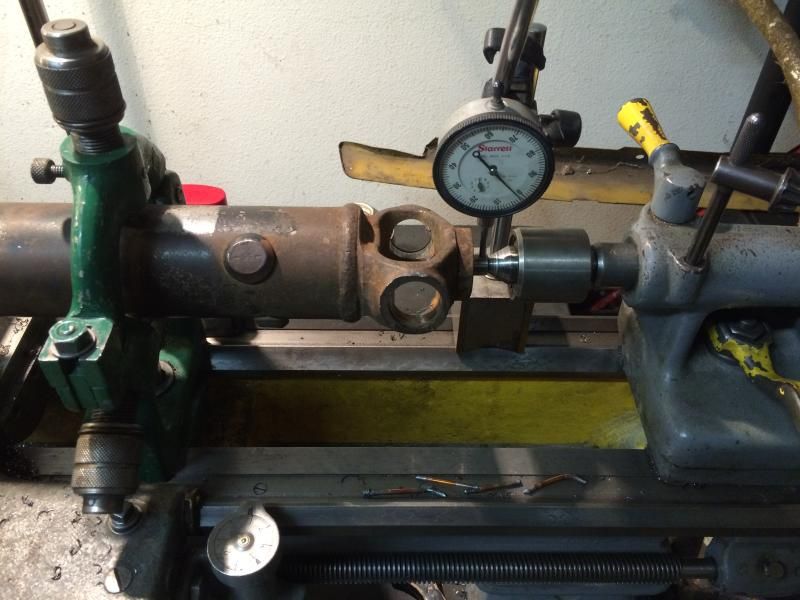
I checked for run out by checking the slip in the lathe and using the live center to measure out of round. I forgot my dial indicator at work so this was the best I could do at the time


Here are the extremes of the wobble. I will bring my dial indicator home with me tonight and cut the sleeve at the weld and re-align everything properly this time. I did at least make sure to time the u-joints so I wasn't all for naught!


I have things going on this weekend so I might be able to take Friday off to try and get the rear done. I am really tired of the '50s gasser look and terrible ride from everything in the rear being shot. The shackles pop and creak in an unnerving manor every time I go around a corner. I also think I might have a solution for the lack of sway bar on the front. I am going to try threading the single stage spring adjusters down to just above the collar so that it goes from dual rate to single almost right away. It will ride a little worse but the sway control might be worth it for normal driving. It is easy enough to adjust them on the truck so it only take a few minutes to change if I don't like it.
 

amgvr4

Adventurer
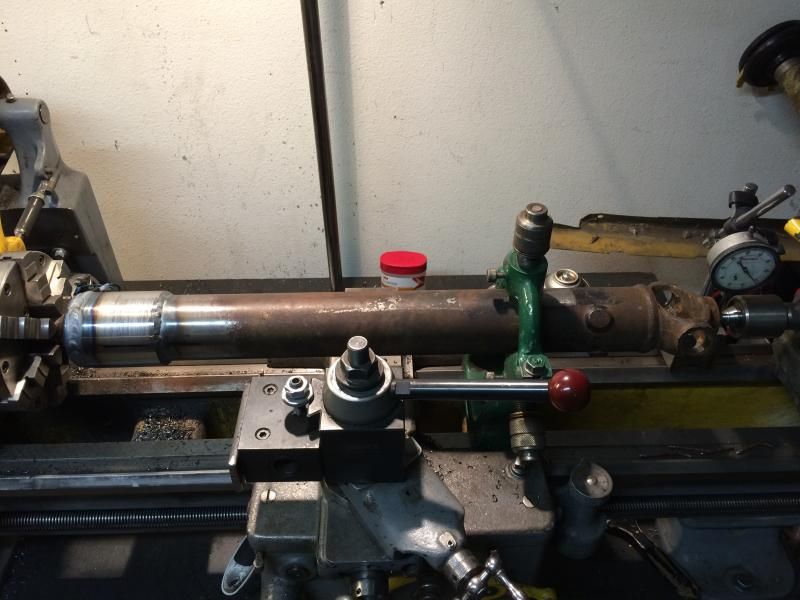
I have few updates from the last few days. First I reworked the drive line with a little more thought and preparation. I used the parting tool to cut the sleeve off the slip and then welded the sleeve to the tube side first. Then I chucked up the tube end with a live center and the steady rest to try and keep the two halves held solidly and in alignment. I started welding them together with close tacks welds, working my way around completely before starting to lay down any beads. The last time I alternated short beads on opposite sides until the full circumference was finished but I feel this ended up heating the tube more unevenly and may have caused some of the distortion. I also turned the sleeve diameter down .100" since it was way overkill @.250 wall compared to the factory tubing @ .080 wall and I figured that the thinner sleeve would hold less heat and be less likely to warp. When I got to the point of fully welding it I did not alternate but just quickly and evenly worked around with only short brakes so it could not cool too much and add to the distortion. The end result was better though still about .070 out of round at the center of the cv joint. I will see if Drivelines NW can straighten it when they balance it for me.

The sleeve cut and beveled ready to tack


I used a nice straight section of angle to make sure the u-joints were timed


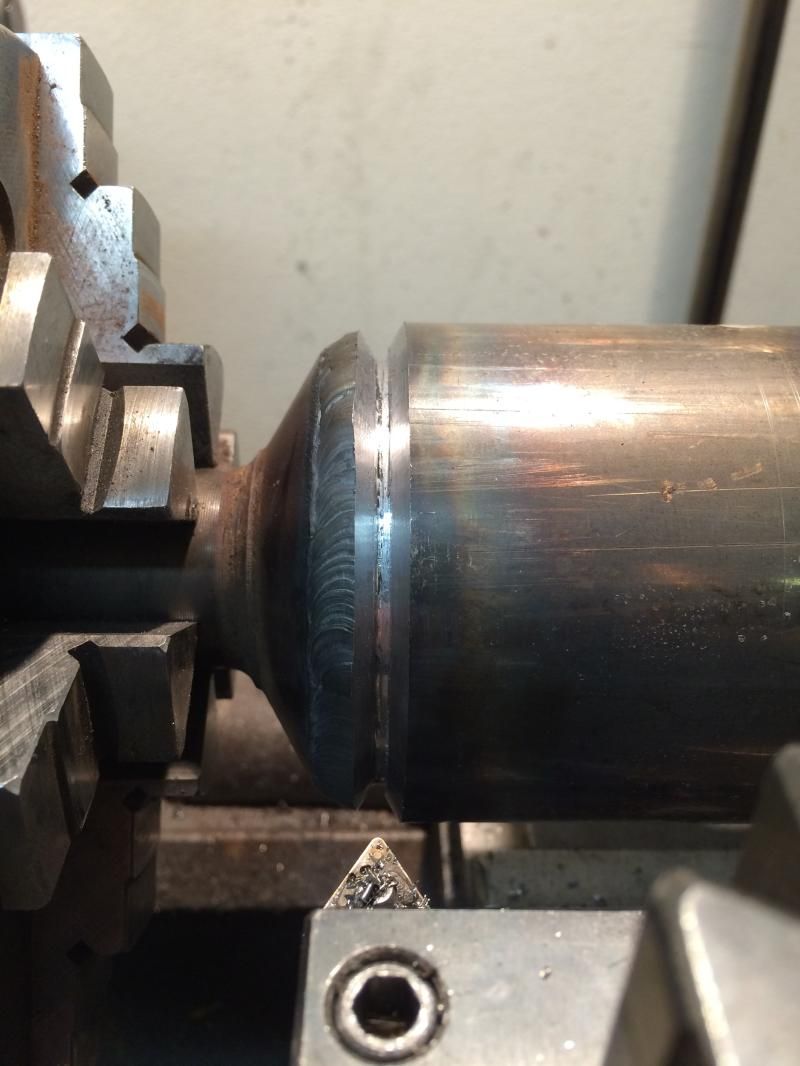
After turning the sleeve down and fully welding it


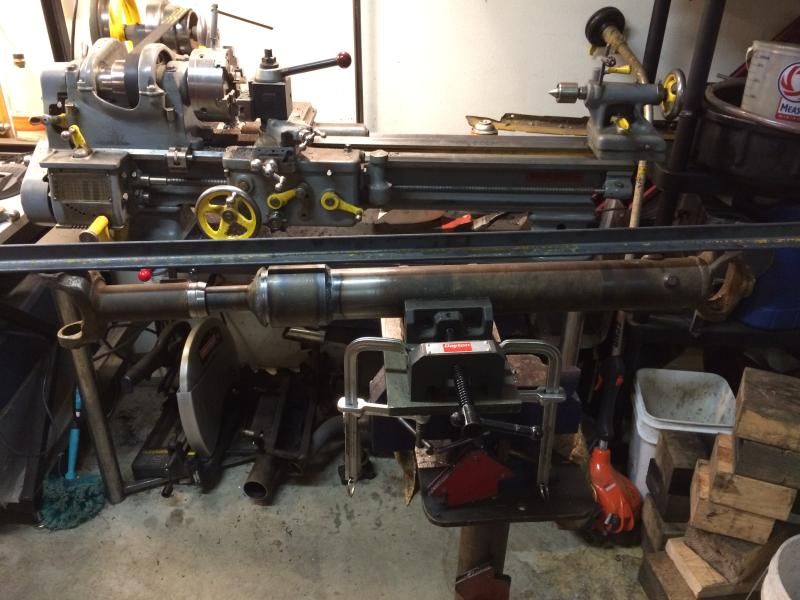
The set up I used to try and keep it all straight. After welding it was only out about .010, but after letting it fully cool it expanded to .080 even though i left it locked down dead straight on the lathe over night


underdrive

jackwagon
See this is why we don't do driveshafts, there's a builder semi-locally who's really good at that and has the proper equipment for it. He also welds them in one steady pass, and it sure looks like the factory does the same. You work however looks very good, hope it also balances out alright for you.
 

amgvr4

Adventurer
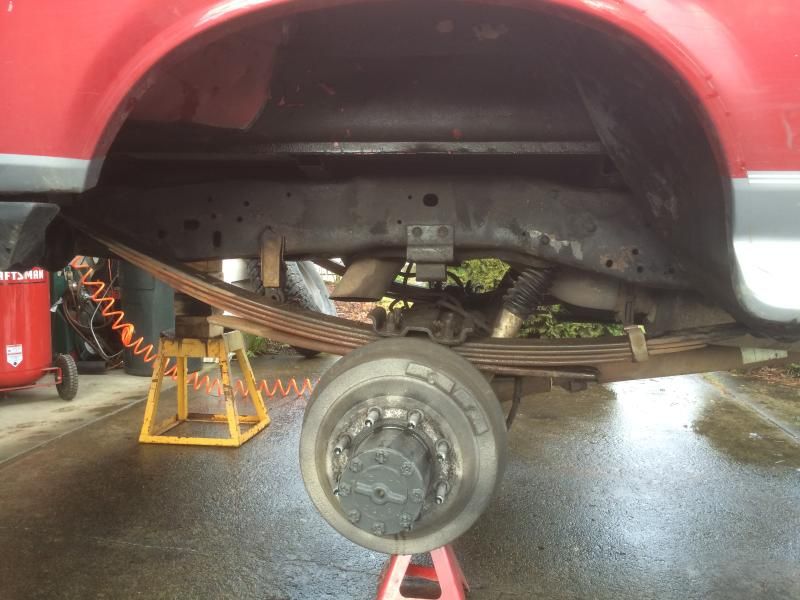
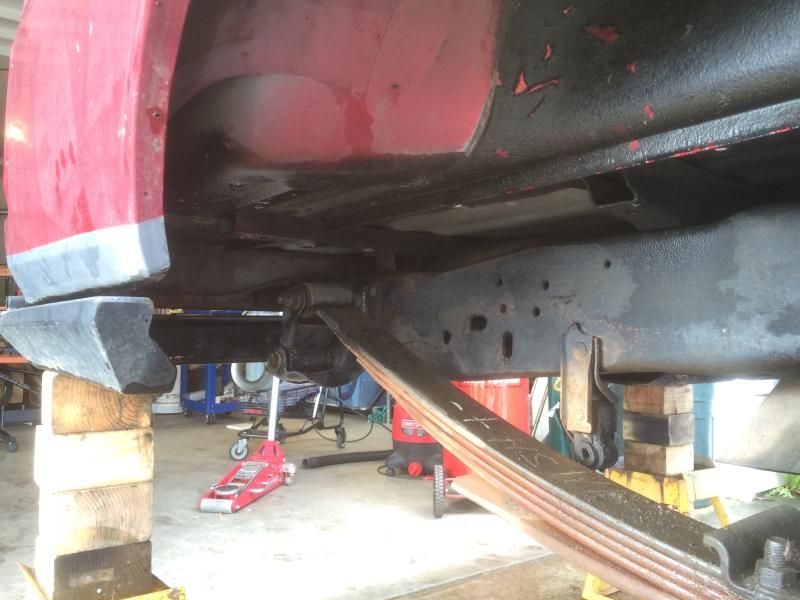
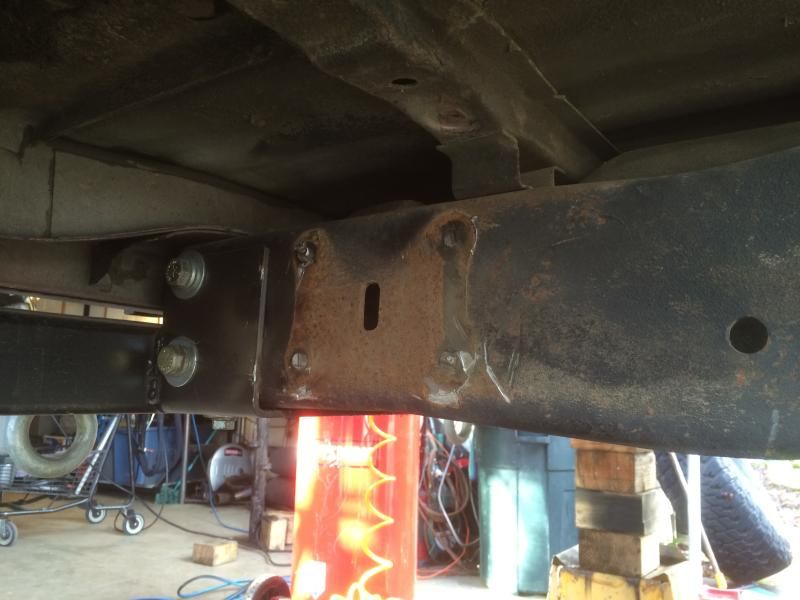
I took today off work to try and get the rear done, but I ended up watching the girls until about noon so I didnt get as much done as I wanted to. I took the truck to a self serve car wash and gave the underside of the truck a good thorough scrubbing and pressure washing before getting started on the tare down. Everything came apart pretty easy and the rivets on the shackle bracket were even rather obliging for a change. I ended with fully welding the shackles and drilling the mounting holes in the .375 plate I will use for the fame mounts.

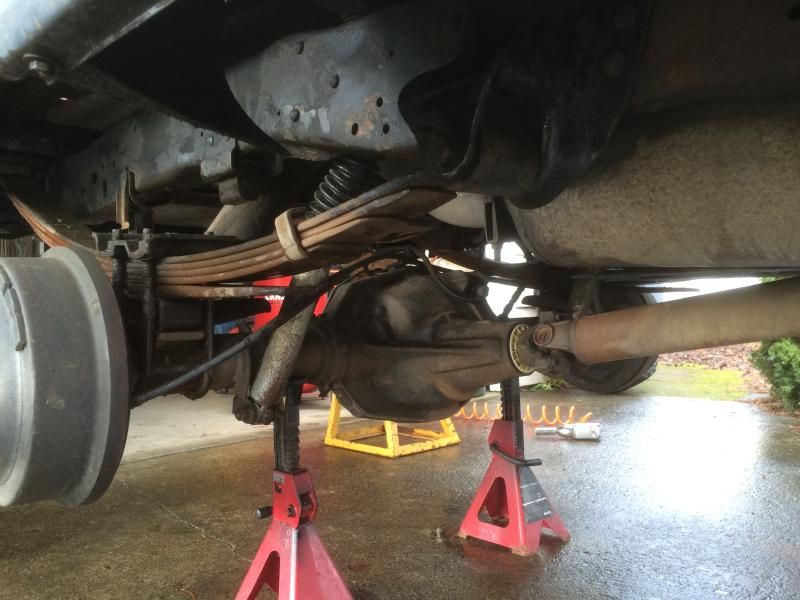
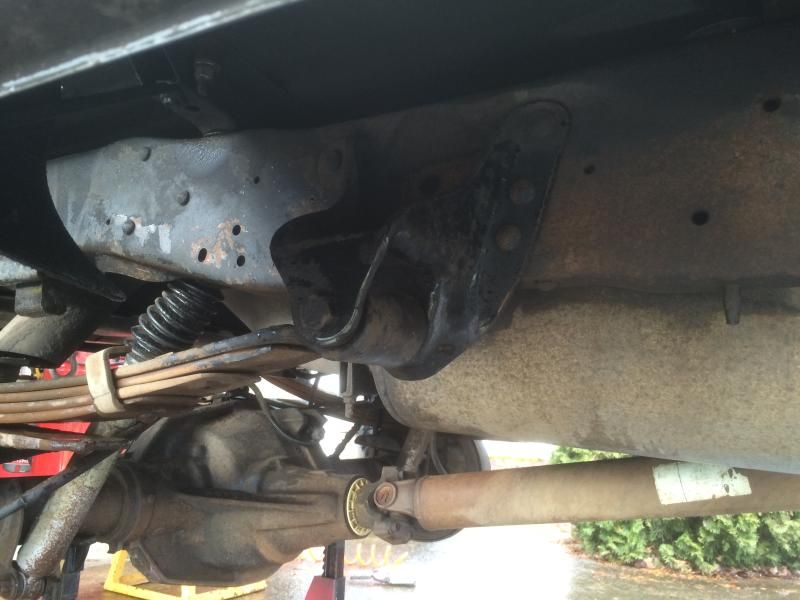
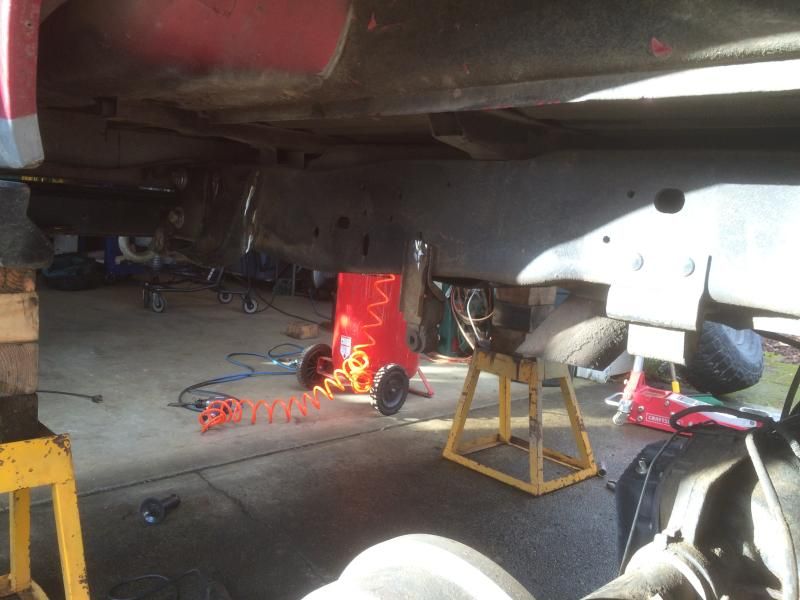
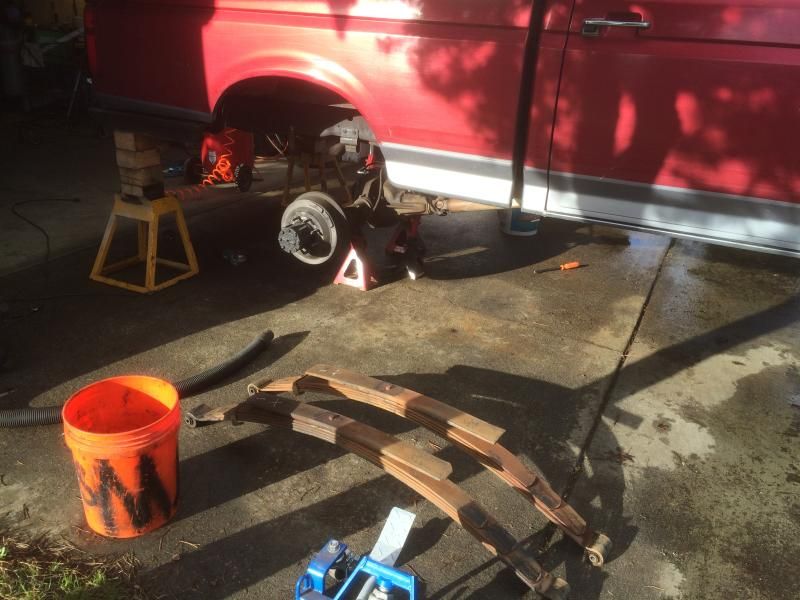
Nothing special just some pics of the tear down.....


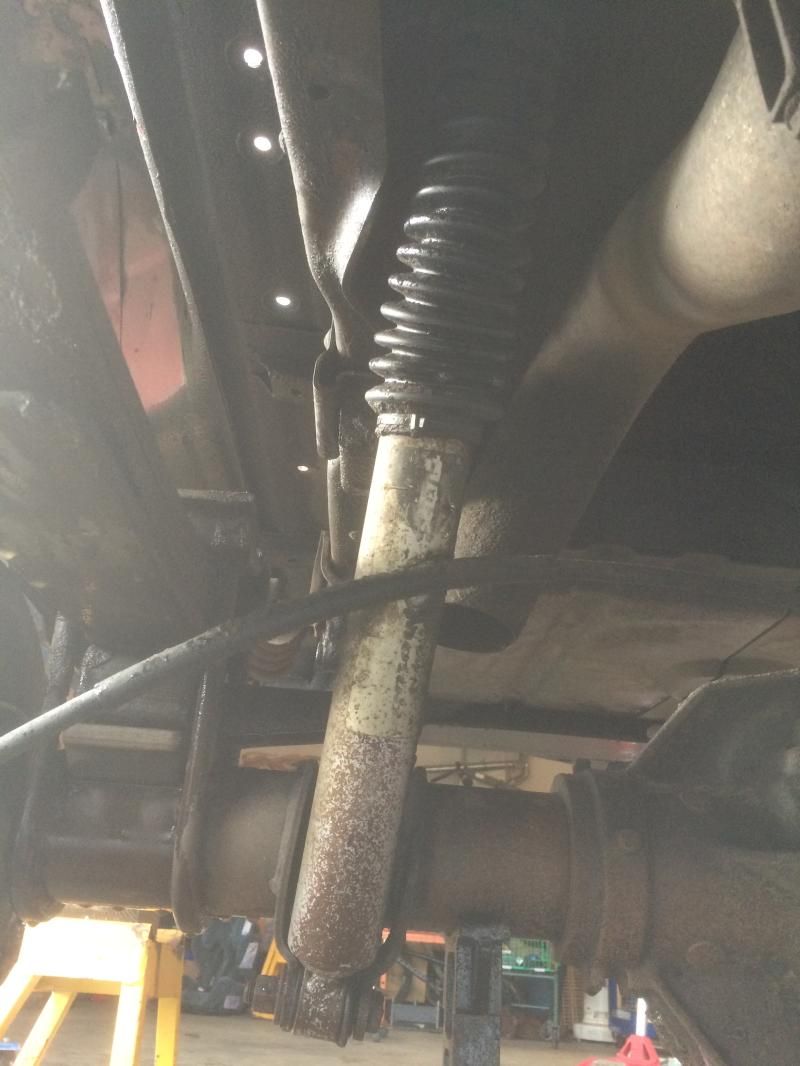
Crappy old blown shocks. I am excited to have the Fox 2.0s in there


I will leave the front mounts alone since I am only planning on lifting the back about 4" at most


Springs out


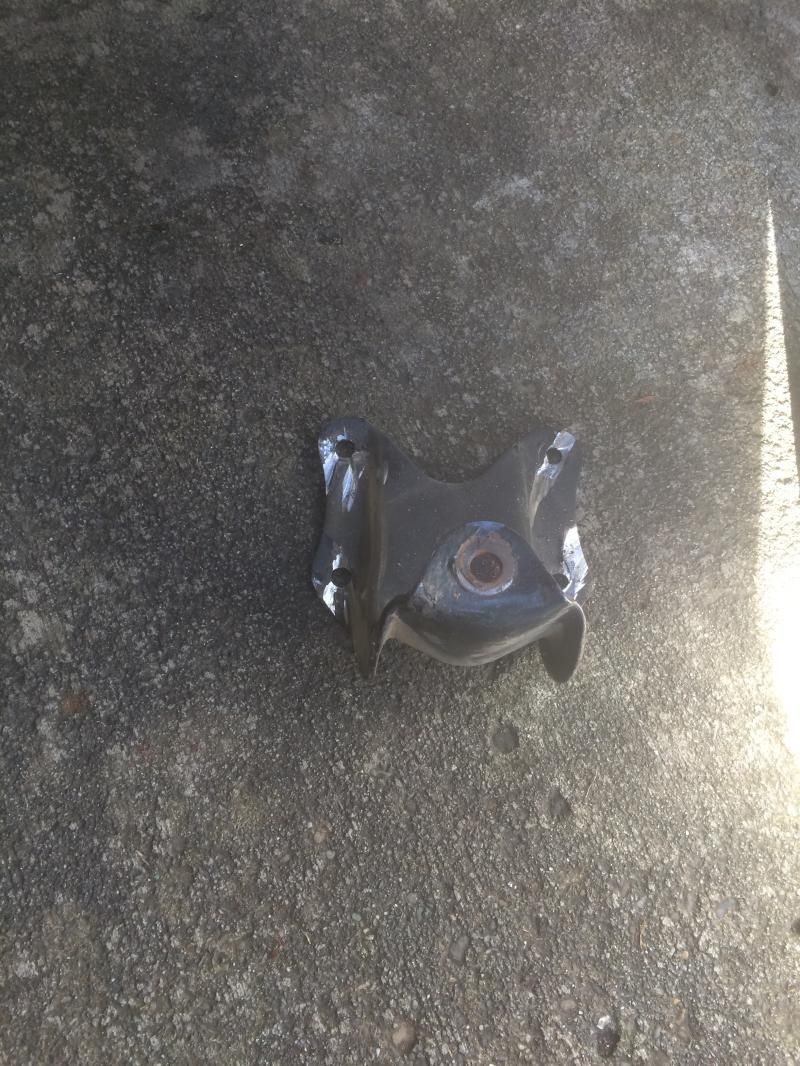
Factory shackle bracket out


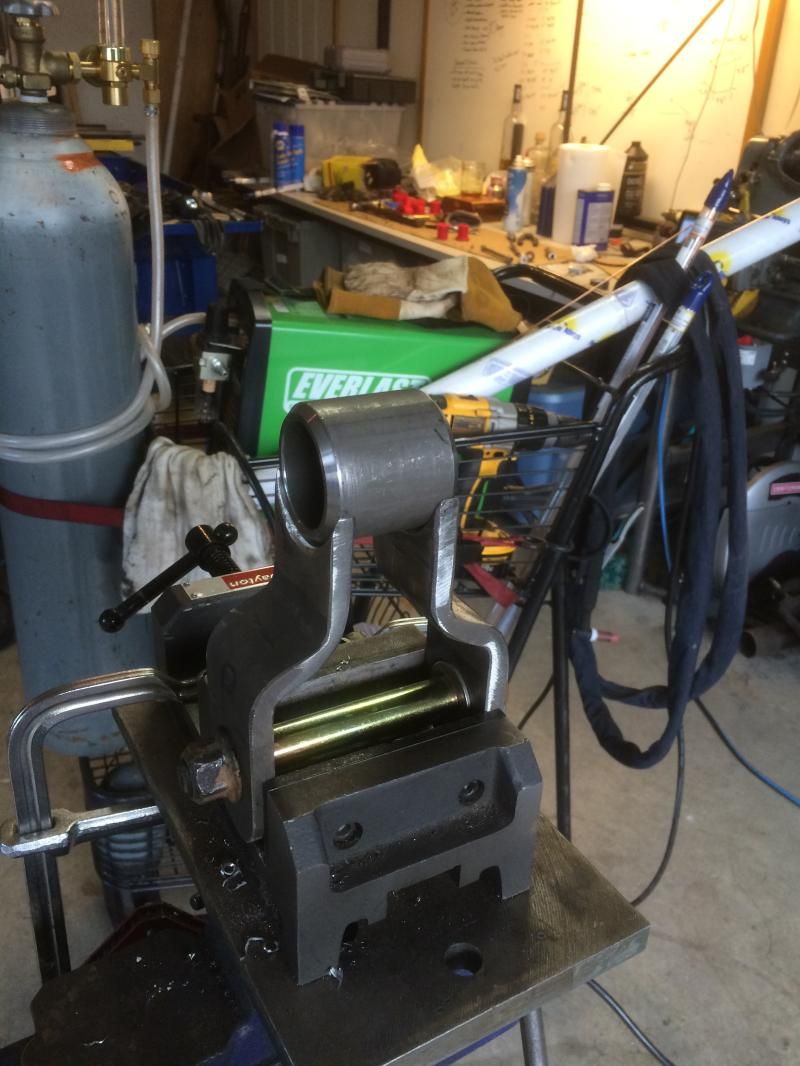
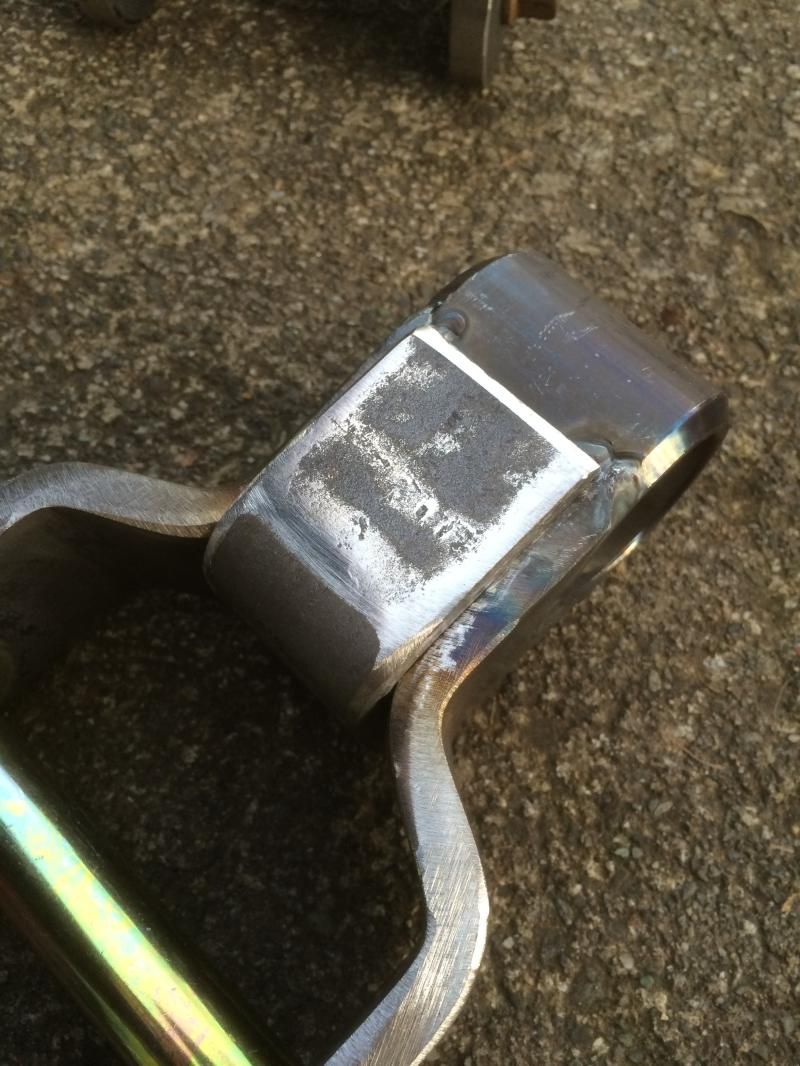
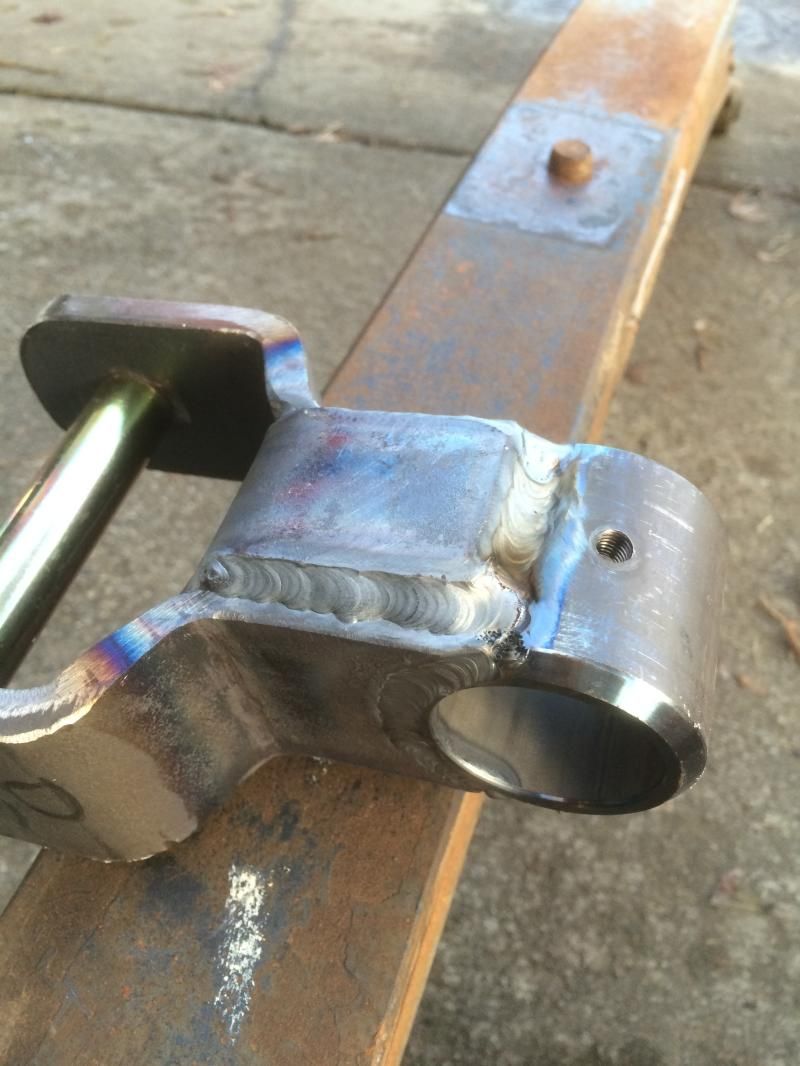
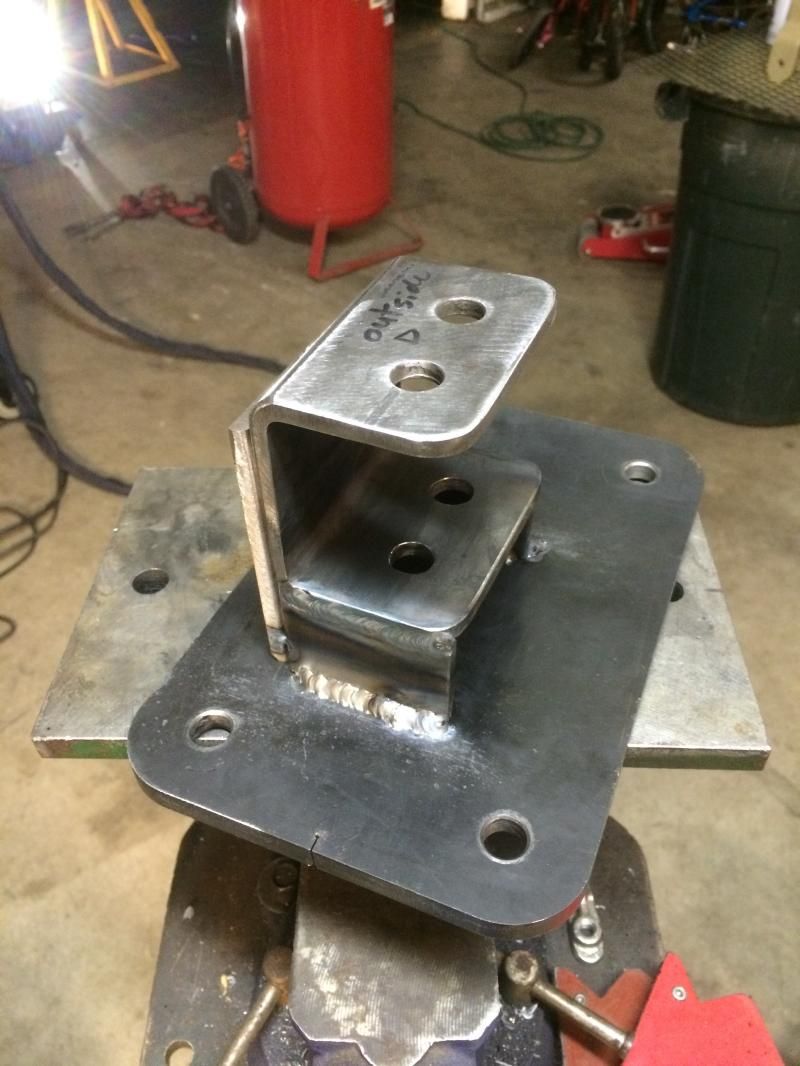
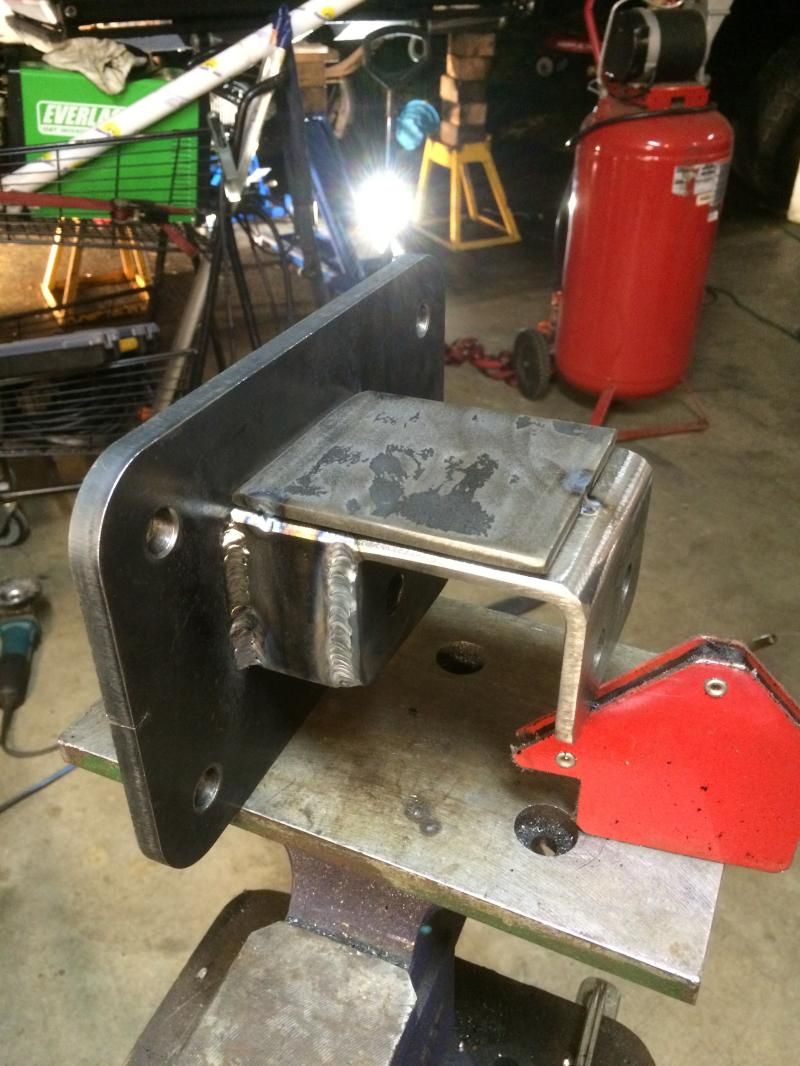
Starting the shackle welding. I bent up the side plates over a month ago, I just wanted to wait to put them together until I had the new bushings and I new for sure what the spacing needed to be


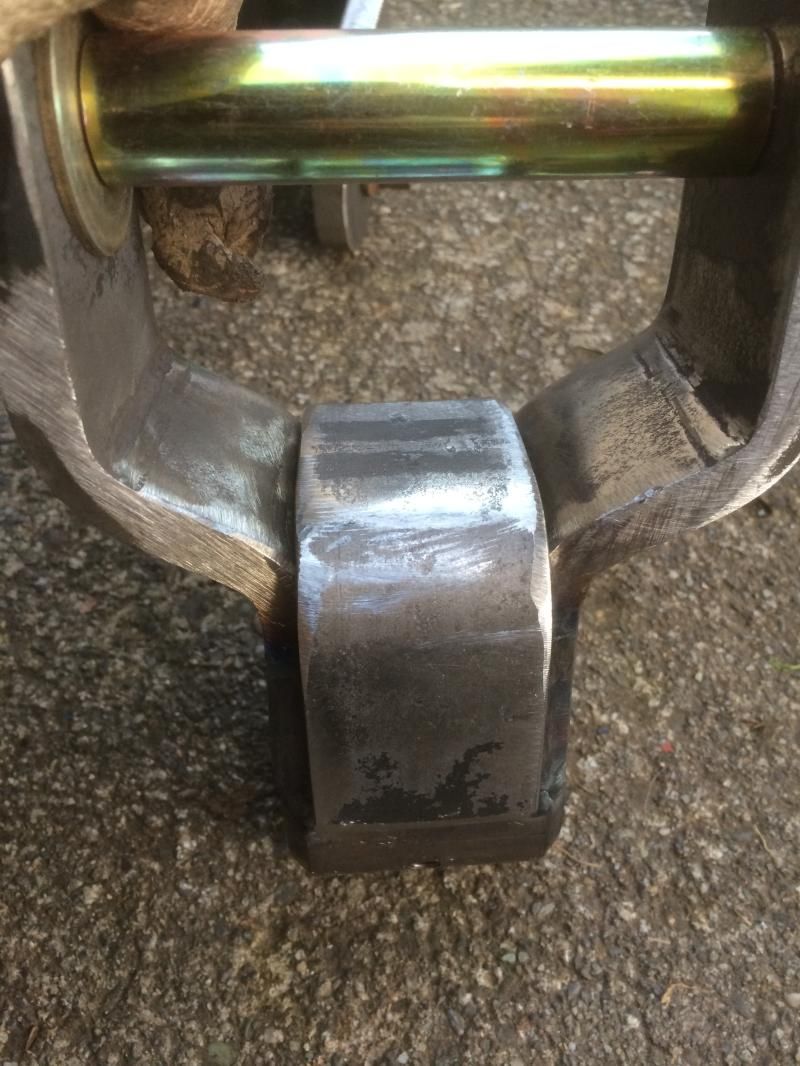
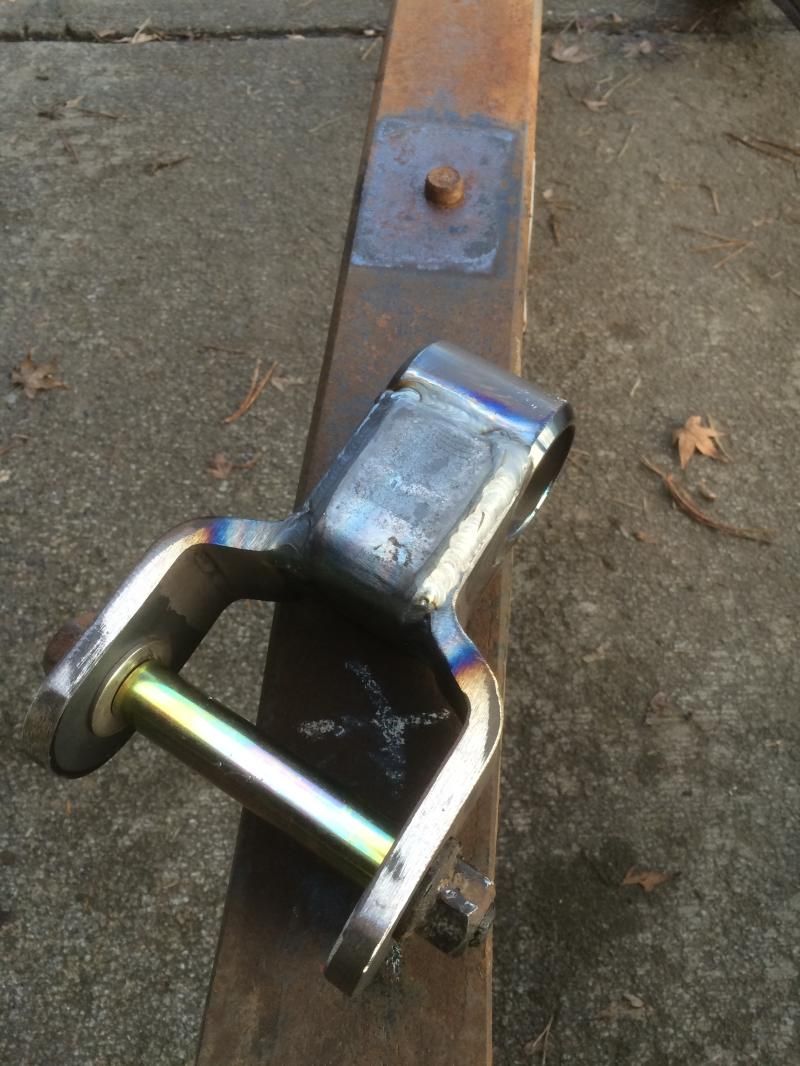
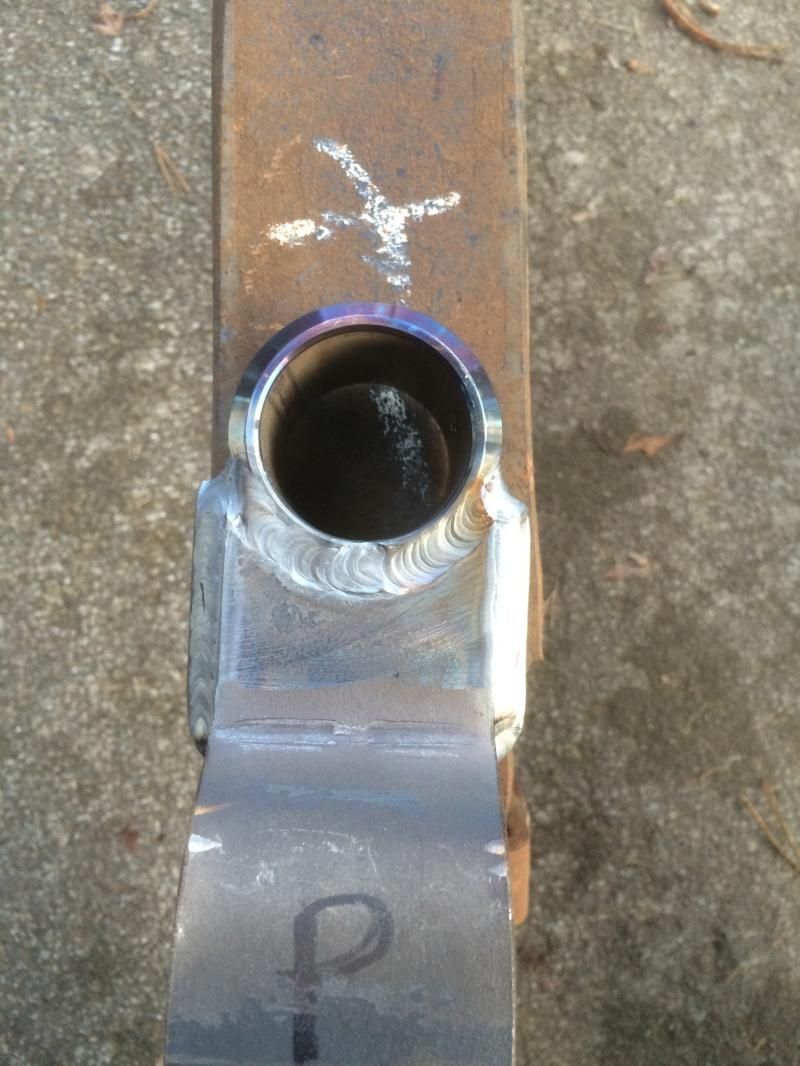
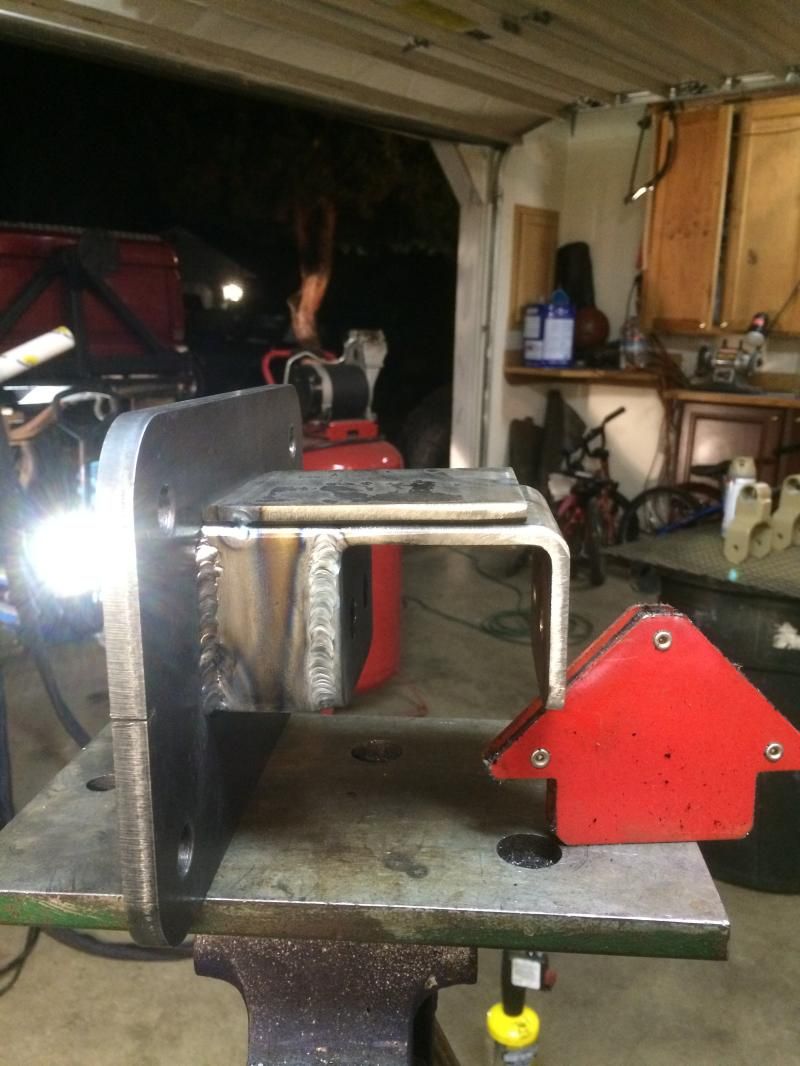
I first fully welded inside and out on the side plates. Then I bent up the center reinforcement out of .250 plate

In place


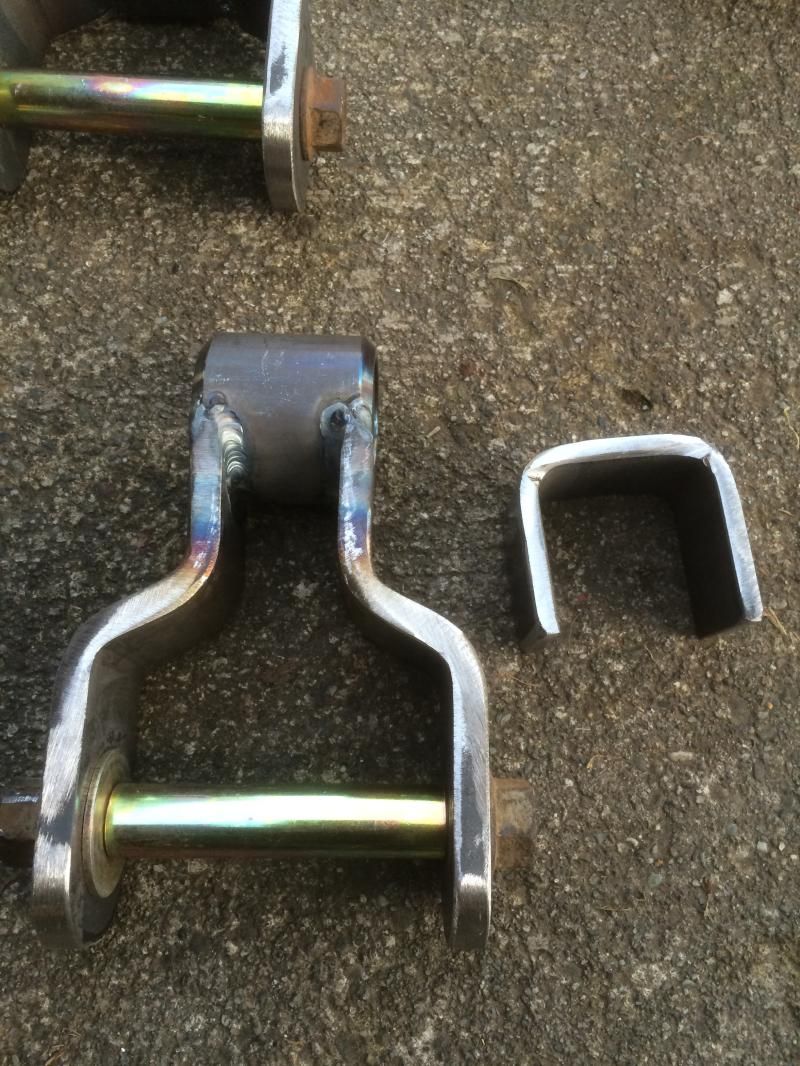
Fully welded


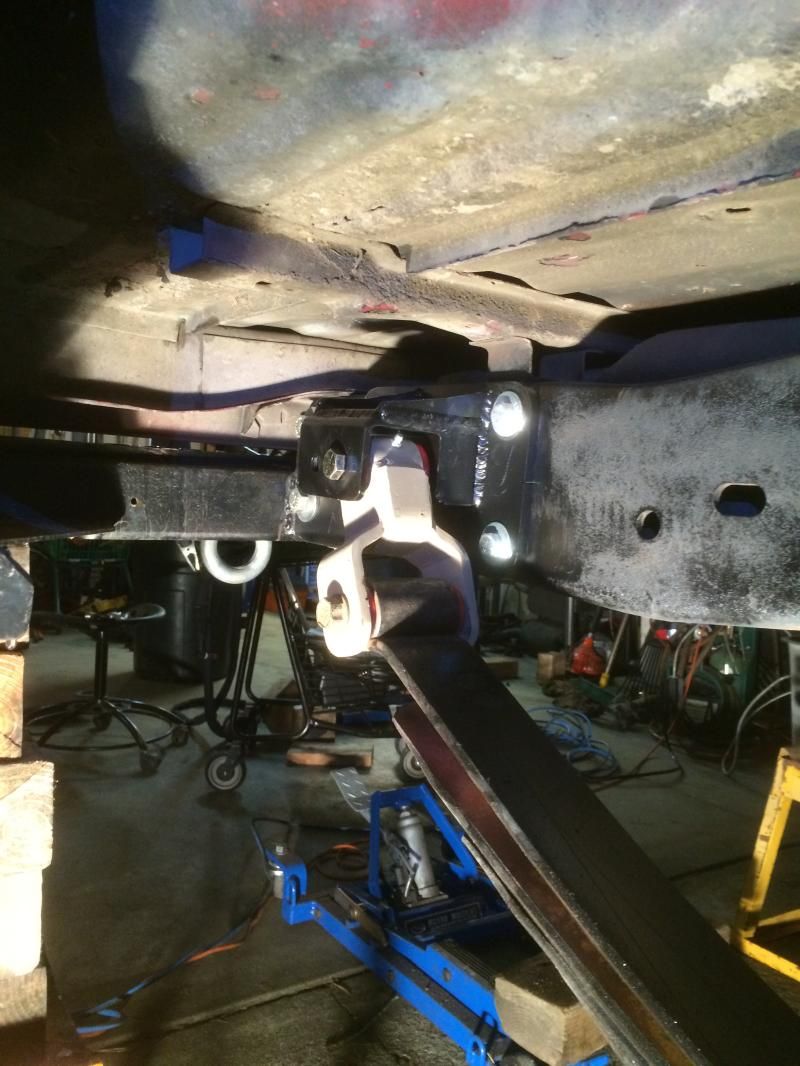
These things are pure beef! When placed next to the factory ones it is simply laughable. I made them only about .5" longer that stock since I really only need 3.5-4" of lift to get the truck level front and rear. I am on the fence whether to fully disassemble the spring packs or just shoot some paint on them and call it good. I plan on either replacing them with some Deavers or scrapping the leafs and doing a 3-ink with coil springs in the next year or two. That makes it hard to justify the extra effort considering my tight timeline to get the truck back on the road so I can get to work on Monday.
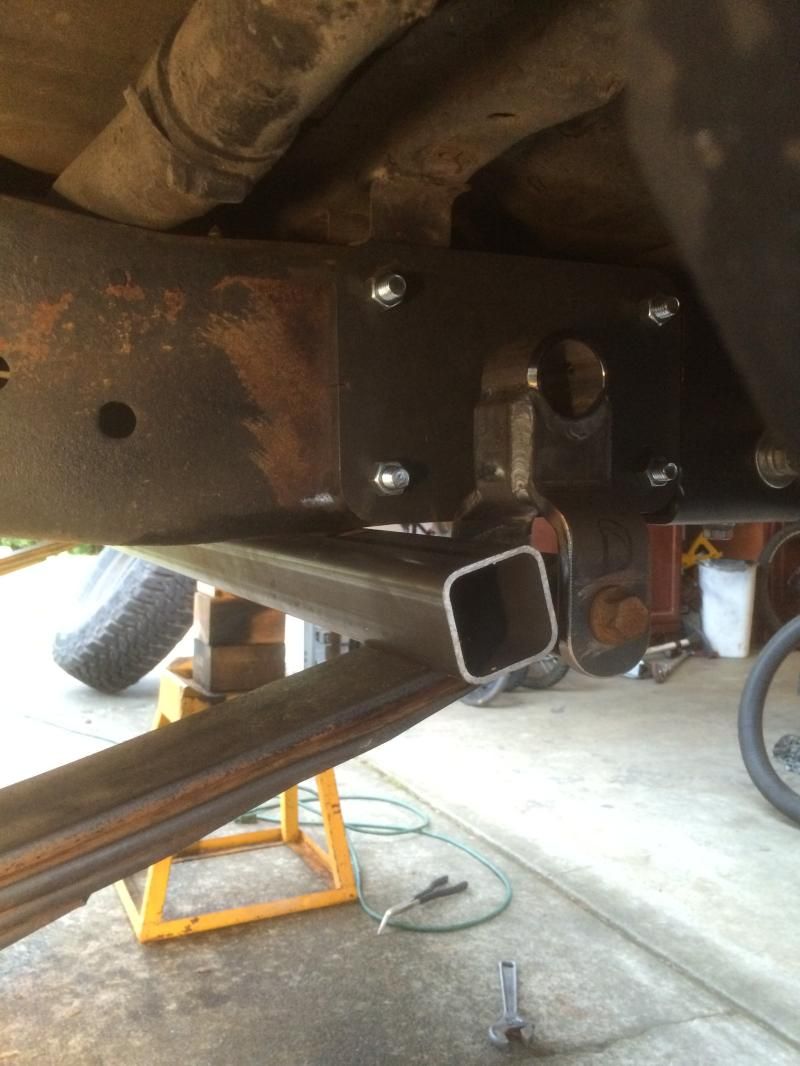
I also will start work on my bed cage soon so I can have something to mount a roof top tent to. I Plan on heading down to the Sportsman show next weekend to check out CVT RTTs as I am 99% sure I they have the tent I want to get. Hopefully
I will get the shackle flip wrapped up tomorrow so stay tuned.....
 

amgvr4

Adventurer
See this is why we don't do driveshafts, there's a builder semi-locally who's really good at that and has the proper equipment for it. He also welds them in one steady pass, and it sure looks like the factory does the same. You work however looks very good, hope it also balances out alright for you.

I was hoping it would be less of a pain in the *** than it has turned out to be, but it has turned into a learning experience for why you have a driveshaft shop do this job. Worst case I will have to have them re-tube it but I am hoping it can be tweaked with some heat and magic!
 

underdrive

jackwagon
Those are some shackles alright, don't really see you damaging them any time soon :D TIG, right? The grease port is a nice touch as well.

Regarding driveshafts, we've seen some folks run square-tube ones even - guess the idea is when they use them it will be at lower speeds so vibrations won't really be there much. On the other hand we like to be able to run 55 thru snow, can't do that with unbalanced shafts...
 

amgvr4

Adventurer
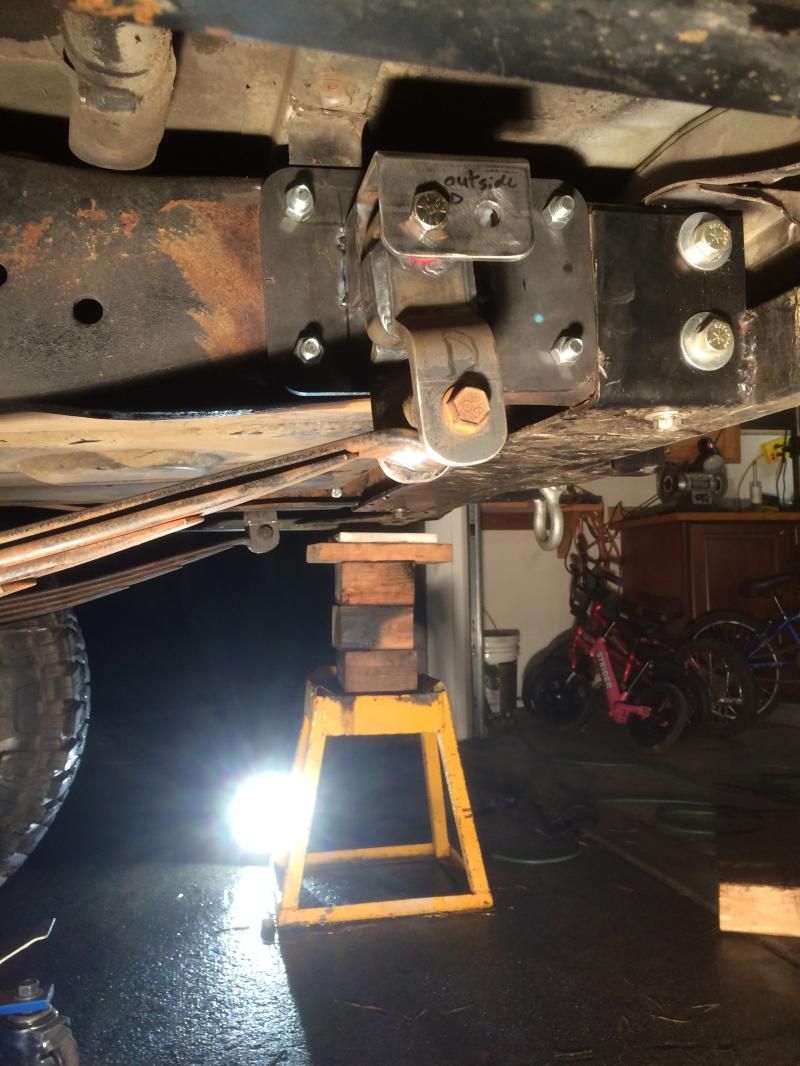
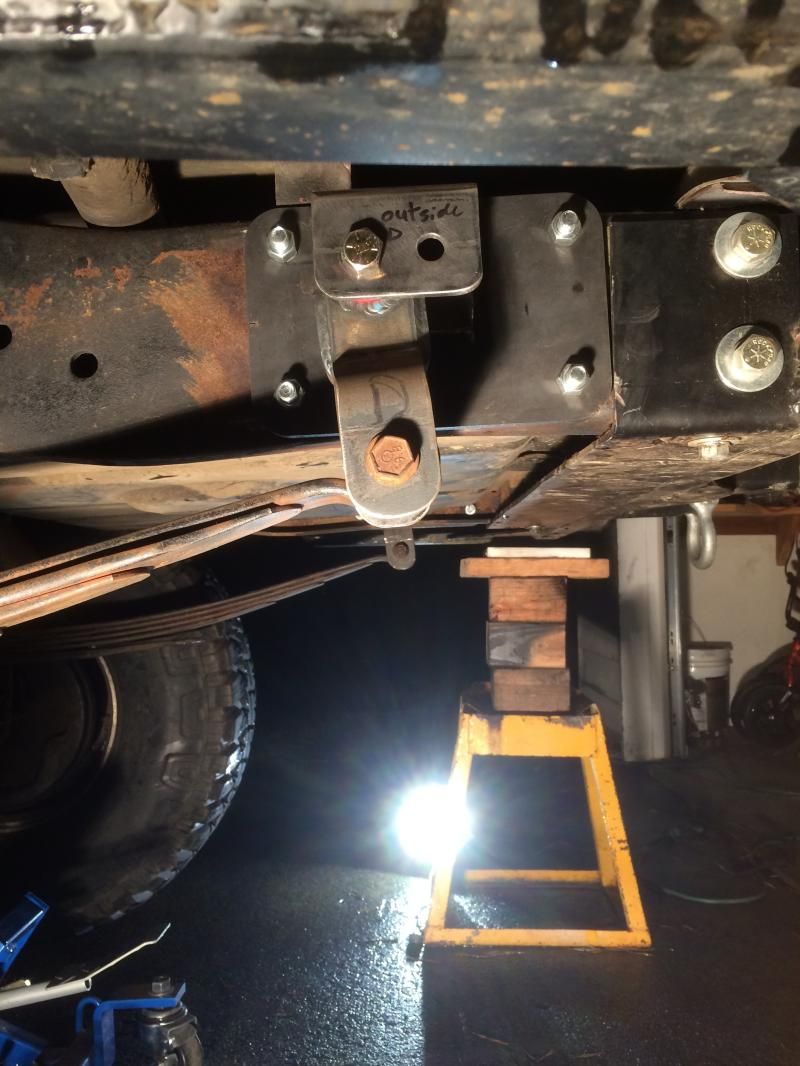
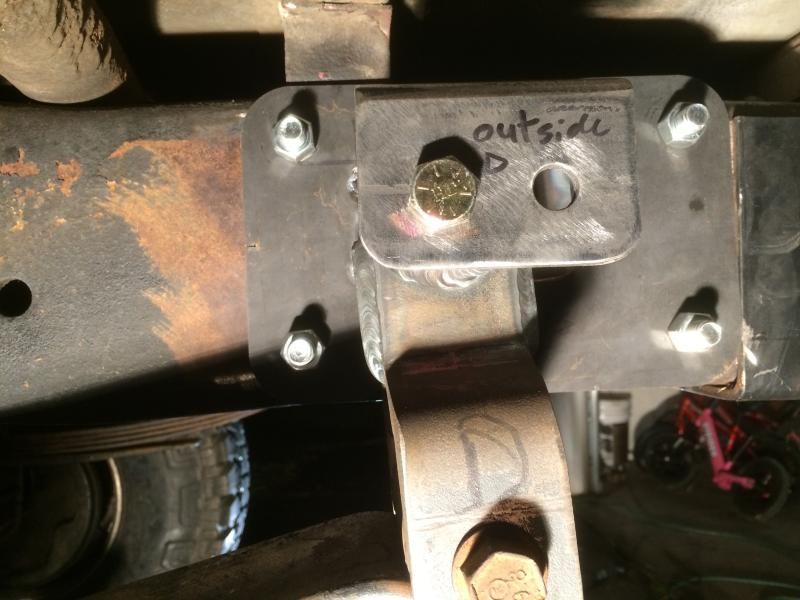
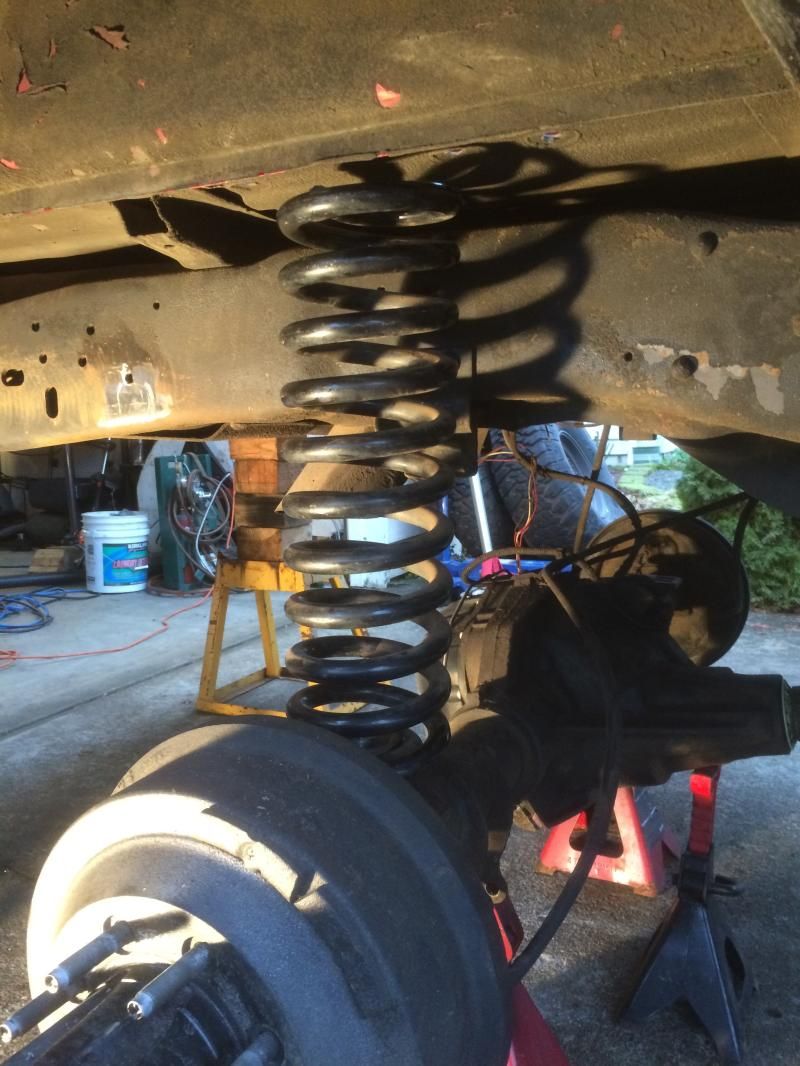
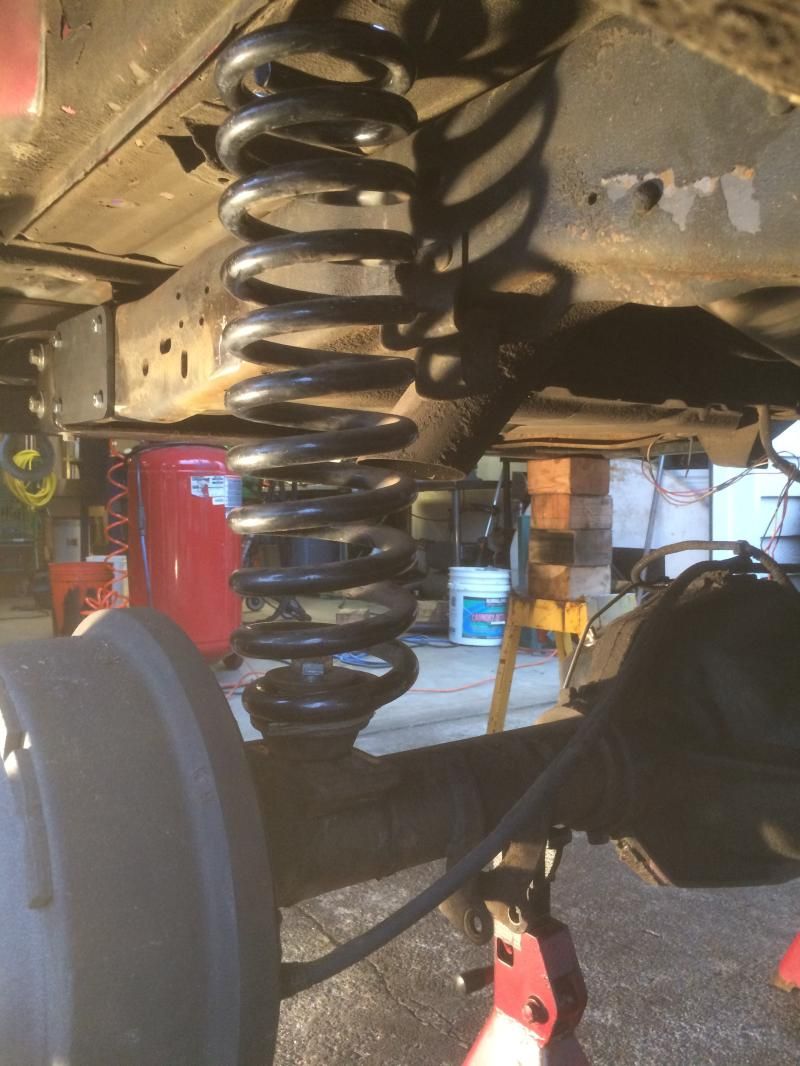
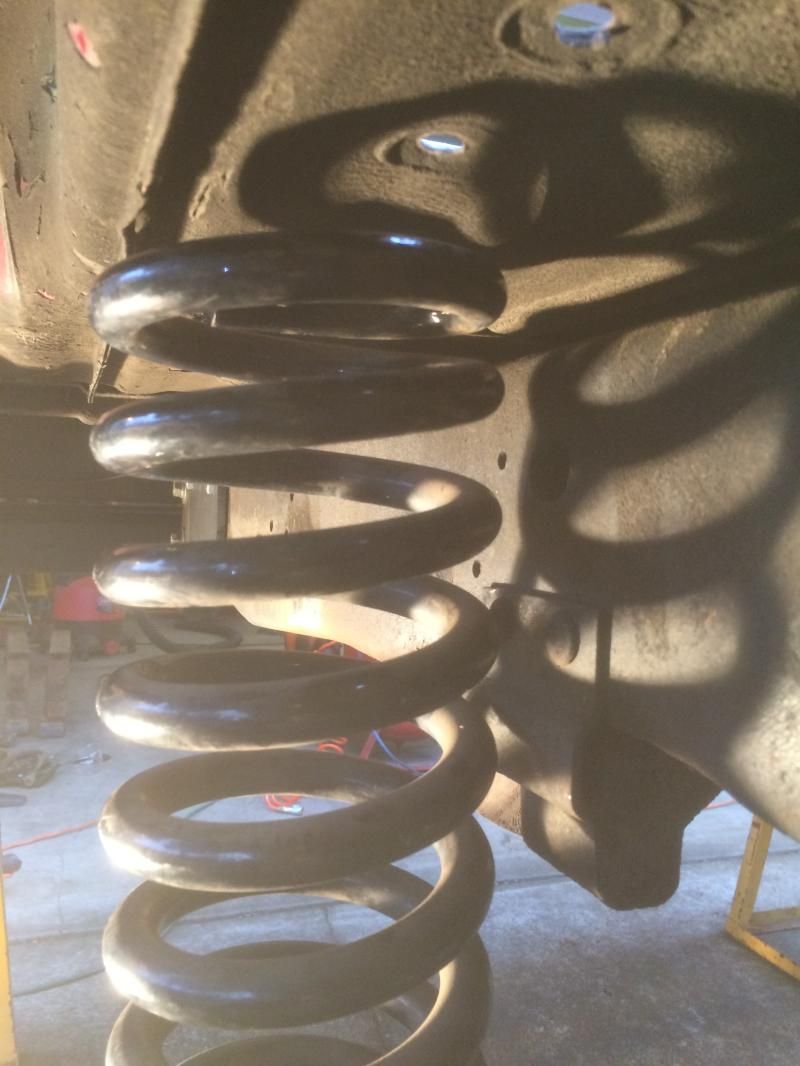
I didn't get the shackle flip all done this weekend, but I got close. Between my daughters birthday party, my anniversary, church and the Seahawks game (AMAZING! but I think I lost what little hair I have left watching it) there just wasn't enough free time to make it happen. Add to that I ran out of gas in my torch for preheating the brackets and I didn't want to risk warping the plate and crappy penetration with out it. I did get the brackets tacked together and tested for fit and function though and I am very happy with how they are turning out. I also got a chance to see how well some 5" coil springs would fit in the event I change out to a three link later on. Turns out they would fit just fine!

Here are the bronco lift coils I was going to use on the front originally. They might work perfect with some short coil buckets bolted to the frame


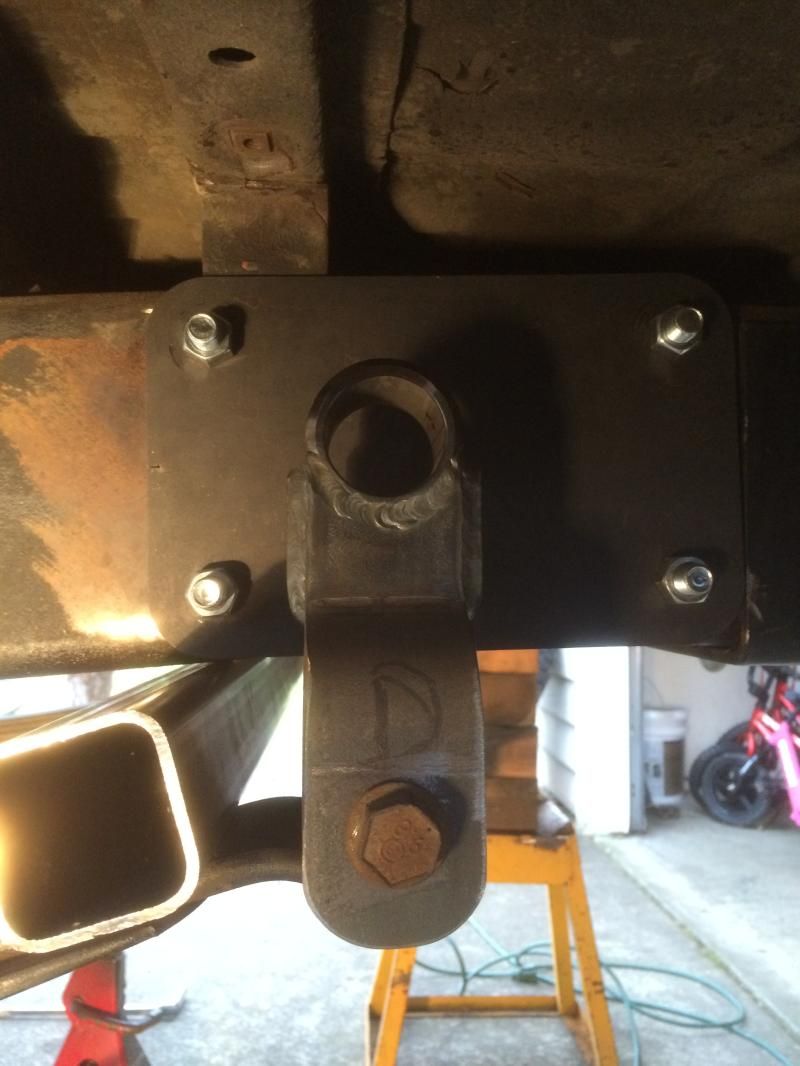
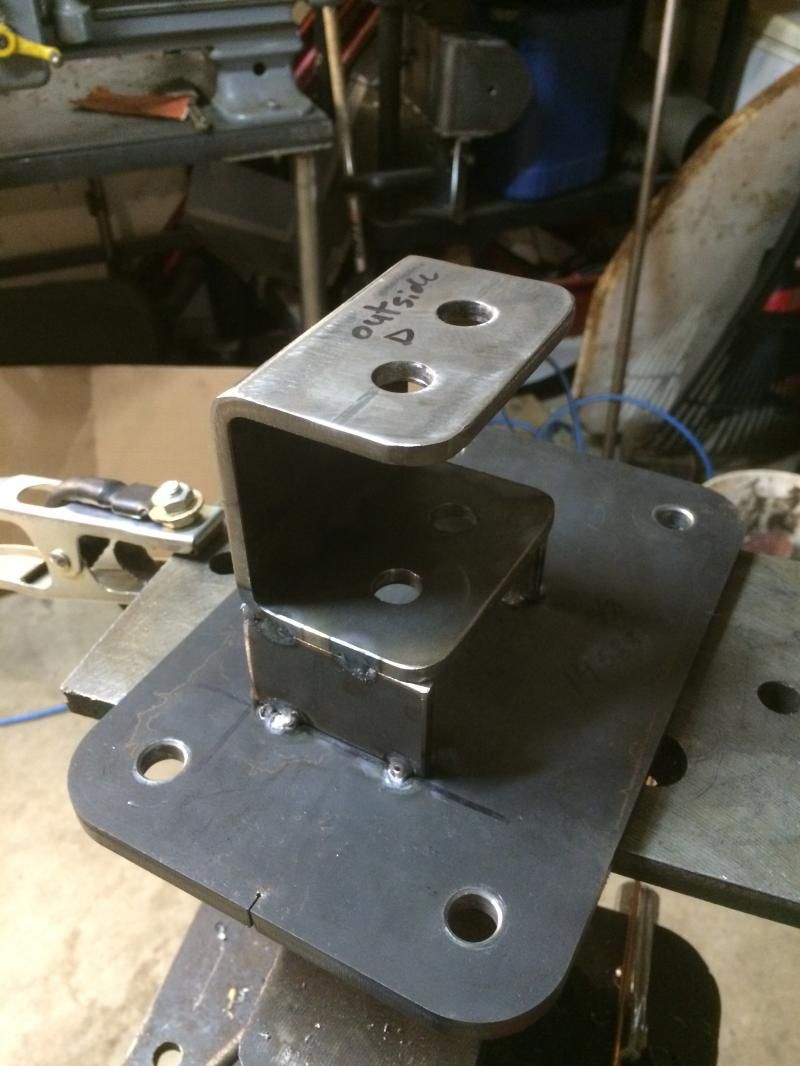
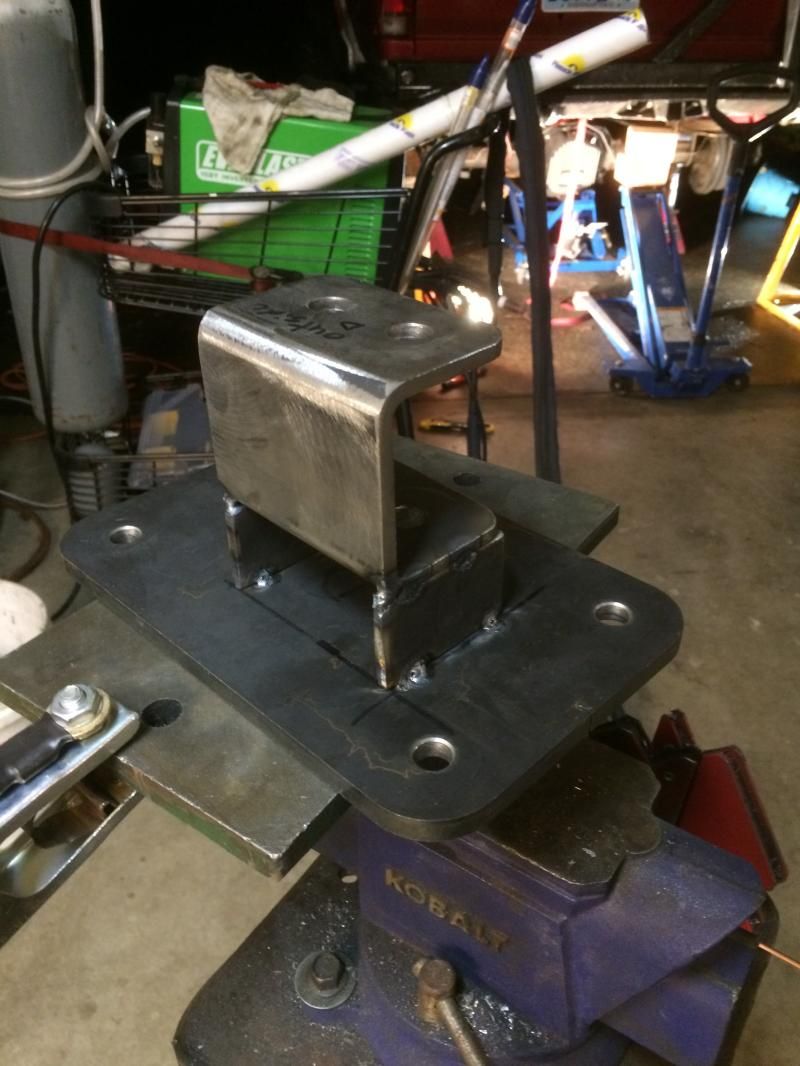
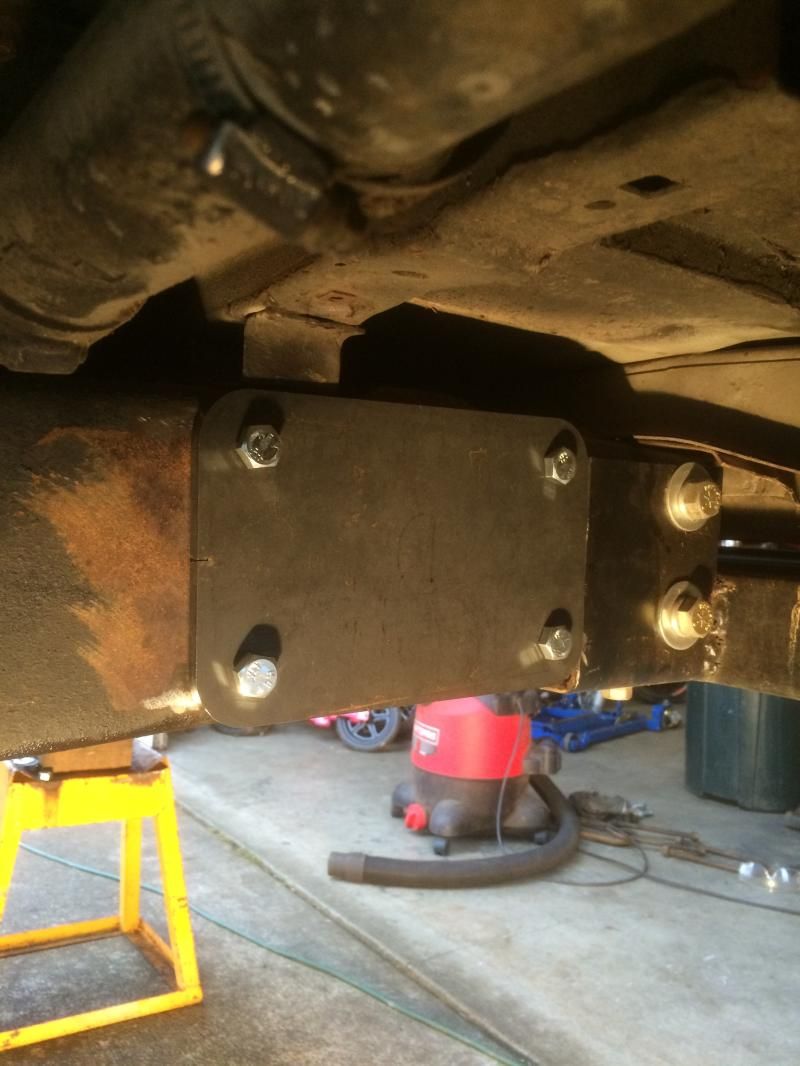
I started mocking up the shackle flip plates with some .375" plates I got from the local steel yard. They were rejects from the new laser cutter that turned out to be the perfect size for what I needed


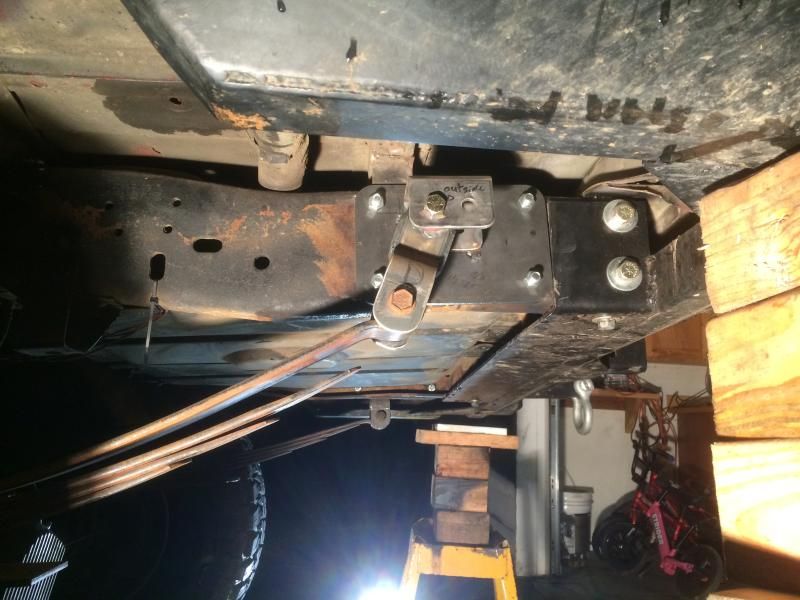
Then I bolted up the shackles and used a piece of square tube to straddle the leaf springs and the frame so I could get an accurate position for the shackle location under the trucks weight


Then I took some square tube and drilled the shackle mounting holes in them. I decided to add two positions just in case I needed to shift the position later to help center the wheels in the well. I then cut the bottom of the square tube off and bolted everything back up to get the shackle angle where I wanted it. After some measurements I got the brackets tacked together enough to test fit them


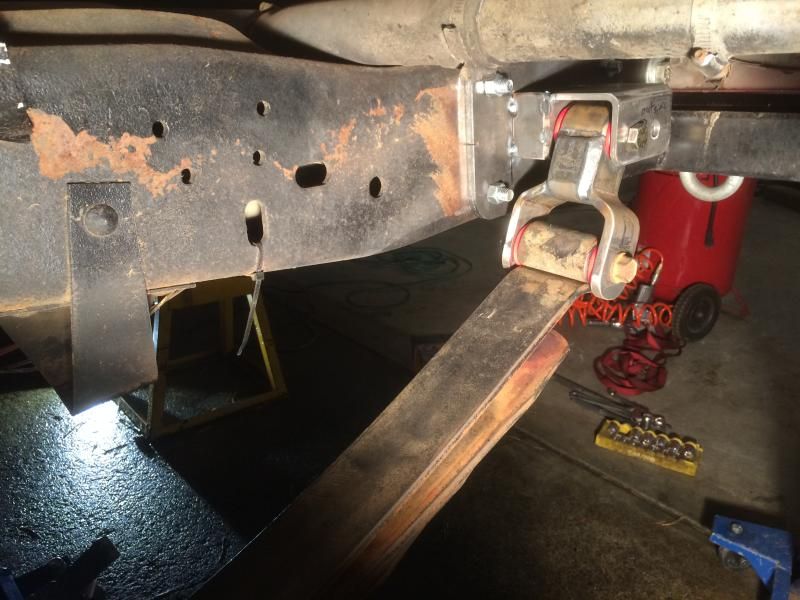
With everything bolted up under the trucks weight


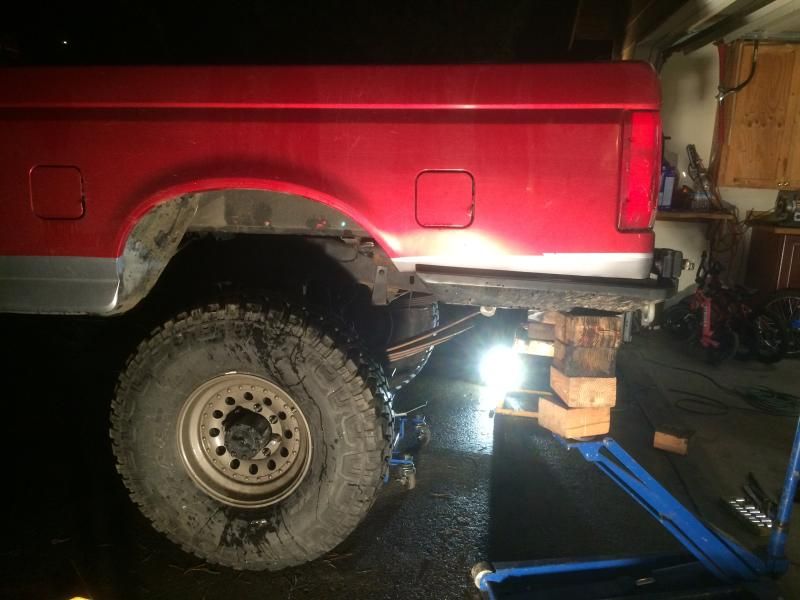
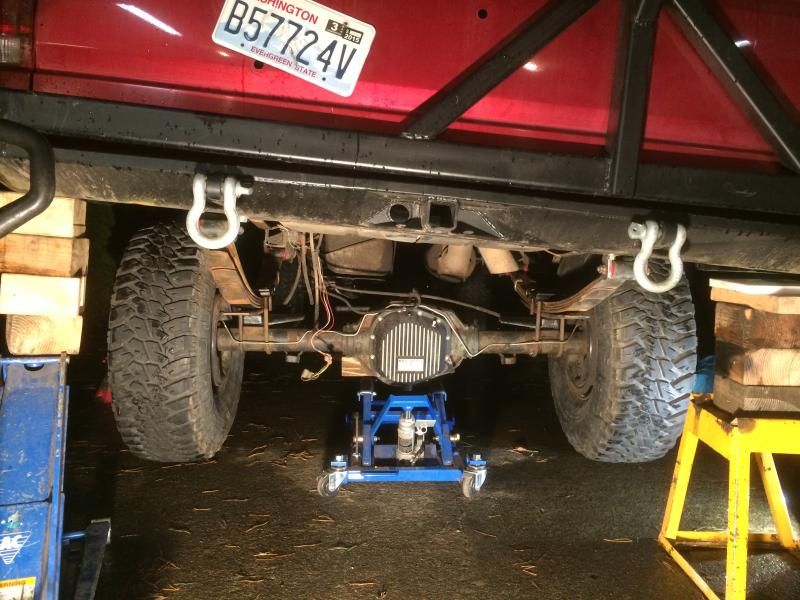
I tested the shackle angle at extension by lifting the back corner of the truck. It is nice to have a bumper that can be used to support the truck no problem. I was a little worried that the angle might be too straight and that it might want to invert if there was too much droop, but it looks like it will be perfect


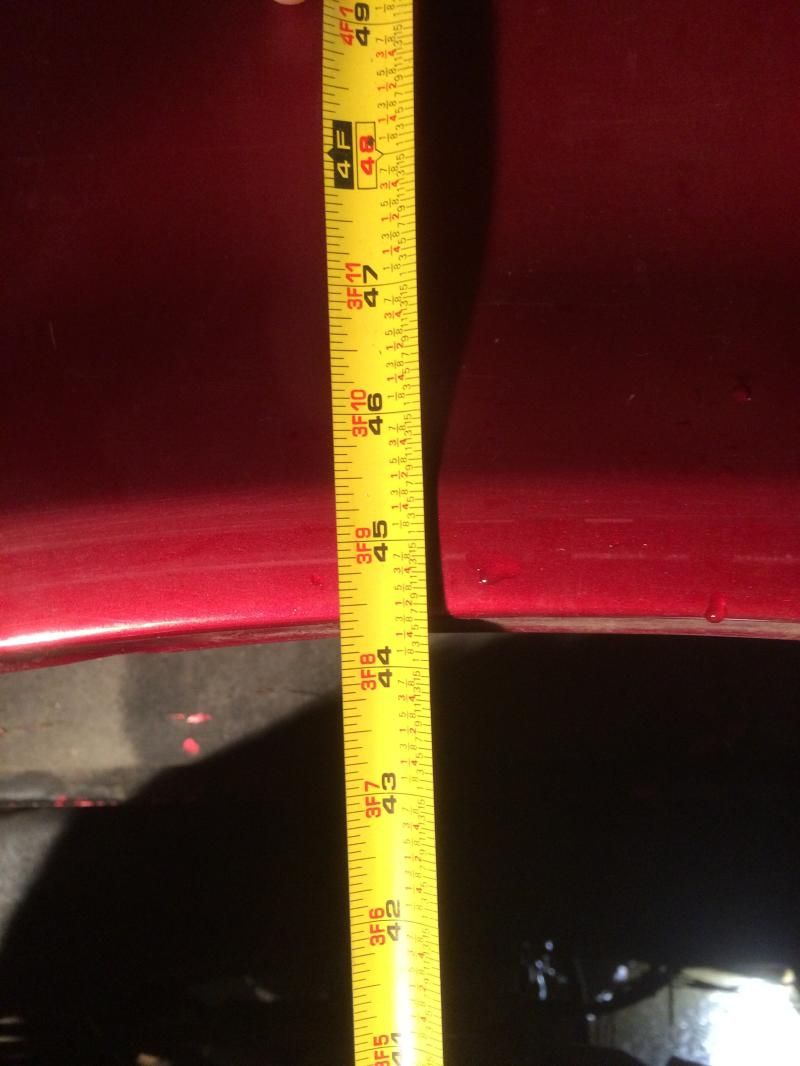
At rest the height is perfect at 44.5". It is about .5" taller than the front which is pretty much right what I was aiming for


This is where I ran out of gas for the pre-heat. I added a .250" plate to the top, and I will put some triangular stringers on top of that just for good measure.


Hopefully I will be able to get it wrapped up tomorrow and be back on the road. It feels like it should ride a lot nicer than before and it will definitely flex better. I hope that the axle wrap is not too bad and I can hold off on a track bar until later. The shackle angle is at 6* and I think that should work well. It is so awesome to see the truck sitting level in the driveway on its own suspension. I will try and get the front drive shaft wrapped up this week as well. I am so excited to almost have my truck back to full capacity. As soon as it is 4x4 again I am heading to the mountains to have some fun!
 

Sooper Camper

Adventurer
looking really good!
if you run a limit strap in back, you won't have to worry about the shackle inverting under forced articulation either.
 

amgvr4

Adventurer
Thanks guys, I really appreciate the support. The factory springs probably won't flex anywhere close to enough to warrant a limit strap but I will see in the next few days.

I got the shackle reversal finished tonight, but I did a terrible job of taking pictures as I went so a synopsis will have to do. First I fully welded the shackle hangers and added some triangular supports above the brackets. Then I painted all the odds and ends like the springs, shackles, and frame while the hangers were cooling. I also pulled all the bushings apart and greased them, and the special grease that came with the energy bushing kit was really odd. It was super sticky and almost impossible to wash off my hands and tools. I don't ever remember it being like that before.

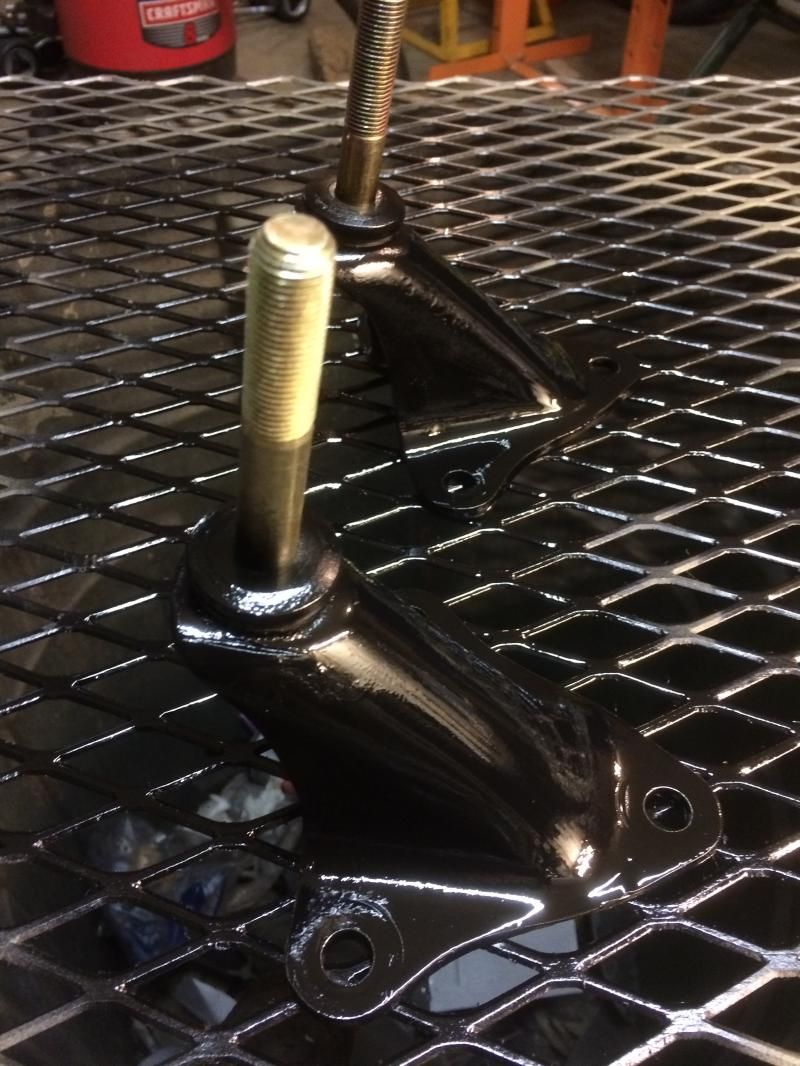
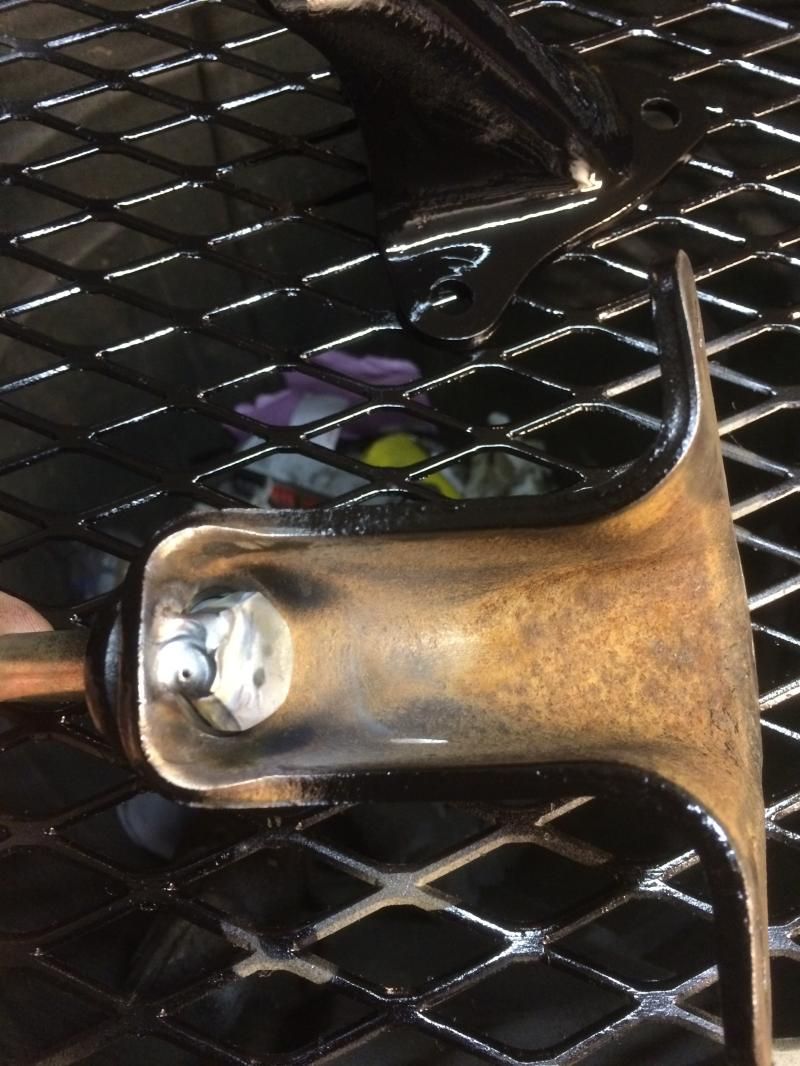
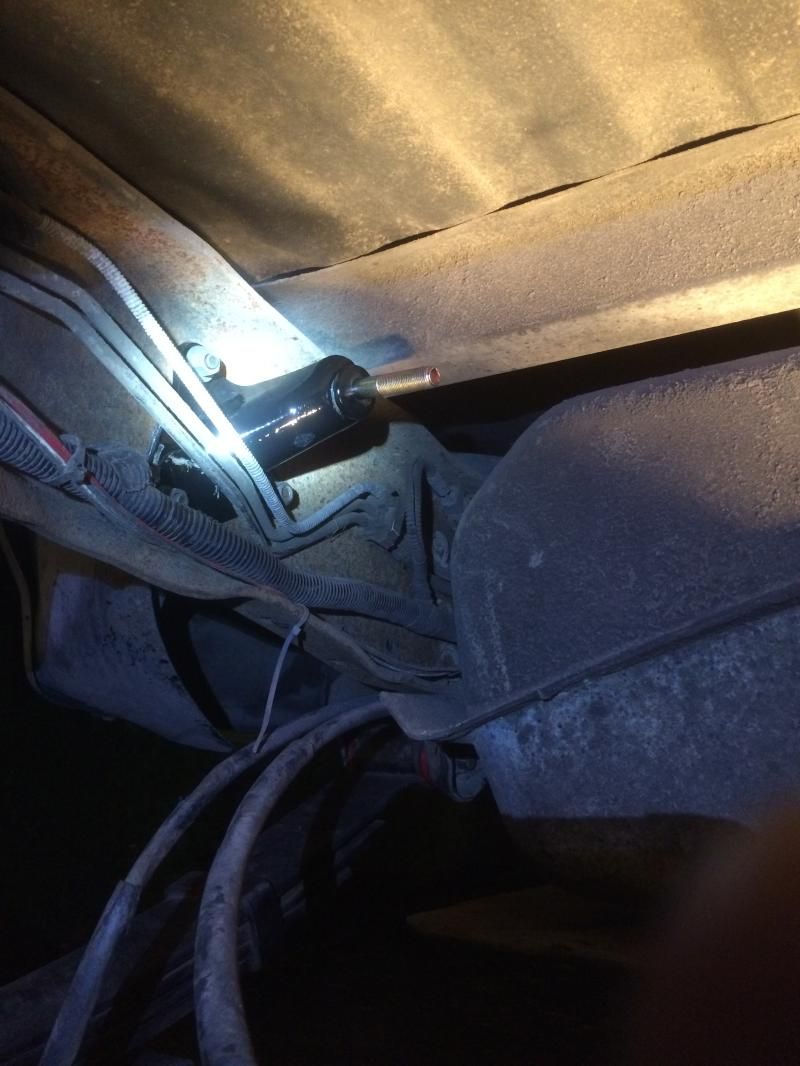
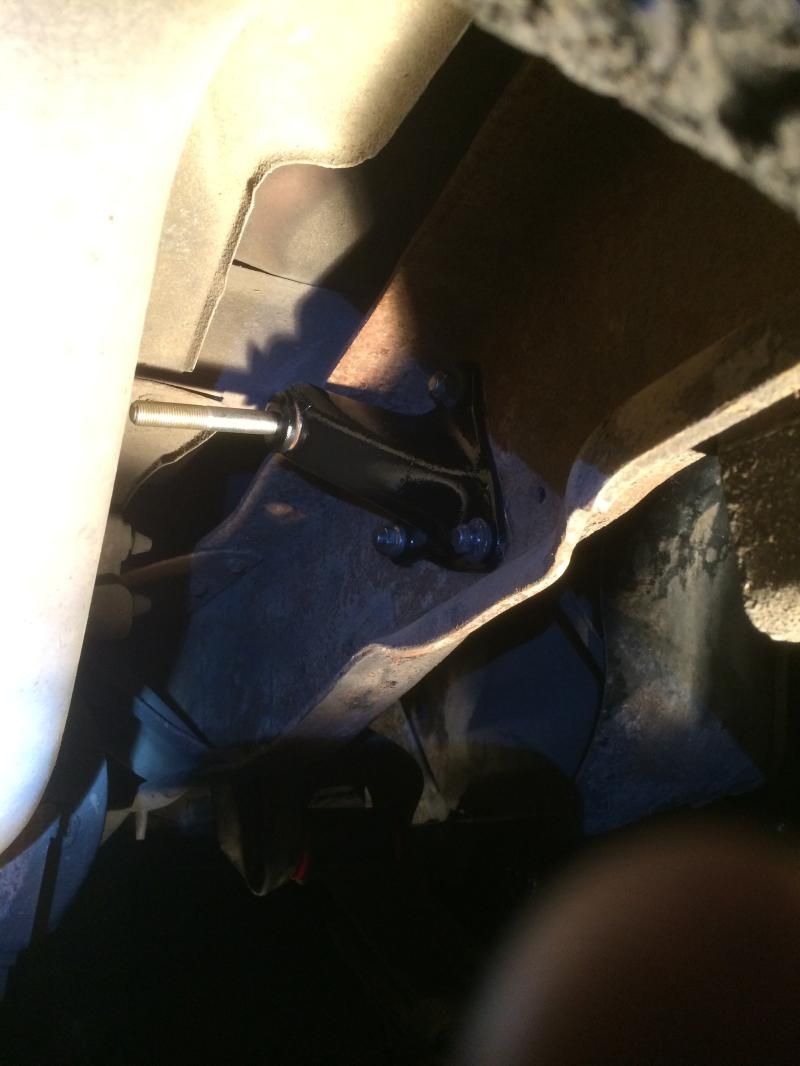
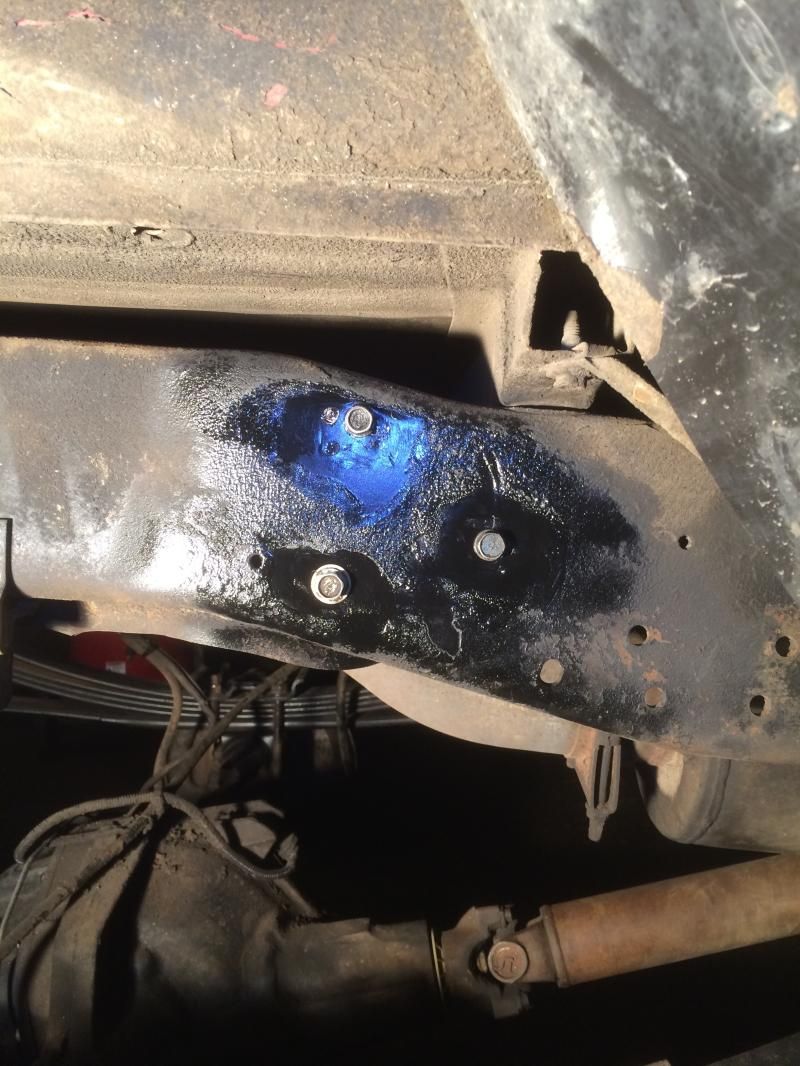
Once everything was bolted in and tightened down it was time to bolt the shocks in. Here is where things went a little sideways. I thought that the upper and lower mounts were .5" studs and bolts respectively. Turns out the upper studs are larger than .5" and with the Fox shocks having com bearings there was no way I could make them work without taking the upper mounts off. Of course Ford saw fit to rivet them on because no one would ever need to remove or replace them. The rivets on the shock mounts were the worst yet, probably because they carry so little load they haven't been worked loose over the years. I cut the heads off, then tried to air hammer them out to no avail. Next I tried to drill them, but they were very difficult to see since there was no gap around the edge of the rivet and it blended in with the frame metal. I finally had to bust out a punch and BFH to get them off. Luckily they were still intact and so were the holes in the frame.

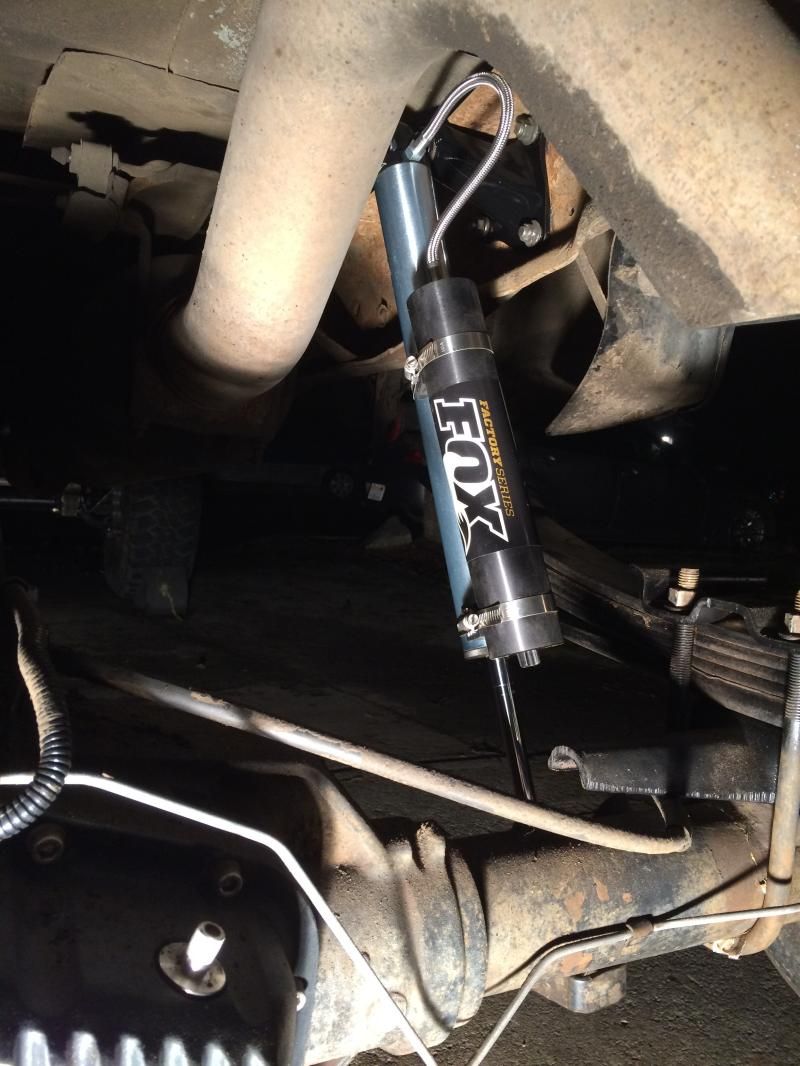
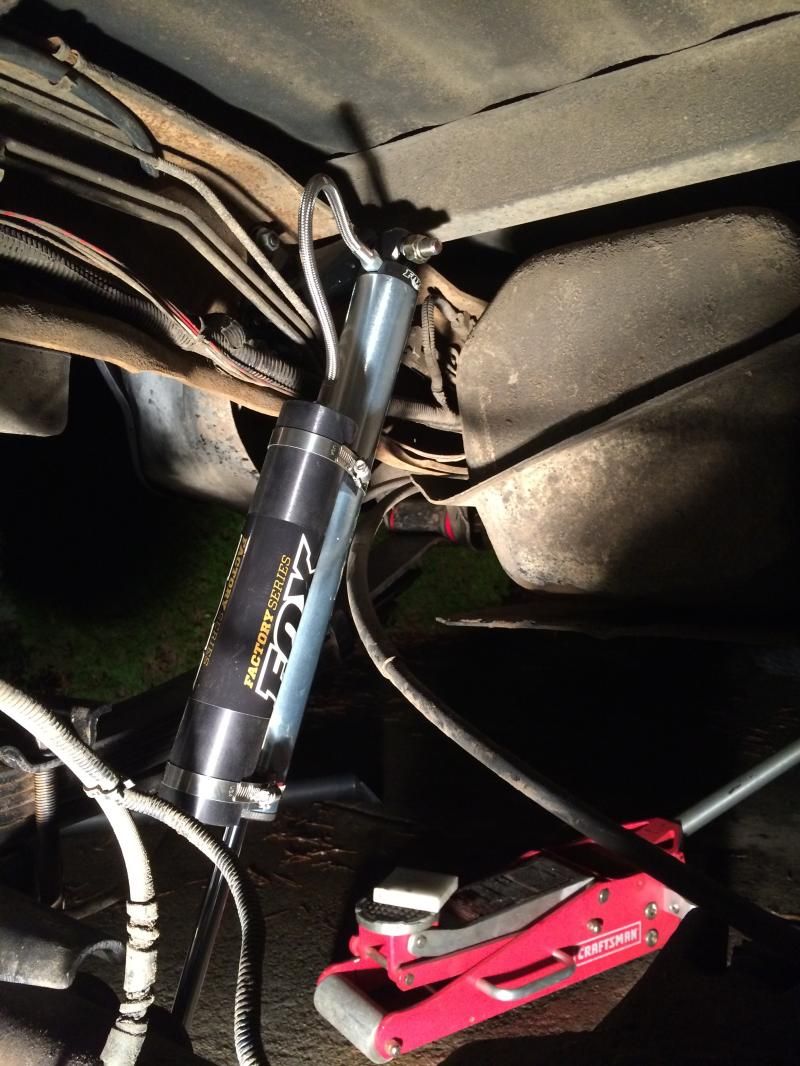
It took a little bit of thinking to find the best way to get the stud to .5" but I ended up chucking the bracket in my lathe and drilling a .5" hole through the back side of the stud, then cutting off the part of the stud that the old shock bushing rested on. This allowed me to run a .5" bolt through the back of the bracket and presto chango we have a working bracket. The bummer is this side show cost me several hours of work to fix something I was not anticipating at all. With the brackets in place I was able to bolt up the shocks for the first time and get the reservoirs positioned so they would clear everything. It was a little tricky but I'm pretty sure they should be good at full droop and extension. I would like to come up with a better way to route the e-brake lines, but they will have to do for now.

The upper shock mounts after reworking them


Bolted in


The shackles and brackets all bolted up at full droop


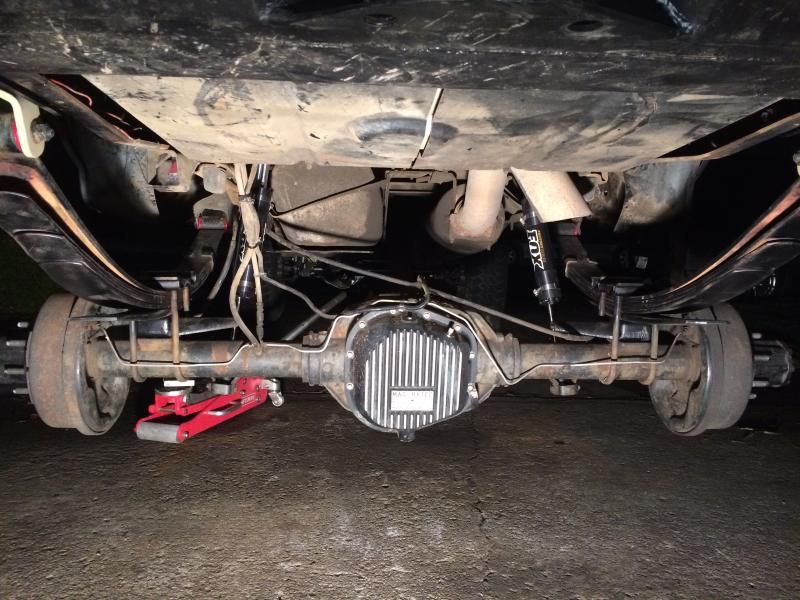
The shocks bolted in. These are Fox 2.0 remote reservoir 12" shocks. At ride hight they leave me 4" of up travel and 8" down. I would have liked to have one more inch of extension at ride hight but this should work until I figure out what I want to do as a permanent solution spring wise.


The truck drives much better with the back all done and at the same ride height. Some of the odd floaty feeling I was getting was probably due more to the front being 4" taller and the back having completely blown shocks and spring bushings. There is a lot less body roll now and it is far smoother over bumps, particularly rail road crossings. There is a little bit of axle wrap from what I could tell but it is manageable so I can probably avoid a traction bar for a little bit. I will get some pictures of it in the daylight tomorrow and throw up some before and after in the driveway shots. I love seeing how much it has changed in the last year and a half, and I really love how much better it rides and drives!
 

Forum statistics

Threads
188,374
Messages
2,906,232
Members
230,117
Latest member
greatwhite24
Top