OBS FORD 350 PSD FWC FB Hawk build

pappawheely

Autonomous4X4
Hmm. Well now I need a solution for the 2.5" difference the rear won't have. Forgive me, but what exactly is the shackle reversal solving for?

It radically changes the ride quality from padded brick to comfortable. Before I did mine, I had to wear a helmet because I was hitting my head on the roof every time I hit a bump.
 

DesertDrifter

Observer
Great build. Have to love that rear tank...similar size one came stock on my 97 cab and chassis. When paired with the stock midship tank you can actually get decent range. Good choice on the Sky Offroad kit too. Might consider Deaver Spring in Santa Ana Ca for the rear pack too. They did a custom 11 leaf pack spec'd to my weight and I've been really happy with it, plus they're great guys with over 100 years in business.

Keep up the good work...
 
Last edited:

offroadrolls

Observer
Hmm. Well now I need a solution for the 2.5" difference the rear won't have. Forgive me, but what exactly is the shackle reversal solving for?

I just noticed F250 in your sig line. If that's the truck you're building on, I think you'd have a TTB Dana 50 front suspension / axle set up. If that is the case a shackle reversal would not apply to your truck. Also, if you do have a TTB suspension, read up on it on some of the ford truck forums. Many who have them do a solid axle swap. TTB = Twin Traction Beam.
 

offroadrolls

Observer
Great build. Have to love that rear tank...similar size one came stock on my 97 cab and chassis. When paired with the stock midship tank you can actually get decent range. Good choice on the Sky Offroad kit too. Might consider Deaver Spring in Santa Ana Ca for the rear pack too. They did a custom 11 leaf pack spec'd to my weight and I've been really happy with it, plus they're great guys with over 100 years in business.

Keep up the good work...

Thanks for the info on the spring company. Unfortunately I'm on a tight budget so for now I'm going to re-bush and install add a leafs to the stock spring packs, replace the shocks and install Air Lift Load lifter air bags. If it goes as planned, the add a leafs should help to handle about 70% of the camper weight and the air bags will make up the difference and also handle the loaded camper and 54 gallons / 450 lbs. of fuel.
 

offroadrolls

Observer
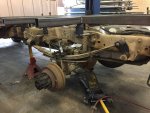
This past weekend I went through and refreshed the rear suspension to regain the 2.5 inches the weight of the camper drops it. Below are some photos.
Removing rubber bushings with 160k on them. Replaced with "prothane" bushings.
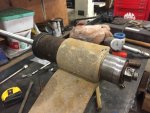
IMG_2551.jpg

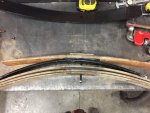
Installing add a leaf to the stock spring pack. Would love to sport new custom springs but we're on a tight budget
IMG_2552.jpg

Then all back together

IMG_2553.jpg

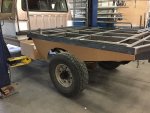
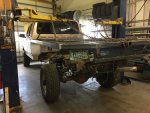
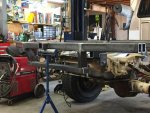
Also finishing up the tail end of the flatbed.
IMG_2534.jpg

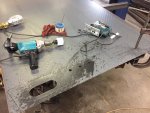
Working on the center panel for the tail lights.......this took 3 tries to get it right. I made it upside down once! By the final one I'd put the jig saw away and started using the plasma cutter.
IMG_2543.jpg

And then to the bench to weld er' up

IMG_2544.jpg

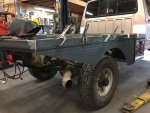
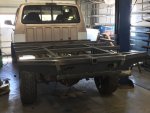
And then welded the tail end to the flatbed on the truck
IMG_2550.jpg

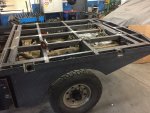
Next, I set the camper on the flatbed to see were the suspension landed. The add a leafs raised it about 2.5 inches and the camper dropped it back down about 2". I also marked the points on the frame where I want to mount the upper airbag supports. All and all it's working out pretty good. Without the airbags it's about 1" higher in the back than in the front and the rear tank is empty(320 lbs.), the camper is not loaded and the flatbed does not have its tool boxes on it yet.
Here's a shot of the back of the camper and the rear of the flatbed. The receiver is not for a trailer hitch, it's for the spare holder apparatus....more weight for the airbags.
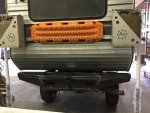
IMG_2554.jpg

Last, I mounted the airbags. I ended up putting the overload springs back on to raise the position of the lower airbag mounting plate.
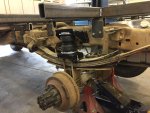
IMG_2558.jpg

So next it'll be back to the flatbed to get it 100% finished and the camper mounted to it.
 

offroadrolls

Observer
woohoo,

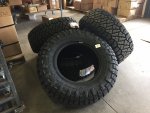
Got my 35's today.....

IMG_2650.jpg

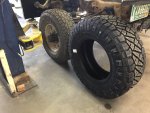
They Dwarf my 33 10.5's on stock Alcoa 16's. They are 35 12.5 18 12 ply F Terra Ridge Grapplers

IMG_2649.jpg

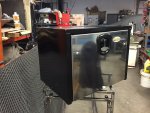
I also got my under bed tool boxes this week

IMG_2653.jpg

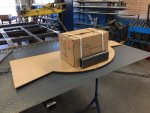
And I'd made a template for the sides

IMG_2621.jpg

So I got the bed up off the truck and this weekend it'll be a build marathon getting boxes mounted and sides made and welded on. Hope to post more Sunday night.

IMG_2651.jpg
 

offroadrolls

Observer
Boxes hung

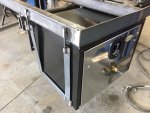
Today I hung the under bed boxes. To me it made the most sense to hang them like they did gas tanks back in the day.
I started by welding couple nuts to the flatbed.

IMG_2654.jpg

Hold your breath, we're welding on zinc plating.

IMG_2655.jpg

Using 2 x 1/8 strap and 2 x 1/8 angle, one thing lead to another until I had one of these.

IMG_2659.jpg

Then I hung the drivers side box.

IMG_2657.jpg

After eating a 6" tuna and a bag of chips from Subway, I drank a 4 hour energy and built one for the other side.
Tomorrow I'll build the side panels.

IMG_2660.jpg
 

offroadrolls

Observer
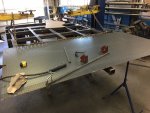
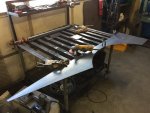
Got a late start but back at it this morning never the less. I started by drawing the out line of the cardboard template on to the .080" steel diamond plate.
Then I clamped a straight edge to the material so I could cut the straight lines with the hand held plasma cutter.

IMG_2661.jpg

Then on to cutting out the wheel arch. I ended up using the drop side of the template as my guide for the plasma cutter. . I elevated it with some 1 x 4 cedar I had laying around. I was a little concerned about using flammable material for this but, all the flame and sparks go down and a half inch up the side of the plasma cutter tip it only gets luke warm so it worked well.

IMG_2662.jpg

Then on to grinding the slag off the back side and dressing up the edges ..

IMG_2664.jpg

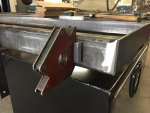
At this point I had both sides panels done and ready to mount. Running low on energy I opted to work on the passenger side because the driver side will require some extra work to locate the fuel fillers. After welding fish plates to the back of the passenger side panel I got it clamped and ready to weld to the flatbed.

IMG_2666.jpg
 

IdaSHO

IDACAMPER
Looks great :ylsmoke:


Good luck on the fillers. Are you planning on fillers in the frame rail? From where Im sitting, your frame rails are sitting about as tall as mine.
Fillers in the frame rail provides some challenges, and severely limits the ability to fuel up fast and easily.

The slope is simply too shallow, even with the liners removed from the filler hoses.


If I were to do it again, Id relocate both fillers to the headache rack, 4-6 inches above the flatbed.

13886514_1795318007380547_6914620560199258485_n.jpg
 

offroadrolls

Observer
Nice camper Kenny. Originally I was going to mount the fillers in the side panels but after looking closer I realized the fuel would be going uphill on the way to the tank. So I looked closely at how they were mounted in the original bed and found them to be running level over to the tank with the cap only about 2 inches above the top of the tank. One thing about the stock filler necks that I'd never seen before is that the fuel actually runs all the way to the tank in a tube that is inside the larger hose connected to the filler neck and the venting runs around the outside of the smaller hose. I'll post a picture of it tomorrow. Here's the pictures of what I accomplished today fabricating the fillers in the frame rails of the flat bed.

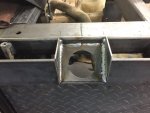
After putting a hole in and bending a weld tab on a piece of 4" flat stock, I clamped it all up to be sure it would all go together with the needed clearance.

IMG_2667.jpg

Flipped the side panel over and welded on the fish plates and the filler neck hole pieces.

IMG_2668.jpg

Welded in sides etc to the filler neck pocket doodads.

IMG_2669.jpg

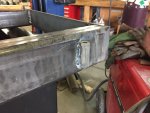
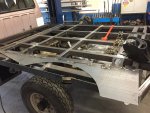
Finished welding all the fish plates to the inside of the flatbeds frame rails so it's 100% attached.

IMG_2671.jpg

Later after lunch the Fedex truck pulled up with the new wheels my wife picked out. They're Desert Sand Armory from Black Rhino. Here's a picture of one during test fitting. BTW, I got these at Wheel warehouse in CA. and I gotta say great service!!

IMG_2672.jpg

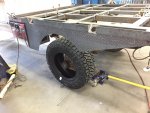
Last, couldn't resist rolling one of the 35's under the truck while the wheel was off. Doesn't look a huge as it did next the 33.

IMG_2674.jpg
 

Forum statistics

Threads
188,043
Messages
2,901,551
Members
229,411
Latest member
IvaBru
Top