One more M416 build

wvtradbow

Observer
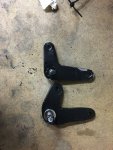
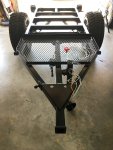
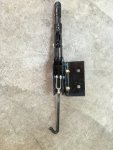
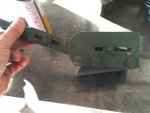
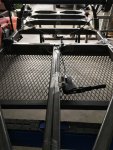
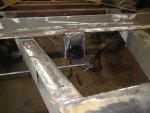
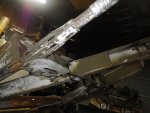
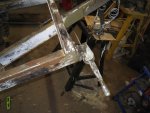
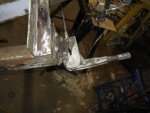
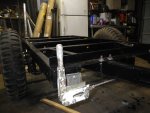
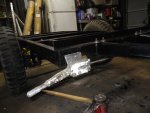
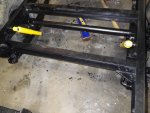
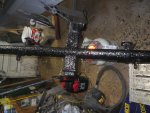
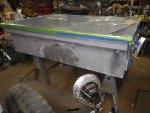
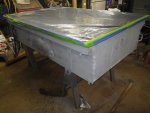
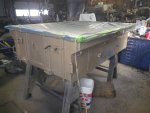
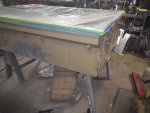
About ready to start the frame,I've looked all over this form on how to relocate the hand brake, an other than people saying they relocated the hand brake I couldn't find any examples. I needed to do this because all trailers need a Harbor freight tongue box an this one is no exception,so here's what I did: I'm not sure I like the position of the lever an may end up mounting it vertical not sure yet.
 

Attachments

  • IMGP2241.JPG
    IMGP2241.JPG
    1.9 MB · Views: 64
  • IMGP2242.JPG
    IMGP2242.JPG
    1.8 MB · Views: 63
  • IMGP2243.JPG
    IMGP2243.JPG
    1.8 MB · Views: 64
  • IMGP2244.JPG
    IMGP2244.JPG
    1.8 MB · Views: 63

cemeb4dk

New member
I relocated mine where yours is but stood it up vertically not horizontal as yours. I did have to get a turnbuckle to connect to brake lever. If yours works that way and your happy keep it. I just wonder if it's going to be a shin buster sticking out there
 

wvtradbow

Observer
Cemeb4dk that's my thoughts exactly,I can imagine running into that thing in the dark,but not sure what you mean by "turnbuckle",I was thinking just some sort of U channel ??
 

PacificNorthWestJeeper

Blissfully Lost
About ready to start the frame,I've looked all over this form on how to relocate the hand brake, an other than people saying they relocated the hand brake I couldn't find any examples. I needed to do this because all trailers need a Harbor freight tongue box an this one is no exception,so here's what I did: I'm not sure I like the position of the lever an may end up mounting it vertical not sure yet.

On my build my handbrake was 'frozen', I had to heat it to free it up and completely disassembled it then rebuilt it.
Like you, with my build my hand brake was not going to work in the original location.
I used threaded rod which you can get it in some pretty long lengths from auto and hardware stores.
Find the one that thread right into your brake assembly.
I heated up the rod to bend the ways that I needed it to and relocated the handbrake along the main beam up front.
On the ends of the rod I used that rubber dip stuff you can get at lowes to help eliminate metal on metal contact.
I had to also make a new pivot point because the original was not 'clocked' at the angle I needed (see pic) which helped me get more leverage to lock the brakes in place.
You can see where the handle is now in the pic. I like it because it is tucked out of the way and almost not visible, just looked cleaner.
Of course I ditched the original frame and went with ⅛ wall tubing for the main portions of the frame which I am very glad I did.
You are on the right track, there is no manual for fab, just keep staring at it and ideas will pop into your head.
Good job, and good luck..Trailer1a.jpgTrailer2a.jpgTrailer3a.jpgTrailer4a.jpgTrailer5a.jpgTrailer5a.jpg
 
Last edited:

wvtradbow

Observer
Well after some of these post I decided to move the brake lever ,however I couldn't put it under the tongue box because I didn't extend the tongue the way PNWJeeper did, so it would've took some work to do that . I just made a bracket an repositioned it but it's still gonna be a shin buster but I do like it positioned this way better.
 

Attachments

  • IMGP2249.JPG
    IMGP2249.JPG
    1.8 MB · Views: 56
  • IMGP2250.JPG
    IMGP2250.JPG
    1.8 MB · Views: 57

wvtradbow

Observer
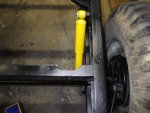
I also got new shocks AND just a FYI they are Monroe 59017
 

Attachments

  • IMGP2245.JPG
    IMGP2245.JPG
    1.9 MB · Views: 36
  • IMGP2246.JPG
    IMGP2246.JPG
    1.8 MB · Views: 29

wvtradbow

Observer
My next move will be some sort of under carriage spare tire mount.. I would really like to see some idea's of how to do this,if any of you 416 guys got any pics...
 

wvtradbow

Observer
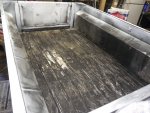
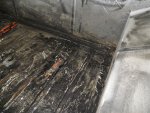
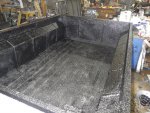
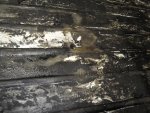
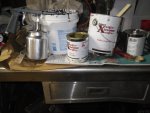
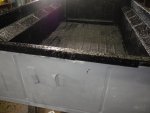
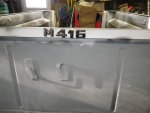
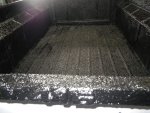
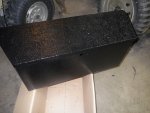
Did the inside of the tub along with the bumper an tongue box yesterday..What a nightmare that that turned into,the results wasn't too bad BUT,for some reason I couldn't get it spray right,I used 2 different guns an both just kinda "spit" instead of spray so I ended up rolling some of it an this caused it to be a more aggressive texture than I wanted plus my garage was real cold an even this morning it's still tacky..The previous owner did use some kind of liner on it already but it was maybe like rubberized undercoating or something that got pretty "gummy" when trying to prep it,But Hopefully it'll harden an turn out alright..I still have the lid to do an was going with liner Xtreeme but after this,i'm going a different route..
 

Attachments

  • IMGP2259.JPG
    IMGP2259.JPG
    1.8 MB · Views: 36
  • IMGP2255.JPG
    IMGP2255.JPG
    1.8 MB · Views: 37
  • IMGP2262.JPG
    IMGP2262.JPG
    1.9 MB · Views: 36
  • IMGP2254.JPG
    IMGP2254.JPG
    1.8 MB · Views: 37

wvtradbow

Observer
Finished!!
 

Attachments

  • IMGP2261.JPG
    IMGP2261.JPG
    1.8 MB · Views: 42
  • IMGP2264.JPG
    IMGP2264.JPG
    1.8 MB · Views: 43
  • IMGP2258.JPG
    IMGP2258.JPG
    1.9 MB · Views: 45
  • IMGP2265.JPG
    IMGP2265.JPG
    1.9 MB · Views: 46
  • IMGP2268.JPG
    IMGP2268.JPG
    1.9 MB · Views: 46
  • IMGP2267.JPG
    IMGP2267.JPG
    1.8 MB · Views: 47

wvtradbow

Observer
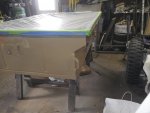
Just finished painting the tub. It's pretty cold but I did everything I could to get it warm enough including a little heater inside the tub an covered it with plastic to get the metal warm enough an yes the bed liner hardened up nice..I painted it with the newer Toyota color Quicksand. Even though I stripped the tub an sanded it,used epoxy primer then a filler primer,there are still visible sand marks.
 

Attachments

  • IMGP2271.JPG
    IMGP2271.JPG
    1.8 MB · Views: 46
  • IMGP2269.JPG
    IMGP2269.JPG
    1.8 MB · Views: 45
  • IMGP2270.JPG
    IMGP2270.JPG
    1.9 MB · Views: 46
  • IMGP2272.JPG
    IMGP2272.JPG
    1.8 MB · Views: 48
  • IMGP2274.JPG
    IMGP2274.JPG
    1.9 MB · Views: 47
  • IMGP2273.JPG
    IMGP2273.JPG
    1.9 MB · Views: 49
Last edited:

wvtradbow

Observer
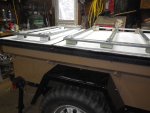
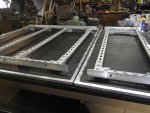
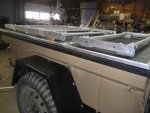
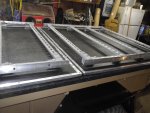
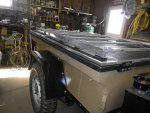
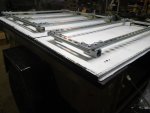
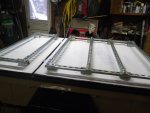
I feel like i'm coming down the home stretch with this build,I still have a lot more to do but I can almost see the finished trailer..I got the lid in Epoxy Primer an about got my homemade Unistrut rack built...
 

Attachments

  • IMGP2278.JPG
    IMGP2278.JPG
    1.8 MB · Views: 57
  • IMGP2277.JPG
    IMGP2277.JPG
    1.8 MB · Views: 63
  • IMGP2279.JPG
    IMGP2279.JPG
    1.8 MB · Views: 70
  • IMGP2282.JPG
    IMGP2282.JPG
    1.8 MB · Views: 73

wvtradbow

Observer
The next pics will be of the top in some sort of black bedliner an the rack will be painted with some aluminium "dressing" around it.. I've been contemplating what to do for the rack.I have some Thule bars an rail but the more I thought about it,I kinda like the Unistrut look,I did one on my Toyota an kinda reminds me of a Prinsu rack when it finished..
 

wvtradbow

Observer
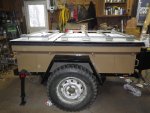
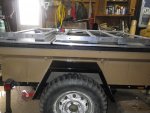
Doing the finishing touches on my homemade rack ,about the only thing left to do is wheels an I have to fix the lights,small problem there plus I have a couple decals to go on it..
 

Attachments

  • IMGP2300.JPG
    IMGP2300.JPG
    1.8 MB · Views: 36
  • IMGP2304.JPG
    IMGP2304.JPG
    1.8 MB · Views: 37
  • IMGP2299.JPG
    IMGP2299.JPG
    1.9 MB · Views: 35
  • IMGP2301.JPG
    IMGP2301.JPG
    1.8 MB · Views: 37
  • IMGP2302.JPG
    IMGP2302.JPG
    1.8 MB · Views: 36

Forum statistics

Threads
188,378
Messages
2,906,358
Members
230,117
Latest member
greatwhite24

Members online

Top