out with the old in with the new

HumphreyBear

Adventurer
One of the few threads that brings me back here, it is great to see you still out doing what you designed this beast to do. And thanks for sharing.
 

Brewdiak

kodiak conversionator
nice photos - inspiring for those of us stuck in the build process and dreaming of actual travels someday (soon??)

stay safe and keep the rubber side down ;)
 

westyss

Explorer
One of the few threads that brings me back here, it is great to see you still out doing what you designed this beast to do. And thanks for sharing.

Thanks mate! We have had a great time so far and very much appreciate being fortunate enough to be able to get out there.
 

westyss

Explorer
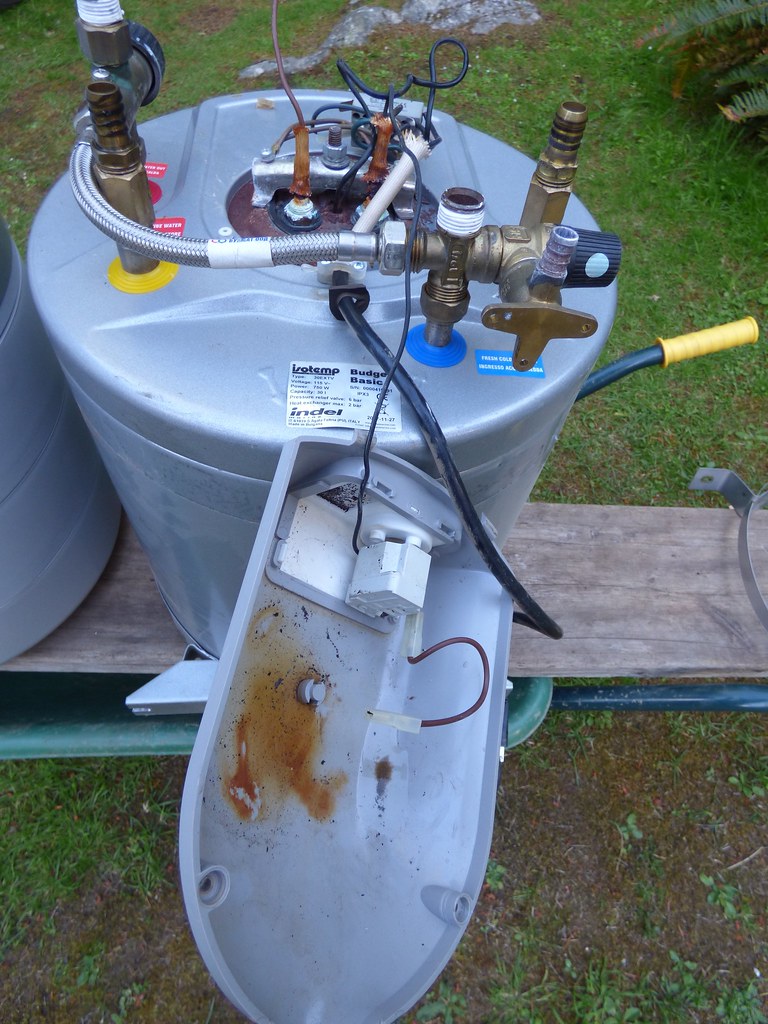
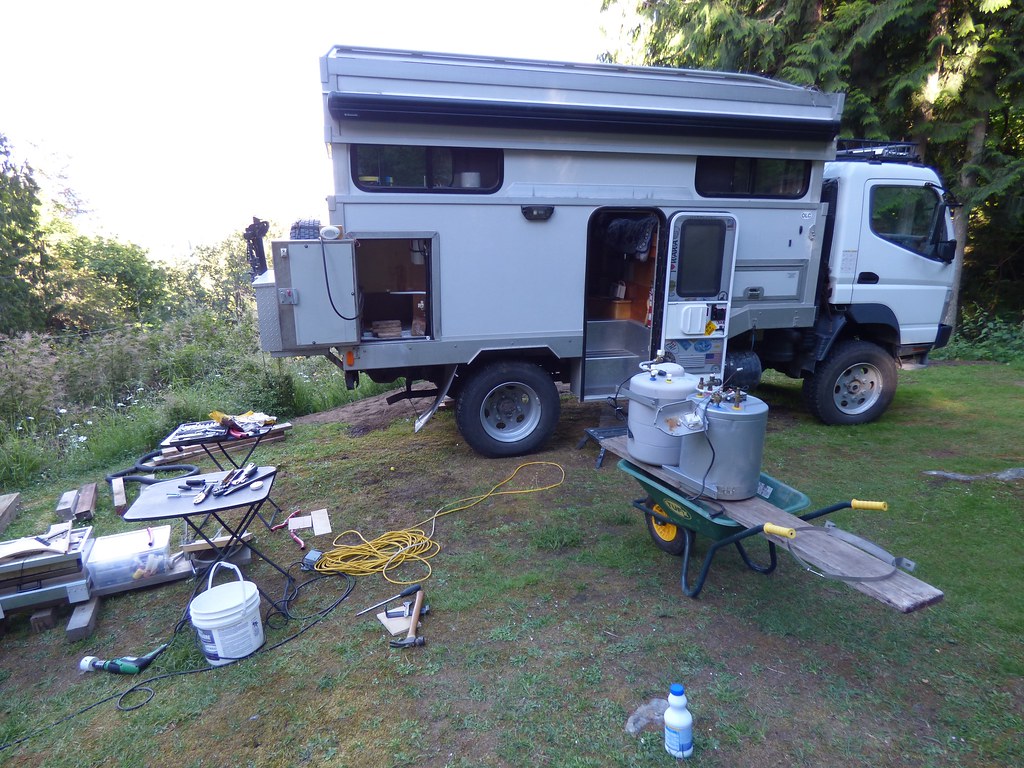
My Isotemp water heater that was purchased on 2010 is getting the boot! When I bought it I made a mistake, I bought one that said "Budget" instead of "Basic".....the budget model was one made by Isotemp for a certain boat builder and was a piece of crap! Not stainless and never worked well, I called the US rep and they had never even heard of this model. Well it was leaking and the 110volt element never worked, I did change the element and the seal but to no avail so it had to go.

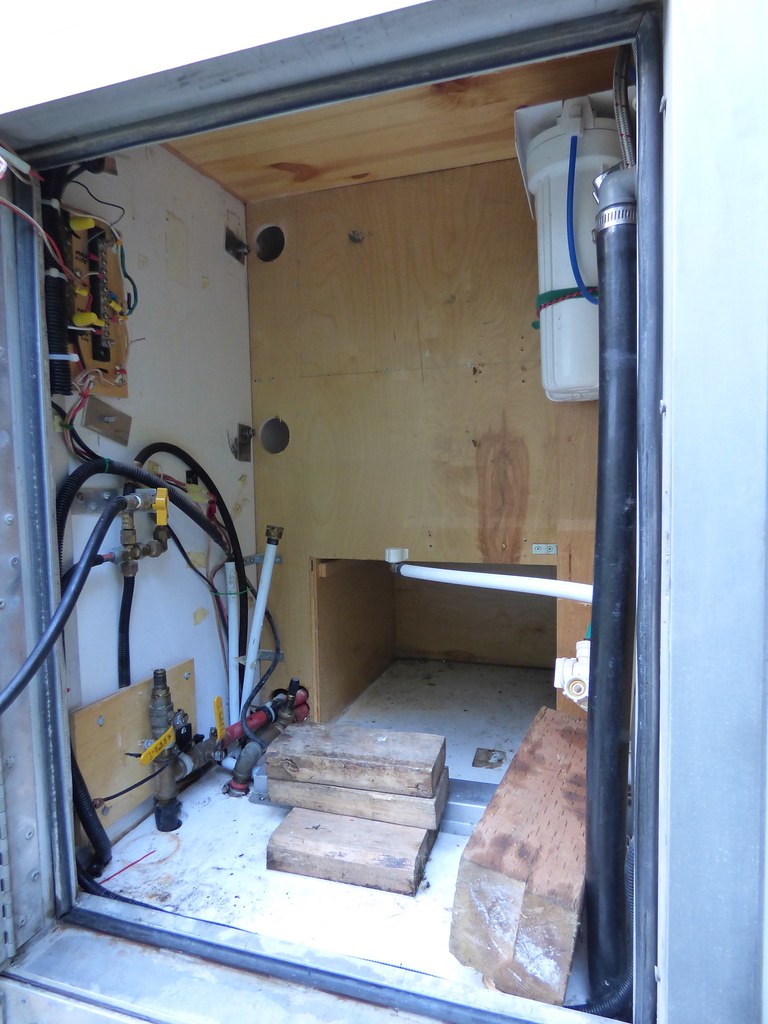
The unit was in and the cabinets built around it so I had to do some minimal surgery to get the old one out, but out it came.
[url=https://flic.kr/p/2b7vULC]

[url=https://flic.kr/p/NsgDgX]

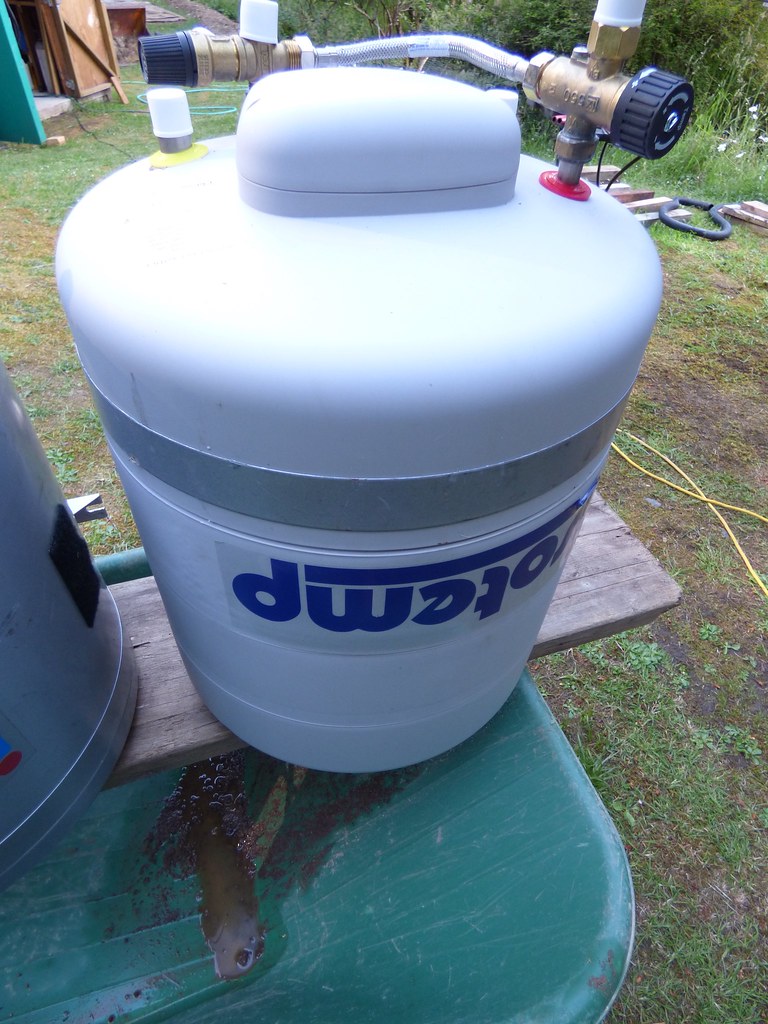
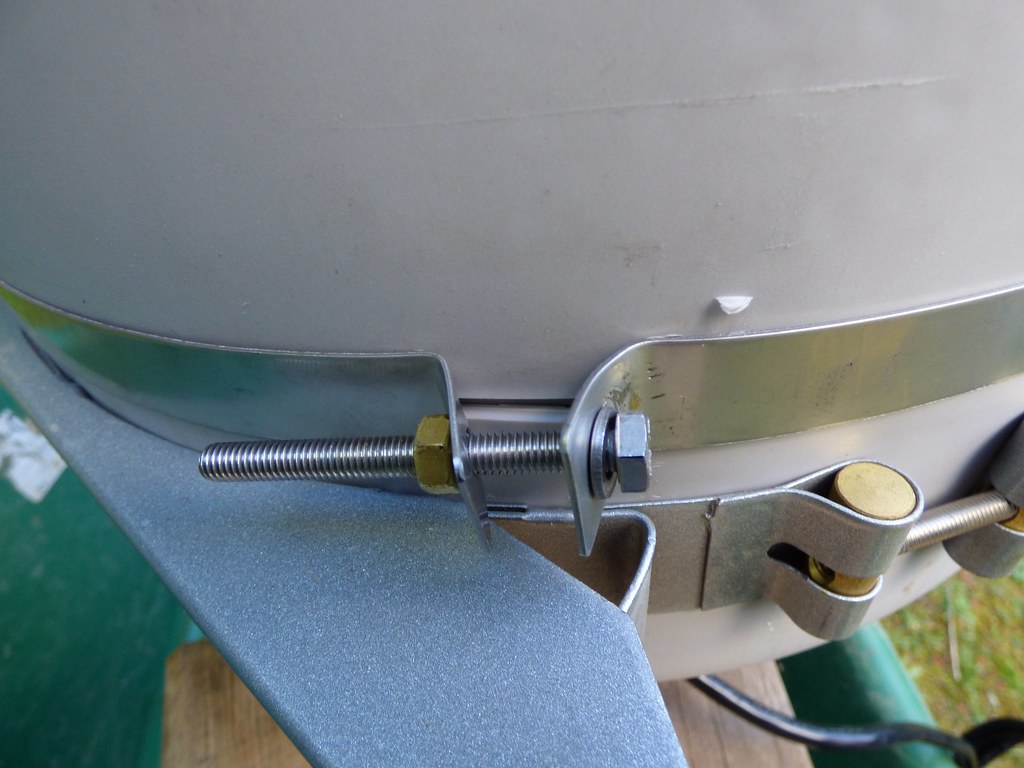
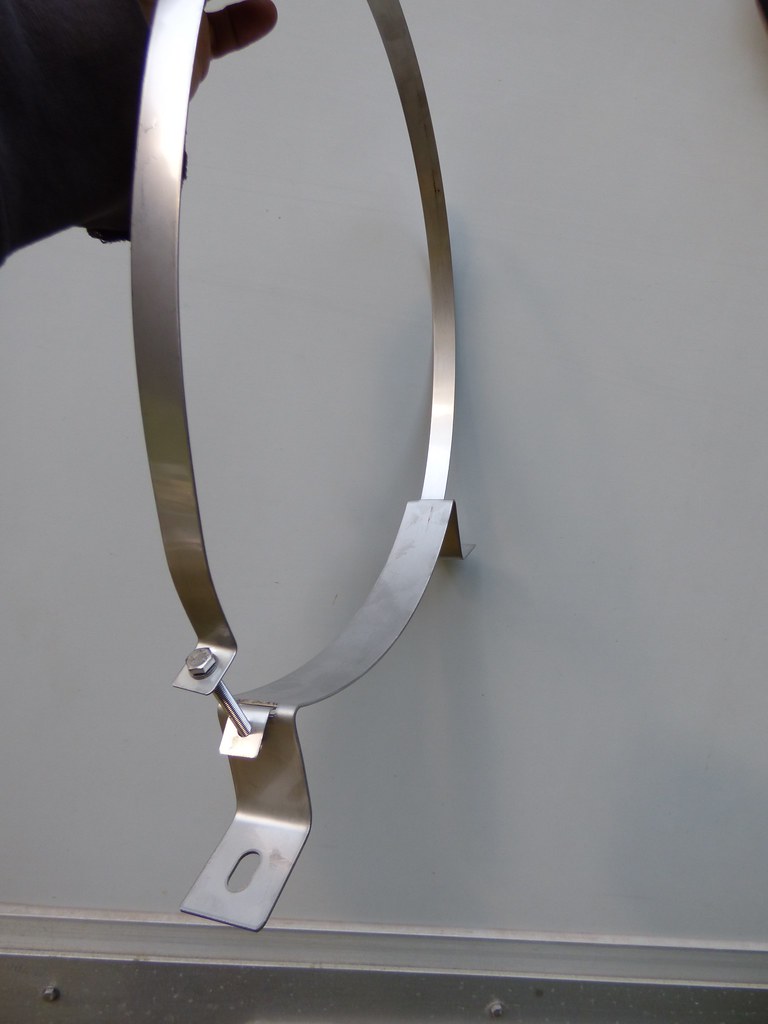
New one! This unit was plastic on the outside as opposed to the old one that was stainless, it came with some pathetic mounting brackets that just didnt seem up to the task of 80lb's of water getting thrown around so I tried to re use the old brackets, it was a tight fit but got them on.
[url=https://flic.kr/p/2cdwLva]


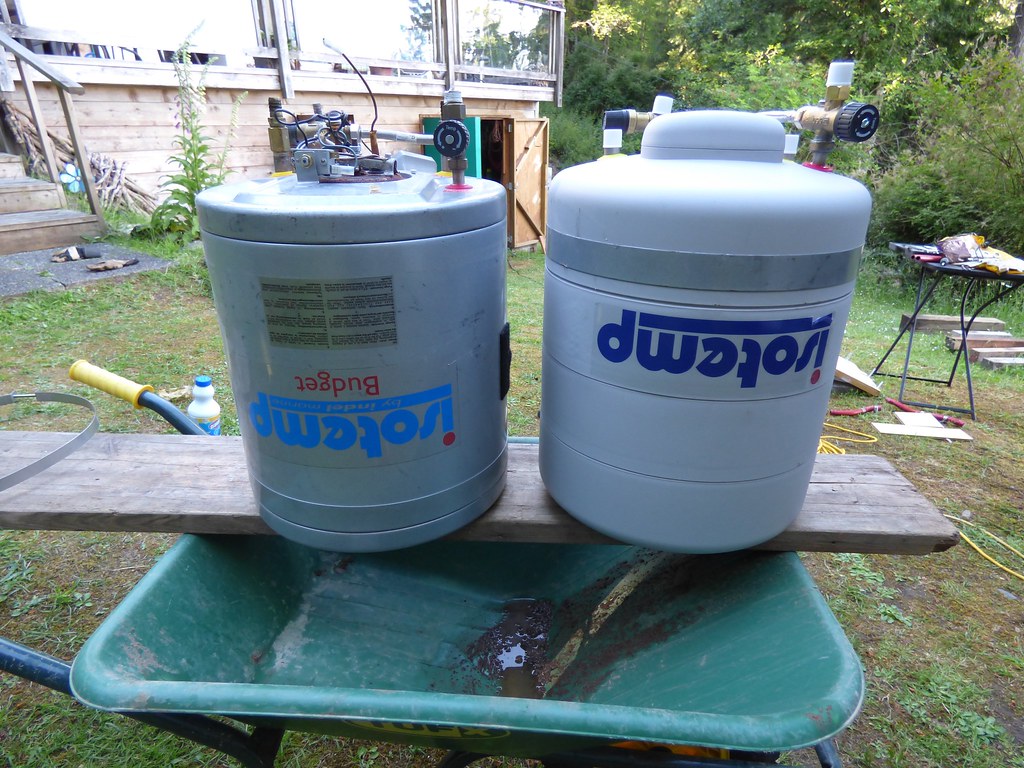
Side by each comparison.
[url=https://flic.kr/p/2cdwSLB]


There were only two bolts that I could not get to and had to get the hole saw out and reach them from inside.
[url=https://flic.kr/p/2cdwQCP] [/url[url=https://flic.kr/p/2cdwQCP]
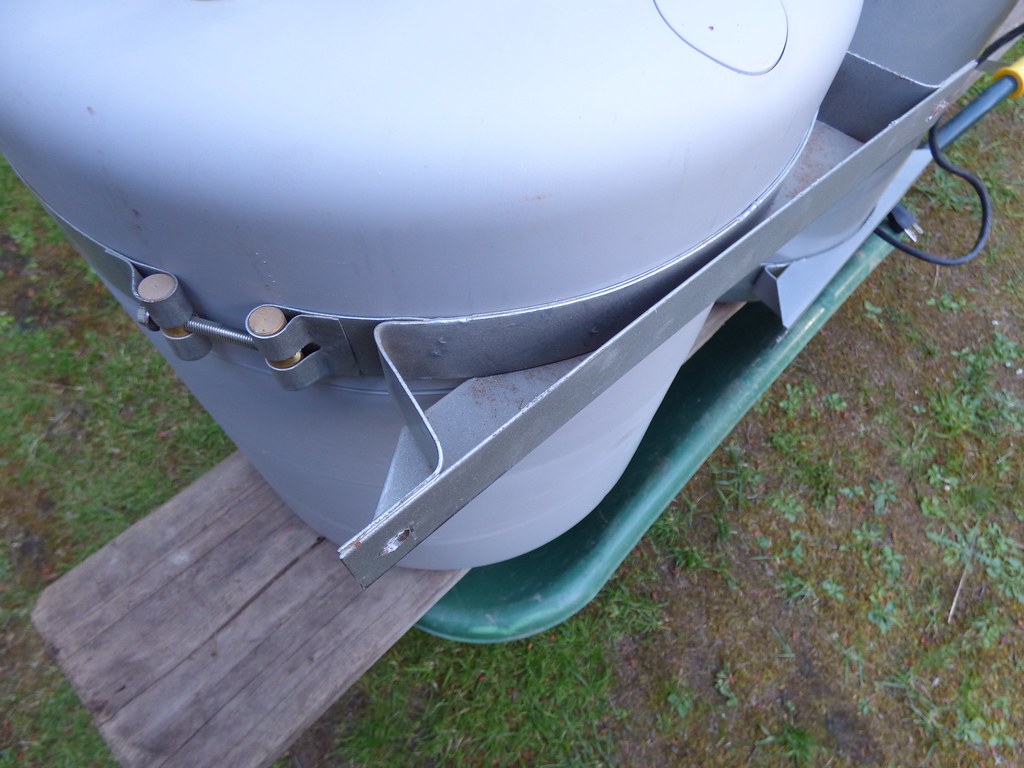

Old good brackets
[url=https://flic.kr/p/2cdwQ6g]


small wimpy new brackets
[url=https://flic.kr/p/NsgMti]


Top one is the new and bottom one old, what a difference!

[url=https://flic.kr/p/2cdwSxv]


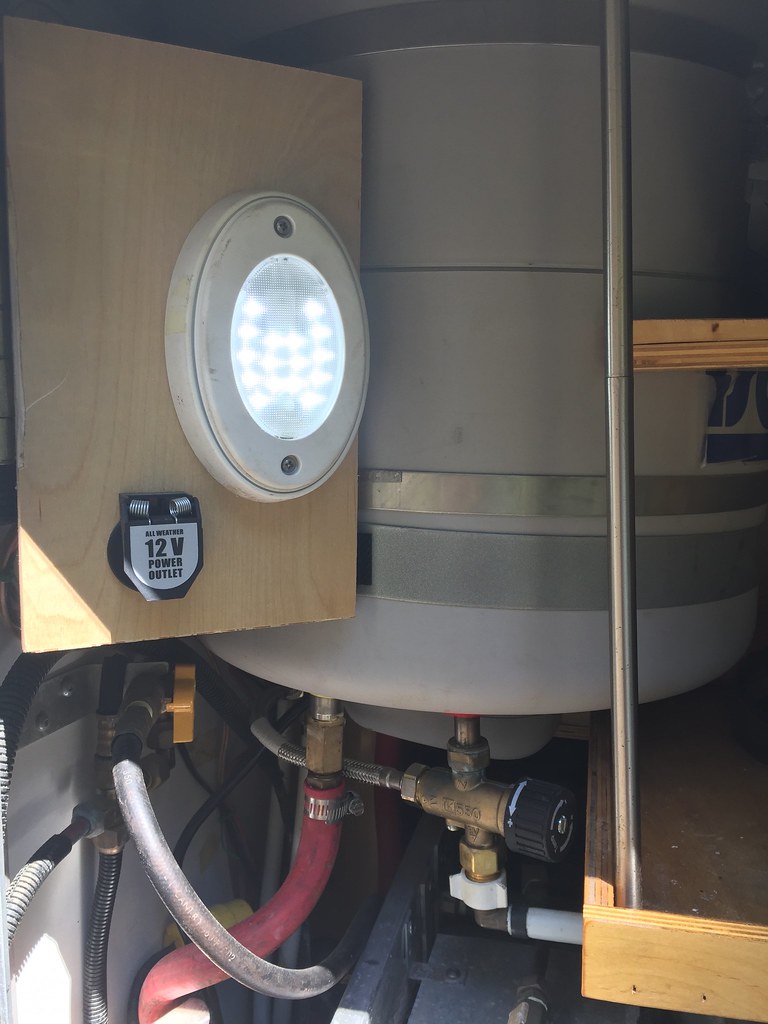
Anyway, got it in and purged the air out of it and works great!
[url=https://flic.kr/p/2aPEMMH]


Then went out to try it.
[url=https://flic.kr/p/2cdx1X6] [/URL][/URL][/URL][/URL][/URL][/URL][/URL][/URL][/URL][/URL][/URL]
 

Billhilly

Adventurer
Hey Yves,
Great to see your rig get some R&M. Must mean it's getting used! So eight years on the road? How many k's have you done now, and do you have a rough count of nights spent in residence? I guess after that many years using it your systems are pretty well sorted! Any other changes coming up?
 

westyss

Explorer
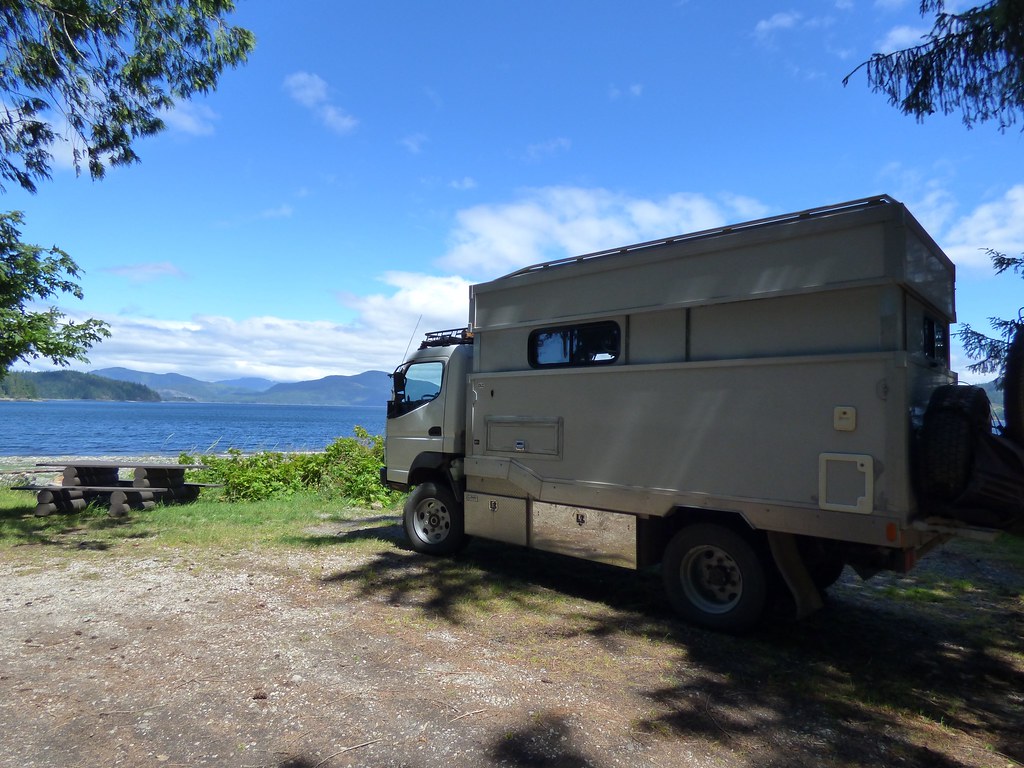
Trucks got a little over 120,000 Km's on it now, we don't count it in nights but months! Typically we are living in it all winter so around six months a year at minimum and last year we came home from our winter Mexico trip and drove to Montreal from Vancouver so we had nine months living in it last year. We are pretty dialed in now although modifications are ongoing along with some replacement of older systems. Next up a new solar panel.
 

westyss

Explorer
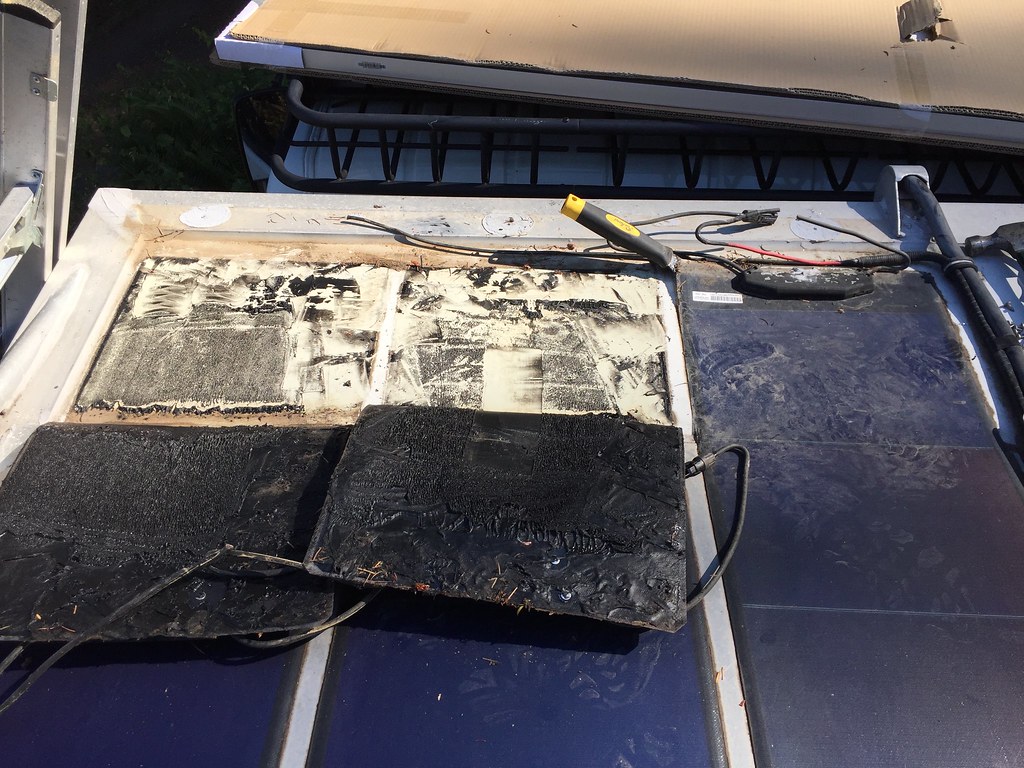
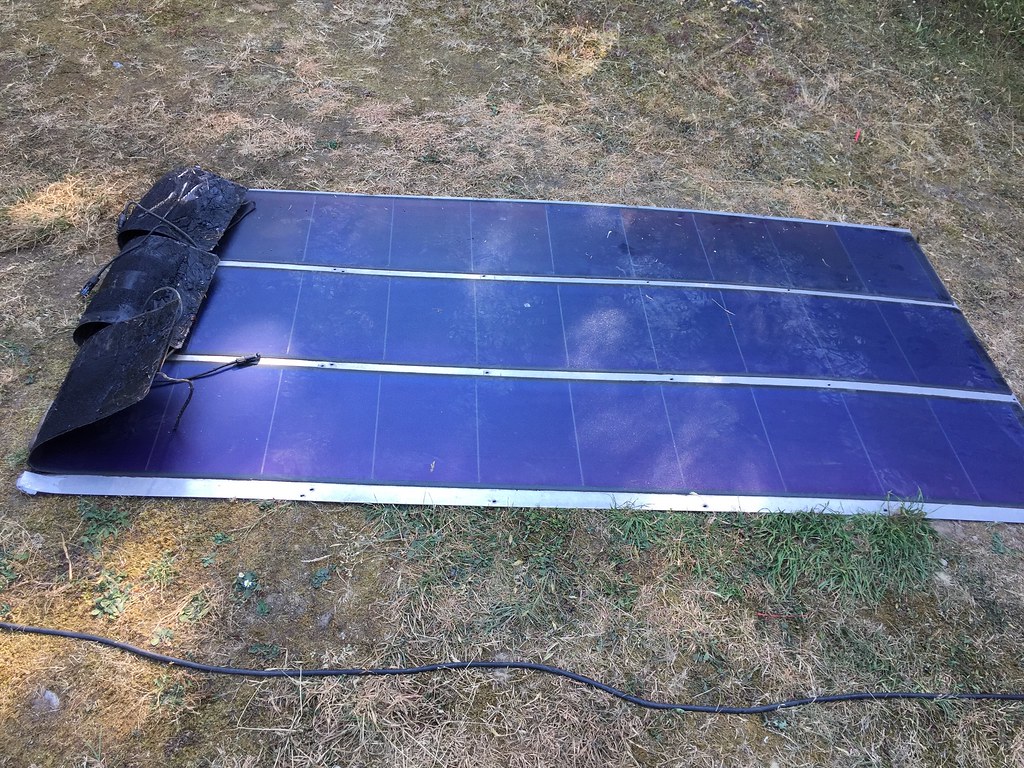
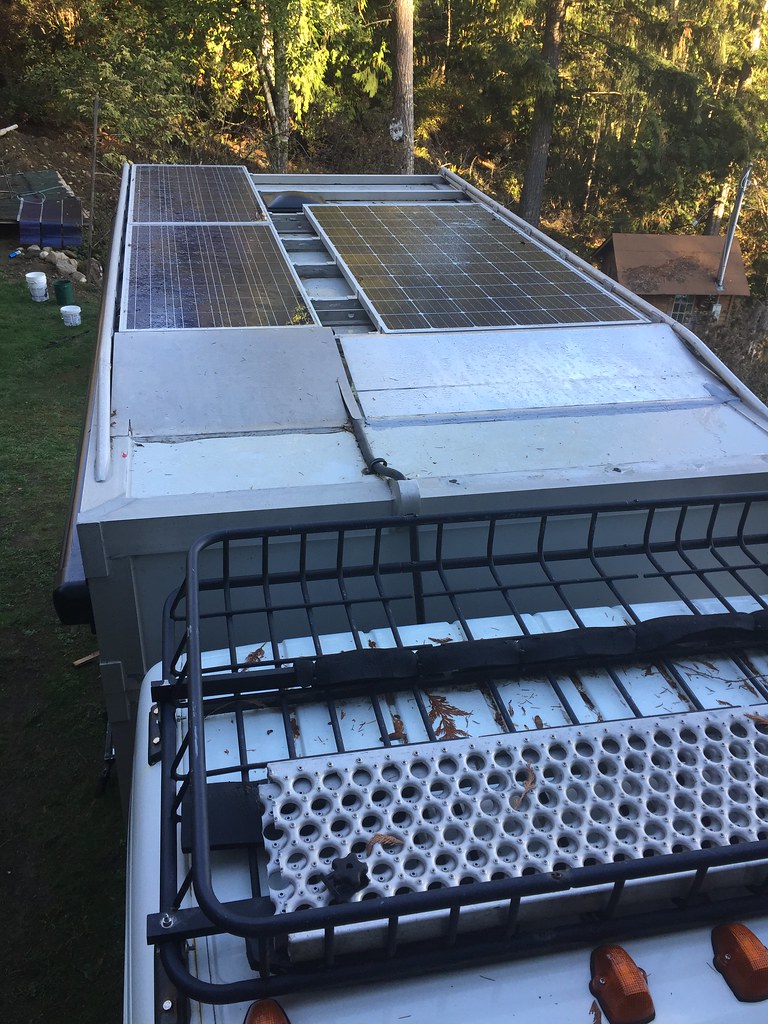
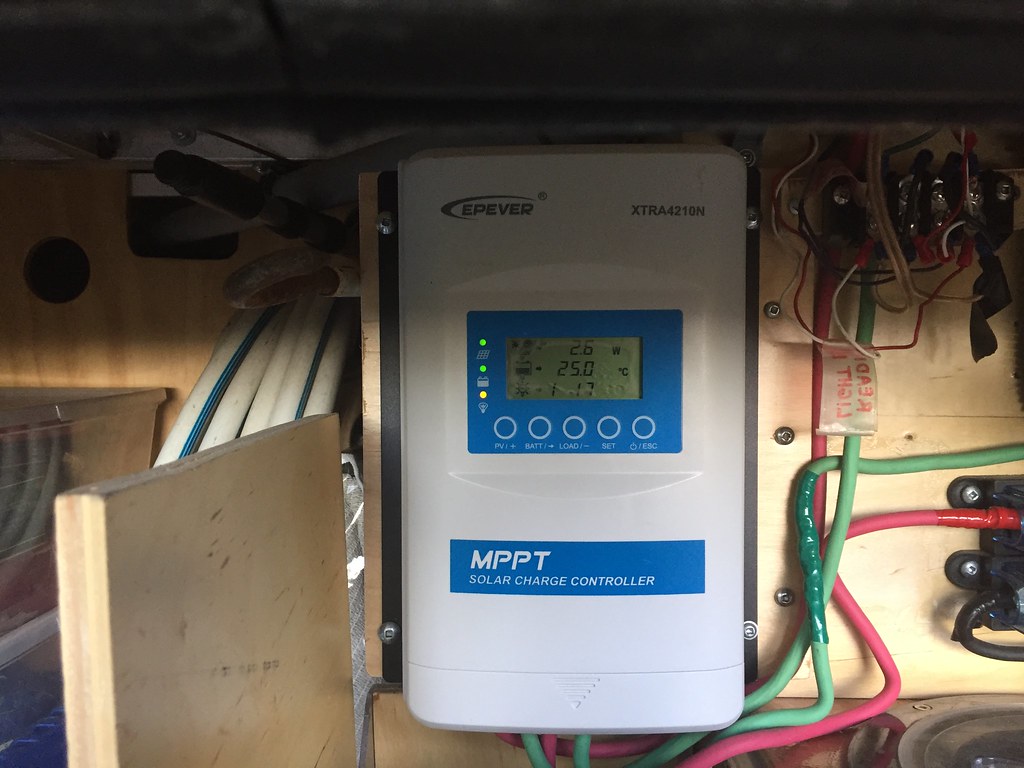
I have two separate solar systems on the roof, one set has two conventional solar panels with their own MPPT controller that are functioning normal and the other is a set of three Unisolar stick on panels, again with its own MPPT controller. These Unisolar panels were great when new and produced good power even when the sun was just coming over the horizon but last year I started to notice they were getting tired, I guess walking on them wasn't really a good idea either and we depend on solar to keep our batteries up to power our fridge which is strictly 12 volt. So with them fading I decided to get a new panel.


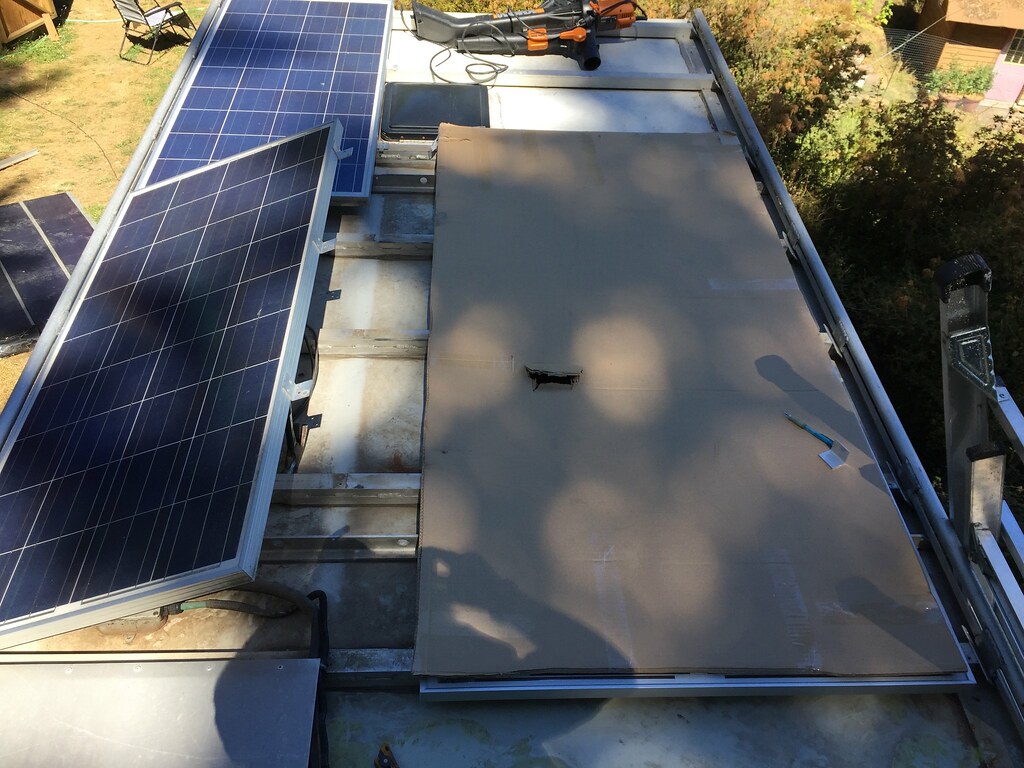
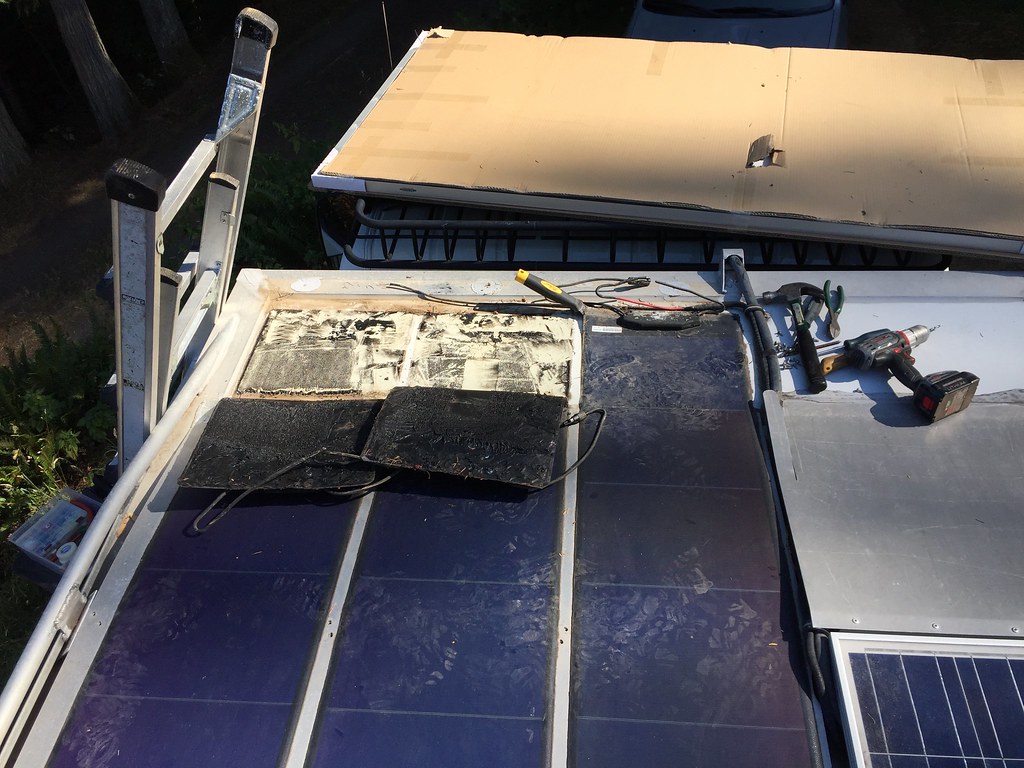
The old panels were mounted partially on a piece of aluminium and the most forward 12 inches were stuck on the camper roof. They were pretty well stuck on the roof and getting them off was some work.

New panel sitting over the cab.

[url=https://flic.kr/p/2c8XJHd] _


[url=https://flic.kr/p/2aPERWp]


But off they came!
[url=https://flic.kr/p/2c8XQ4d]


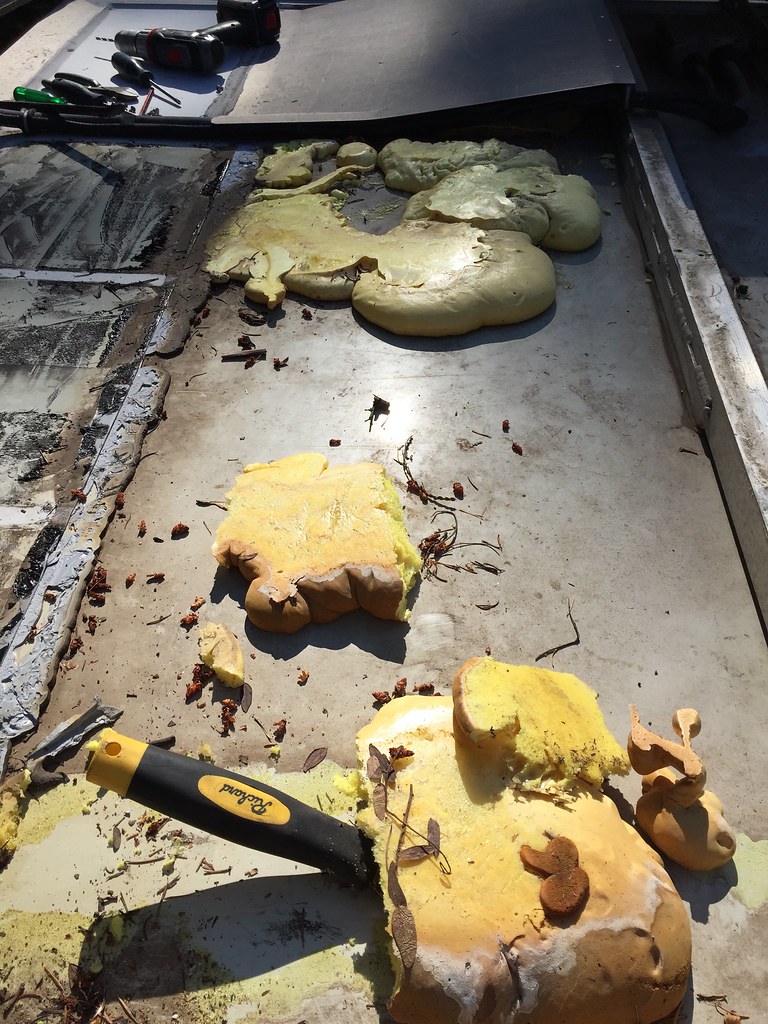
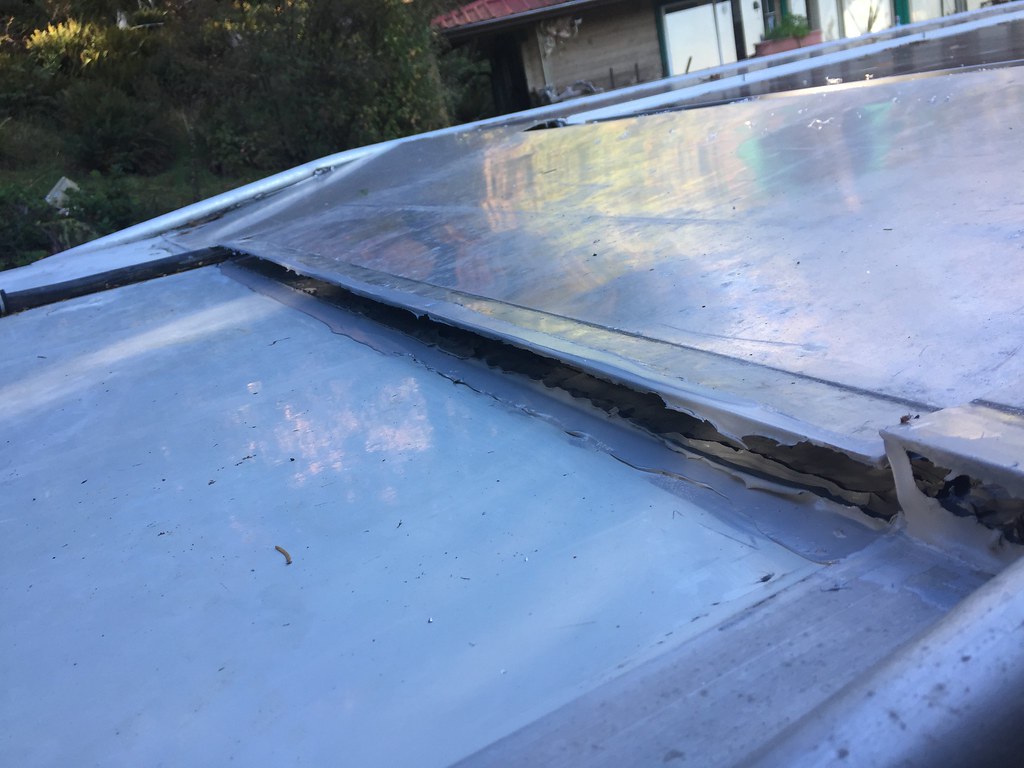
The leading edge of the panel/aluminum sheet was ramped downward to meet the roof of the camper and under this spray in foam was used to prevent crushing the ramp if stood on. That foam needed to come off too.
[url=https://flic.kr/p/Q5pwQw]


In place for fit.
[url=https://flic.kr/p/Q5pxNo]


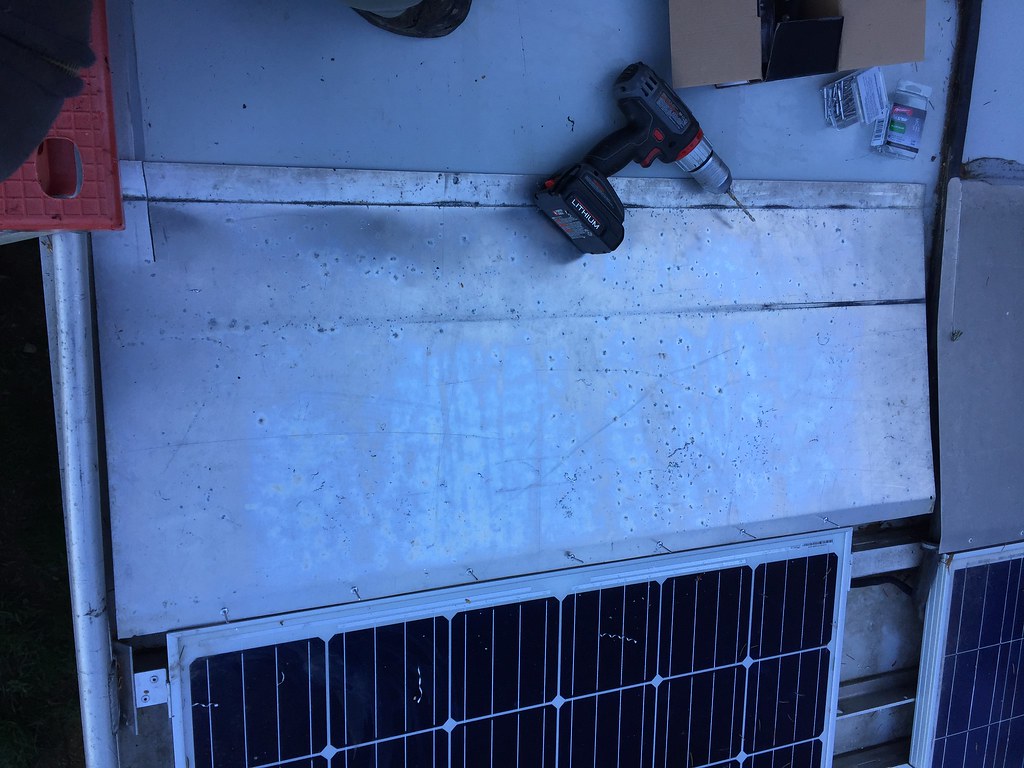
New ramp being fit into place. Foam sprayed under this ramp also then the front is Sika flexed to the roof and left overnight.
[url=https://flic.kr/p/Q5q5MY]


Well I usually use a non expanding foam as in minimal expansion but this time I accidentally picked up expanding foam which ended up pushing the ramp up and off the roof, oh well start again...
[url=https://flic.kr/p/Q5q8ad] [/URL][/URL][/URL][/URL][/URL][/URL][/URL]
 

Billhilly

Adventurer
Trucks got a little over 120,000 Km's on it now, we don't count it in nights but months! Typically we are living in it all winter so around six months a year at minimum and last year we came home from our winter Mexico trip and drove to Montreal from Vancouver so we had nine months living in it last year. We are pretty dialed in now although modifications are ongoing along with some replacement of older systems. Next up a new solar panel.

HA! Good times! A well used truck. As it should be. It's got to be (very) satisfying to drive/use a vehicle that you took from dream/plan/design, to build, to now eight years on the road! Very cool.
Solar looks great. More better for more use!
 

Shoka

New member
Hi, I stumbled on this site while plagarising good ideas for a hard side linear actuated raised roof and was delighted with Westss work. It is more than what I need but the body itself is exactly what I'm chasing. Unfortunately, I'm unable to expand the small photos to have a good look at the idea's used in the raising and lowering, actuator mountings and top over bottom guide system.
I'm fortunate that my truck has rear components that just unbolt so I'm gunna build from right behind the cab, also the chassis does not produce any movement so I can attach straight on.
This is a brilliant site and the idea's flow well. I hope you blokes dont mind me hovering around, will keep you posted when the build begins.
Cheers
 

Hedgie

New member
Hi, I stumbled on this site while plagarising good ideas for a hard side linear actuated raised roof and was delighted with Westss work. It is more than what I need but the body itself is exactly what I'm chasing. Unfortunately, I'm unable to expand the small photos to have a good look at the idea's used in the raising and lowering, actuator mountings and top over bottom guide system.
I'm fortunate that my truck has rear components that just unbolt so I'm gunna build from right behind the cab, also the chassis does not produce any movement so I can attach straight on.
This is a brilliant site and the idea's flow well. I hope you blokes dont mind me hovering around, will keep you posted when the build begins.
Cheers

I am thinking what truck has a rigid chassis and rear components that just unbolt, I only no of one and then I saw the photo. I am also doing a rebuild of the Oka now we have two less bodies to accommodate. Cab is reskinned and planning done for the back, just need to find the cash to build it. westyss has documented his build really well, appreciate sharing of the ideas.
 
Last edited:

Kingsize24

Well-known member
Such an awesome build. Spent the night here at "work" reading the entire thread. Absolutely love what you have built and your travels.
 

Forum statistics

Threads
188,341
Messages
2,905,773
Members
229,959
Latest member
bdpkauai
Top