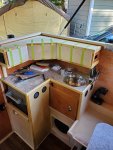
Finally got back out there and put in a few hours on the camper. It's all (mostly) small stuff I am dealing with now, so it's lots of picking and fiddling and 4 hours later it doesn't look like you got very far. But, it still feels good to be making progress. Today was all about finishing the kitchen (or trying) and then working on some stuff I was hacking away at last week.
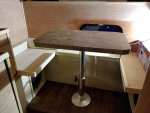
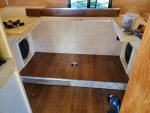
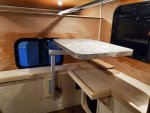
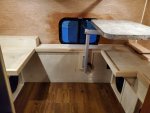
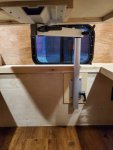
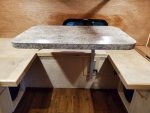
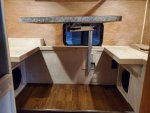
One thing I did last weekend but did not really document at all was to remove the raised edge around both of the seat fronts. This was put in there to retain the cushions, but it will dig into your side / elbows when in 'bed' mode and not 'table' mode, so I decided to scrap it. I dug out my Fein Saw and went to town. LOTS of sanding and routing and more sanding later it looks great and is way more functional. I did this along the side as well on the cover over the water / battery box. Today I decided to fix it all up... and laminate it with some Formica to match the counter tops. I then took the front piece of Poplar that I cut off, ripped it on the table saw and then added it to the back of the cover to act as a strengthener. Looks stellar.
Lots of router trimming and fun today... best tool I have picked up in a long time...
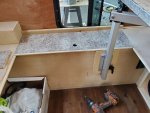
Done.
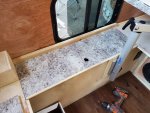
Then it was on to the kitchen cupboards. Long overdue. I started with laminated Luan to match the walls and the other drawers / cabinets, but it was chipping and it is hard to keep the edges in good shape. So... I scrapped it and went with 1/2 inch Birch ply. Same thing, the veneer is soooooo thin on both that any little knick and you are looking at glue. Scrapped that Idea... laminated them as well with Formica. heh I am also going to do the backsplash in either the Formica or maybe some imitation tile? TBD.
Measuring and testing, PITA doing this. Lots of testing, cutting, testing....

I laminated them with some spray adhesive... man I love that stuff.
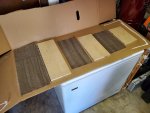
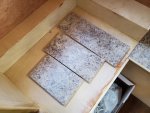
Busted out the new Makita again and trimmed off the edges. I think this is my new favorite thing to do. heh Ready for installation.
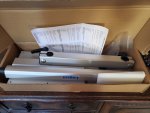
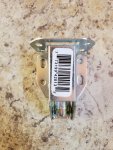
I will be using these hinges from
Richelieu, they are interesting, and I have never used them before. They are called 'Self Closing Hinges' and they look...complicated to mount. Ran out of time, but will dig into it tomorrow maybe if I have time.

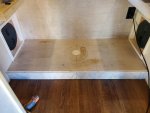
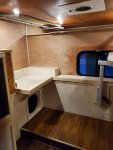
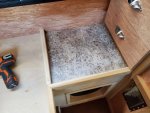
I also wanted to laminate the little spot beside the seat and under the drawers. This is a good spot to put a drink or your stuff if you are in the bed there, stuff like your keys and or phone. This turned out great too... didn't include int he pic the 1/4 round I re-installed, but you can see that I also added that trim from the wall to the corner to clean up that edge and to hold in the cushions one day... when I actually have cushions and stuff.
More work coming soon. I am going to be doing some more laminating, trim and then finishing off the bed and getting it ready to install the mattress. YAY that will be an epic day for sure. Need to start varnishing final coats too, and in some cases first coats. heh Might be able to get it ready for fabric install in a few weeks!

