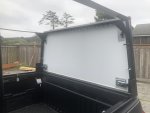
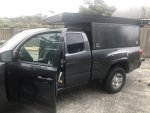
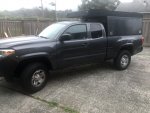
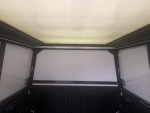
I apologize for the radio silence but my summer has been insanely busy. I also didn't have a computer after turning in my work one mid July until last week when I bought one before grad school. I am happy to say that the camper is complete enough to be used and I have stayed in it a few nights over the last couple weeks up in the PNW. A lot of ground to cover in these posts but I'll start in the beginning with the welded frame.
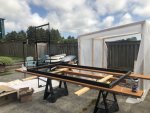
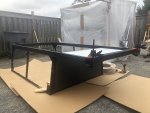
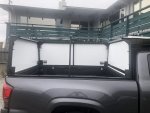
My original design for the frame was much closer to GFC's - using round tube and lots of sexy angles. After discussing the complexity of cutting all of those birds-mouth joints with the welder I was working with I simplified it down and went with a rectangular tube and flat bar frame - trying to distill it down to it's simplest form. It ended up looking a lot like a wimpy version of a lumber rack with gusseted corners and thin bar on top.
All of the rectangular tube was 1.5" x 1" x .125" the bar was 2.5" x .125"
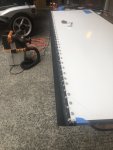
I had never worked with steel before, am lucky enough to have great friends, acquainted myself with my buddy Marcus' portable band saw and got to cutting. I finished the angles on the cuts using his bench grinder - setting the rest to the desired angle and grinding (close as I could) to the finished angle.
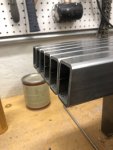
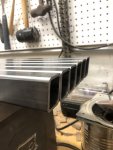
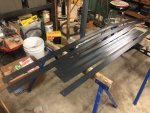
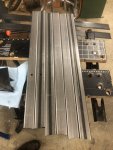
The uprights and flat bar needed holes drilled in them to mount them to the extruded aluminum frame. There were 16 holes for this purpose in the flat bar, 12 additional holes for mounting the sleeping platform panel in the overhanging portion of the frame, and holes in the uprights for mounting the gas struts. I got pretty familiar with Marcus' drill press.
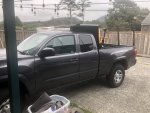
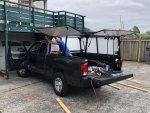
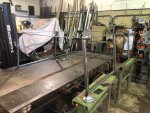
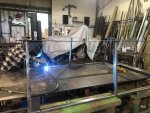
I got started on Tuesday and had all of my parts ready by Friday. Saturday was the day Craig (welder friend) and I agreed to meet up. We started at 7 am and had the frame welded up (with a couple minor hiccups) by 1pm. I decided to mount it to the bed with some camper mounting clamps for tacoma rails from Amazon, ditched the top portion of the clamp and we welded some bar that I had cut lengthwise hanging off the inside of the frame. Drilled a hole for the bolts and used the nuts that came with the clamps to clamp the welded frame onto the bed. I had to stabilize the overhang with some wood because it was so flimsy (without the extruded aluminum frame) so it looked goofy but lasted the drive down to OR to start etching, priming, and painting.

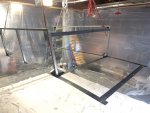
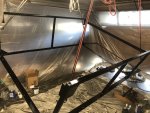
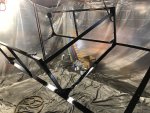
Once down in OR I was working at my buddy Andrew's place in Seaside. We built a spray booth in the garage. Acid etched the frame outside (Craig's awesome suggestion) then I primed it with 3 coats of epoxy primer and painted it with 2 coats of paint. I was brand new to using a HVLP spray gun and it was a lot messier than anticipated. Some things I learned:
Set up is crucial - getting the angle of your part hung correctly so you can coat it without tilting the gun too far is key, be sure you're well protected for overspray, and get as good a ventilation solution as you can. Even with a recommended respirator, goggles, and tyvek suit this was one of the hardest parts of the whole project. It got easier as I got better at it but I have a new respect for anyone who does automotive painting for a living. It is not easy. If you build your own paint booth for automotive spraying I highly recommend putting cardboard down on the ground, this will help prevent your suit from sticking to the ground and pulling up your drop cloth while you're trying to paint - which is not a good time.
I used Fibreglast's Black High Solids Epoxy primer with their Duraglast Single Stage Polyurethane Paint as a top coat.
Really happy with those products, I think my process could still improve ha. Once I completed the frame I was stuck for about a week waiting on the panels and extrusions to show up. Will start that in the next post
