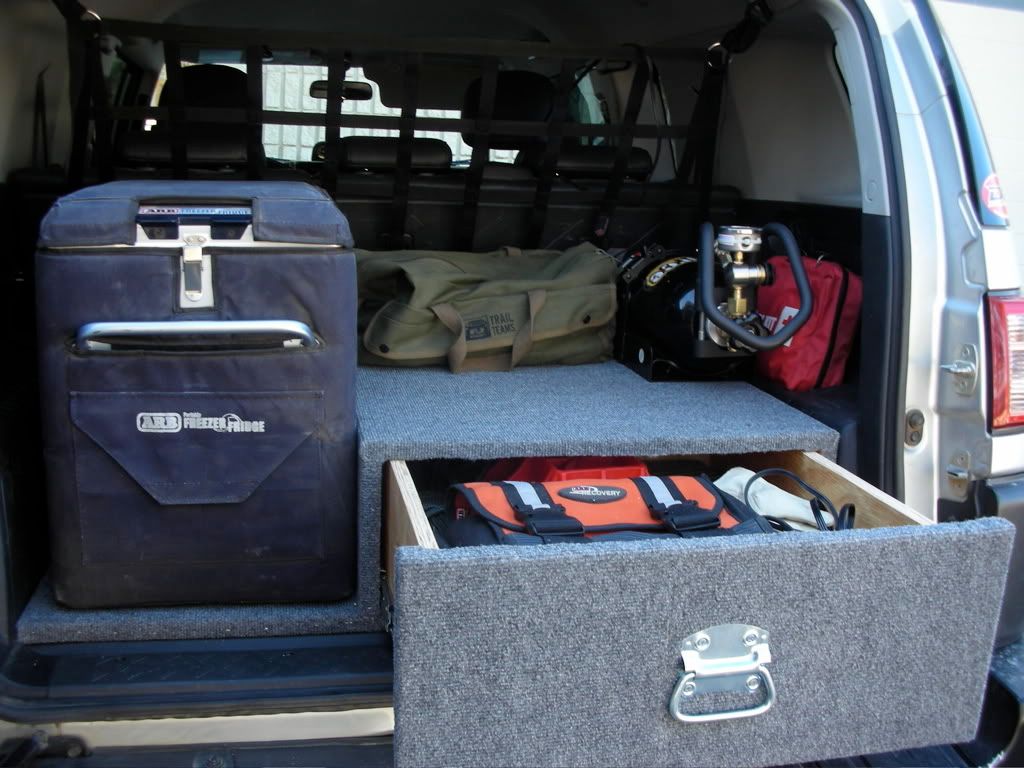
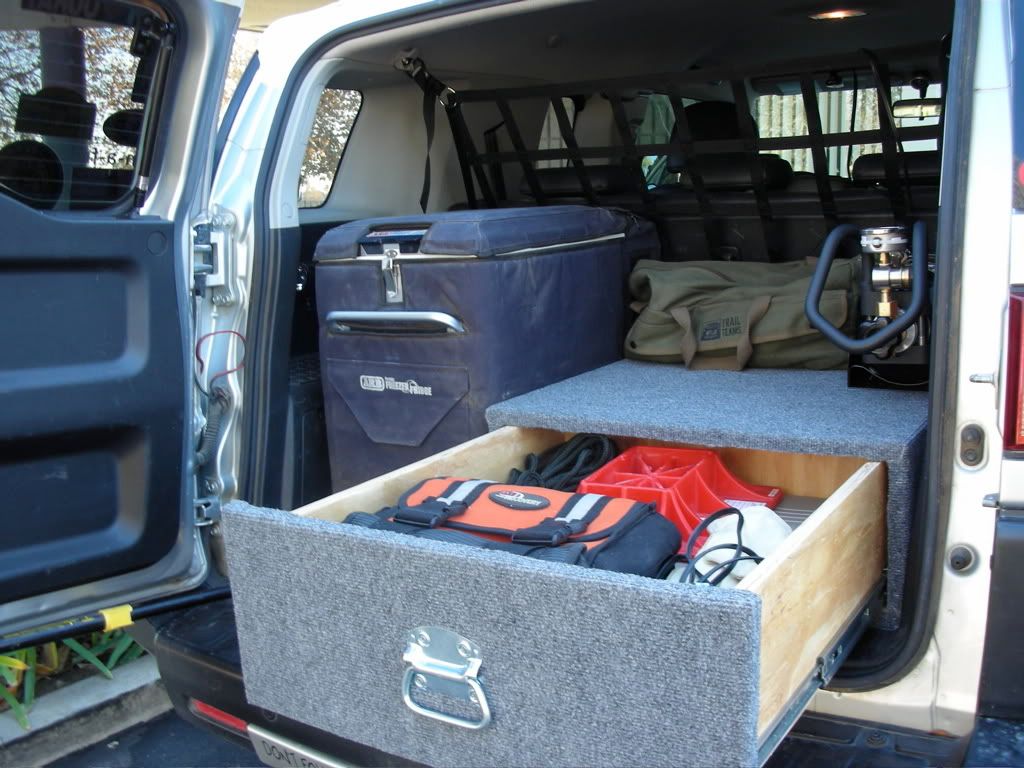
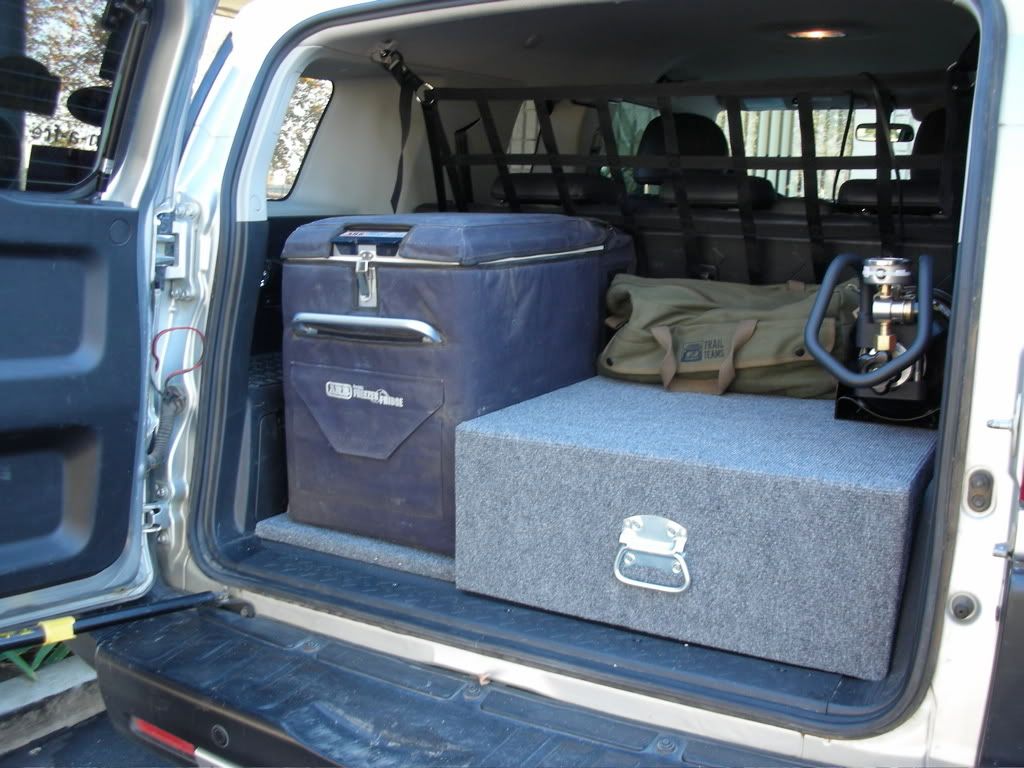
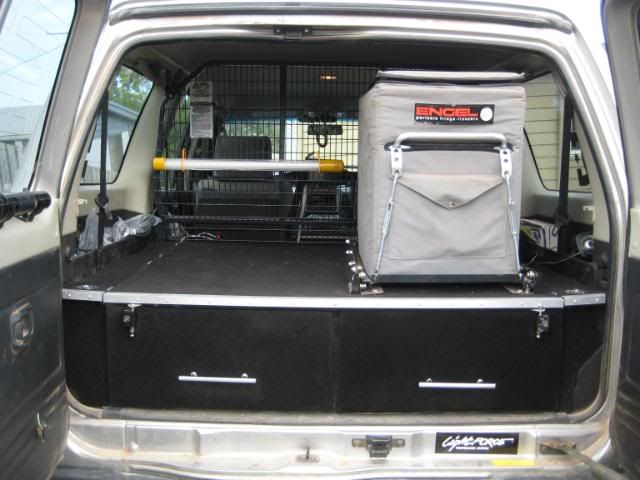
Post up your drawer/storage system

neliconcept

Spirit Overland
bluedog said:
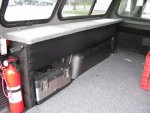
I need to because I usually have a bike in the back. the drivers side is for that and front wheel. You can see the wheel fork in the back ground.

I got the carbon fiber off eBay, it's about 3mm thick, so it's nice and ridged. I cut it on a regular table saw with a carbide blade.


B.

oh gotcha, thanks for the info on the carbon fiber, looks clean and rugged!!
 

Bulldawg

New member
Howdy. Long time lurker, first time poster.

This one's still a work in progress. I'm about the farthest thing from a carpenter, and this thing has been a royal pain in the butt. :ar15: Lowes doesn't exactly have the straightest wood out there.

As it stands, I've got a structure of 1x10 pine with a thin sheet of plywood attached on the underside. The structure is secured together with wood screws and some contractor grade adhesive that seems to stain the hands pretty good (read the directions first next time - the blade on my Leatherman eventually got all of it off...).

The platform consists of three panels of 23/32" (or something like that) plywood, all cut from a single sheet. The center and rear panels are attached together with a piano hinge, creating a trunk at the rear. Two 1x2s were used on the underside of each panel to keep 'em from sliding around (they slip inside the structure).

I spray painted most of the visible wood black. Some pieces are still unfinished either due to error in judgement or various adjustments. The seams of the box have also been caulked for a little added water resistance. I'd like to find something I can paint on to the underside of the box to improve water resistance and delay decay. I'll probably add some foam tape or other weather stripping where the platform & trunk lid rest on the structure.

I've only got one divider in it, so far, creating the trunk space at the rear. Still deciding what I want to do for forward compartments. I'm planning on storage for sleeping bags/pillows/blankets and pads/memory foam along with other camping gear, vehicle maintenance items (fluids, parts, etc), tools, firearm/accessories, food, water, etc.

The platform and the rear structure panel are covered with Lowes indoor/outdoor carpet. A trip to the hardware store yielded the Blitz jerry can carrier which I bolted to one side of the trunk. I plan to get another for the other side. I've got an assortment of MFCs, MWCs, and Swiss surplus fuel cans, all of which should work in this inexpensive carrier. I'm also considering fabbing some panels that can be used to fill in these spaces for when they're not being used and to allow a little more platform space.

Nothing is actually secured down to the bed at this time. I've got some L brackets that I'll eventually get around to installing. Also, I haven't quite figured out how I want to go about securing the platform to the structure. I initially wanted to keep it all easily removable, but I think in the end, I'll just screw it all down to the structure and cut some access hatches in the panels. So much for simplicity...

storage01.jpg


storage02.jpg


storage03.jpg


storage04.jpg


bestop01.jpg
 
Last edited:

kjp1969

Explorer
I decided to go half-way across as well- the rest of the space fits a large action packer and a cooler.
6a00e54fa376c18834010535d0f77a970c-pi

The drawers are a hacked up RV storage drawer with no slides- just friction fit. That way it's easy to remove the drawer and all the contents in one motion.
 

mattmainster

Observer
kjp1969 said:
I decided to go half-way across as well- the rest of the space fits a large action packer and a cooler.

The drawers are a hacked up RV storage drawer with no slides- just friction fit. That way it's easy to remove the drawer and all the contents in one motion.

Very nice! Do you have a head on picture?
 

kjp1969

Explorer
mattmainster said:
Very nice! Do you have a head on picture?


dsc_0165_2.jpg


This is obviously without carpet and tie down loops, but shows weight saving "speed holes." The carcass is held down by turnbuckles and has a couple of tie down loops on top for bungees.
 

BigDaveZJ

Adventurer
mattmainster said:
To keep this thread alive, here's mine that I just finished...

Library-8817.jpg

Do you use the CO2 tank in the horizontal position like that? I was under the impression that was bad for the seals and such in the regulators.
 

Corey

OverCamping Specialist
Fridge use to be in the back, it is now behind the drivers seat so it can open all the way, and give me more room in the back for camping gear.

Contents:

5a.jpg


7.jpg


Storage on the rear door as well.
Bug out kit with stove, utensils, Mountain House breakfasts/dinners, ect.

6.jpg
 

FettsWay

Adventurer
i don't expedition, just camp a night or two at times, so my setup is small scale compared to most.

I built a side mount cabinet in the camper shell of my truck and painted it black with a carpet top. The top shelf of the cabinet is handy for leaving books, lantern, etc. when sleeping in the back. The second shelf is for storage. I used pet screen from Lowe's for the door with bungee cord tunneled through it then sewn with heavy duty button thread. The netting is tough and light weight.

The legs of the cabinet fit in the stock groves of the bed liner and the whole thing clamps to the bed rail with 3 "J" hooks and wing nuts. Looking back on the project, I wish I had recessed the wing nuts into the board so they did not protrude, but oh well...my little dog doesn't mind and still perches up there to watch the world from our campsite.

- fettsway
 

Attachments

  • IMG_2200.JPG
    IMG_2200.JPG
    96.7 KB · Views: 3,313
  • IMG_2632.JPG
    IMG_2632.JPG
    108.8 KB · Views: 2,760
  • IMG_2633.JPG
    IMG_2633.JPG
    126.1 KB · Views: 19,602

Forum statistics

Threads
188,173
Messages
2,903,163
Members
229,665
Latest member
SANelson
Top