THEN I MOVED UP TO A 100 SERIES LAND CRUISER AND STARTED OVER AGAIN IN 2011:
I worked on it again this weekend...between drooling over the work occuring on my garage. I'd say about half the job is physical work, the other half is staring at the cargo area, sketching and planning. This was NOT an easy design to decide on. What made it easier is knowing that I am going to take it all apart at the end of the year and rebuild it again. I used only 1/2 inch plywood, 3/4 lumber and screws to build it. I don't like the plywood/plywood joints, but for a test version that work fine. Not using glue will make this easier to disassembly later. The next version will definitely incorporate metal.
Enough talk, here's the pics!
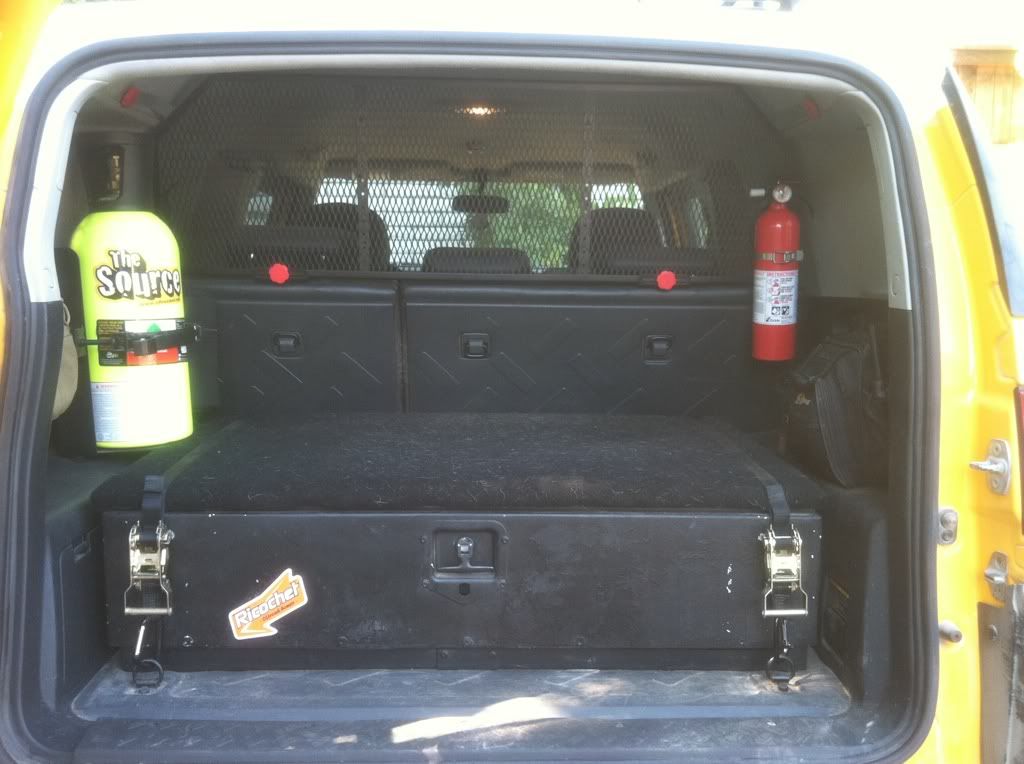
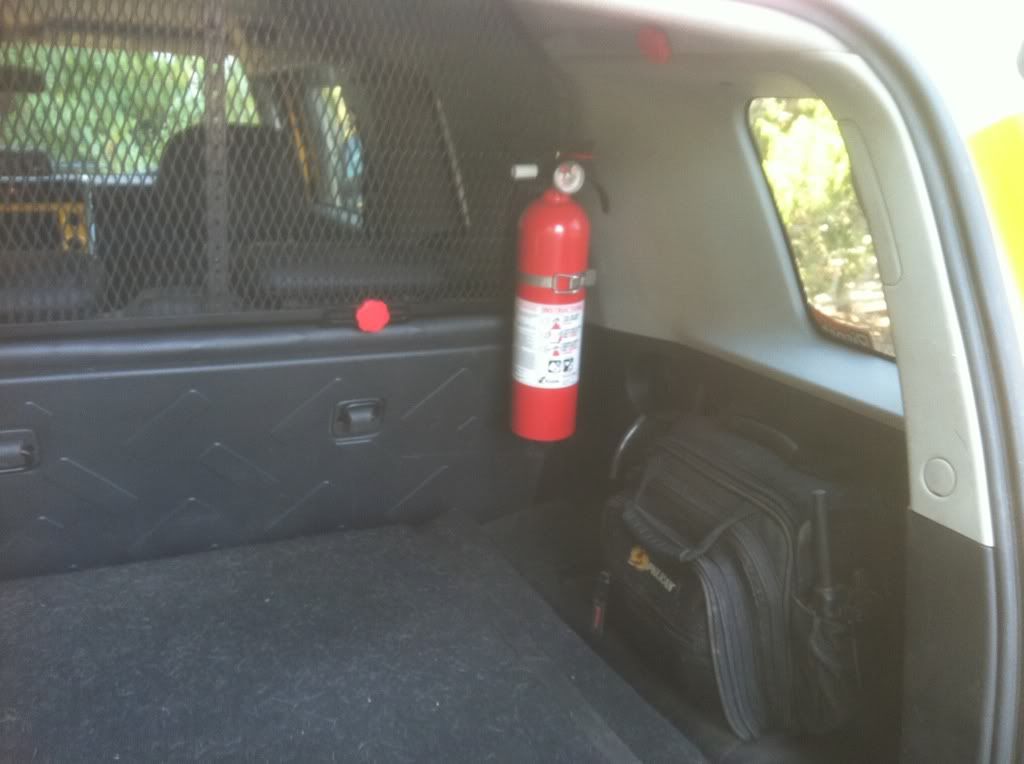
The overall look: The flat part in the upper center is for the fire extinguisher/mag light/etc.
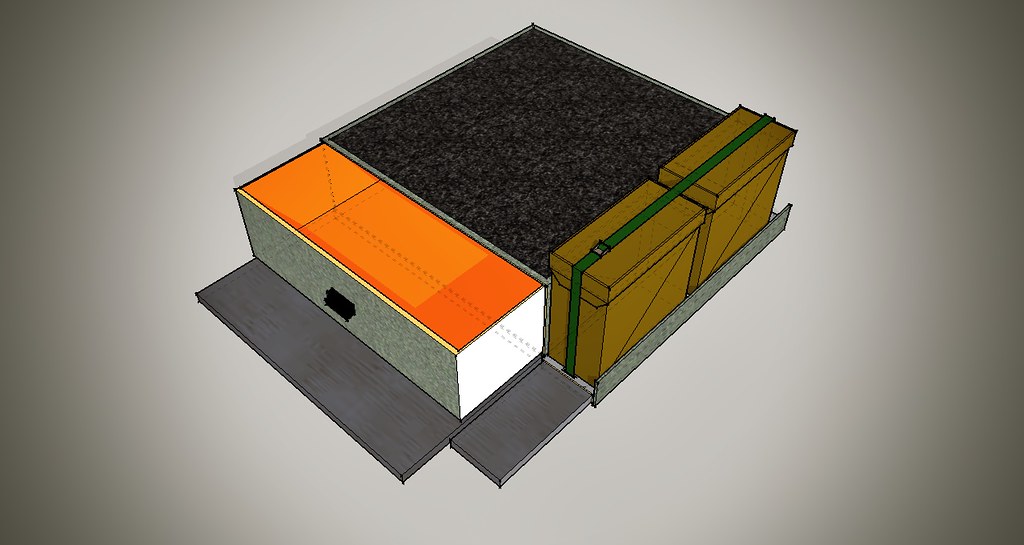
Two 7 gallon water tanks. Designed so the extra can be swapped out with the spigoted one.
I had to customize the drawer to accomodate the spigot. The water is as far to the back as the cargo doors would allow. This recess gives room to get a cup/pot/etc under the spigot. The whole area with the tanks will be lined in waterproofing that will extend to a "sink" type of thing under the spigot. Any leaks should be directed to a tube and out of the vehicle.
Drawers open. I had 24" and 30" slides on hand, thus the difference in how far they pull out. I designed them so when pulled out, they just barely rest on the tailgate. This way the weight is not on the hinges when fully extended.
The side area over and behind the wheel well (under ruff-ruffs spot) hinges open. I will fit almost all my "dirty" stuff in there. Axe, shovel, recovery, tools, saw, etc. The two drawers should be left for just "kitchen" and "camping" stuff.
Secret little DC plug for fridge tucked away
I made use of every nook and cranny and was not afraid to cut into the plastic cargo liner. Here is an example of extra space gained that was previously empty space behind the panels.
Here is the "extended cab" behind the seats. There was some space behind the water jugs (not as deep as the fridge), so I cut an access to make use of the space. Who knows what I will put in there, but something I am sure.
Pictures don't really tell the story of this build like being in front of it. Is is WAAAAY more complicated and tricky than my 4runner cargo build. Even for version 1.0 it is not finished. I've got lots to do still! At least it is ready enough for Moab...well...close.