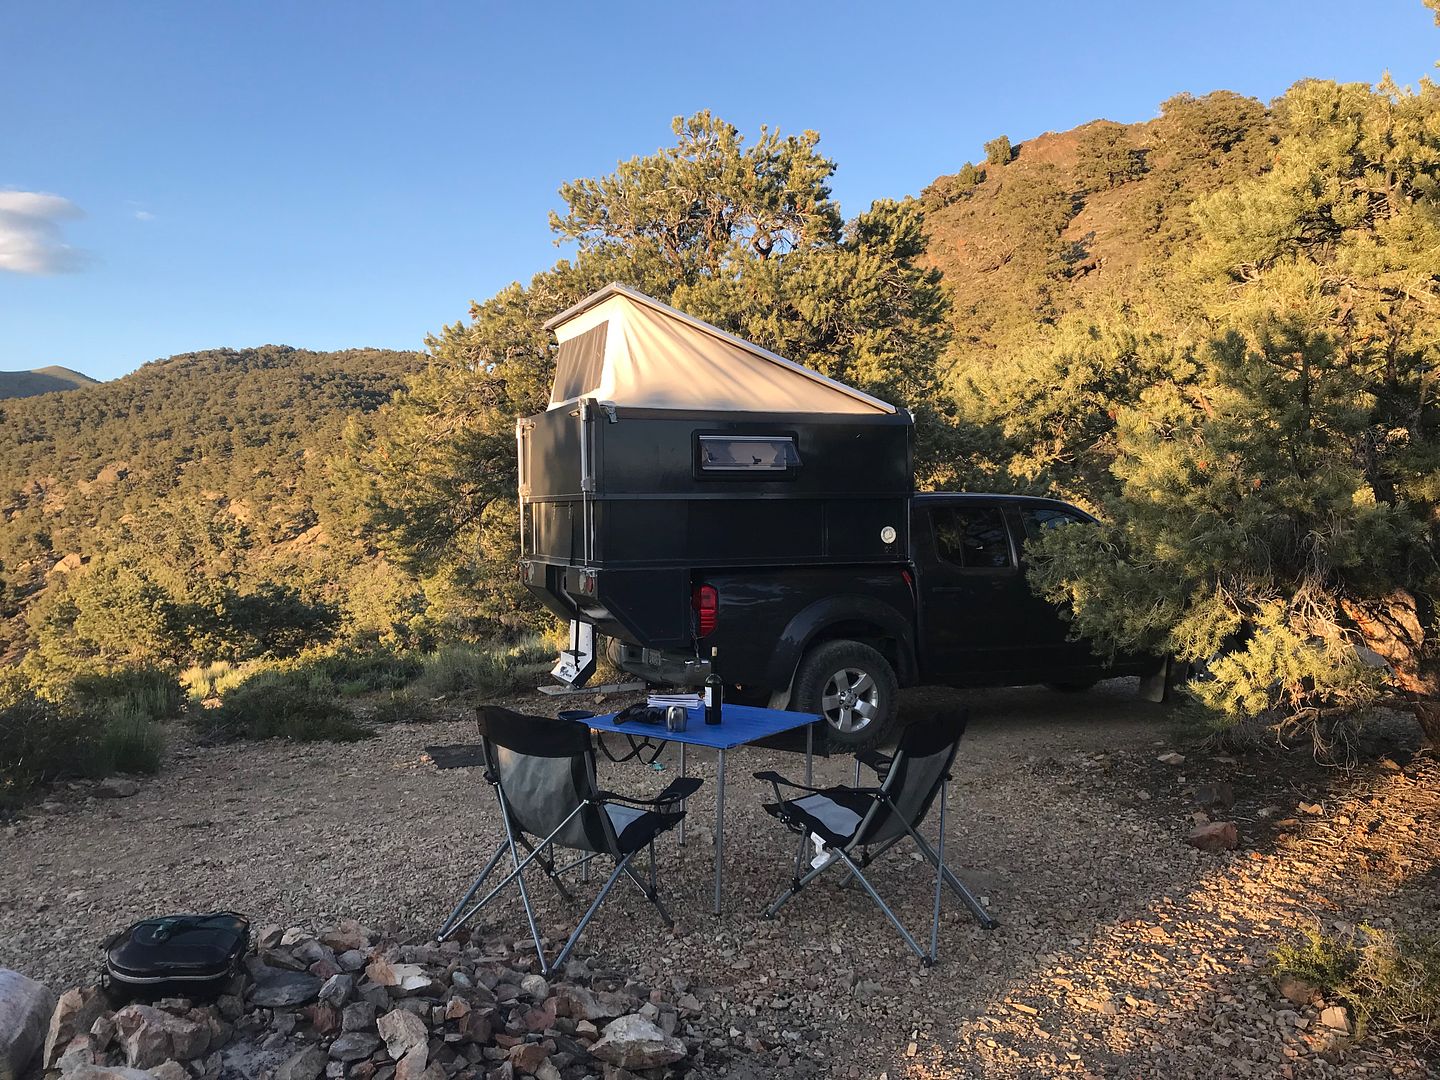
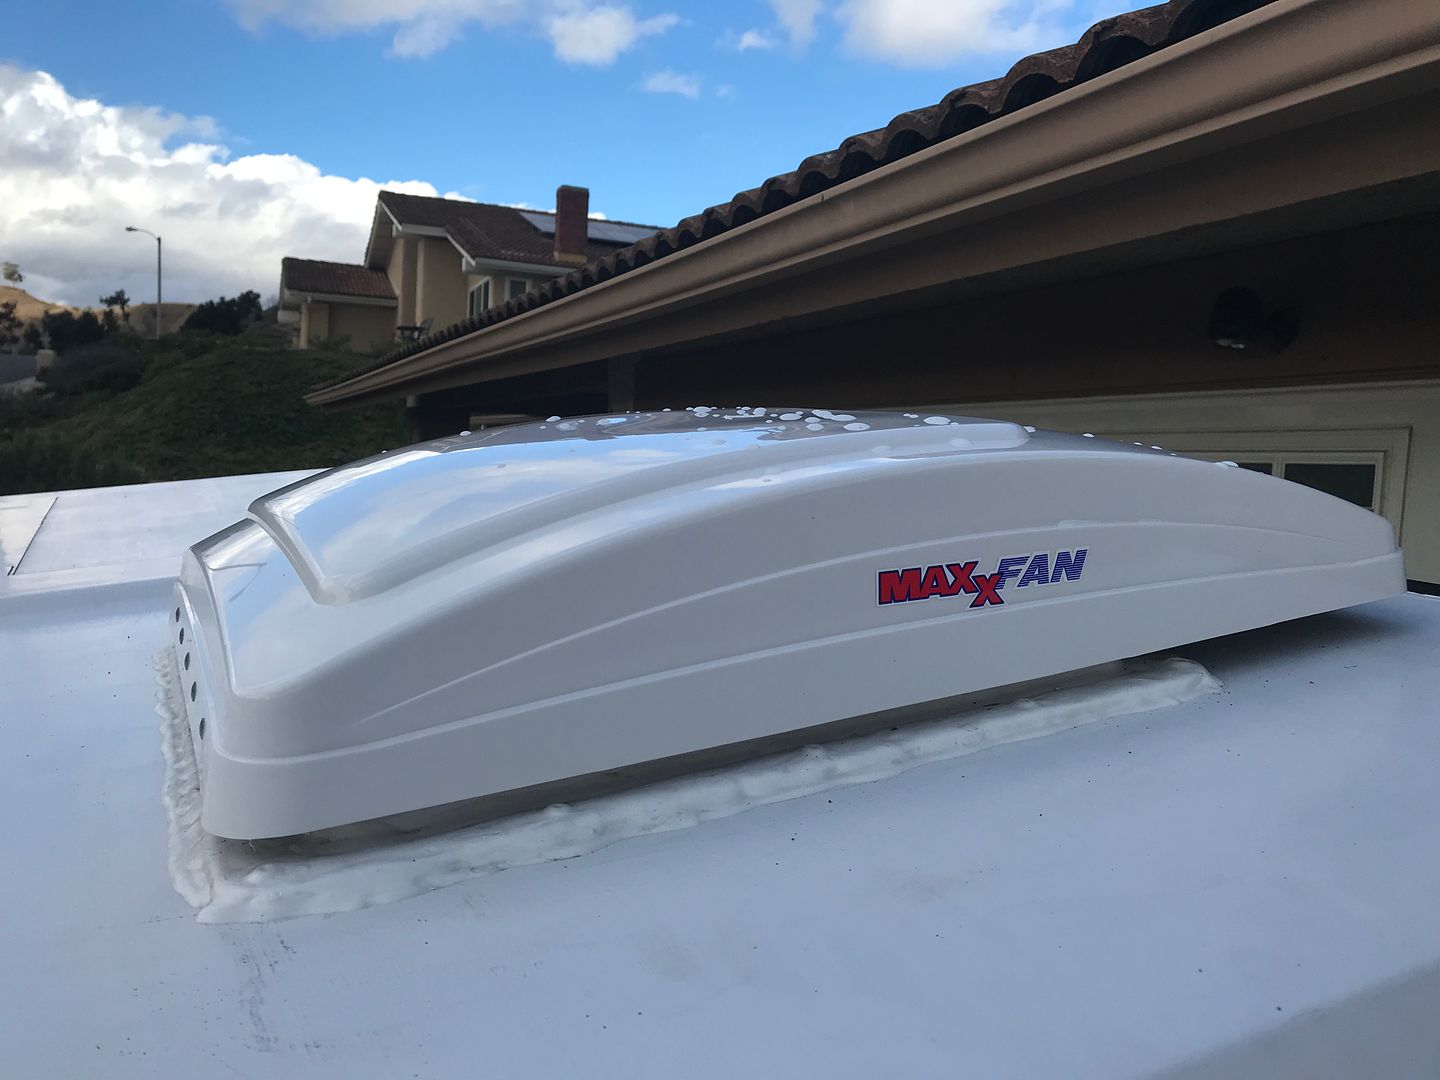
We're less than a week out from our first proper winter trip in the camper. We've got about 10 days over t-giving week and we decided to hit the four corners region. Hoping to see some of the touristy areas without the usual summer crowds and get off the beaten track and have some spots to ourselves. Expect it to be cold and maybe snowy, so doing some upgrades on the camper...
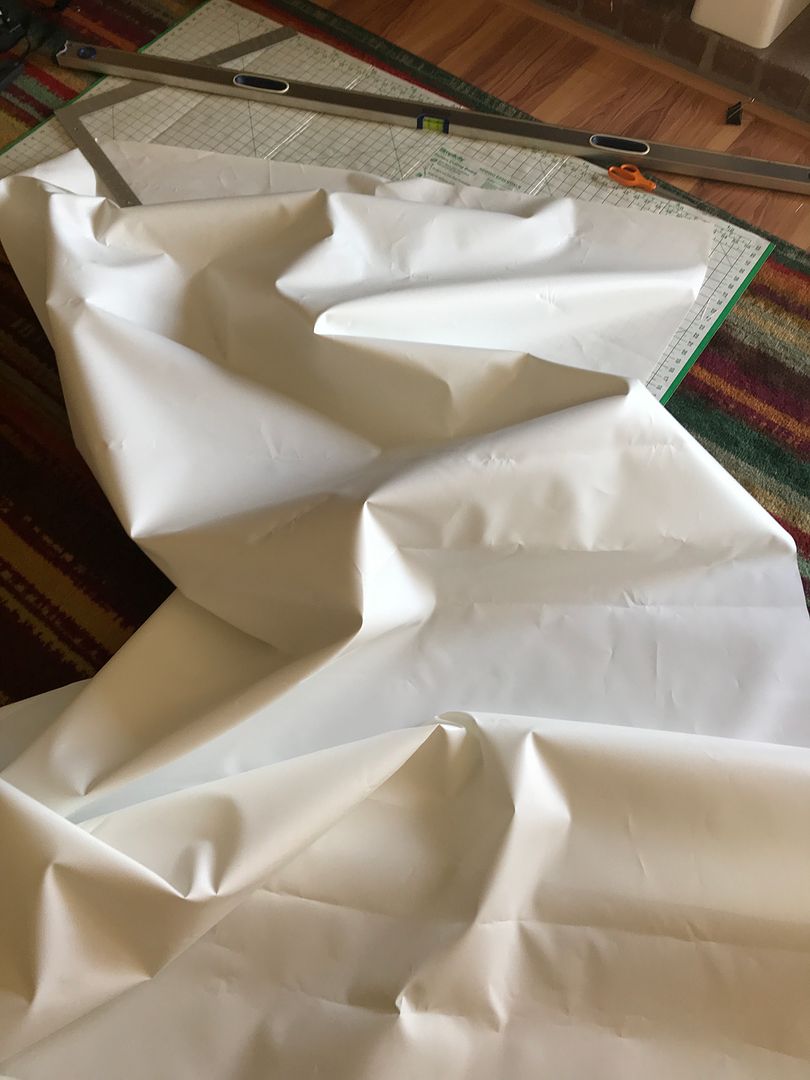
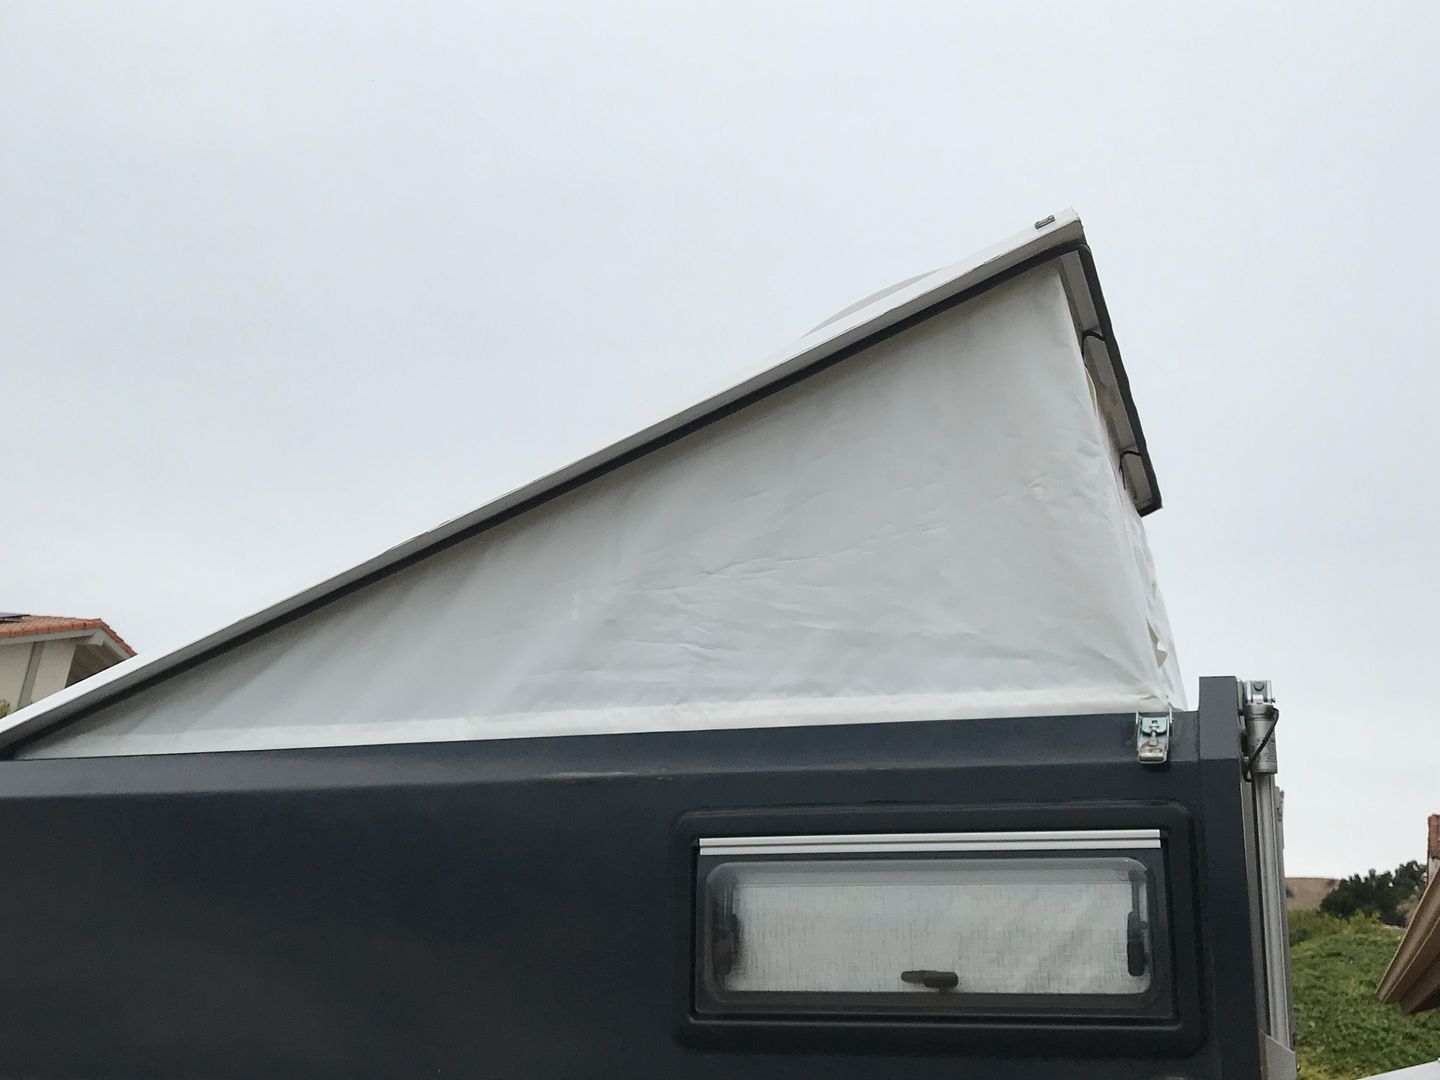
First is replacing the cotton fabric on the pop up with something waterproof. Went with PVC vinyl coated polyester in the lightest weight (10oz.). The main reason we used this material is that it glues together with vinyl cement - thus taking most of the sewing out of the process. No stitches means no leaks but more importantly, I'm not sure our regular-grade sewing machine would work with something like a good acrylic fabric (like Sunbrella) and even it it did, the stitching would look less than professional to say the least.
Started working on the window first. The outer layer is clear vinyl.
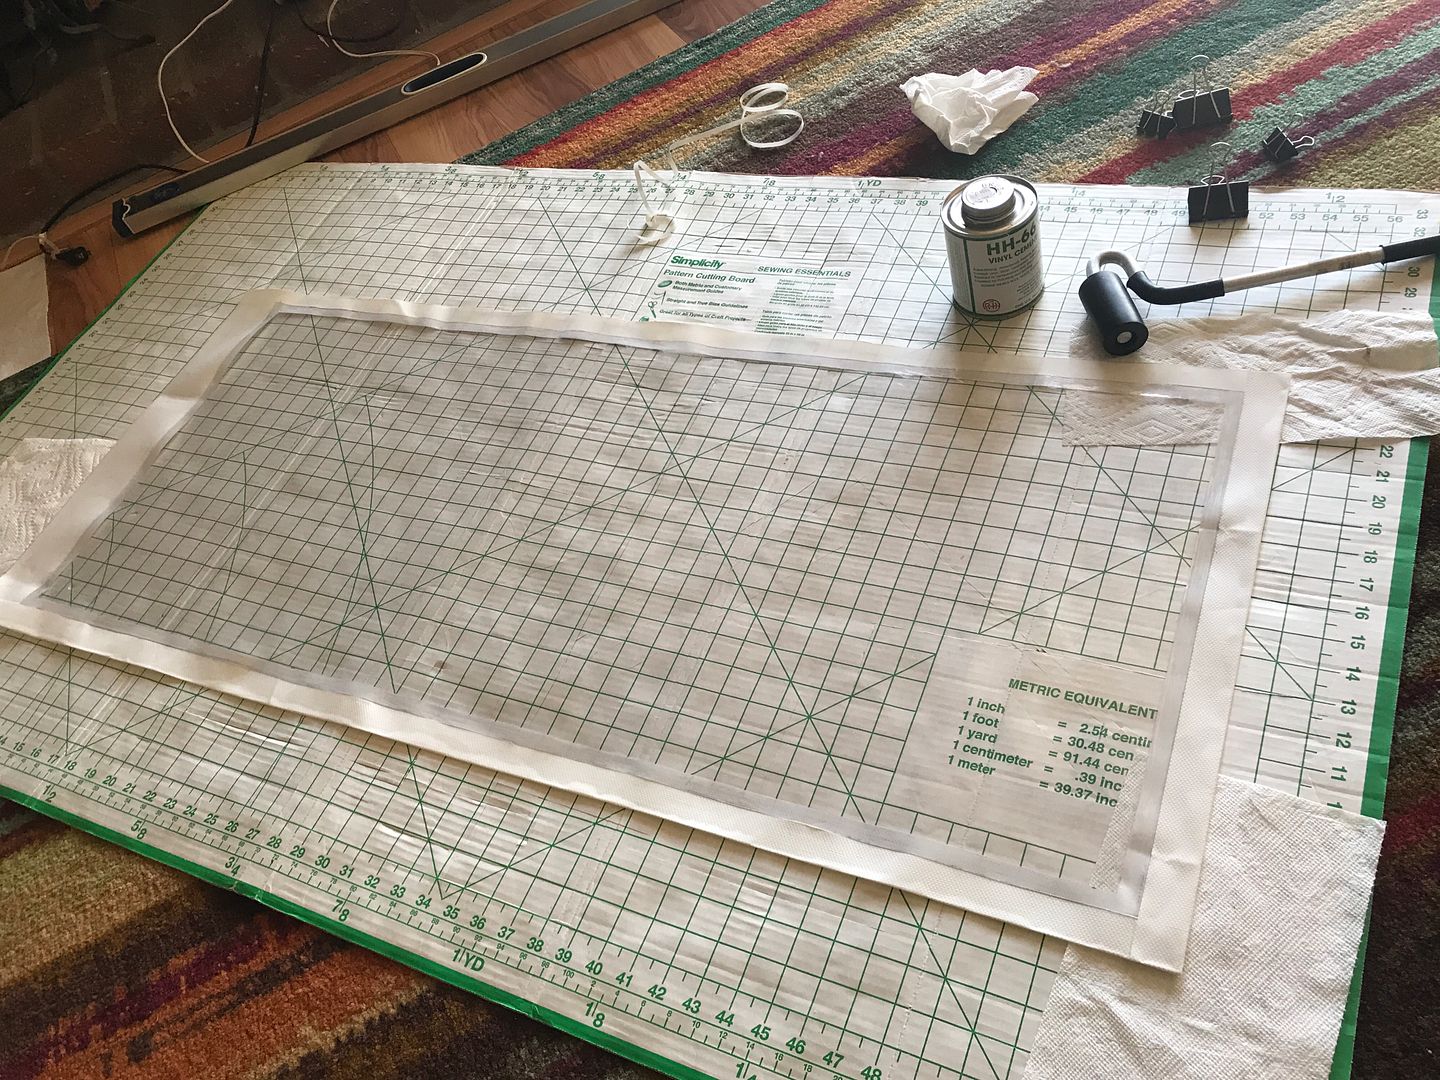
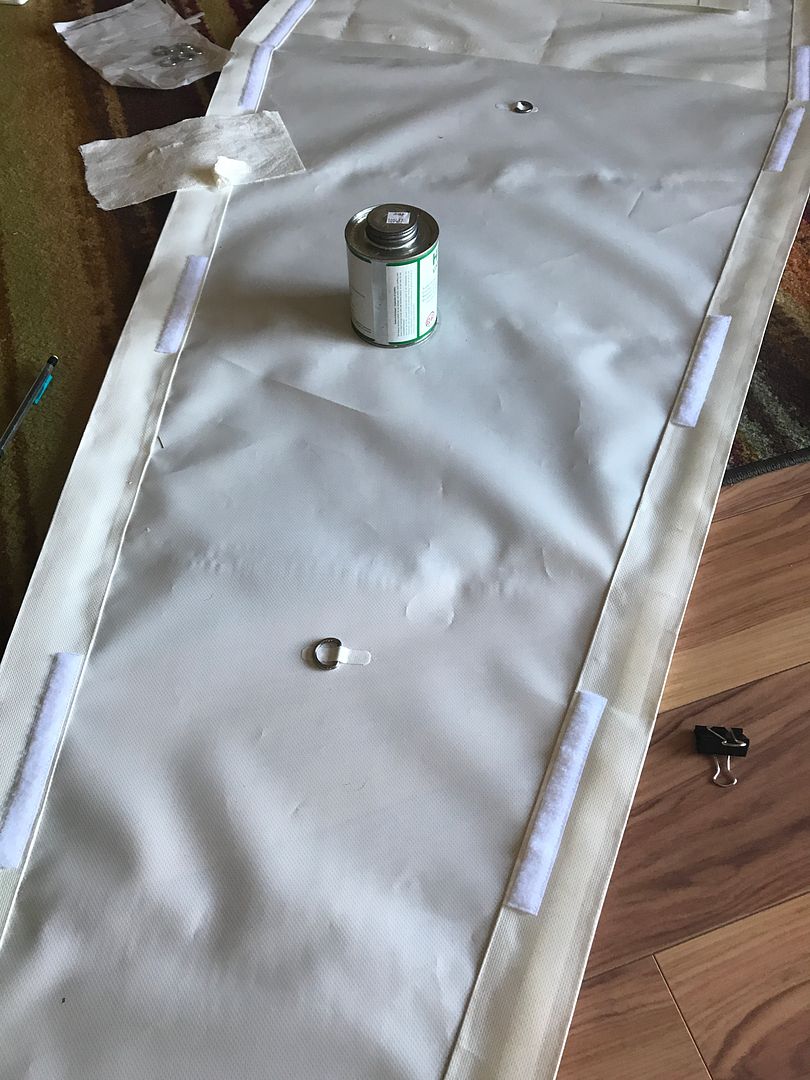
The clear vinyl is framed with the white vinyl material, all glued together with the vinyl cement. The cement is pretty easy to work with. Brush on both sides, give it a couple minutes to tack up, then put the pieces together - if it's really tacky, you only get one chance to line it up right but if you put pieces together when still wet, you can pull it apart and try again.
Only real sewing was for the window screen.
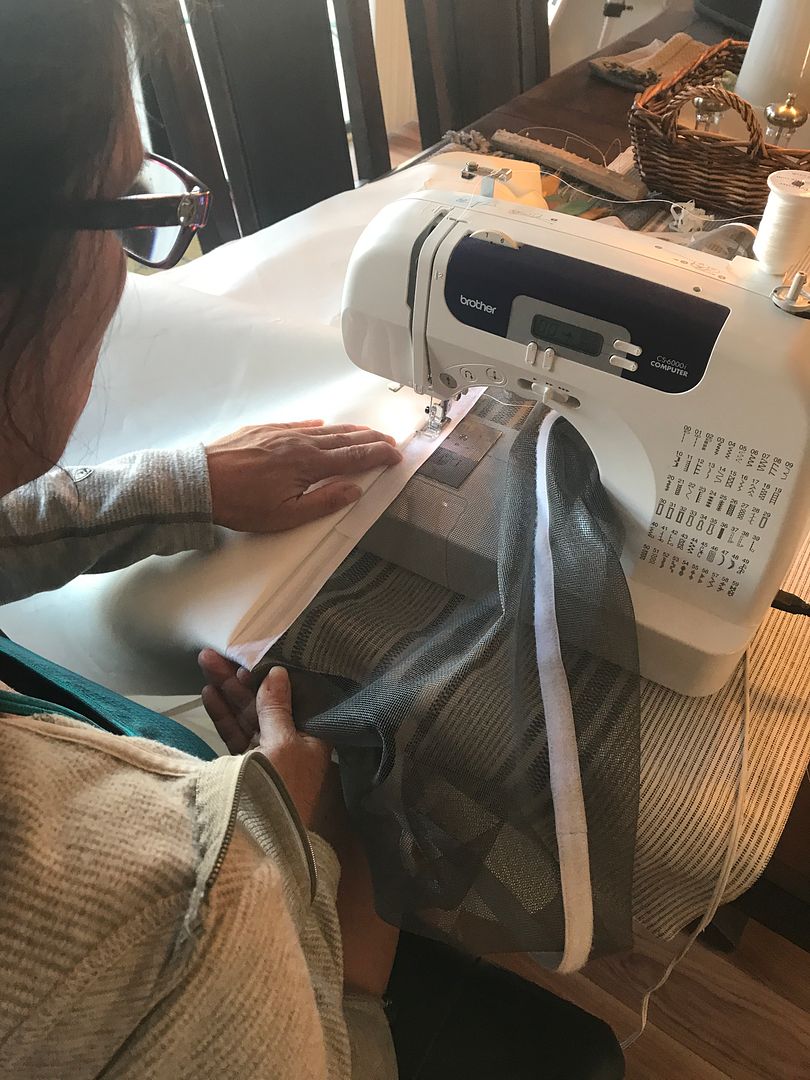
Velcro around three edges and a strip of vinyl on the other. That edge was glued to the inside of the back wall.
Window goes in the back panel of course. Here it is glued in to place.
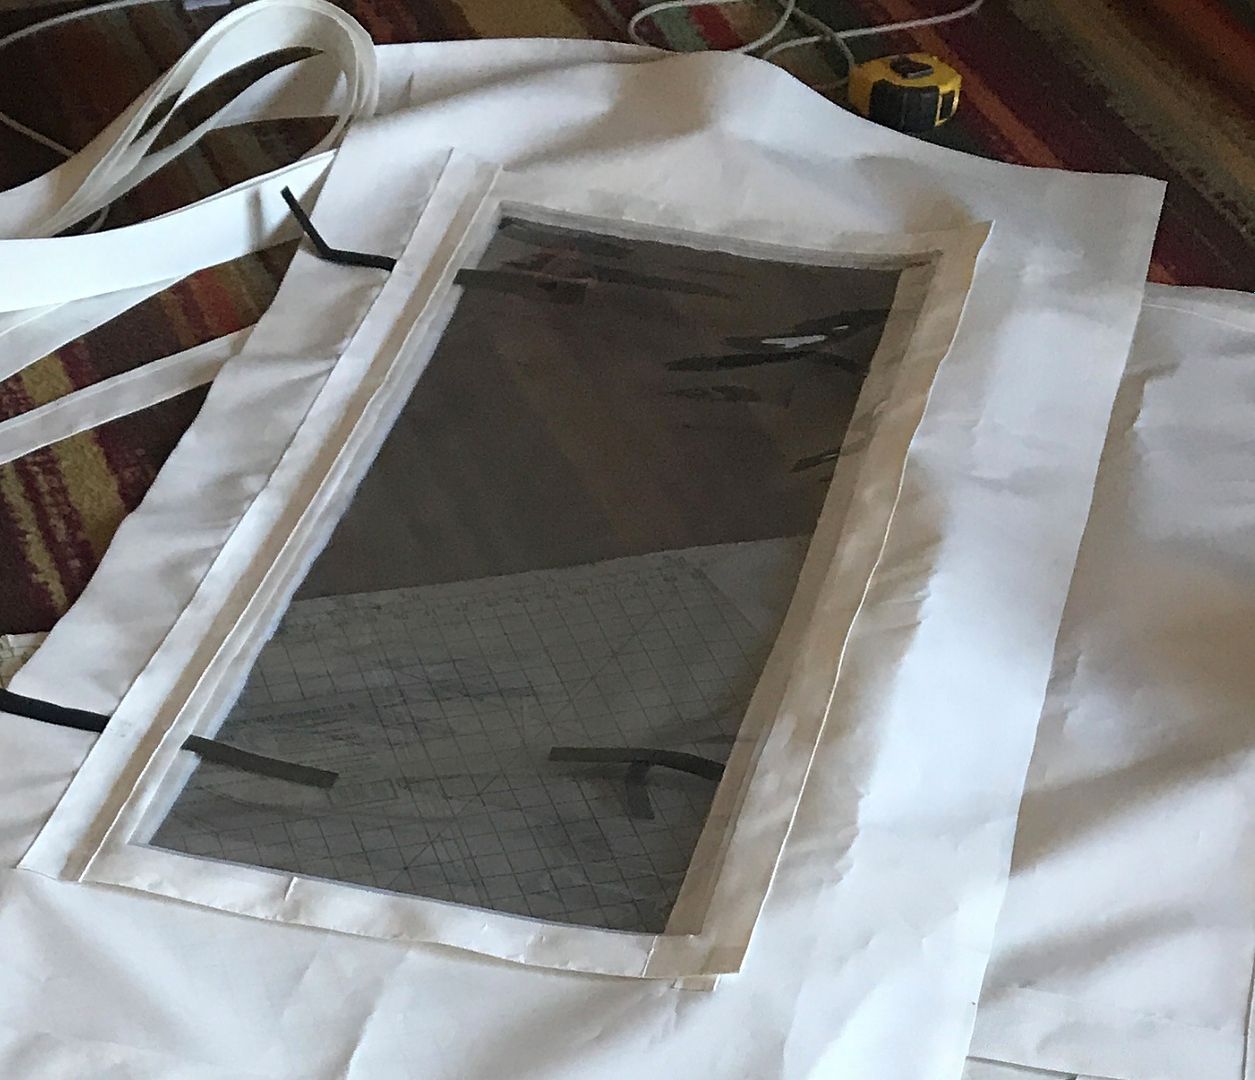
The clear window outside the wall and rolls down in to place. This should be the best for shedding water. It's glued across the top and held closed by 3/4" velcro around the three other sides. The velcro is Velcro Brand with what they call "19 Adhesive", which is formulated to bond better to "low energy plastics". From what I can tell, vinyl is pretty "low energy" and it seems to be sticking well. Again went with adhesive instead of sewing - hope it holds. The edges of the window extend 1.5" beyond the velcro and should help keep water from getting to/through the velcro. The black straps are double sided velcro to hold it when rolled up. The screen is inside of that and a solid flap will go on the inside.
Here's the back panel with the completed window being test fit on the camper
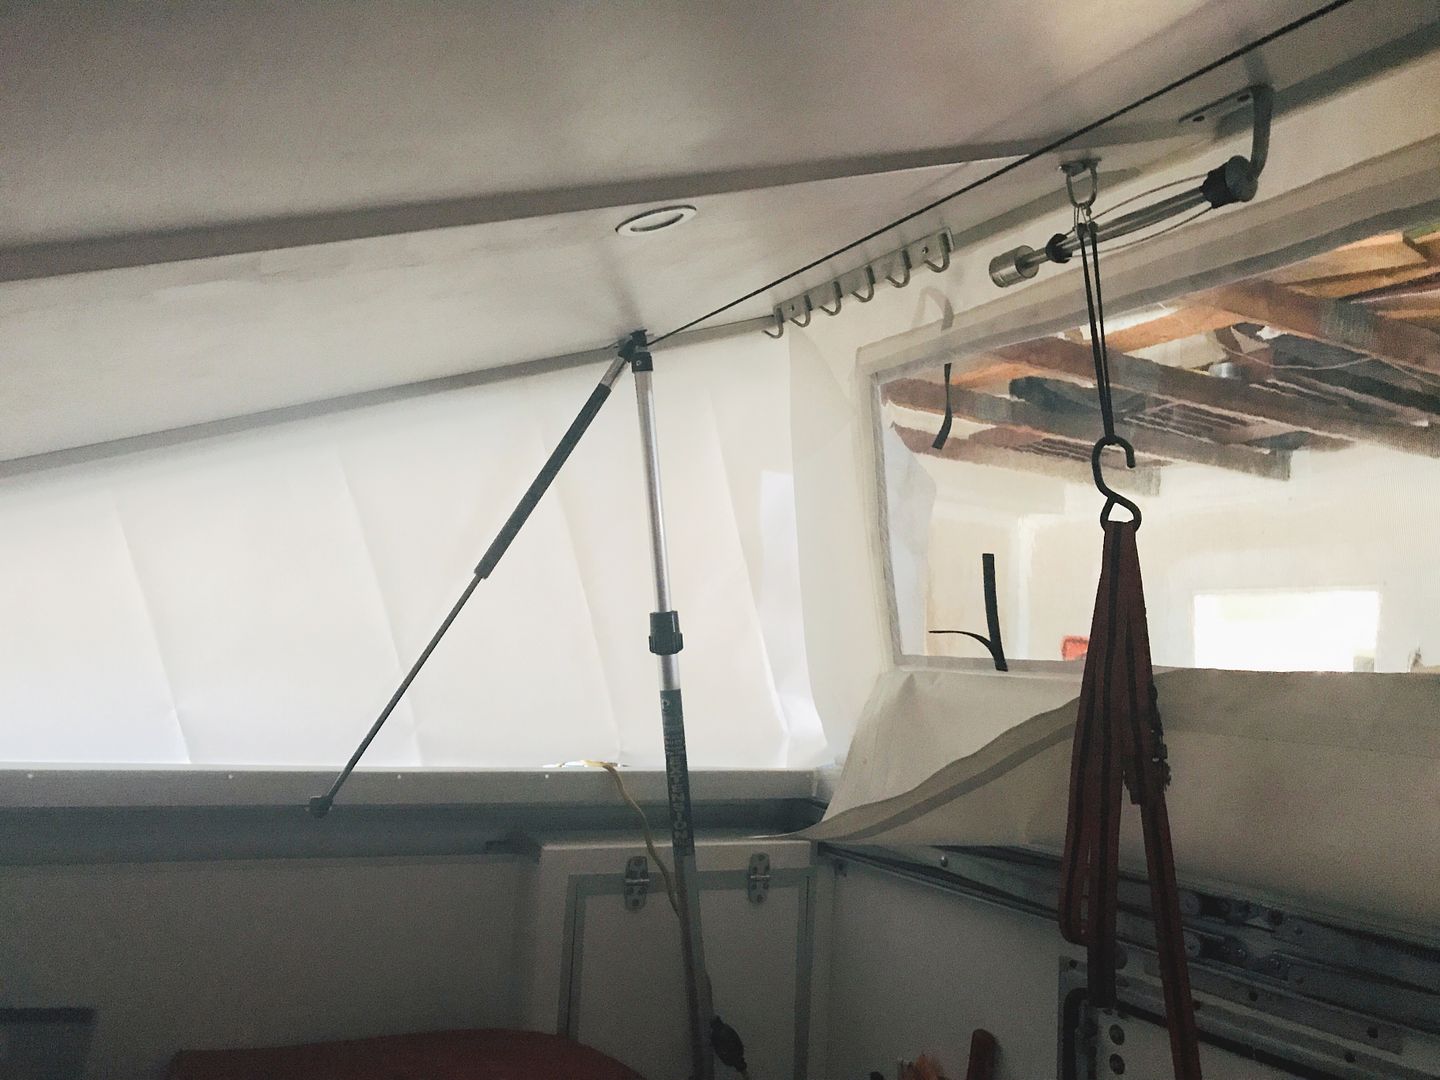
The screen (hard to see) velcro's on three sides to the inside of the wall and rolls down when not in use, as does the solid flap (seen hanging down).
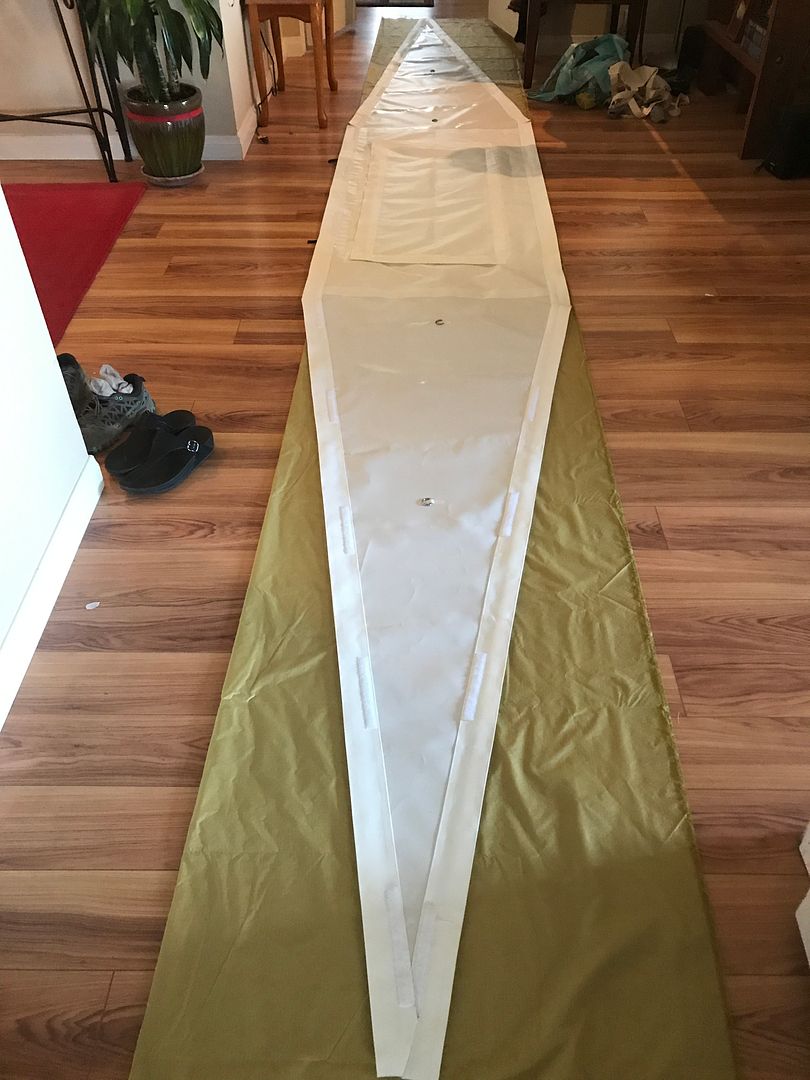
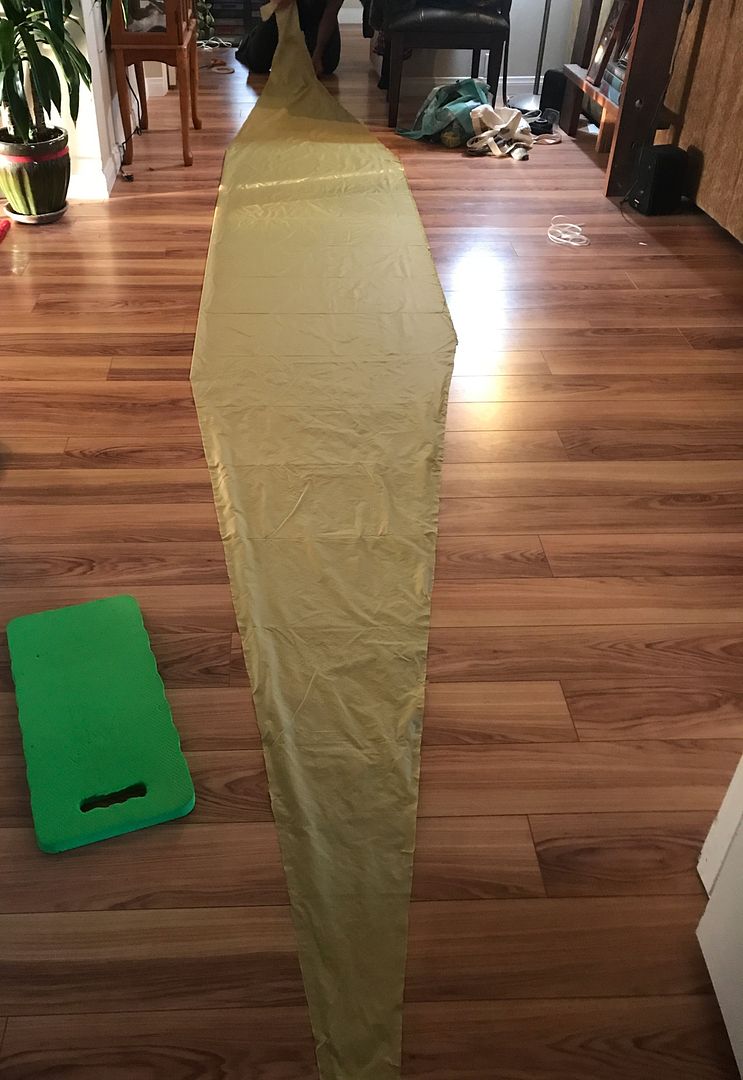
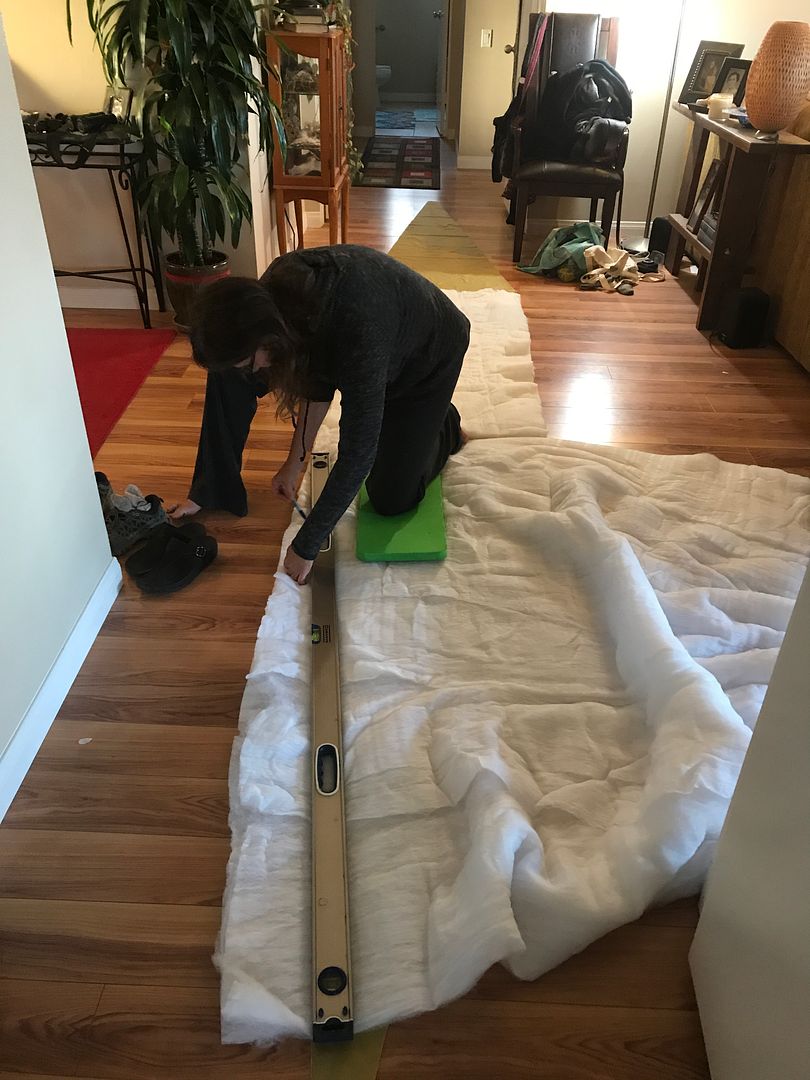
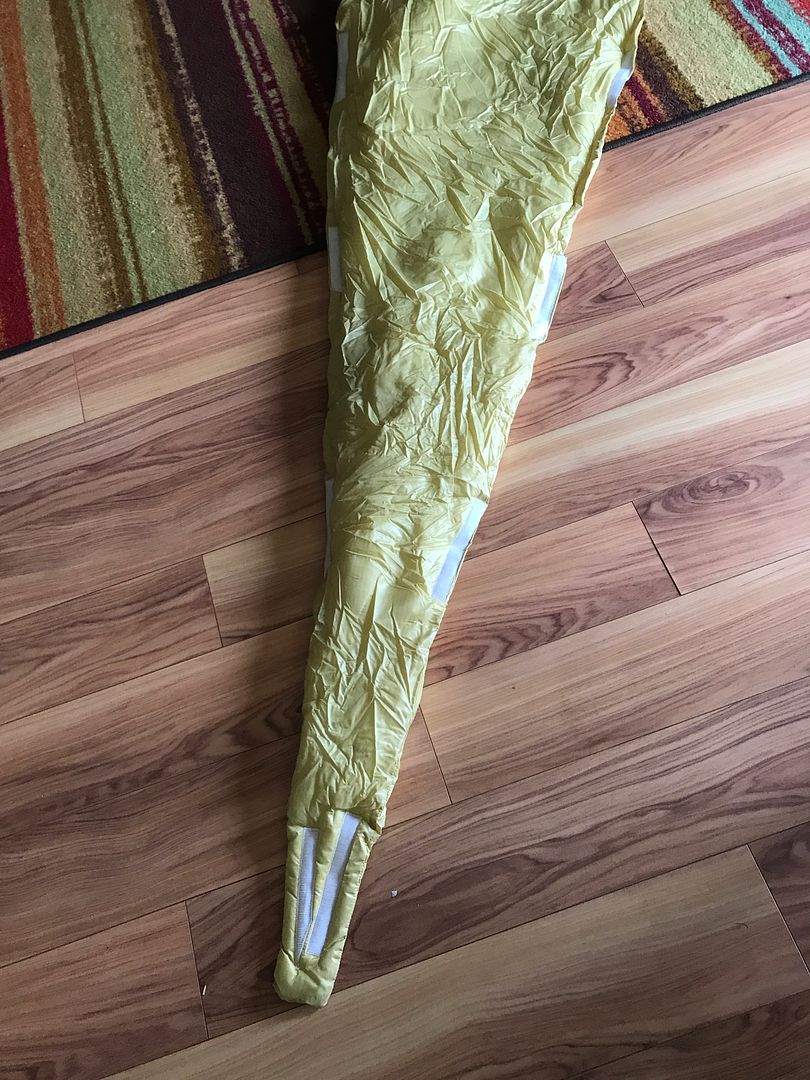
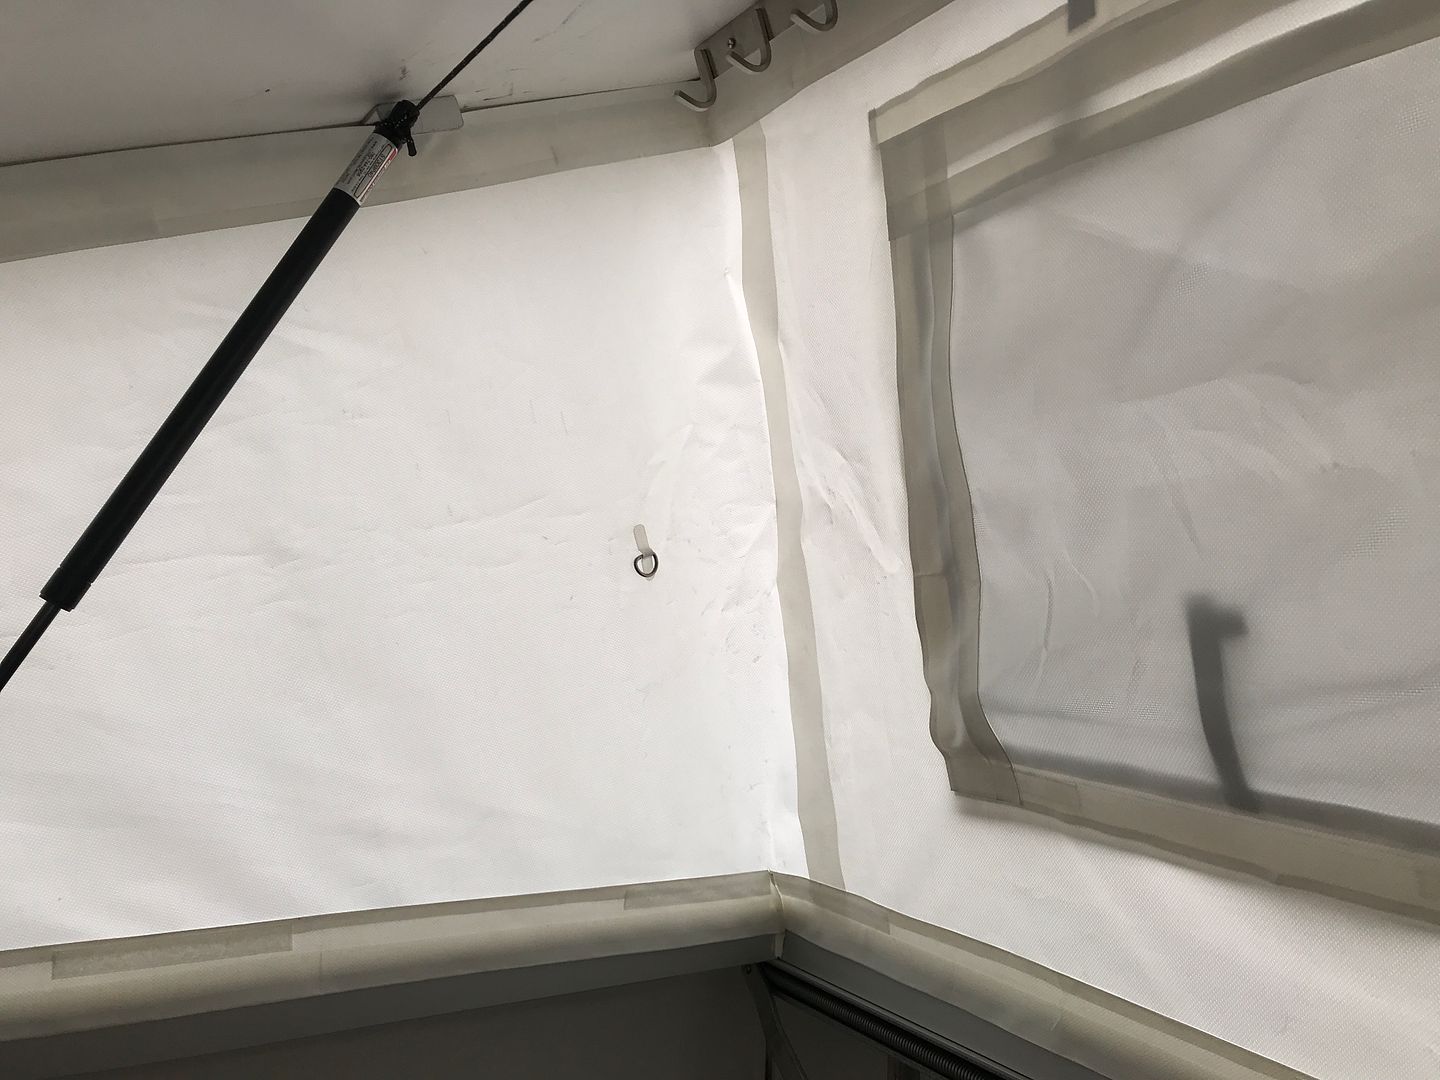
The overall construction is three pieces - the back panel and two roughly triangular side pieces. The above photo shows one side being test fit. The three pieces will be glued together and the whole thing will velcro to the camper.
Here's adhesive backed velcro around the bottom edge of the camper, stuck to the aluminum angle that the old canvas was attached to with screws.
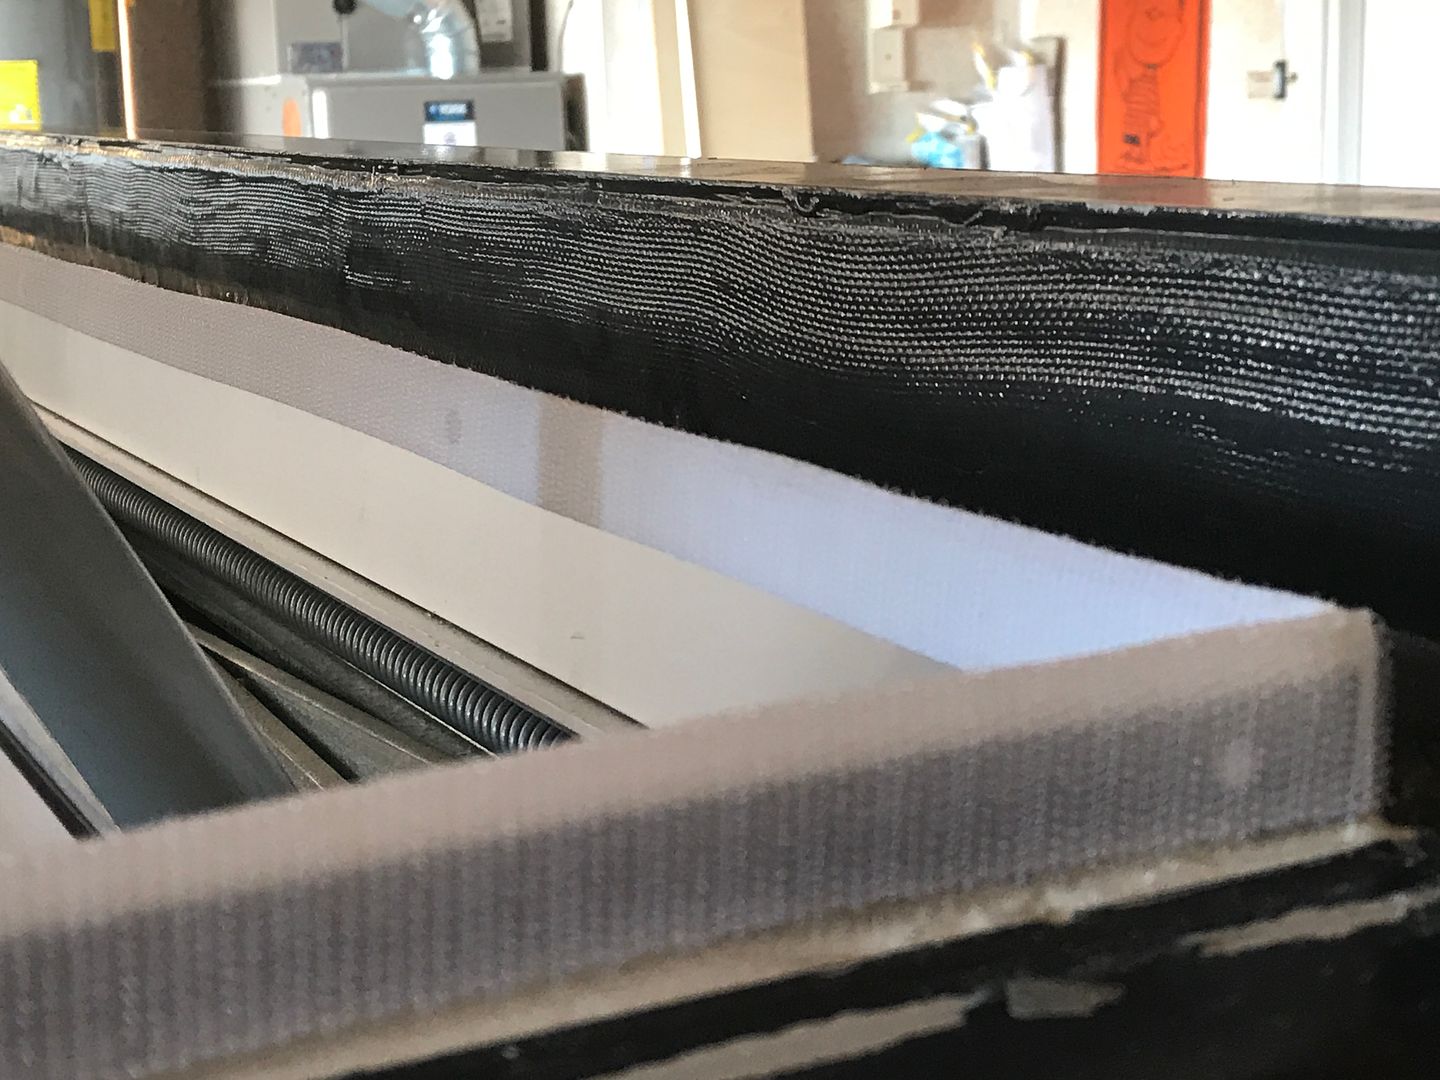
The velcro is inside and out in order to double the area of stick.
Here's the back piece in with a side piece in place. Careful measuring, aligning, and marking to get the side piece to match up cleanly with the back piece.
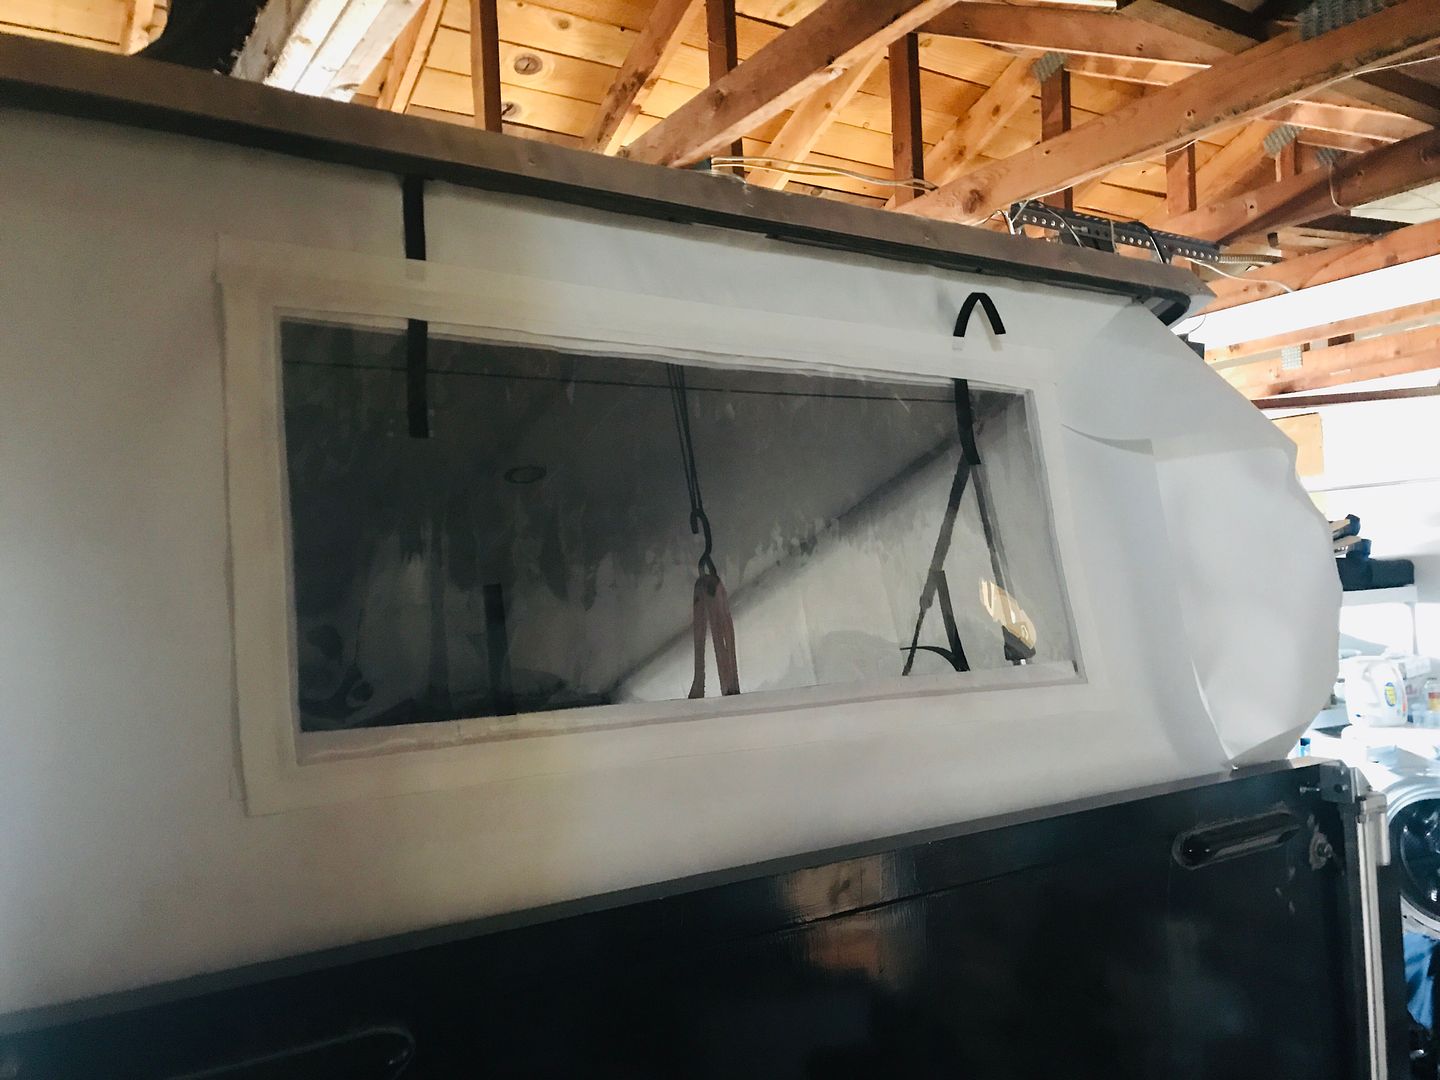
Then hope we did it right, and cut, and glue.
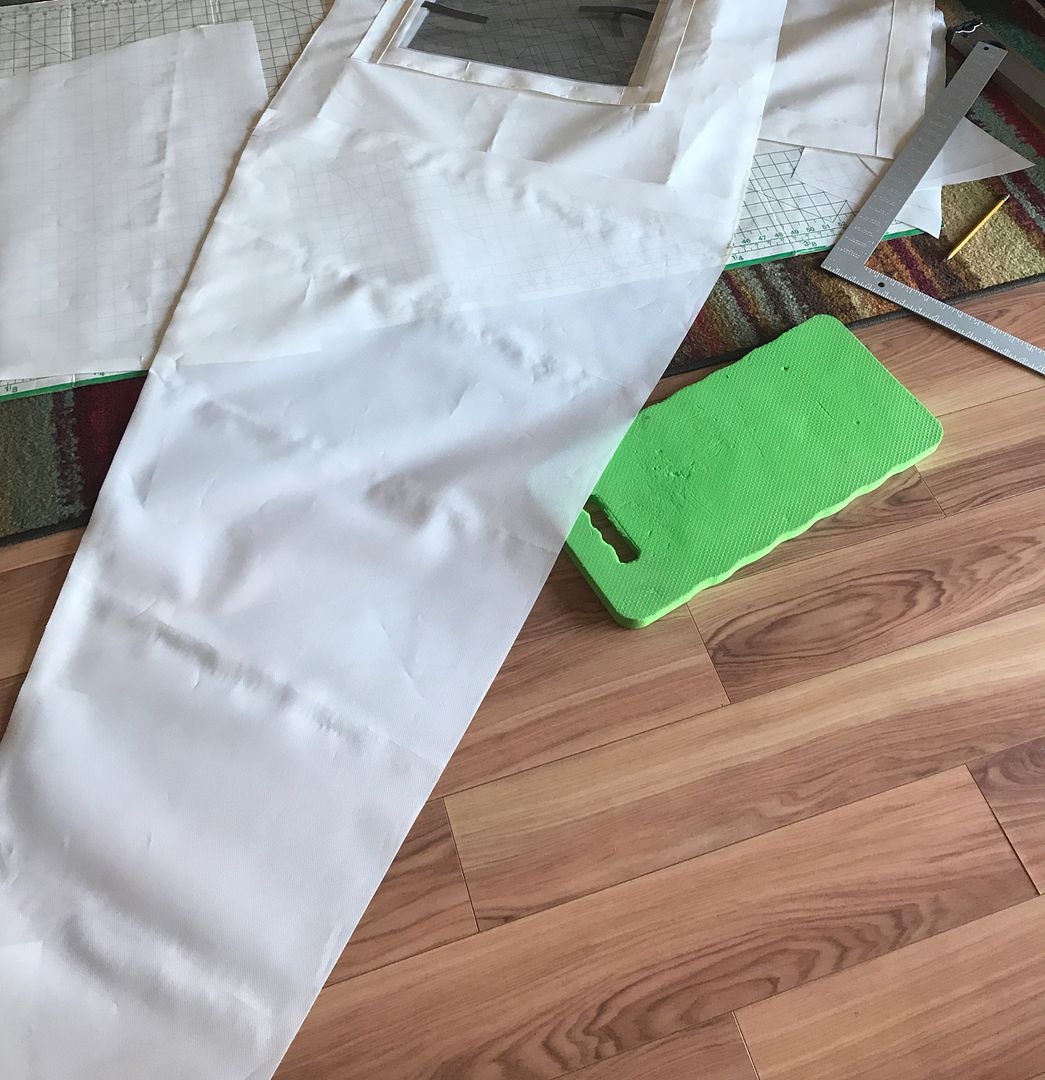
Repeat on the other side and we have this
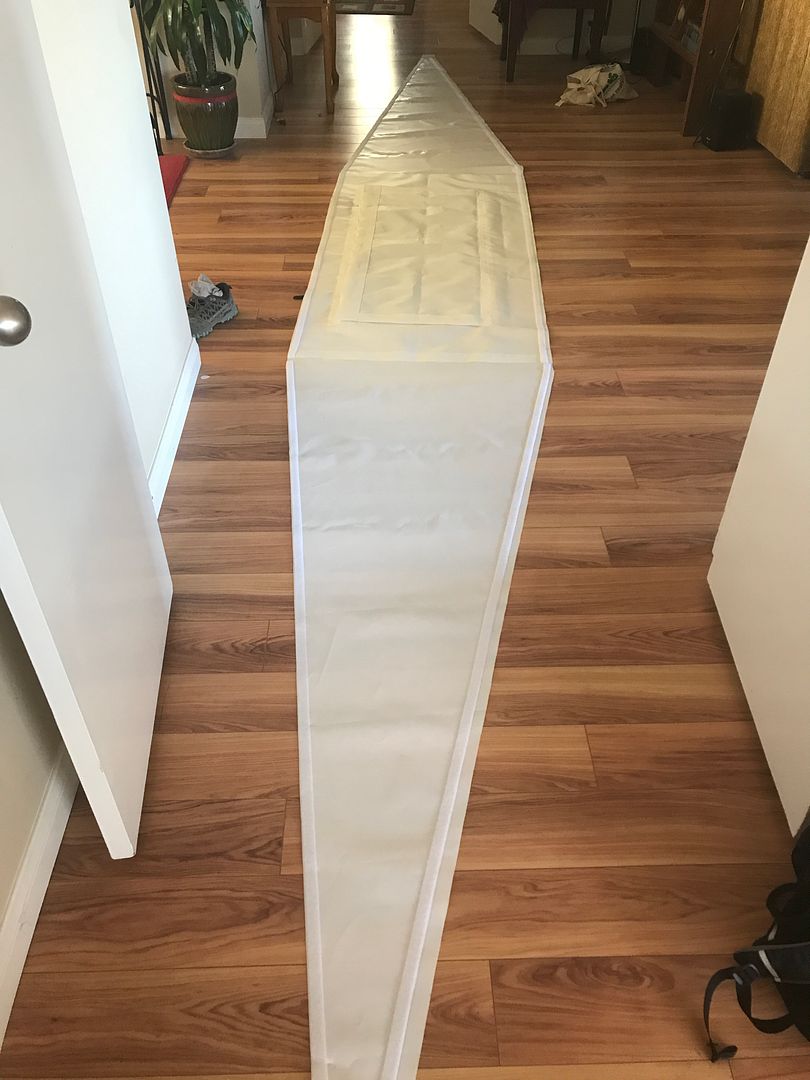
You can kind of see the geometry is trickier than you might think - no straight lines or right angles where the pieces go together. One layer of the velcro is on. Still a few steps to go...

