Project "Danger Ranger"

livetoride21

Adventurer
Time to get this show on the road! Received 95% of my steel today, ready to start working. just have a small order of hardware from mcmaster, and a small piece of DOM tube I need and I have everything ready. Planning to start work this weekend. Can't wait!


livetoride21

Adventurer
Finally got the chance to start work on my rear bumper/tire carrier today. Got the majority of the swing-out done, just have-to weld in the sleeve for my hinge, (will be using bronze bushings with a 7/8" bolt in double shear) and add some more bracing.
The plan is to make a seat for the jerry can out of 2"x2" angle, then have studs with wingnuts for the hi-lift.


Then it's on to the actual bumper part that will be made of 4"x4"x3/16" wall square tube.

In other news, I was also given these awesome hard cases from my girlfriend's father.


They are all aluminum and used-to be used for radio equipment, They're water tight and more or less bomb proof!
They will slide right under my sleeping platform quite easily.

Hope to have my bumper finished up and installed come the end of the week, but we'll see how things play out. I'm still working on the slab to extend my garage, and winter is coming quick!
 

livetoride21

Adventurer
Got some more done today, almost ready to start building the bumper section. Just have to build the support for the jerry can and add some gussets.


Decided to change the position of the high lift and have it remove from the inside, seems to fit well now.


I'm pretty happy so far with how this welder is performing, seems to lay down well and get good penetration even in 1/4" stock.
Only thing with flux core is that you get a good amount of tiny spatter, but its easily cleaned up with a grinder and flap wheel.
 

livetoride21

Adventurer
Well I haven't got much done in the past couple days on my bumper, but do have some interesting developments.
I've learn't that juggling projects can be quite entertaining and got a good amount done lately,
part of the reason this project has been pushed out is I've been working on the house we bought as well.
Before we even bought the place I already knew that, although there was already a nice size detached garage, it wasn't quite enough for me. I decided I was going to add a 10x15 addition (the biggest the city would allow) and tuesday night I was finally able to pour my concrete slab after many hickups.


So for the next week or two, I expect to get the rear bumper done, but most likely will not touch the front one until my extension is at least closed in.
In other news though, I managed to get an unbeatable deal on the welder I was originally going to complete this project with, a lincoln 225 arc welder.


And I also found a steel shop cart in the garbage the other day, which I'll turn into a welding cart.
 

livetoride21

Adventurer
Alright I'm back! The past few weeks have been nuts. Poured the slab for my garage addition, framed, shingled, organized , and here I am now.


Also have been working on my first paying welding job the past couple days.
Now, back to business. I finally had the chance to do a little more work on my rear bumper last night,
cut all the compound angles out of the ends, and welded in the first cap plates.
next will weld rest of the cap plates, make the pivot, and begin some weight reduction by cutting out a good bit of the material in the back.


Stay tuned!
 

livetoride21

Adventurer
Got some work done last night, finished off the end caps. now I just haveto build the hinge area, and do some weight reduction on the back and she's ready for mock up.

Also got a new toy today in exchange for a welding job. Esab Handy plasma 250, should make the rest of the build a lot more enjoyable :D


livetoride21

Adventurer
Well I finally have had some time here and there to to work on the rear bumper, and now she's on. All that's left tomorrow is to mount my CB antenna, license plate lights, and finish up my Jerry can holder. Then it's on to building the front bumper. Here are a couple quick teaser pics from my cell phone, hopefully tomorrow I'll have some pics of it finished up.


livetoride21

Adventurer
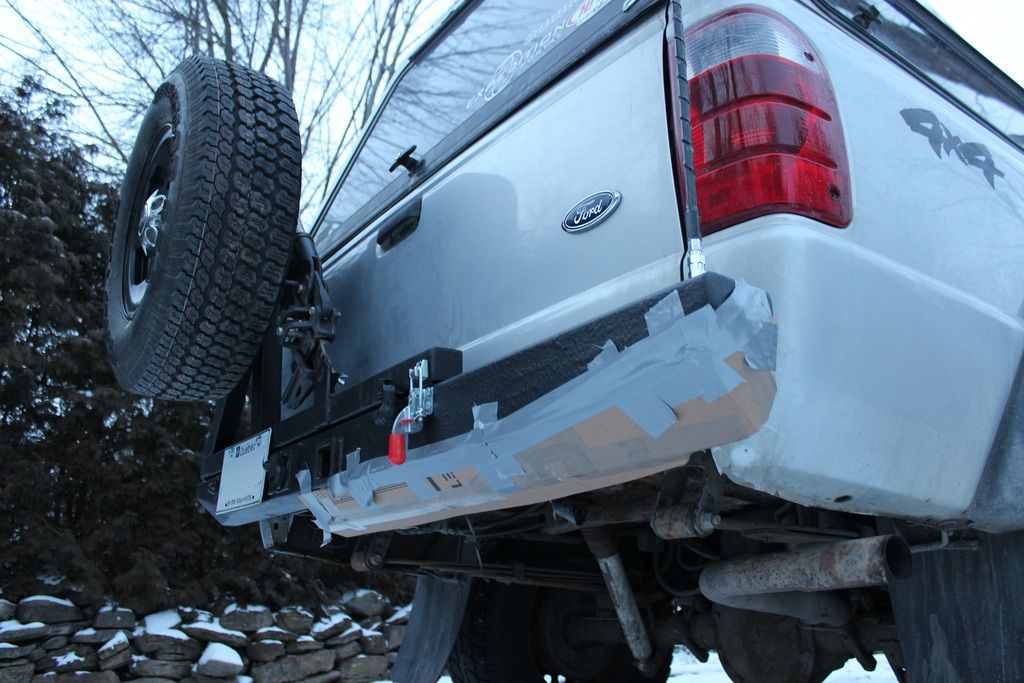
Alright, so yesterday I finished up all the odds and ends on the rear bumper and it is now operational. The Paint on the Jerry can holder is still drying so it still isn't on yet but that will come soon.


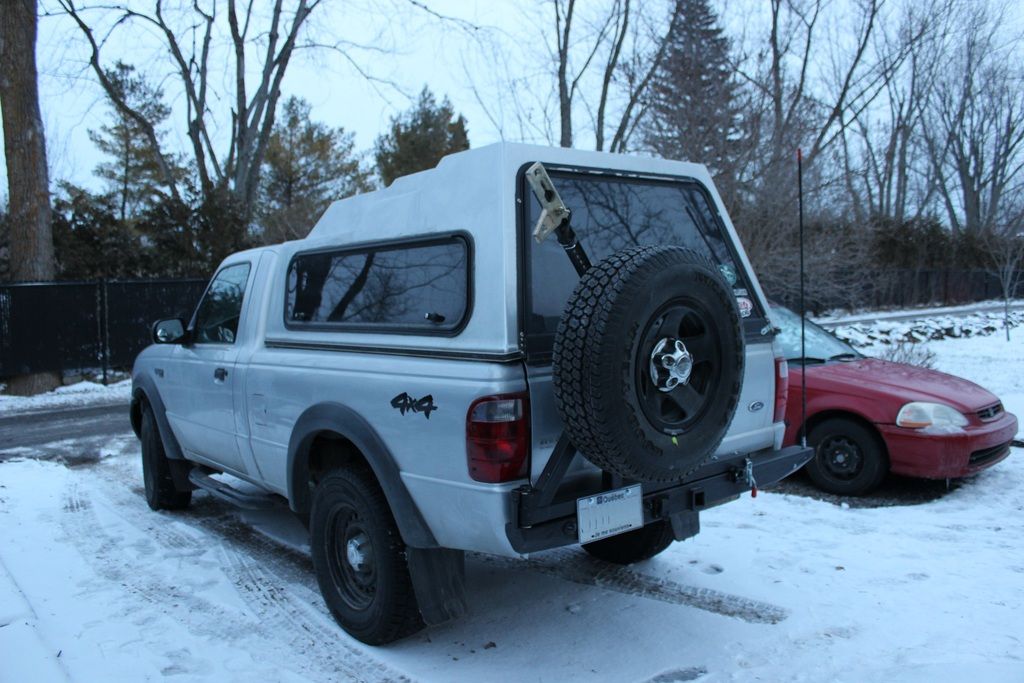
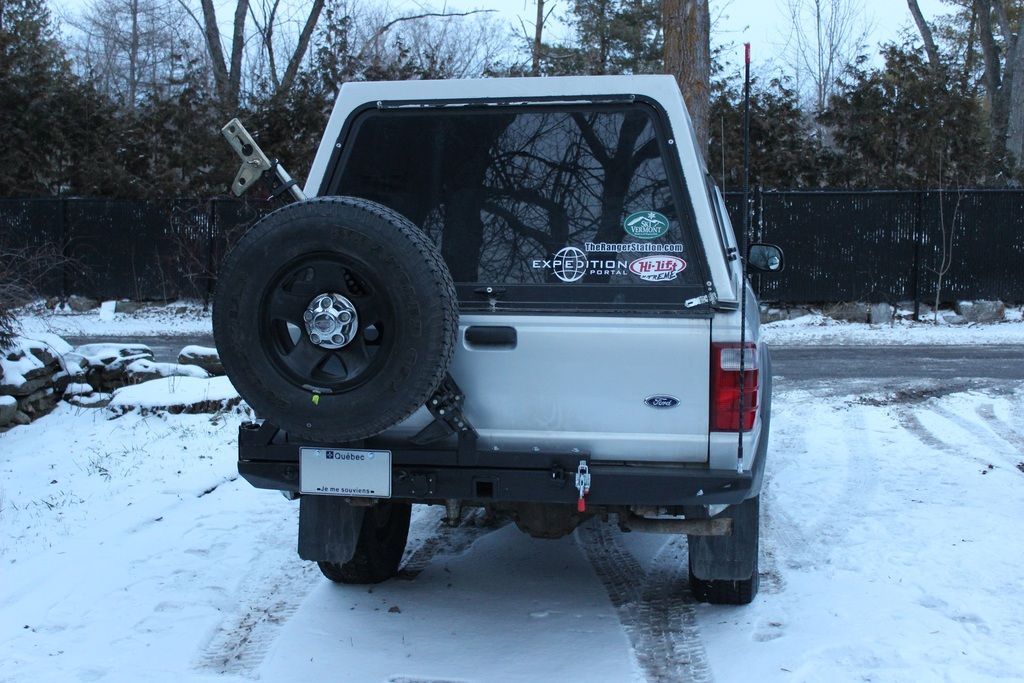
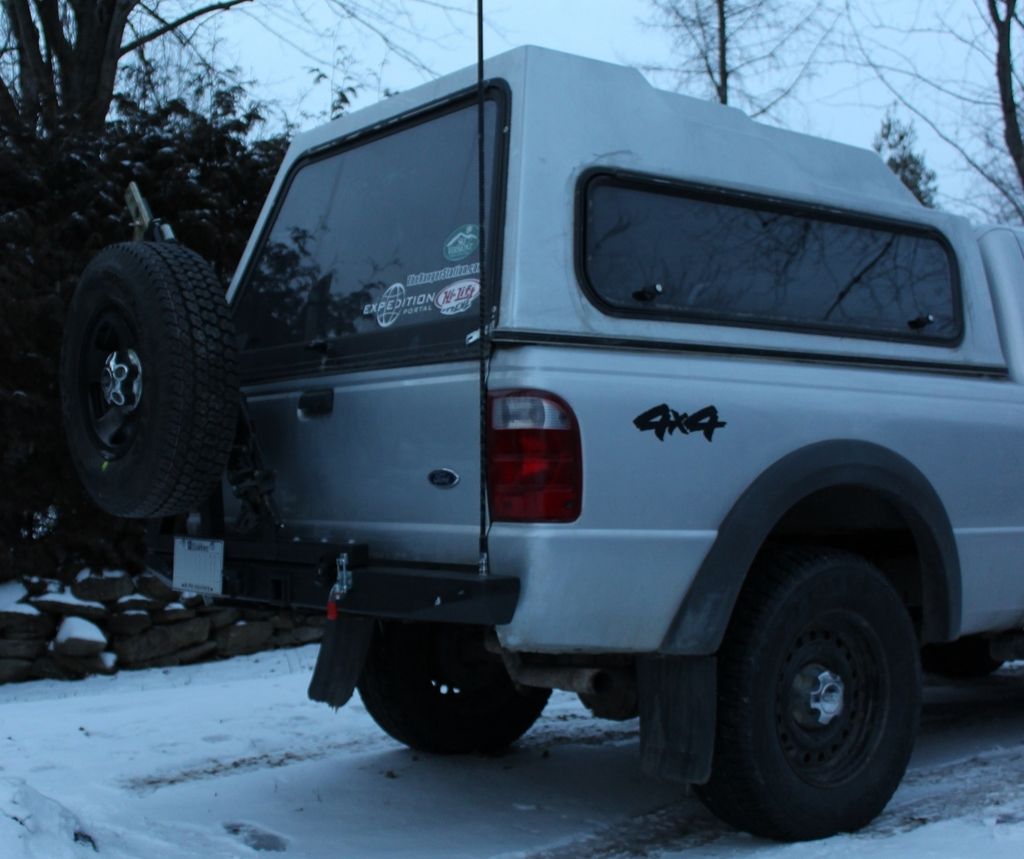
Unfortunately, now that it's done, I'm not entirely happy with the look of the end product. I don't really fancy the "bobbed" look, and will be doing a little more metal work on it to suit my taste a bit better. Oh well, this is the nature of custom work I guess? Function is great, just need to improve the form to make me happy.
This is the plan;

Will start working on that tomrrow afternoon, and get it repainted and back together by thursday at the latest.
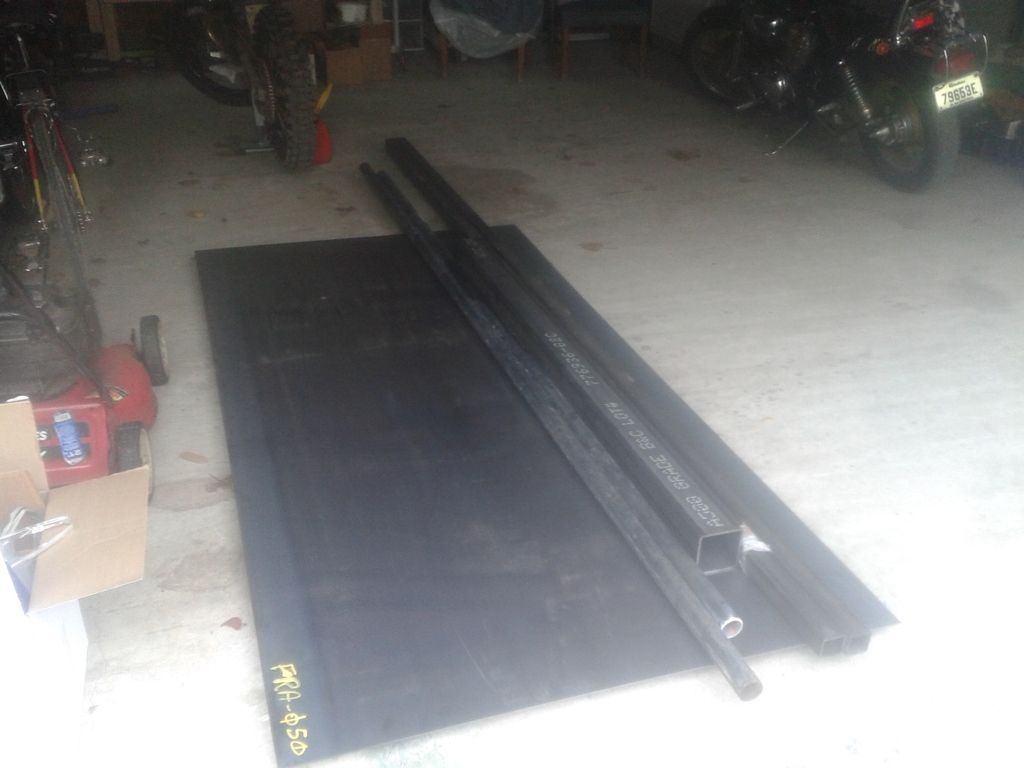
Then its on to starting the front bumper,
Already made some good headway on it today, decided to make a mock up after the form issue I had with the rear.


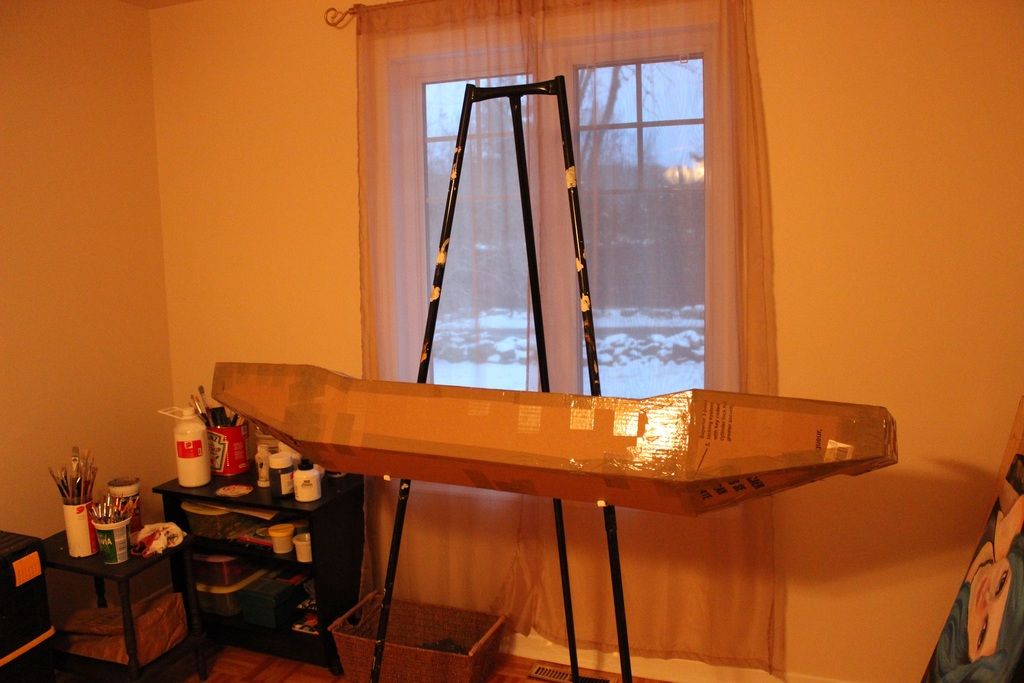
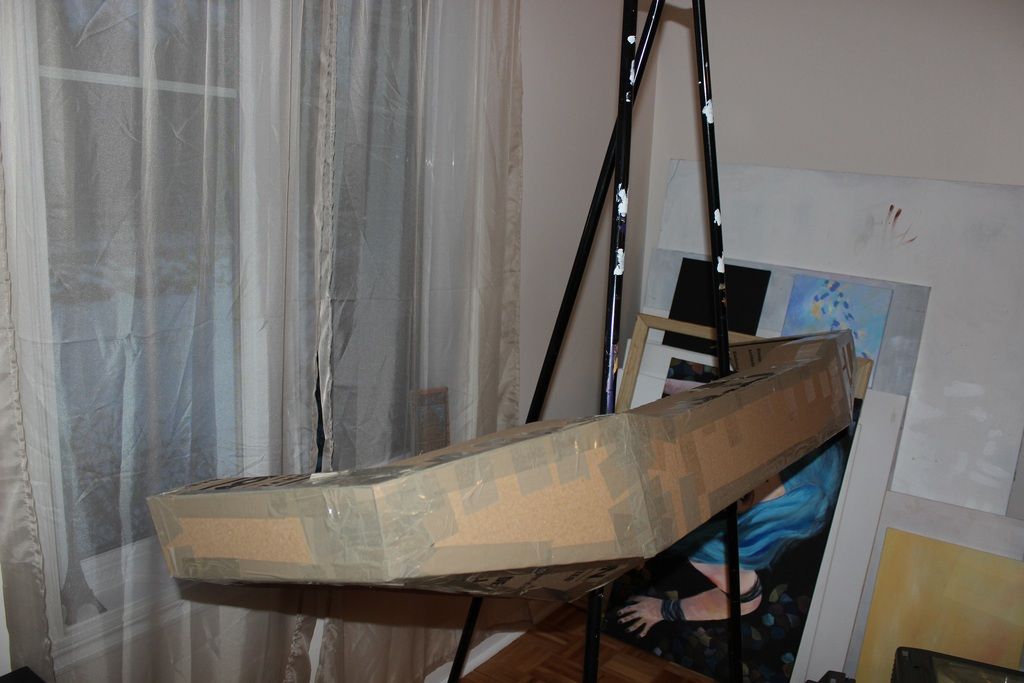
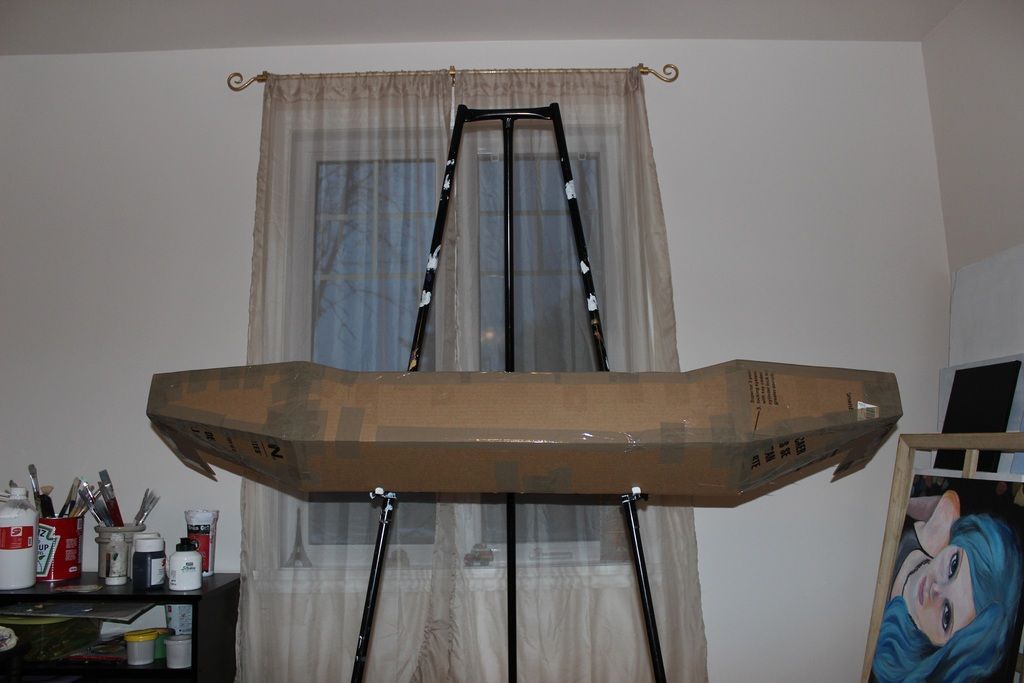
Just missing the Hoop, and fog light holes on the mock up.
I'll remove my stock bumper, and fit the cardboard mock up in place to make sure everything fits properly, and looks good, than it will be cut apart and serve as paper templates for all the sheet metal.
Finally things are starting to move along!
 

UltraHDGames

Adventurer
I like the idea of the spare tire carrier! Been looking online all evening to figure something out with my stock bumper
 

livetoride21

Adventurer
I like the idea of the spare tire carrier! Been looking online all evening to figure something out with my stock bumper

Thanks! It's something I've been dreaming about for a long time, and now that I finally have the space and tools it has become a reality.

So yesterday was a big day, went to work for a couple hours, then came home and took my bumper off to start the modifications to make it more fitting to the truck.

I first made cardboard mock up, then cut out all my pieces from 1/8" steel plate. Then tacked on some braces to keep everything flush and flat afterwards.

Began to fully weld everything.

Than ground it all down to prep for paint.

Than painted.


Went through about 8 grinding wheels and a flap wheel to get everything ready for paint.
Also prepped and painted my jerry can holder.
 

livetoride21

Adventurer
Today was the day I had waited for for a long time.
Final assembly.
Everything is all in place as it will stay. And I'm very happy with the result! The only thing left to do is to build my flip down table, but that can wait for now.


Next on the list is front bumper and skid plates, than building a more camping oriented truck canopy.
 

Bushcoat

one trail at a time
Looks great! Never saw a bumper being built on an easel before, funny idea that in sure worked quite well.

The fresh snow looks inviting :)
 

livetoride21

Adventurer
Looks great! Never saw a bumper being built on an easel before, funny idea that in sure worked quite well.

The fresh snow looks inviting :)

Haha thanks! Well it's a form of artwork I guess ? That's actually my fiancé's studio with all her artwork around. Was the best place to make a 1:1 cardboard scale model.
I made the mistake of not building a cardboard mock up for the rear one before building the real thing, and didn't want to make the same mistake with the front.
Tomorrow, the plan is to remove the front bumper, mock up the cardboard bumper, than if all fits well start fabricating. It is my daily driver after all, so I can't have multiple days with no bumper on her.

And the fresh snow is very inviting! Finally after the weirdest winter so far in my life, we got about 30cm of snow yesterday for a nice blanket!
 

Bushcoat

one trail at a time
The rear came out real nice, especially for building it on the truck as you go.

I think we are all having a weired winter, snow, rain, freezing rain, etc. Supposed to be above 0 the next few days here.

I spy the real piece of art hanging from your garage wall, local to Montreal.... I spy a balfa bb7. Brings back memories. Do you still ride it?
 

Forum statistics

Threads
186,490
Messages
2,886,592
Members
226,515
Latest member
clearwater
Top