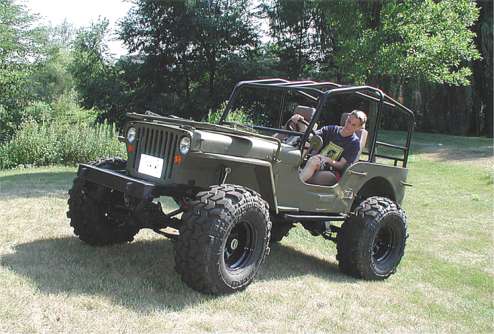
Rango.....1942 Willys MB

reece146

Automotive Artist
I miss the tech articles from the like 1995-2000ish FourWheeler magazine. They always had good projects like the postal jeep, tugboat, etc.

I got into 4x4s during that era - coming from sports cars. The magazines of the time had lots of builds of trucks and Jeeps where a 33"-35" tire was considered a big tire. I never progressed past that idea.

I'm also a hold out to full body rigs. Buggies are cool and all but I personally have no use for them. The only way I'd run a buggy was for a spec series of racing.
 

Metcalf

Expedition Leader
Time for more little stuff...

100_0401.jpg


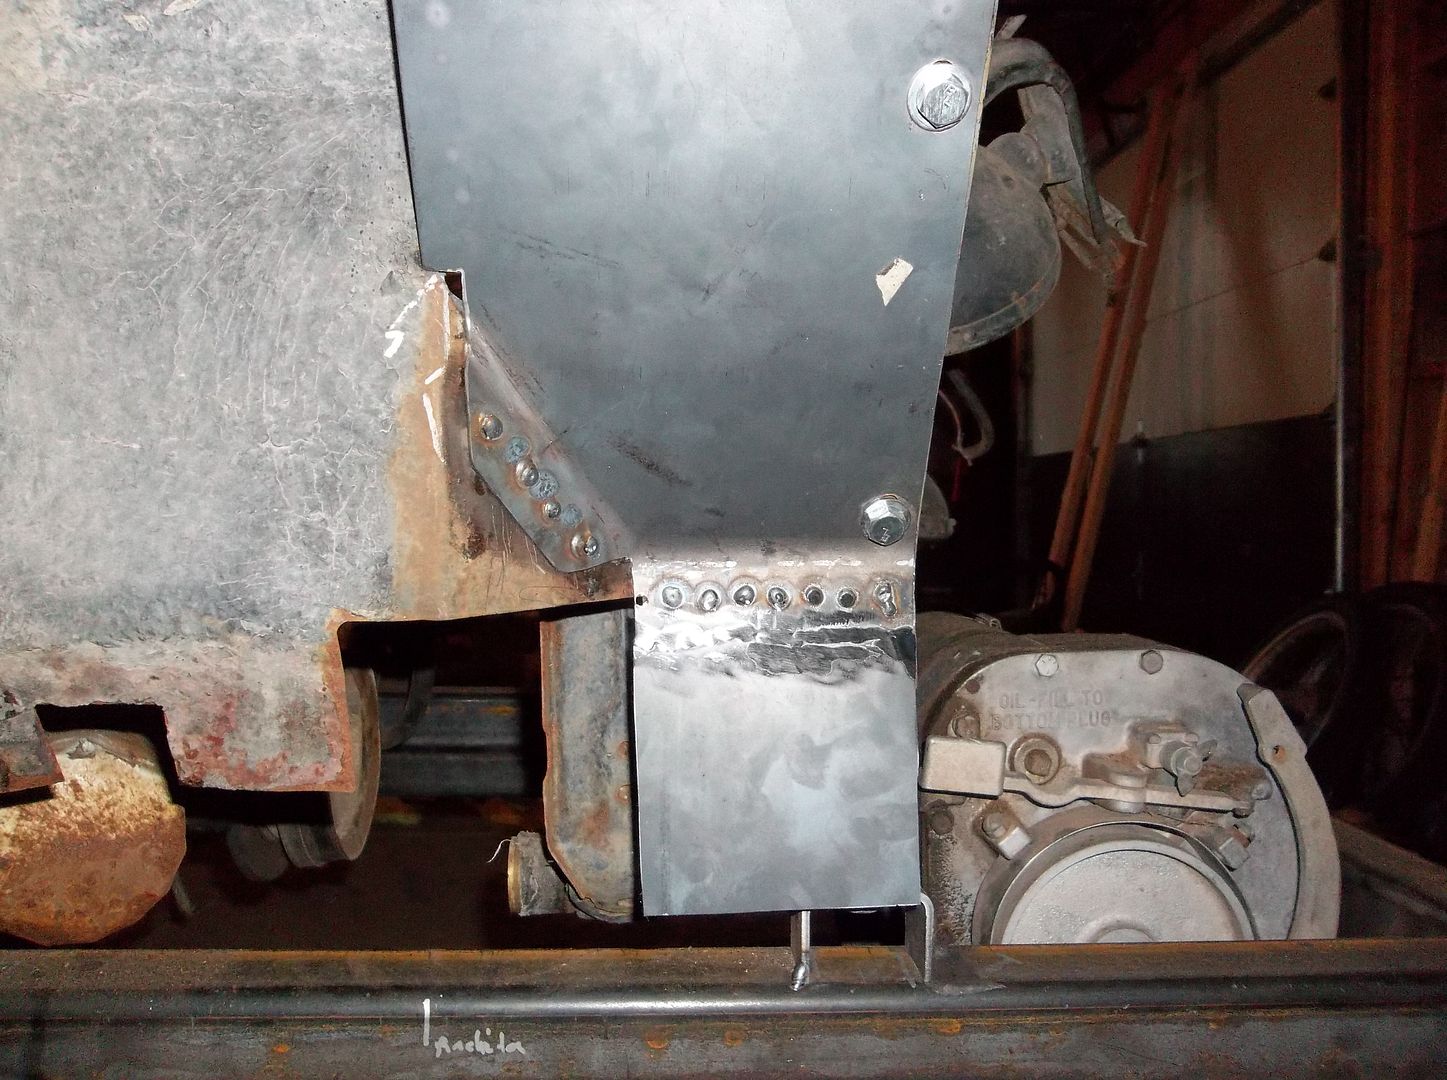
I patched the drivers side headlight bucket. This little panel turned out much cleaner as the other side. I am still always learning how to do all this stuff.

100_0403.jpg


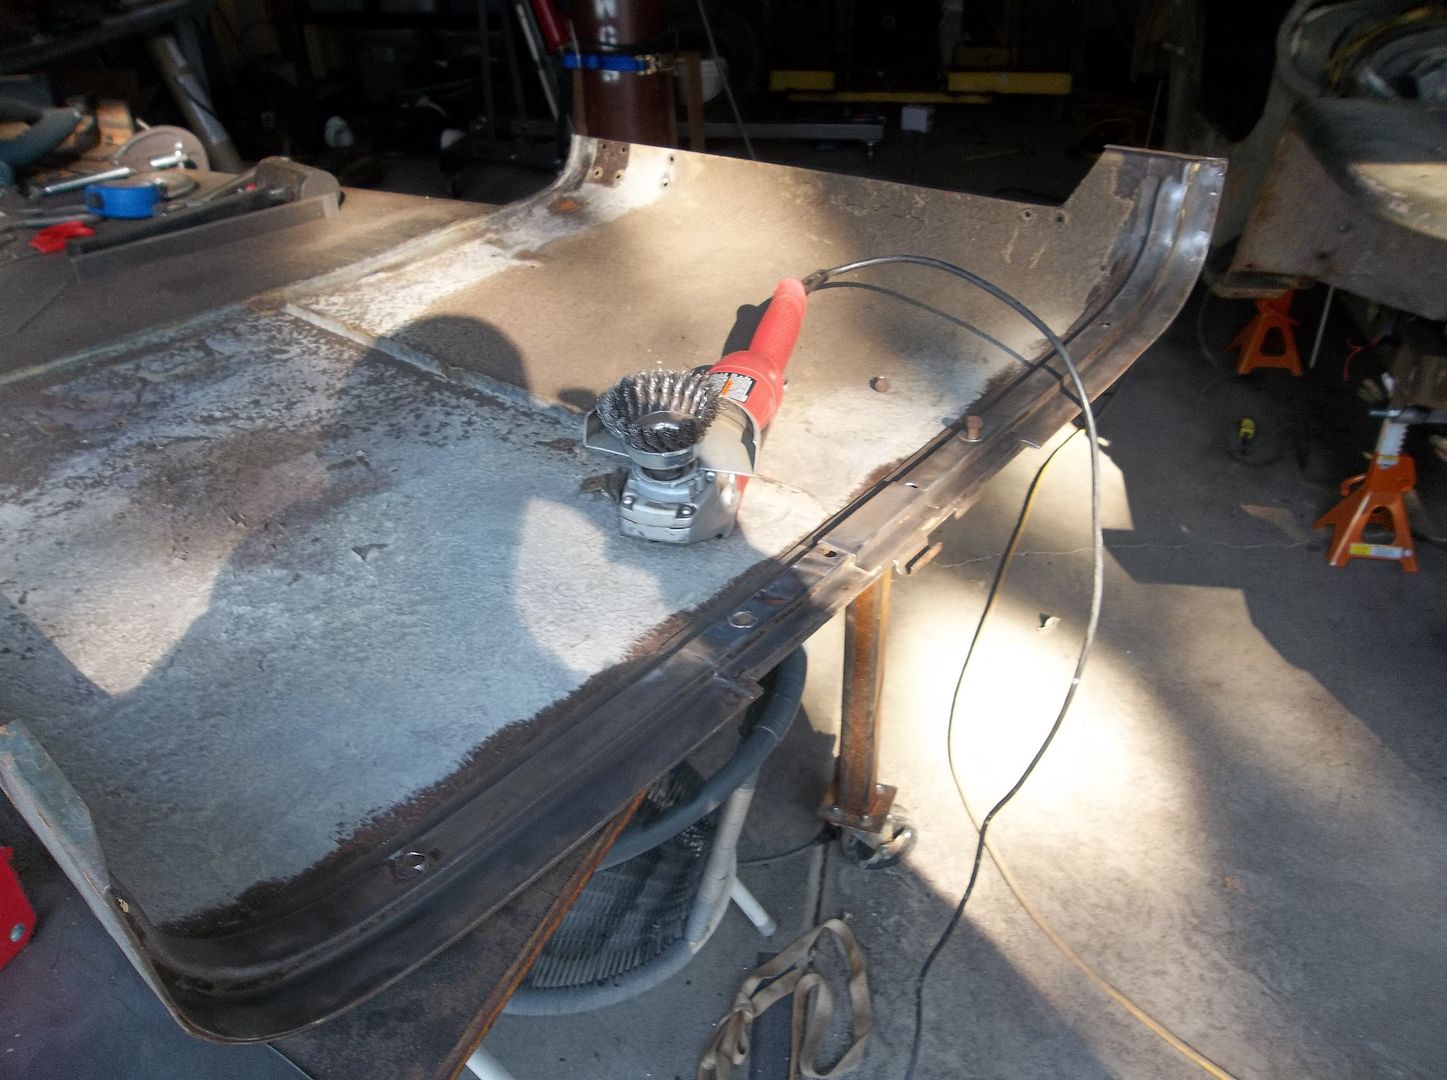
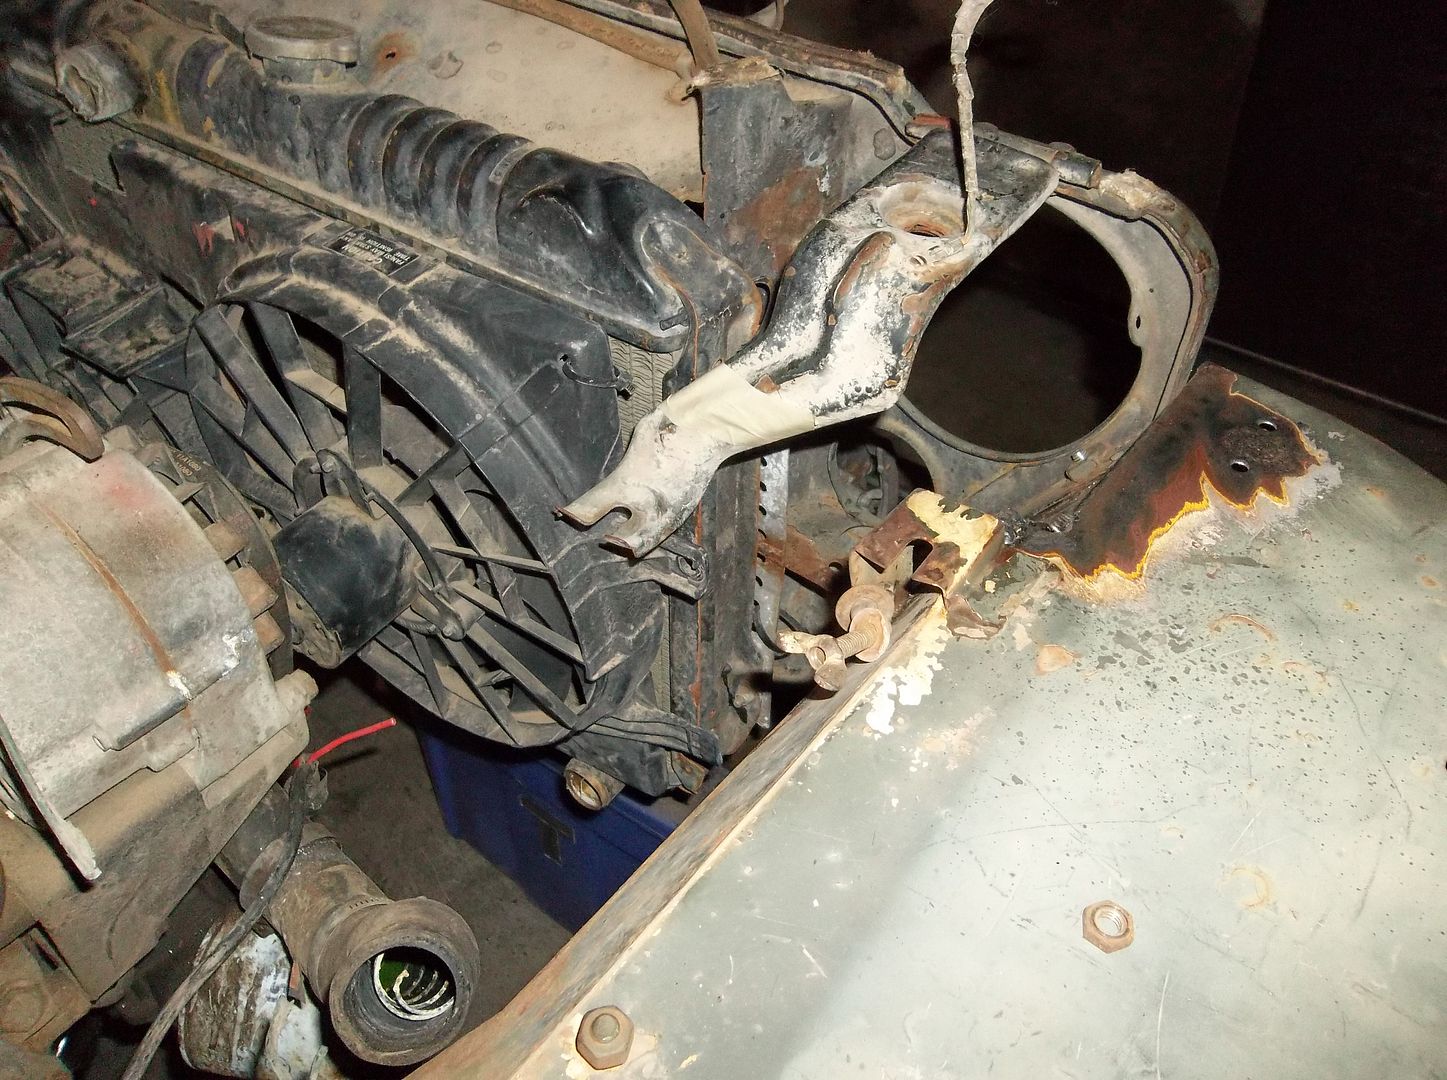
I prepped the back of the hood for the stretch and new hinge. A twisted wire brush and a light touch makes fast work of it. The plan is to extend the hood 1.38" and then move the support back while adding a new hinge. I am waiting for my fancy new spot weld cutter to show up.....

100_0404.jpg


I have plenty of spot welds to cut out.....

100_0405.jpg


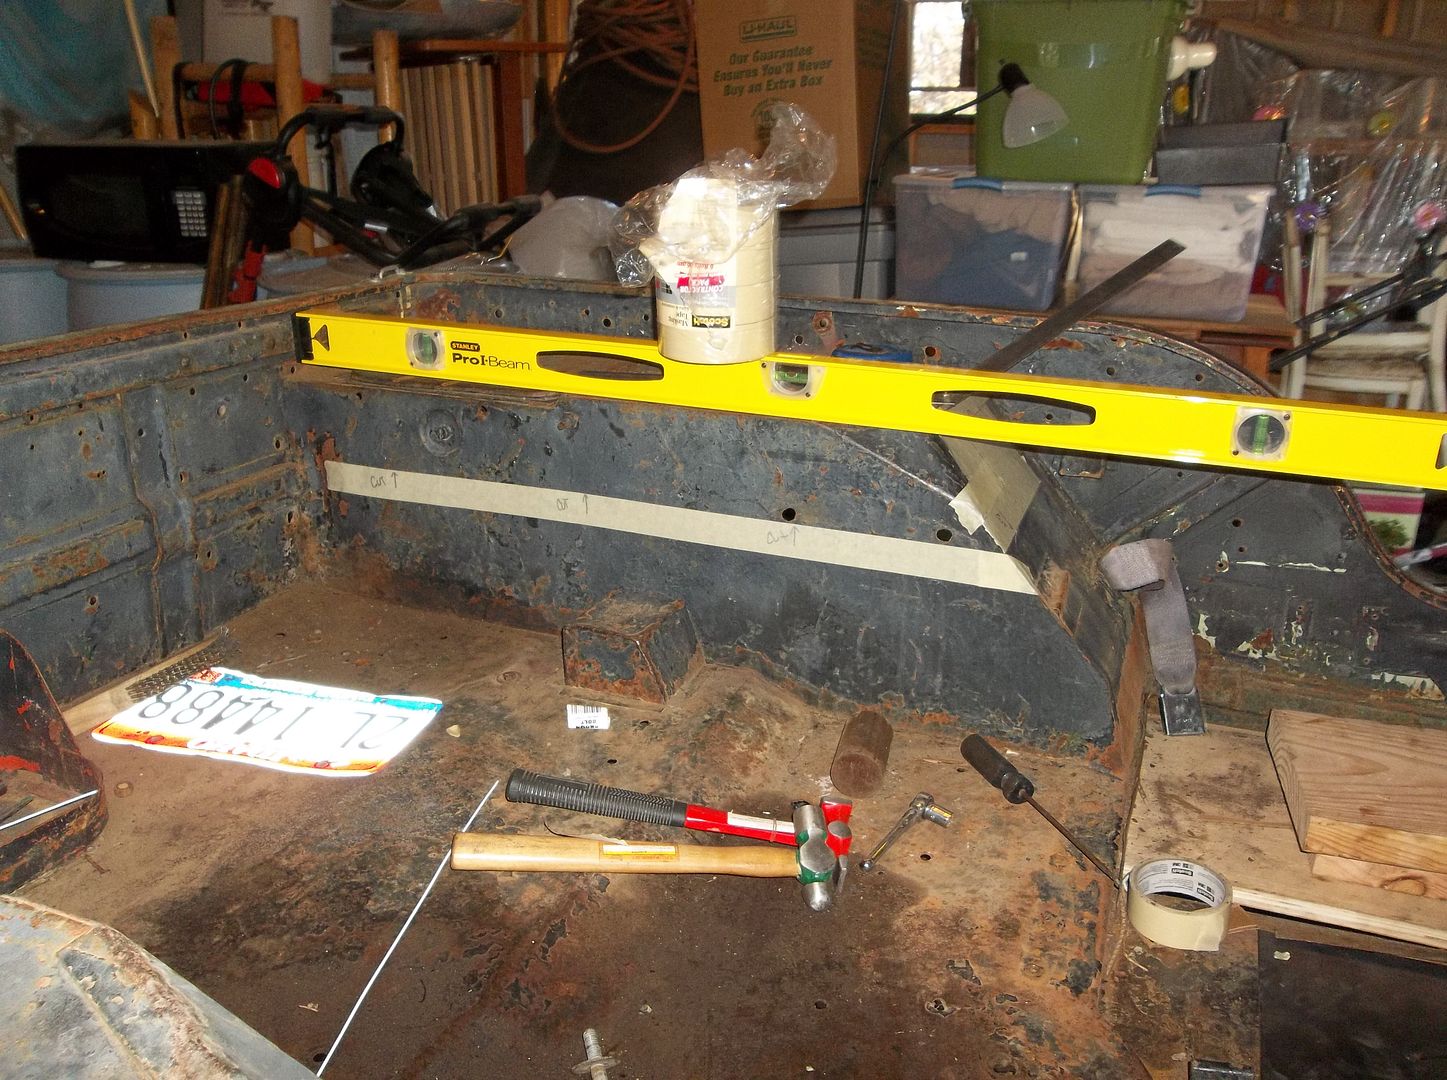
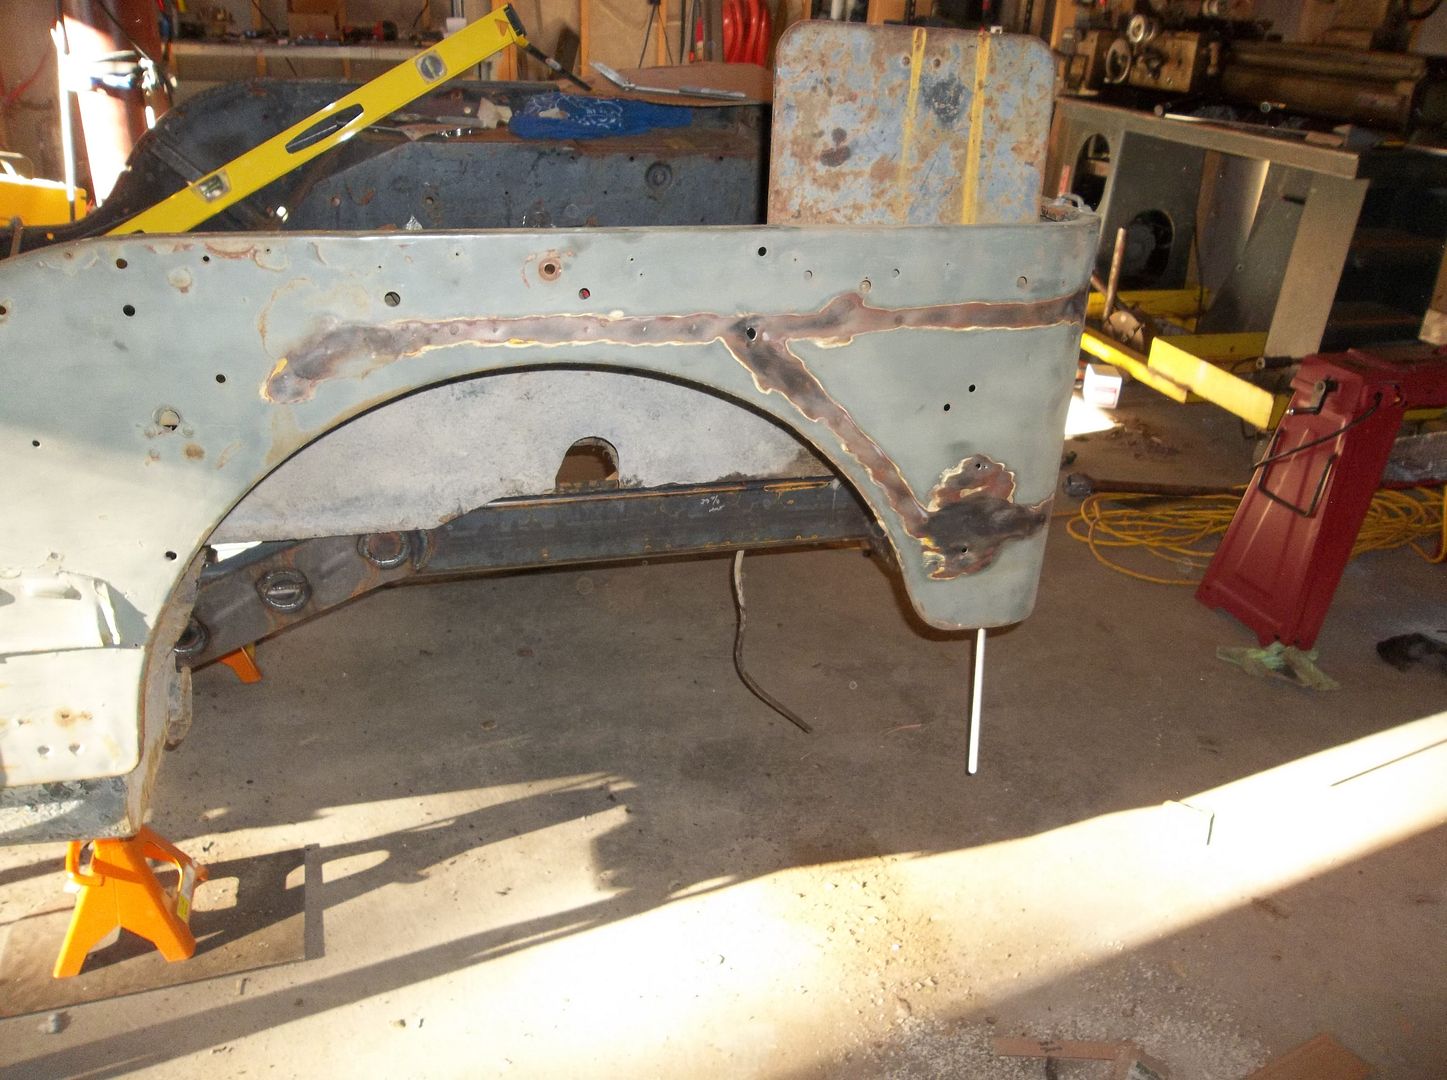
To finish off the day I started planning out the rear tub modifications. The rear tubs are going to get lifted similar to the front. This will provide more room for larger tires at a lower lift height. Nothing is really perfectly straight on this old tub, but having a big straight edge to work from helps.....

100_0407.jpg


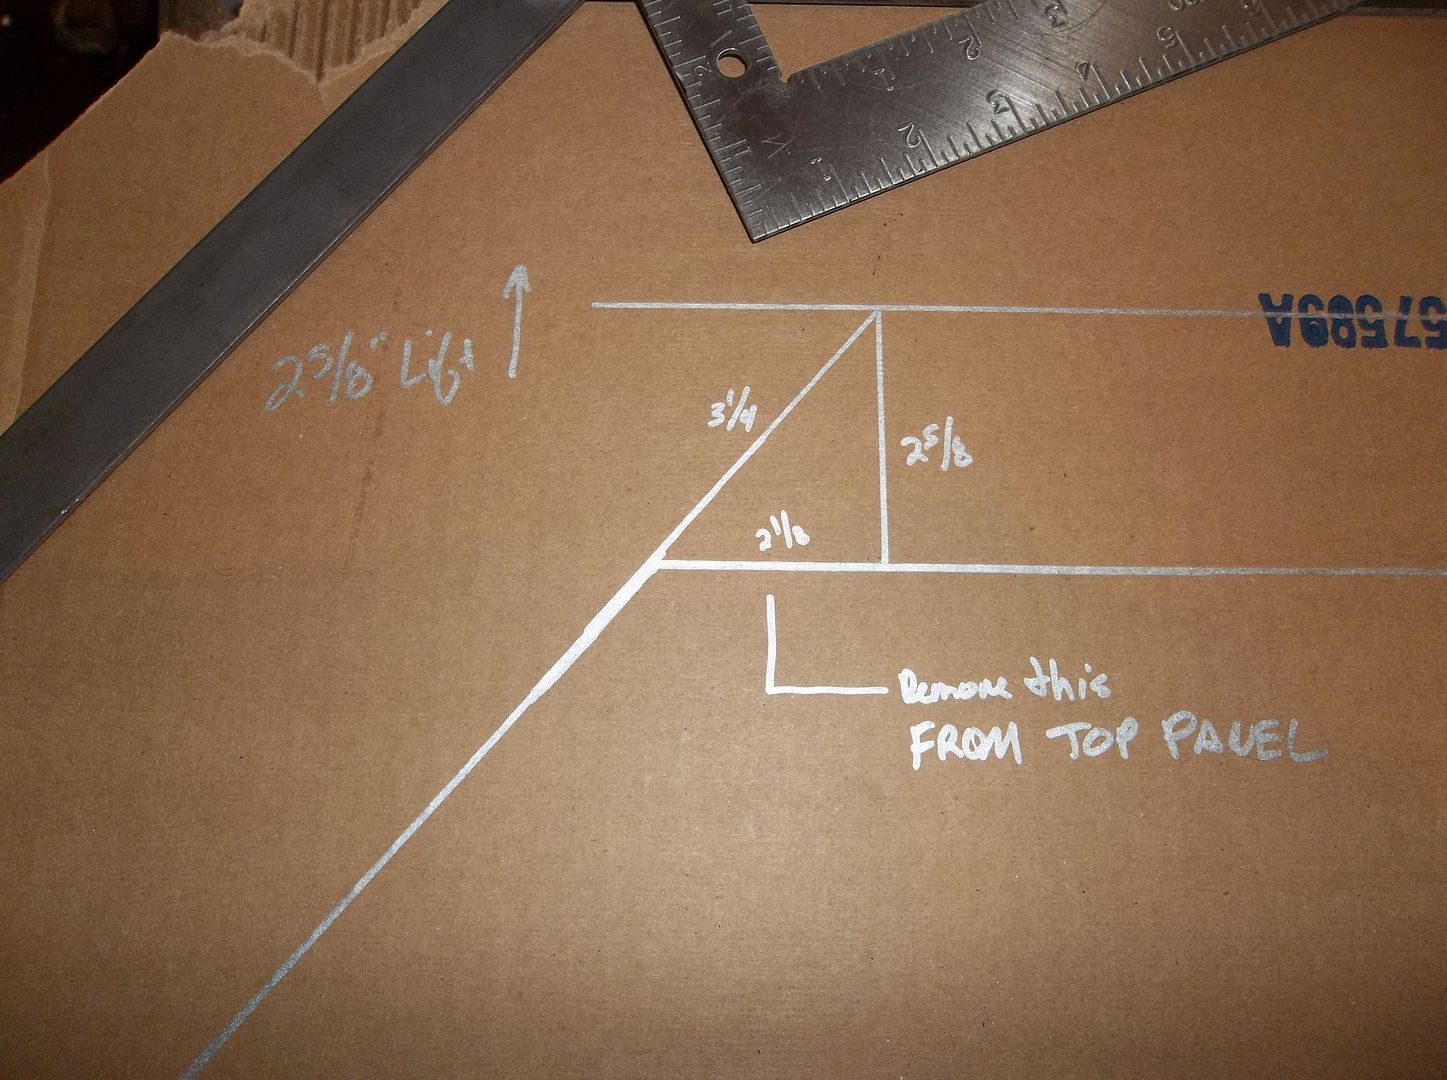
Here is the rough plan for the rear tubs. The main 'top' of the tub is going be be raised 2.63". I will be keeping the front of the tub at the same angle/slope so the tub would try and move back, just like the front fenders pushed the grill forward slightly. The top of the tub needs 2.13" removed from the top to keep the toolbox in the same location.

100_0409.jpg


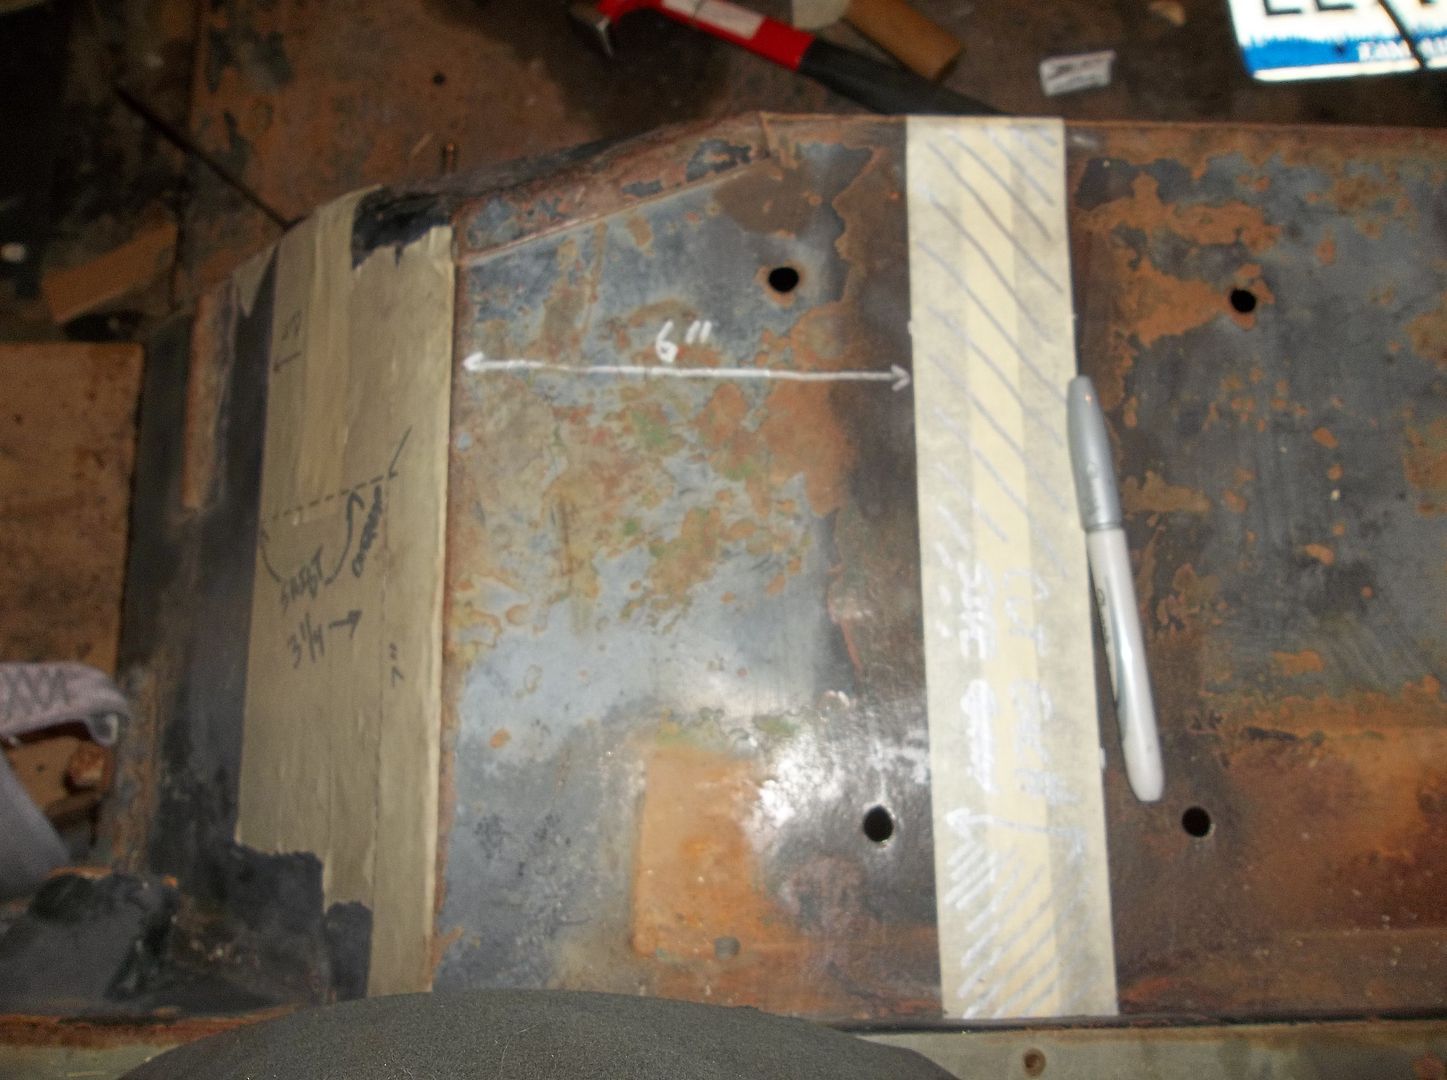
This taped section on top of the tub needs removed. This will allow the front of the tub to have the same slope...making the top shorter.

100_0410.jpg


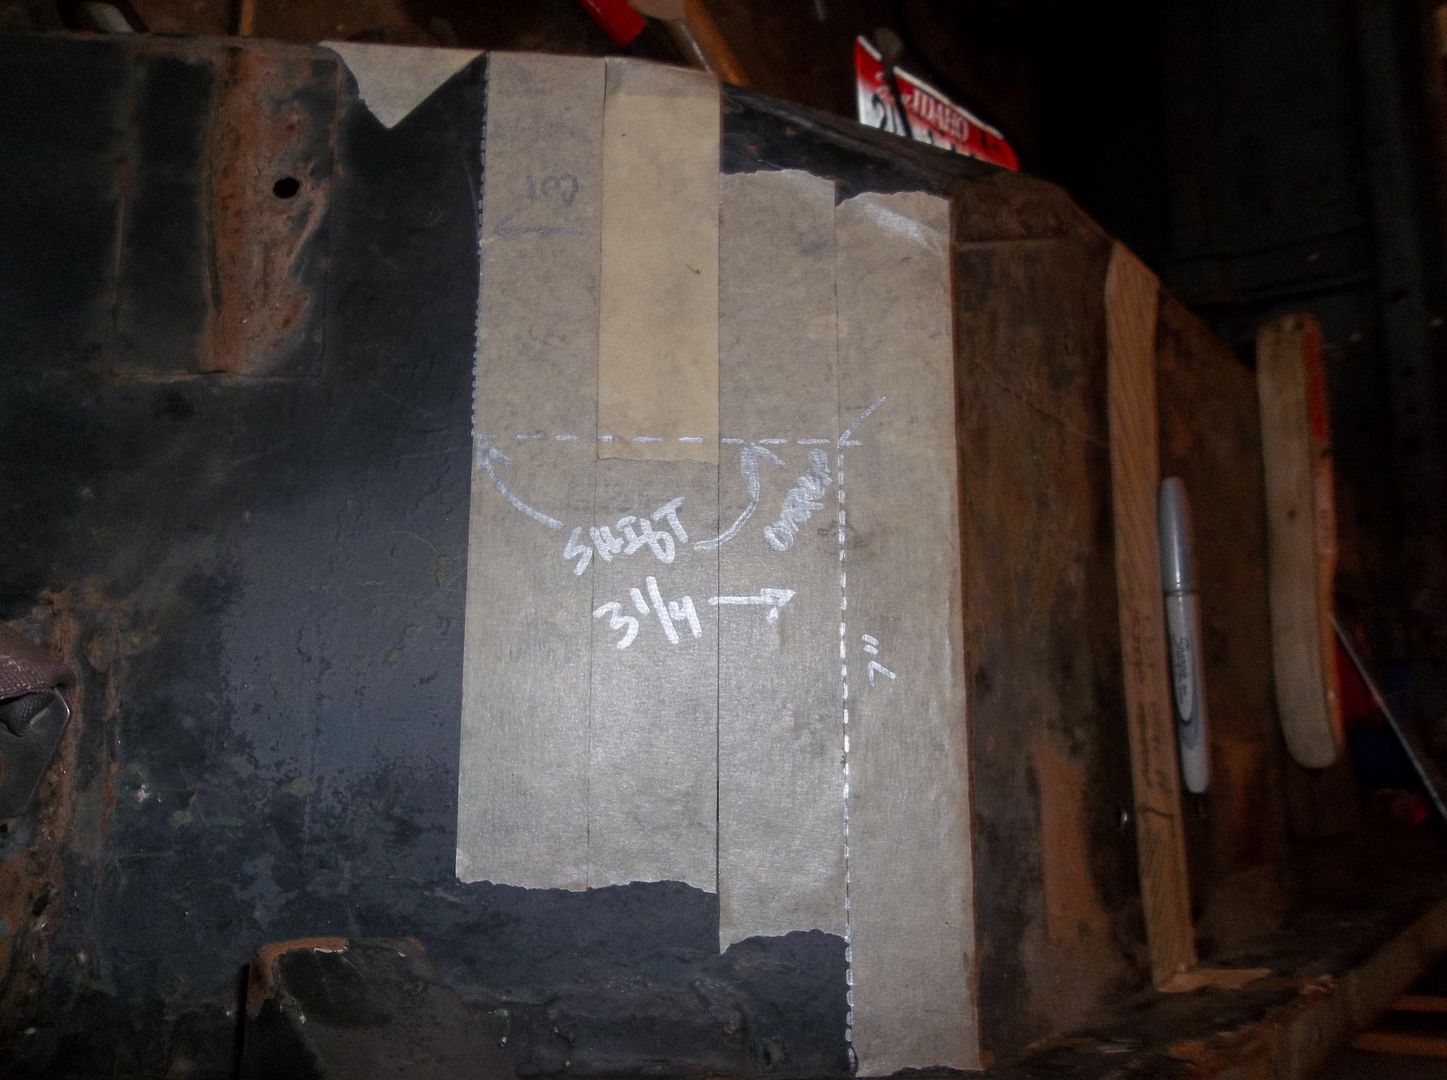
Since the tub is moving up 2.63" the front of the tub needs a 3.25" stretch to make up the different. Instead of going flat across the front of the tub I will be putting in a 'Z' cut so that the longitudinal line is longer than the 3.25" needed. This way there will be an part of the tub that overlaps. This will give me a place to clamp the panels together and give a reference or home location to work from...

100_0411.jpg


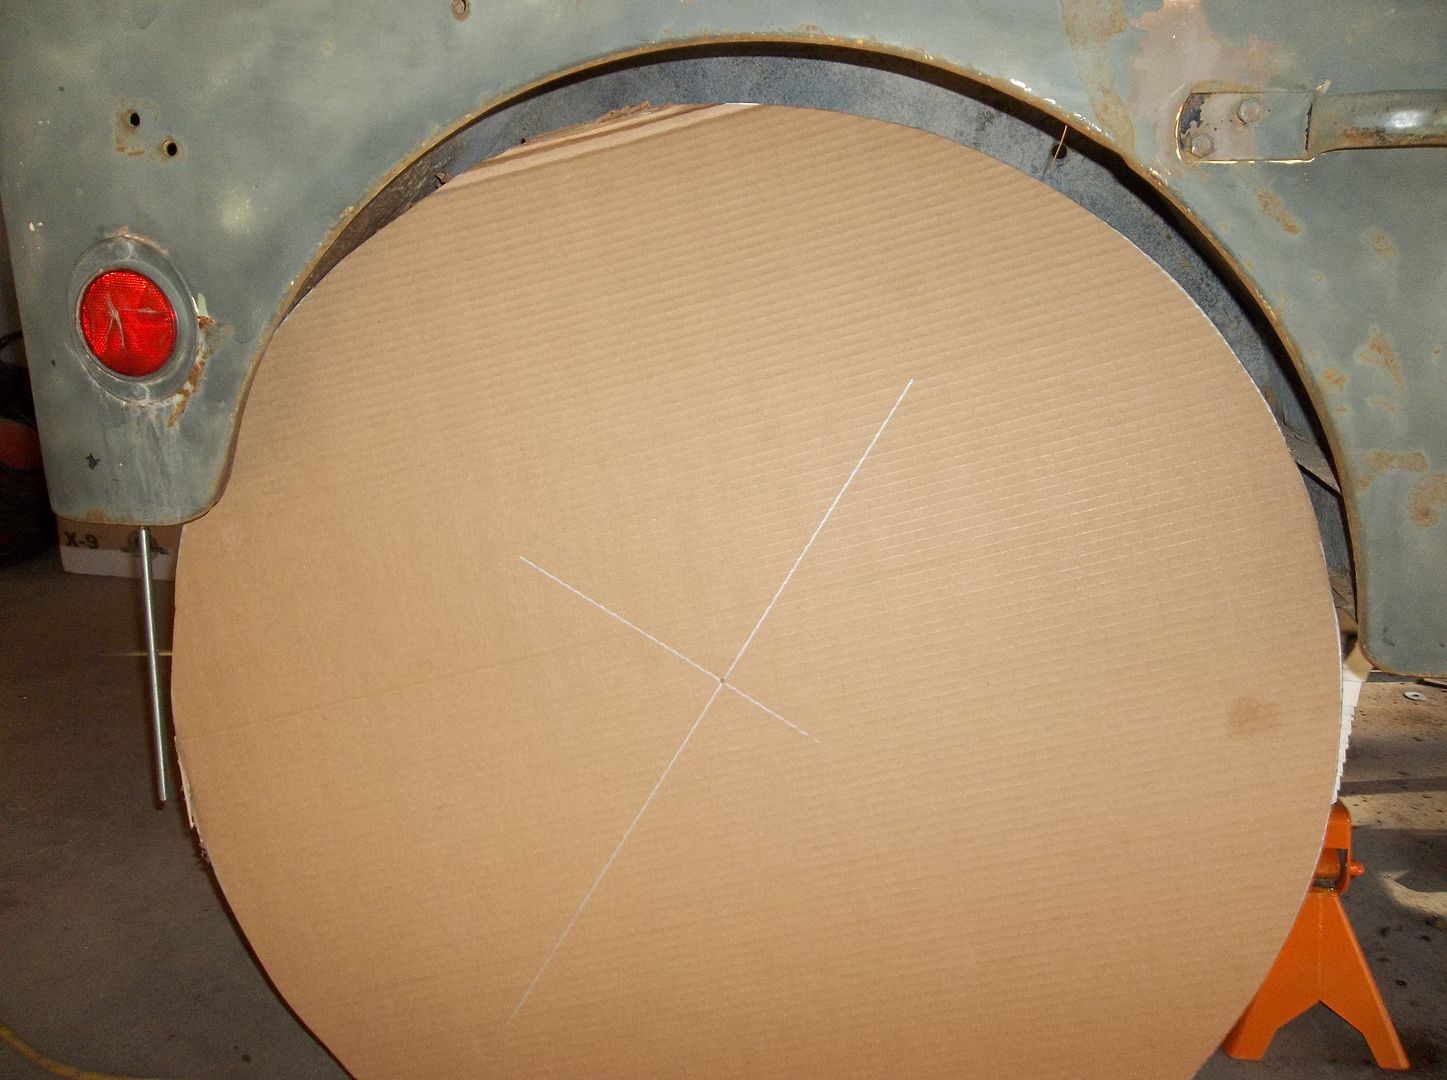
Here is my high tech mock up 'tire' :) A 36-37" tire is about all you can fit in a Willys tub and it's going to be TIGHT. I don't want to comp cut, and I want to run a BIG tire with almost no lift.....

100_0412.jpg


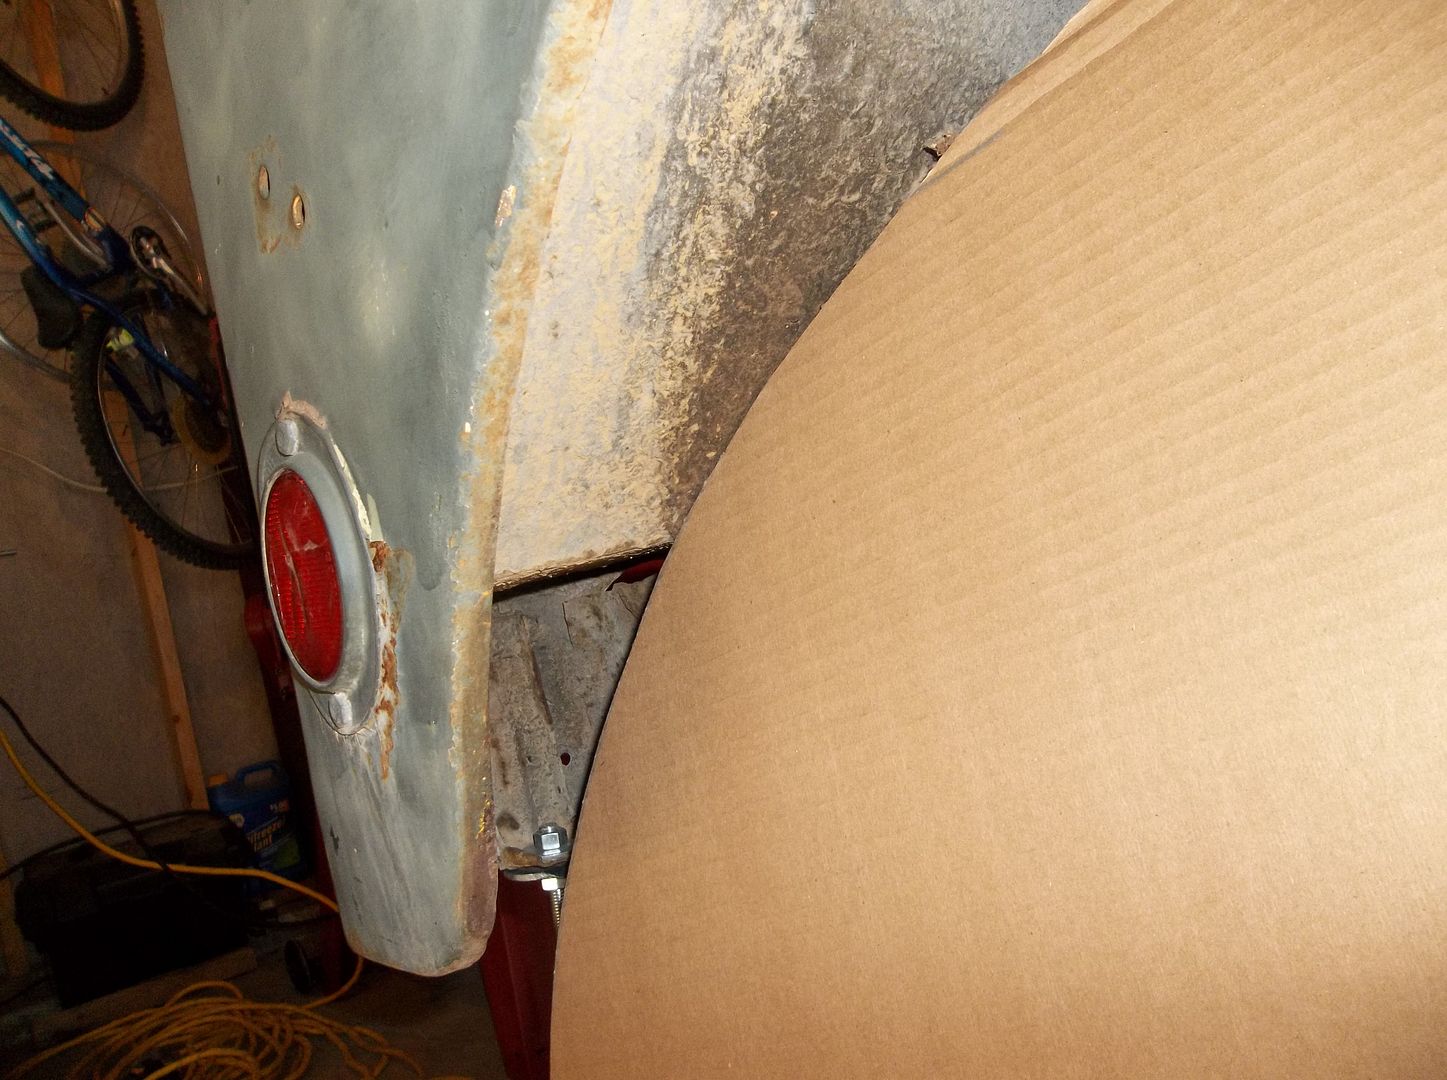
This is the area that is a big problem, the original Willys MB/GPW rear tool boxes on the wheel tub. They take up a lot of room. The are really cool though and I want to keep them. I hopefully have a neat trick up my sleeve on how to keep the tool boxes with bigger tires. Moving them up with the tub won't give you enough room alone.....

100_0414.jpg


I started the process of removing the paint so I could find the spot welds that needed removed.....

More as soon as I get my spot weld cutter in the mail!
 

Metcalf

Expedition Leader
I got into 4x4s during that era - coming from sports cars. The magazines of the time had lots of builds of trucks and Jeeps where a 33"-35" tire was considered a big tire. I never progressed past that idea.

I'm also a hold out to full body rigs. Buggies are cool and all but I personally have no use for them. The only way I'd run a buggy was for a spec series of racing.

I can't say much about tire size, my daily driver runs 39s with pretty much no lift :) You can build some VERY cool things in the 33-35" tire range. I think 35s can be made to work for about anything......maybe 37s.....or maybe 40s :sombrero:

I think reworking a full bodied rig take as much if not more time to build than a buggy . On the one hand starting with something makes it harder to modify to get the point you want.....on the other hand building something from scratch like a buggy has its own challenges.

I just want to bring back the old school junkyard tech that doesn't involve checkbook racing. And if I see another overbuilt 4-door JK at Moab I am gonna puke! Bring back the cool!
 
I just want to bring back the old school junkyard tech that doesn't involve checkbook racing. And if I see another overbuilt 4-door JK at Moab I am gonna puke! Bring back the cool!


This is exactly what I want to see! Vehicles with bodies that can be built with sheet metal and a simple brake. I see the potential for you getting into a related line of business - vehicle "mechanizing." Mechanizing is the act of taking a vehicle with power features like locks and windows and retrofitting them with manual windows and locks, or retrofitting 4 WD vehicles that are stock with automatic hubs like TJs with manual hubs, to bring about a return to simplicity. Let's say that I had money, and I needed something like a JKU's doors and space, and also let's say that, like everyone else, Jeep decides to no longer make Wranglers with manual locks and windows... In this case, I would be hiring someone with fabrication skills to strip the power features out and the automatic 4WD features out and returning them to the TJ versions, and I would be wise to do something about all that plastic in the interior.
 

Metcalf

Expedition Leader
Not too much to report on tonight....

100_0420.jpg


I added the 4" section to the passenger side to match the drives side. I wish I would have thought to do it from the start, but live and learn. This will allow me to grab the lowest bolt on the grill. I will also be adding a bolt on the top near the very top, this should make everything nice and strong!

100_0419.jpg


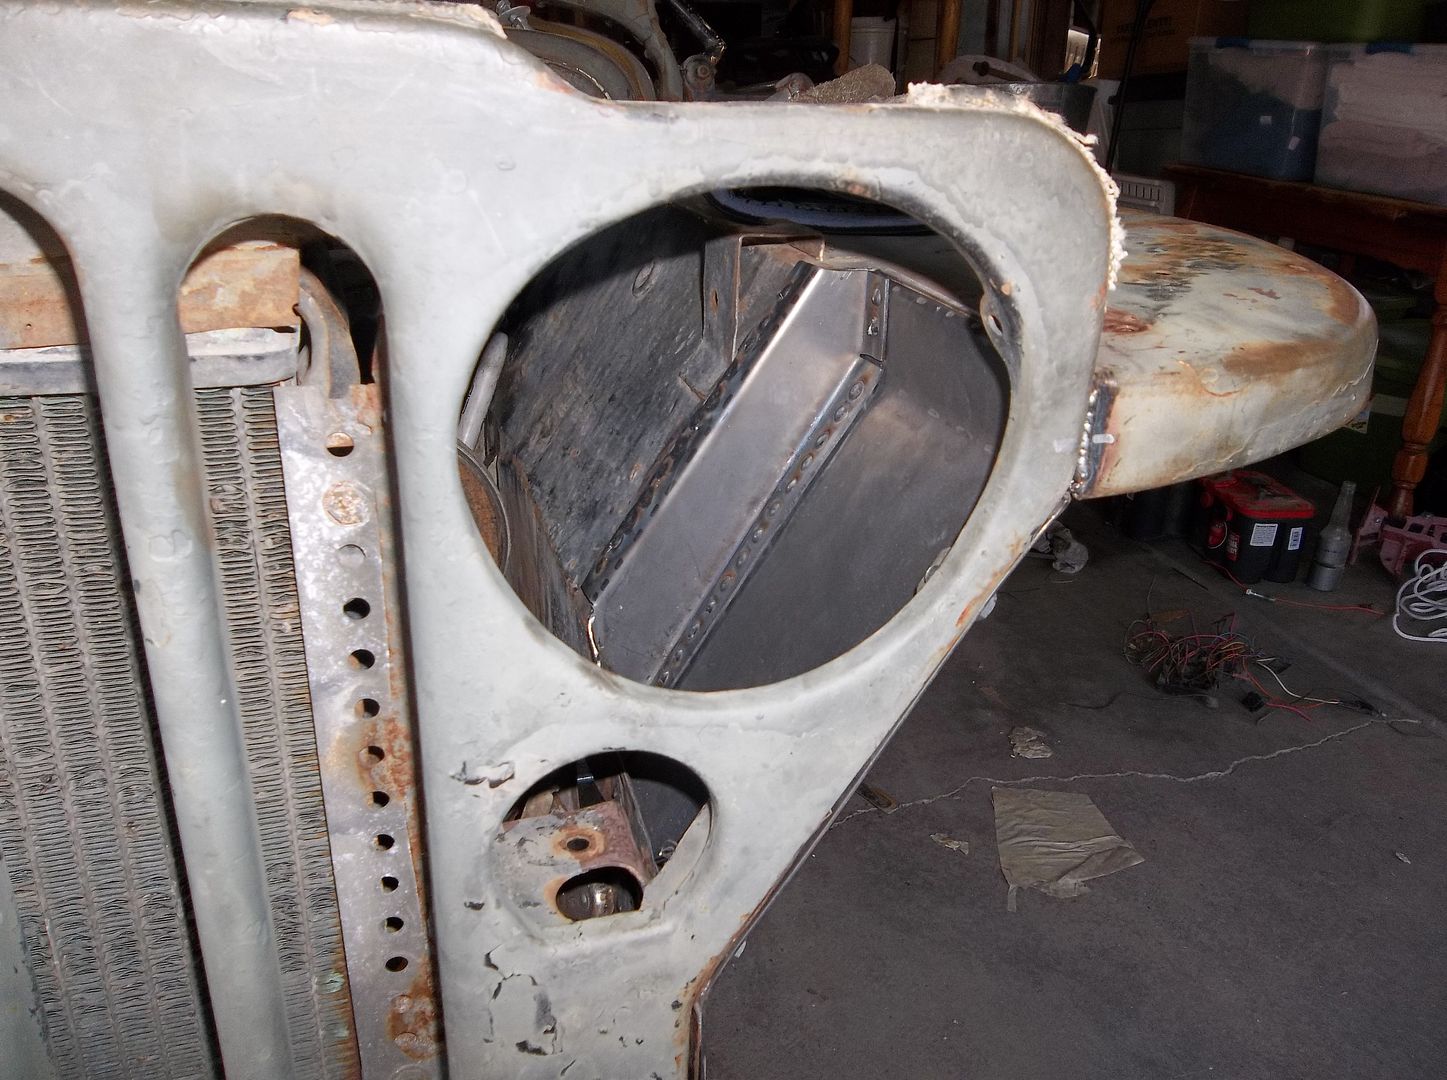
I was just about to cut up the old headlight mounts and then realized if I swapped them side to side they clear unmodified! I will have to build a little bit of a funky bracket for the hold down either off the radiator mount or maybe the future front shock mount, but it should be a lot easier than trying to make a new bracket AND mount.

100_0421.jpg


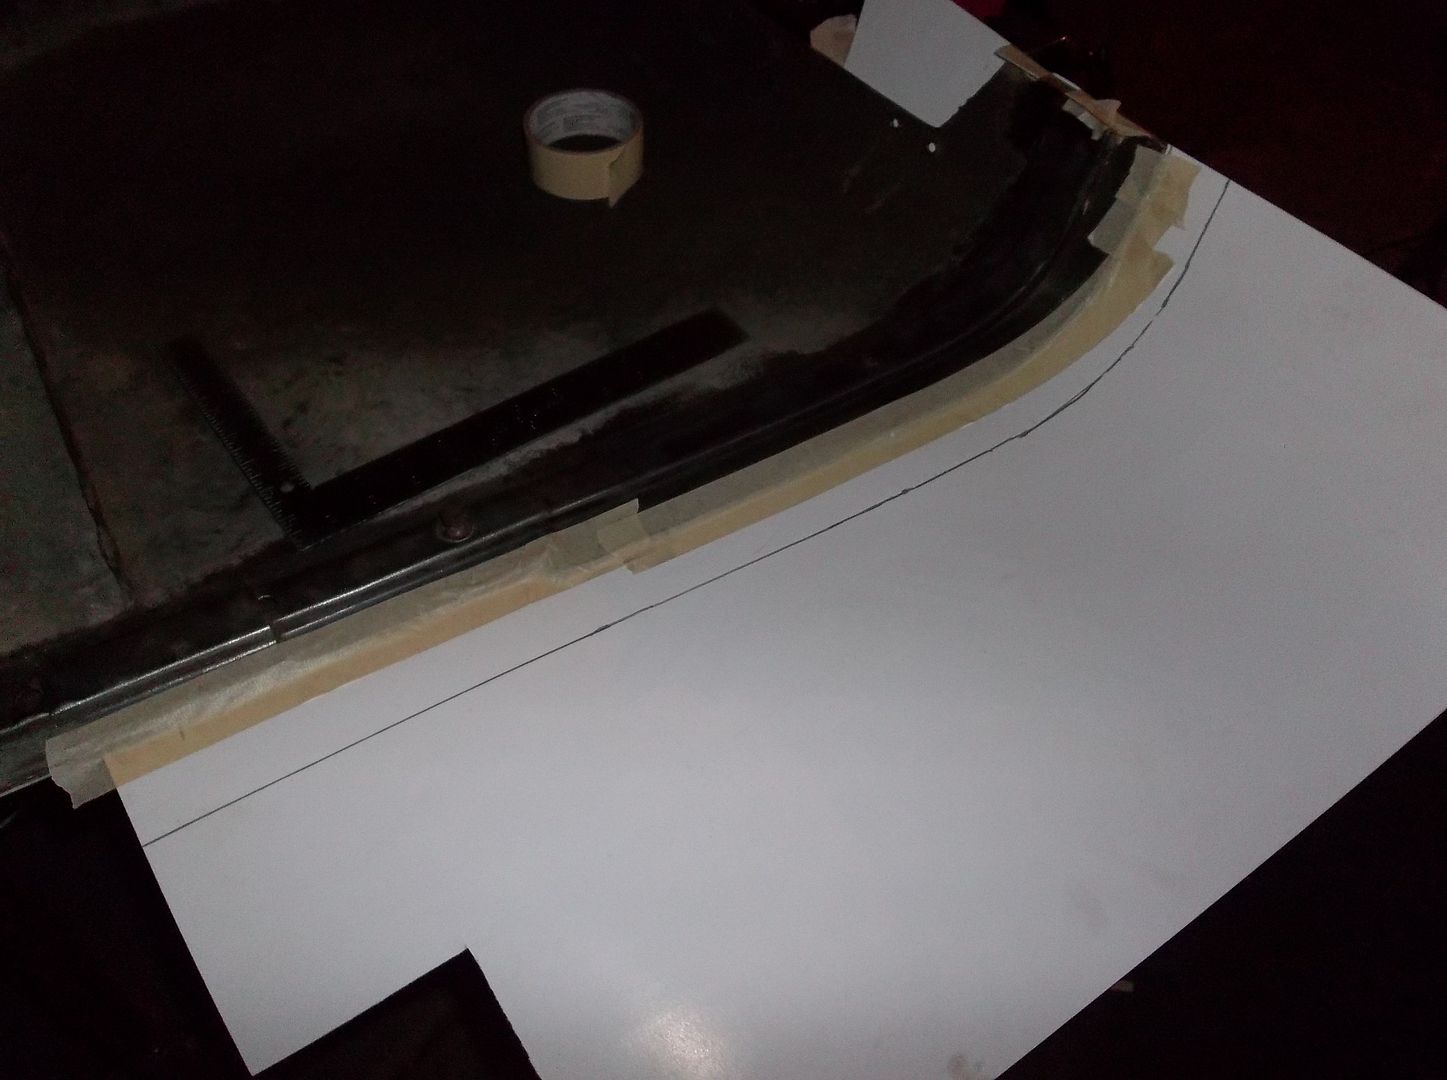
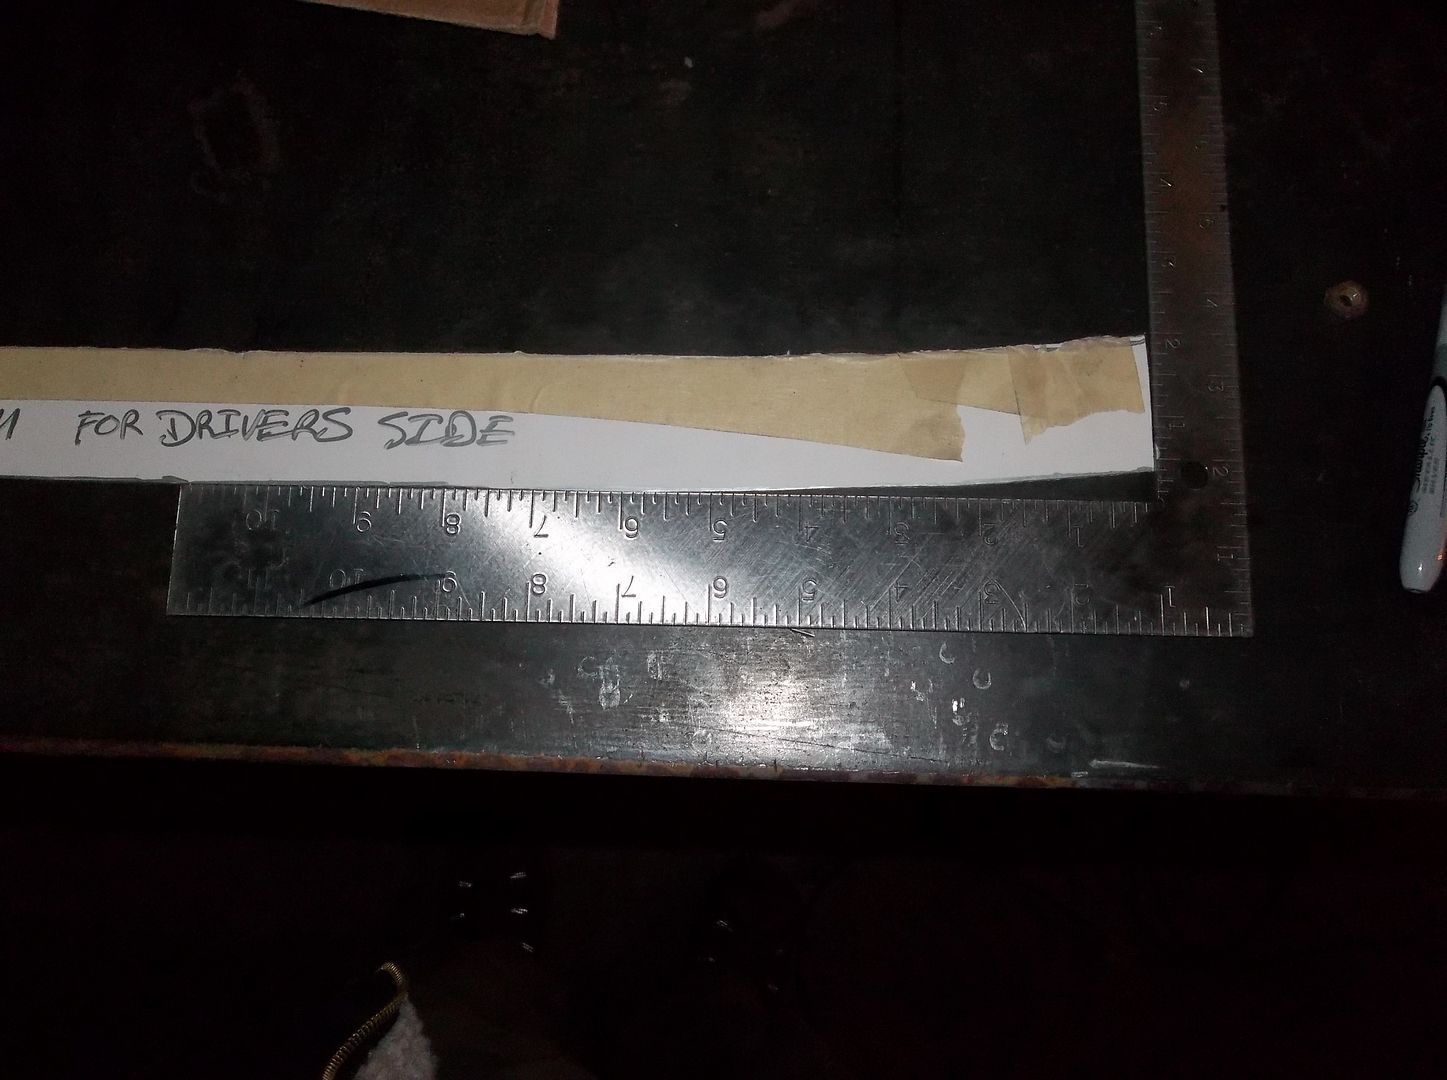
I had some poster board laying around so I decided to see if I could make a pattern for the hood extension piece. Since the poster board doesn't really 'stretch' it works well to develop a template on a complex curve like that. You can work the poster board down smooth to the surface to extend the taper of the hood. A little bit of marking and tape and I was ready to go.

100_0422.jpg


Here you can see the funky shape at the end of the hood since its tapered. Now I need to cut this out of sheet metal and weld it to the back edge. I am thinking that the thicker 16 gauge I am using is almost as thick as the hood and hood support at the edge. I may just add the 16 gauge to the back edge and then weld in the new hinge further back. This would sure save a LOT of tedious work on the back edge of the hood.
 

Metcalf

Expedition Leader
Yeah, I like it when an 'easier' solution presents itself. I still have to buy one new bracket since the factory one finally wore out after 70 years :) I really like being able to turn the headlights around to work on the engine.....it almost makes it fun when your stuck somewhere.

I think I will be able to integrate the bracket into a future shock mount or something...
 

Metcalf

Expedition Leader
I just ordered my springs. Superlift 1" lift REAR springs for all 4 corners. They showed in stock so hopefully they will show up soon. I was going to order seats but I think this will get me further in the project sooner. With the springs I can.....

-Build the u-bolt plates and get u-bolts
-Roll the axles under on the old 32s to get it rolling again
-Bolt up the rear full float spindles/hubs
-find out the rough ride height
-Figure out the shackle length and build shackles and mounts
-Come up with the final shock locations, lengths, and build mounts
-Get the steering box mounted up and linkage built
-etc etc.

It will be nice to have it rolling around again!
 

Metcalf

Expedition Leader
Oh the little stuff....how fun....

100_0423.jpg


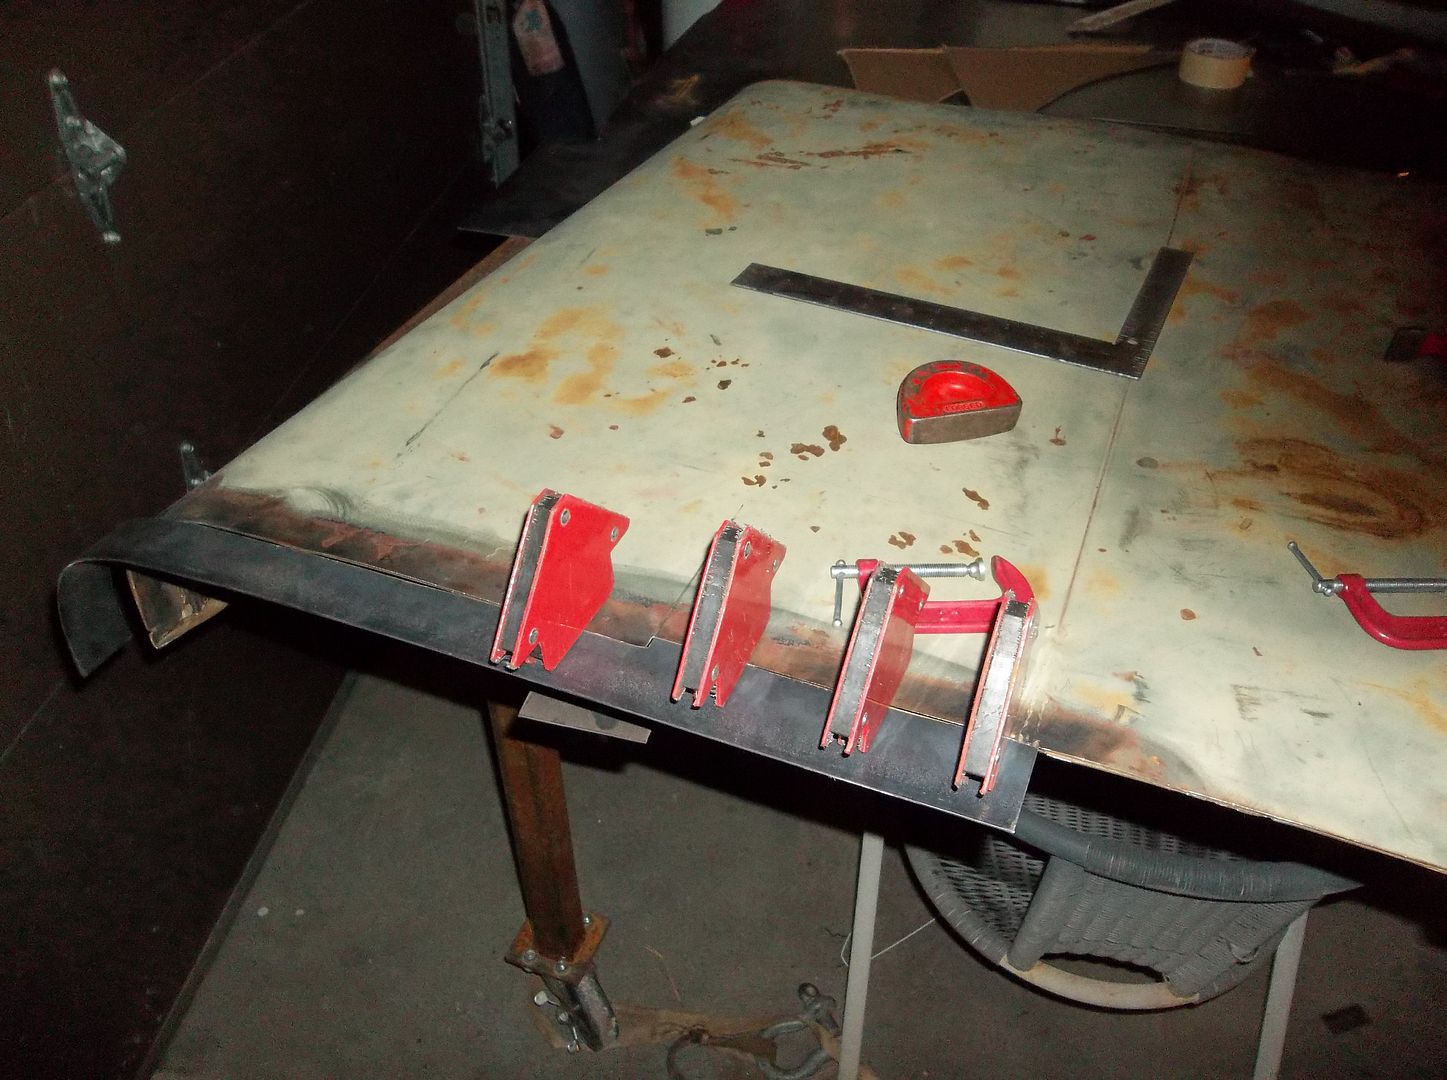
I cut the hood extension and started lining it up on the back of the hood. I didn't make the cut out on the back for the hinge yet. I wanted to wait to test fit that to the hinge when I get it in a few days....

100_0424.jpg


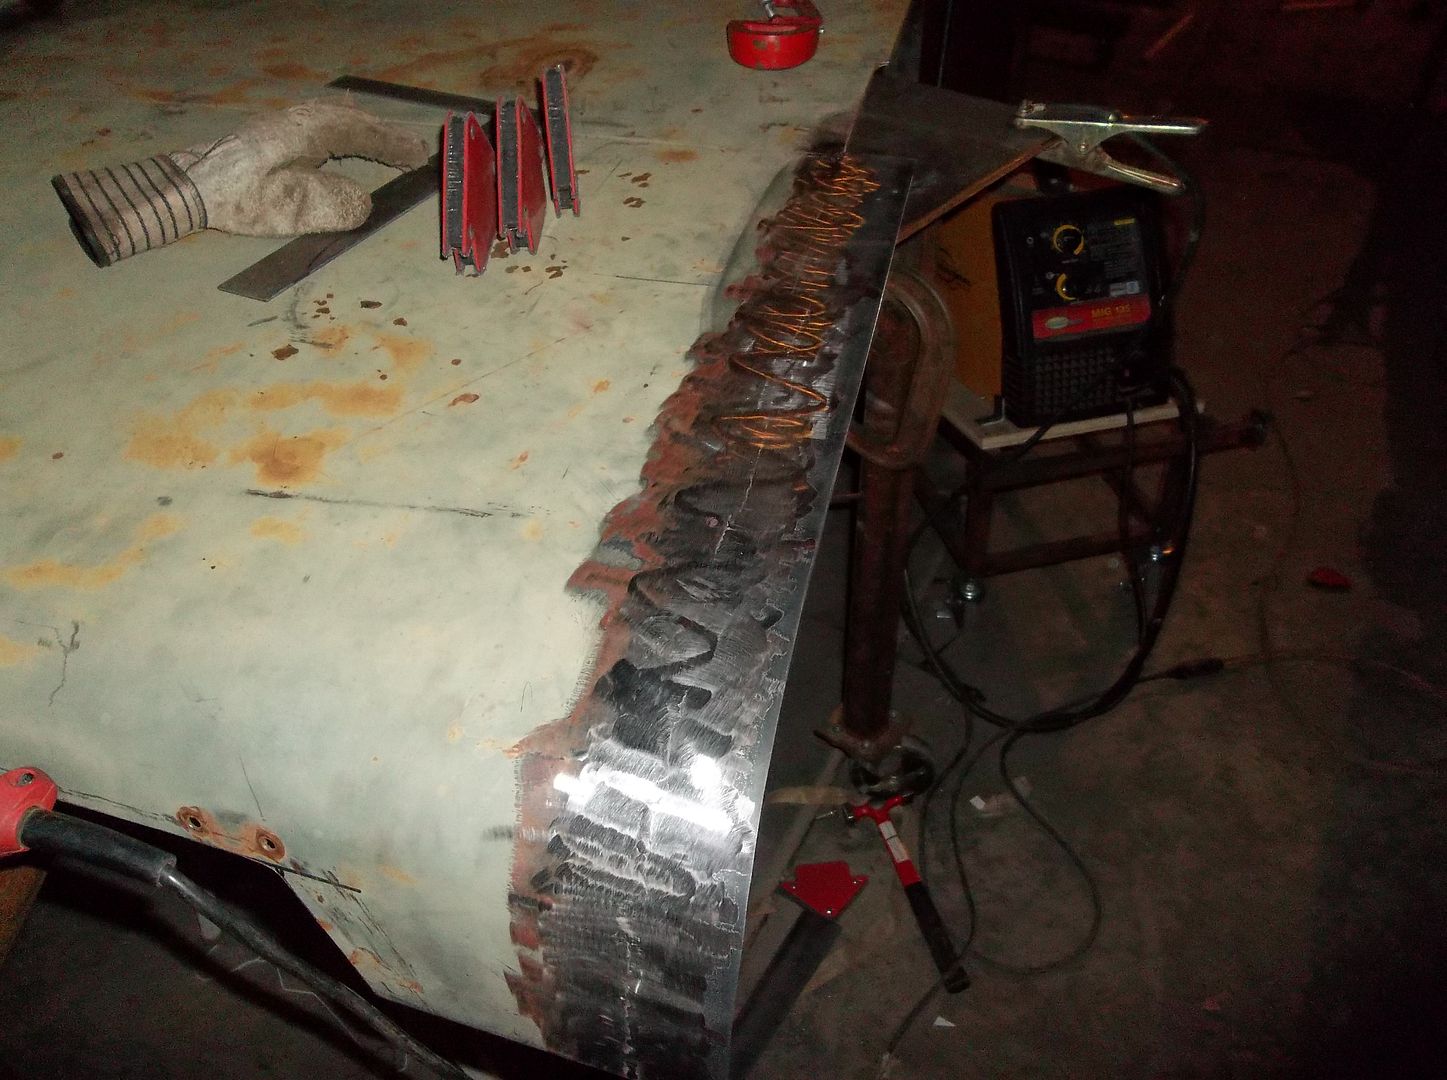
Tack, bend, tack, tack, tack, bend, grind, tack, bend, tack, tack, tack....

The back edge turned out pretty good. I wire brushed the old hood metal a LOT and still got some dirty welds. I went into place pretty well though.

100_0425.jpg


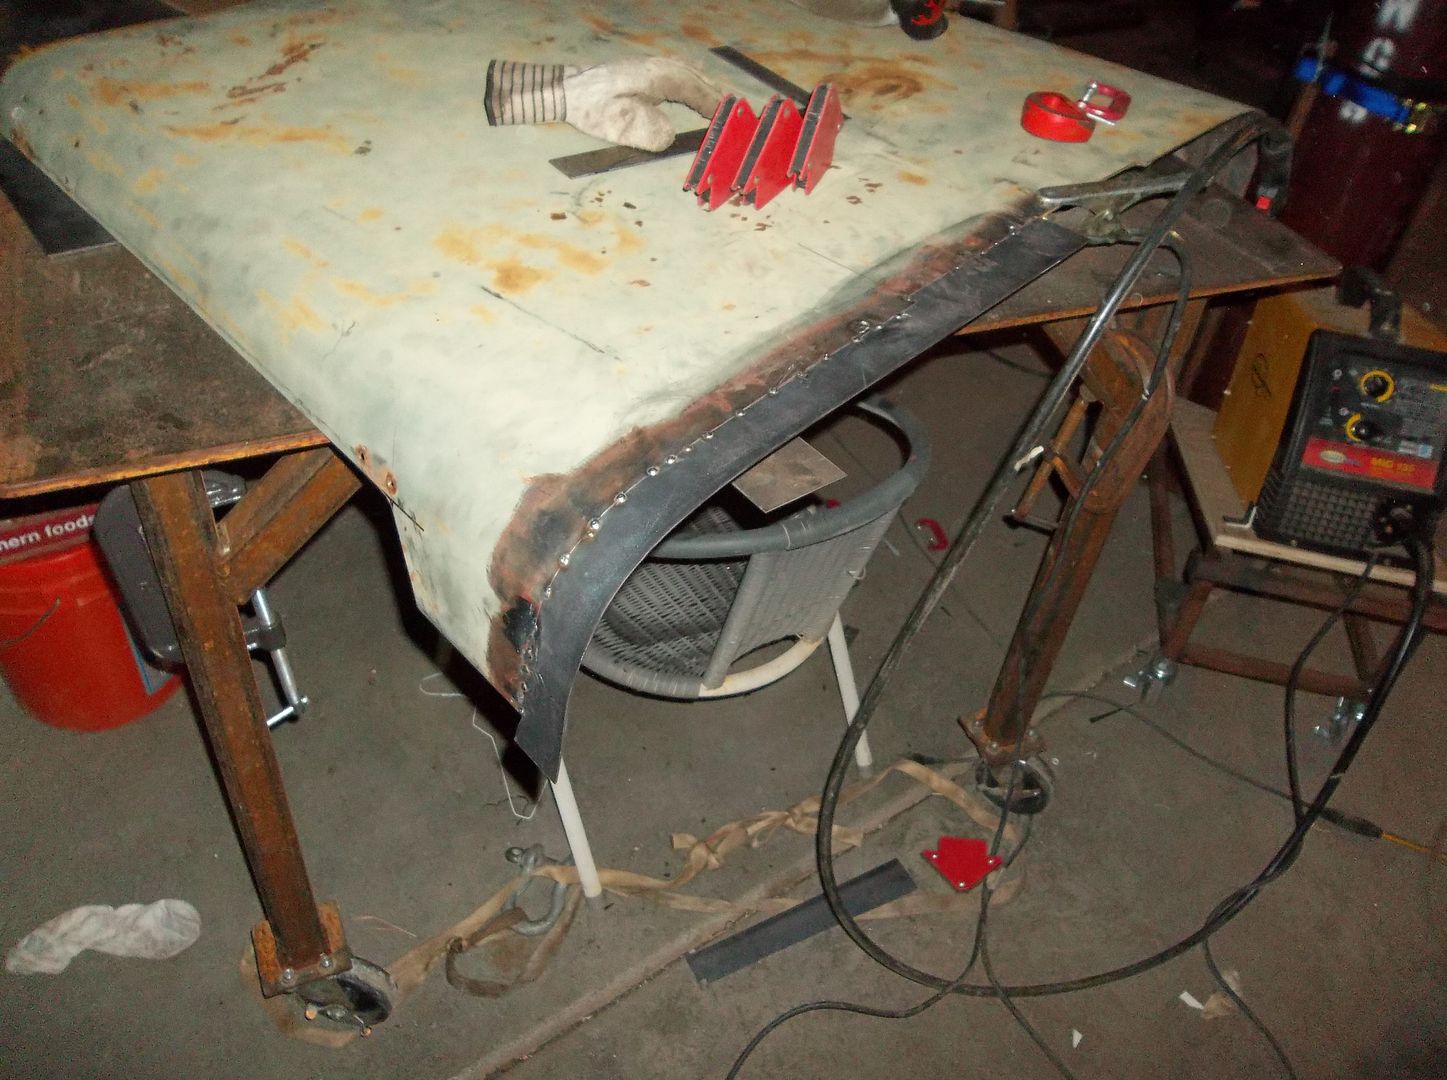
Then tack,tack, tack, tack, tack, tack, tack, tack, tack, tack, tack, tack, tack, tack, tack, tack, tack, tack, tack, tack, tack, tack, tack, tack, tack, tack, tack, tack, tack, tack, tack, tack, tack, tack, tack, tack, tack, tack, tack, tack, tack, tack, tack, tack, tack, tack, tack, tack, tack, tack, tack, tack, tack, tack, tack, tack.......

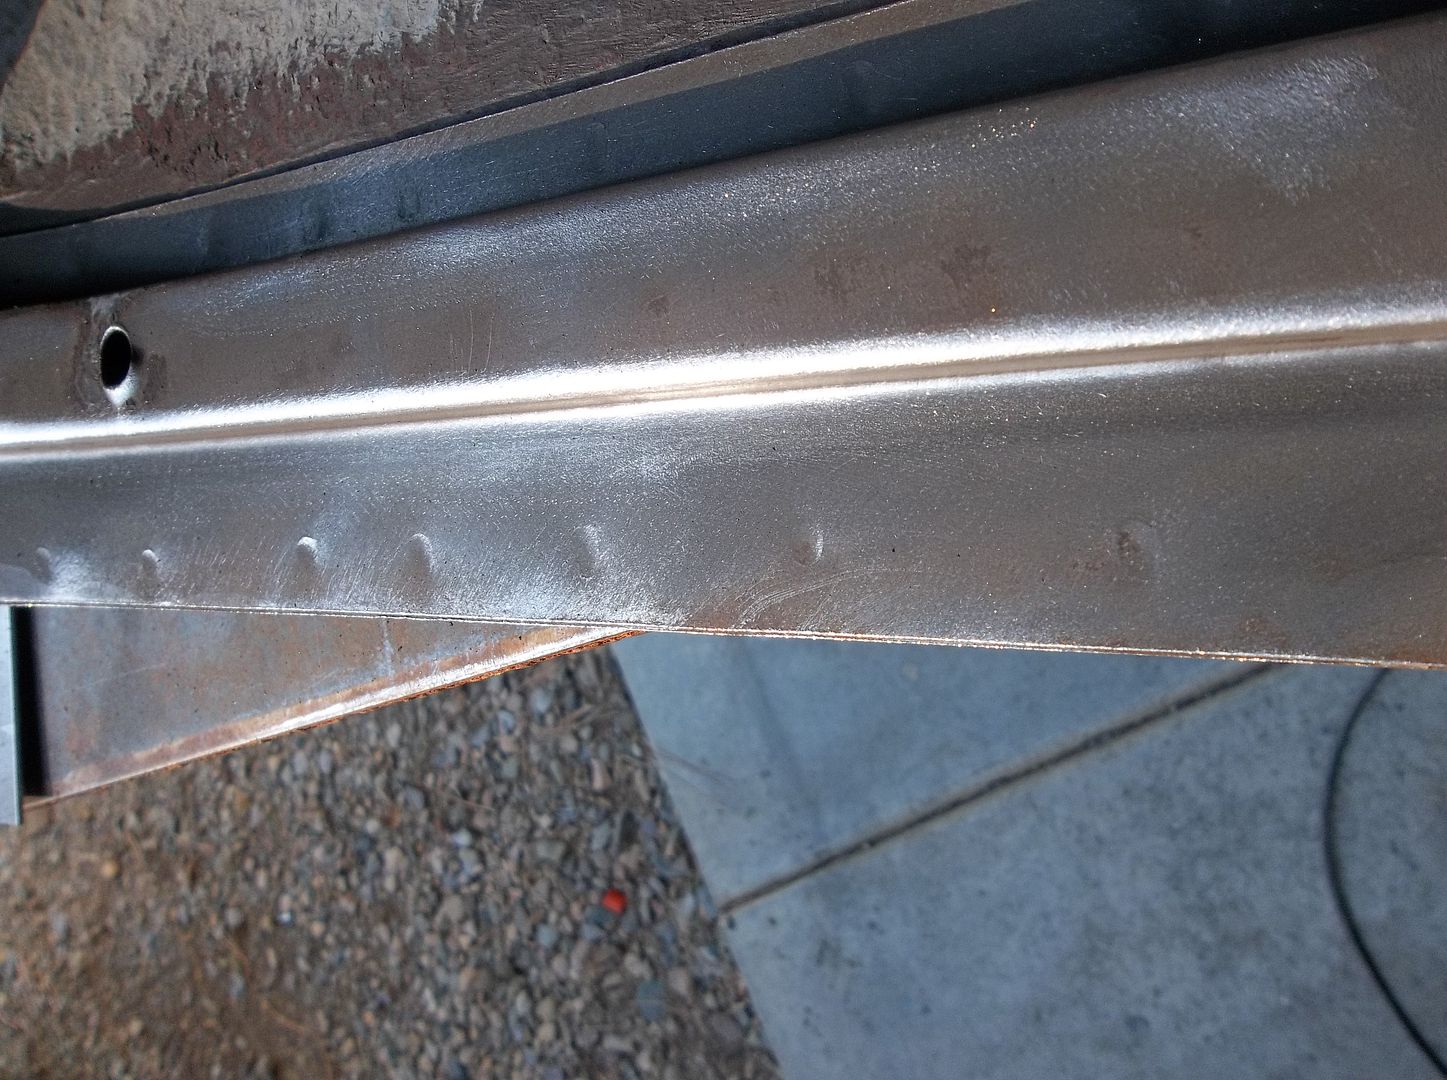
Then I sanded it down and played with some of the high spots with a hammer and dolly. It turned out pretty decent for bare metal. A light skim coat of filler should cover it up, or I might just prime and paint it for the rugged prototype look.....
 

mutt550

Observer
Love the build. I bought a 47 in mid October and have been having a blast making it mine. The prior owner has done a ton of work to it and I just get to finish it and fine tune it into what I want. I got it with 3/4ton axles, toyota 22r, tera low gears, and almost new 36 irocs. It sits low and wide like your build. :victory:
 

Metcalf

Expedition Leader
Love the build. I bought a 47 in mid October and have been having a blast making it mine. The prior owner has done a ton of work to it and I just get to finish it and fine tune it into what I want. I got it with 3/4ton axles, toyota 22r, tera low gears, and almost new 36 irocs. It sits low and wide like your build. :victory:

Picture!
 

mutt550

Observer
Will have to try to figure out how to put a picture on here. I'm slowwwwwwww on computers..... Tried to put the picture on last post. Think I may need to get some help.
 

Forum statistics

Threads
188,264
Messages
2,904,730
Members
229,805
Latest member
Chonker LMTV
Top