Rango.....1942 Willys MB

Metcalf

Expedition Leader
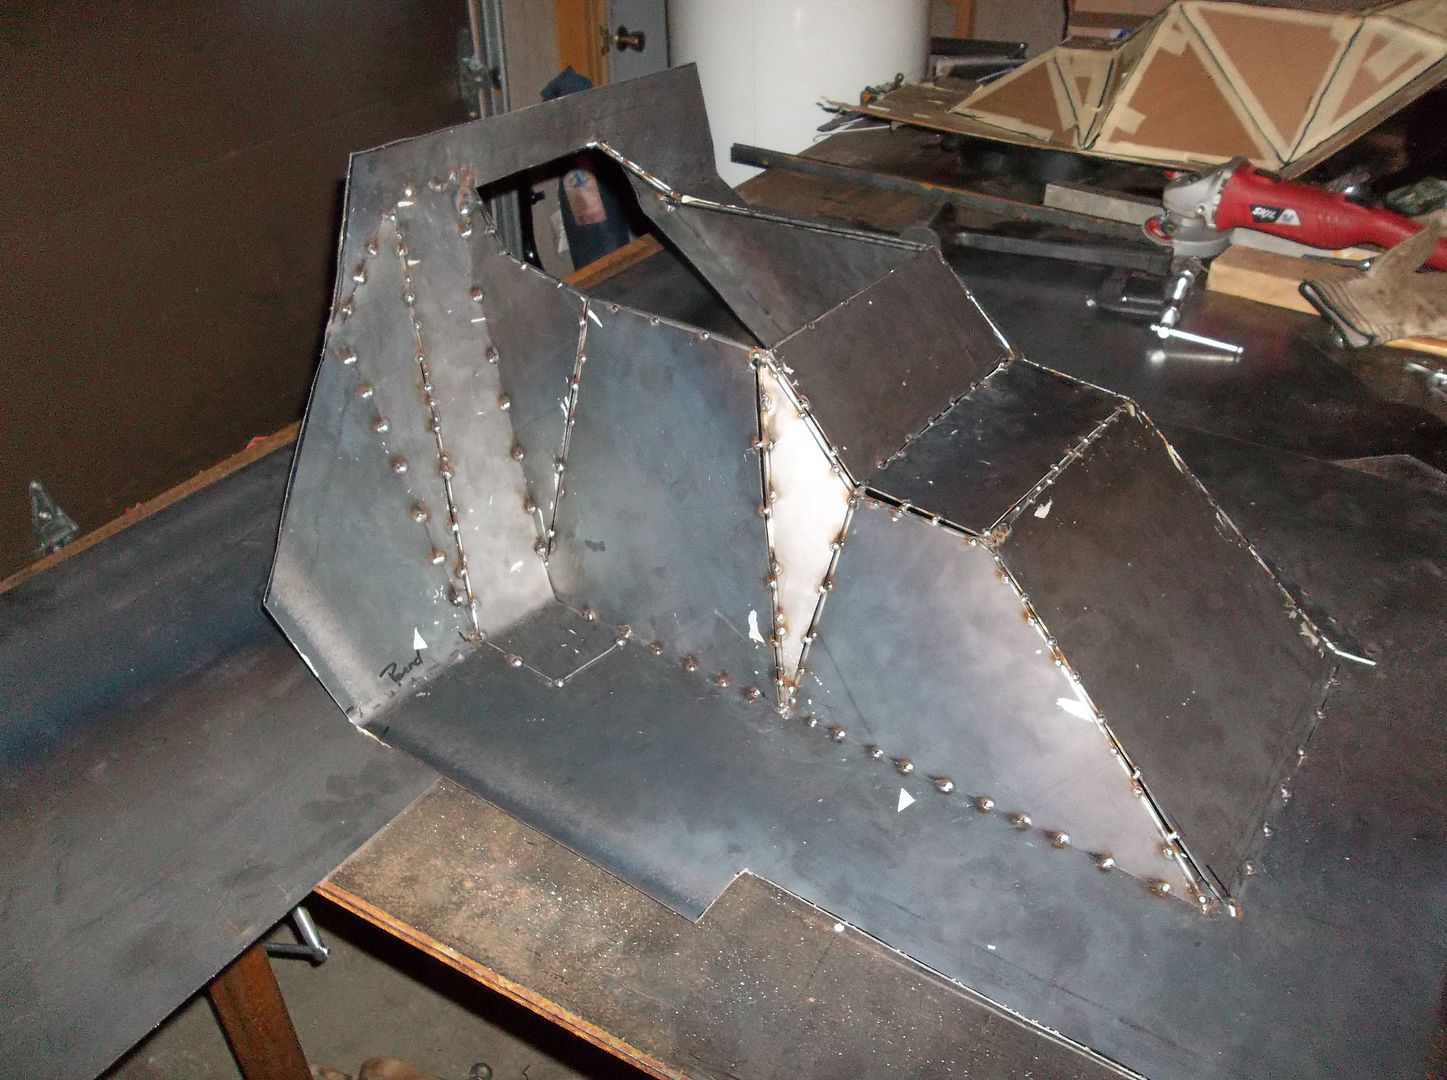
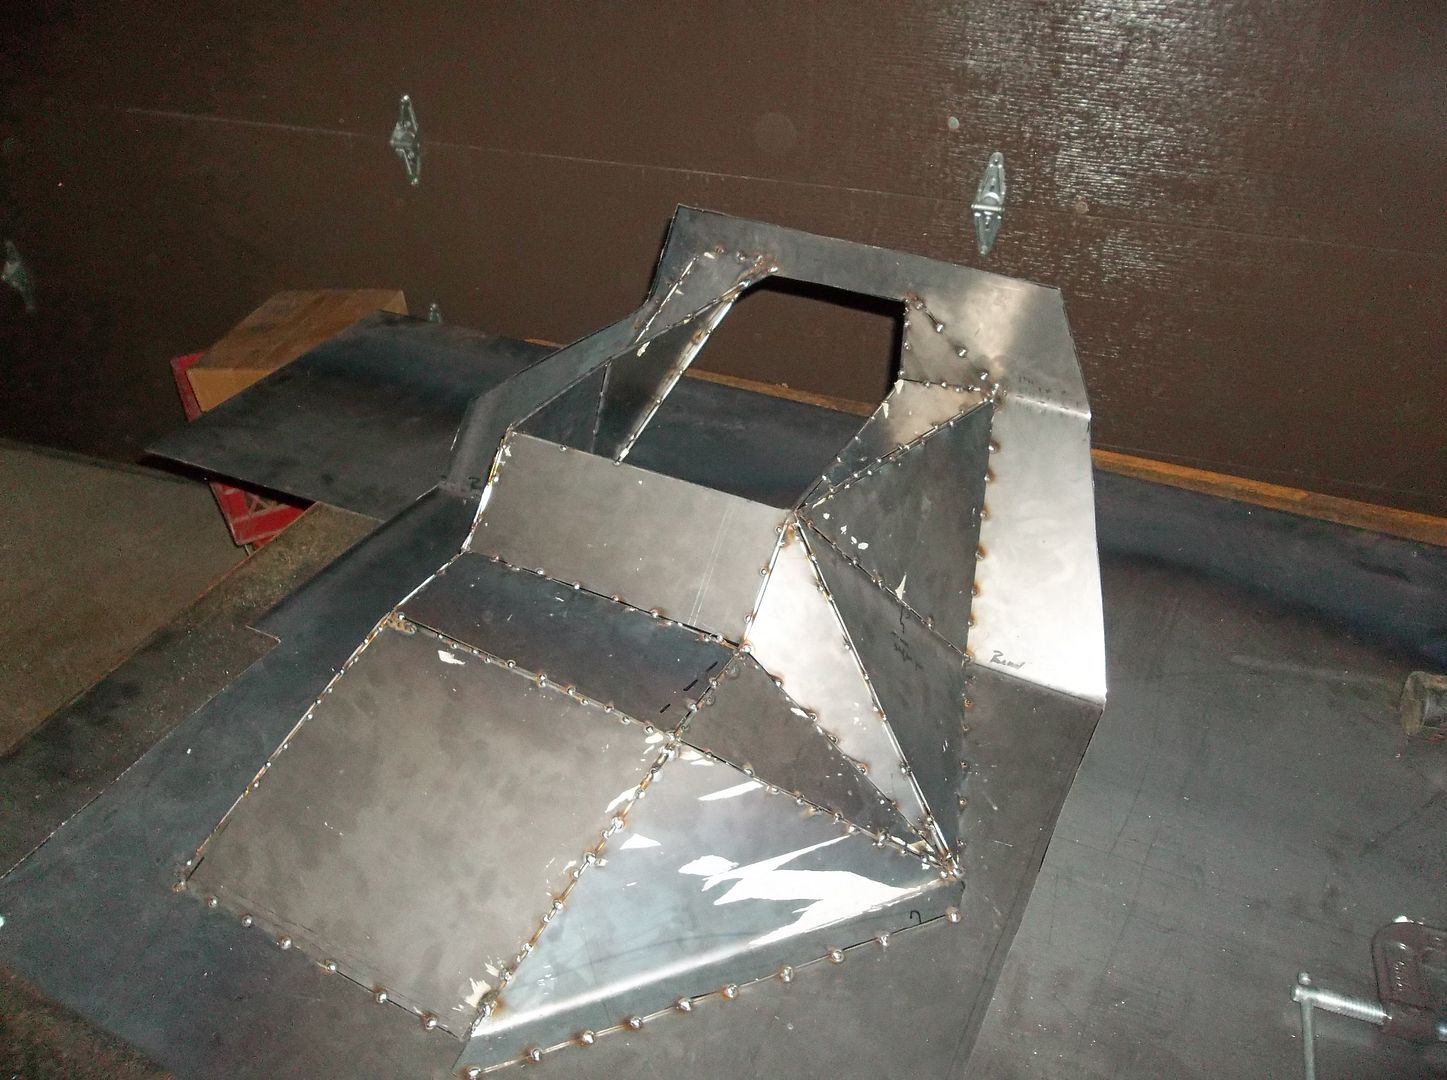
The tunnel cover looks like it is coming together. I do have a fabrication question for you. Why not use your "new" sheet metal brake and card board templates for some of the pieces? It looks like you could have made the middle front-to-back strip relatively easily from one piece with a couple of bends in the brake, saving you some welding and sanding time.

I thought about it, but the wire model is close to the cardboard, not exact. With the rod under the panel I probably would have had rattles if the panel was just resting on the rod. It might have saved time if I could pull it off....but I couldn't make it work.
 

SChandler

Adventurer
Oh, ok, I didn't realize that the wires were staying in place. I thought they were for support until you got the panels tacked together. I suppose that would make a difference. I knew I was missing something.:sombrero: Looks like you are making progress on it.
 

Metcalf

Expedition Leader
Yup, I am going to keep the wires in place. It should allow me to sand the corners a little heavier without having to worry about going through. Welding to a 3/16" rod is also way easier than butt welding sheetmetal :elkgrin:

Its coming along. 4.5 months to go give or take...
 

Metcalf

Expedition Leader
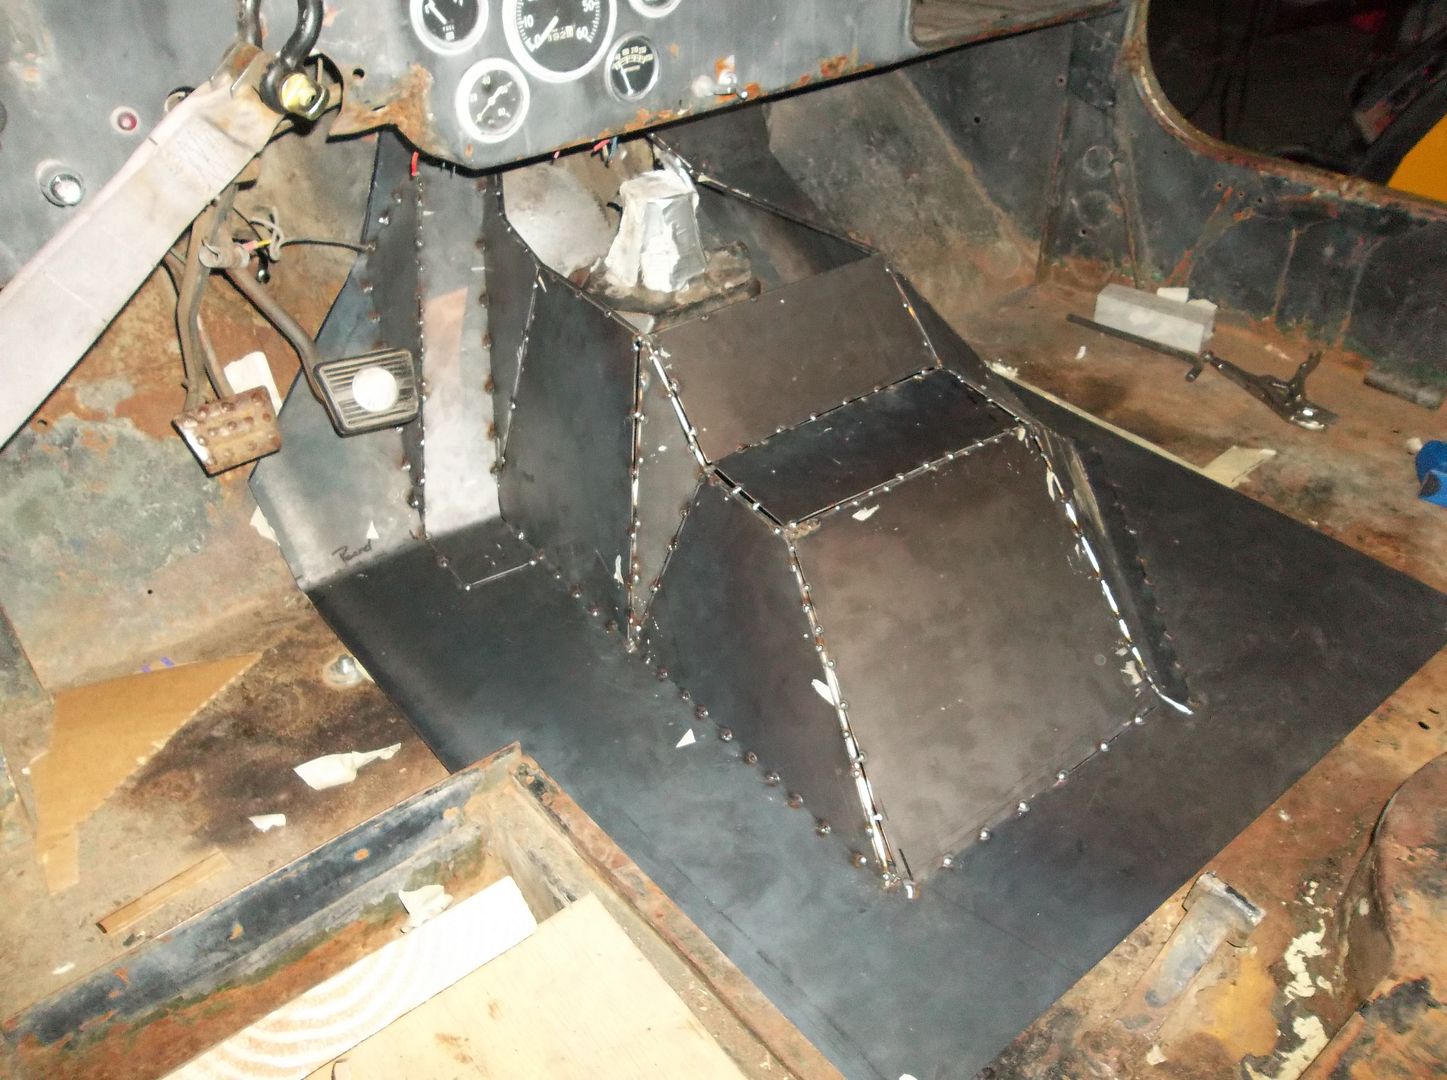
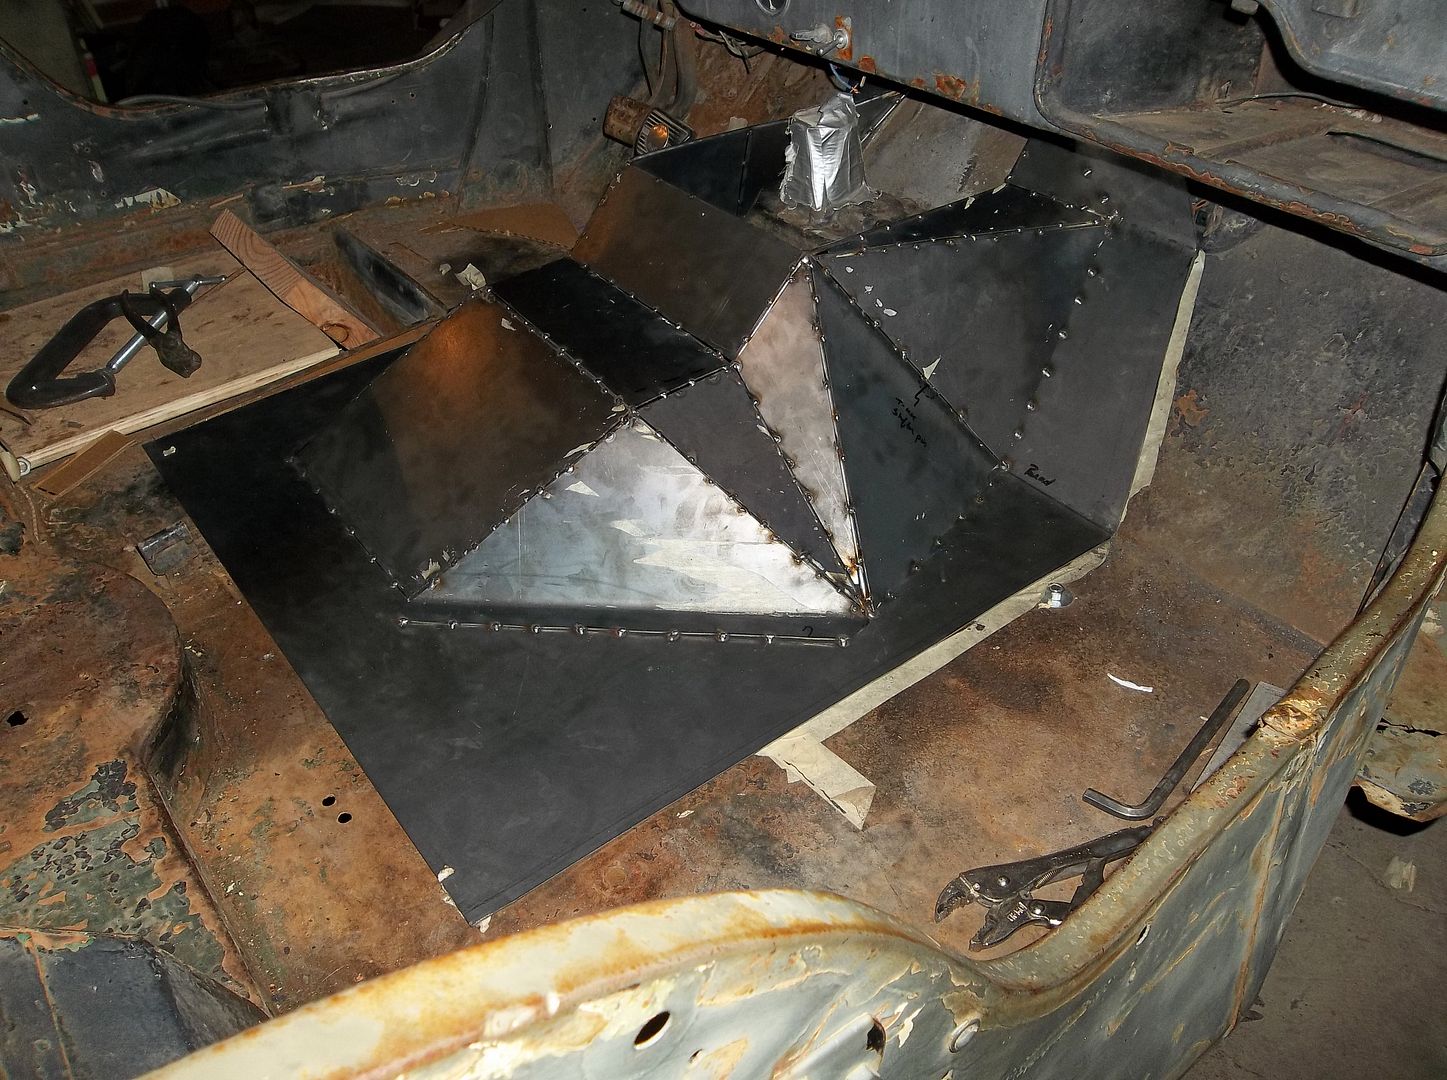
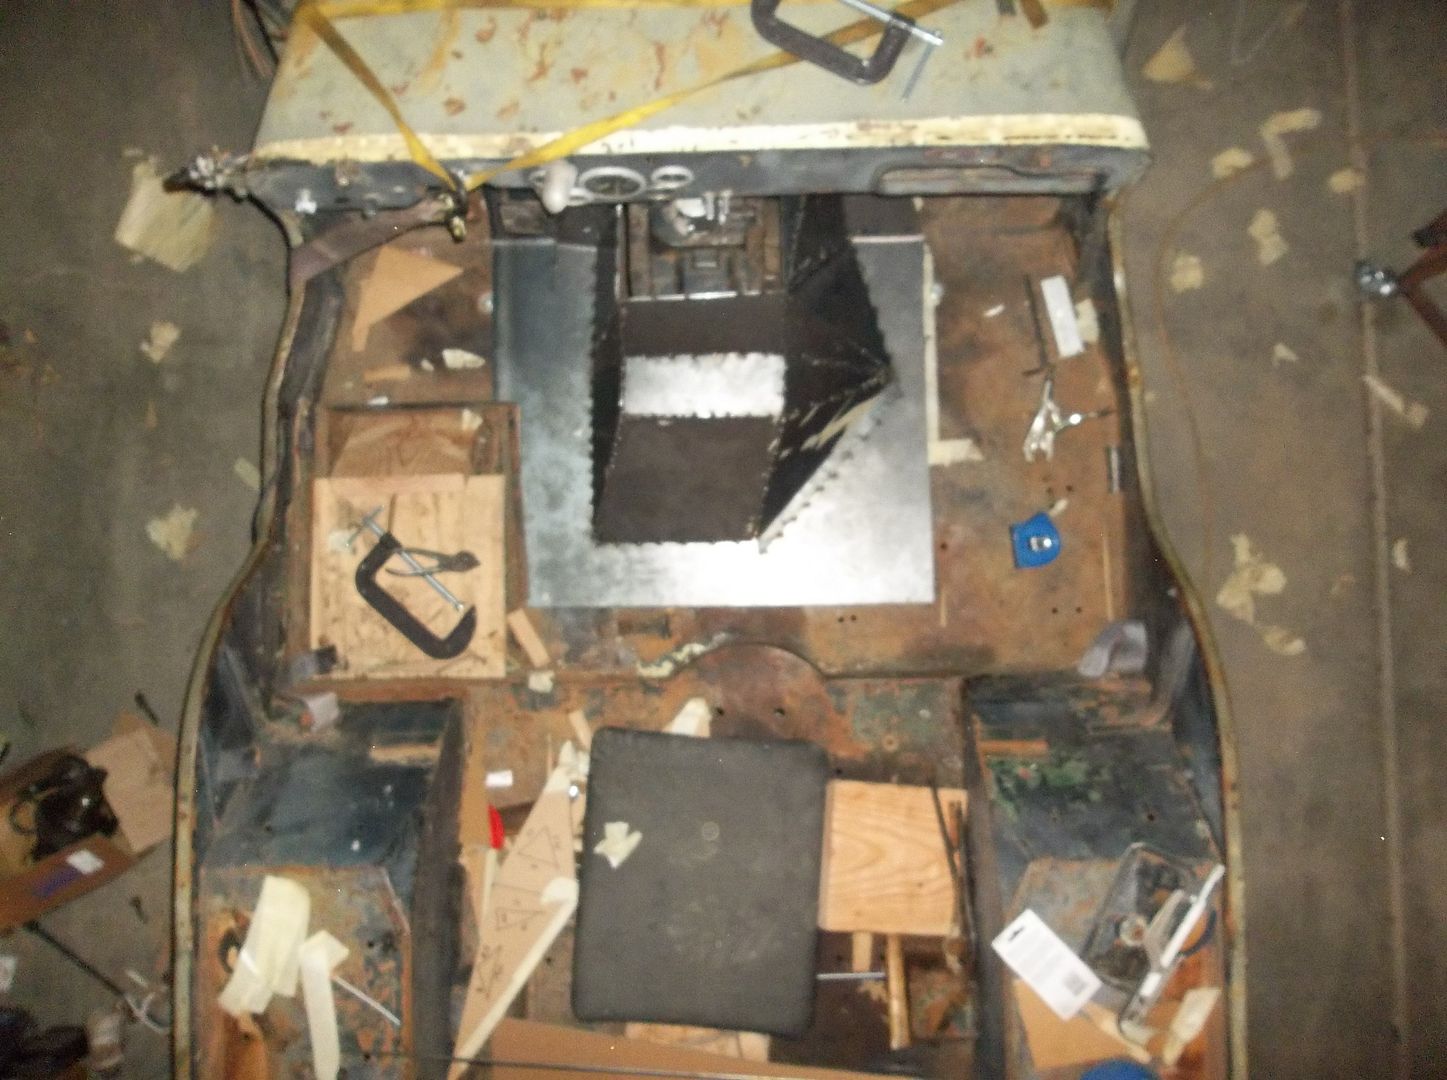
The tunnel is pretty much done for now. I only have the top plate left and need to wait on that till the transfer case shifters get rebent. Hopefully I can do that this weekend.

100_0335.jpg


100_0334.jpg


100_0336.jpg


100_0337.jpg


100_0338.jpg


I will probably mess with welding up the seams and sanding it down next. Hopefully this weekend I will be moving on to doing the 'highline' on the front fenders....
 

lstzephyr

wanderer
Awesome project! I really liked that little jeep when i got to check it out in Colorado.

I agree about the advantages of an open vehicle for traveling. It just involves you more in the outside area.

One idea for you e brake. If you have a pto could you use a small motorcycle drum brake? Something like a harley, triumph, or something would probably have enough clamping force to hold it in place. I'm not so sure it could slow the jeep though. The big advantage is they are pretty narrow. My dirt bike's back drum was less than 3 inches tall, with a easily braced mounting plate.
 

Metcalf

Expedition Leader
Highline front fenders part one....

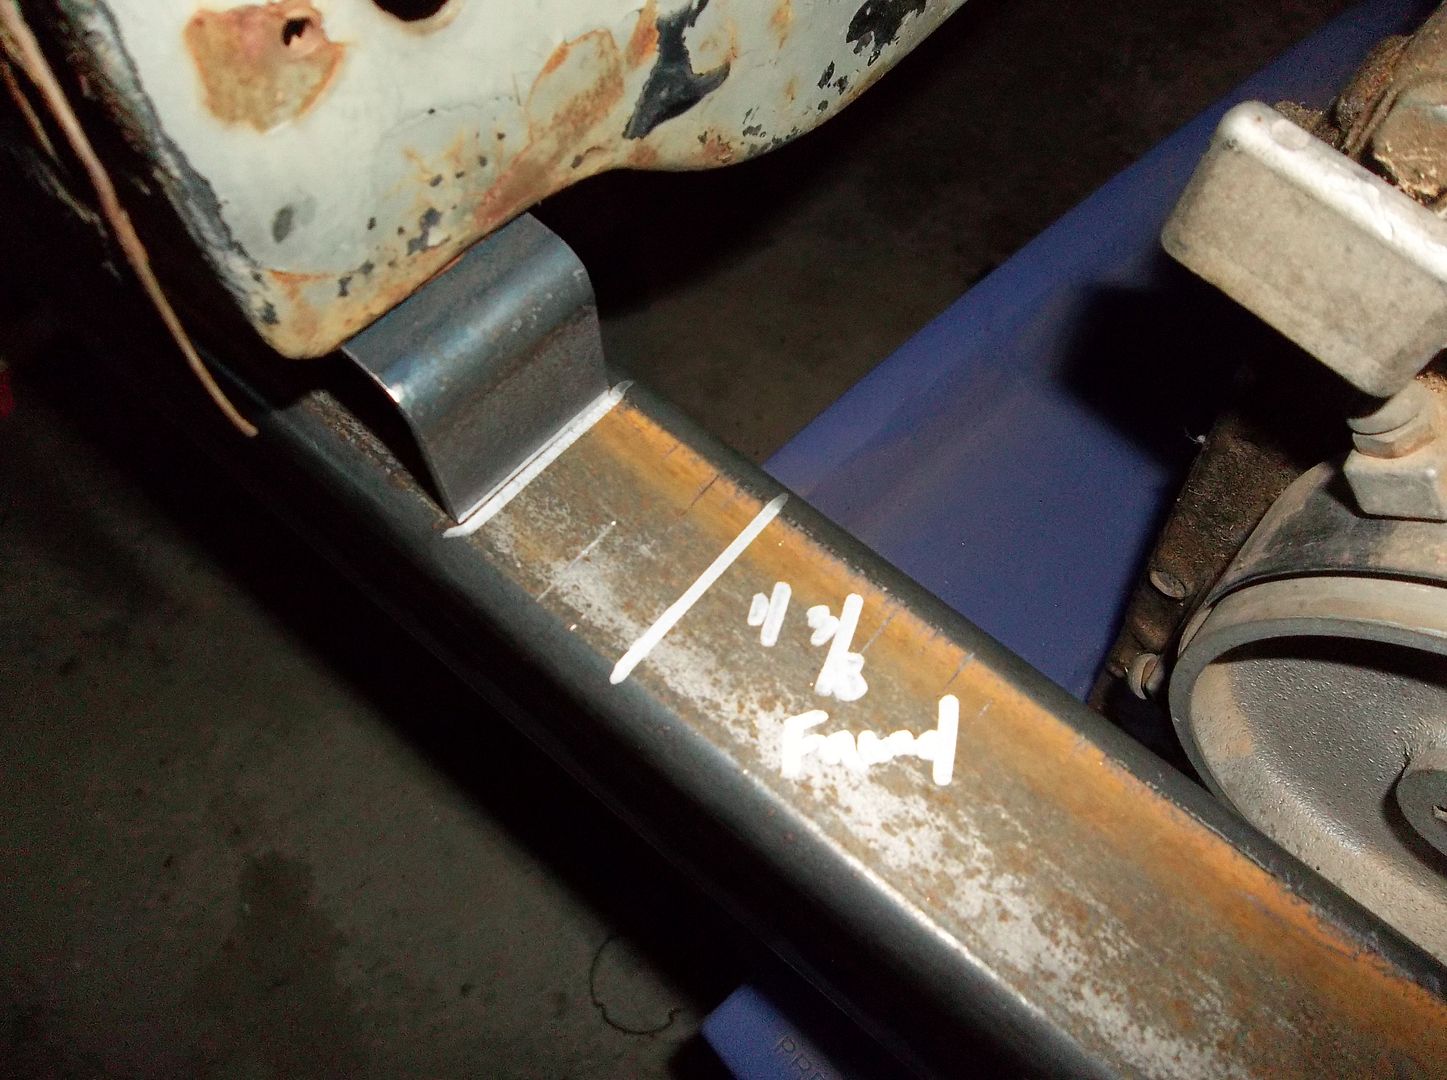
100_0343.jpg


Mark the grill mount location. It will be moving forward 1 3/8" when you raise the fenders along the back angled edge/mounting surface. My mounts are not welded on yet, moving them is easy. If your doing this on a factory frame you may have to make new mounts.

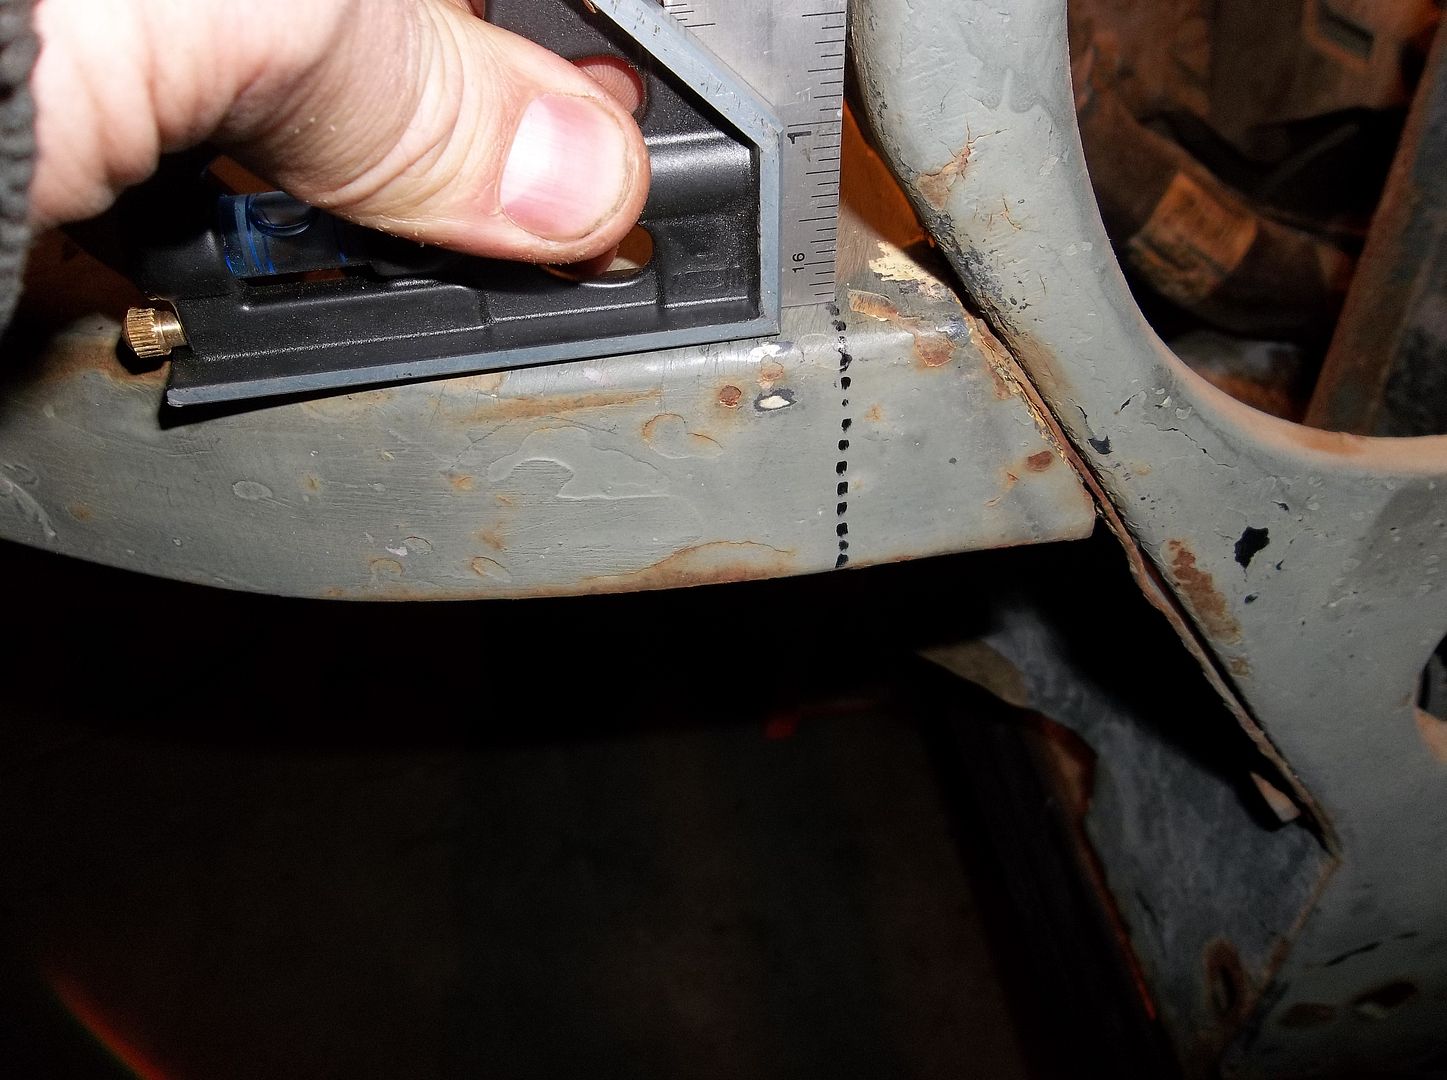
100_0346.jpg


Mark the fender where the grill will be located. A square works well for this. Make sure this mark doesn't come off or else you are going to have to guess.

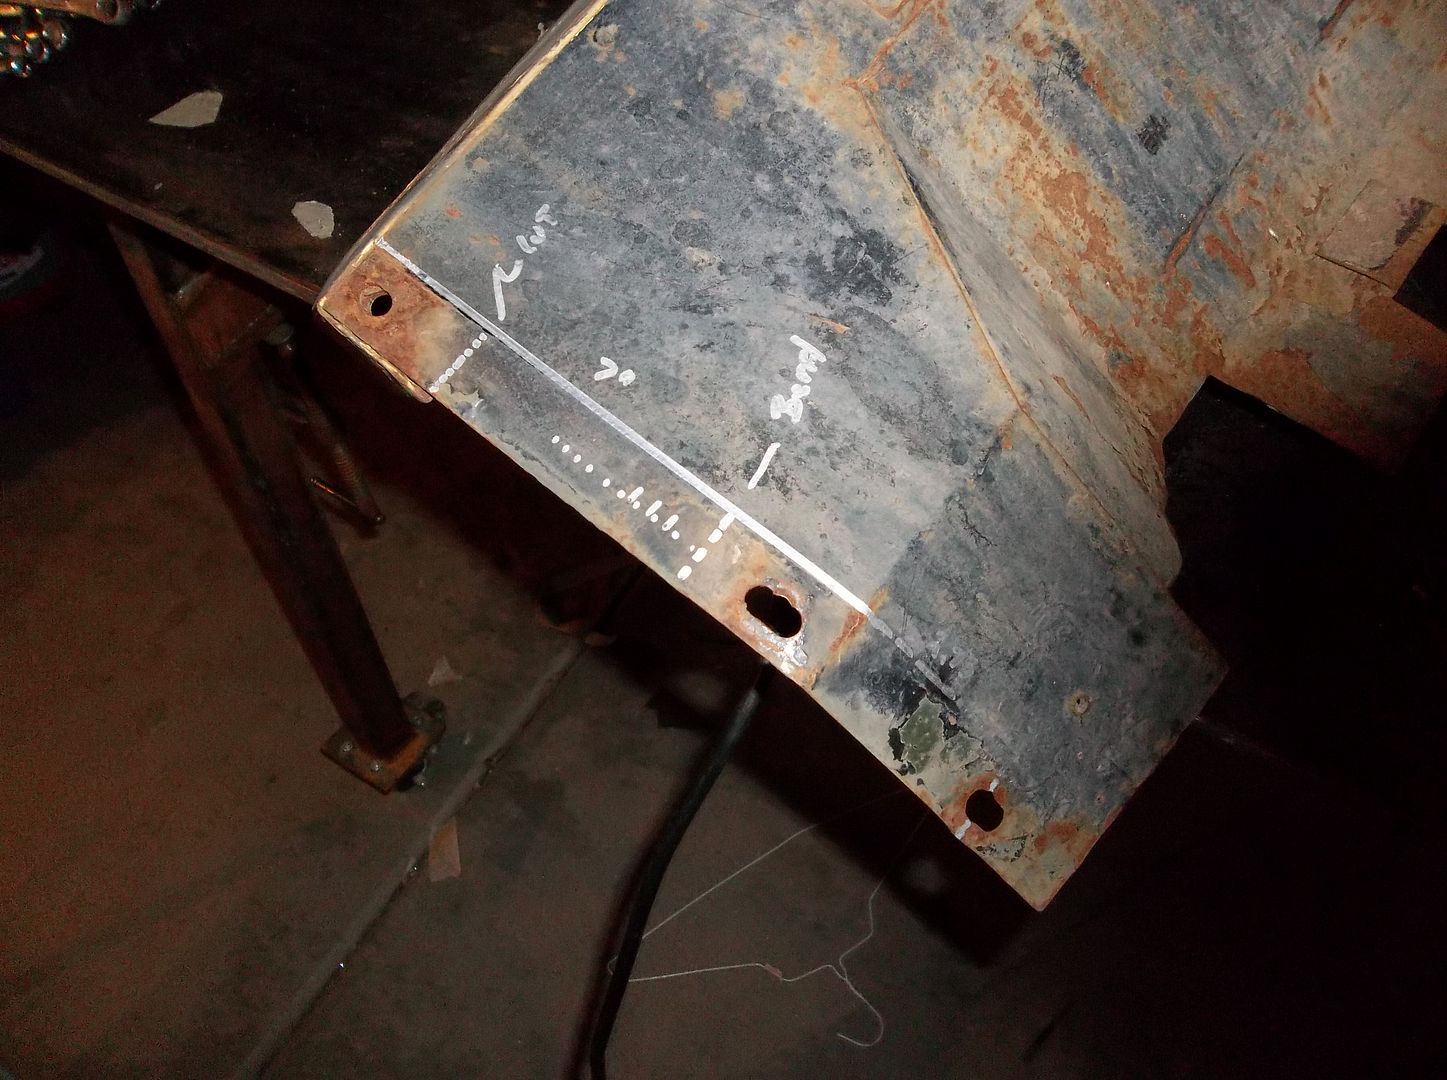
100_0347.jpg


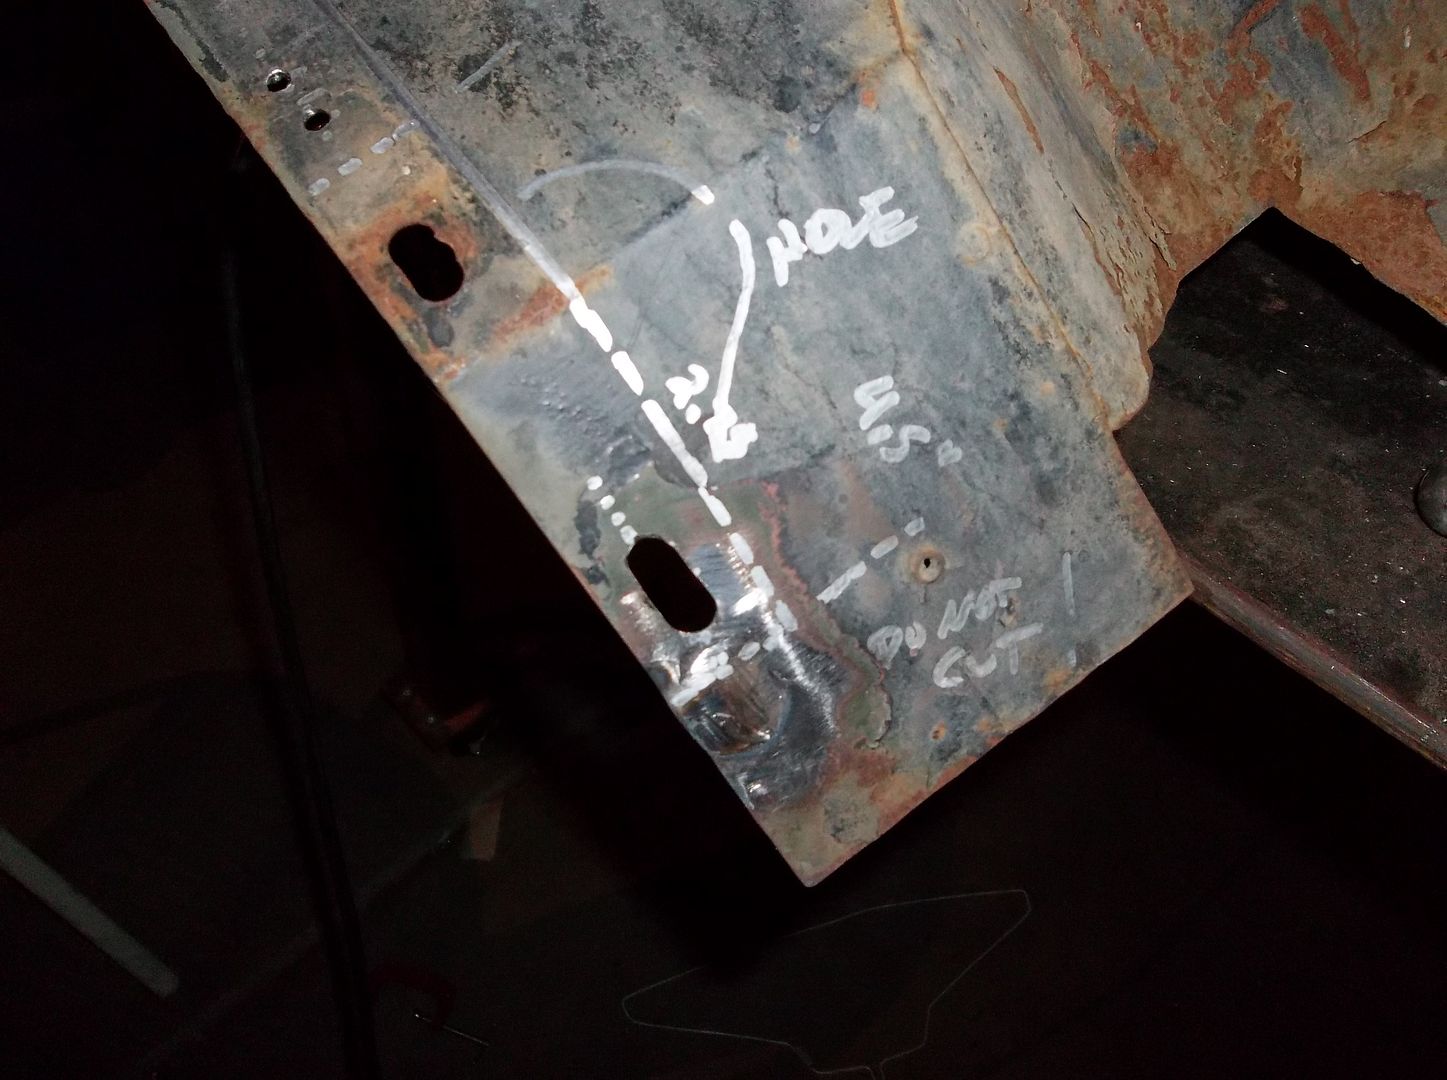
Mark the leading edge of the fender where it bolts to the grill. All this is just getting moved up, but remember the shape of the leading edge is going to change. Mark down 2.75" from the lowest bend in the grill and work from there. It takes a little thinking to figure out where its all going to end up.

100_0349.jpg


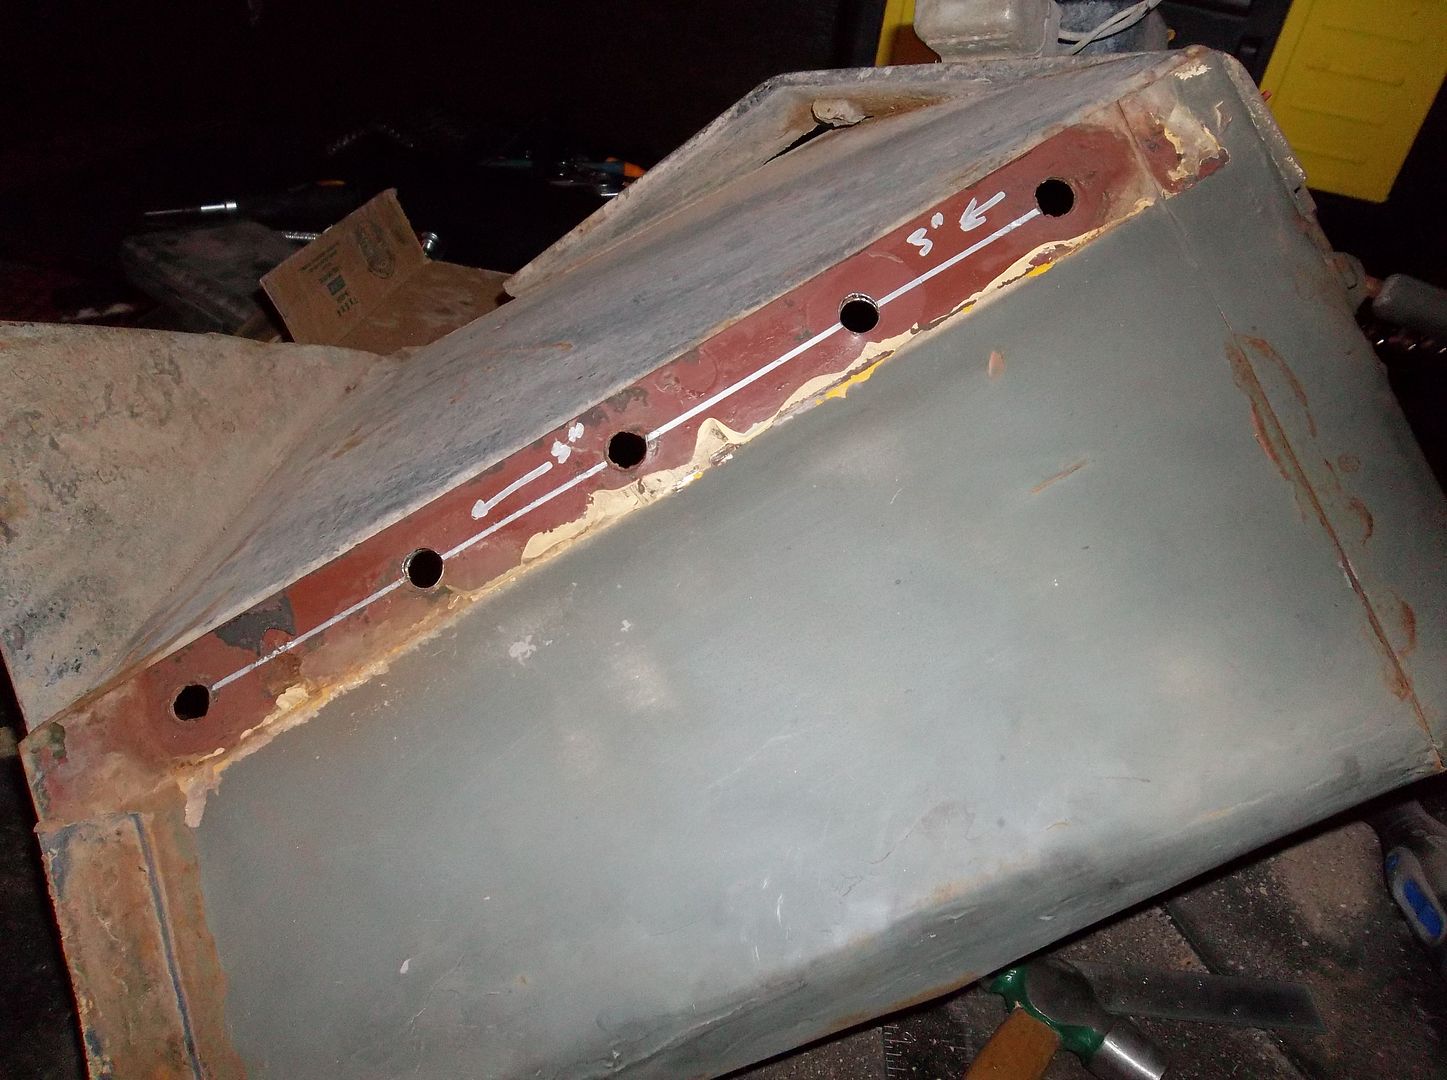
The bottom mounting hole should be welded up and that mounting hole moved to just above the location of the first bend in the leading edge. Drill this mounting hole by making two holes and connecting them with a dremel cut off wheel. If you do this BEFORE you cut the fender up its a LOT easier.

100_0350.jpg


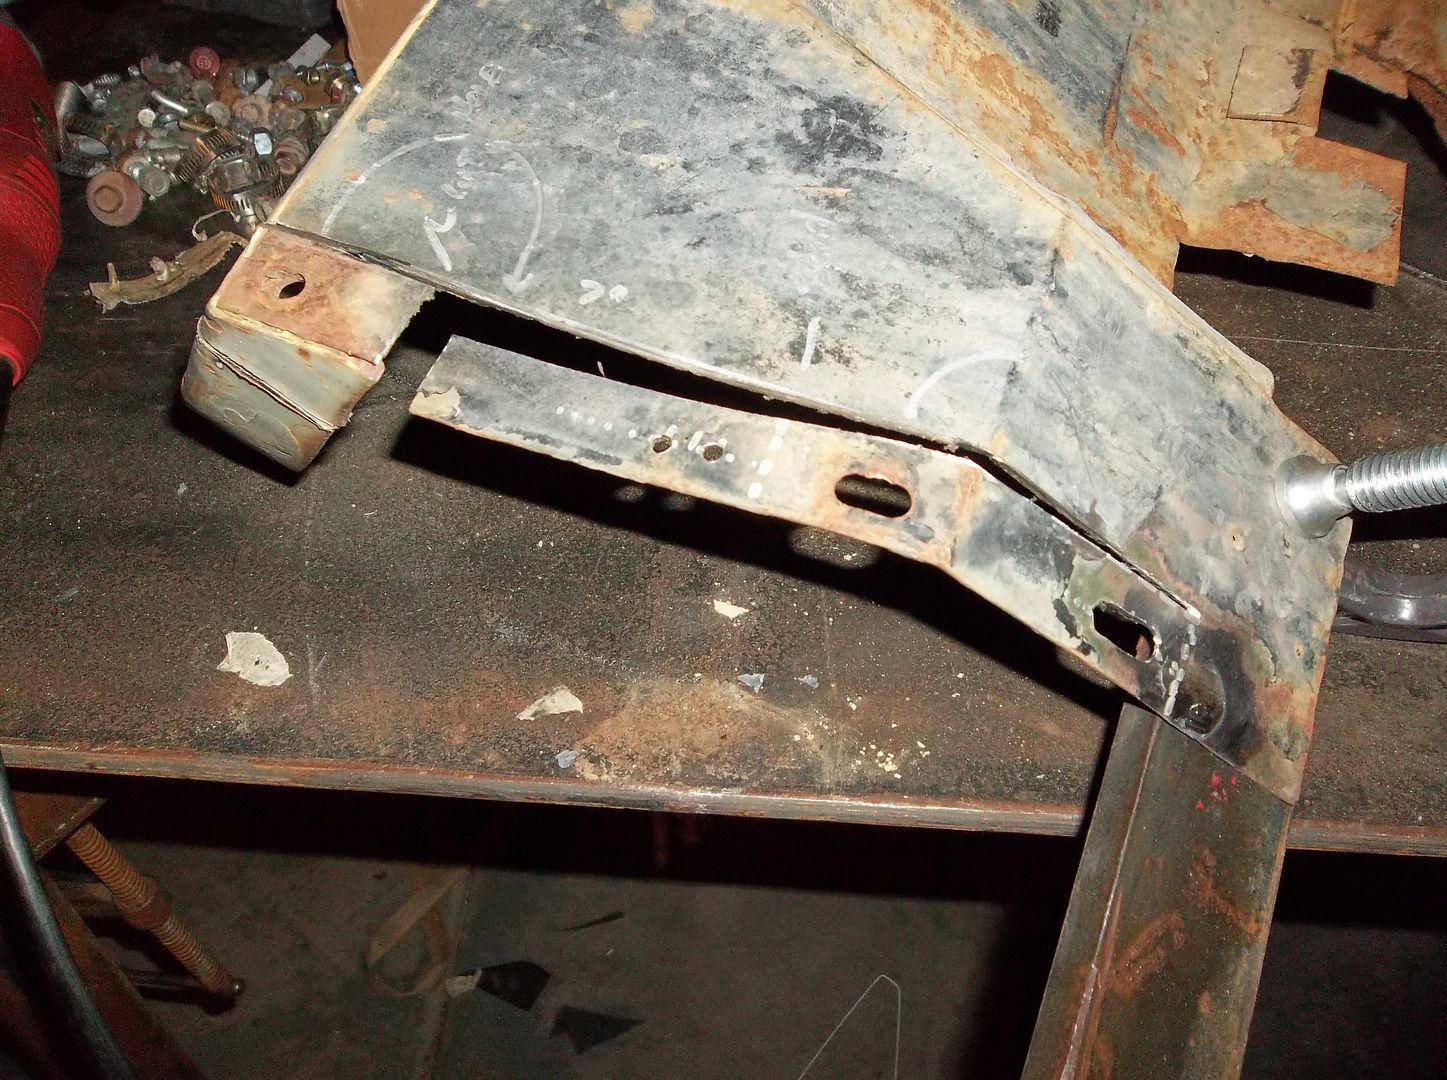
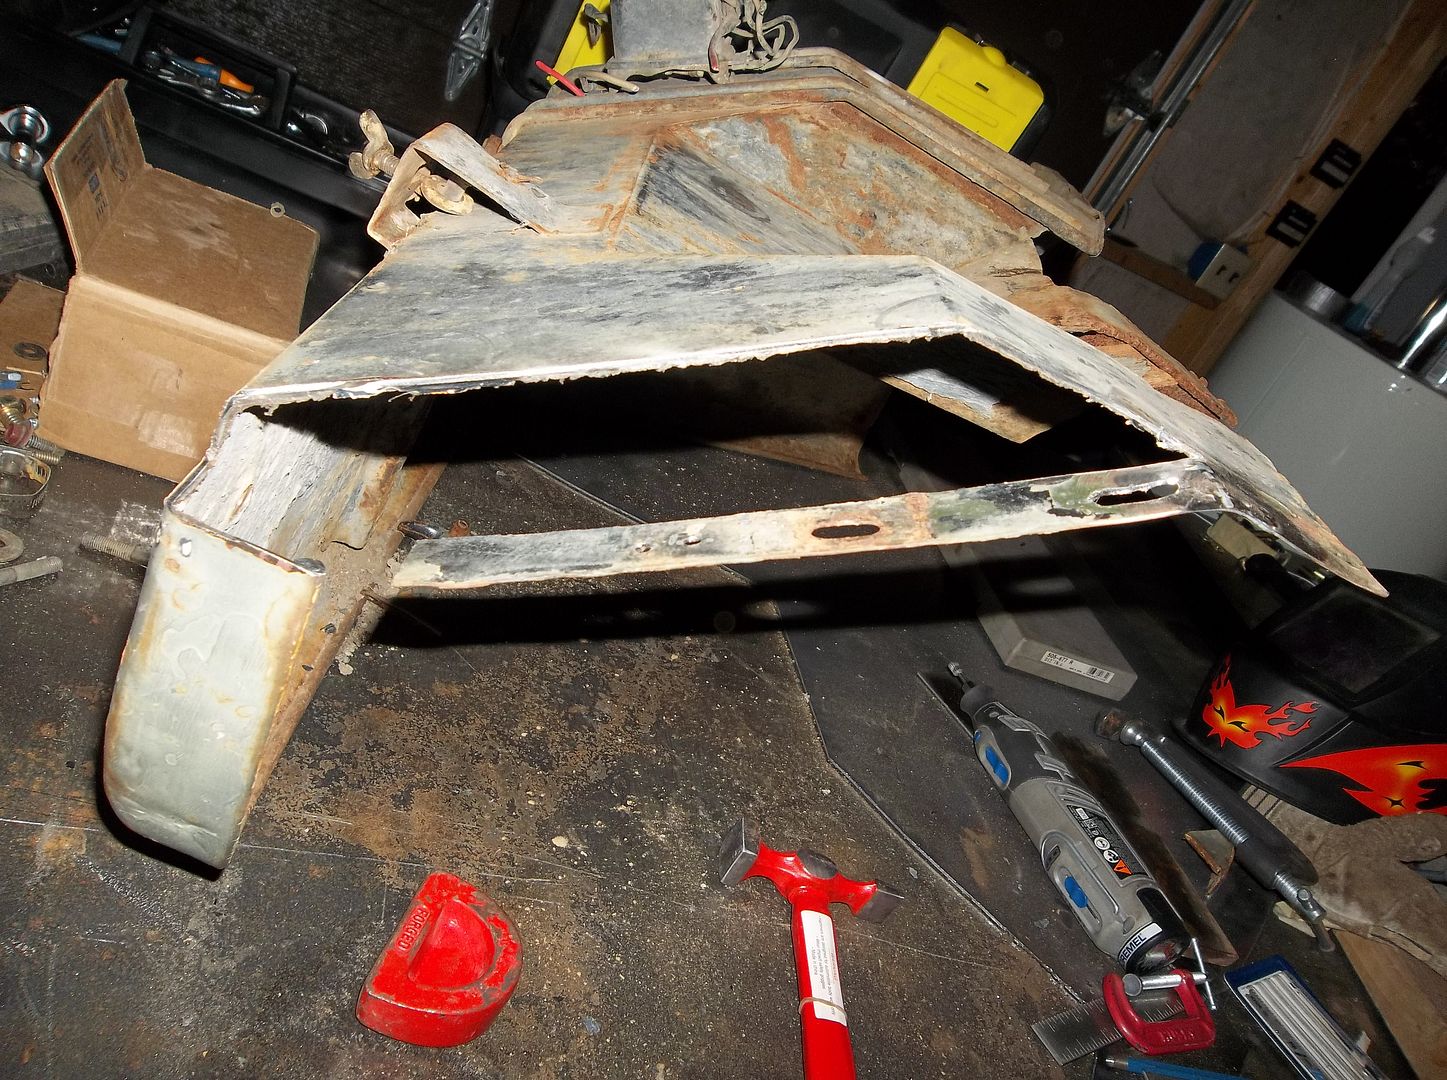
Now you need to cut the leading edge out and start to rework it. A hammer and a few scraps of metal work fine, or you can use some auto body tools.
You basically need to start to reposition the lowest bend in the grill.

100_0351.jpg


Next you need to cut out the top of the fender where it mates to the grill. This area is just too thick to reshape easily. The profile changes enough I think its going to be easier to just replace it. You can see the new leading edge starting to form. Its the same angle as the old one, jut lower on the fender.

100_0352.jpg


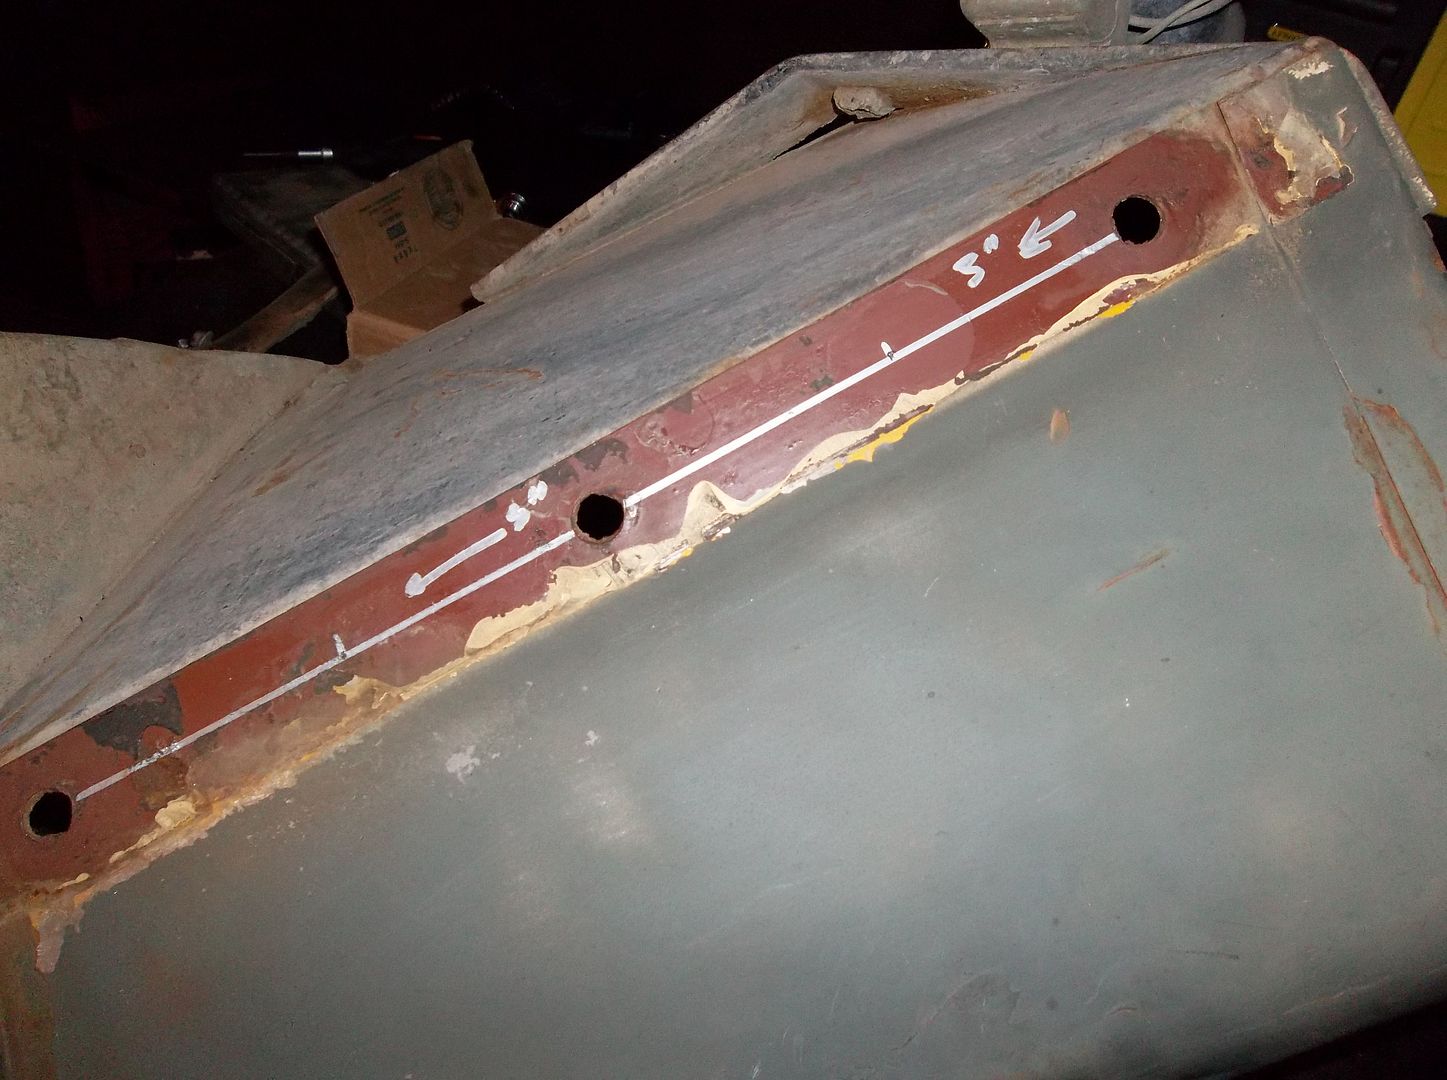
Before you can bolt the fender back on the rear mounting holes need to be relocated 3.0" down the same plane. You only have room to move the top two bolts.

100_0353.jpg


Those two holes get drilled out to 1/2" dia.

100_0354.jpg


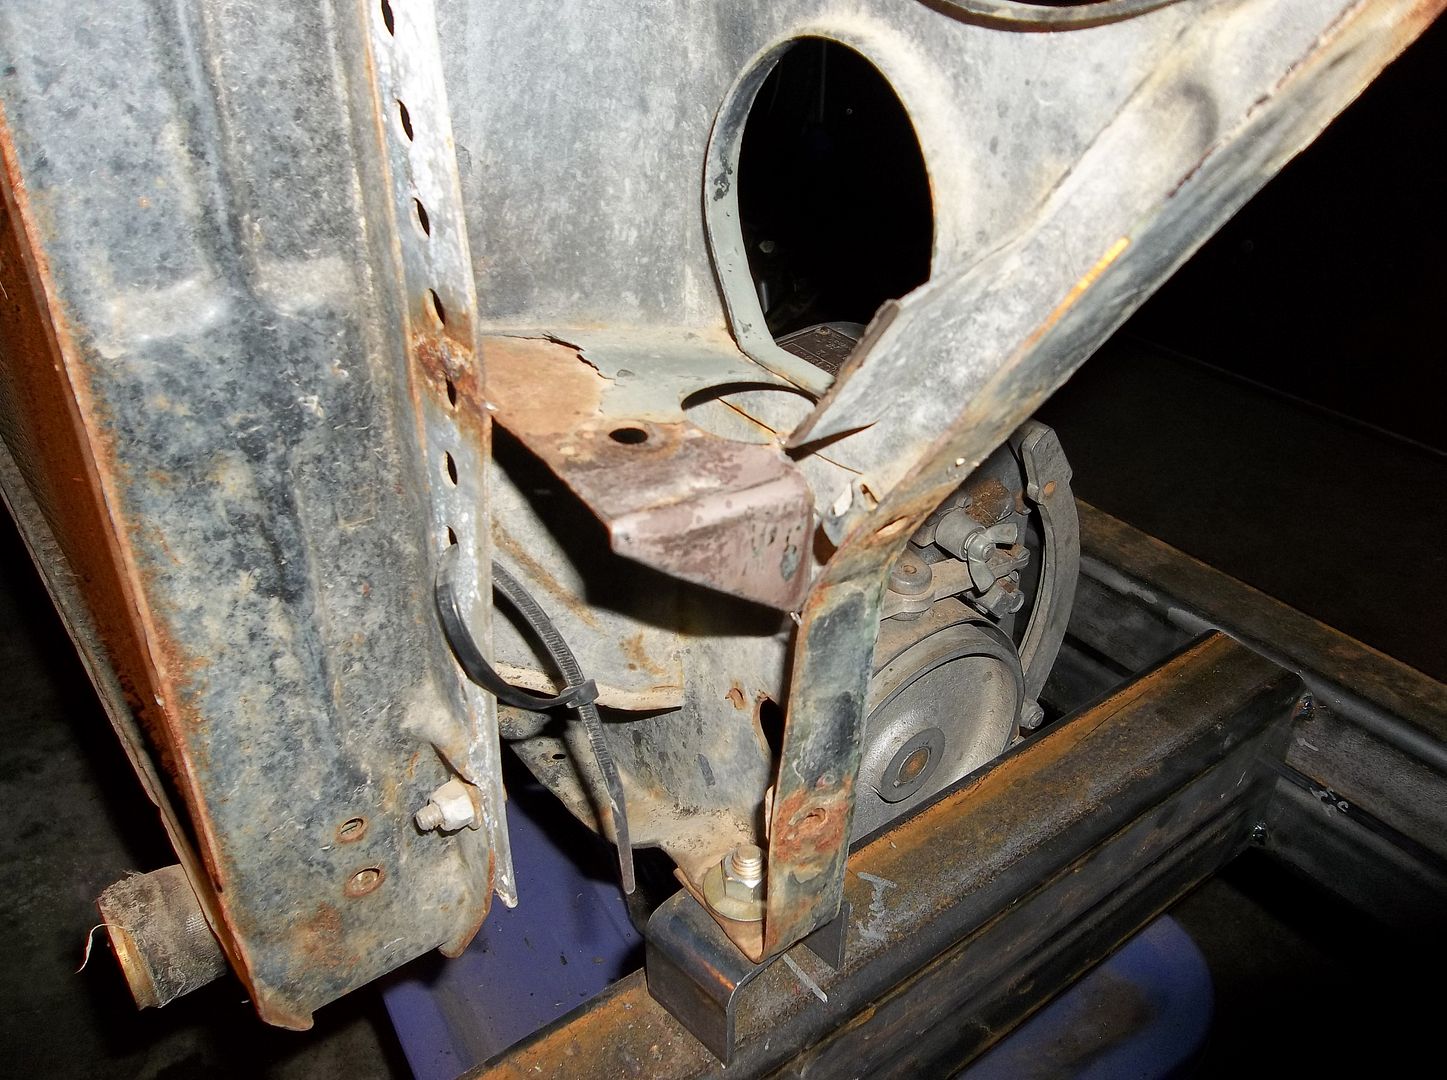
This bracket on the MB grill for the marker light needs to be cut and bend down at a 90 degree angle. Take your time. I still need to tack weld the bracket to the flange on the bottom and maybe make a little tab to make it stronger again.

100_0355.jpg


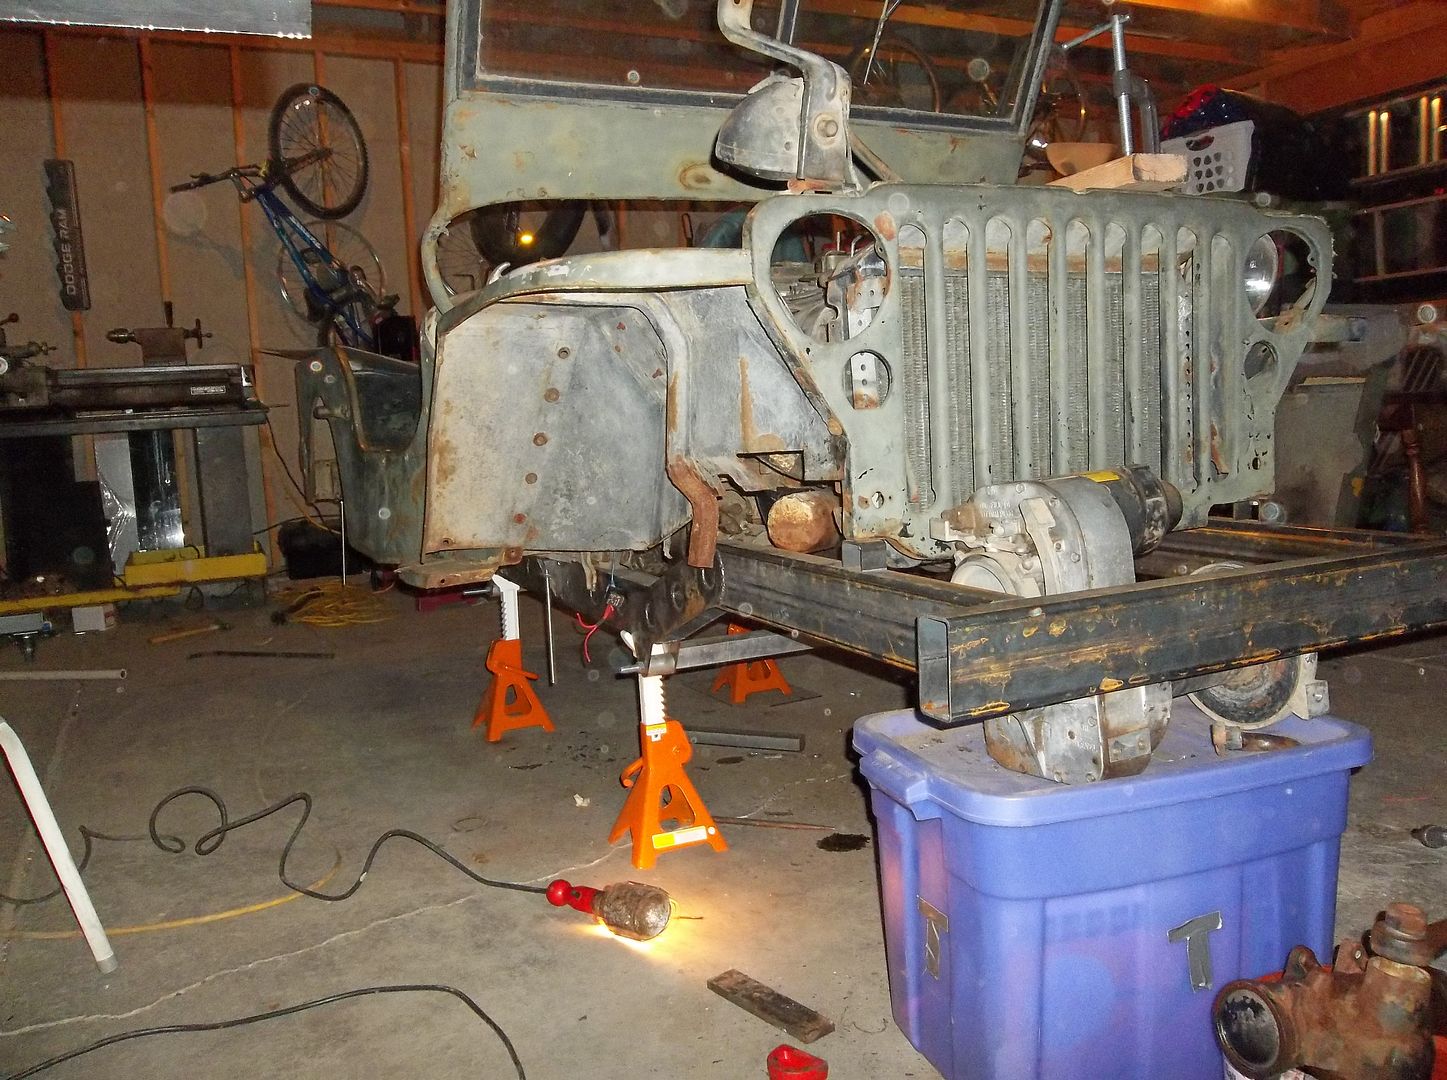
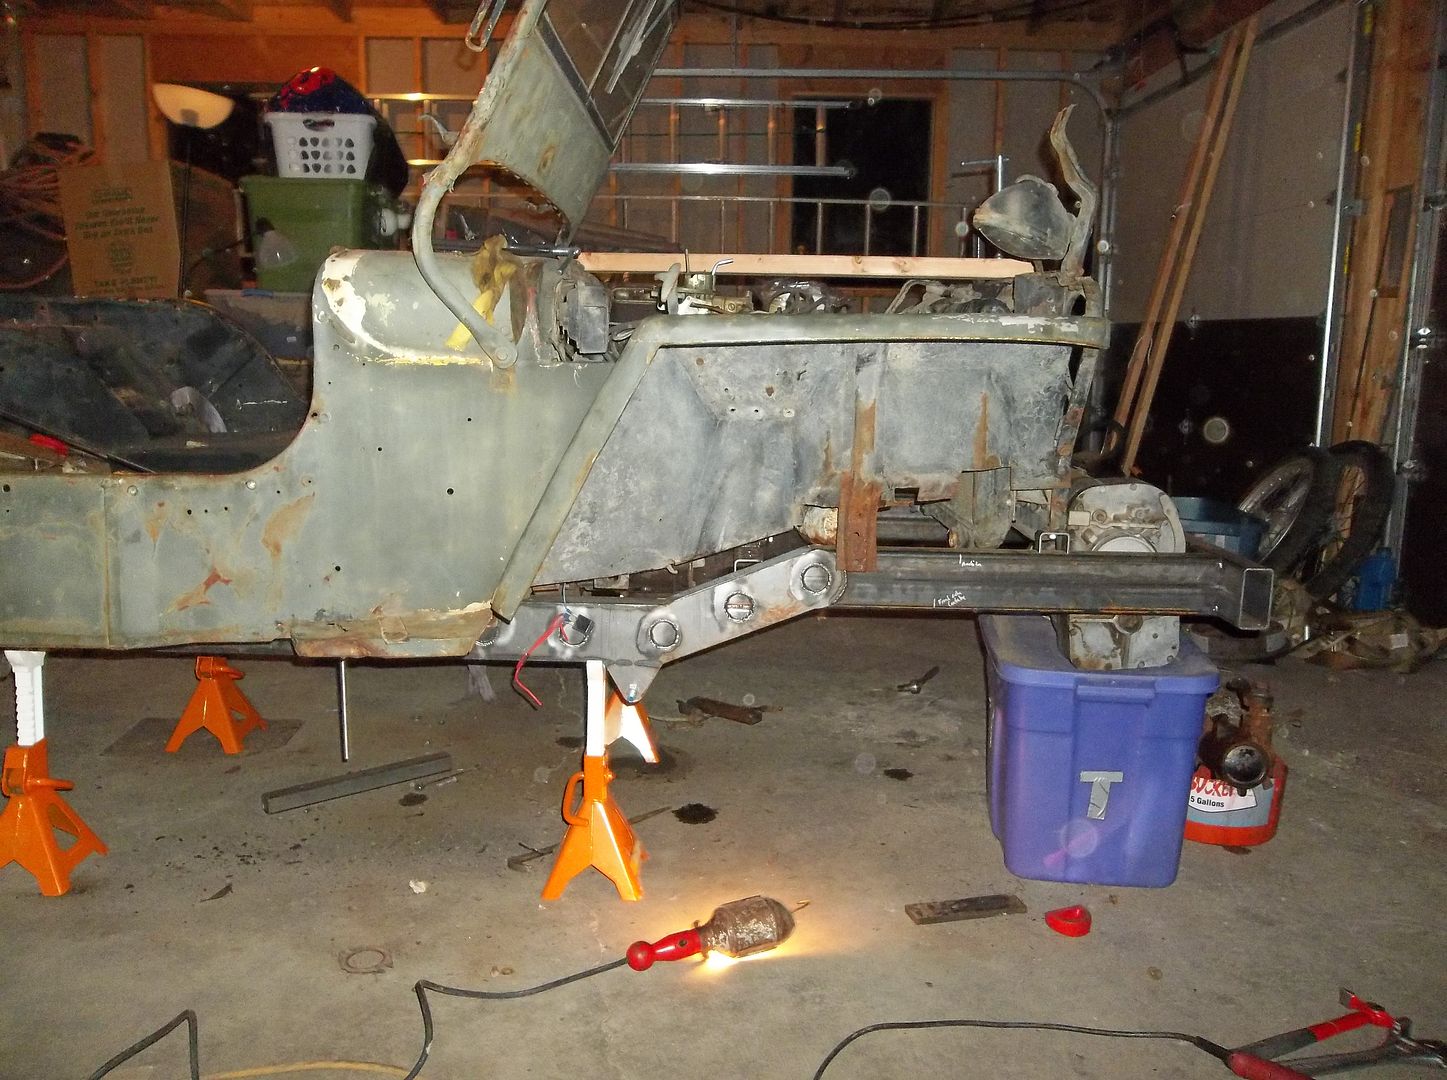
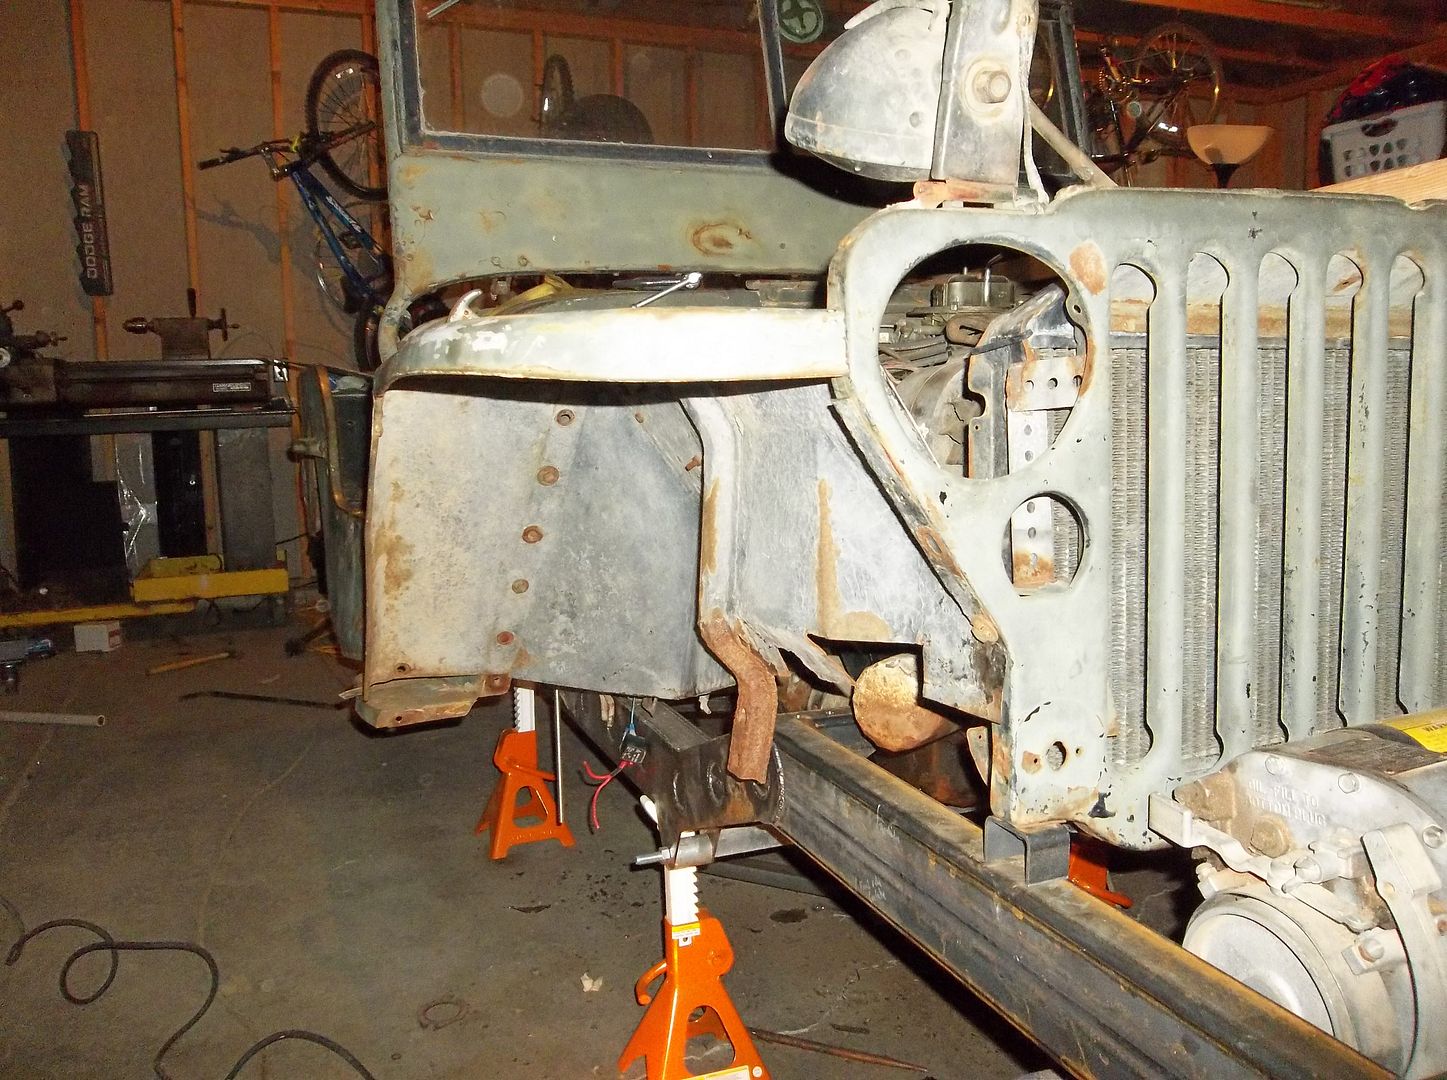
Now you can bolt up your fender in its new home using the two bolts on the rear of the fender and one bolt on the grill for a test fit! Its amazing what 2.75" more clearance looks like. Remember, the grill has to be pushed forward 1.38" at this point to get things to line up!
 

Metcalf

Expedition Leader
More pics....

100_0356.jpg


100_0358.jpg


100_0360.jpg


Some preliminary thoughts....

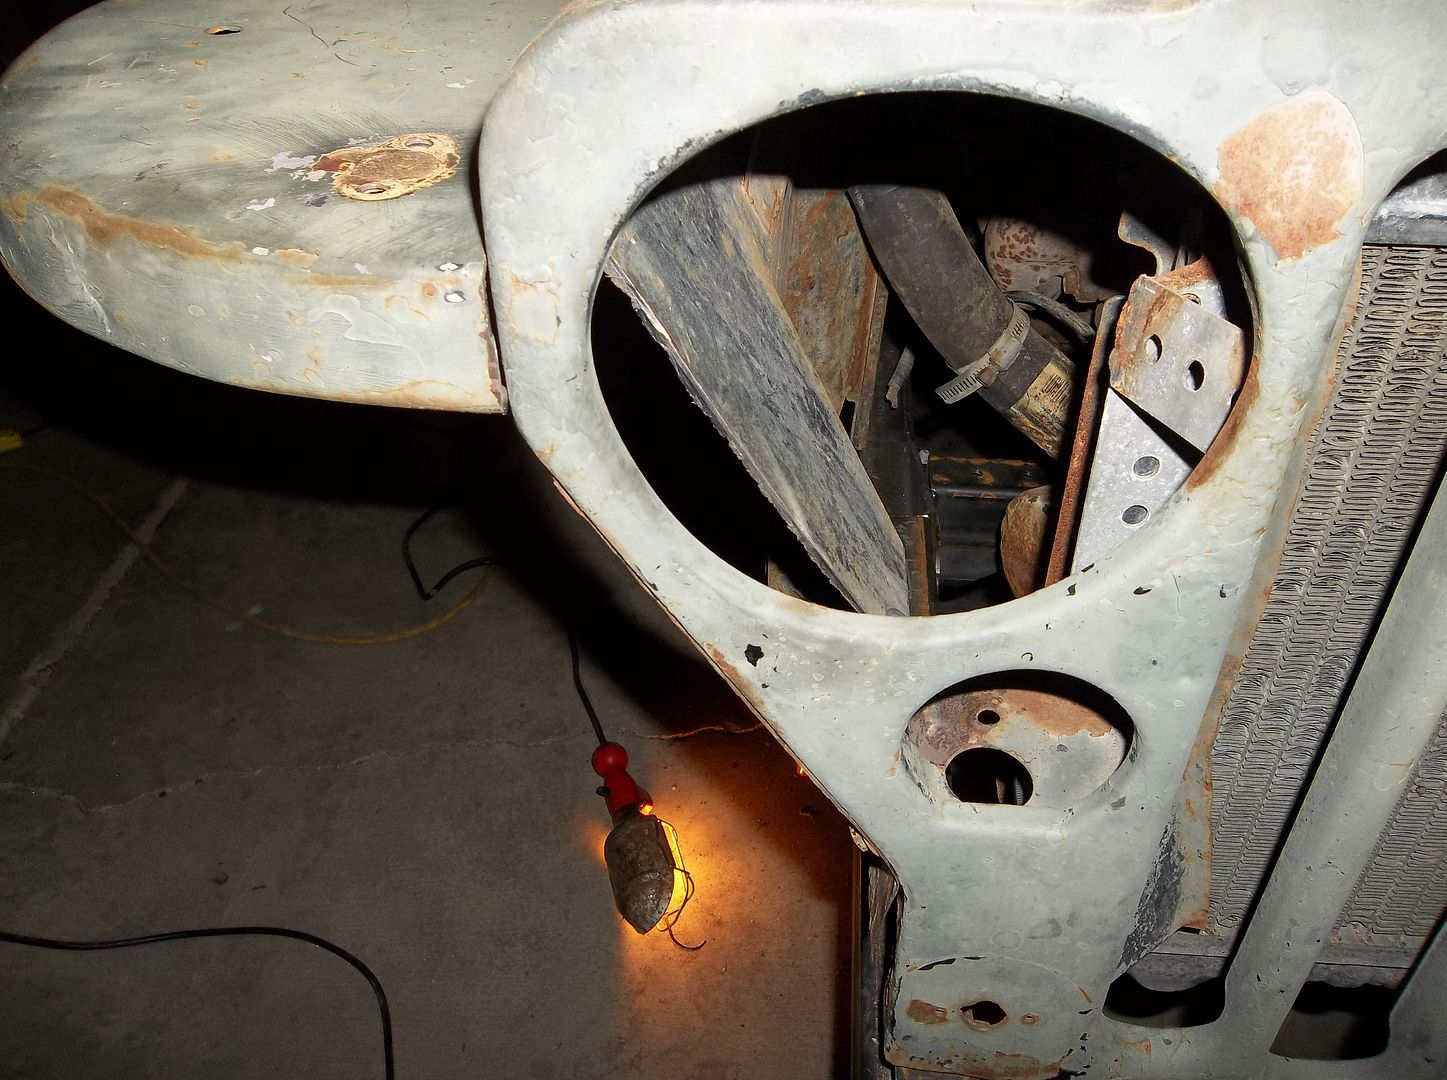
-The area around the headlight needs to be reworked a bit to get the headlight to flip back down. It shouldn't be too hard. I will probably make the front of the fender around the headlight look like it did before.

-The headlight hold down screw needs to be redone/moved 2.75" down.

-The fender support needs to be extended 2.75" if you want to keep it bolted to the frame. Mine is hammered so I will probably be replacing it.

-The bottom edge of the fender needs extended to keep stuff out of the engine compartment and to close the gap up.

-The rear two bolt tab at the rear of the fender needs lowered 2.75". That could be built into the above modification also.

Measurements....well its lifted 2.75" from where it was. That should allow for a 5.5" larger tire with no suspension mods OTHER than the axle position needs to be moved forward or you will run out of clearance at the back of the fender. That is one of the reasons I moved my front axle forward in this build but kept the height low.

From the bottom of the front frame horn to the bottom edge of the fender is 17 1/8". If you add in another 1.5" if the axle tube was basically sitting on the frame at full stuff you end up 18.625" for a vertical tire radius! That doesn't take into account the axle articulation at full stuff on one side and droop on the other....but its still a lot of freaking room! This should be enough room for 36-37" tires no problem. I don't think the spring will be allowed to compress till the axle is touching the frame, it would be WAY negative arch at that point!
 

Metcalf

Expedition Leader
Little more....forgot some pics....

100_0363.jpg


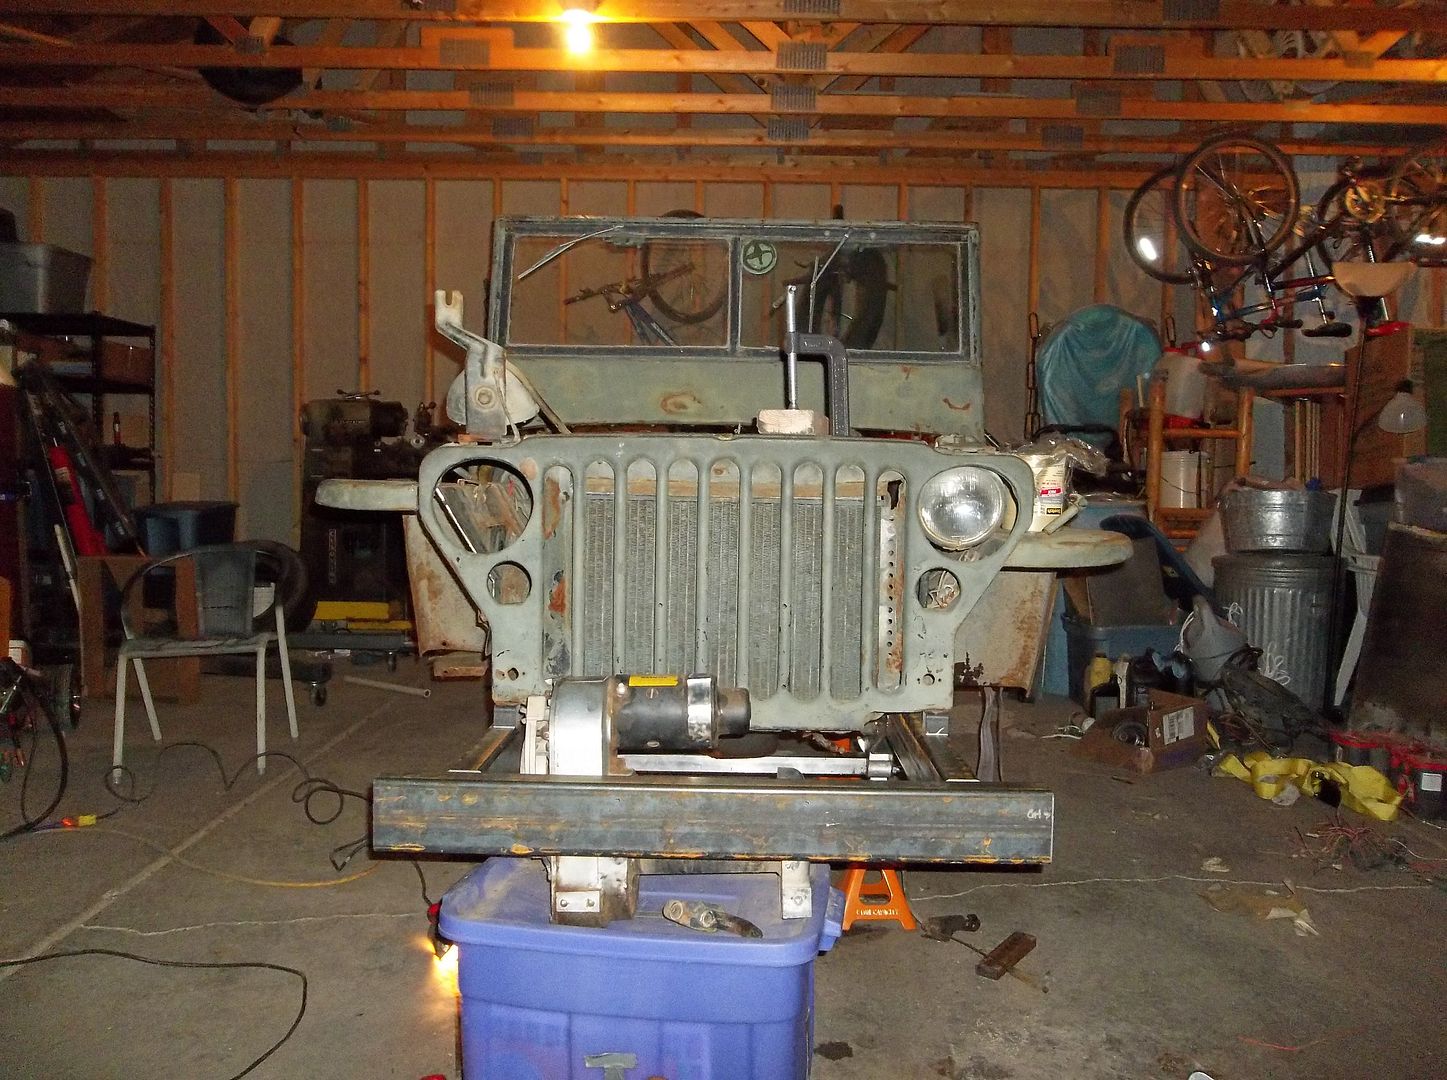
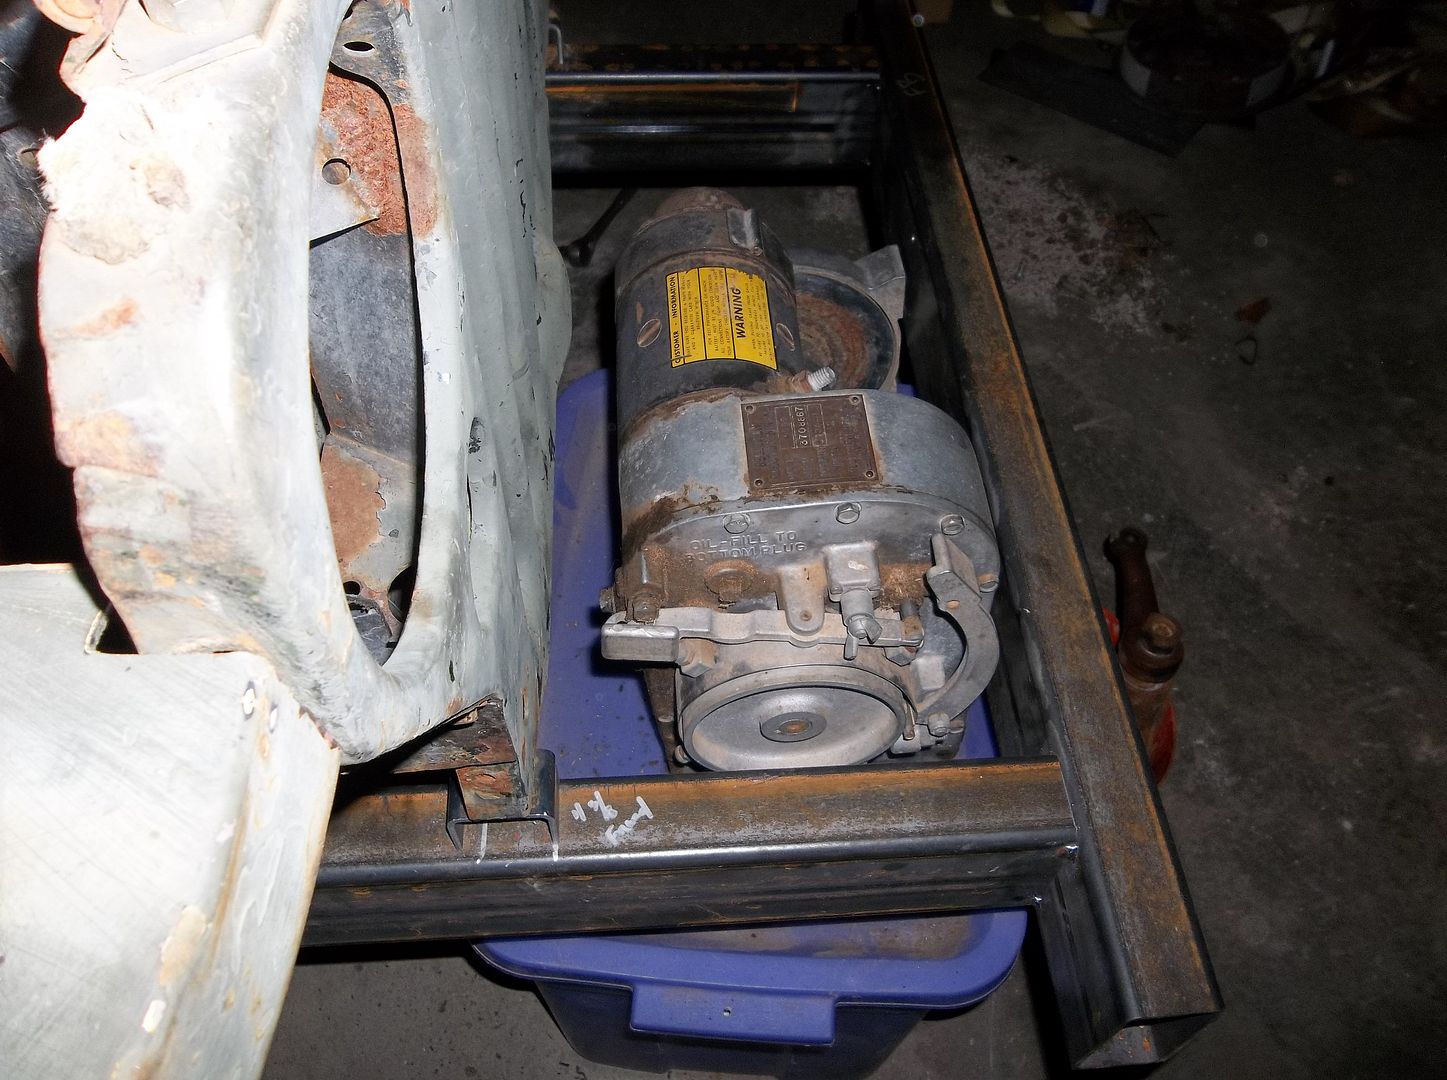
With the grill pushed forward and the bellview winch sunken and behind the bumper the clearance worked out just about perfect. The front end doesn't look long anymore to me at all. Its almost going to be a little tight on the back of the winch.

100_0361.jpg


100_0362.jpg


This is the headlight area that needs redone.

100_0364.jpg


Another 1.38" adds some more clearance for a better cooling system down the road! It would also help for a v8 if you wanted to go that direction....

100_0365.jpg


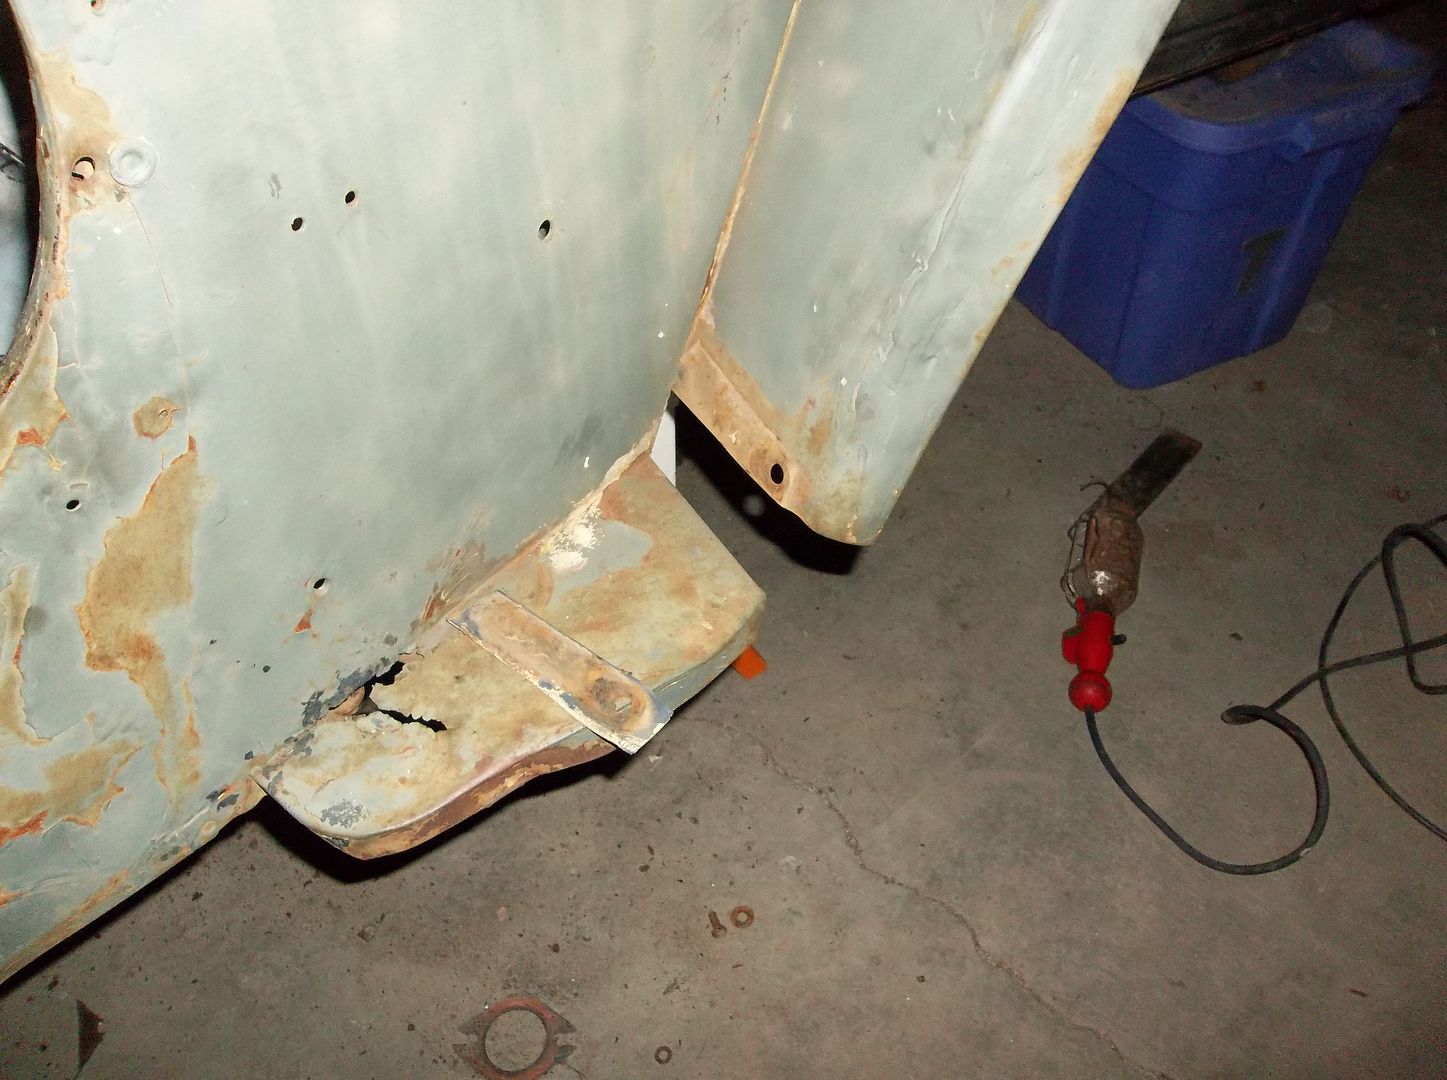
This is the gap at the lower rear edge of the fender that will need filled. I think they make patch panels for fenders that might work? I could also build some rocker guards that would have a step, cure some cancer, and cover this area with something a lot stronger....
 

jeepdreamer

Expedition Leader
We're looking... ;) Maybe set the hood on it so you can show the visual of how much it raises it. Guessing you're going to cut down the hood? Don't forget to leave enough to fold under to give the weak hood a lil help.
 

Metcalf

Expedition Leader
We're looking... ;) Maybe set the hood on it so you can show the visual of how much it raises it. Guessing you're going to cut down the hood? Don't forget to leave enough to fold under to give the weak hood a lil help.

I am going to get the other fender to the same point so I can tack the grill mounts. Then I can take the 2x4 off the grill/cowl and set on the hood for you. The hood will be 2.75" shorter on the sides above the fender.

Instead of trying to hammer in a lip I think I am going to weld on some 3/16" rod to the edge. That should give it a nice edge feel and make it a lot stronger.

The hood is also going to need a 1.38" stretch on the rear, the hood support moved back, and a new hinge. I also need to move the hood catches mounting points, windshield blocks need moved back a touch, windshield hold downs too....
 

jeepdreamer

Expedition Leader
Sounds good. Those hoods are/were flimsey,at best, when new. Not sure which would be stronger between a lip and the rod? They also tend to flex at the center seam so maybe get the rod to follow the curve along the inside? Can't wait to see this thing putting around!
 

Metcalf

Expedition Leader
Sounds good. Those hoods are/were flimsey,at best, when new. Not sure which would be stronger between a lip and the rod? They also tend to flex at the center seam so maybe get the rod to follow the curve along the inside? Can't wait to see this thing putting around!

The back of the hood where it steps up for the new raised fenders would make a lip kinda hard since there wouldn't be enough material and i would have to add a little piece. My ability to make a nice clean seam in 70 year old metal might not be THAT good either.

I can make the rod edge with a bend in the back for the rear step to the cowl. That should be fairly easy. Then tack,tack,tack the rod in place. Some light sanding on the edge and I should be good enough I think.

I can't wait to see it all mocked up and rolling! Driving around will come soon after that I think. I am probably going to continue the mock up through most of the work. I will probably hold on on brake lines, exhaust, and wiring until after mock up is done and I separate the frame and body again to weld everything up final. I will then do most of the brake lines ( and fuel line ) with the tub off the frame. The only ones I will have to wait on are the ones leading to the master cylinder from the frame. I will probably put a junction in those so I can pull the body easy in the future.

This weekend should be interesting, hopefully I can get the front fender mock up done, trim the hood, and then maybe move onto the rear wheel tubs. I have a few surprises for that.....
 

Forum statistics

Threads
188,285
Messages
2,904,872
Members
229,961
Latest member
bdpkauai
Top