Rango.....1942 Willys MB

Metcalf

Expedition Leader
So.....still working on my new t-case......

The bushing for the front output shaft in the rear output shaft was worn out. The Novak rebuild kit came with a new one. Then I just needed to figure out how to get the old bushing out. This is what finally worked.....

20120913_122042.jpg


20120913_122450.jpg


I was able to stick the output shaft in the vise on the mill. Then I chucked up a shoulder bolt in a collet. I was then able to use the quill feed handle to apply pressure to the back of the bushing while keeping everything super straight with the mill. I would tap on one side then run the cross slide over to the other side. Then repeat that about 50 million times :) All in all it only took most of my lunch half hour including trying a few other things that didn't work.

Fun Fun....

20120911_174449.jpg


Primer pic of the big parts the other day. They are sitting at home in paint waiting for me tonight.

I need to press in the new bushing and check its fit with the front output shaft to see if I need to ream it to size....
 

Metcalf

Expedition Leader
Some more notes from my D18/20 building....

20120918_173142_zps2c656df1.jpg


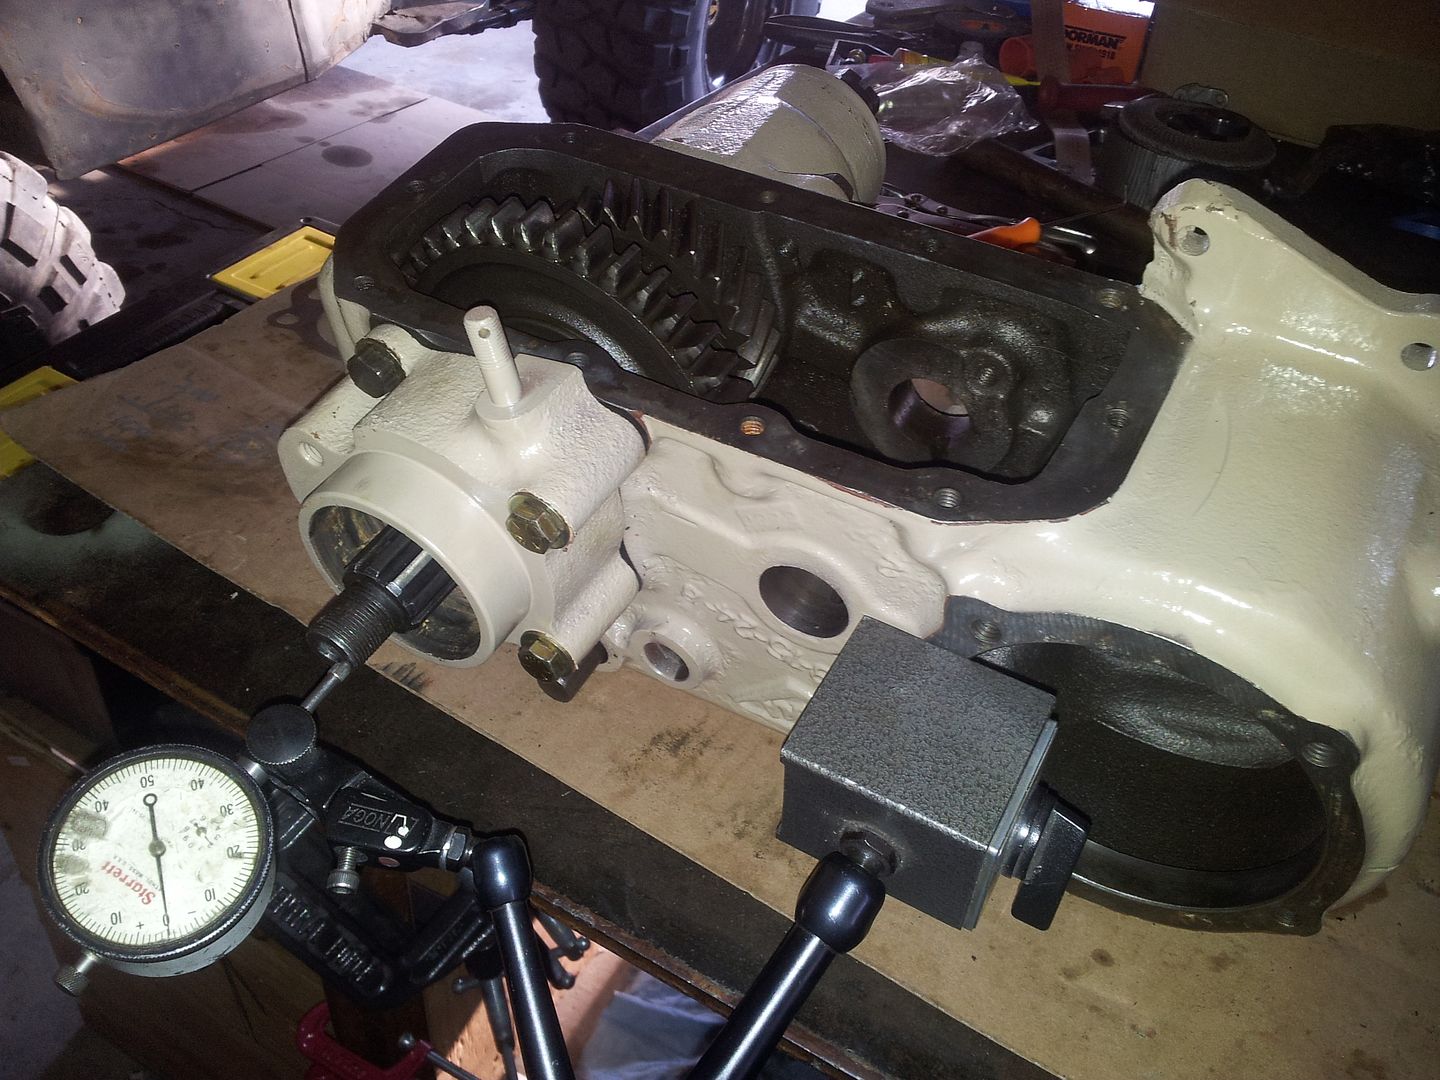
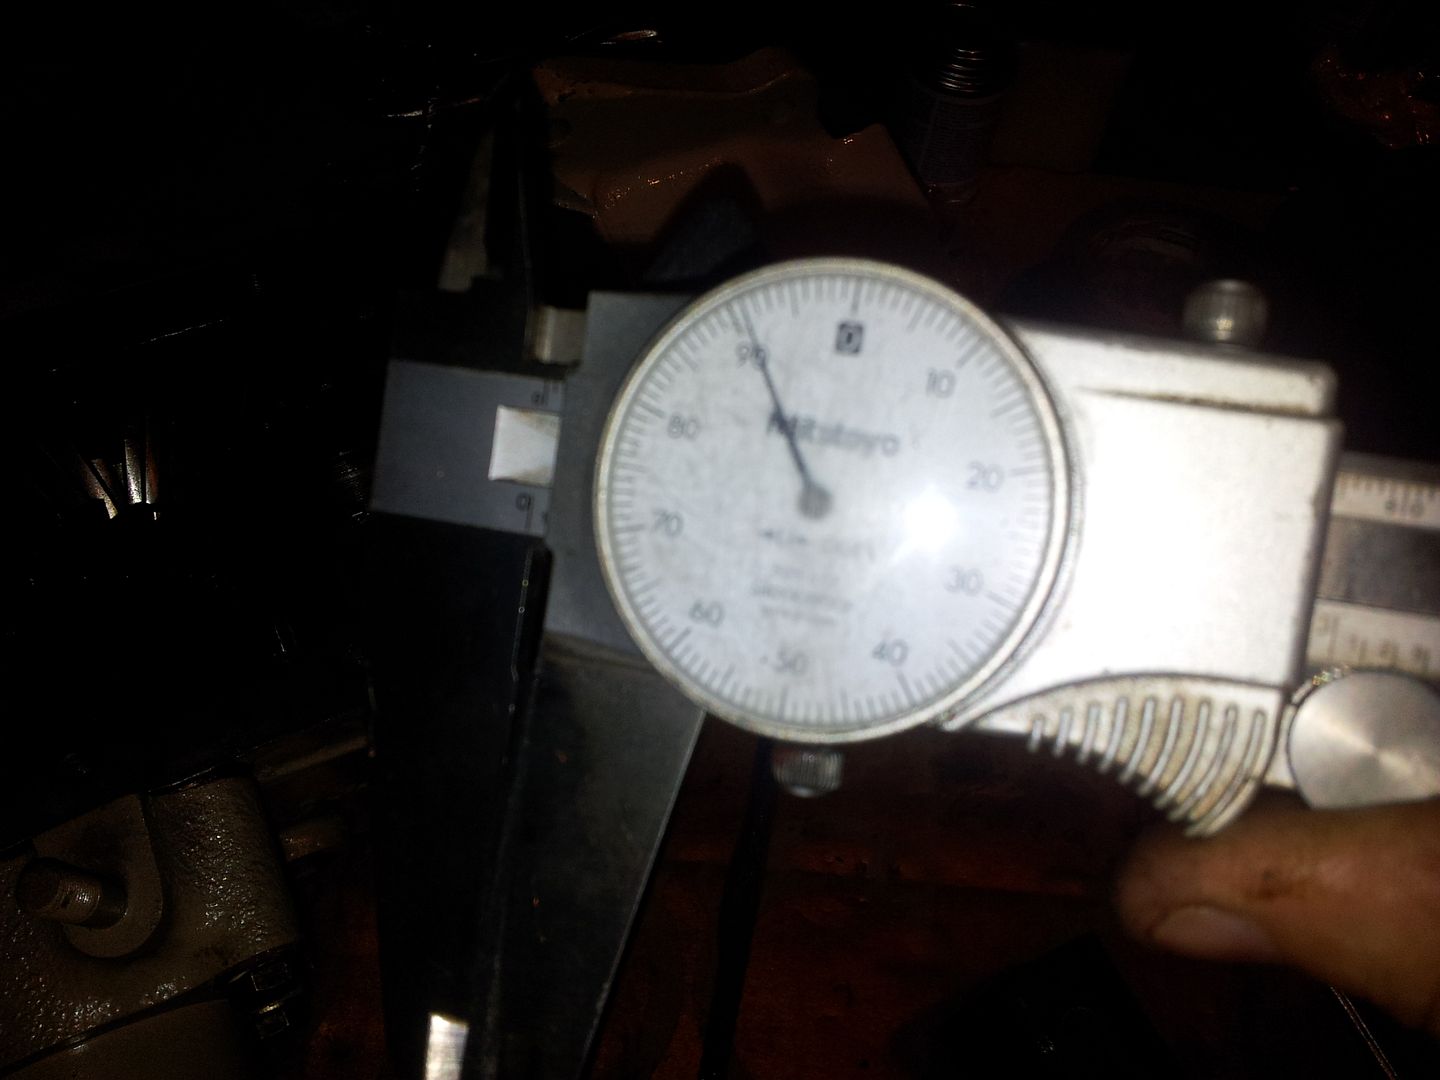
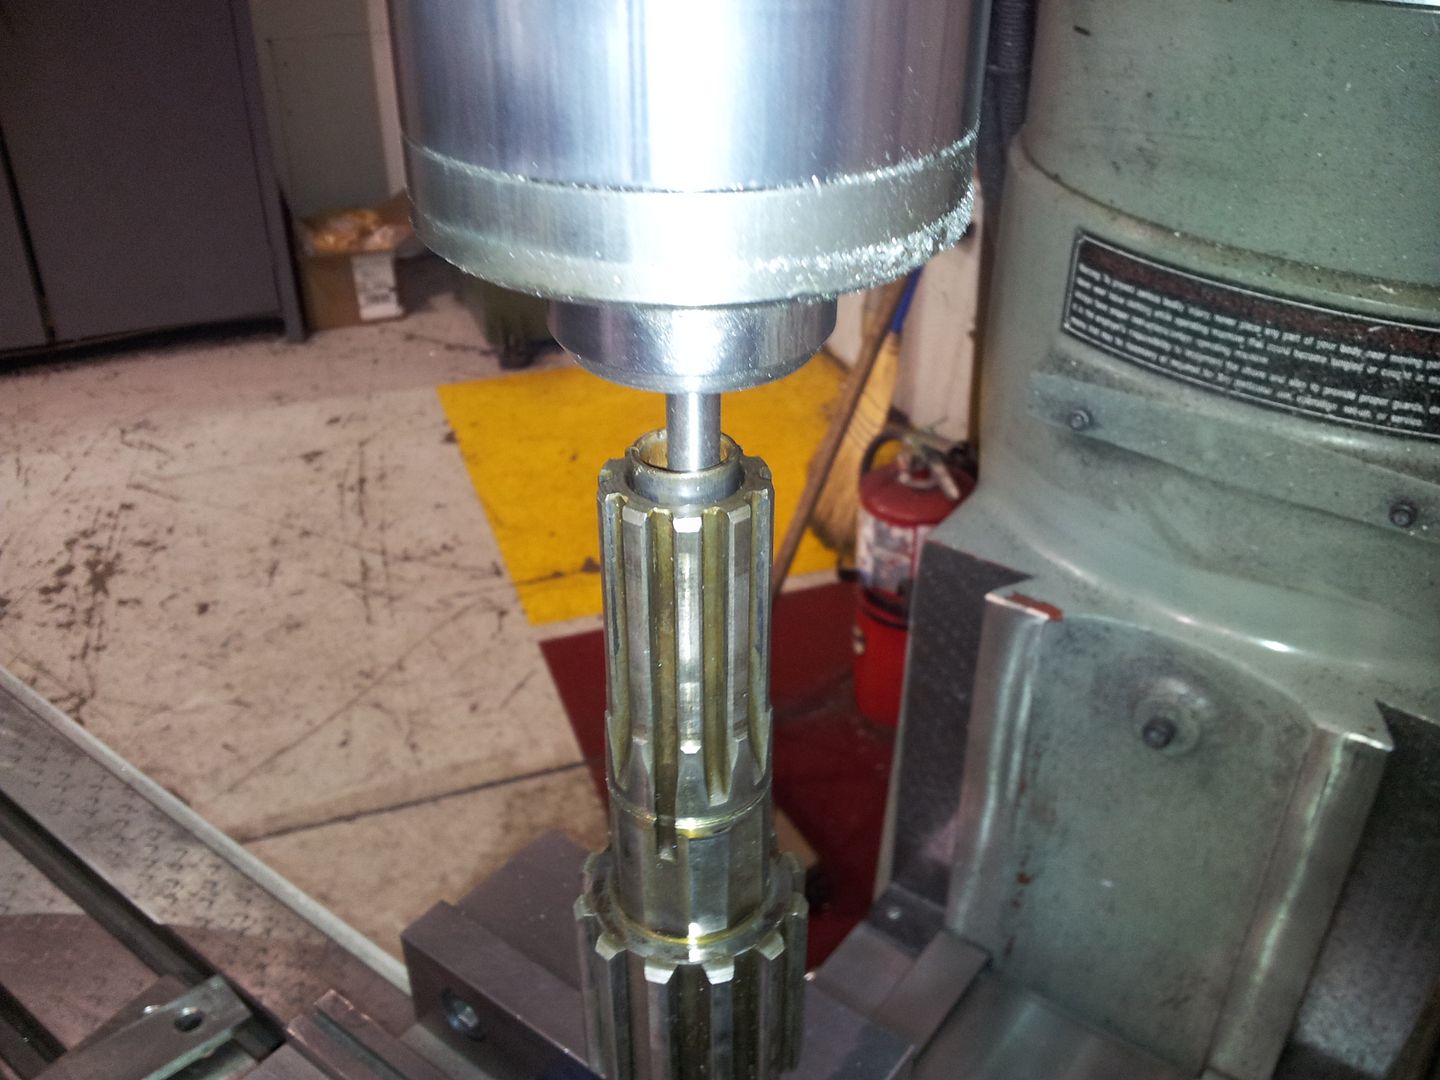
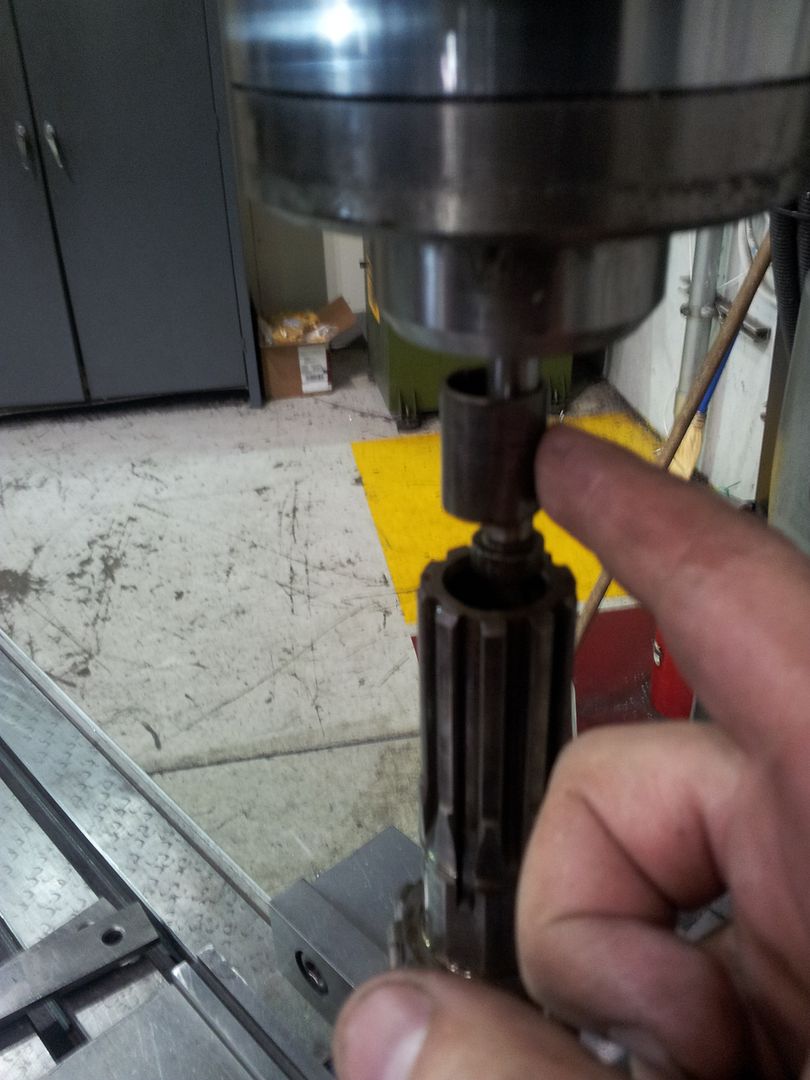
A magnetic base and dial indicator is nice to have around. Make sure to mark the position you use on the end of the shaft. My shaft had about .010 runout on the end of the threaded portion. You can also use the shoulder just up the shaft from the threads where it tapers into the splines. This was about .002 runout but if much harder to get a tip on the flat section.

20120918_180246_zpseccffcd3.jpg


After some trial and error with the shim stack, I got it as close as possible. I ended up with a lot of thin shims. Novak only includes thin shims in there kit. The t-case I used for parts had thin shims. I couldn't find the shims from the D20 tear down.

After a few tries I finally got down into the .002 range with all the gaskets dry.

My basic therory was that I roughly set the rear bearing cone till I only had about .030 of movement in the shaft. Then I measured the pocket on the rear housing ( about .099 to .105 ) and the amount that the cone was sticking out of the case ( about .190 or so ). From this I knew I needed about .090-.100 in shim for the .030 in shaft movement. I had a goal of .005 shaft play so I build a shim pack to get around .075" thick. This was a good starting point and was only need one or two adjustments to get down to the .002-.003 range.

Shims are not THAT consistent when measuring. I cleaned and cleaned them but always had about .002 difference between the individual shims if they are all suppose to be .010 or whatever.

The final (dry) was .002 as far a I could tell. I had to tap the end of the shaft forward with a hammer and then pry it back to get that movement. This is a little tight, but i figured that things would open up with sealant on the front housing gasket and copper on the shims.

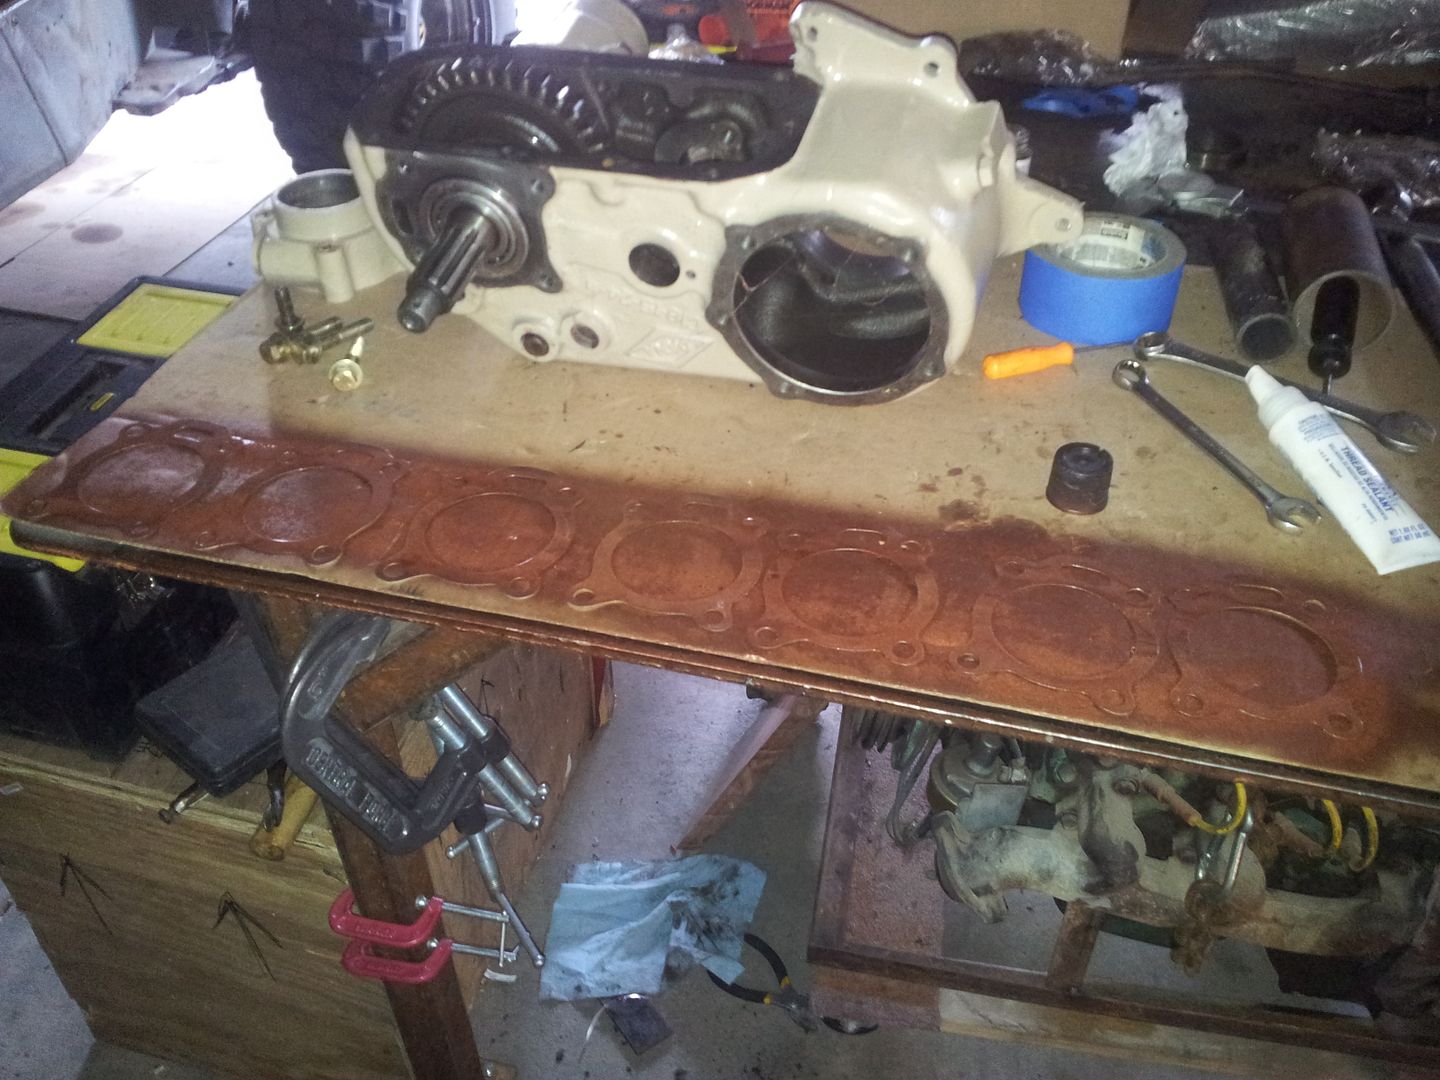
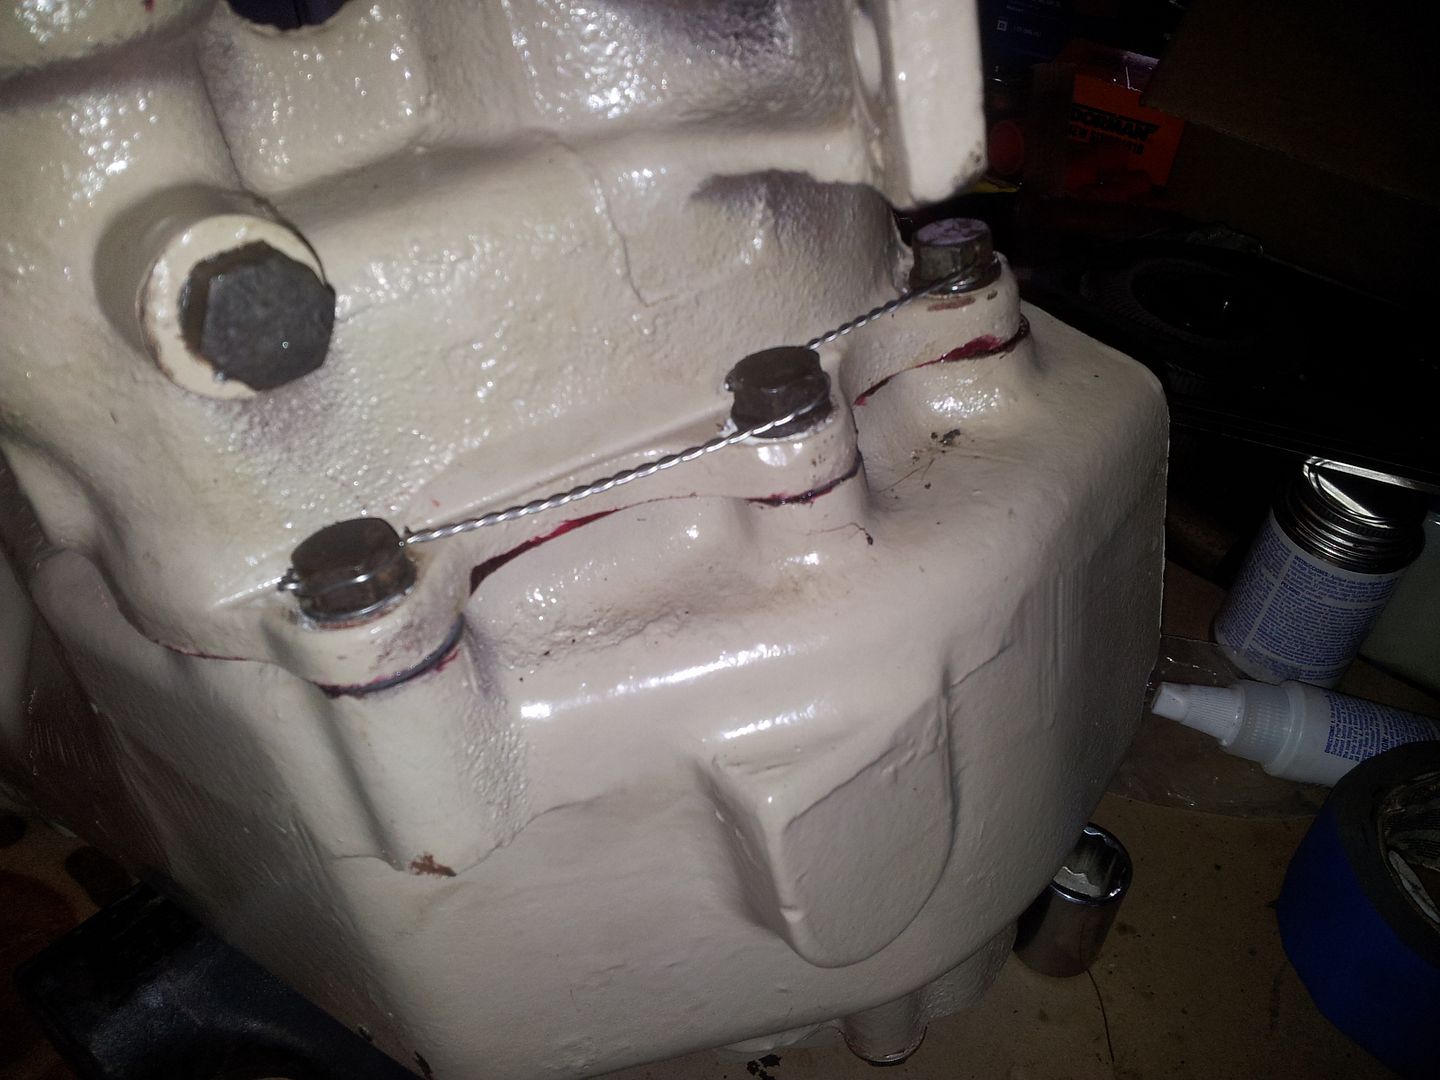
The front housing was pulled and high-tack used on both metal surfaces and the .030 thick gasket. I tried to torque all the front output bolts the same but some of the bolts are pretty shrouded so it wasn't as simple as getting a torque wrench and socket on them.

All the bolts in the front cover where also thread sealed.

I sprayed all the shims with copper spray and let sit for 1-2 minutes until tacky. Then I assembled then all into a stack and sprayed the back side of the last shim. I hope this will give enough coverage on all the shims without going overkill.

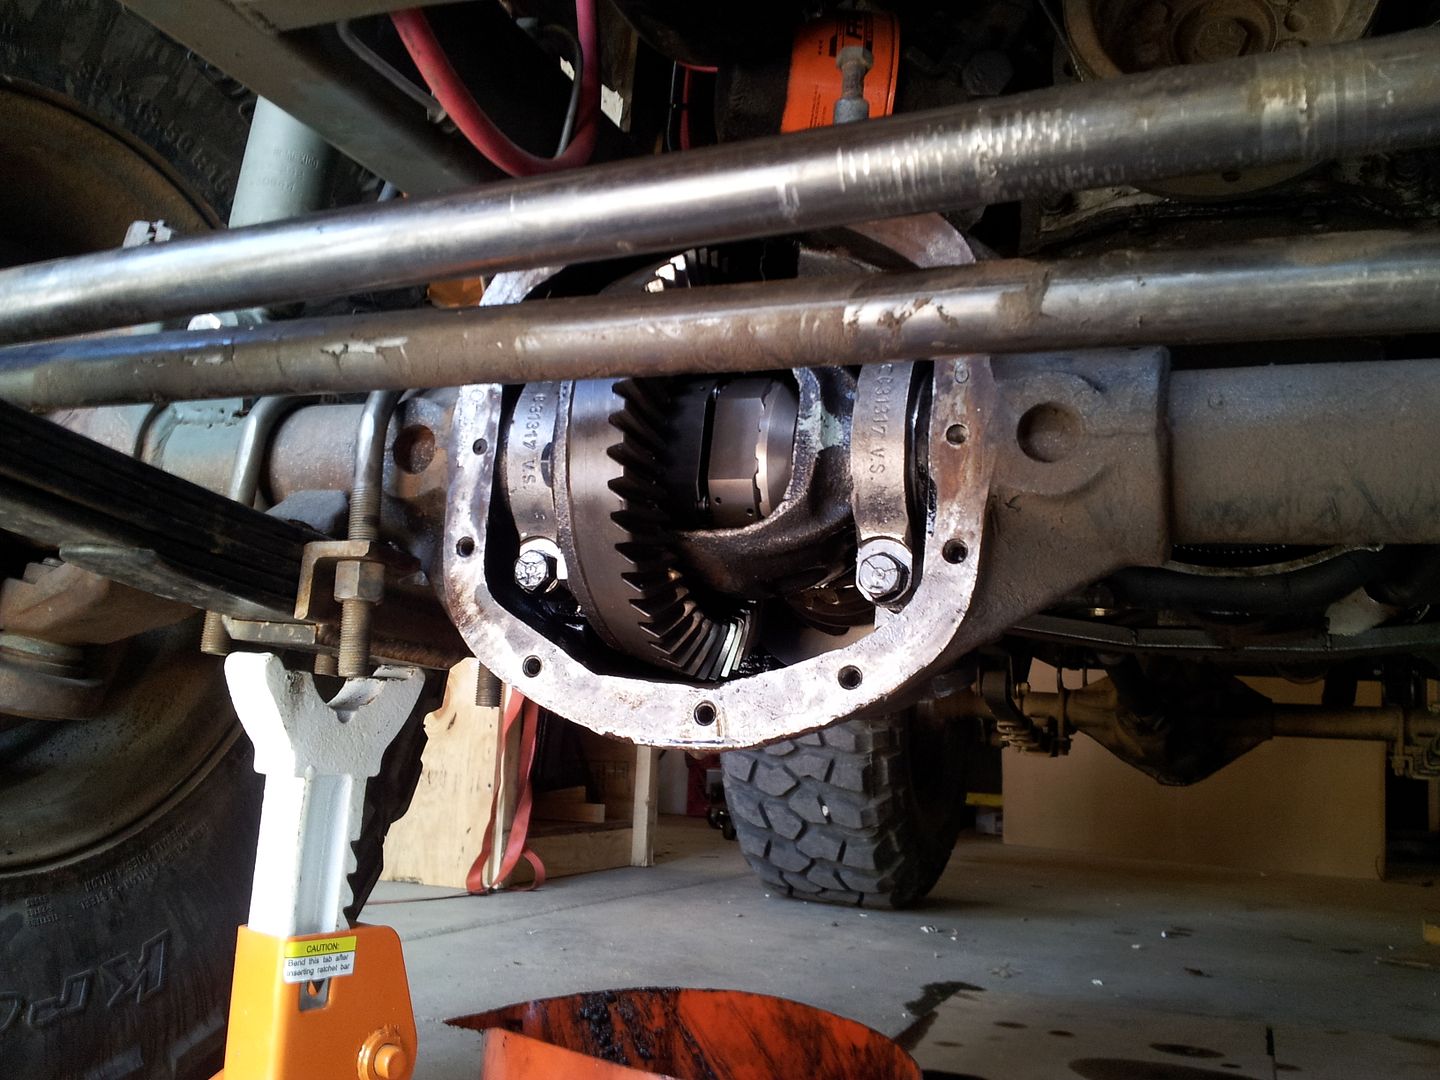
Then I assembled everything, thread sealed, and torqued the rear housing bolts.

All in all it turned out pretty good. Maybe a little tight at .003+ish. It kinda depends on how much leverage I use to move the shaft. It feels butter smooth and doesn't have any notchy feeling or binding to it. I am pretty happy with out it turned out.

20120918_183527_zps04d86e02.jpg


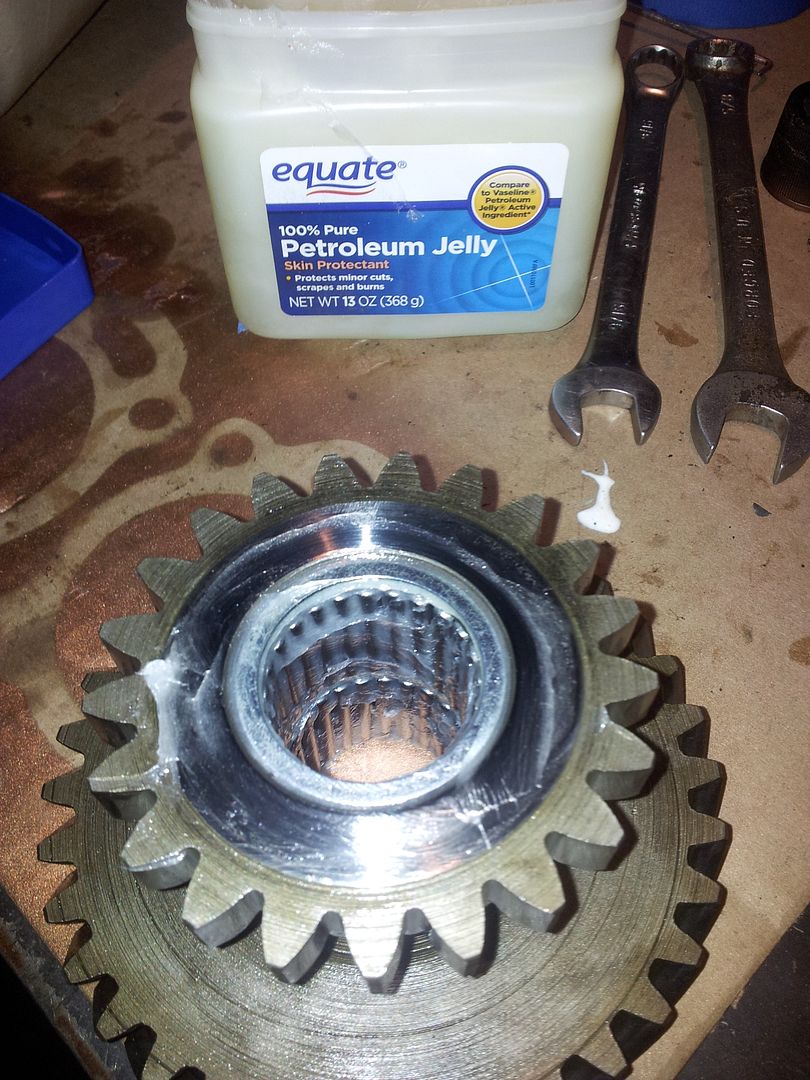
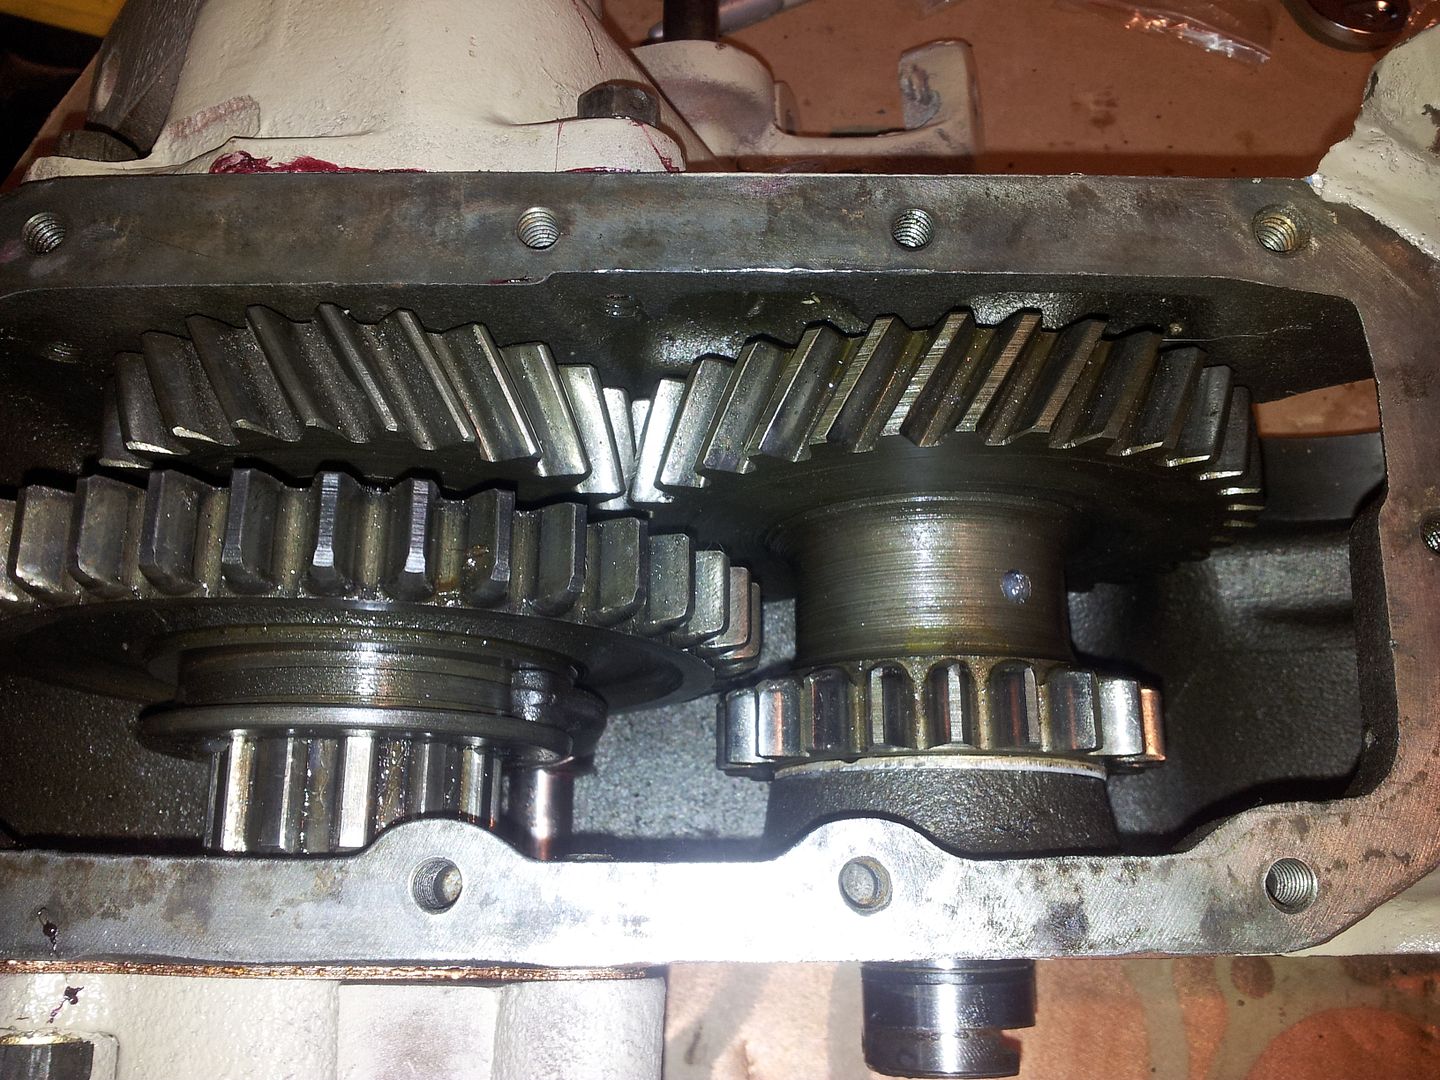
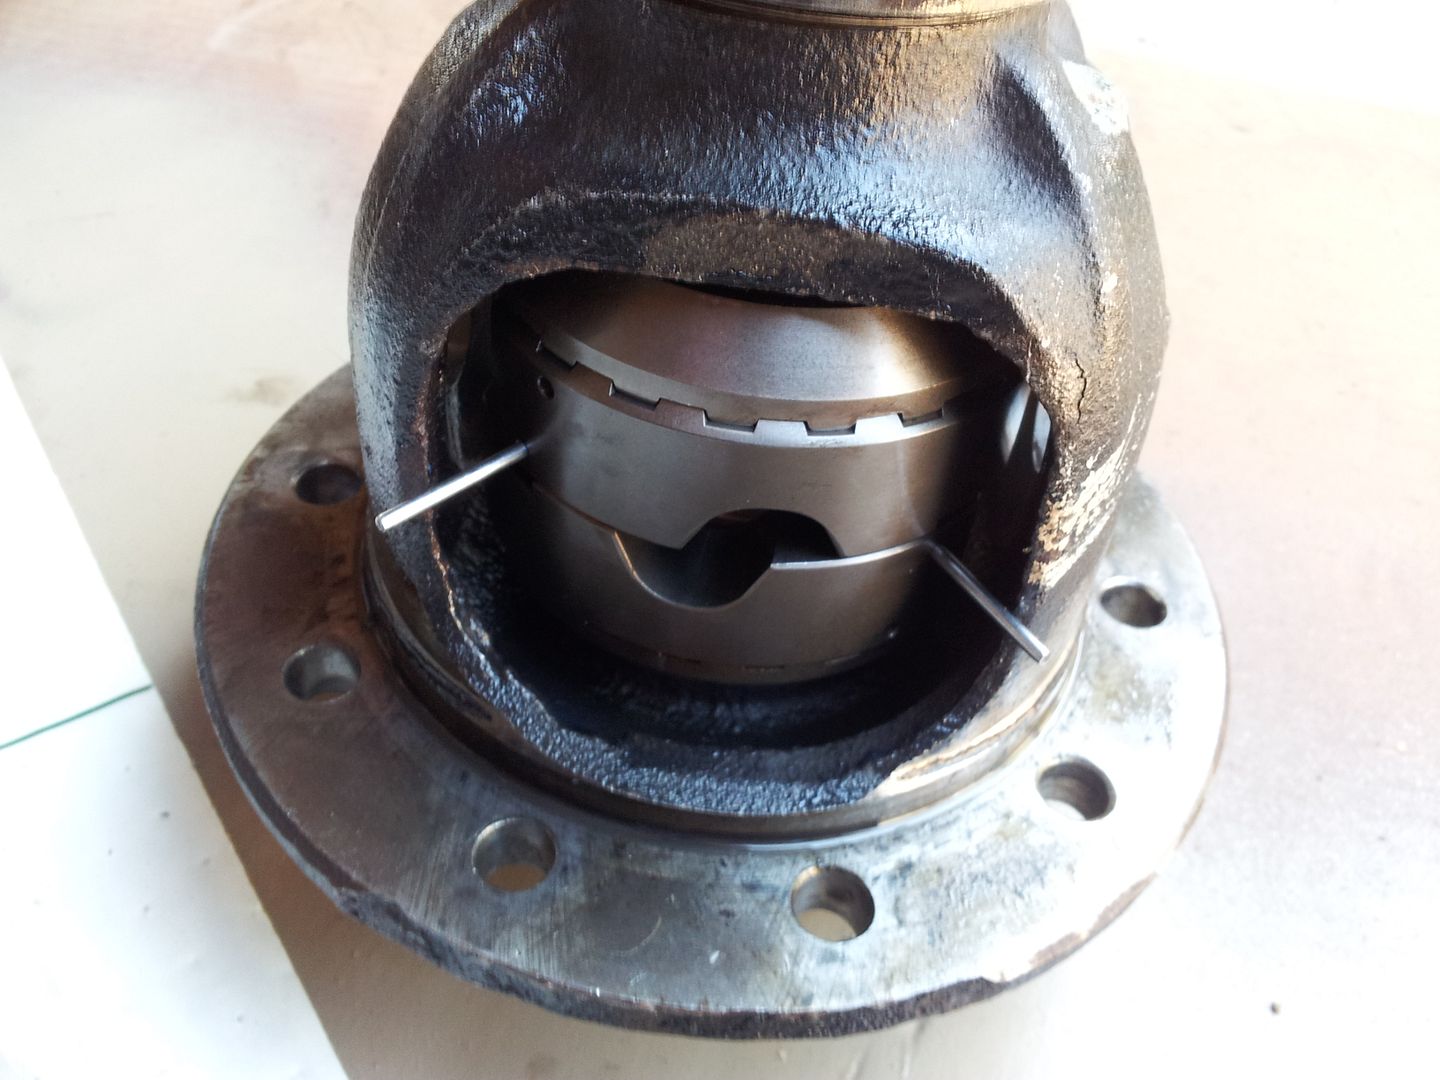
Next I set up the intermediate gear bearings. I don't know what the big deal is. A little petroleum jelly that sat in the freezer and everything held its place great. Lots of bearings. Don't forget the 3 spacer washers either. One on each end and one in the middle of the two sets of bearings.

20120918_184142_zps82584755.jpg


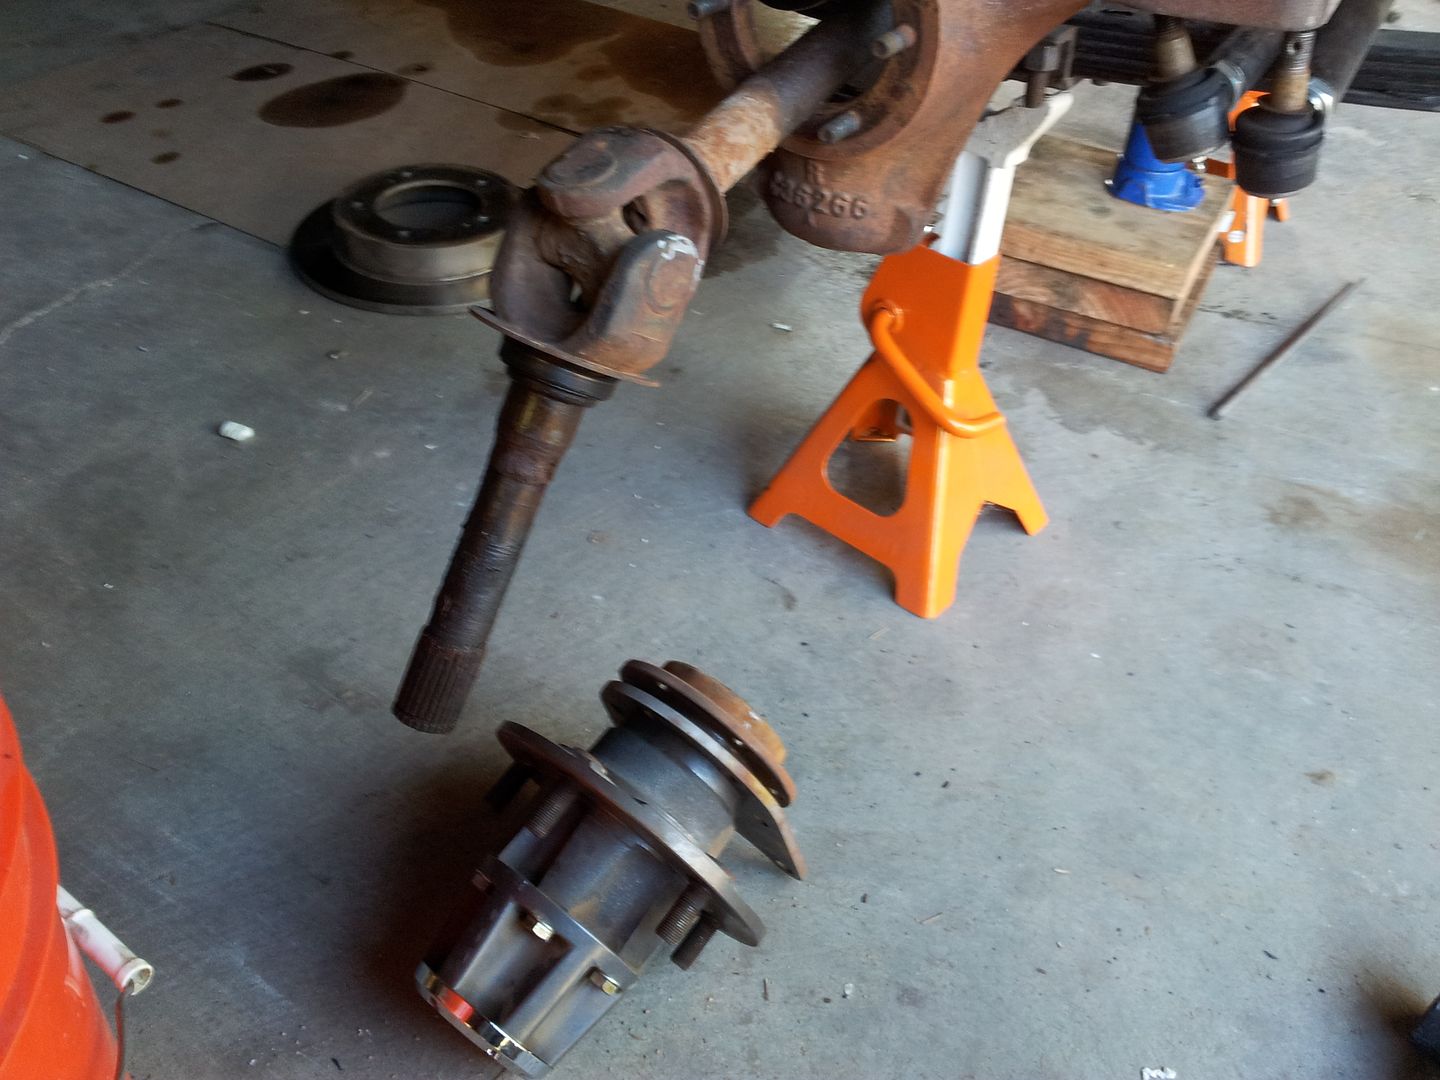
Some more frozen jelly worked good to hold the thrust washers in place. All in all the OEM shaft went in just fine.....

20120918_184156_zps1db41e91.jpg


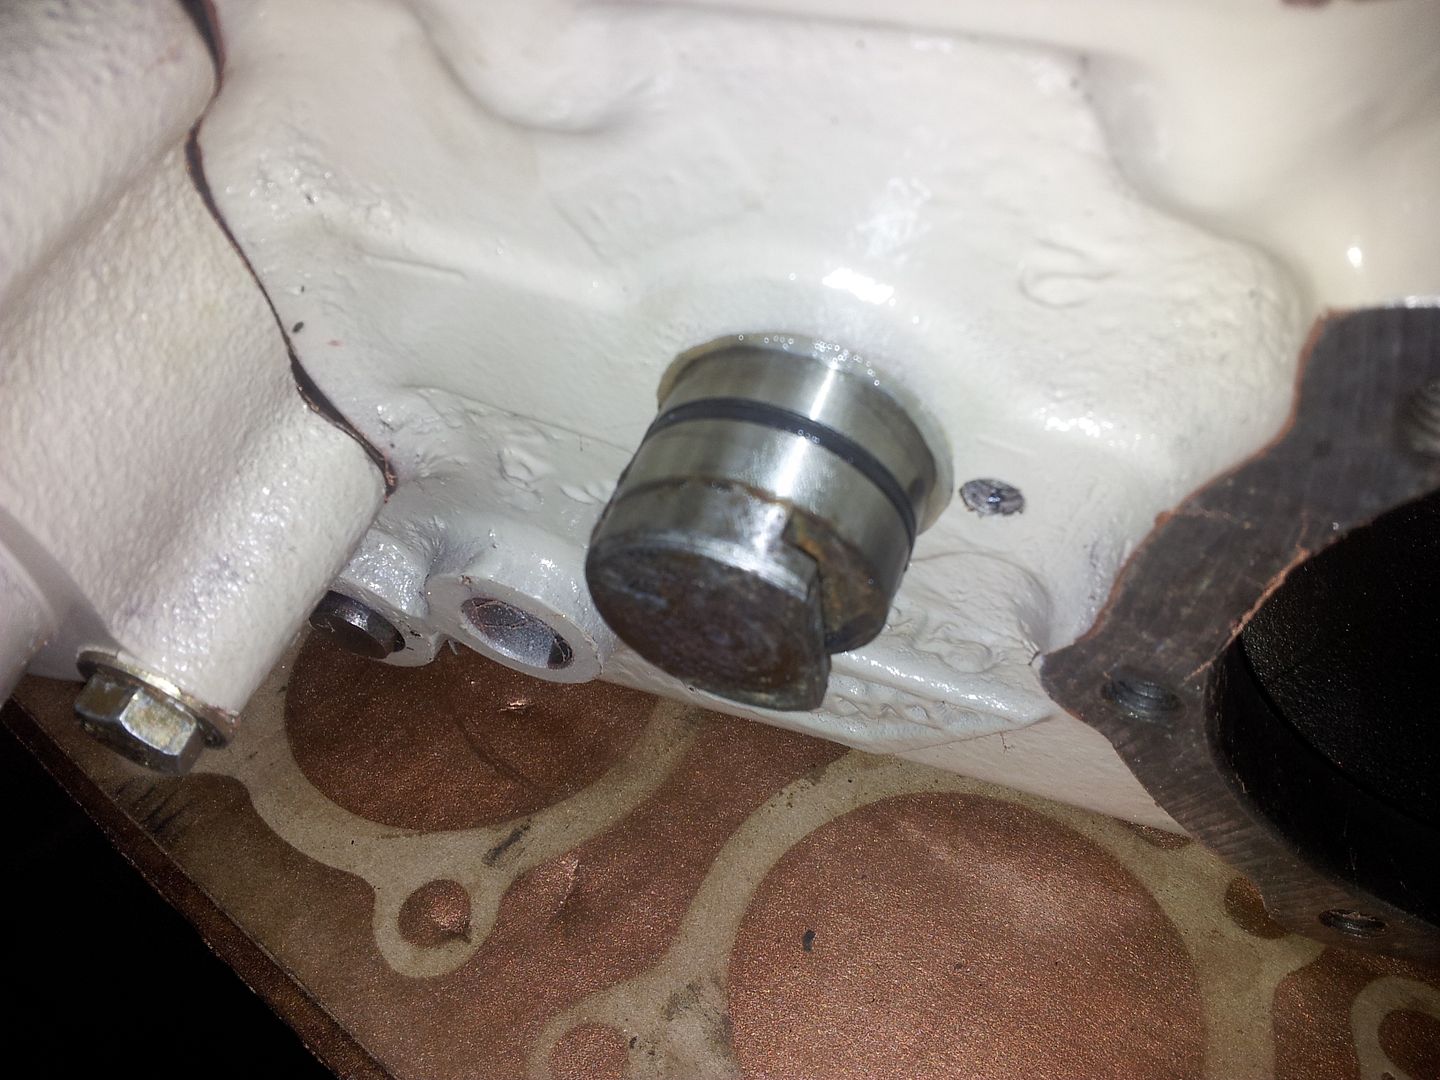
One hint. Stop for a second installing the shaft at this point just when you get the shaft past the forward thrust washer...

20120918_184129_zps32d9ee96.jpg


Clean out the extra jelly here after installing the shaft. Then use a finger smear of right stuff before tapping the shaft into its final home. The oem shaft is a TIGHT fit for the last 1/2" or so!

20120918_184707_zps6d2984c3.jpg


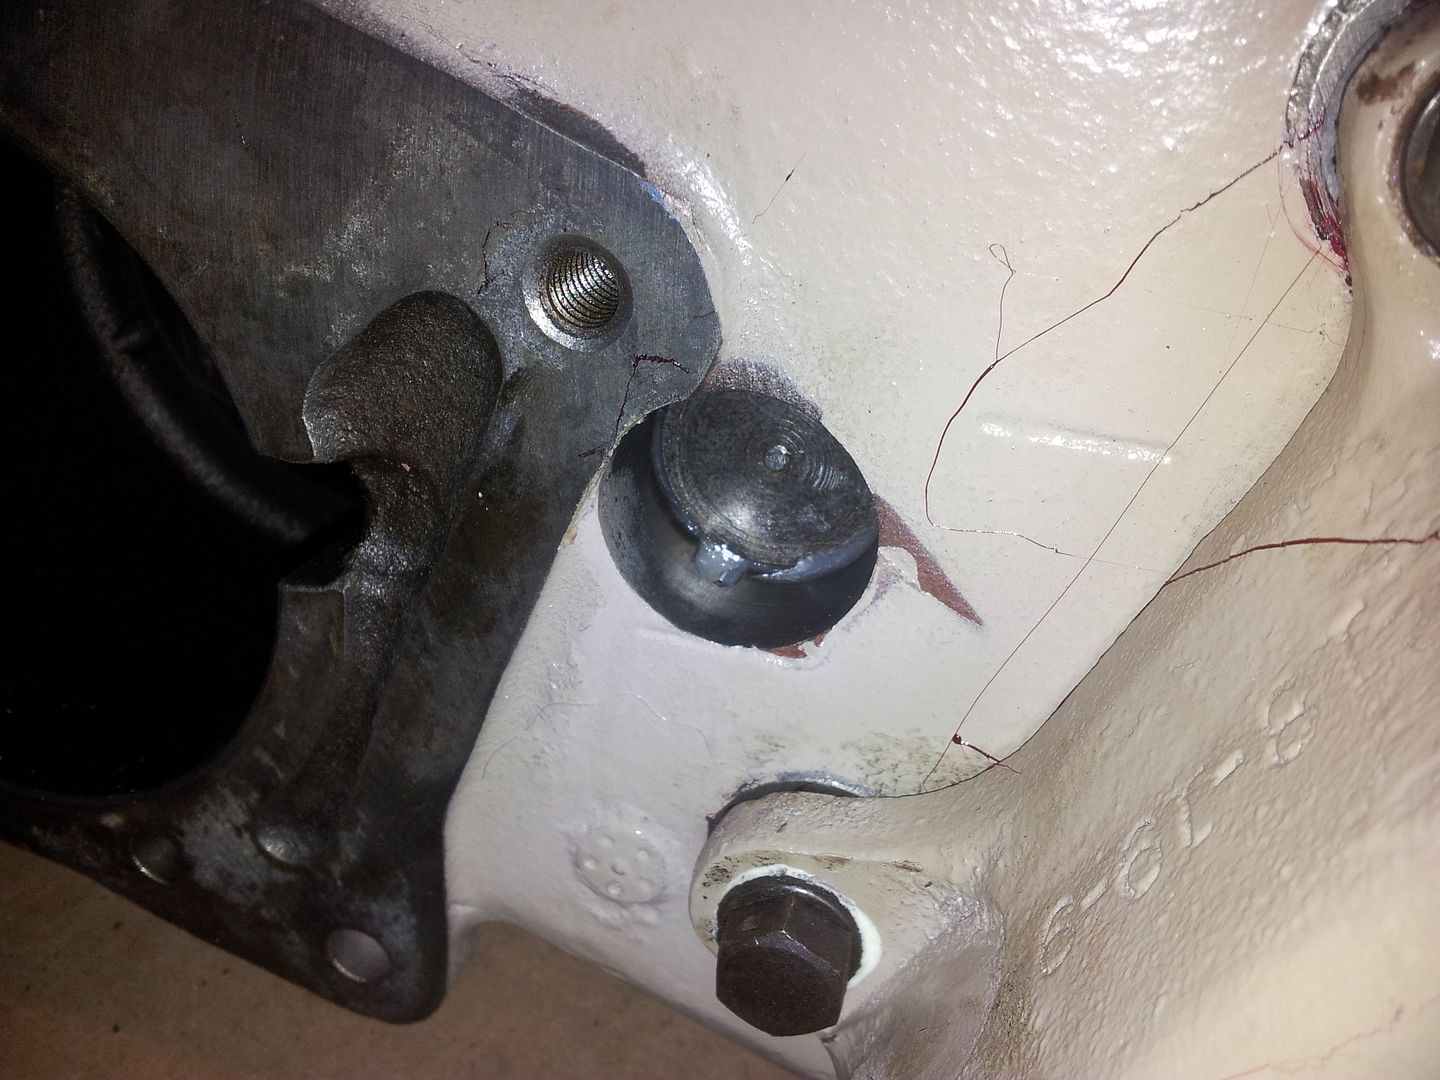
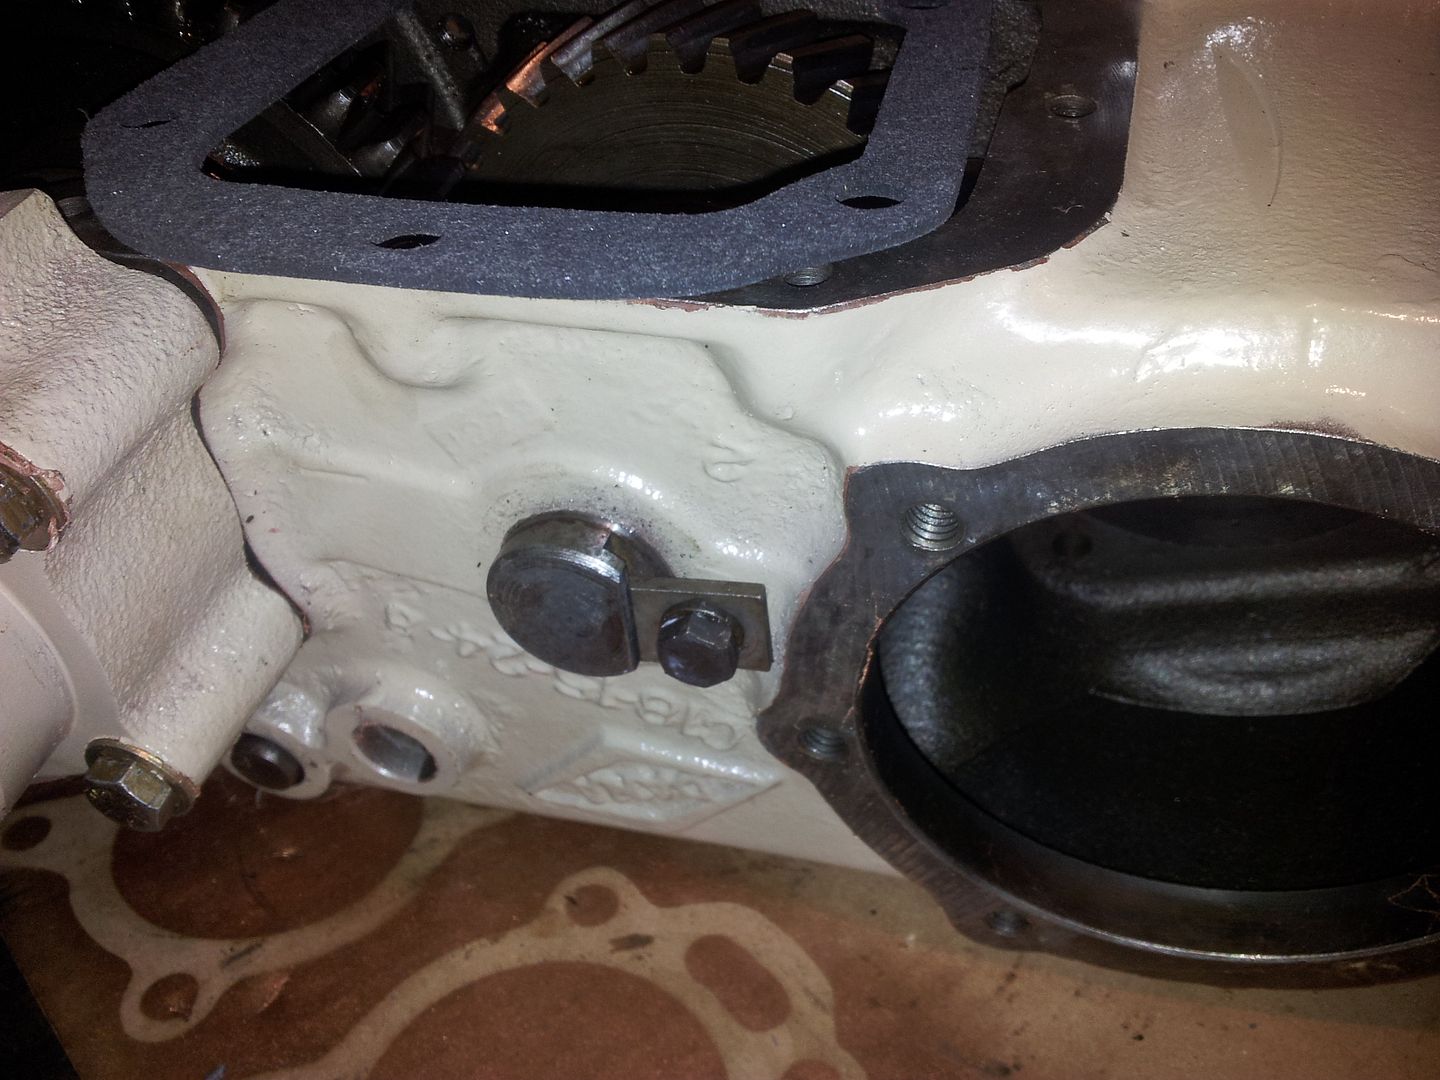
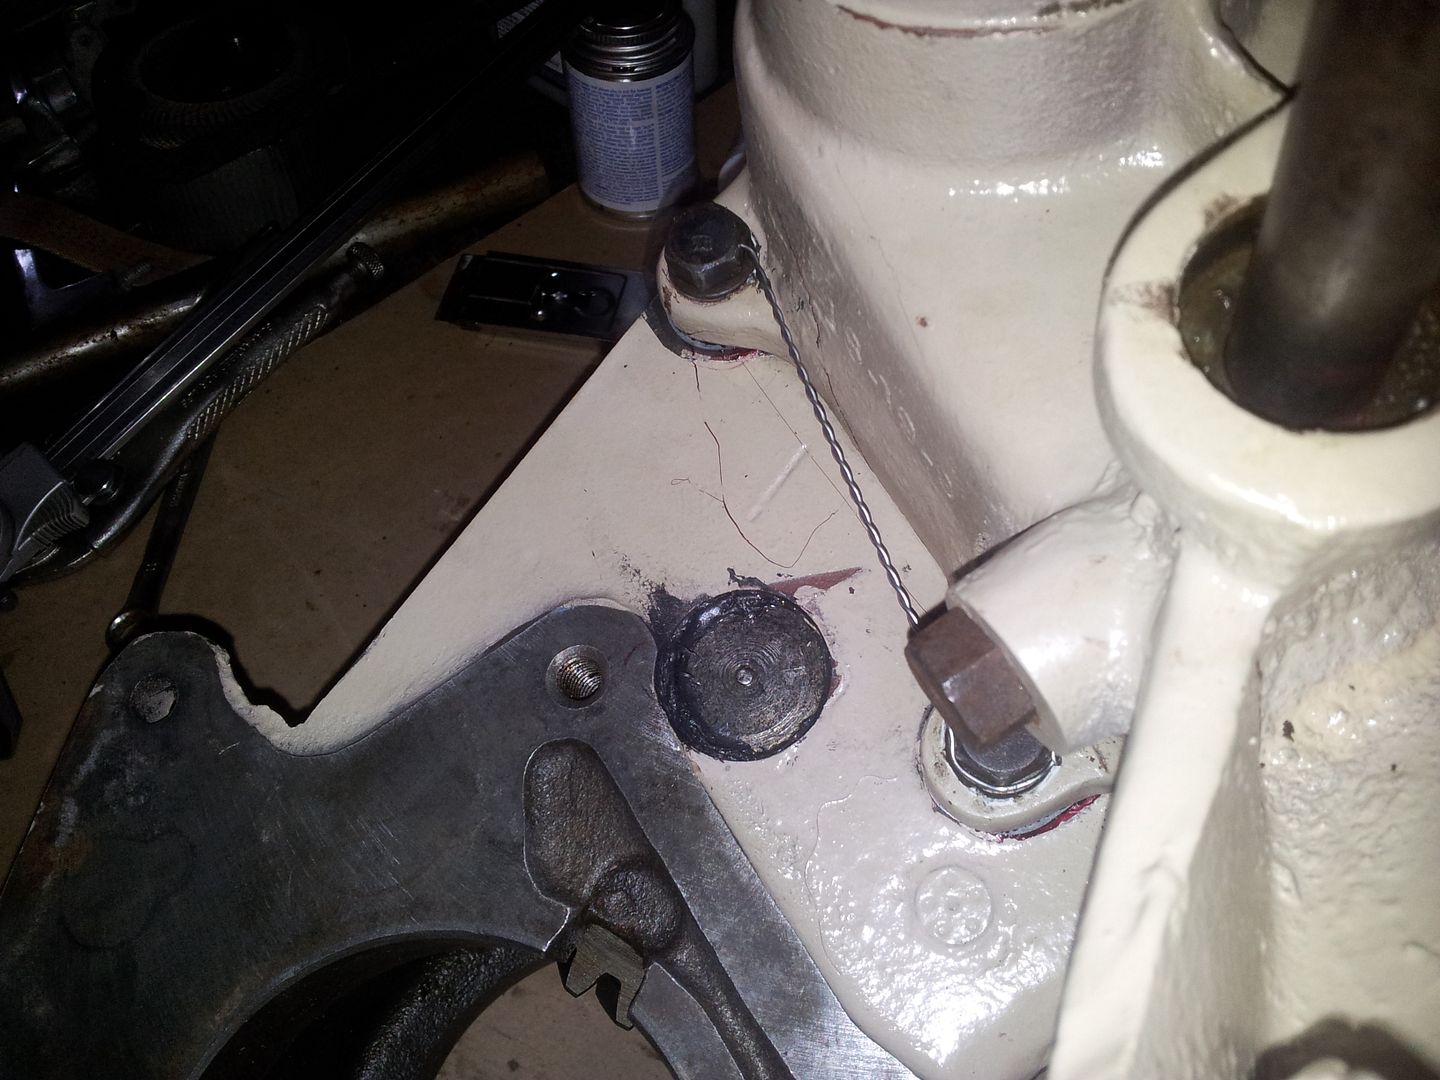
Then install the keeper with a little locktite and/or sealant. This hole is blind I am pretty sure so it shouldn't matter. But I have been trying to seal everything as much as I can.

20120918_184142_zps82584755.jpg


It also seem to help if you lock the sliding low range gear into neutral during the install so your not trying to mesh two gears at once. Only install the ball and spring AFTER your done installing the sealant on the front housing gasket.

I also found it help full to install the ball and spring for the 4wd shift detents when I built the front housing to keep everything in the '4wd' position when playing with the front housing.

20120918_184645_zps36873c9d.jpg


Novak includes a super thick bottom cover gasket! Its a rubber composite gasket I think....

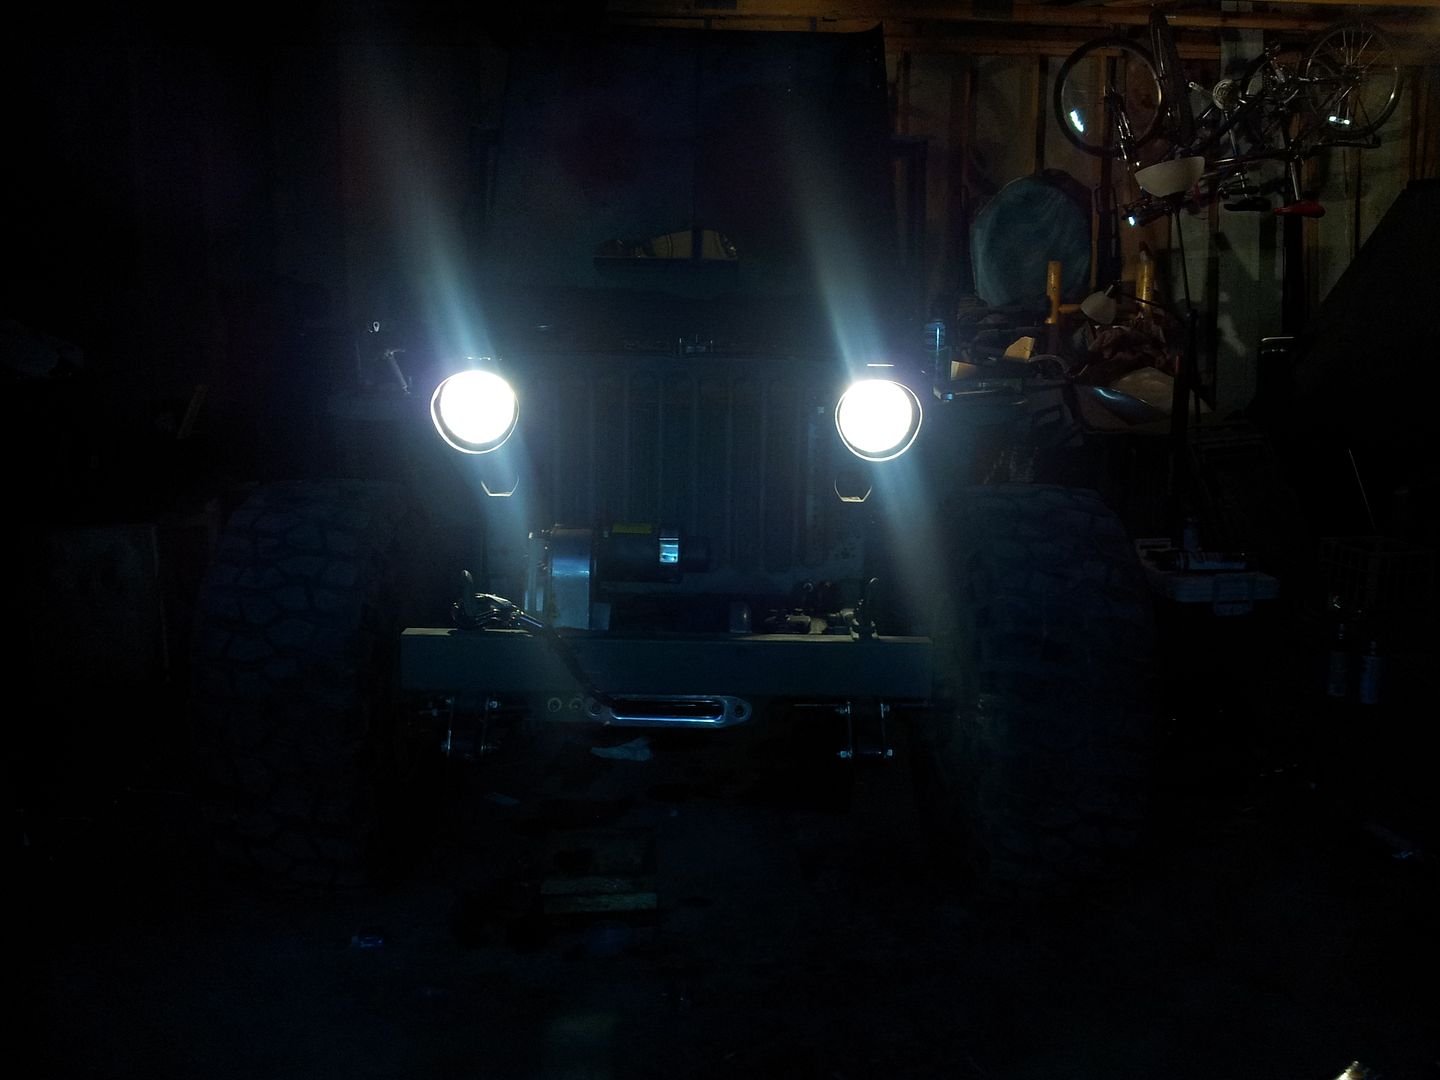
That is as far as I got tonight.....
 

locrwln

Expedition Leader
Wow, you may have one of the only non leaking D18 t-case when you are done...nah, that'll never happen.:sombrero:

Looking good and it looks like you are doing everything possible to keep it from leaking.

Jack
 

Metcalf

Expedition Leader
I borrowed some safety wire pliers tonight and wired up the front housing on the new D18....

20120920_174710_zps103cfc69.jpg


20120920_174811_zps29e80cbe.jpg


I think I got it ok. I decided to do the left and right sides of the housing separately. This makes for one two bolt set and one three bolt set. Having the wire rub on the top or bottom of the housing trying to group all of the heads into one set didn't seem line a good idea. The wire could rub on the housing if tight and could eventually fail?
 

Metcalf

Expedition Leader
Wow, you may have one of the only non leaking D18 t-case when you are done...nah, that'll never happen.:sombrero:

Looking good and it looks like you are doing everything possible to keep it from leaking.

Jack

they don't leak......when they are out of oil!

I'm trying! REALLY trying!

I think I am going to try and install dual seals on the front and rear outputs. SFK makes a wave seal with a spring lip and a secondary dirt seal that I want to try. The yokes I have are pretty dang good overall also....OEM spicer units with very little if any wear on the sealing surfaces.

As long as it isn't throwing oil all over the bottom of the tub and pouring on the ground I will be happy....same goes for the 'new' transmission!
 

locrwln

Expedition Leader
they don't leak......when they are out of oil!

I'm trying! REALLY trying!

I think I am going to try and install dual seals on the front and rear outputs. SFK makes a wave seal with a spring lip and a secondary dirt seal that I want to try. The yokes I have are pretty dang good overall also....OEM spicer units with very little if any wear on the sealing surfaces.

As long as it isn't throwing oil all over the bottom of the tub and pouring on the ground I will be happy....same goes for the 'new' transmission!

Well good luck. It's looking promising.

Jack
 
Last edited:

Metcalf

Expedition Leader
Today I installed the Spartan locker in the front axle....fun.....

20120930_092017.jpg


Hey look, Willys unit bearings! I REALLY like this feature about my front axle disc brake conversion. Basically....

Pull the 5 lug nuts
Pull the two bolts for the caliper, 19mm
Pull the 6 nuts at the spindle, 9/16

Then bingo bango you cna pull the entire wheel bearing assembly, hub, and axle out in one assembly. The disc brake bracket is captured between the bearing hub and spindle so it doesn't get lost.

I had forget the snap ring on the end of the outer axle when I assembled the front axle last time. With it installed ( like it is now ) everything stays together. You can also pull the snap ring off the end and JUST pull the bearing assembly if you wanted.

20120930_114724.jpg


Then I pulled the carrier. I had to pull the ring gear with the 4.27/4.30 gears to get the cross pin out. Then I installed these fancy parts. The Spartan locker install is really really easy. The only special tool I needed was a 3/16" punch long enough to drive the roll pin out of the cross shaft.

20120930_130646.jpg


Then you stick that thing back in here and put everything back together. With the unit-bearing style hubs this took like 30 minutes....

Then go for a test drive to try everything out. All in all, its an autolocker. Yes, you can feel it in 4wd but its not THAT big of a deal. It seems to ratchet when its suppose to ratchet. There was an odd pop every so often but I am sure those will smooth out with more use.

Overall, for less than $250 delivered and 2-3 hours to install it, very happy.
More traction....fun fun
 

VanIsle_Greg

I think I need a bigger truck!
I have heard good things about the Spartan lockers. I have a few friends with them, and they stand up to some pretty gnarly wheeling and seem to stand up period. The easy install is a bonus too. Looking good as always.
 

Metcalf

Expedition Leader
Not much new, but I figured I would toss a few pics up before I forget. I have been trying to get all the lights functioning again for the coming moab trip....

20121008_182537.jpg


With my raised fenders I needed to do something different for headlight mounts. I always liked the flip around military headlights on the MB/GPW. I ended up flipping the headlights mounts side to side from stock. This put the mounting ear inboard away from my raised fenders. They just wouldn't work the other way. I just built a simple light mount using a 3/8" bolt, some washers, a stainless wing nut, and some steel rod. It is very simple light and clean. The height of the bracket is adjustable with a extra nut on the bolt.

20121010_185628.jpg


LIGHT! I used some H5001 ( or h5006 ) sealed lights in the stock MB buckets. These where wired in with some generic H4 plugs from the parts house. Make sure to run the wiring so the headlights can still flip over. I used a generic headlight switch from NAPA. Something so simple but took for freaking ever!

20121009_172335.jpg


I didn't want to spend tons of money on tail lights. All I wanted was a stop and turn light that would fit in the stock MB mounts. These are $6 trailer lights available at just about anywhere with trailer stuff. I used two of the versions that didn't have the white license plate lens on the bottom. They use a standard two element bulb. Simple Simple.

20121010_172111.jpg


I also found this little gem. A super simple $7 switch for the brake lights that fits right in the stock XJ pedal bracket. It is adjustable for depth, insulated, and has normal blade connectors.

Tonight I need to pick up some more wire to redo the rear lights, all I had was 12 gauge and that is overkill.....
 

Metcalf

Expedition Leader
I have heard good things about the Spartan lockers. I have a few friends with them, and they stand up to some pretty gnarly wheeling and seem to stand up period. The easy install is a bonus too. Looking good as always.

Thanks. So far so good. For $250 I am very happy....

I think there might be something to this front autolocker, rear open ( or powr-lok or selectable ) thing. Personally I like how it behaves better than most autolocker/autolocker combos and in some situations better than front and rear selectables. It also doesn't seem to have some of the rear autolocker/front selectable issues I have noticed....
 

Caoboy

Adventurer
Flip around headlights? Can you divulge more info/pictures?

This thread is so...awesome. IDK how else to explain it....that old school MB is just awesome.
 

Metcalf

Expedition Leader
Thank you very much....

Here is a picture of the stock headlights on a Willys MB/GPW. Basically undo the wing nut and you can flip the headlight bracket up and over so the lights can shine on the engine compartment. Mine is pretty much the same except I had to work around my raised fenders....

7179650905_05ab5229e9_o.jpg
 

bishopdunn

Observer
Nice trick swapping the headlight brackets. What is the distance between the water pump pulley bolts and the back face of the radiator? Did you move the radiator forward or the motor back when you stretched the frame?
 

Forum statistics

Threads
188,473
Messages
2,905,557
Members
230,428
Latest member
jacob_lashell
Top