Rango.....1942 Willys MB

Metcalf

Expedition Leader
Off road I don't think the holley can keep up with the Autolite just because of the jet position. In the Autolite they are in the very bottom of the bowl close together....on a holley they are on the wall ( metering block ) of the carb body pretty far apart. I think one jet washes out on a holley pretty often off road. Not saying they can't work, but I didn't have much luck with them....
 

bishopdunn

Observer
I'm trying to figure out your brake setup. I think the purple device is the pro portioning valve, but I don't know what the black valve is for.
 

Metcalf

Expedition Leader
I'm trying to get motivated to work on my Willys again....

-The T18 and new D18 swap needs to happen. Getting a completely rebuild transmission and t-case in it would be a huge difference. At that point it would be ready for some longer road trip stuff. This swap kinda snowballs a bit however. I will probably need to modify or make a new tunnel since everything is a lightly difference size. I am considering welding in a new tunnel instead of making it totally removable? Perhaps with just a removable panel over the front driveshaft. Shorten the rear driveshaft. New front driveshaft ditching the two-piece setup I hope. Modify the existing transmission crossmember for the new transmission. The new transmission and transfer case is probably the most important thing to get done before EJS 2013.

-The underdrive is becoming optional at this point. Honestly, I just don't know if its worth the headache to build right now. I think overall the vehicle would be dead nuts more reliable without having to worry about any of that stuff. With how the vehicle did in Moab this last trip I don't see too much need for it at this point.....

-4.88 gears. With the T18 I am going to need some 4.88 gears to get my gearing back inline with where it was during the last trip on the low end. I don't really want to go down to 5.38 gears but I am tempted on some levels. The T18/4.88 gearing would be almost exactly the same for 1st and 2nd gear with a lower 3rd and 4th gear....basically exactly what I need I think?

-I'm happy with my front locker. Adding 4.88 gears on that is easy.

-I'm almost happy with my rear Powr-lok. I can't really think of any situation during the last trip that I needed more traction from the rear axle? I'm tempted to just buy a new clutch pack for the Powr-lok and call it good. I do kinda want to apply for the Ultimate Adventure trip and I have to have a rear locker for that. I think the front auto-locker and rear limited slip is a good combo though....so I don't want to loose the limited slip function in the rear. The best idea I can come up with is to use a rear Tru-Loc from a Rubicon TJ rear axle. That would give me a gear drive limited slip with an locker option?

-Alloy front axles with the big 297/760 joints would be nice. I can add those any time though.

-I need to add a seal to the rear full float conversion. I had a few leaks at Moab when on extreme angles.

-I need to rebuild the firewall at the brake and clutch mount so it stops flexing. I think I am just going to cut out the stock stuff leaving a 1/2" flange, then weld in a new 1/8" cold roll plate to cover that area. Hopefully I can brake the pedal assembly to the cowl and/or dash also.

-Add an aluminum belly pan from the engine oil pan to the transfer case. This can just be a 8-9" wide plate about 40" long. I want to leave the belly open for more cooling if possible.

-Some differential projection.

-I'm thinking about using a 3B windshield to lower the glass area for better visibility?

-Duct tape the inner beads on the wheels.

-Make a heavier duty bikini top. I would have never thought a $7 painters tarp would have lasted this long

-Move the wideband O2 gauge over to the corner of the glove box to hide it.....and stick my volt meter back in the dash.

-Hook the Belleview winch controls up. I need a control cable for the disconnect lever. I was thinking of hooking a stock e-brake lever up to the drum brake on the winch?

-Add some bumpstops to the suspension. I need something like a 2" foam style unit I think.

Fun Fun
 

locrwln

Expedition Leader
The only caution I would "throw" at your plan is the rear TJ rubicon locker. The limited slip portion isn't known as the strongest and unfortunately, when the go bang, they are not fixable. You can't get the small inner parts that break, you have to buy the whole diff all over again. One of the ways to keep them alive is to mod the harness so that you can lock the rear axle anytime you want. The locker is solid when locked, just not as strong as it could be if not locked. Some guys when they break the rear locker source a front locker and install that in the rear. You lose the limited slip, but there is less chance of breakage.

Jack
 

Metcalf

Expedition Leader
Just some notes since I have had a few people ask.

Suspension.

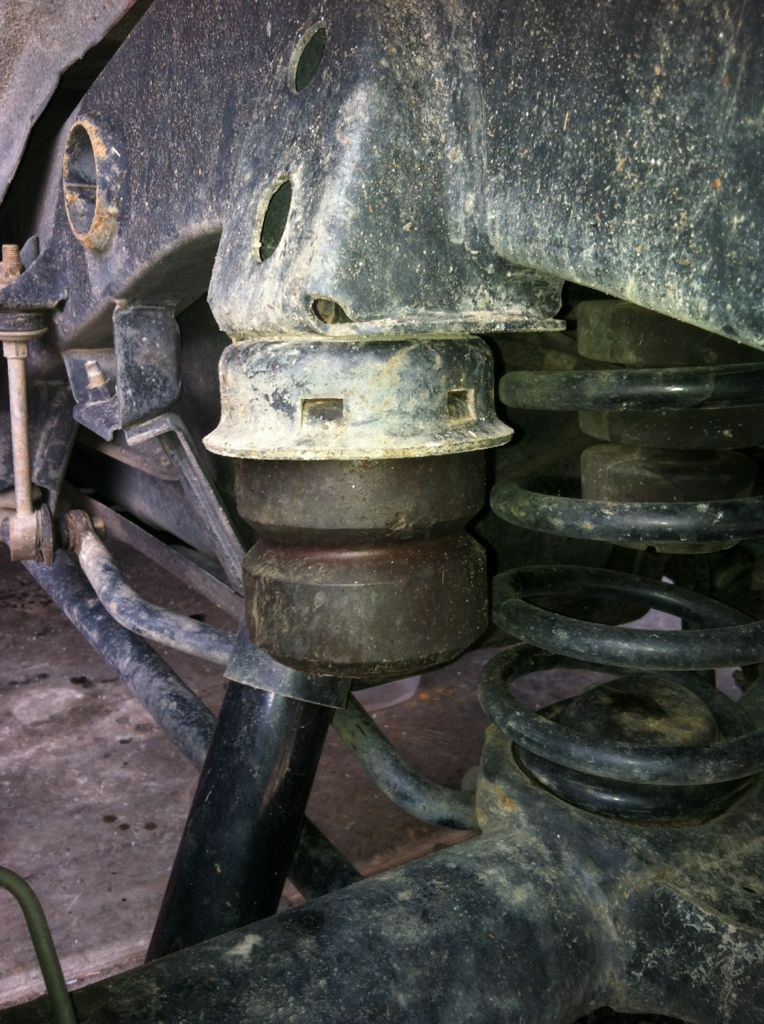
I used Superlift 01-511R-6 Superlift springs on all 4 corners of the chassis. The springs mounts where moved around to do this. Near as I can tell I ended up with a 2" rear stretch and a 3" front stretch for an overall wheelbase of 85" with the frame set FLUSH to the rear of the body.

The springs are decent. The front feels pretty dang good. The rear is a little stiff. I think the front is about 300lbs heavier than the rear. Loaded up with a decent mount of gear it will probably be just about right.

There are military wrapped springs. They have full wrap eyes on the 2nd leaf. This makes the spring that much stronger for front suspensions with the shackle in the front.

I used metal ( gasp! ) bushings in the springs. I used McMaster part# 6338K428 flanged units. These are a 7/8" od, 5/8" id, 3/4" long. I used a small piece of 5/8" tubing to form a sleeve over the 1/2" mounting bolt.

What would I change....

-I think I would move the rear axle back 1" more. This would give me enough room for a 37" tire if I really wanted. I would basically just shift the entire frame back 1" moving the front axle back 1" also. This would shorten the amount of frame in the front past the grill slightly. I have an upright belleview winch and it fills the hole up pretty well, an 8274 would do the same thing.

-I would like to try slightly softer springs. I would probably take the short bottom leaf off the springs. I may try this some day to see what it does.

-Better shocks would be better :) Honestly though at 4psi you can bomb right along. Any faster and you might get yourself in trouble.

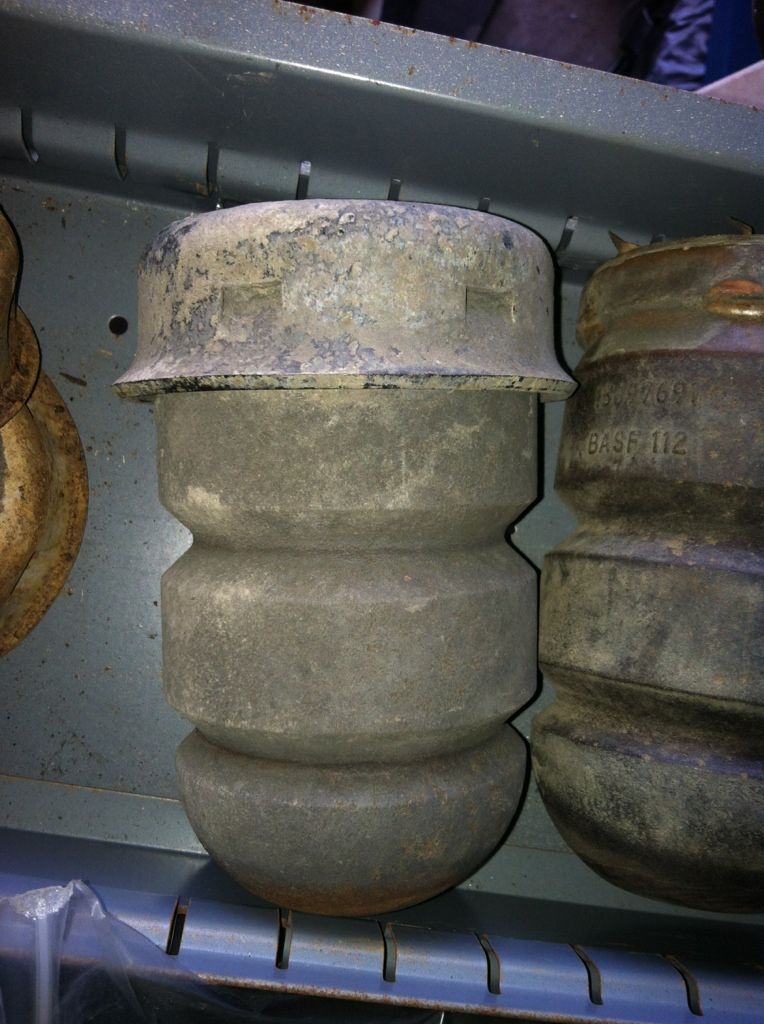
-Bumpstops. Still need some. It would be pretty amazing to see what a 2" stroke air bump would do on the chassis. I don't see myself spending that much money on this chassis though.

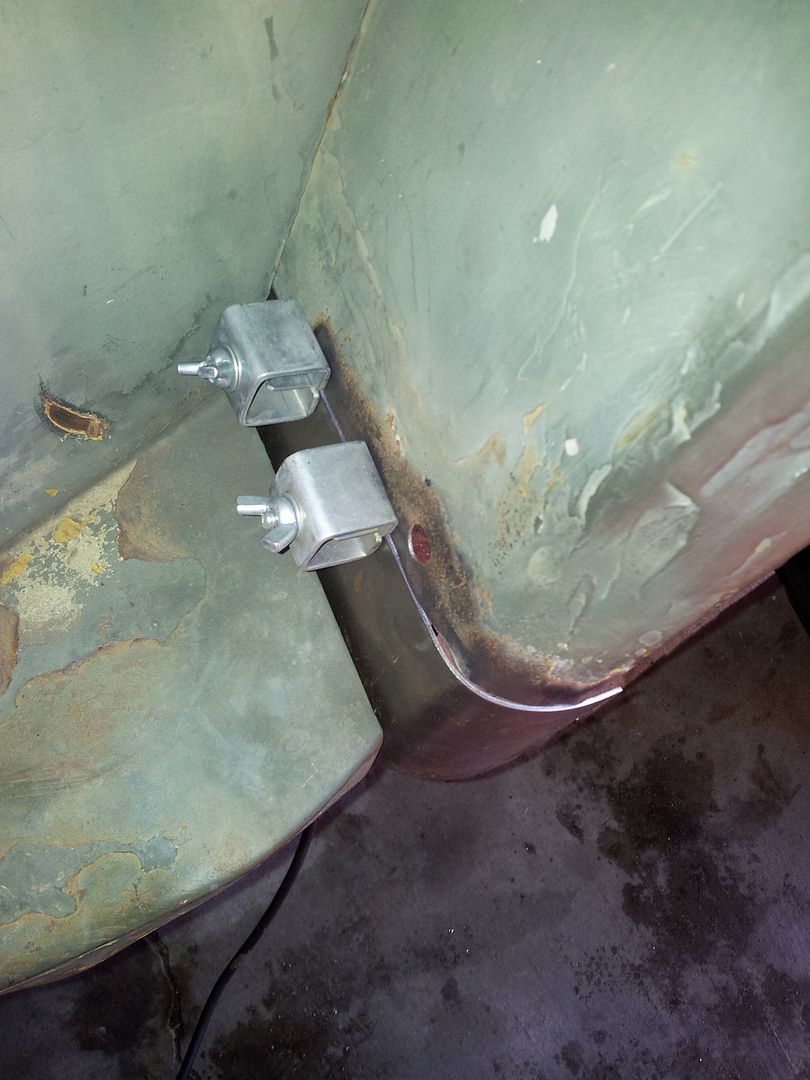
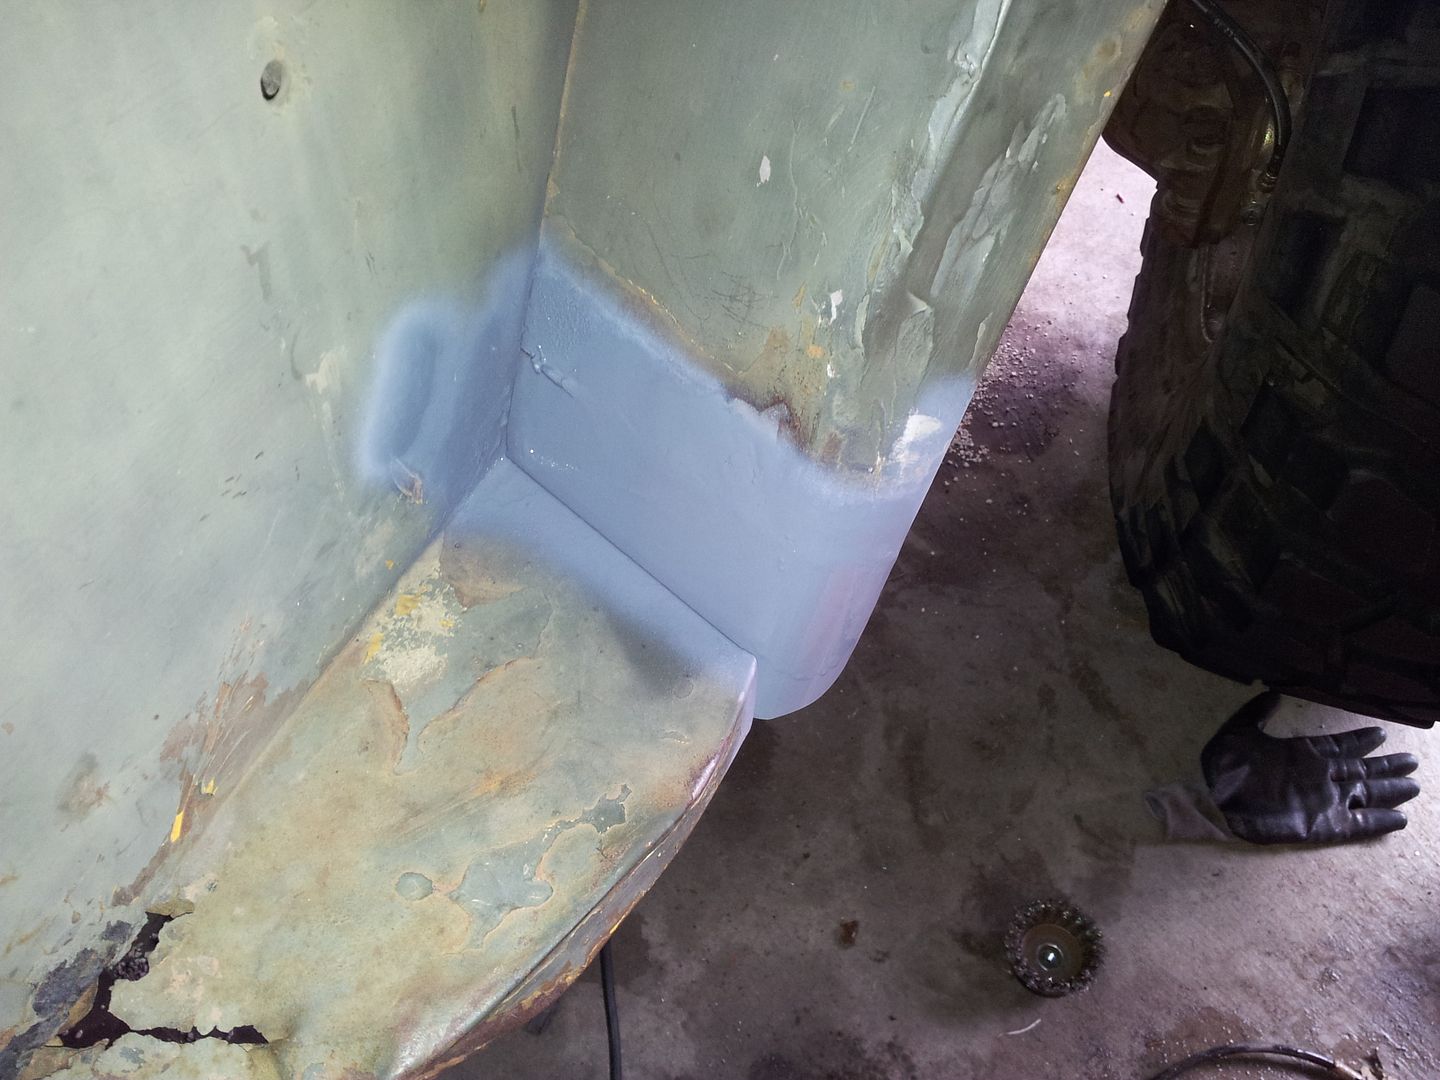
-Going to a 5" tall belly section on the frame and frenching in the springs would be interesting. Even only half frenched would eliminate most of a snag point. The spring alignment is spot on I think. Both springs are set for what I think is a negative roll slope ( pure therory with leaf springs ) but I think it provides a little more understeer in the chassis to keep the short wheelbase from feeling twitchy with the shackles in front.

-More compression travel would be nice but the springs go negative already. I have 4-4.5" right and that is pretty dang good for a little flat fender that is basically dropped 1/2" front stock give or take.

-Yes. The suspension is about a 1/2" drop from stock with the 1" lift springs. This is because just about EVERYTHING on the chassis has been moved around including frame height, spring mount location, shackle lengths, etc. If you wanted to use a frame exactly like mine with a non-raised fender body you are probably going to want the 2.5" lift version (superlift 01-512R-6) ( 2" of lift or so from stock ) and perhaps take the bottom leaf out to get a little softer ride and a little less height?

-It would be nice if the steering box was about 1" forward. I would have to trim the front bumper out to do this. It is TIGHT like it is now with a pitman arm long enough to swing the axle far enough to get the tires into the frame.

Just a few little things I wanted to document.
 

Metcalf

Expedition Leader
I've been trying to get some motivation to get back out into the shop. I didn't want to burn myself out the first day so I tackle 1/2 of a little thing that has been bothering me......

20130127_150840.jpg


when I raised my front fenders it created a gap on the lower edge of the fender next to the step on the tub. It is just one of those little things that always annoyed me. So, today I extended the fender to match the step. A 2.75" strip of material rolled around a scrap of round rod got me started. Out came the little panel clamps to save the day. A little hammer and dolly work on the fender got it straight enough to make a panel that would match. Tack Tack Tack with teh welder. A little flapper wheel. Then a little primer....

20130127_155558.jpg


Now I just need to make the other side. I didn't want to wear myself out the first day.

Here is another little trick for filling holes.

20130127_153654.jpg


If you have a round hole somewhere you need to patch.....

20130127_153507.jpg


Cut little thin round plugs on the bandsaw out of round stock. Don't make them size on size. Leave yourself a little gap around the edge. Use a magnet to hold the plug in place on the back of the panel. After one good tack weld pull the magnet so you don't ruin it.

20130127_154004.jpg


Then weld the hole closed, grind, flapper wheel, little body hammer, then you don't have a hole....

Edit: Forget to say it wasn't done. I still have to pull the fenders at some point to finish up the welds and grinding near the inner edge. I will most likely be pulling the fenders during the transmission/firewall/tunnel redo. I figured it was best to do this little project now when I know I will be pulling the fenders later anyways.
 

shmabs

Explorer
Over a few rigs and some years i have become a huge fan of the s10 blazer rear bump stops. They are a great junkyard solution, and are pretty soft while still doing thier job. I currently run them on the rear of my 3rd gen 4runner, with the lowest 'ring' cut off.

BD5903CE-B441-41ED-91B6-CF187D9391E3-700-000000F6E5598EAE.jpg

20F06B08-740D-4C00-B7AD-20A728A88BC6-700-000000F6D6D55C60.jpg
 

MrBeast

Explorer
Fender looks good.

One of my favorite tricks for filling holes is to use a piece of round stock as you are, but instead of cutting off the piece in the form of a plug, I will just put a magnet on the back side, stick the rod in the hole, tack it in 3 places then remove the magnet, then as I am burning it in I will angle my weld into the rod so I can weld a bit hotter which pushes the weld all the way through the sheet metal, with out dumping a ton of heat into the sheet metal, then I cut it off with a 3/32 cut off wheel and grind it smooth.
 

bishopdunn

Observer
I've decided to use your frame design instead of trying to rework the original willys frame. The body has been stretched 8" in front of the step. You mentioned you would use 5X2" tubing for the middle frame pieces if you we're to do it again. I'm trying to take advantage of your experiences and make those changes. Do you have any caveats or cautions before I start? Also I can't seem to find the link to the cnc cut plates. The original link doesn't work. Thanks for any advice you can give.
 

Forum statistics

Threads
188,471
Messages
2,905,523
Members
230,428
Latest member
jacob_lashell
Top