You are using an out of date browser. It may not display this or other websites correctly.
You should upgrade or use an alternative browser.
You should upgrade or use an alternative browser.
S10 Build getting started
- Thread starter Meili
- Start date
02rangeredge
Adventurer
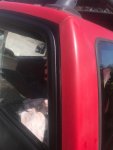
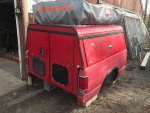
I must have missed something, is it just me, or are the rear doors mounted upside down?
they do look to be, but that would allow your ambient light to be in places that aren't revealing when standing in the bed to change clothes, and any ambient light coming in at night would light up where you'd step as reassurance to how secure a footing it would be
Meili
Adventurer
SNGellett, it's just you!
Kidding.
I swapped them for a number of reasons.
The plan is to make the passenger side door fixed so it can support my swing out spare/rack. Also inside in the passenger rear corner
will be a small 12v refrigerator and I needed a spot for a vent.
The P/S overlapped the D/S so I would also have had to open both doors every-time to get in.
02rangeredge hit on a point also. Thinking of putting bathroom window film on the window to obscure detail but still get some light.
May end of swapping the D/S door so it is hinged in the middle.
We will see as the build is fluid and changes as needed!
Last edited:
02rangeredge
Adventurer
SNGellett, it's just you!
Kidding.
I swapped them for a number of reasons.
The plan is to make the passenger side door fixed so it can support my swing out spare/rack. Also inside in the passenger rear corner will be a small 12v refrigerator and I
needed a spot for a vent.
The P/S overlapped the D/S so I would also have had to open both doors every-time to get in.
02rangeredge hit on a point also. Thinking of putting bathroom window film on the window to obscure detail but still get some light.
May end of swapping the D/S door so it is hinged in the middle.
We will see as the build is fluid and changes as needed!
really liking this setup/ cap so far- how's the swingout and utility bed coming?
Meili
Adventurer
OK you guys suck! I clearly asked to be "talked out of" getting the utility bed. So, Not only did you not do that, you encouraged me to get it.
Guess what, I struck a deal today. I was hoping it had sold since it was over a month ago it was listed. The seller took my offer and is going to take it
to his buddys shop so I can just pull under it and go. I hope Chilli, 2rangeredge, coastcop, et al are happy! Again, YOU SUCK!
On to today's work. Rained in the am, so only put in a couple hours this afternoon.
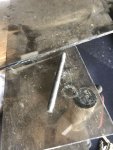
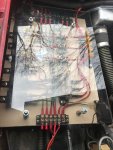
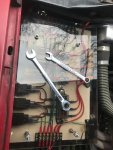
I re-purposed a old Plexiglas computer stand and threaded studs leftover from god knows what. They are now a cover for my under-hood panel.
The panel is drilled/tapped for the studs, used nylocks to make the studs even and lock them in place. The top nut will be replaced with wingnuts so
removing the cover is a tool free operation.
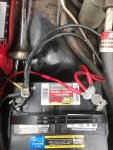
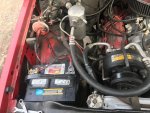
Did clean up the battery wring a little more, baby steps!
Since I WILL be getting the utility bed, a portable light bar will be needed for transport.
Took apart a bike rack I had made, installed a rung from a bed frame and mounted the lights.
Never got to wiring them since it started to rain, called it a day.
4610
Attachments
Last edited:
Meili
Adventurer
Painted and then wired up the light bar today.
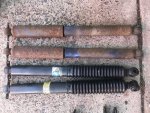
I noticed the r/r shock looked wet, yep, blown!
Way back in 95, I had replaced the shocks on my 94 Bravada with Edelbrock IAS shocks. Being the pack rat I am, still had the take-offs.
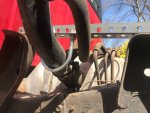
So the old leaking shocks were replaced with older but barely used Delco/Bilsteins. The ride and control are much improved.
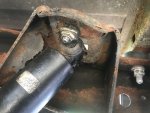
One thing I have done for years is to put a grade 8 bolt in the shock mount and then put a nut on the bottom. No more wrench between
the frame and body trying to remove your knuckle skin.
Those concerned about strength, in 25 years never had a failure.
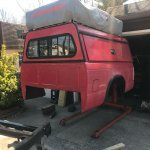
Also "built" the base where the truck bed will sit when I take it off.
My landlord said he will use his backhoe to lift it off and set it down on the base for me.
On my way home got the 4 wingnuts for the panel cover.
All is now right in the world.
Attachments
Last edited:
Meili
Adventurer
OK, so I committed or is that should be committed!
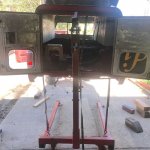
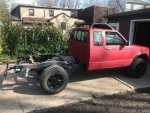
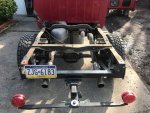
Removed the bed/RTT combo today by myself.
First jacked up the bed with a floor jack and put 4x4s under it on the fame.
Then used my engine hoist with a 4x4 inside catching the bed rails.
Used 3 ratchet straps to adjust left/right and forward/rear tilt.
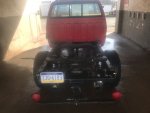
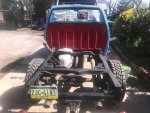
With it off, the rear suspension raised 2 1/4 inches and now rides like a brick!
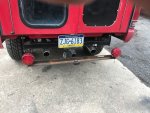
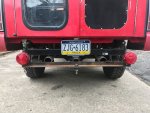
Made a temporary filler neck mount from a piece of scrap angle-iron and a muffler clamp.
Stopped by the "coin-op" car wash on my way home and blasted the frame/suspension off.
May spray bomb it tomorrow. Also considering cover the rear of the cab with spray on bed liner.
Looks like Wednesday or Thursday to pick up the utility bed.
4888
Attachments
Meili
Adventurer
Did some "while it's off" work today.
The local auto parts store had a sale on undercoating so now the all exposed areas I could get to are coated.
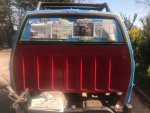
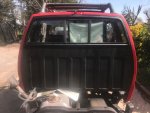
Cleaned and prepped the back of the cab and hit it with spray bed-liner. There is a nice body seam that was used as a tape line.
On the back window taped right up to the glass, so the trim/seal was coated also.
Earlier I had replaced the rear shackles but I did not do the bushings. Installed poly bushings today also. The bolts for the shackles are greasable but the
insert for the bushings were not. Drilled 2 holes in each insert so the grease can get to the bushings now.
Also replaced the rubber fuel lines at the tank and lubed anything that may be removed in the future, like soaking the brake lines.
Thursday is the day to pick up the utility bed!
5026
Attachments
Meili
Adventurer
Long day!!
Got up early and went to North Jersey (also known as South New York) . Stopped to get gas and locked the keys in the truck!
Did I mention I had gotten the alarm working on the truck, obliviously I forgot about the auto lock feature.
I had left the keys in the run position, so 2 prys bars, 1 towel and the length of bent brake-line was able to open the d/s window. Fun stuff!
Things got ugly with the sellers soon to be x wife. More fun!
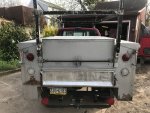
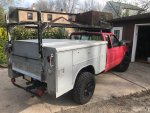
Took 2 guys about 3 hours to get the bed on.
During the install,had an "a ha" moment, instead of rebuilding the ends, just cut out and swap the quarters. Should be much less work.
May even see if the S10 quarters from the bed could be reworked. Thinking that might work well and look cool while doing it.
For now, the plan is to cut off the quarter and leave them off making access to mounting, running gas filler, etc. easier.
The utility bed will be dropped at least 4", trying for 6",it is sitting on 4x4s and held down with 4 straps to get it home.
Poor factory bed is now on blocks.
Going to sleep well tonight.
5191
Got up early and went to North Jersey (also known as South New York)
Did I mention I had gotten the alarm working on the truck, obliviously I forgot about the auto lock feature.
I had left the keys in the run position, so 2 prys bars, 1 towel and the length of bent brake-line was able to open the d/s window. Fun stuff!
Things got ugly with the sellers soon to be x wife. More fun!
Took 2 guys about 3 hours to get the bed on.
During the install,had an "a ha" moment, instead of rebuilding the ends, just cut out and swap the quarters. Should be much less work.
May even see if the S10 quarters from the bed could be reworked. Thinking that might work well and look cool while doing it.
For now, the plan is to cut off the quarter and leave them off making access to mounting, running gas filler, etc. easier.
The utility bed will be dropped at least 4", trying for 6",it is sitting on 4x4s and held down with 4 straps to get it home.
Poor factory bed is now on blocks.
Going to sleep well tonight.
5191
Attachments
Meili
Adventurer
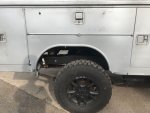
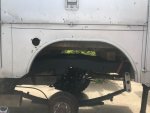
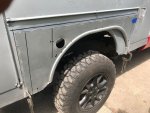
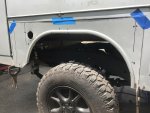
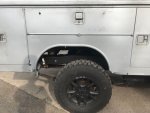
Had to deal with the wheel well alignment thing right away!
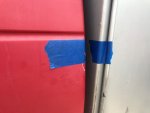
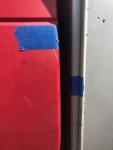
Did some measuring and could get real close to perfect (+-3/8") by strategically cutting the quarters and swapping sides.
After cutting the D/S off, it was used as a template to cut the P/S, that way all should line up close.
Besides the material lost from cutting it turned out pretty good. Also did a little hammer/dolly work to the bottom edges.
Looks a little better, huh?
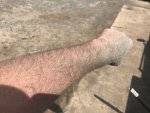
My arm was all glittery with aluminum dust!
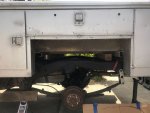
The quarters will be staying off for a while doing other work, makes for nice access underneath!
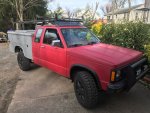
Note the wood 4x4s, they are gone now and the bed is bolted down.
There is still about an inch I can lower the bed without major surgery.Trying to keep center of gravity lowish.
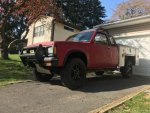
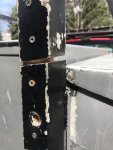
Also removed the creatively mounted rack. Looks like someone hit the top and broke it off. Wood and drywall screws repair for the win!
I am digging how it looks now!
5266
Attachments
-
 s10 ute 14.JPG55.8 KB · Views: 25
 -
 s10 ute 15.JPG60.3 KB · Views: 25
 -
 s10 ute 16.JPG74 KB · Views: 23
 -
 s10 ute 17.JPG74.1 KB · Views: 22
 -
 s10 ute 18.JPG73.8 KB · Views: 22
 -
 s10 ute 13.JPG60.4 KB · Views: 23
 -
 s10 ute 19.JPG37.2 KB · Views: 26
 -
 s10 ute 20.JPG70.8 KB · Views: 24
 -
 s10 ute 21.JPG120.6 KB · Views: 30
 -
 s10 rack 13.JPG113.5 KB · Views: 24
Last edited:
Similar threads
- Replies
- 19
- Views
- 4K
- Replies
- 26
- Views
- 6K
- Replies
- 3
- Views
- 2K

