I finished the upper door jambs for TJ-style doors today. The upper jamb is the part above the window frame; it goes back to the back of the curve at the top corner of the door. This part is removable from the full jamb master, because the top of the CJ/YJ door is slightly different. If you look at where the clamp is at the top of the window, you can see the side of the upper jamb dips down slightly as it goes towards the front of the door. That's only for TJ doors, on the CJ/YJ doors that line goes up instead of dipping down. It's a small detail, but if we want the door gap to be perfect, this part needs to be different.
I haven't built the upper jamb for the YJ/CJ yet, I'll do that later since we'll be working on the prototype TJ/LJ tops in fiberglass first.
Having finished the TJ upper door jambs, I can now declare the woodworking phase of this project completed. I dragged everything out of the workshop today (except for the roof panel master, that takes two people to move) so I could sweep up, and while the parts were out I snapped a photo.
1. The LJ side window panel.
2. Door surrounds with TJ profile upper jambs.
3. TJ/YJ/CJ side window panel.
4. Rear corners for all tops, full-length and half-cabs.
5. Rear door outer skin.
6. Rear door inner structure.
7. Longer half-cab sides, for Ratro Wrangler/Brute size tops.
In addition to the roof, there are two other small masters not shown - the inside windshield header, and the inside roof rib.
Now I've got to start the finishing/mold prep process, which begins with sealing the wooden parts with sanding sealer like I did with the roof panel master, then iterative steps of high build primer/block sanding until I'm satisfied with the finish.
---------------------
Questions about the Safari Cab? Try here first:
Safari Cab FAQ
---------------------
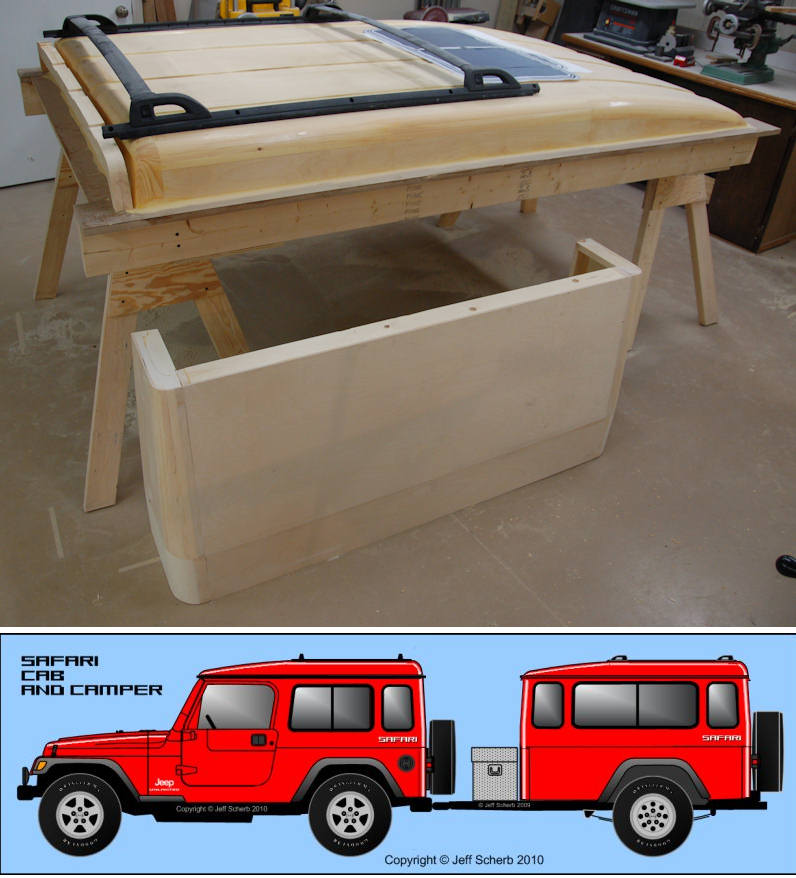

") No, that's not a sunroof mocked up, it's the side window printouts sitting on the top because I had nowhere else to set them in the workshop.
No, that's not a sunroof mocked up, it's the side window printouts sitting on the top because I had nowhere else to set them in the workshop.

")
