Scott B.'s Little Guy Offroad Teardrop Build

Scott B.

SE Expedition Society
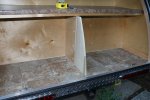
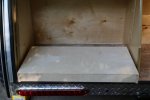
Here's the side panel after being trimmed.
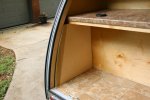
SidePanel2.jpg

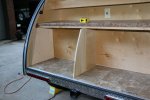
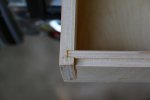
Today, I glued up an extension for the center divider and added standoffs to the side panel, to position it correctly to allow the drawer slides clear the tailgate lip. (The center divider looks funny because I used some scrap pieces - all will be fine once I cut it to fit.)
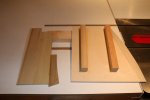
SidePanel3.jpg

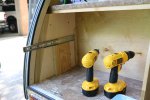
Here you can see the side panel with the standoffs sitting in the correct place. After varnishing, I will screw this panel to the side of the teardrop.

SidePanel4.jpg
 

Scott B.

SE Expedition Society
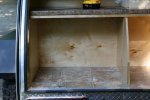
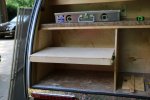
The center divider is complete, minus a pocket screw hole or two to attach to the floor.

Div1.jpg

Div2.jpg

Now to start the drawers!
 

Scott B.

SE Expedition Society
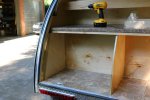
I put 3 coats of varnish on the end panel and center divider, and got them mounted. In addition to biscuits, I also used 2 pocket screws (to the floor) to hold the center divider straight.

Var2.jpg

Var1.jpg

The kitchen area really looks different with the dividers in place. I am really anxious to get all the drawers installed!

Next, I built the drawer (actually, sliding tray) that will mount the stove. The sides are held together using a lock joint, and the top is rabbited sitting in a rabbit along the tops of the side pieces. (Sorry, no before picture.)

Drawer1.jpg

Drawer2.jpg

I ordered full extension drawer slides - now to get it mounted.
 

Scott B.

SE Expedition Society
Looks great. Anymore details on the water pump?

Yes - I still need to mount it to the water can.

The pump is made by Fynspray, and it is model WS-67. It is a marine grade pump made in New Zealand. They aren't cheap (I found this one for 1/2 price!) but very well made and easy to operate. It should last a lifetime.
 

Scott B.

SE Expedition Society
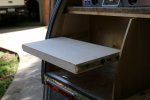
Today, I fine tuned the fit of the drawer slide and installed the slides! We now have a working stove pullout!

Installing a slide:

Slide1.jpg

The working pullout:

Slide2.jpg

Slide3.jpg

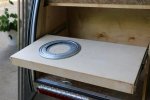
The lazy susan bearing that will allow the stove to pivot out:

Slide4.jpg

I set the stove on the bearing, and it looks like it will work how we want it to. I will fit it tomorrow.

In the meantime, I glued a second piece of 1/2" plywood to the under side of the pullout. I am going to inlet the bearing into the plywood, to allow the stove to sit almost flush on the pullout, so I wanted to reinforce the supporting surface. Seeing as this TD will go off-road, I am trying to make things as resistant to vibration problems as possible.
 

Scott B.

SE Expedition Society
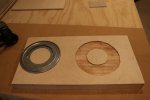
I pulled the router out this morning and recessed a spot for the lazy susan bearing.

Router.jpg

Since it will not be seen, I decided to just cut it by hand and not use any jigs - hence the ragged edges!

I put 2 coats of varnish on the drawer. Tomorrow, I will sand it and put a 3rd coat on.

Then, mount the stove!
 

Scott B.

SE Expedition Society
I plan to use a barrel bolt.

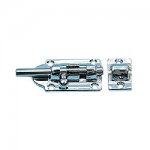
West Marine carries these:
barrelbolt.jpg

They are chrome plated brass. Not too expensive, and nice looking.

I will also use those to keep the drawers from opening while on the road.
 

Hilldweller

SE Expedition Society
I plan to use a barrel bolt.

West Marine carries these:
View attachment 231624

They are chrome plated brass. Not too expensive, and nice looking.

I will also use those to keep the drawers from opening while on the road.
Did you see the locking latches I have? They were supposed to be bounce-proof yacht latches. But they bounced open...
I have them securing the fridge slide and the stove. I secure them with bungee-balz now.

Scott at Little Guy sourced them ----- they work pretty good until the road gets rough.
 

Forum statistics

Threads
188,563
Messages
2,906,960
Members
230,666
Latest member
Cvonruex
Top