Some words on felled seams. A felled seam is a join of two panels of fabric. It basically folds over the loose / cut edges of each piece into the other in such a way to bury them inside the seam / joint. It's the same sort of sewing seam that is used on the sides of the legs of your pants / jeans.
In an application like a tent or an awning, it helps to pay attention how you arrange the pieces, such that you arrange this seam to better shed water, orienting the 'open' side of the seam join on the downhill side. Like lapping roof shingles. That will go a long way to shedding most of the water, instead of it piling up on an egde and seeping in / thru.
Further compounding the arrangement, some fabrics have a 'top' side. For either appearance or finish or water / moisture control.
So you have to go through the combinations of these factors to arrive at an assembled panel, with the seams oriented the preferred direction, with the right sides up on the fabric.
As an illustration, I've done a crude mockup in paper, which I'll walk thru now. There's lots of sewing diagrams out there on flat-felled or french-felled seams (same thing). In clothing assembly the first stitch joining the two pieces gets buried within the join. For assemblies needing greater strength this is varied and you basically sew right thru both edges of the join, two seams, one join. But you have to take care to sew far enough inward from the folded edges of this join to stitch thru the woven fabric and not just thru the loose thread edges.
Either way you make two passes with a standard sewing machine. But the clothing way might be better, in that first seam is the one 'buried' and is the one I'm talking about being on the 'downhill' side.
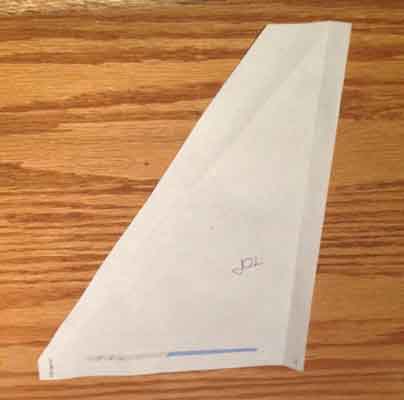
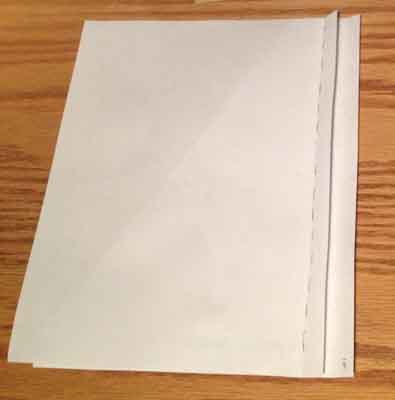
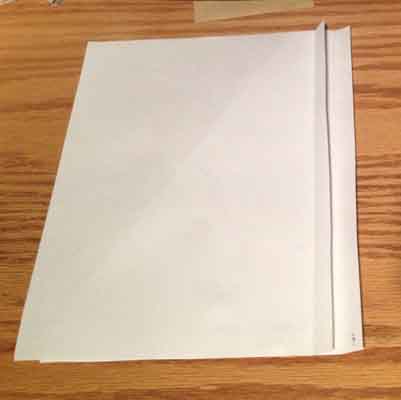
So here's an 'assembled' panel end, with the 'open' side of the join facing the end of the panel. That's what we want as a finished arrangement.
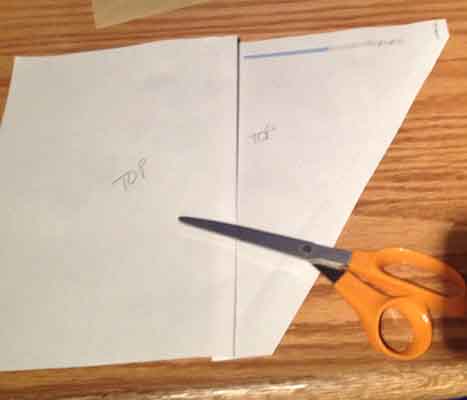
To get there, we first lay down our end segment, top surface UP, join edge to the right (since when sewing the bulk of the material goes to the left of the machine)
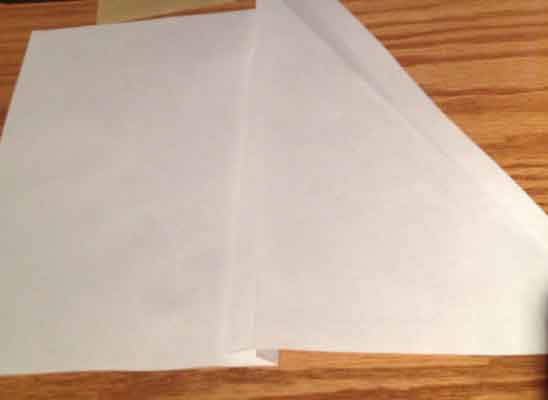
Then we lay our next piece on top of the first, top surface DOWN. And keep in mind the other orientation, in the perpendicular axis if your pattern has specific odd shapes. Ignore the crease in the edge of the paper. You want the second piece staggered about 1/2" to the left of the first. This can be varied, depending how wide the factor selvedge (fray) is on the panels, or if they are fresh scissor-cut edges you can crowd the join a bit tighter. If it matters to your design or available fabric run.
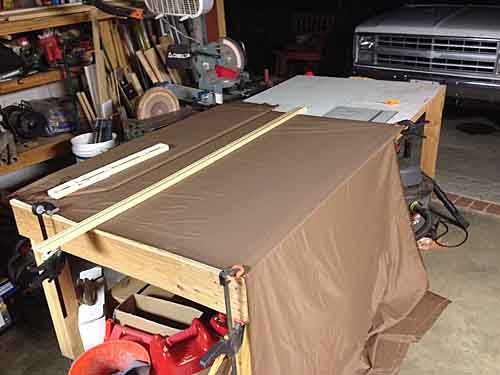
At this point we pin them togther. This is important with lightweight and stretchy fabrics. I had some trouble with the first double-layer panel I did (earlier in this topic) as I was holding the workpiece taught between my hands and feeding it thru the machine. But I was rolling my hands in such a way that the top layer was being stretched more. My first attempt I got to the end of the 14' run and teh top layer was 5" longer. Oops. Undid the stitch and tried again. Anyway, pin it, use some low-tack tape as a large guideline adjacent to the foot of your sewing machine and run it thru, pulling the pins as you go. When pinning, place the pins so their points will face the machine as you feed the project thru, that way you can easily pull the pins out toward you as they approach the needle / foot.
You wind up with something like this:
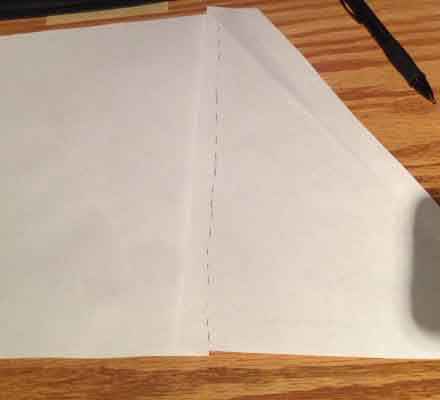
Then you fold that second piece back over the seam you just sowed. I'm missing a picture here, this shot is after doing that and then also flipping over the entire assembly, left to right. Your fabric should be bottom surface UP.
Then you tuck the loose end of the first / end piece into the join, up against the first seam you sowed. this both wraps the loose edge of the 2nd piece AND tucks in the loose edge of the 1st piece. The inked 'seam' in this picture is the first sewing. Once this tuck is made you put it thru the machine again sewing to the left of that first seam, near the edge of the fold you just made, sewing thru all four fabric layers of the join.
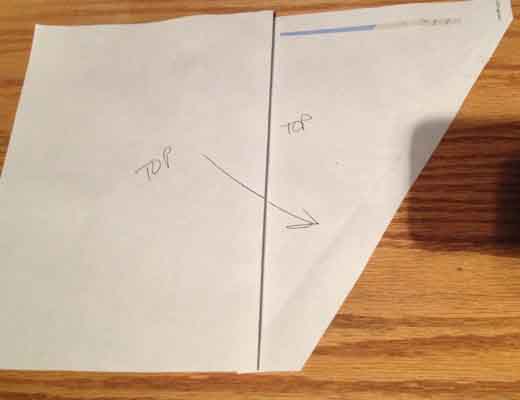
When you are done you should wind up with this, the felled seam oriented so the 'open' edge on the top side is oriented towards the end / downhill.
I might have got something turned around in there, you'll have to verify it for yourselves. It's late and I just whipped this together.
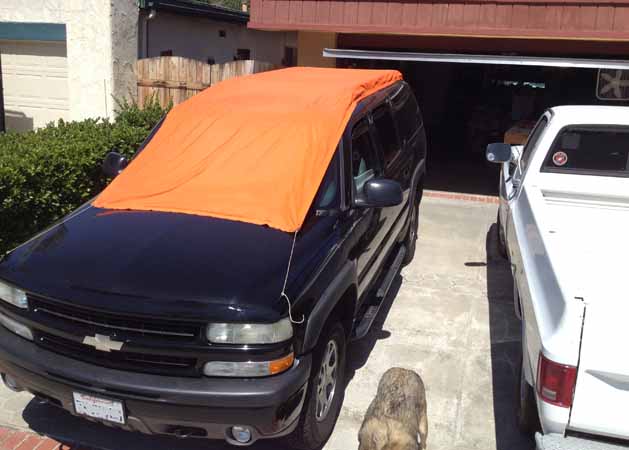
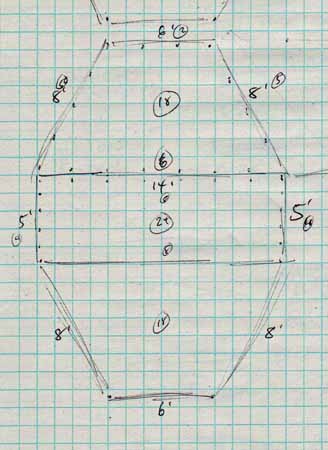
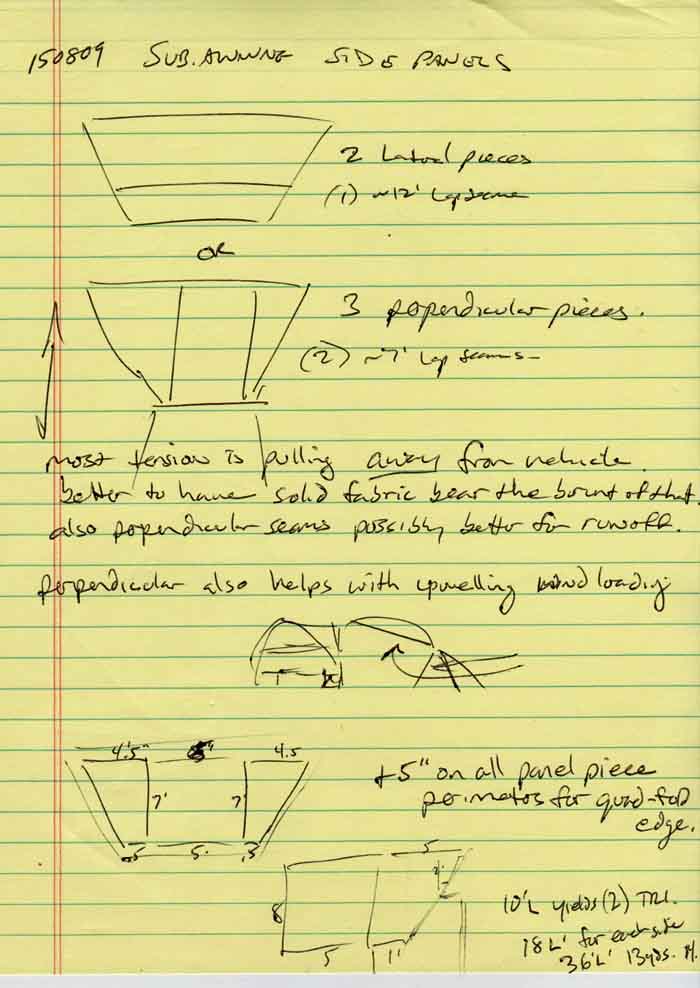
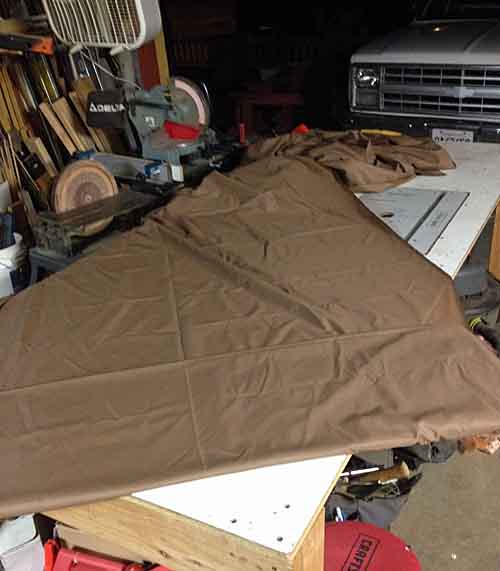
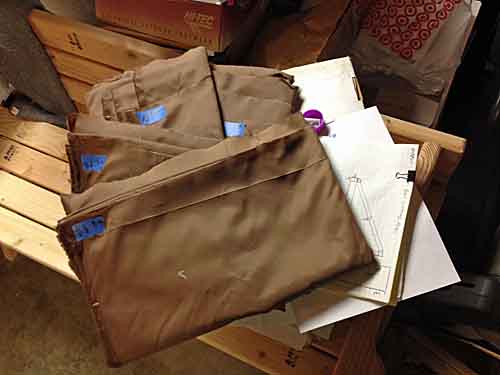
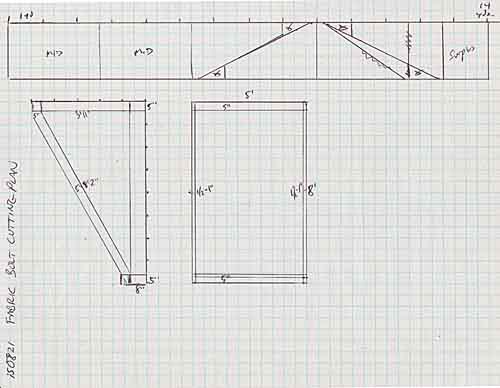
Anyway, my next steps are to assemble the 6 large pieces I have now - (2) 8'x5' rectangles and (4) 8'x5' almost-triangles - into two large trapezoids, using two felled seams on each. Once each trapezoid panel is assembled, I can get to the more complicated work of my multi-folded and grommeted edges. As soon as the heat wave breaks in my garage sweatshop.
eta. I've also been figuring out my various configurations for these 3 awning panels. I have 11 configurations so far, using up to 4 poles and 6 stakes. One config is putting the two trapezoids together on the ground like an old skool pup tent, totally off the vehicle. Make that 12 / 13. This could also have one or both sides lifted off the ground to varying degress, acting together as one large hex tarp. I'll be erecting all of these configs in a suburban park and taking pictures of each to present.
5500 views! so many people looking in, would love to hear some feedback or suggestions
