60Dan
Explorer
That’s a good idea and sounds more flexible.
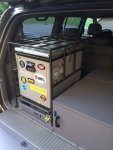
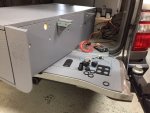
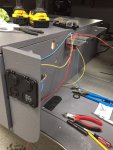
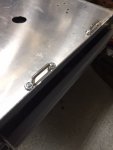
The routing of wires wasn’t as bad as it looks. I went through the factory boot that I believe is used for the rear taillight, removed 4 of the trim panels and fished the wire through using a zip tie
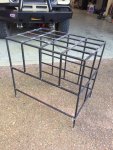
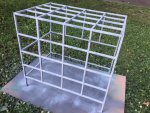
Next on the list is the cage, which I’ve decided to build from 1/2” steel. Originally I wanted to do it out of 1” aluminum for weight savings but the 1/2” square steel tubing isn’t bad at all and a good compromise.
The routing of wires wasn’t as bad as it looks. I went through the factory boot that I believe is used for the rear taillight, removed 4 of the trim panels and fished the wire through using a zip tie
Next on the list is the cage, which I’ve decided to build from 1/2” steel. Originally I wanted to do it out of 1” aluminum for weight savings but the 1/2” square steel tubing isn’t bad at all and a good compromise.