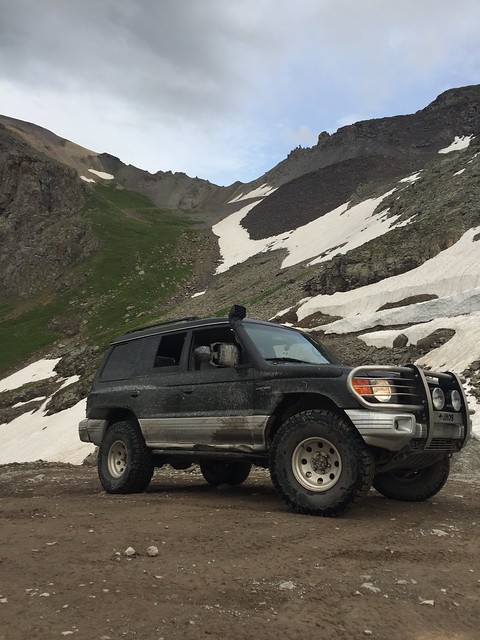
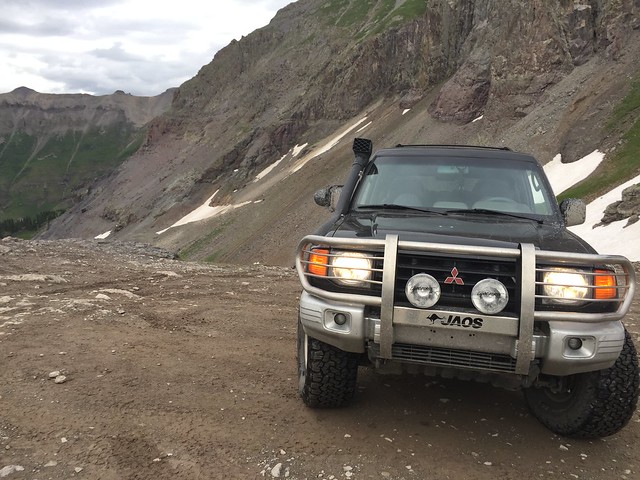
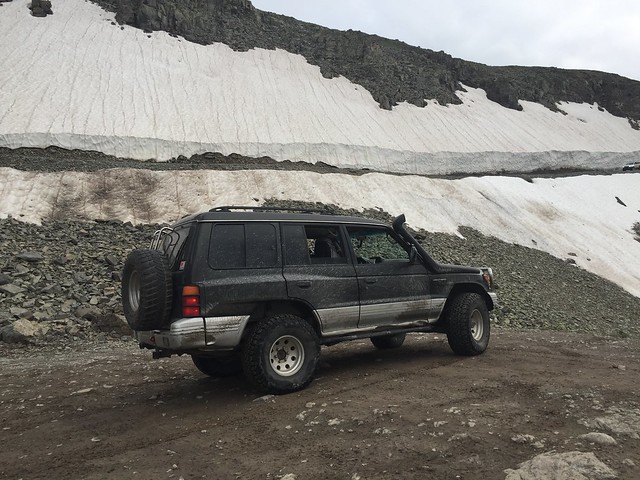
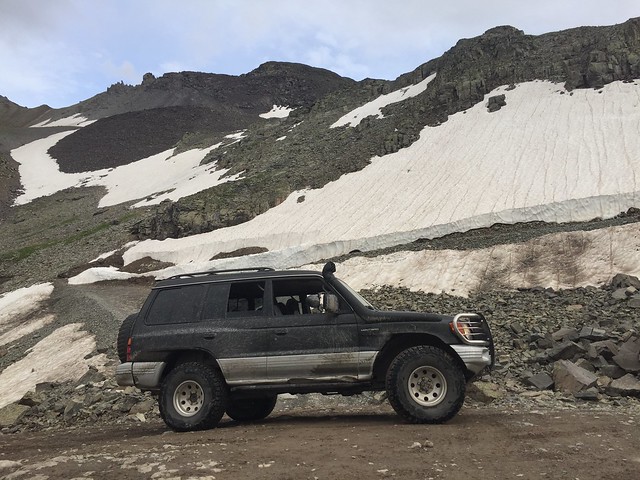
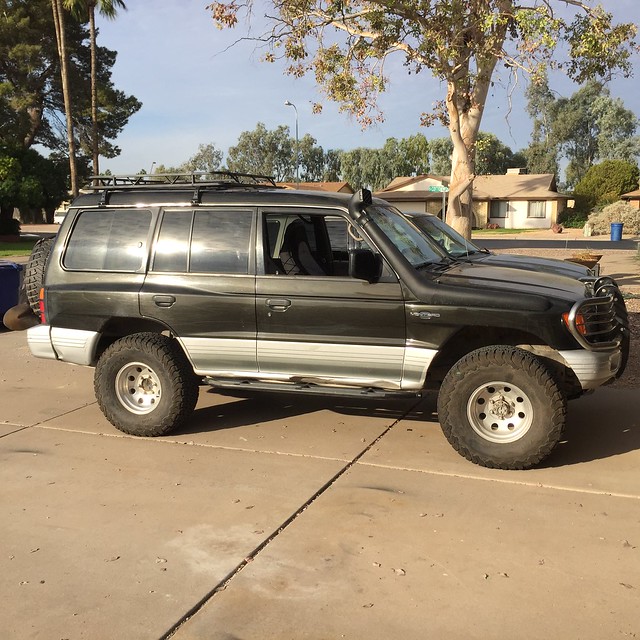
SONICMASD's 98 Montero LS Build & Adventure Thread: Black Betty

SONICMASD

Adventurer
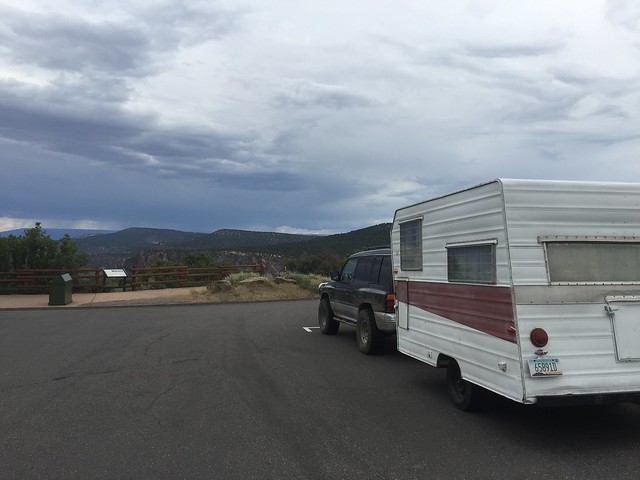
7/20/17: Headed down from our camp near Marble to meet up with friends in Ouray. On our way down, we stopped at Black Canyon of the Gunnison NP which means we managed to hit 3 out of CO's 4 NPs on this trip.

The Canyon was impressive and definitely holds its own against the Grand Canyon and Zion. I'm not sure if there is anything to do at this NP, we just drove the loop on top and hit up all the lookouts since we were in kind of a hurry to get down to Ouray.

IMG_3315
IMG_7822 b

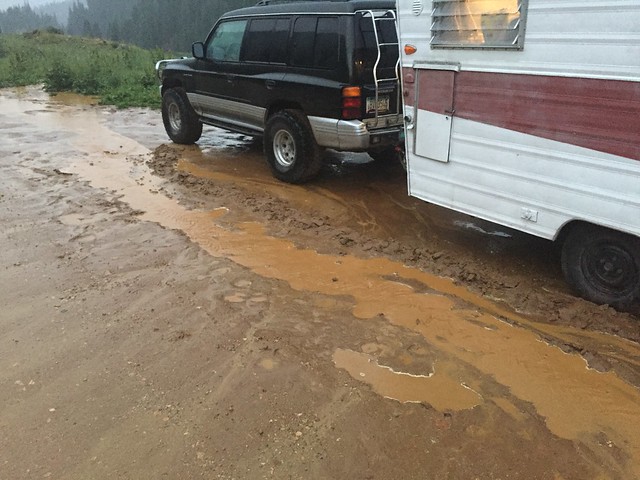
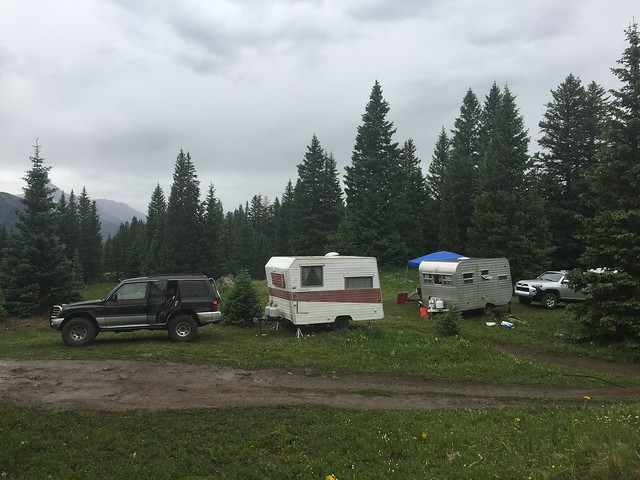
As we made our way south the weather got worse and worse and our friends ended up camping near Telluride so we found a spot to turn in for the night near Silverton. I was concerned that the camper would get stuck in the soft mud and pouring rain overnight so I dug a ditch and made a mini seawall before turning in for the night. It was really fun actually to be out in the beautiful forest of the American West, digging a ditch by sunset in the drizzling rain while my wife made dinner in our 1960s aluminum box.

IMG_7826
 

SONICMASD

Adventurer
7/21/17: Met up with our friends at their camp spot outside Telluride. Got to drive the million dollar highway twice within 24 hours with the Montero towing the camper. It was a little nerve wracking the afternoon before in the driving rain but today it was sunny and the drive was gorgeous.

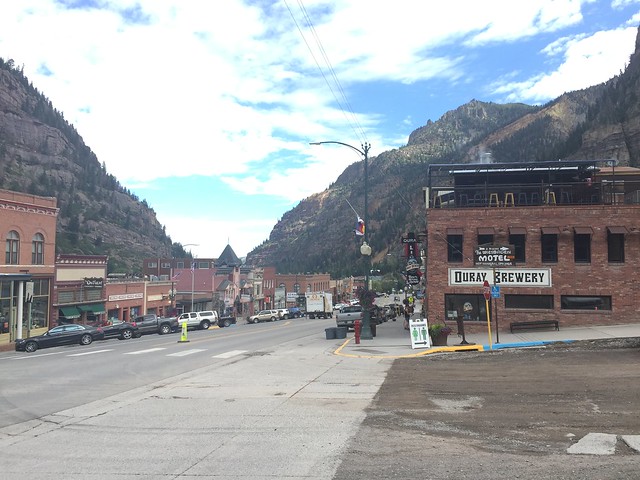
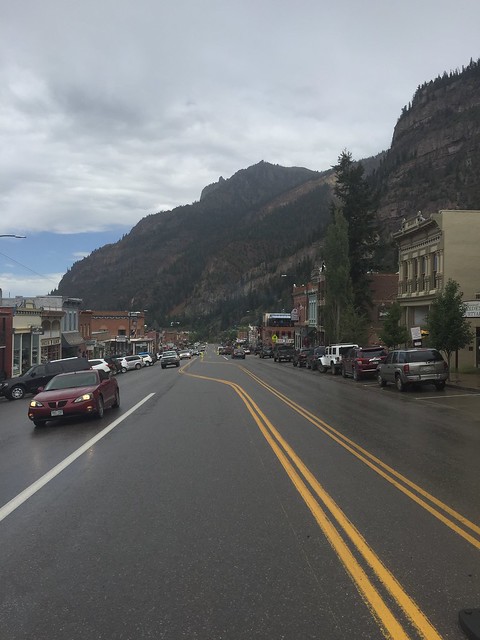
Ouray is a cool town that we would enjoy exploring over the next few days.

IMG_7828

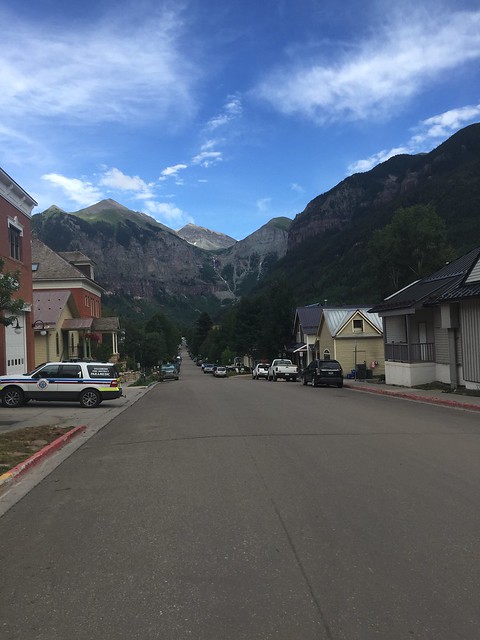
Telluride is just as pretty but much more posh, not really my style but I had a good time.

IMG_7858

We just so happened to be there the week of FJ Summit so there were hundreds and hundreds of kitted out FJs everywhere in the Telluride/Ouray area. Everyday we saw convoys of FJs hitting the trails and the bars. Looks like they have a strong following as well and it was cool to see so many offroaders even if that meant finding camping spots was a challenge.

IMG_7835

We met up with our friends and they too have a Japanese SUV towing an ancient canned ham camper so the Gypsy Camp was in full. It was an amazing camp spot near Alta Lakes.

IMG_7830

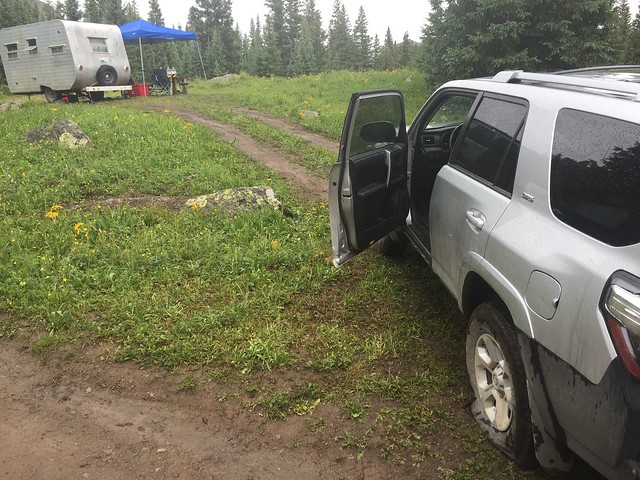
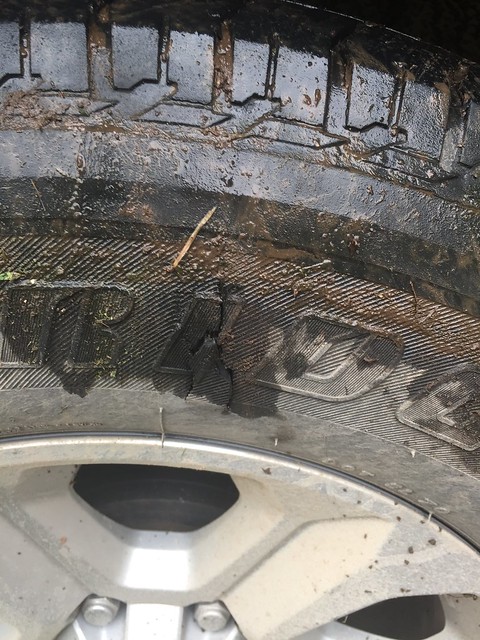
That afternoon we went to go hang out by the lakes, just down the road from our spot and my buddy sliced his sidewall on a boulder as soon as he reversed out of camp. We had a good laugh about it and he didn't really care since they were the Bridgeston all seasons that came stock on the 4Runner and he was itching for an excuse to get all terrains anyways....and when we got back to AZ he bought a new set of Falken AT3Ws for $750 out the door and loves them.

IMG_7831
IMG_7833


Goodtimes.

IMG_3656
 
Last edited:

SONICMASD

Adventurer
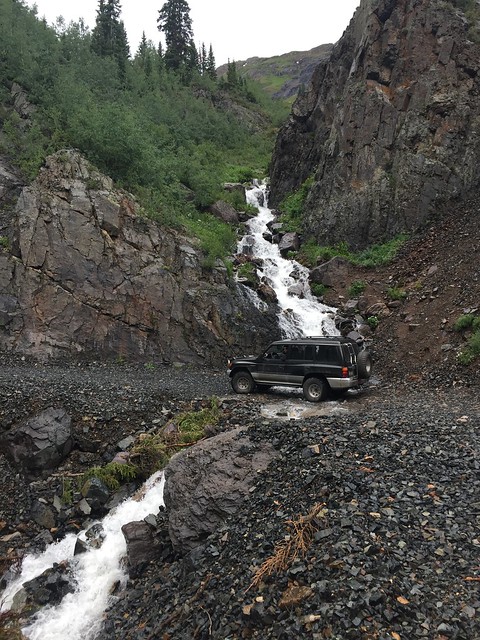
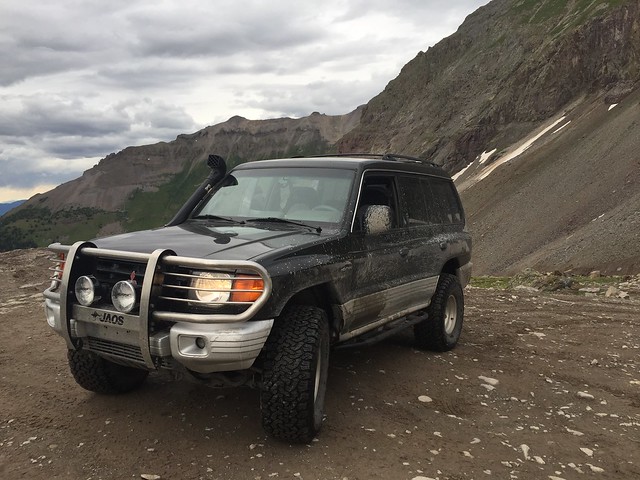
7/22/17: Today was wheeling day! The Ouray/Telluride area has a bunch of trails and we decided to do 2 of them on this day. We started out by hitting Ophir which is a small town and the name of one of the passes and 4x4 trails that goes from the Telluride side of the mountain to the Ouray side.

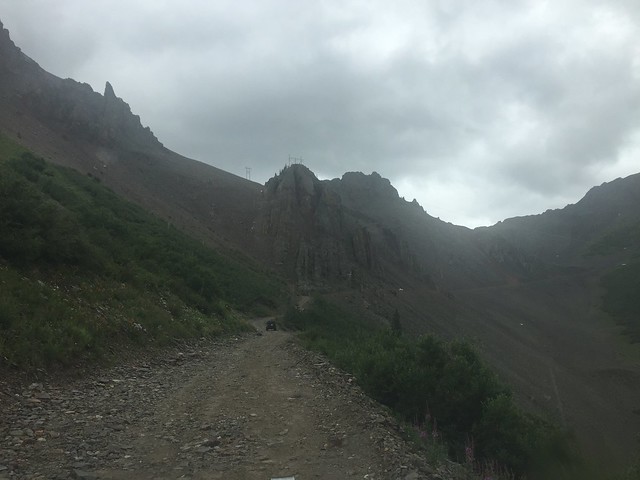
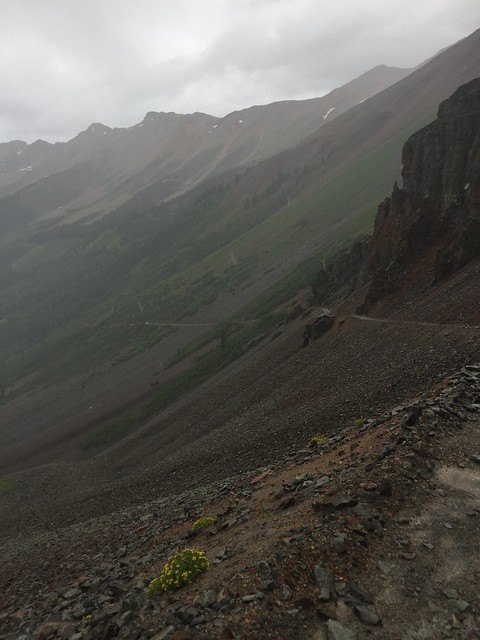
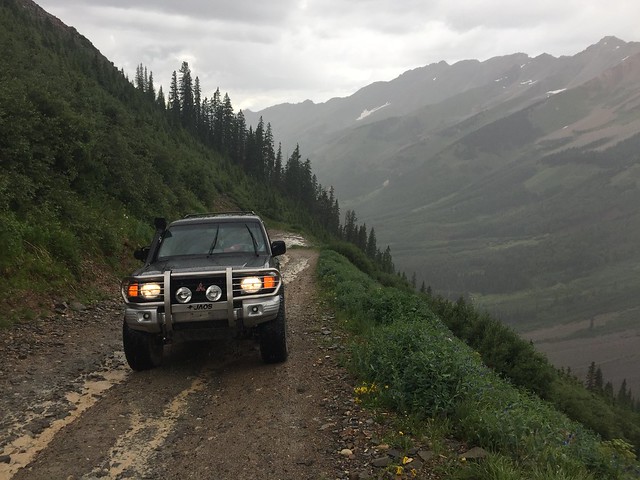
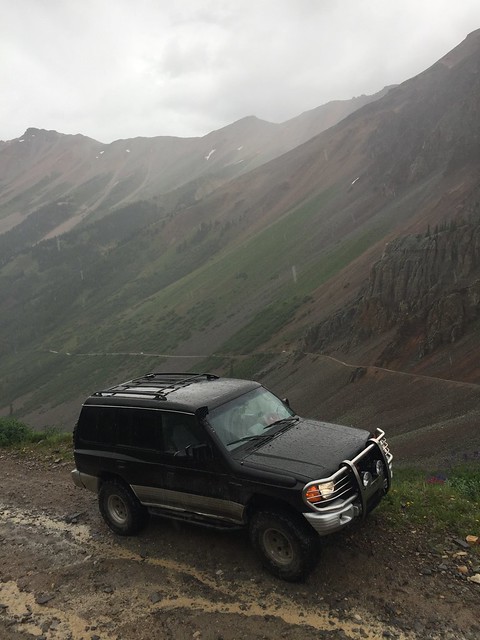
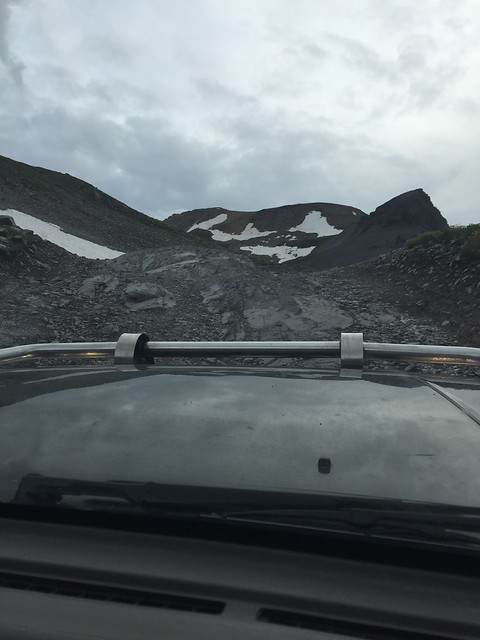
It was a nice, warm up trail that would be terrifying if it had snow on it because you're on steep cliff face for the entire Ophir side of the mountain. That side of the trail is all softball size rock/gravel. It was raining and dark and made for a fun adventure.

On the way up:

IMG_3672
IMG_3681
IMG_3697
IMG_3704

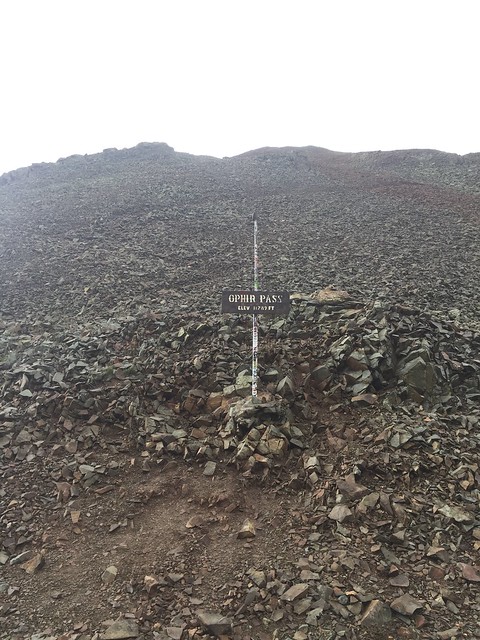
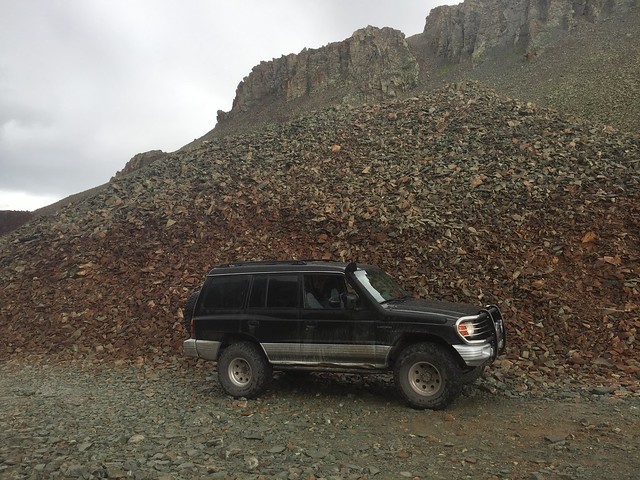
The Pass:

IMG_7918
IMG_7921

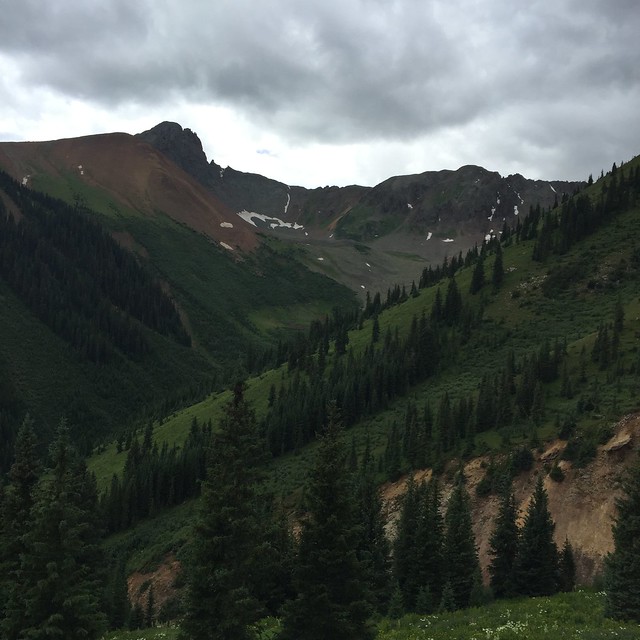
Much prettier on the Ouray side:

IMG_3752
IMG_3768
IMG_7978

We went into Ouray and went to the big public hotsprings pools while we debated which trail to do on the way back to Telluride that afternoon.
 

SONICMASD

Adventurer
7/22/17 Contd.:

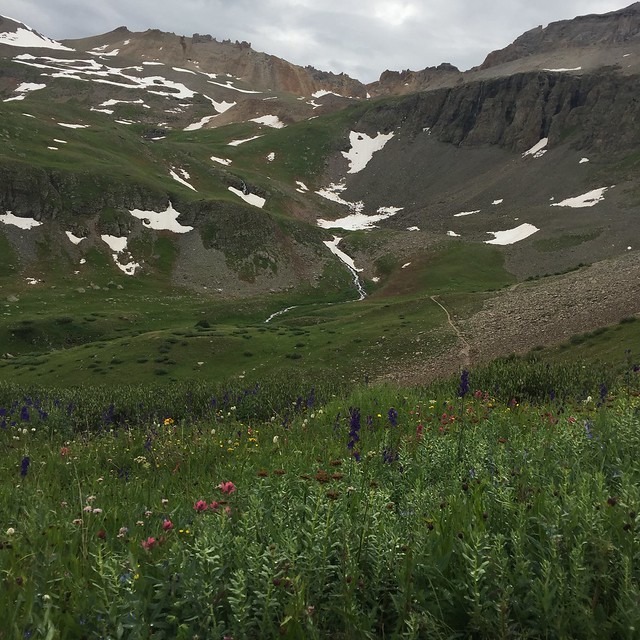
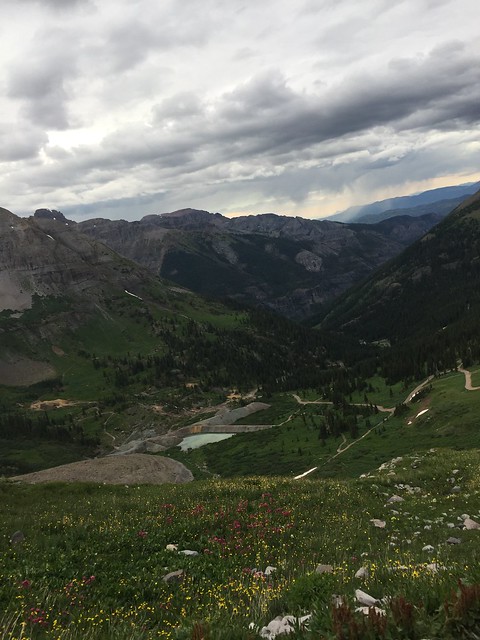
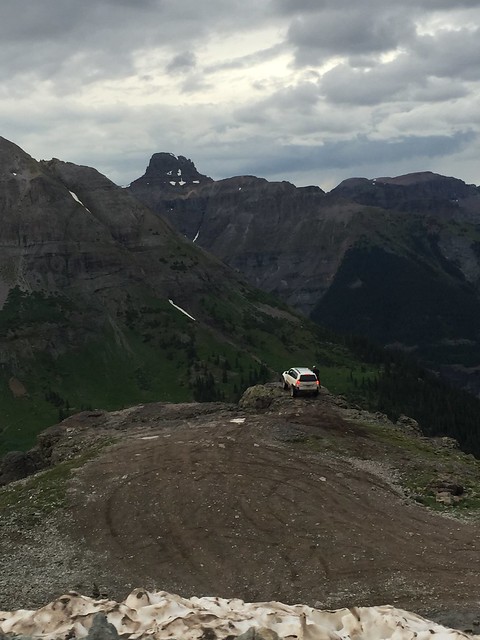
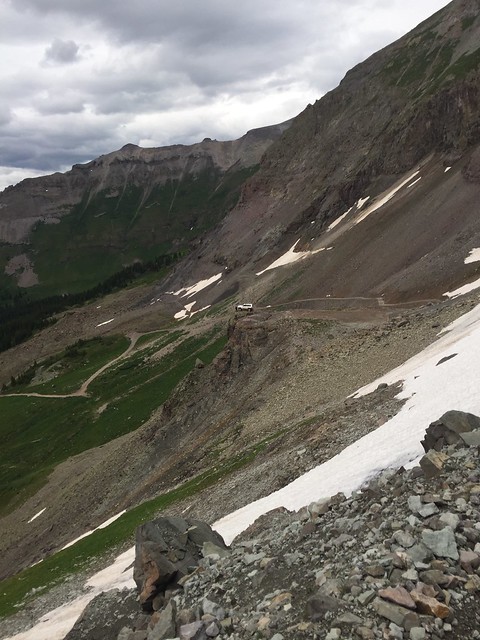
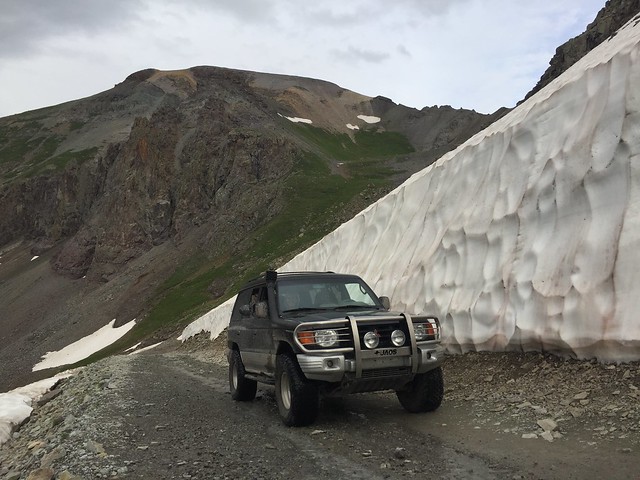
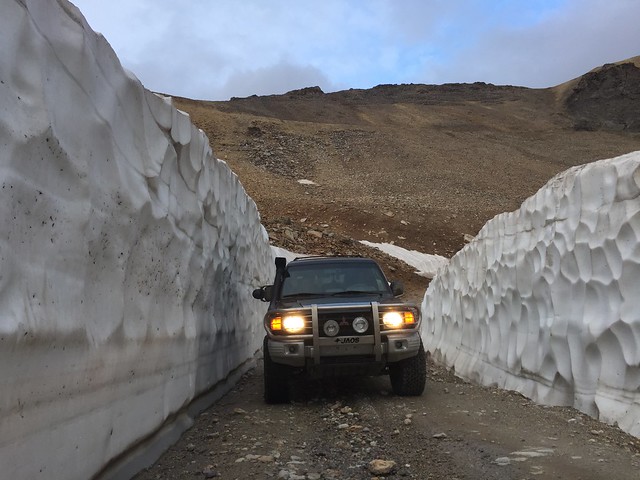
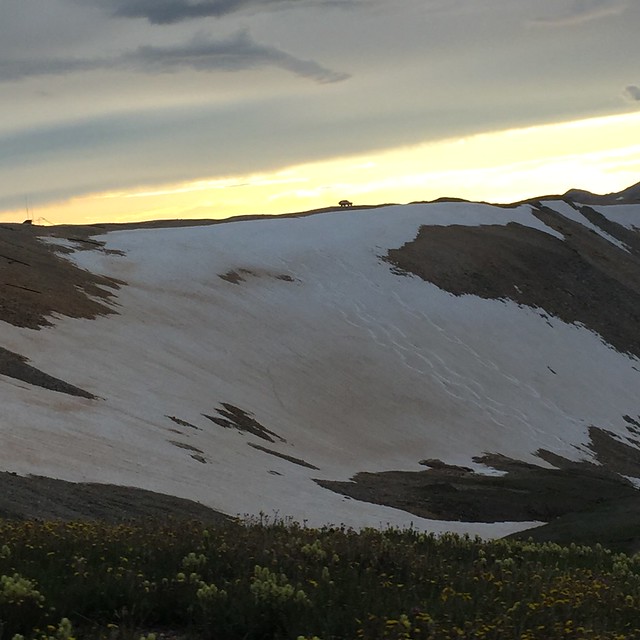
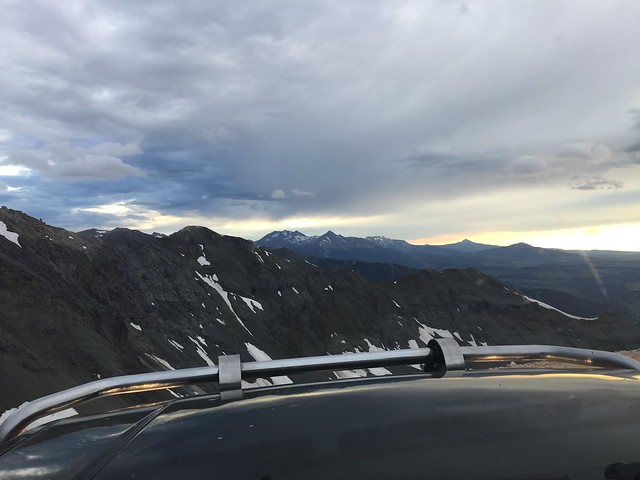
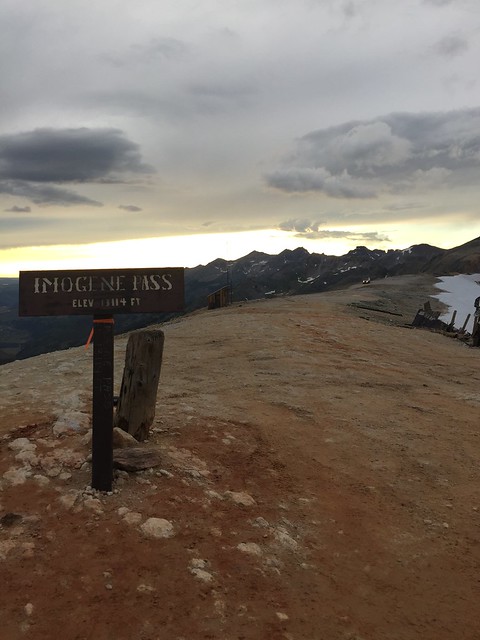
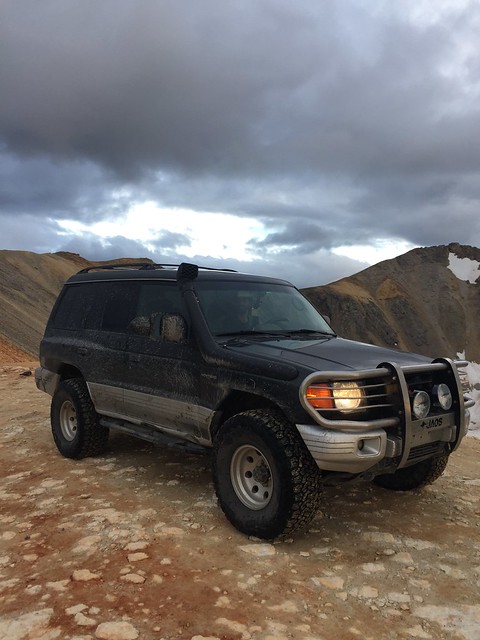
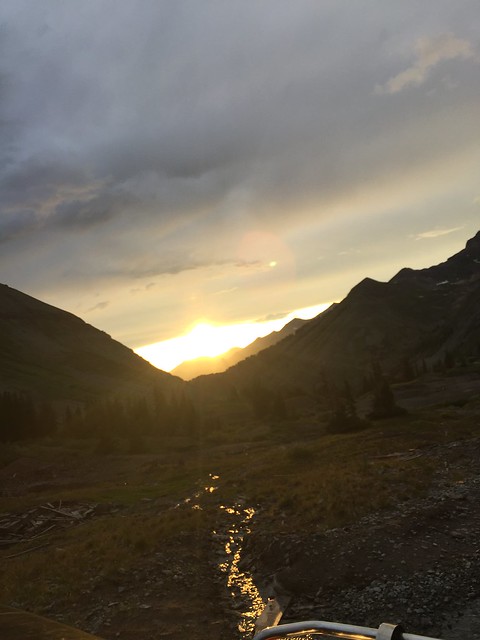
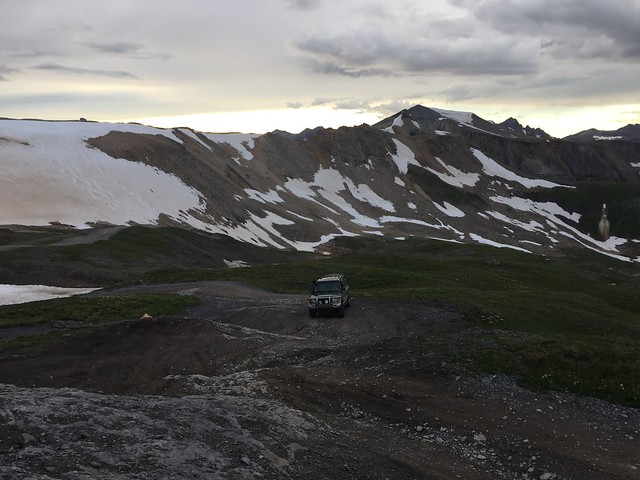
While relaxing in the hot pools we spoke with some locals about whether we should do Black Bear Pass or Imogene Pass on the way back to Telluride. They convinced us to do Imogene because they said it was much more beautiful and that Black Bear wasn't a pretty trail but that people do it just to say they've done it. I'm all about wheeling for something bigger than wheeling on its own and being alone, with no other vehicles, we opted for Imogene. I'm so glad we did! It was the most beautiful trail I've ever done and something I'll remember forever. Climbing from around 8,000 feet to over 13,000, starting in daylight and going through the entire sunset at the top of the pass, and coming down into Telluride at night, it was spectacular.

There are so many amazing drives in this area that I'm already wondering when can I get back!

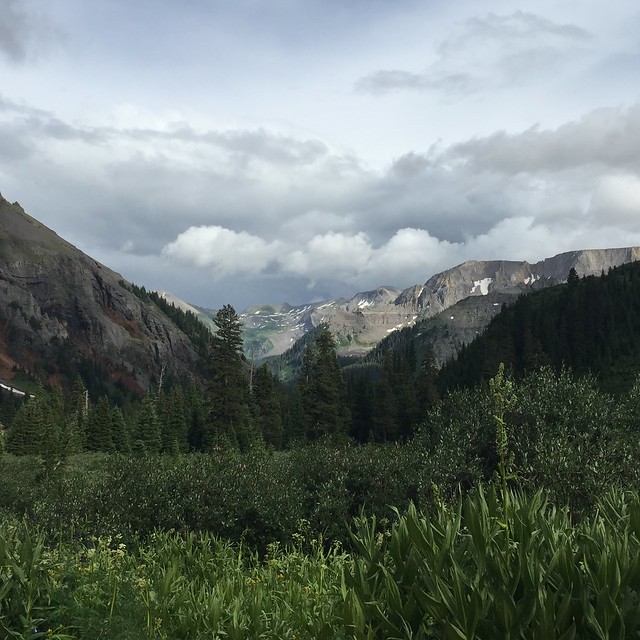
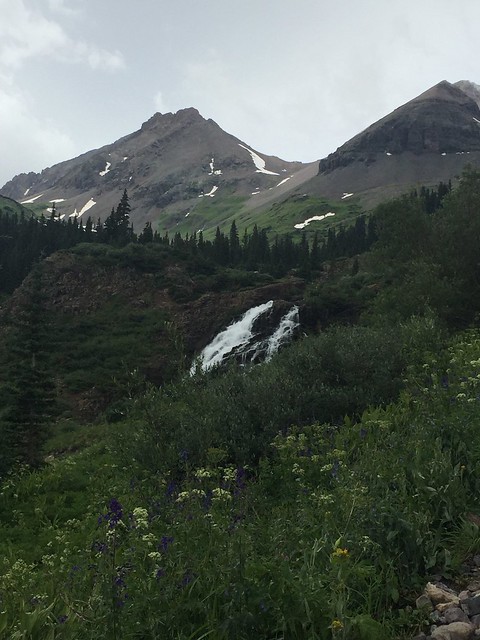
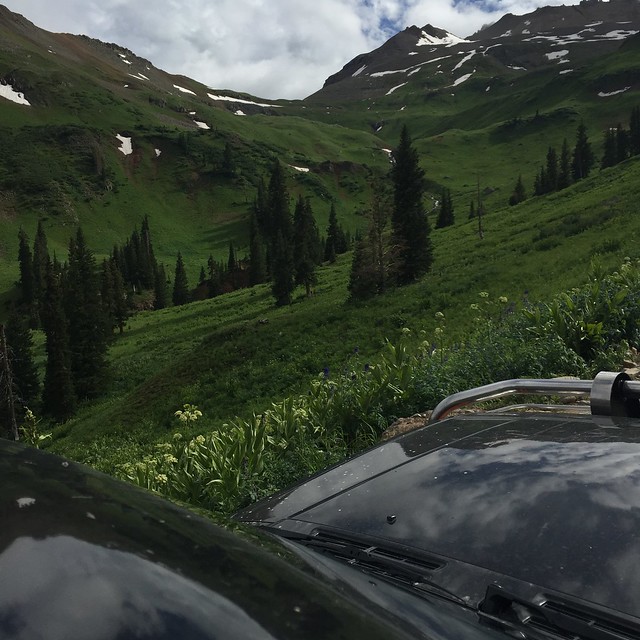
We started off by heading up Yankee Boy Basin and Blue Lake Pass trails. It was straight up Switzerland back there:

IMG_7995
IMG_3944
IMG_3867
IMG_3902
IMG_3904
IMG_3923
IMG_3926
IMG_3933
 

SONICMASD

Adventurer
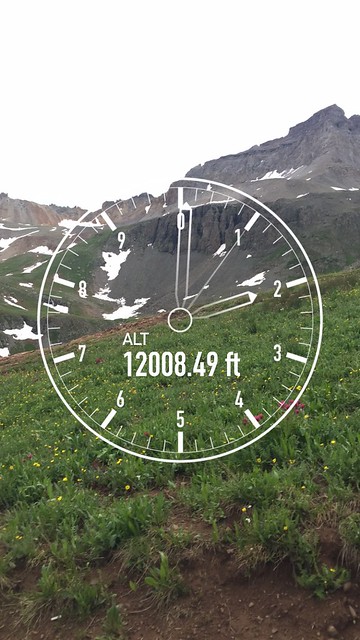
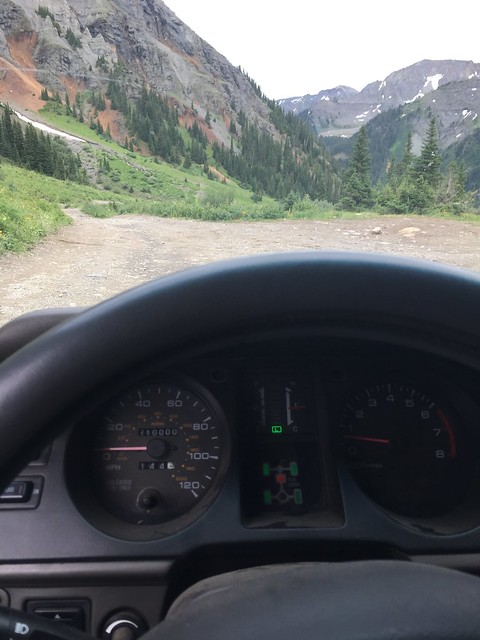
I was having some cooling issues on the way up to around 12,500' on this first portion of the trip which was annoying since I just replaced the entire cooling system: OEM Radiator freshly cleaned and refreshed, Peak Coolant, Rad. Hoses, Water Pump, Thermostat (not OEM, it might be STANT or Motorad, I'm not sure but this might be the problem), properly functioning clutch fan and driving in 4lo and 1st or 2nd gear. But I just chalked it up to hours of slow driving at a constant incline and a 19 year old vehicle. But then again, it was like 60 degrees out so that should have been helping, and I have snorkel which should also be helping bring in cooler air.

It was getting later into the afternoon as we were messing around on the Blue Lake trail so we turned around before reaching the lake to head up Imogene Pass and get over to Telluride. I was kind of running at around a 1/4-1/2 tank so I was just breaking all kinds of offroading rules/good habits: going out alone, in an environment with fast changing weather, as nightfall approaches, running hot on the engine, and with less than full fuel.

What I lacked in safety and good decision making I made up for with a religiously maintained vehicle, technology, and driver skill of course.

I was sure to keep an eye on the OBDII tablet and the actual Engine temp as we progressed up the trail and about 500 feet shy of the summit I decided to turn off the car for a few mins and let it cool down. This was at around 12,500' around sunset and the outside air was in the high 40s so it cooled down quick.

It's impossible to over stress and exaggerate how amazing this drive was. I have a feeling this trail will remain at the top of my list for a long time to come.

Enjoy:

IMG_3960
IMG_4021

What better way, what better place to turn 210,000: 4Lo, Imogene Pass Trail
IMG_8020

IMG_4010
IMG_4020
IMG_4007
IMG_8024
IMG_8023
IMG_8022
IMG_8021
IMG_8028
IMG_8033

IMG_4038
IMG_4023
IMG_4036

IMG_8031
IMG_4064
IMG_4059

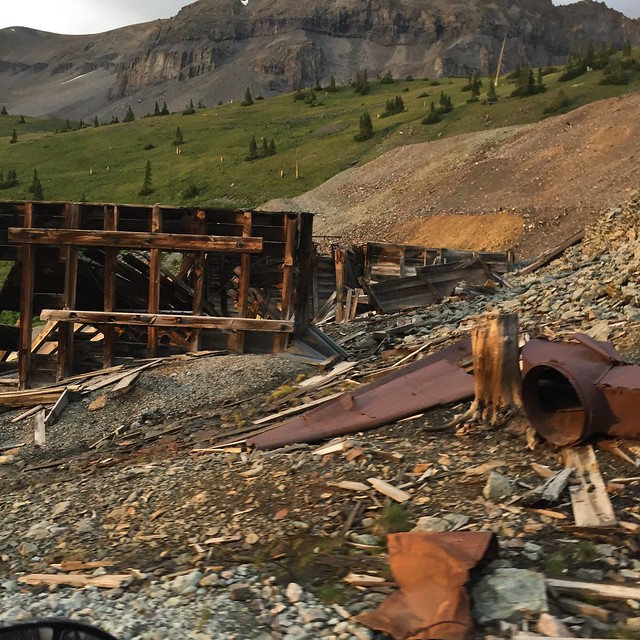
On the way down to Telluride you go through a bunch of old mining sites:
IMG_4100

IMG_4105

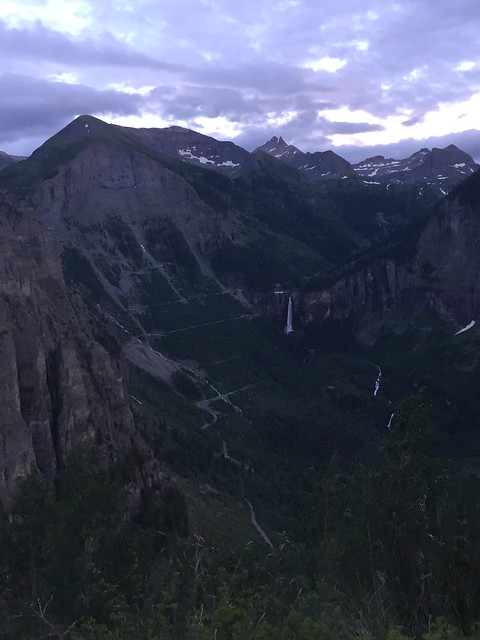
Near the end of Imogene you can spot the switchbacks of Black Bear Pass Trail in the distance:

IMG_4137
 

SONICMASD

Adventurer
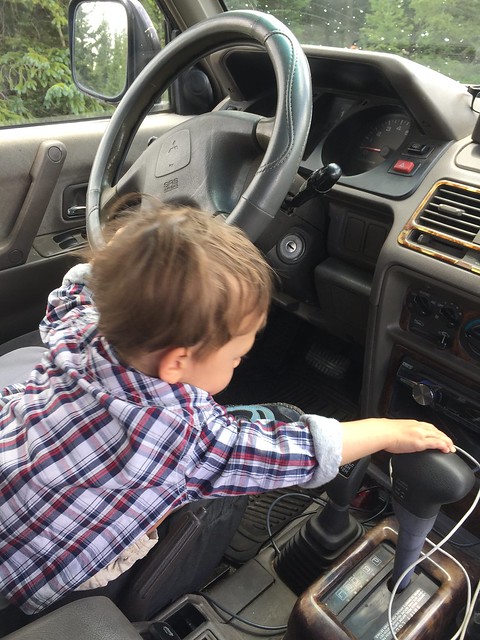
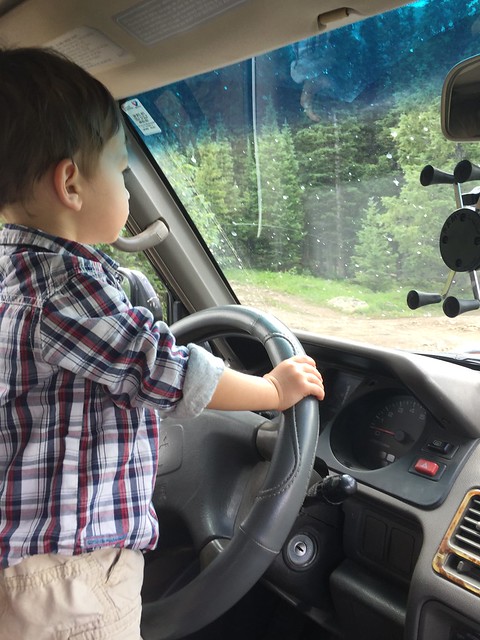
7/23/17: After all this amazing offroading, my godson was pretty attached to the Montero. I think he wants one of his own and when he turns 16, if he's still into exploring, I'll have one ready for him.

IMG_8047
IMG_8050


And just like that the trip was at an end. We headed down to the Durango area for the day, and then jammed home to Phoenix the day after that.

Damn good trip, like always.

IMG_8062
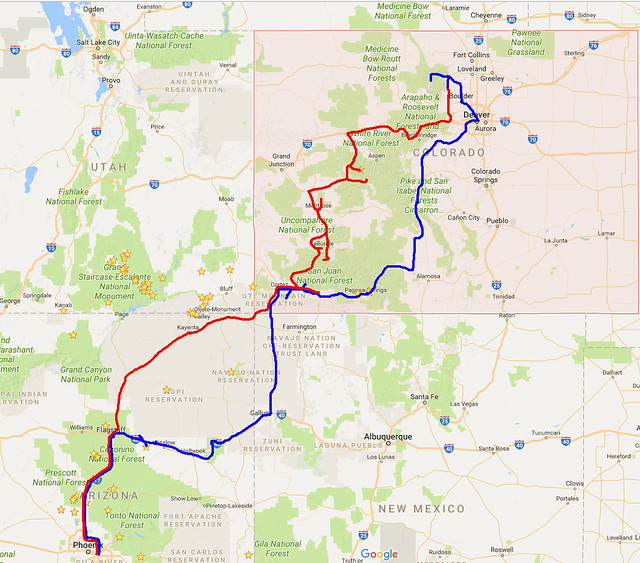
TripMap
 

SONICMASD

Adventurer
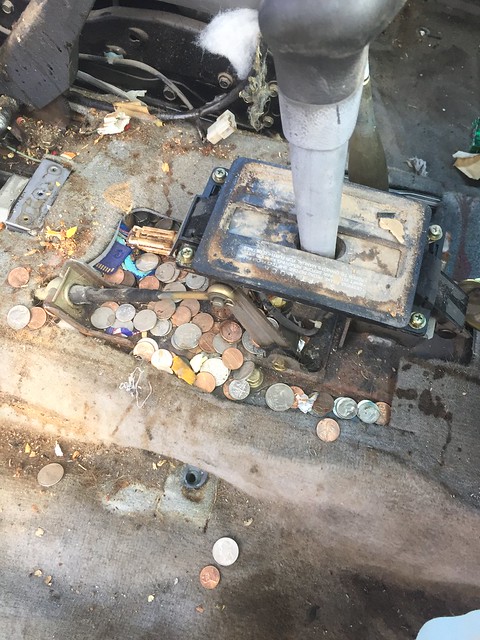
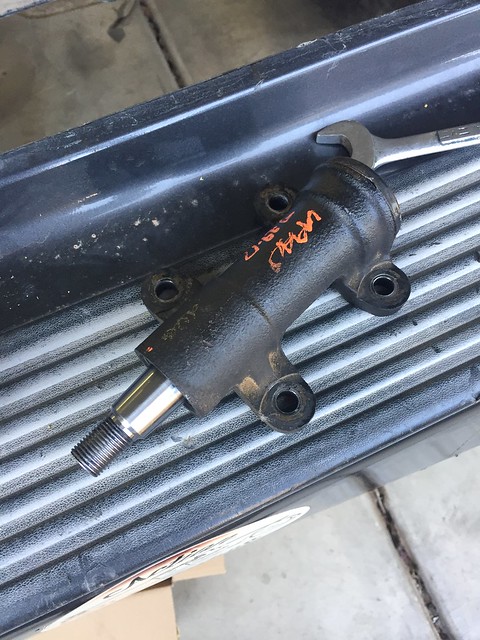
7/29/17: Back to building! I hit up the junkyard because the amount of play in my steering wheel has bugged me from day 1. Not knowing any better (this was in the pre-A.D.D. days so it was not common knowledge) I threw away my stock Idler Arm when I replaced it and the tie rods with MOOG when I first bought Betty.

So I took an Idler Arm off of a 98/99 Winter Package and while I was there I noticed the heated seats and thought, hrmm that might be nice. But I didn't know if they could be swapped in to my LS so I called Toasty which you should never do because the man is very busy and hundreds of Montero dudes have his number and call him all the time to see if 33s will fit with no lift. But I had to tell him about this Blue 2.5 just like his in case he needed stuff off it so I figured it was justified ;-)

Toasty confirmed that I could indeed do the swap and just needed the elements, seat harness, and center console harness. I ended up buying the whole seats because they were in such bad condition that the yard gave them to me for $30 each.

IMG_8087

JACKPOT! Free Idler Arm with all that change :)

IMG_8088


Now, Ernest has worked on a bunch of Monteros and he says that Betty handles the best out of all of them. But, I just can't get over the slop! I decided that I needed a second opinion and took it over to Toasty for the master of mitsu to drive it for himself. Again, the verdict was: drives great. Toasty was actually scared that the ADD Kingpin might make the play worse because it would take out any give the idler had and maybe amplify something else like the steering box. But then I thought, okay, it might not help with the steering but these kingpins are almost sold out and who knows if they'll ever do another run, and it might help, and if I go to 35s one day then this is one less thing to worry about it.

So we went for it! ADD Kingpin installed and you know what? It helped! Just a little bit, not so much in tightening up the steering play but it took out a lot of little vibrations that I was feeling through the steering wheel.

IMG_8336
 

SONICMASD

Adventurer
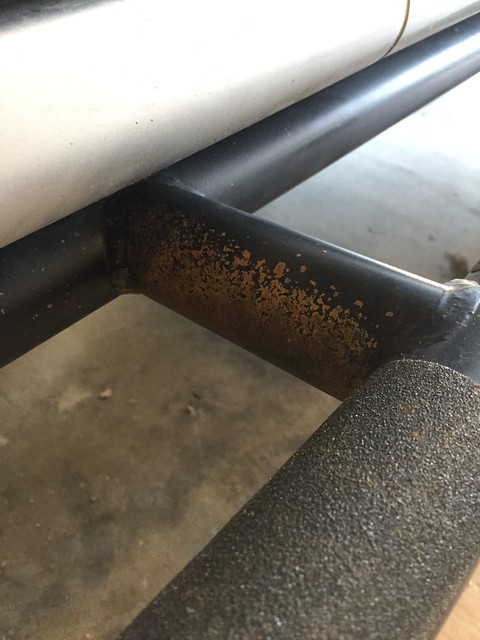
9/30/17: Rock sliders are cool. But one thing that has always been driving me nuts about mine is that the paint on the support beams is always chipped off by rocks/gravel coming off the tires.

IMG_8516

I know that rust is not really anything to worry about here in dry Phoenix, but it looks a bit unsightly and I dunno why but I wanted to fix it.

Yes, I know I should get mud flaps - I'm working on it.

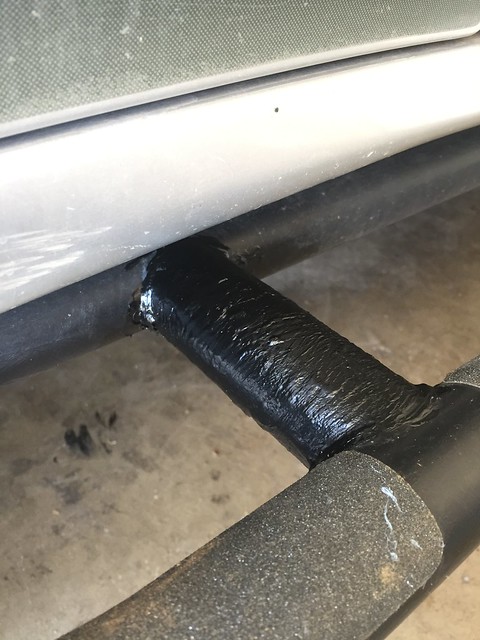
But first, I decided to paint all of the horizontal support bars and any area that gets hit by tire debris with bedliner paint. I painted it on thick with a chip brush and am interested to see how it holds up. I didn't want to paint the entire sliders like this because that might impeded their ability to actually slide...not that I do a lot of that.

IMG_8610

We'll see how it holds up. Now back to the mud flap hunt.
 

SONICMASD

Adventurer
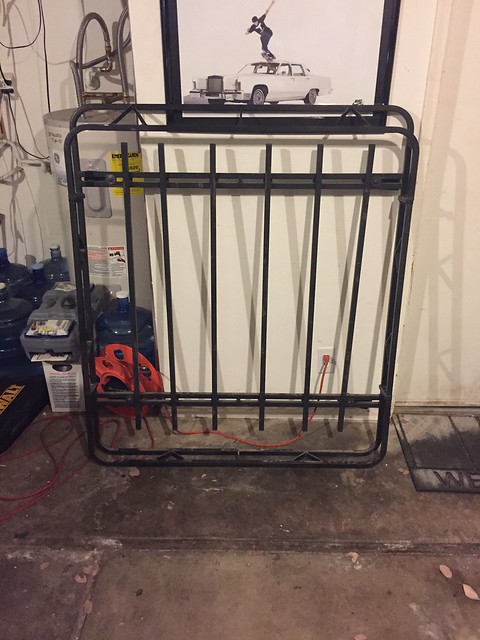
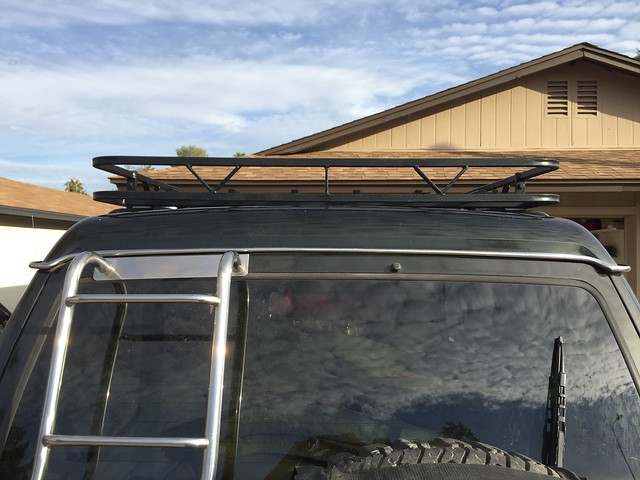
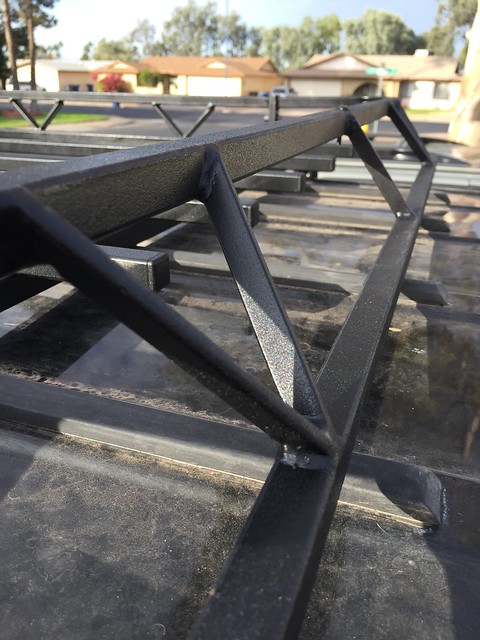
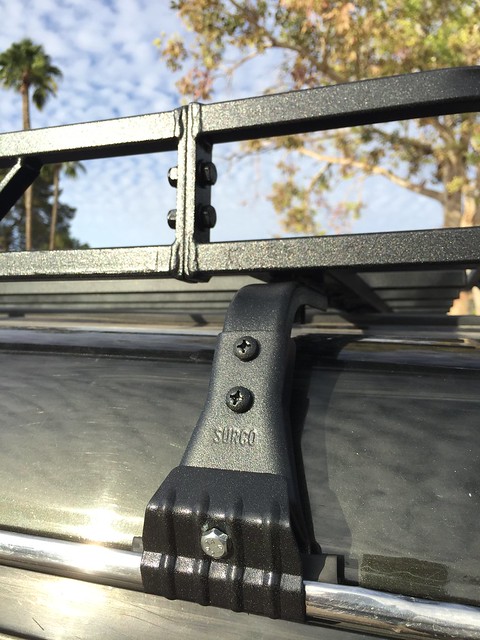
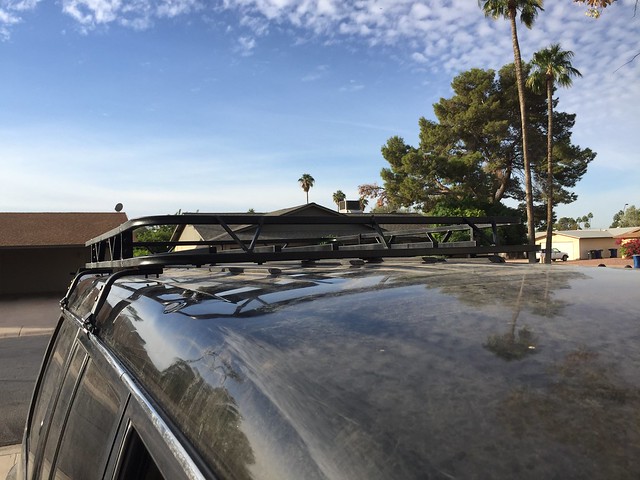
11/12/17: I picked up a Garvin Wilderness Roof Rack for a Jeep Liberty on OfferUp a few days prior, got inspiration from Imnosaint's roof rack hack post, ordered the same Surco Gutter Mounts, and got down to it.


IMG_8957

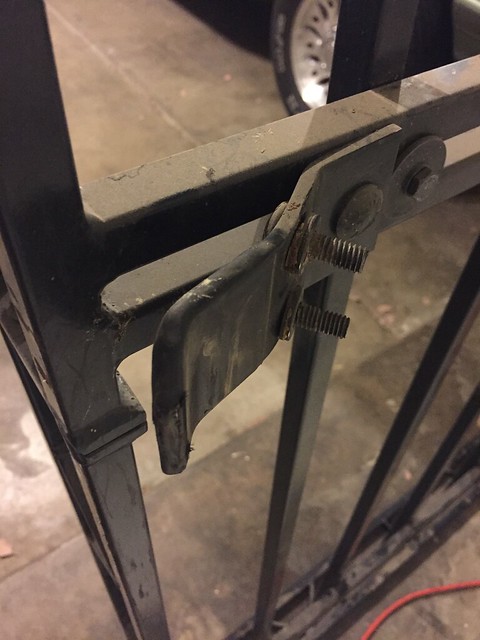
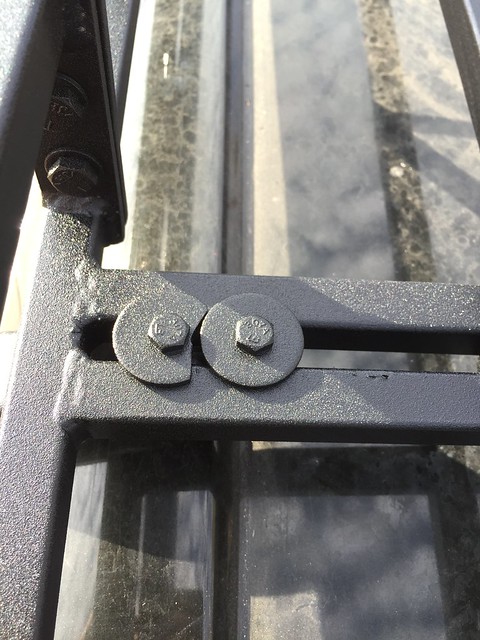
The Jeep Liberty rack attached to the stock roof rails with two big steel clamps, here's a shot of one of them and the other one would pinch it from the other side of the factory roof rails:

IMG_8955

Now, I probably could have attached the rack to the factory roof rails but those are only rated for 100lbs and this Garvin rack is made of steel and probably weighs around 50-60lbs. So I'd only have 40-50lbs of capacity and the biggest factor: Betty won't fit in the garage anymore so that option was a no go.

First things first, I removed the factory roof rack. Just like everyone, mine had some bolts that came out just fine and some that didn't. I didn't pre soak anything in rust destroyer solution (ATF & Acetone) and looking back on it: I WOULD HIGHLY RECOMMEND IT!!!! I started this project on a Friday night after work and really wanted to get the car ready for the rack install the next day and so I didn't want to wait overnight for the bolts to soak. But I had 3 nutserts that would spin inside the roof. One of them I was able to get out by applying pressure underneath the rack with a screwdriver. The other 2 had to be drilled and cut out.

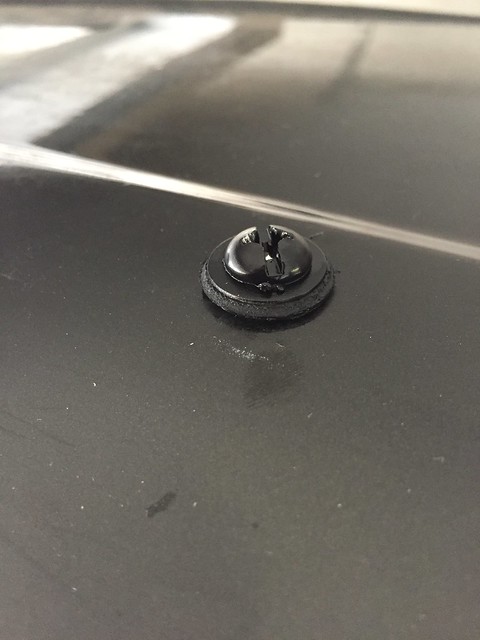
I filled the holes with new round head bolts (1/4 20 size) that I pre-painted black and thread them through something I found at Home Depot called a Sealing Washer which is a metal washer combined with rubber washer glued underneath. I used black RTV below and above the washer as well. The 2 that had to have their inserts ripped out are not as pretty. Since there is nothing to screw the bolts into I just glued them down to the roof with lots of RTV and silicone.

IMG_9003

Then I assembled the Surco Gutter Mounts in the low position and attached them to the Garvin Rack loosely. I did a test fit and found that the new rack was resting too much on the factory rubber strips that run on top of the roof rather than have the weight held up by the gutter rails. I didn't want to change the gutter mounts to the high position because then the rack would sit too high for my liking and would hit the garage door. I noticed that I just needed a little bit more clearance to get off the rubber pads and thought about using a bunch of washers until I noticed that the Surco Gutter Mounts come with Aluminum tracks that are supposed to be mounted on top of them to allow the Surco Crossbars to slide into them. I put them on top of the mounts and they fit into the Garvin rack perfectly and gave it about a .25" boost which is exactly what it needed to not rest on the rubber pads.

Each Surco Mount has 2 bolt holes on top and I wanted to use both when mounting to the Garvin rack for extra rigidity. You need to use a thick 1 1/4" washer to bridge the gap in the Garvin rack rails but the holes in the Surco mount are less than 1 1/4 apart. You could make your own washer out of a piece of flat bar steel but I choose to just cut grooves into 4 washers to allow them to work.

Overall the Surco Gutter Mounts are the best value I could find - $76 shipped from Amazon and they are plenty strong. I shook and stood on top of the mounted rack and it doesn't budge at all. no flex, nada. However, they are a royal PITA to install on the Gen 2. Because of the design, you have to get in behind the upper mount with a bolt to secure it to the gutter rail and the Montero roof is much longer and steeper above the gutter rail than most vehicles. Everything had to be just perfect for me to be able to fit a 7/16" wrench in behind the bracket and I was even considering cutting my wrench in half to make it fit easier, the tolerance is like 1mm between the wrench not working and working.

If I had to do it over I'd spend more and get the Garvin Mounts for $120. They make them in either 5" or 7" height so I think you'd either have to use a spacer with the 5" or maybe modify the 7" if possible to be lower. But it looks like the install would be much easier cuz you can get a nut behind their mounts - just judging by the photos though, no real life experience.

I cleaned and then shot the whole thing with 2 coats (1.75 cans worth) of Rustoleum bedliner paint (thx again Imnosaint) and installed that bad boy. It looks awesome and I'm super happy with it!

Eventually I want to mount lights all over it and maybe extra water and fuel cans and maybe a hi lift jack but for now, it will just be nice to have a place to toss extra camping gear and the spare tire when I'm towing the camper.

IMG_9038
IMG_9025
IMG_9030
IMG_9028
IMG_9032
IMG_9029

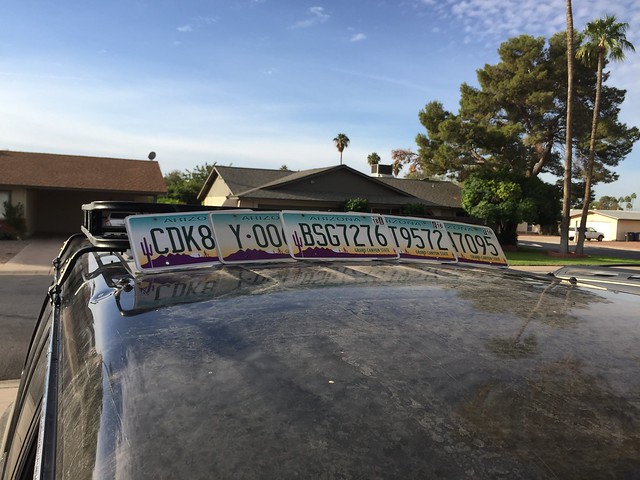
The rack does not make any noticeable wind noise when empty and driving on the freeway. But I think I'm still going to make a wind fairing for it because it might help mpgs and the rack will probably make noise once gear is up there? I was going to make one of out AZ license plates but decided it wasn't the risk of getting pulled over.

IMG_9034
 

B.N.Z.MTNS

Elevation 8,500’
It's impossible to over stress and exaggerate how amazing this drive was. I have a feeling this trail will remain at the top of my list for a long time to come.

I have enjoyed following your build as I plan on many of the same things with my rig.
I live in Montrose which is just north of the Ouray/Telluride area and those areas you have been enjoying are what I consider to be my backyard. If you ever head back this way, feel free to send me a message if you want to connect. I have done all of the trails/passes in the area multiple times and it never gets old.
Maybe my rig will have a few more improvements by next summer.

Keep up the nice work.
 

SONICMASD

Adventurer
I have enjoyed following your build as I plan on many of the same things with my rig.
I live in Montrose which is just north of the Ouray/Telluride area and those areas you have been enjoying are what I consider to be my backyard. If you ever head back this way, feel free to send me a message if you want to connect. I have done all of the trails/passes in the area multiple times and it never gets old.
Maybe my rig will have a few more improvements by next summer.

Keep up the nice work.

Thanks my man! I went through Montrose on this trip to get to Black Canyon NP, and stopped over at Murdochs to buy a new trailer caster after having to replace the jack that same day in Delta.
 

B.N.Z.MTNS

Elevation 8,500’
Thanks my man! I went through Montrose on this trip to get to Black Canyon NP, and stopped over at Murdochs to buy a new trailer caster after having to replace the jack that same day in Delta.

We are murdochs more than the grocery store it seems like. If I saw your rig in the parking lot, I would have tracked you down or camped out next to you in the parking lot so we could meet.

Keep up the adventures.
 

SONICMASD

Adventurer
I just added this build thread to the ADD forum as well, but it just links back to hear for anything posted before this date. I'll probably post in both forums for awhile with major mods since it only takes a couple extra seconds.


11/19/17: New Mod done! This one has been in the works for many months but I finally finished it up today: Heated Seats. This completes my Montero seats, there is nothing else that I can do to them to make them better short of swapping out entirely different seats from a different vehicle. They have what I consider all of the best features available from different Montero trim levels and years: Manual + Cloth + Bouncy + Heated.

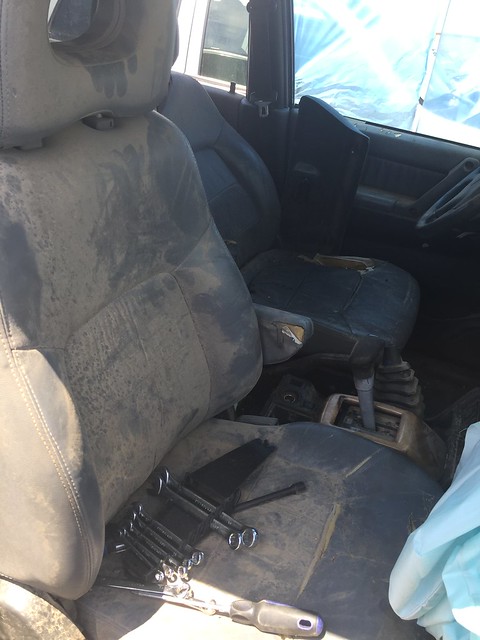
The mod is pretty straight forward but I'm going to post detailed photos on how to do it because there are a few spots that were challenging since I had never done upholstery work before. Budget a solid 10 hours for this mod at the very minimum, mine took closer to 20 counting junk yard trips. Going with aftermarket heating elements would probably have been much easier and also they probably get hotter than 20 year old ones but I wanted something that was plug and play.

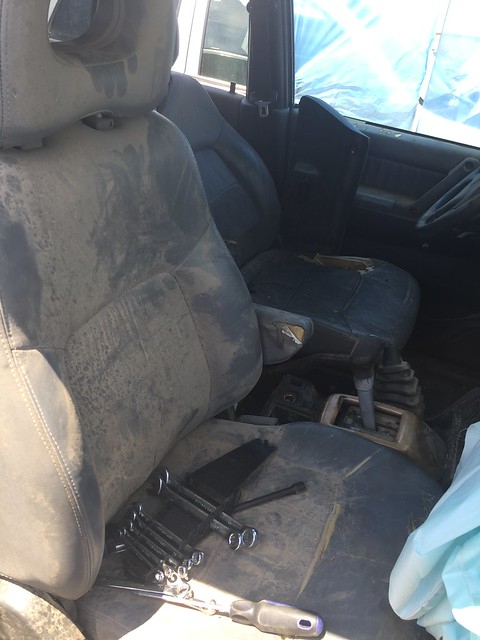
1. Find a donor vehicle. You will need to remove the heating elements from the seat back and bottom, seat wiring harness (that connects the back to the bottom), and complete center console wiring harness including 2 heated seat switches.

Rather than take the time to remove them in the junkyard, in the Phoenix summer, I just bought both seats in their entirety and just had to remove the center console to get the wiring. And plus, I wanted to dissect them carefully to learn how to do it to minimize the chance of messing up Betty's seats.
IMG_8087

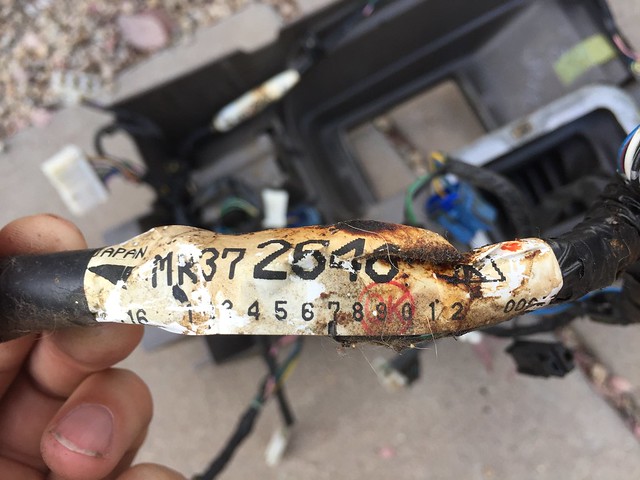
Here's the part number on the center console wiring harness (MR372546). It is identical to the one in the LS (MR372645) but with 4 extra plugs for the 2 seats and 2 heated seat switches:
IMG_8877

2. Cut the heating elements out of the seats (carefully) or take them apart. I'll cover taking the seats apart in the following steps showing the install since it is the same.

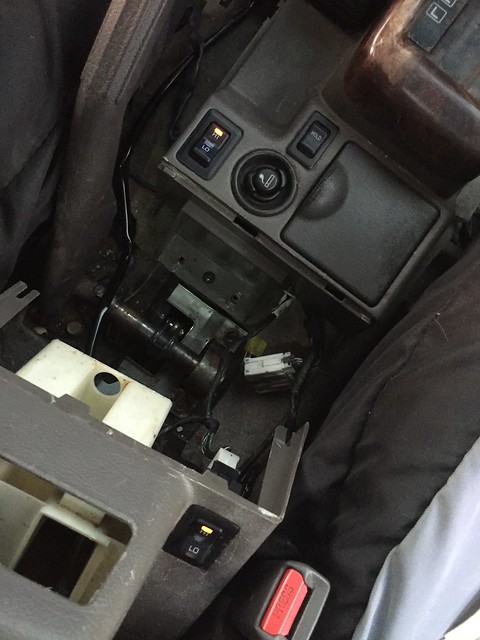
3. Take the center console apart and replace the wiring harness and seat switches. (Here is a link to a post that covers how to take your center console apart in case you have never done it before: http://forum.expeditionportal.com/t...ole-and-Interior-LED-Bulb-Replacement-Gen-2-5)

Plug in your newly acquired heating elements and test them out. The switches should illuminate in the Low and High position and of course, you should feel heat when touching the elements. Turns out that 1 back and 1 bottom element did not work so I had to go back to the junk yard a month later and pull another set of elements out of a different Monty. A pain, but I'm glad I tested the elements because it is a ton of work to install them for nothing!
IMG_8933

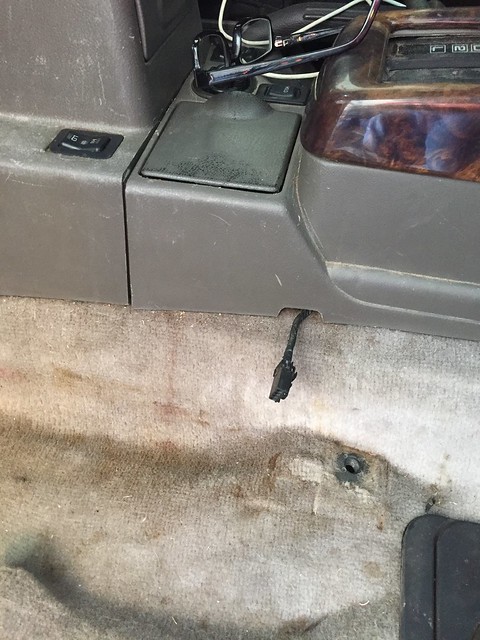
4. Pick where you want your heated switch buttons and reassemble your center console. You want to make sure you have the seat plugs sticking out their respective holes so that they are ready to go.
IMG_9088

As you can see, I chose to remove what was my coin holder tray (which I never used) and put the driver side button there and then I put the passenger side in the front blank spot. Yes, I know that the factory location is where the rear console blanks are but that area is where my water bottle goes on long drives and I didn't want it to sit on the switch and accidentally turn it on. One day I'm sure I'll relocated the heated seat switches to the rear spots because I'll need their current switch locations for light switches. I also didn't put them up on top of the center arm rest because that's where I have my front bumper lights (which is super handy because you can just flick them on and off on the trail while driving with your left hand and not have to shift your body forward to reach the panel or look down to find them on the center console).
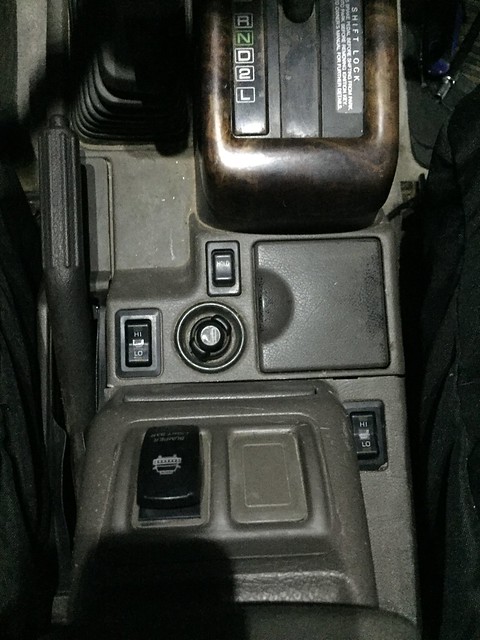
IMG_8934


5. Now, beginning the heating elements install process. Start by removing the 2 plastic trim covers on the sides of the seat. One side simply has 2 screws and the other has 2 screws on the trim piece but first you need to remove the 2 screws holding the plastic handle covers and then the plastic covers themselves pull off.

6. Remove the cables that allow the seat to recline. Just loosen one of the nuts holding them in place, and then the wire with square tip can be slid out of it's holder. Take note of which wire (grey or black) goes where:
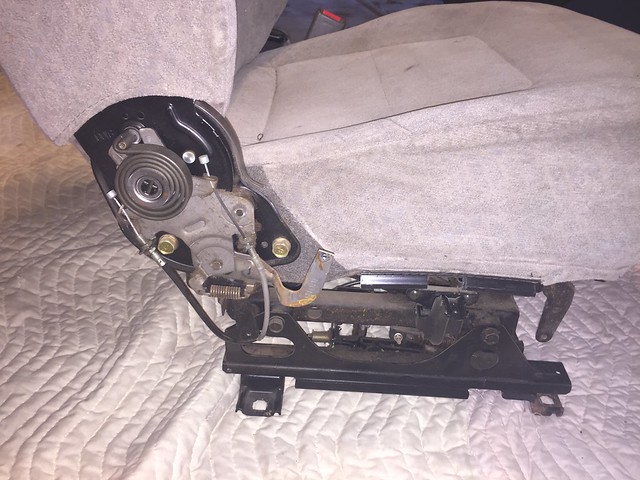
IMG_9060

7. Remove the 4 bolts that join the back of the seat to the bottom. The rear bolt has no nut behind it, but the front one does so you'll need to get in there with a deep socket to hold it while unbolting it from the outside. You don't have to remove the seat belt bolt it's easier if you do.
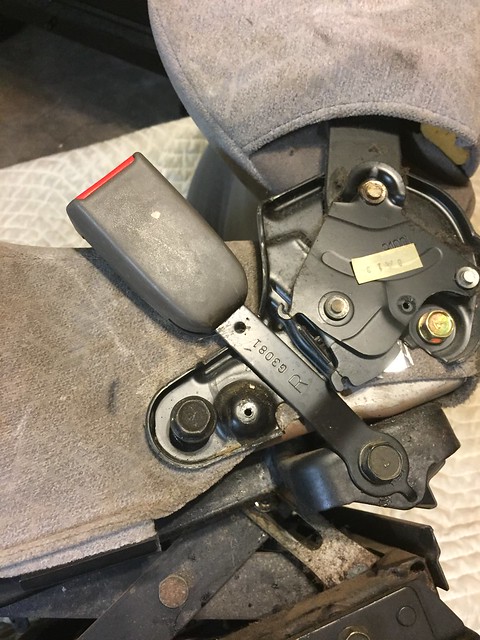
IMG_9064

You'll have something like this at this point:
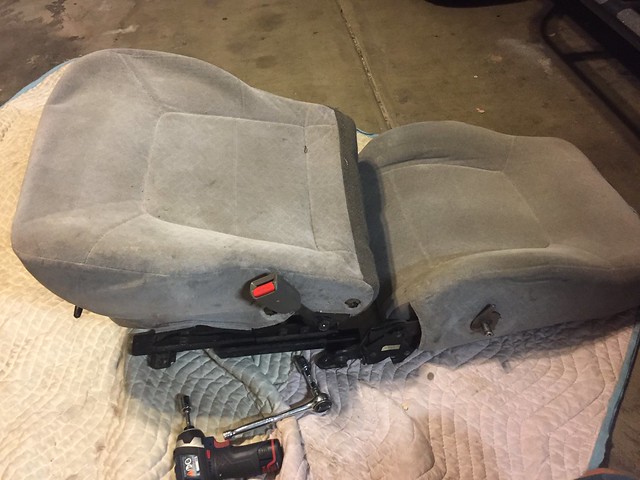
IMG_9065

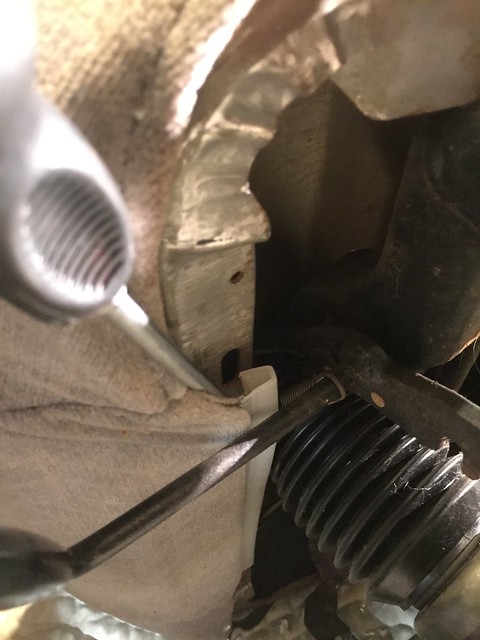
8. Starting with the bottom cushion. Turn it over and pry off the plastic retaining clips that keep the seat upholstery tight over the foam:
IMG_9063

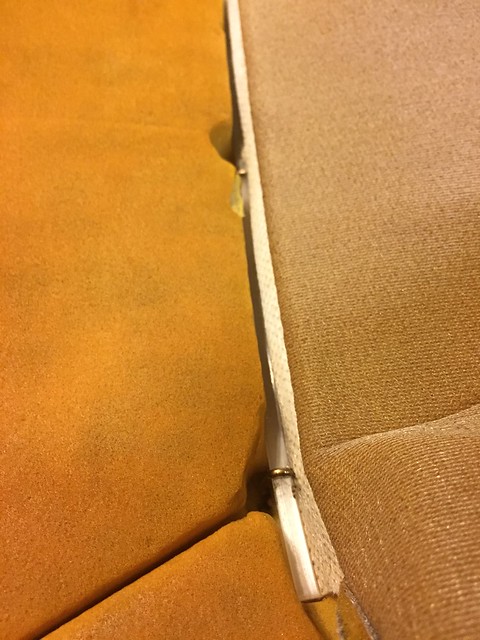
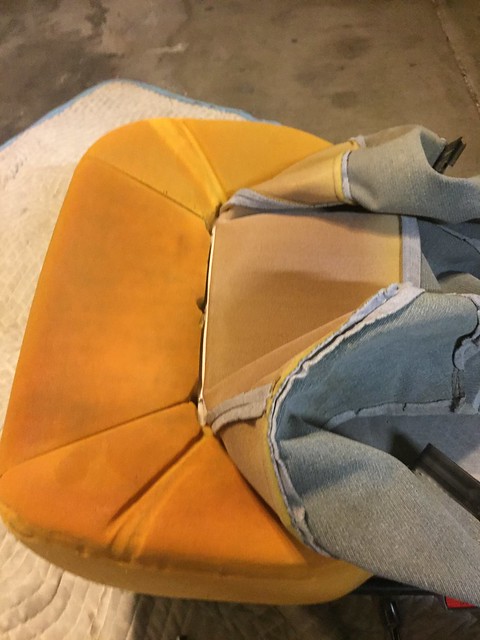
9. Now we get to the fun part. And by fun, I mean the not fun part. With a lot of cars, you can simply lift up the upholstery at this point and slide your elements underneath. But with the Monty seats, the upholstery is attached to the foam every 5 or so inches with metal hog rings.

Here you can see the location of the front set of 3 hog rings and just how far the cover can be pulled back initially:
IMG_9066
IMG_9067

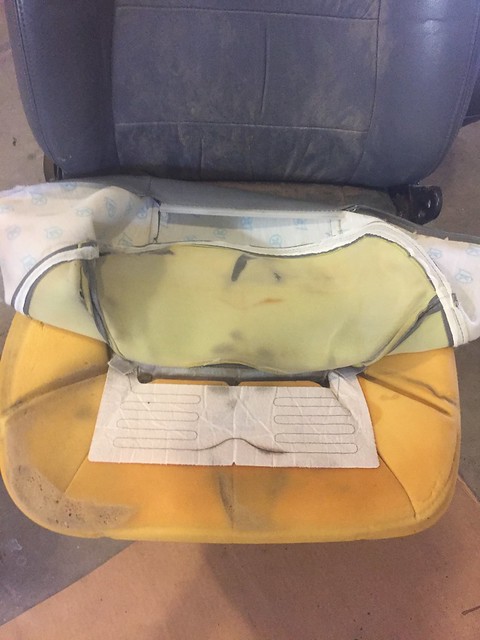
From the donor seat for comparison:
IMG_8370

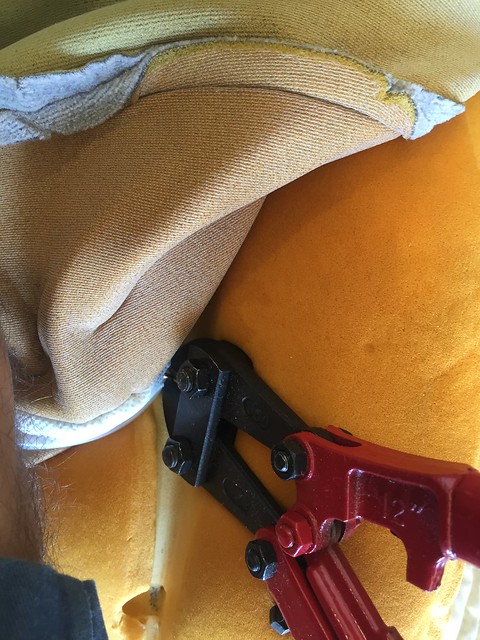
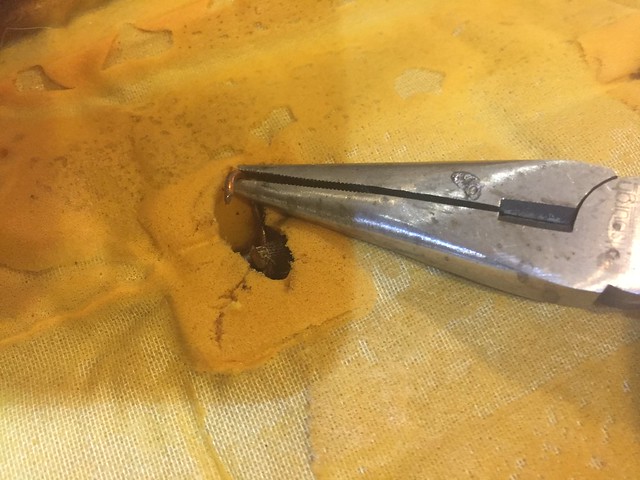
On the donor seat, the hog rings were not pressed on nearly as tightly as Betty's seats so I was able to get the tips of needle nose pliers inside the ring and pull them open to remove many of the rings without having to cut them. This is a pain in the butt and not easy and I would not recommend it. Instead, get yourself a small bolt cutter (I got mine for like $8 at Harbor Freight) and cut them off! Cutting them off is still somewhat challenging because there is not a lot of room to work with and you need to be delicate with the foam and upholstery so you don't destroy them. After cutting the metal with the bolt cutters, twist them to break the ring free.
IMG_9083

Remove all the little left over bits of hog ring after cutting them so they don't lodge themselves in the foam and stab you when you sit on the seat.
IMG_8375

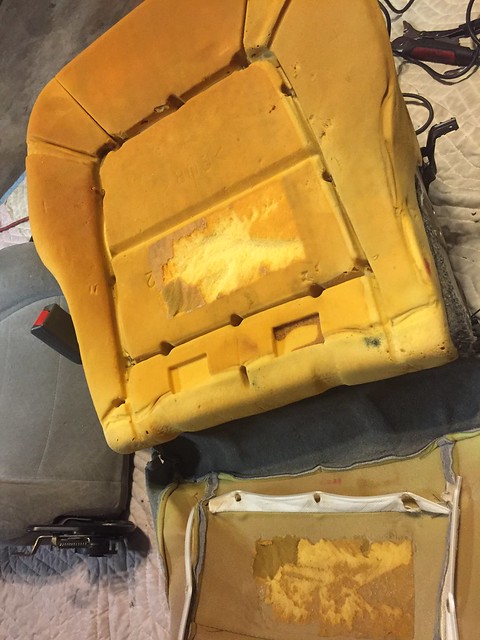
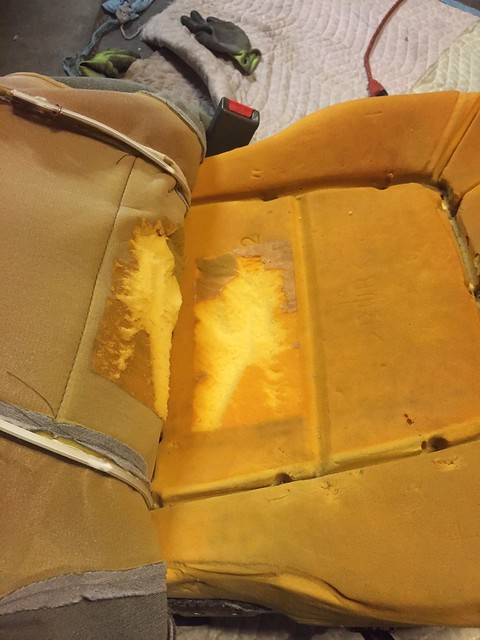
10. After cutting the front 3 rings, work your way down the sides. There are 3 more hog rings in the left channel and 3 in the right channel. Lastly, there are 3 rings in the rear channel. In between the front and rear hog ring channel my cloth cover had a big adhesive patch which was a pain to pull off from. It pulled up quite a bit of foam with it on the passenger side. I cut most of it off the cover with a razor blade so that it didn't create a bulge when the reassembled. I was luckier on the driver side and no foam pulled up.
IMG_9068
IMG_9070

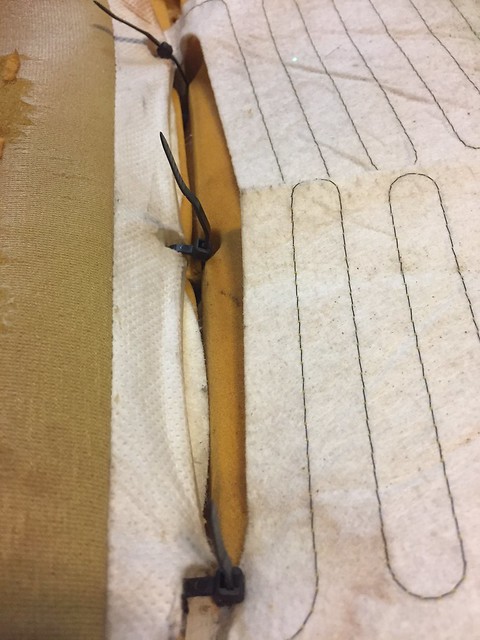
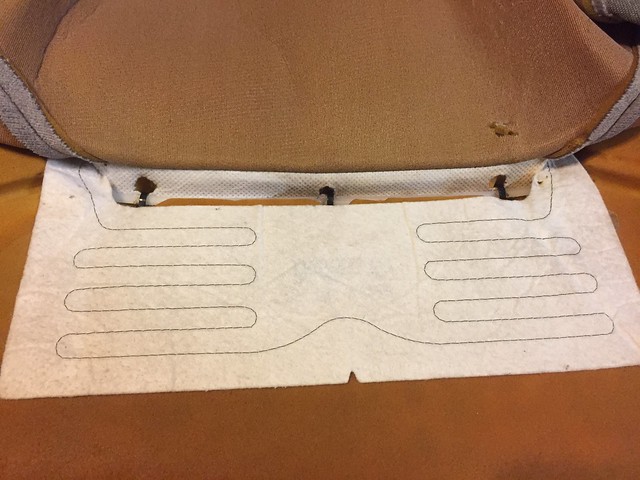
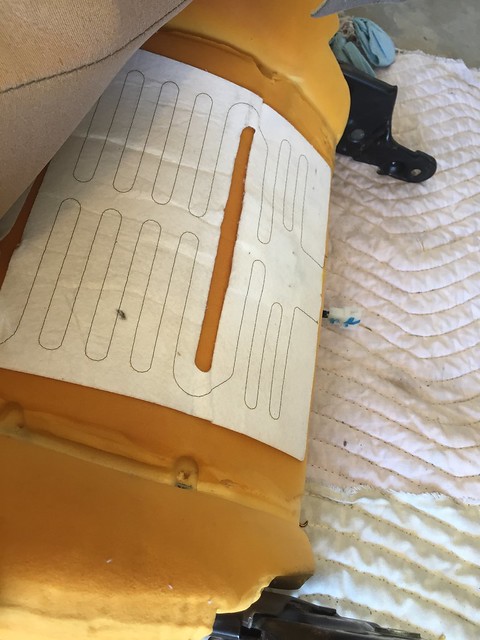
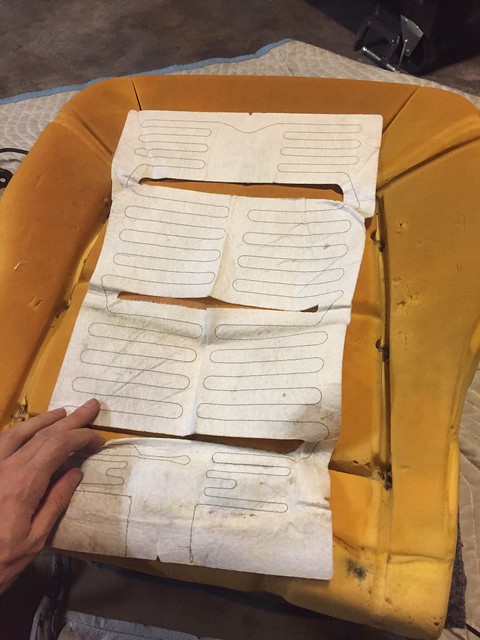
11. Place the heating element down, aligned with the hog ring channels and push the wiring harness down through the hole in the foam so that it comes out the back side. And then reinstall the rear set of hog rings. You'll need hog rings and hog ring pliers to accomplish this. Despite having both of these, I just couldn't get the rings installed. It was late at night, I was pissed off after having to go to Harbor Freight to get the bolt cutters after not being able to remove the hog rings with needle nose pliers or a dremel like I did on the donor seats, and I just couldn't make it happen. So instead, I opted for zip ties. I think this will be totally fine for many many years and if they ever need replacing, they are much easier to replace than hog rings. But I don't think they'll need replacing because they aren't exposed to sunlight and have very little, if any, tension on them. They are more than strong enough with 12 of them combined, plus all of the other things that hold down the upholstery and foam.
IMG_9071

IMG_9072

You won't feel the zip ties through the seat if you cut the excess and then spin the buckle so that it faces down into the channel:

IMG_9073

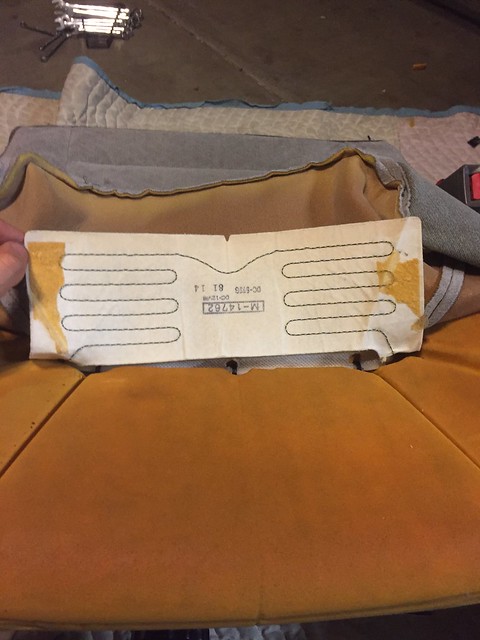
12. Proceed down the seat cushion with the sides and then the front. The sides and front were much easier to access so I used hog rings for some of those mounting points on the other cushions I did. When you're done, you'll have a bit front flap of element that was secured to the foam with 2 adhesive strips from the factory. I used some spray adhesive that I had leftover from my rear bed project to stick the fronts of the elements down to the foam:
IMG_9075
IMG_9076

13. Install the upholstery cover back on over the seat bottom, same as removal. Just be careful not to damage your foam base as a lot of them will be very brittle (especially driver sides) after close to 20 years of wear. Also, the heating elements themselves have very brittle wires by this point so be careful with those too. I would recommend not buttoning up the rear clips of the cushion covers yet until you know how the wiring harnesses will connect together which is easier to do when the seat back is completed and ready to bolt back to the bottom. Pay attention to how the wiring harnesses are routed when you do your tear down if possible. I don't have any photos to show of this process since my seat bases are bouncy and their covers and wiring routes are different than stock form.

14. Moving on to the seat back - Pop off the plastic cover caps at the bottom of the storage pocket and remove those 2 screws. Then you just pull down firmly to pull the cover off as it is held on at the top by some metal clips.
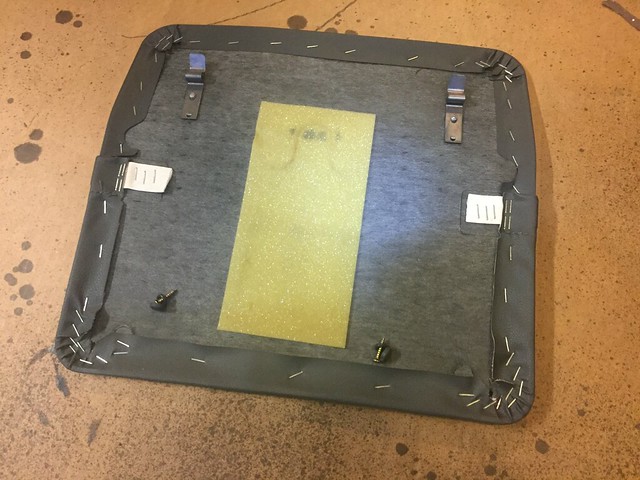
IMG_8387

15. After removing the cover, you'll see a similar sight: hog rings. Unlike the big plastic clips that hold down the seat cover on the base, the back cover is held on by hog rings. Cut those bastards off, they are at least easy to get to here with no foam to deal with:
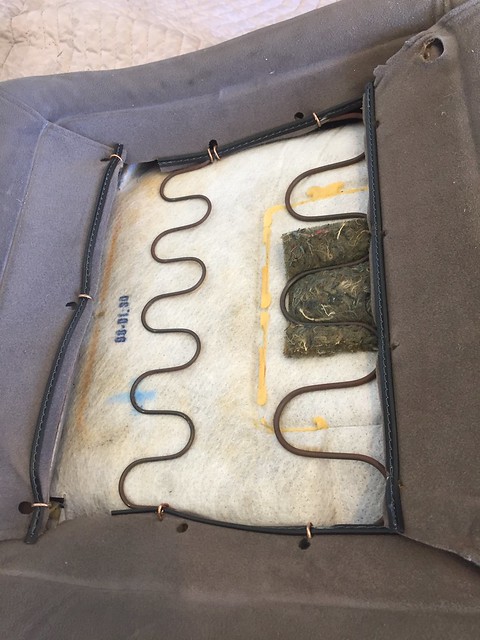
IMG_9079

16. The cover is also pinned in place by the metal tabs that the rear seat pocket screws into. Pay attention to the order, there are 3 layers: Corner, Side, Bottom (starting from bottom to the top):
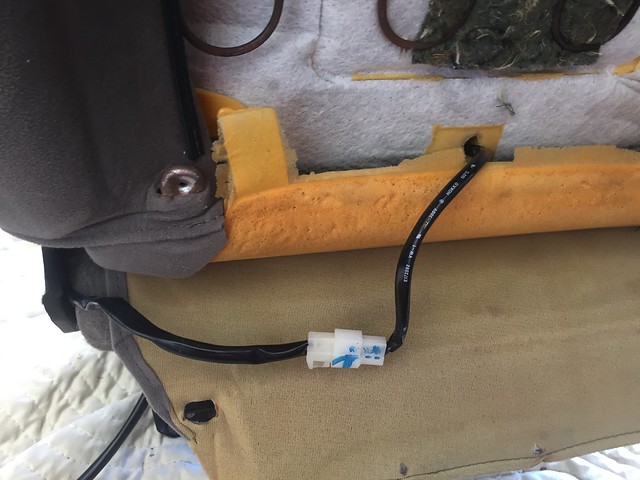
IMG_9091

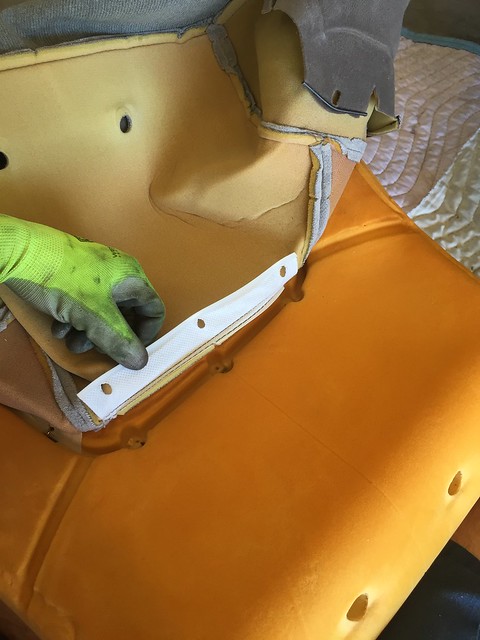
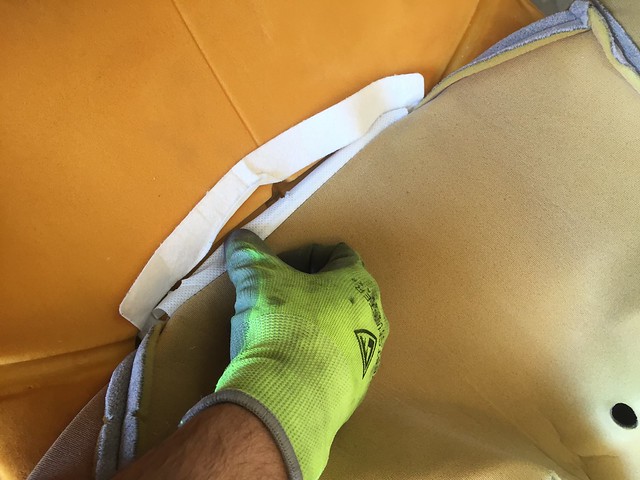
17. There are no hog rings holding the cover down at the front on the seat back so you'll be able to lift it up all the way to the seam about 3/4 of the way up. If you're going aftermarket heating element, you could probably just slide it and glue it in place here and be done. There are 3 hog rings on each side and then 3 at the back. Cut them off and then if you're really good you might be able to install the element and button everything back up. I wanted extra room and needed to get the cover all the way off the seat back. But you can't do this by simply removing hog rings alone because the headrest mounts hold the cover on at the top.
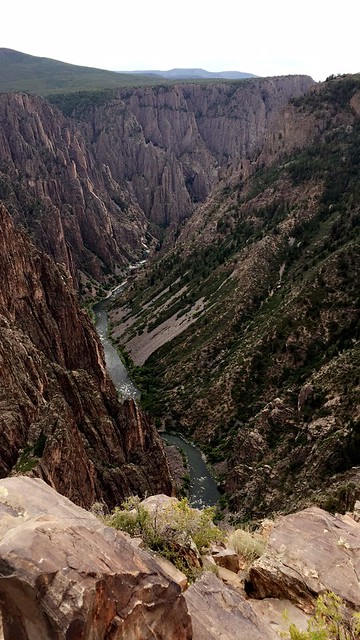
 
Last edited:

SONICMASD

Adventurer
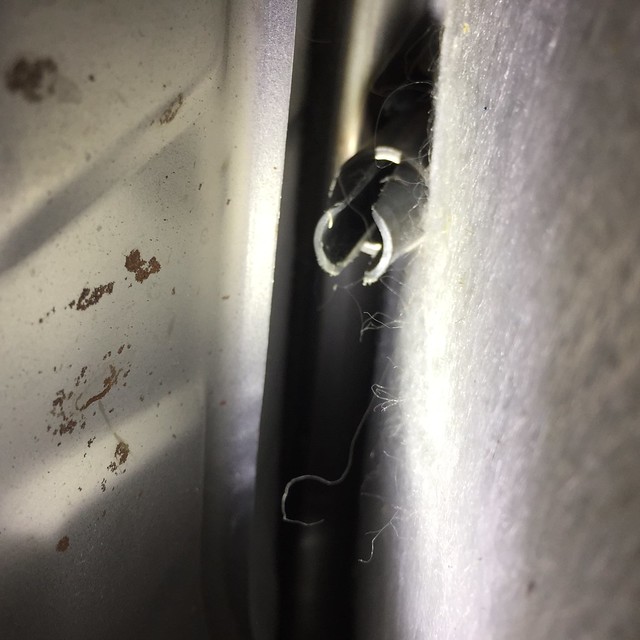
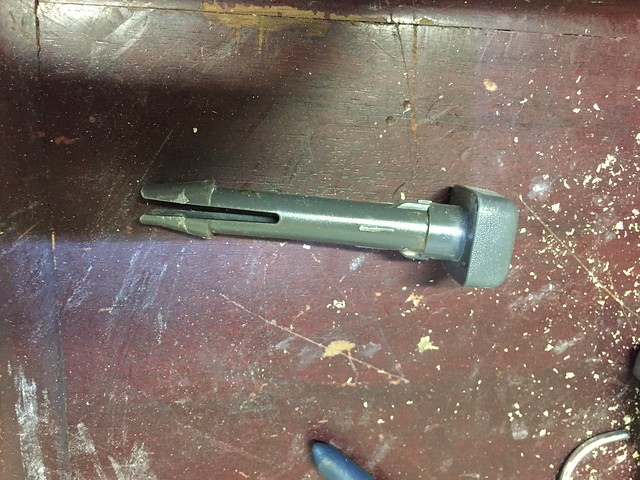
18. To remove the cover all the way - Push the headrest release button and remove the headrest. If you look inside the seat back, you'll notice that the plastic headrest mounts are held in place with a built in spring design. The ends need to be pushed together so that the mounts can be pulled out. It's hard to see in there and the metal seat back ridge is very sharp (hell, everything is very sharp on this project, so be careful) but each mount looks like this on the inside:

IMG_8743

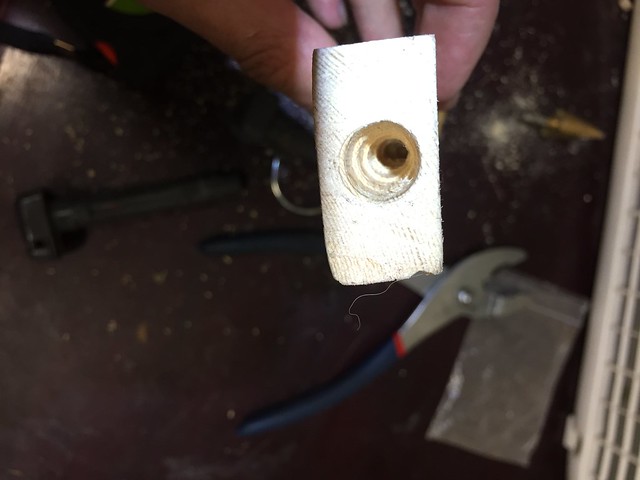
I tried pliers but the two halves of the spring are located in the opposite direction that pliers can pinch inside of this channel. I tried finding a pipe that could be slide over the halves but the diameter is non-standard. It took some thinking but eventually I thought of a simple tool for the job. Get a 10" piece of 1x2 or similar sized piece of wood and drill a hole in it to compress the halves. Start small and expand the hole until it is perfect because you want a tight fit. I can't remember exactly what size drill bit is perfect, I was using a step down bit at the end, I think maybe it was 7/8 but am not positive.

IMG_8746
Push the plastic halves into the hole of your tool, hammer the tool until it hits the metal frame encasing the entirety of the plastic halves so you know they are compressed, pull the mounts out from the outside. They are in there tight so I used a flat prybar to pull them out as I hammered on the wooden tool with a rubber mallet.

Ta da:

IMG_8747

19. Now you can remove the entire seat back cover which will make it easier for you to install the heating element and reattach the upholstery with hog rings or zip ties.

IMG_9084
IMG_9085
IMG_9086

20. Connect the 2 wireharness together after finding a suitable routing, put everything back together by doing all these steps in reverse and you're done!


All in all, this mod cost around $80 and 20 hours of my life. I'm very happy that it is done but living in Phoenix, I'm not sure it was the wisest mod to undertake haha. We're heading off to Moab in 3 days and it should be in the 30s at night so I was motivated to get this mod done.
 

Steve1814

New member
What condition was the leather drivers seat foam? My leather is OK, but the foam has worn out to the point that I'm touching the bottom :(

Nice write up BTW!
 

Forum statistics

Threads
188,176
Messages
2,903,365
Members
229,665
Latest member
SANelson

Members online

Top