Just got mine in!!!
http://www.springtailsolutions.com/shop/jeep-special/jk-unlimited-side-rack-special-deal-copy/
I just want to say that this is not "intentionally" designed to hold/mount a battery. The cubby is designed to place .50 cal ammo cans, water cans, etc... The side rack is designed to mount whatever you desire. I've seen the FJ cruiser crowd mount CO2 tanks and whatnot to the side.
This thing is definitely beefy. The powdercoat is very smooth. I haven't handled many products in the past that could compare to the attention-to-detail that Springtail put into this... First the packaging was amazing. The pieces are "scratch-free". I didn't even see fingerprints...
Ok.. LOL.. On with the pictures...
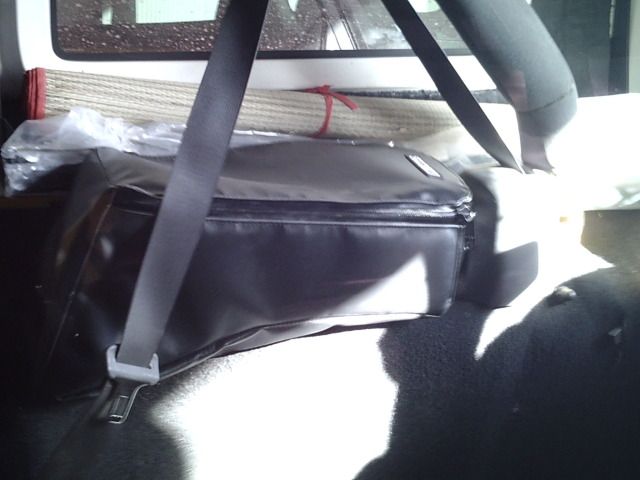
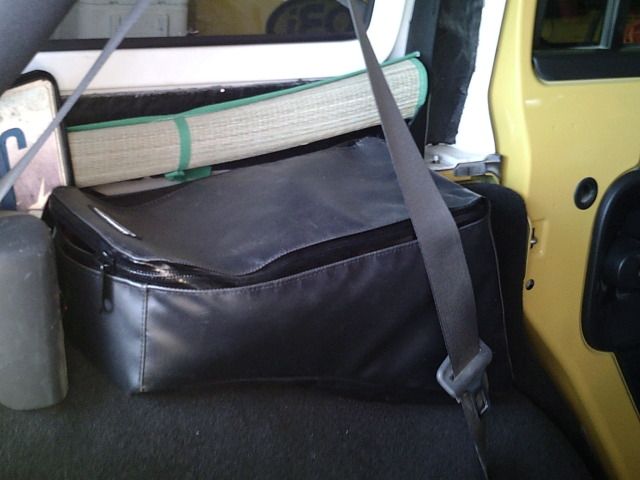
EDIT - This is mounted on the driver's side of the rear cargo area in the back of a JKU above the wheel well.


Each piece is packaged and separated from each other:

Unpacked everything:

I didn't do a piece-by-piece build thread because the instructions are so easy. Here is the final product assembled. I ran out of time to get this into the Jeep tonight, but I will this weekend and put up the final install pics.


This next section is all of the measurements that I could think anyone might want
The next (2) are of the hole opening at the top of the cubby.
Long side length:

Short side width:

Cubby depth:

The next (3) are just to show the side rack measurements:


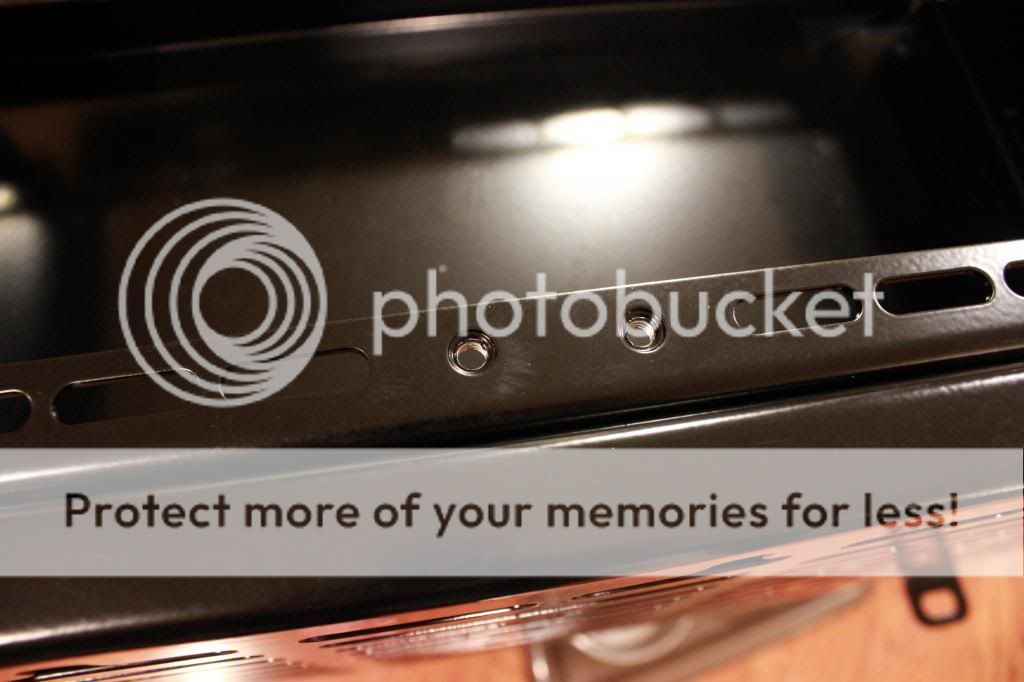
They also provided this plate to secure whatever you want in the tray. You just have to buy the correct threaded bolts. I can't remember off the top of my head the thread pattern. The top plate of the side rack already has built-in nuts.

The following cardboard box is a slightly large replica of a Group 34 battery that I made for my wife's Grand Cherokee. I was playing around with battery placement about a year ago and never got rid of the box. It is too large to fit into the hole because the short side of the box is a little over 7". The Diehard Platinum 34M battery measures 6.8" x 10.9" so it will fit.

http://www.springtailsolutions.com/shop/jeep-special/jk-unlimited-side-rack-special-deal-copy/
I just want to say that this is not "intentionally" designed to hold/mount a battery. The cubby is designed to place .50 cal ammo cans, water cans, etc... The side rack is designed to mount whatever you desire. I've seen the FJ cruiser crowd mount CO2 tanks and whatnot to the side.
This thing is definitely beefy. The powdercoat is very smooth. I haven't handled many products in the past that could compare to the attention-to-detail that Springtail put into this... First the packaging was amazing. The pieces are "scratch-free". I didn't even see fingerprints...
Ok.. LOL.. On with the pictures...
EDIT - This is mounted on the driver's side of the rear cargo area in the back of a JKU above the wheel well.


Each piece is packaged and separated from each other:

Unpacked everything:

I didn't do a piece-by-piece build thread because the instructions are so easy. Here is the final product assembled. I ran out of time to get this into the Jeep tonight, but I will this weekend and put up the final install pics.


This next section is all of the measurements that I could think anyone might want
The next (2) are of the hole opening at the top of the cubby.
Long side length:

Short side width:

Cubby depth:

The next (3) are just to show the side rack measurements:


They also provided this plate to secure whatever you want in the tray. You just have to buy the correct threaded bolts. I can't remember off the top of my head the thread pattern. The top plate of the side rack already has built-in nuts.

The following cardboard box is a slightly large replica of a Group 34 battery that I made for my wife's Grand Cherokee. I was playing around with battery placement about a year ago and never got rid of the box. It is too large to fit into the hole because the short side of the box is a little over 7". The Diehard Platinum 34M battery measures 6.8" x 10.9" so it will fit.

Last edited:


