Cole
Expedition Leader
I've been dreaming of doing a lift and ultimately a 4x4 conversion on my Sprinter from day one. There just weren't the right parts available and I haven't been ambitious enough to put together buy own kit.
Many of you may remember the original quest to run bigger tires on my Sprinter In this link here
The cliff note version is this quote from myself below. Notice how much bigger the tires I have now are compared to the ones I started with on the 3500.
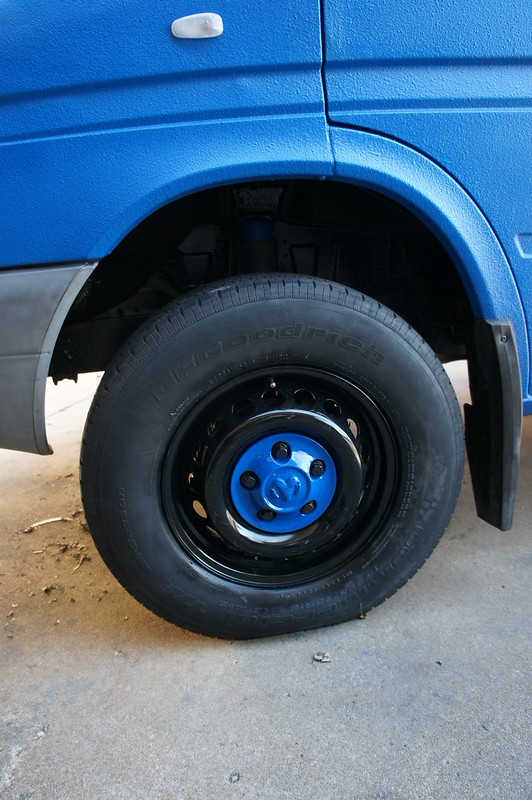
After running this set up now for about 30K miles I've been very happy with it! I don't have rub issues except on the sway bar I added in the front at full lock. BUT...........the fit is VERY TIGHT! I would like to have more room in there and a more aggressive look.
https://vancompass.com Just introduced a new "lift kit" and skid plates for the Sprinter!!:thumbs:
I live in the Colorado rockies and have ventured to some crazy places in my Sprinter as it is. So I'm excited to get a little more room under it.
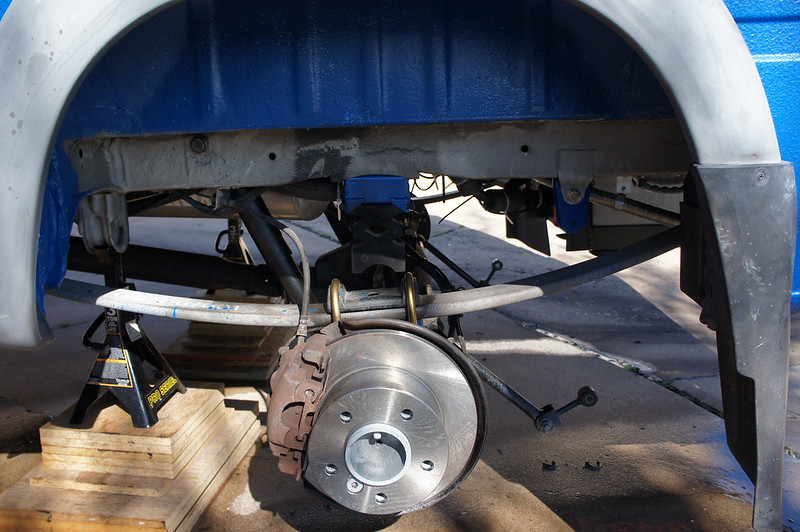
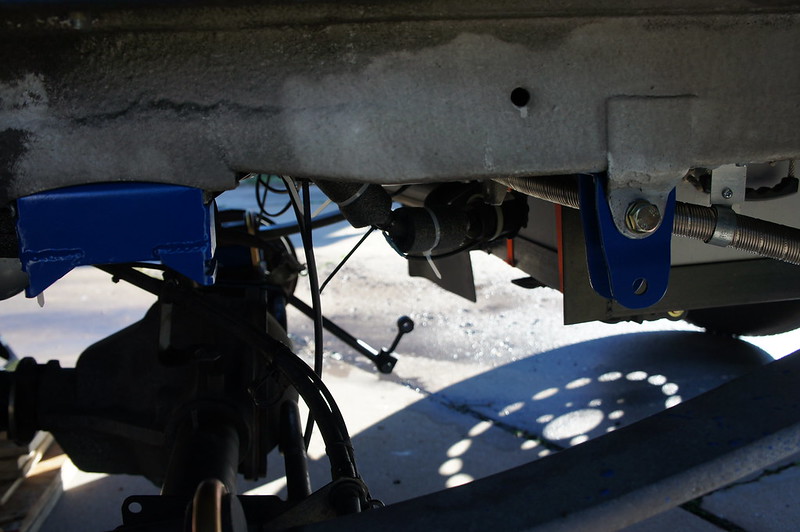
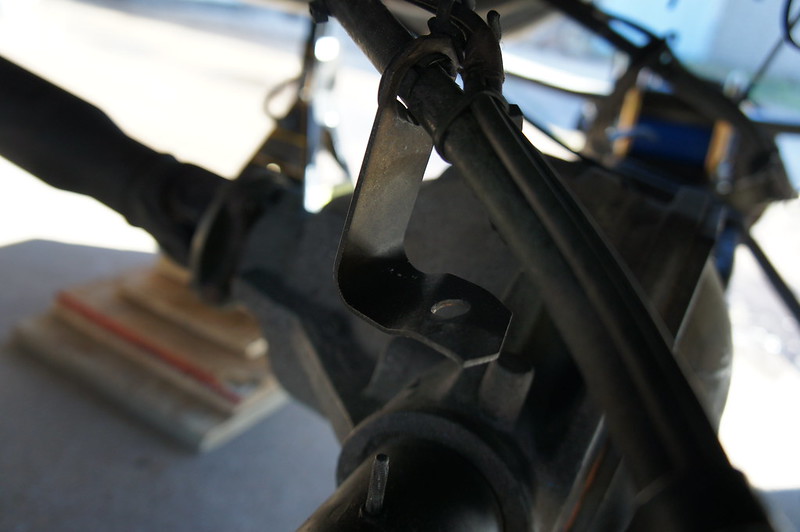
At this very moment VanCompass is only making the from 2" lift for my 3500. We have been working together to get a rear kit done too:thumb They just didn't have a 3500 to work with) They are also working on kits for the newer Sprinters so I figured this might be a good place to have a general discussion about lifts on the Sprinters in general.
VanCompass did such a detailed set of install instructions and a video on their site HERE That I figured a detailed "install" thread wasn't really necessary:lol:But I will include a few pictures and details of my own experience doing it.
I just started installing the front and I'm excited to see how it works out.
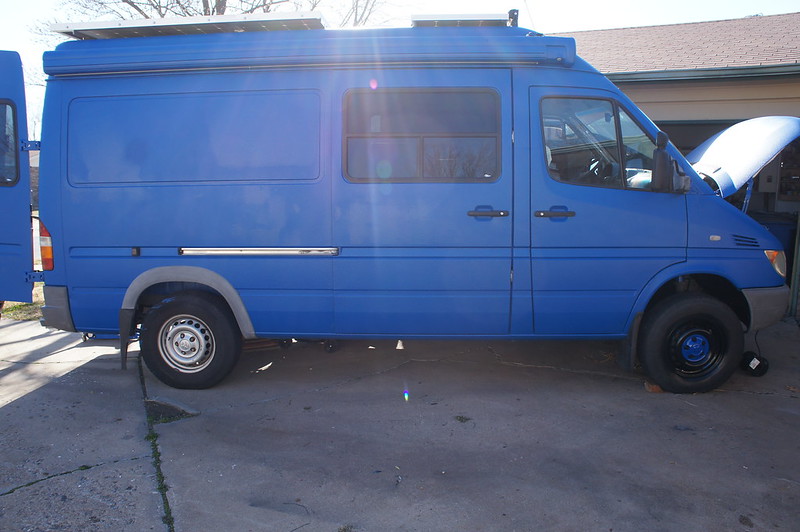
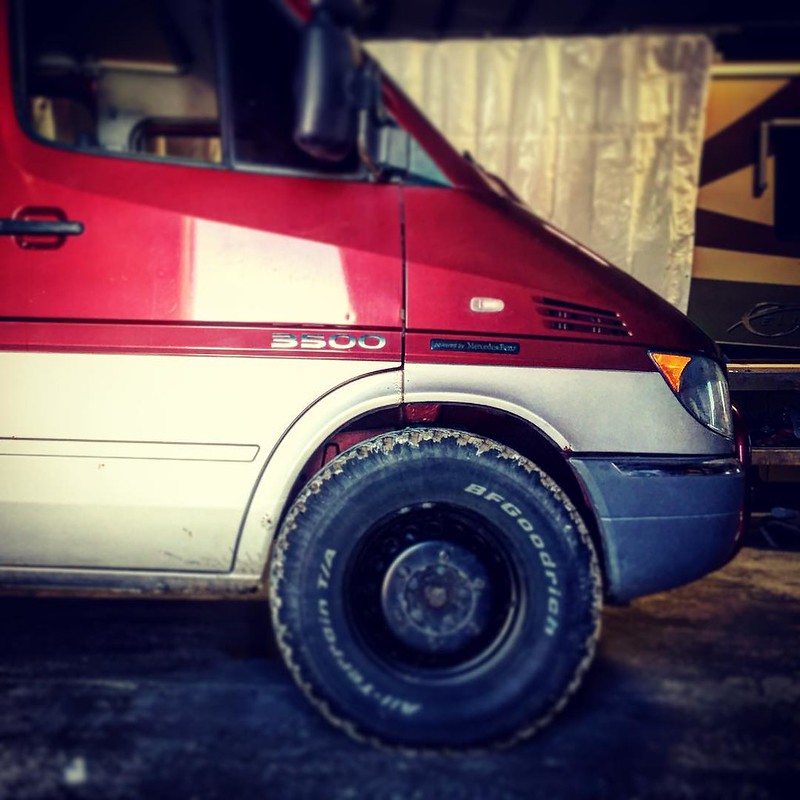
Here is the required "before" side shot of my front wheel fitment. The inner fenders have been *slightly* trimmed. I know this looks like it must rub, but it doesn't even in the deepest snow.
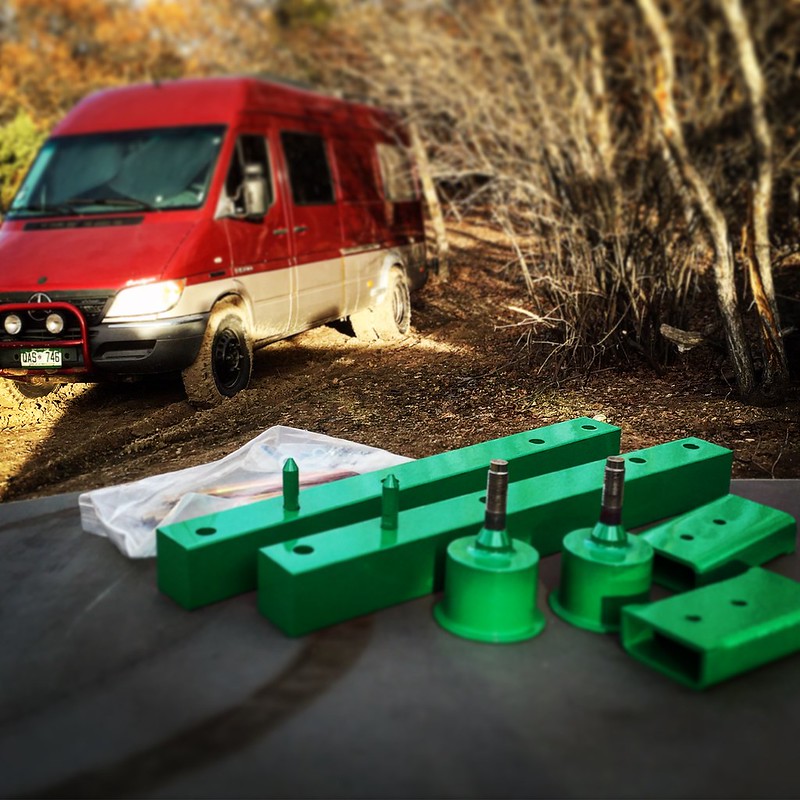
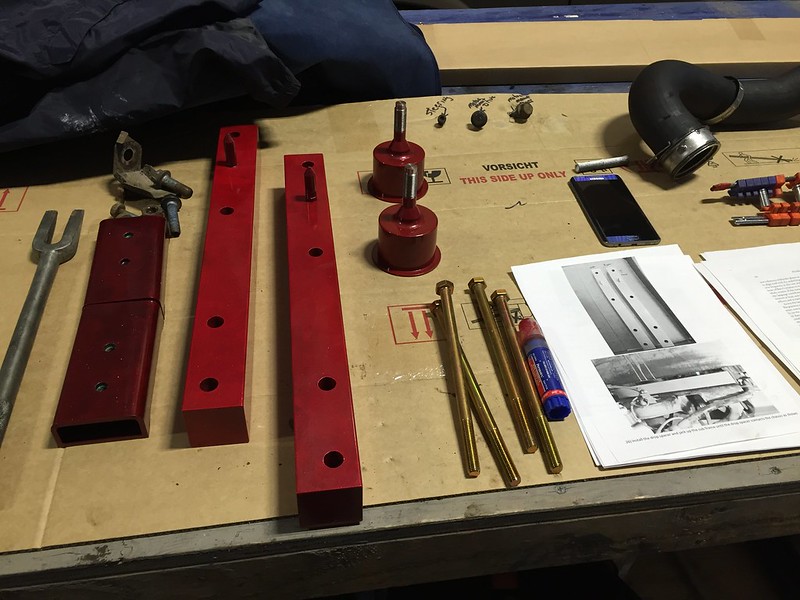
Here is what comes in the front kit. There are two spacers for the front sub frame. Two engine mount spacers to keep the engine in the right spot and two spacers for the upper part of the struts. (and bolts).
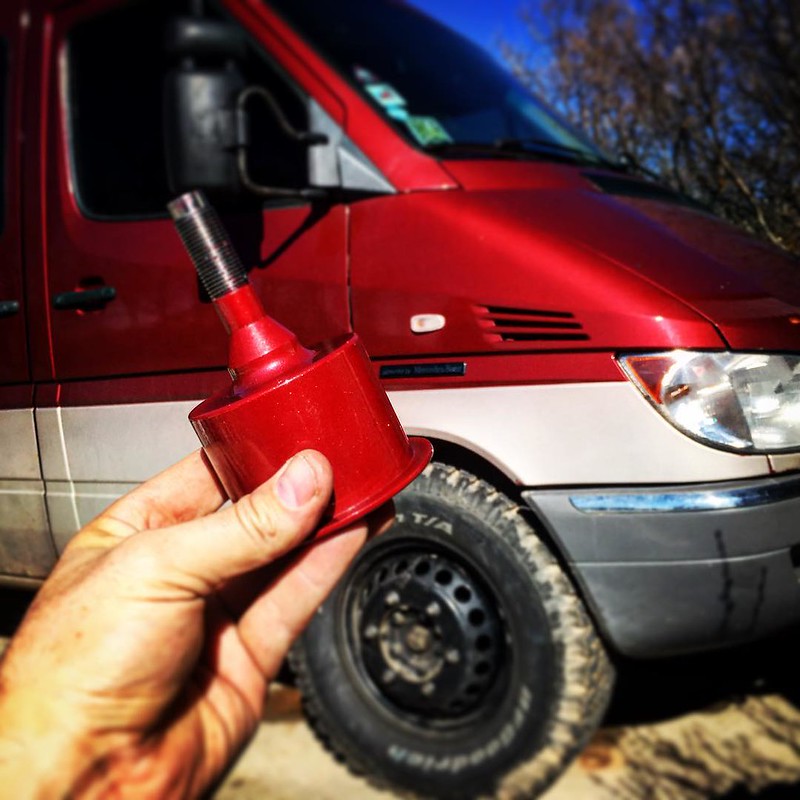
Of course there was no way the neon green was going to look right on my burgundy Sprinter. So I had them Powder coated to a better color! I honestly would have been fine with grey or black but as long as I was having them done doing a color that was a bit more fun was in order. :laughing:
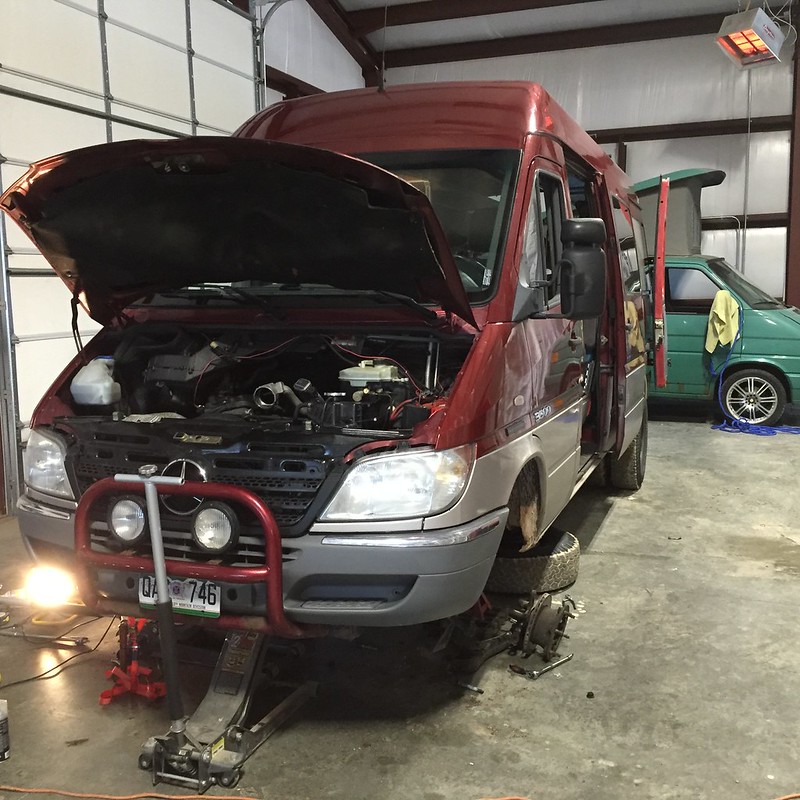
I'm doing this on the floor of my shop space with pretty basic tools. Having 2 jacks will make life much easier.
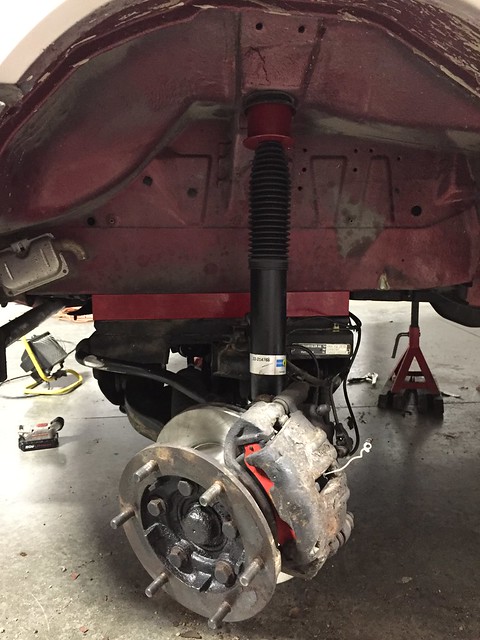
You have to pull the control arms off to reach the sub frame bolts. But it only took us about 2 hours to get to this point of having the subframe spacers installed.
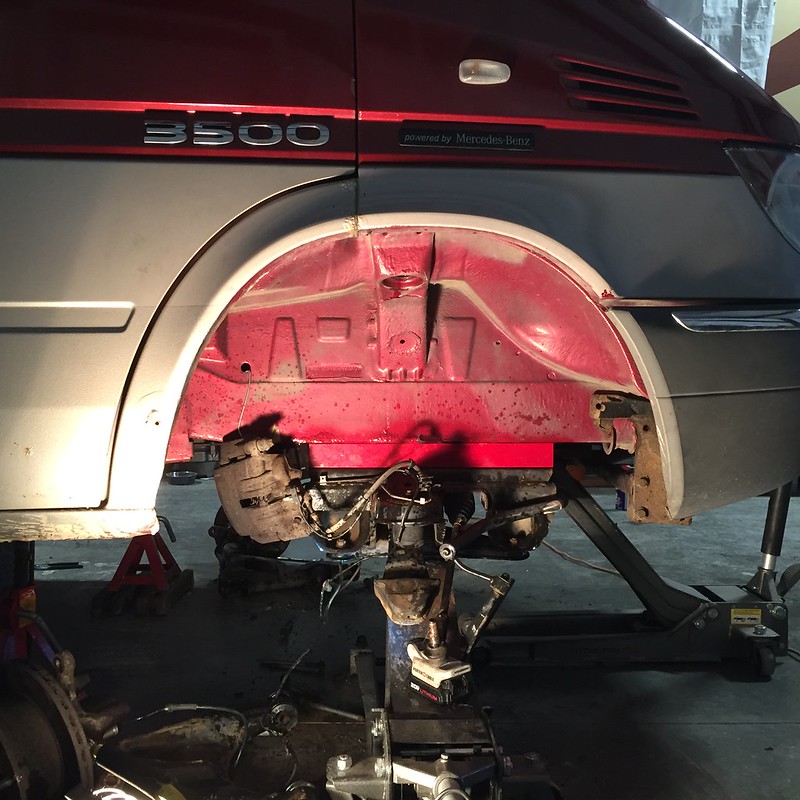
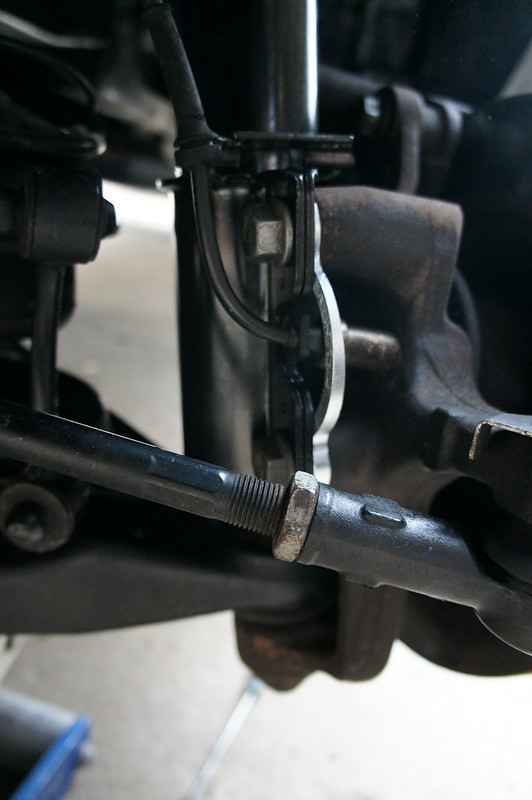
I stopped here for the moment to wait for parts. My van drove great but one of my front struts was totally dead:dunno: I decided to do all the brakes, struts and tie-rods while I had the van this far apart. It needed those parts anyway. :thumb:
Many of you may remember the original quest to run bigger tires on my Sprinter In this link here
The cliff note version is this quote from myself below. Notice how much bigger the tires I have now are compared to the ones I started with on the 3500.
After running this set up now for about 30K miles I've been very happy with it! I don't have rub issues except on the sway bar I added in the front at full lock. BUT...........the fit is VERY TIGHT! I would like to have more room in there and a more aggressive look.
Figured someone had to step outside the box here and "go big or go home":lol:
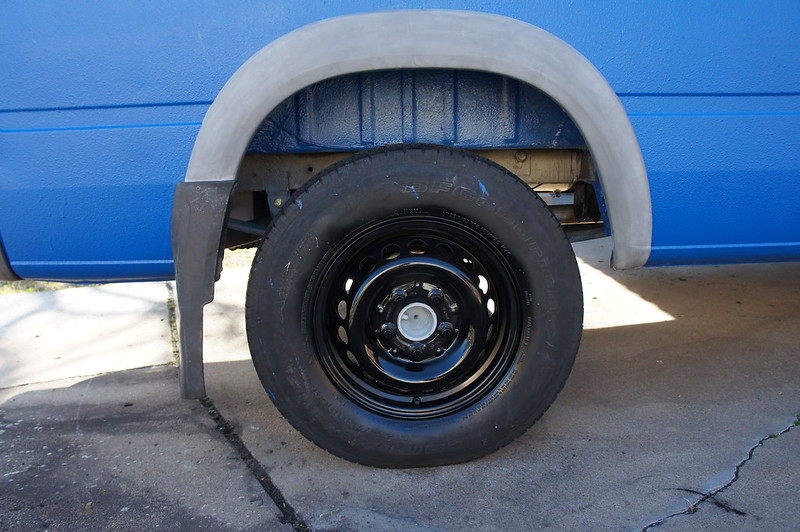
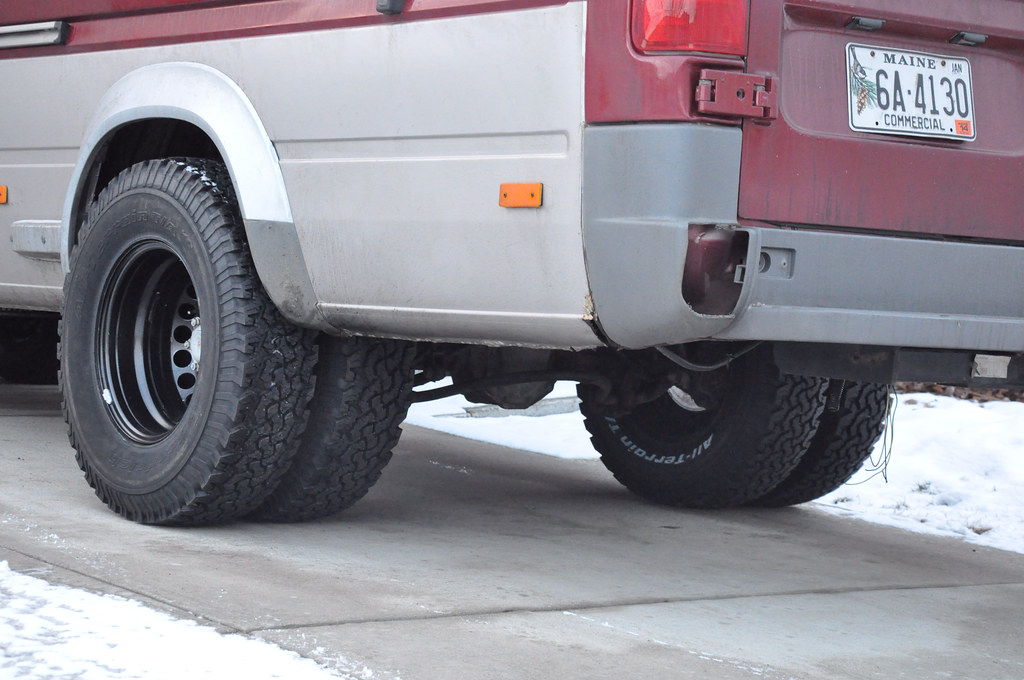
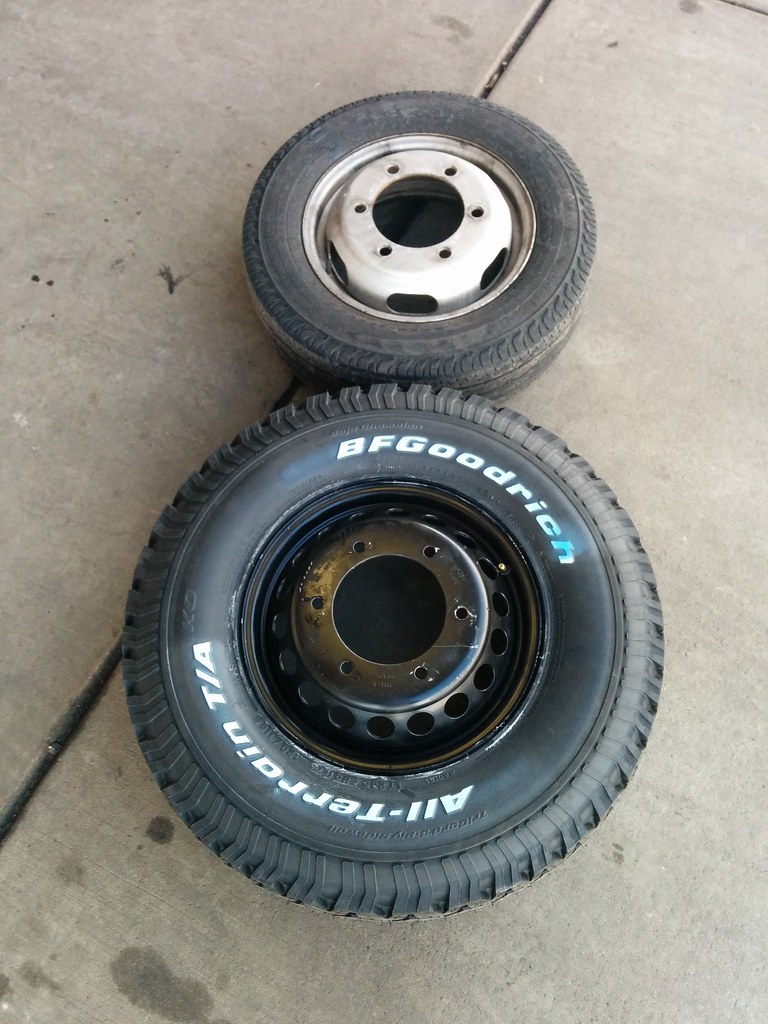
Full disclaimer, these don't fit......yet:tongue: They rub the rear edge of the front and wreak fenders but there looks to be plenty of space for my to play with my cut off wheel:crazy: I knew this was going to be the case.....but bought the van to have fun with so here goes!!!!:thumbup:
Just didn't have time to start the fab work today.
235/85/16s
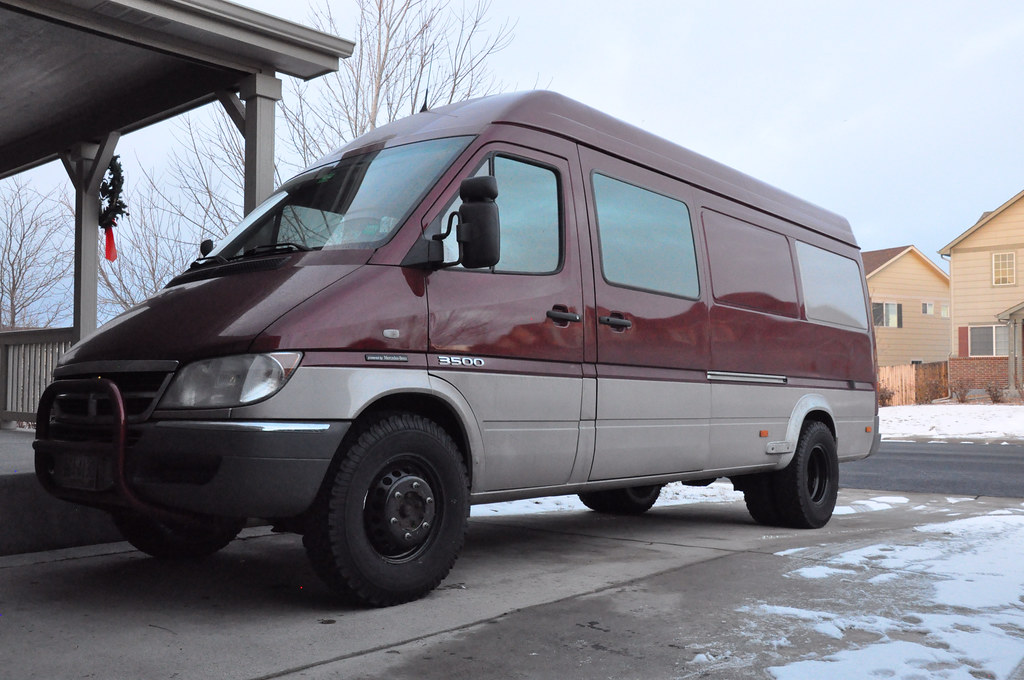
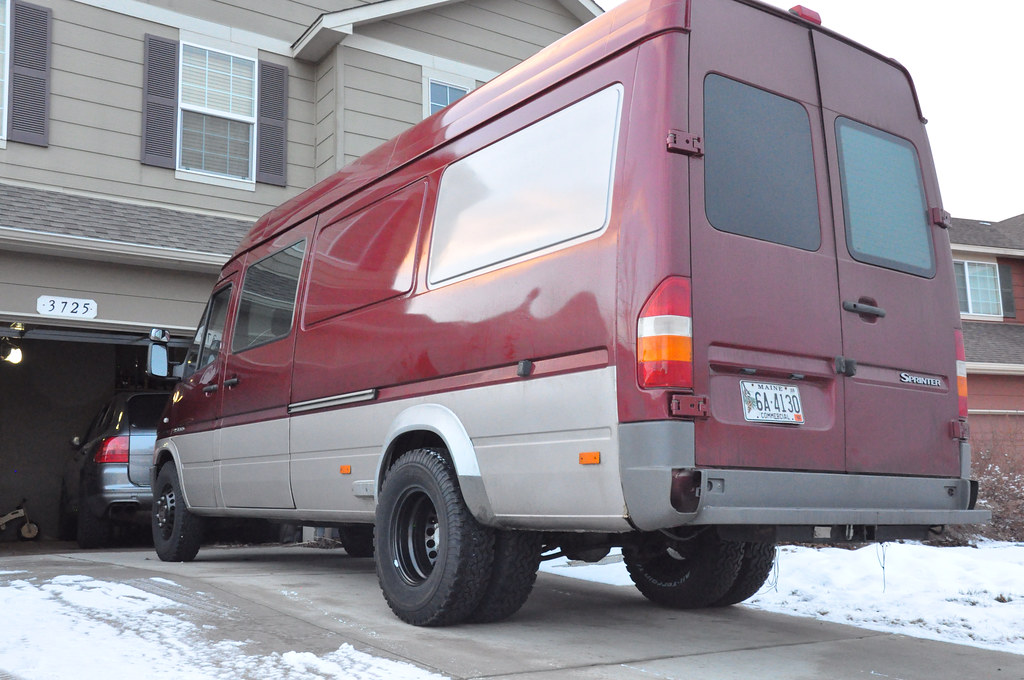
We test fit them and there was about an inch between the duals!
https://vancompass.com Just introduced a new "lift kit" and skid plates for the Sprinter!!:thumbs:
I live in the Colorado rockies and have ventured to some crazy places in my Sprinter as it is. So I'm excited to get a little more room under it.
At this very moment VanCompass is only making the from 2" lift for my 3500. We have been working together to get a rear kit done too:thumb
VanCompass did such a detailed set of install instructions and a video on their site HERE That I figured a detailed "install" thread wasn't really necessary:lol:But I will include a few pictures and details of my own experience doing it.
I just started installing the front and I'm excited to see how it works out.
Here is the required "before" side shot of my front wheel fitment. The inner fenders have been *slightly* trimmed. I know this looks like it must rub, but it doesn't even in the deepest snow.

Here is what comes in the front kit. There are two spacers for the front sub frame. Two engine mount spacers to keep the engine in the right spot and two spacers for the upper part of the struts. (and bolts).

Of course there was no way the neon green was going to look right on my burgundy Sprinter. So I had them Powder coated to a better color! I honestly would have been fine with grey or black but as long as I was having them done doing a color that was a bit more fun was in order. :laughing:


I'm doing this on the floor of my shop space with pretty basic tools. Having 2 jacks will make life much easier.

You have to pull the control arms off to reach the sub frame bolts. But it only took us about 2 hours to get to this point of having the subframe spacers installed.

I stopped here for the moment to wait for parts. My van drove great but one of my front struts was totally dead:dunno: I decided to do all the brakes, struts and tie-rods while I had the van this far apart. It needed those parts anyway. :thumb:

