Stumptaco's has gone over to the darkside..XJ style.

StumpXJ

SE Expedition Society
Ok, I figured it (the bracket) would be all the way to the left or the right of the pillar, but I guessed the wrong side. The wires should move easily to the left or right in the middle section.

Thanks John, James
 

StumpXJ

SE Expedition Society
I managed to get my snorkel installed and mounted this afternoon, it pretty much kicked my butt the whole way, but its on and I am happy with it. Its a much more involved install that the on on my taco was. The snorkel does a great job hiding my rack wires, and luckily I didnt have to move anything to make it all work. One thing that surprised me was how much you can hear the intake noise with this big 4.0liter as apposed to my puny little 2.7 liter with the taco, plus the fact that it is mount on the drivers side instead of the passenger side like the Toyota. Sounds pretty wicked when I stomp on the skinny pedal! Pictures tomorrow, im beat!

~James
 

StumpXJ

SE Expedition Society
Cross posted from another section

After attempting to get a "Drifta" kitchen shipped to me from Australia, I decided to make my own. The Drifta kitchens are extremely nice, and I would have purchased one on the spot if it was easily shipped to me, but its not. I sent an email to the company asking about shipping out of the country of Australia, got one response asking me which kitchen I wanted, then I heard nothing back from them after letting them know what I wanted. This was about 8 days ago, so I figure it would cost a small fortune to ship, probably close to what the kitchen actually costs.

I am by no means a carpenter/cabinet maker, and my finished product will probably reflect that, but it will work for my needs, atleast until Drifta gets a US or European distributor. I really like the quality of Drifta's kitchens, and I borrowed a little of the design for my build. I am already at about 150 dollars into material cost, about 4 hours of actual work, and countless hours of dreaming up the "perfect" layout. Here is where I am so far:

The stumptaco kitchen is 48 inches in length, 17inches tall, and 16 inches deep. It is made of birch ply, for strength, lightweight, and looks. It will be clear coated with a UV protectant polyurethane when its finished. I am making the grill cut-out section so that a Partner steel 2 burner stove fits in it with the lid closed. I have a white laminate top that is going on it, and lots of other bells and whistles planned, but that will come later. Here are the preliminary build shots.


Outer shell together, trying to figure out the drawer placement.

DSCN0439.jpg


DSCN0440.jpg


DSCN0441.jpg


First drawer hung, on roller slides.

DSCN0443.jpg


DSCN0444.jpg


Both drawers in.

DSCN0445.jpg


DSCN0446.jpg


Shelf above the drawers added.

DSCN0447.jpg


More later, just came inside for a quick break.

~James
 

StumpXJ

SE Expedition Society
Thanks Fiddy!


Latest update:

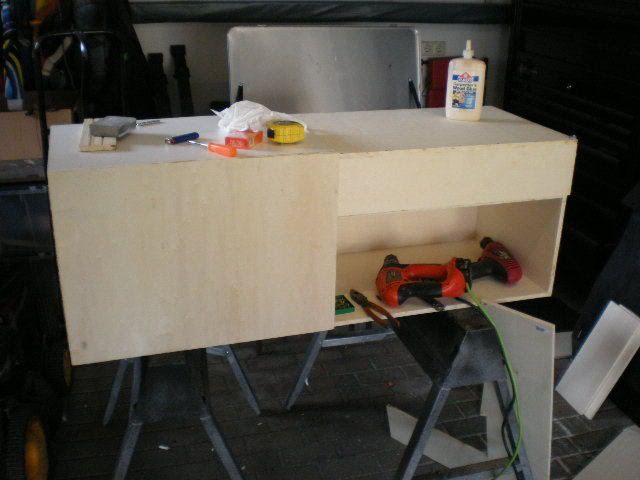
The wife just got home, so I am calling it quits for the day. Below is the rest of my progress.

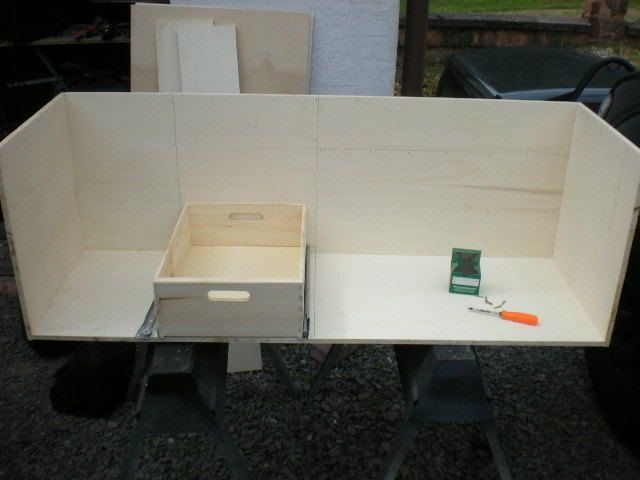
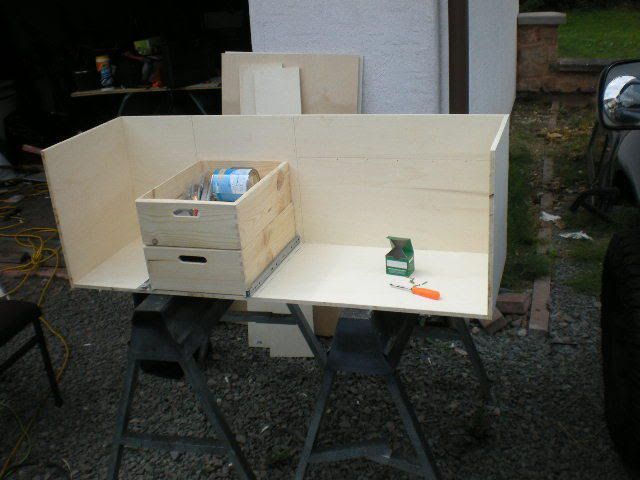
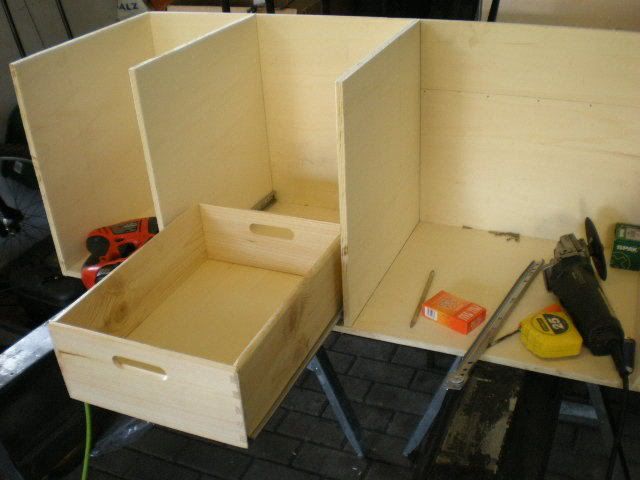
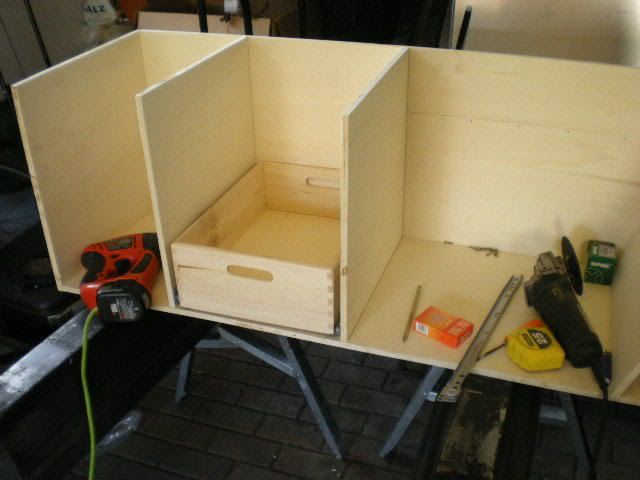
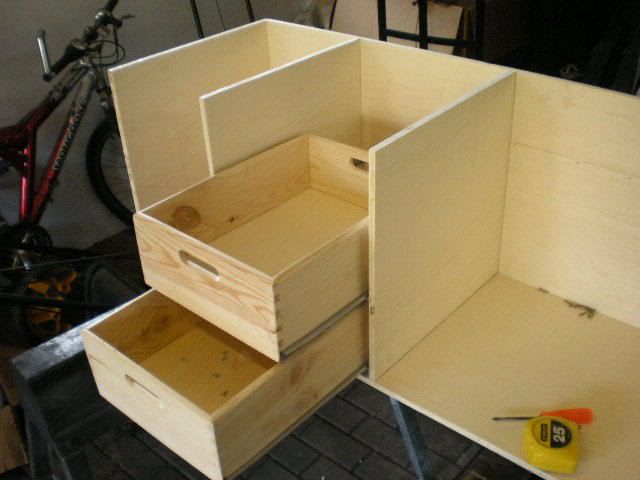
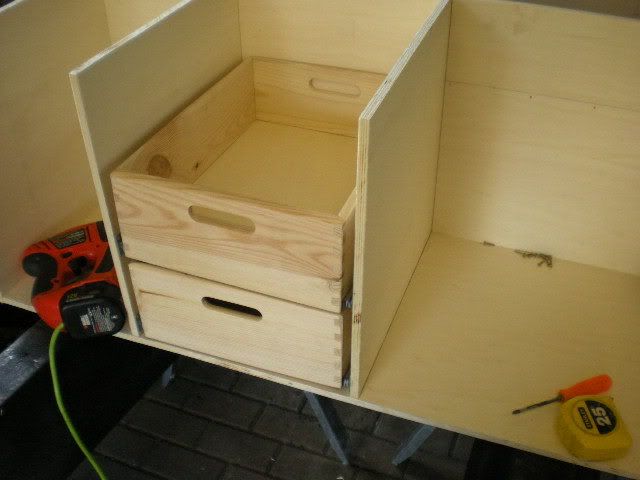
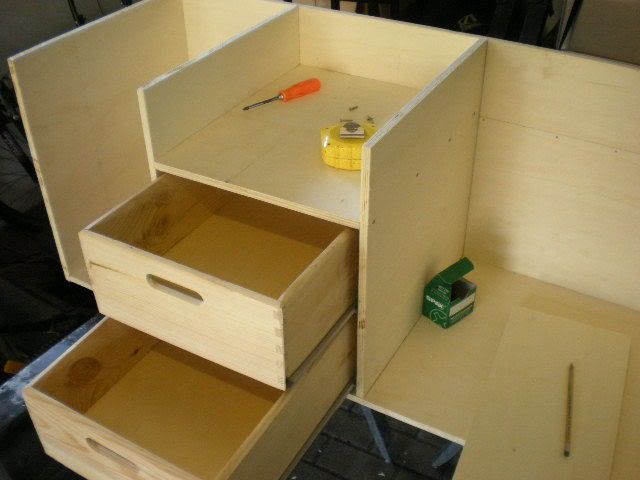
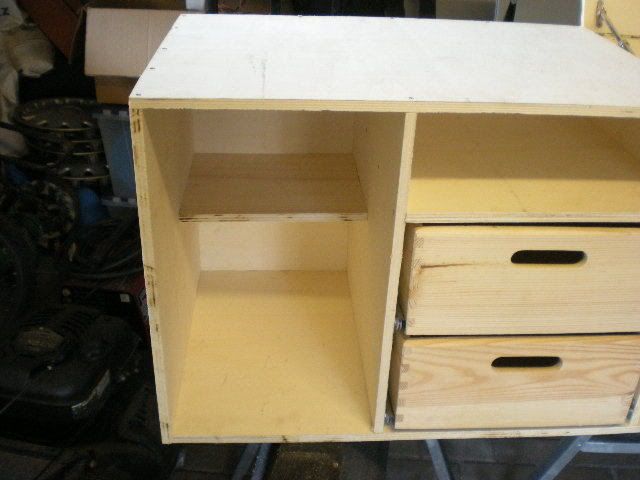
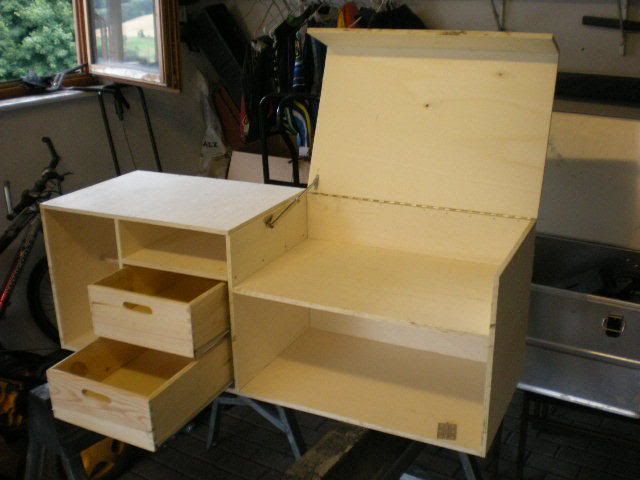
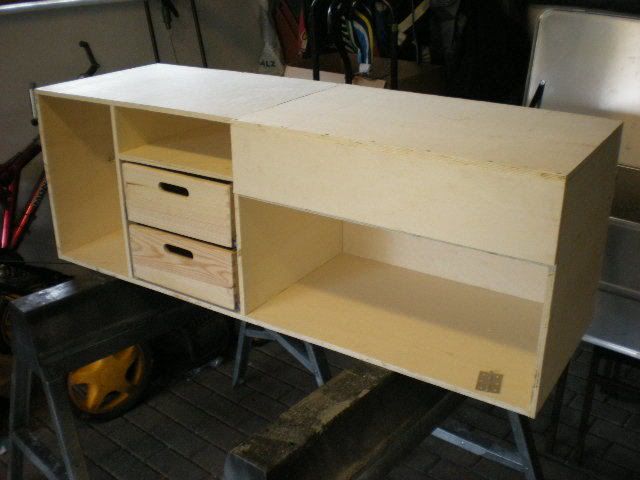
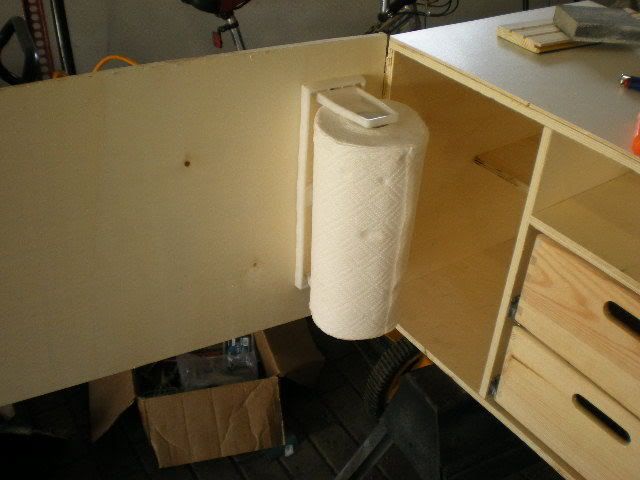
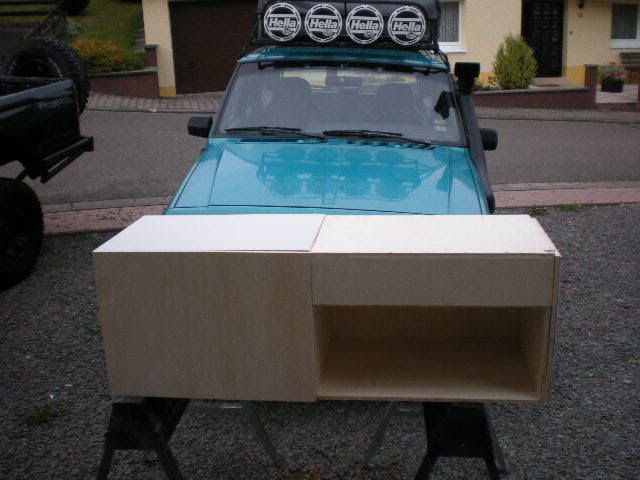
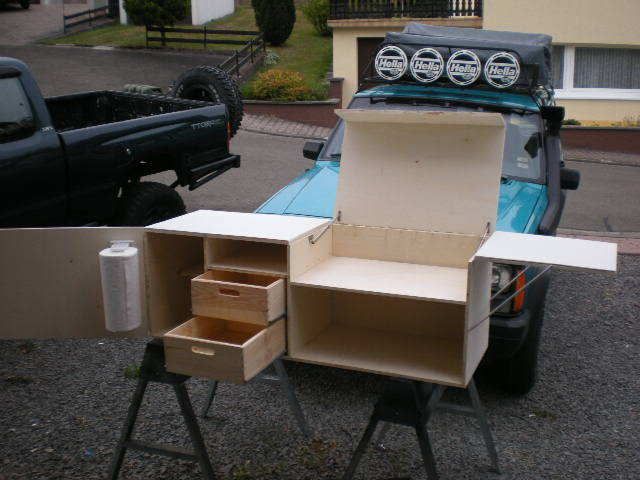
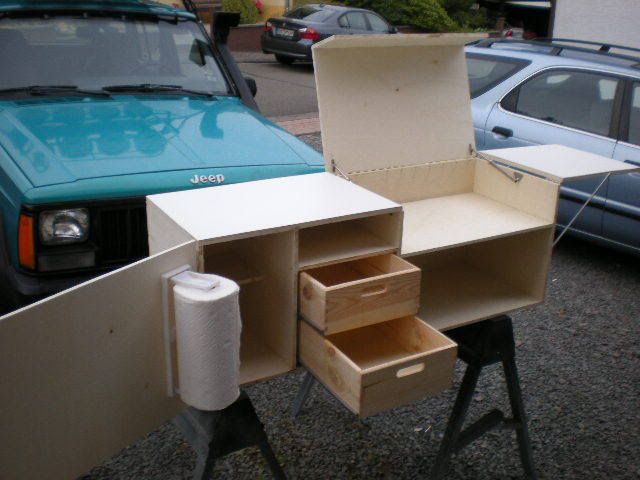
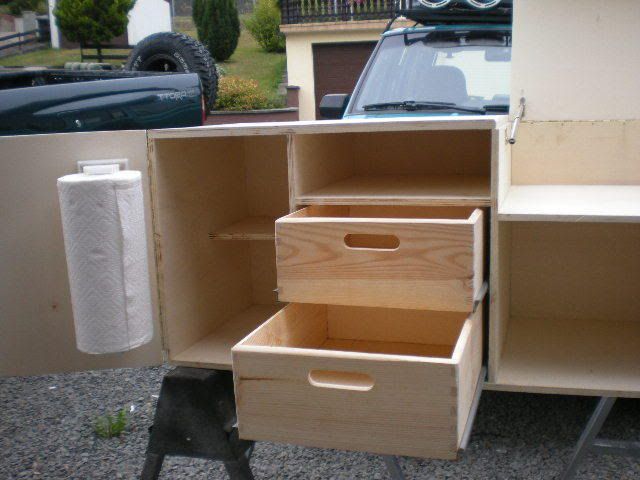
The left side of the kitchen will mostly house dry goods, (canned food, box foods like stuffing or cous cous etc, and the drawers wil also hold cans, and utensils. I am also making a small spice rack to hold my spices as I can never seem to keep up with my "camping dedicated" spice bottles. The slot above the drawers will be use for whatever, maybe longer things like aluminum foil rolls or saran wrap. I have to incorporate a knife block, and a paper towel holder somewhere in here also. Its harder to do than I thought, especially when trying to think ahead to keep everything in its place so it doesnt bounce around too much when offroad. Im sure I will have to make some changes and adjustments, but Ill figure that out after its shakedown run.

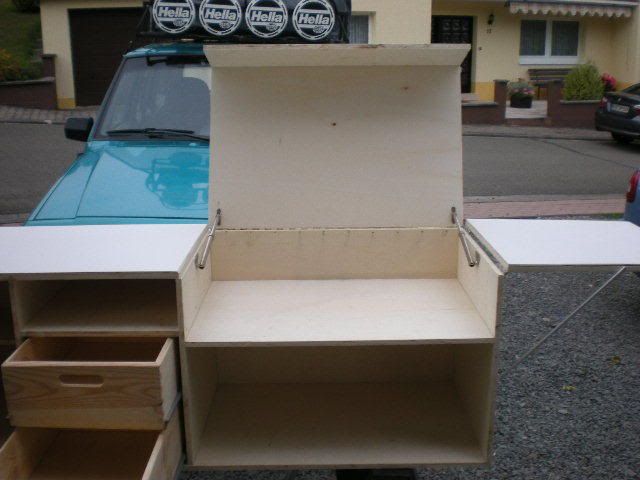
I decided to make this a half shelf, so I could store taller items in the front, like paper towel rolls, or cleaning supply bottles, or whatever.

DSCN0449.jpg


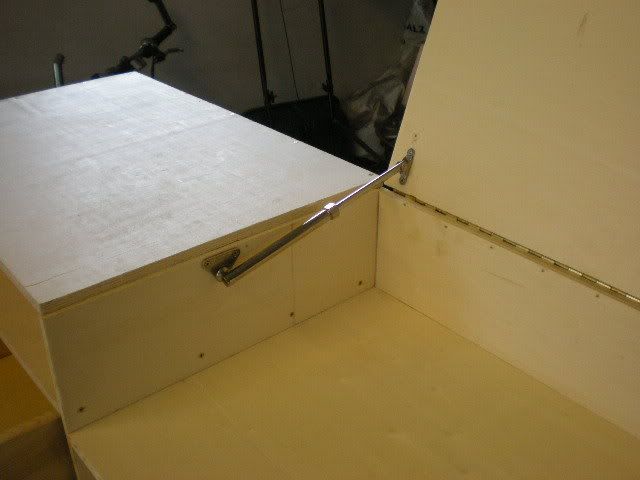
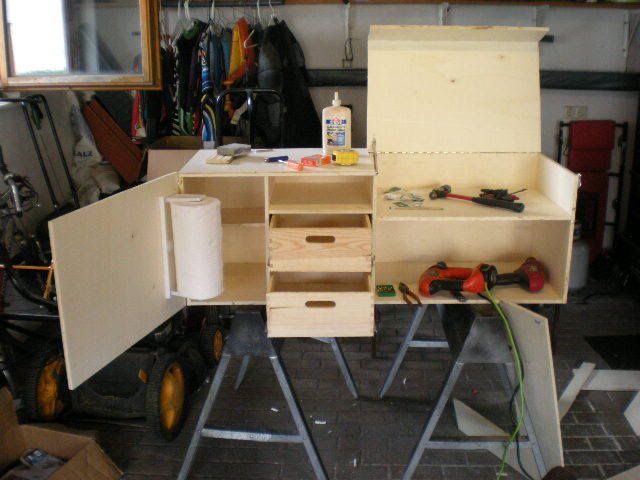
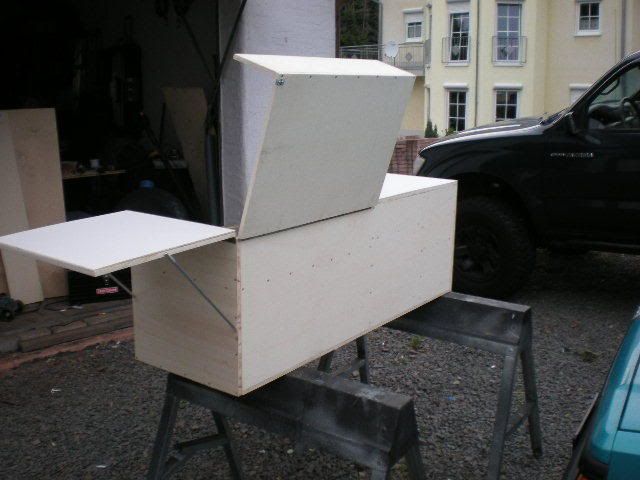
Here it is with the left counter top section on, grill cover lid on, and the grill shelf. I am finally going to break down and get a quality grill, I hope the Partner lives up to its reputation. Cooking while camping is probably the most fun part for me, so I am hoping it fits the bill. I used a piano hinge for the grill cover, and a spring loaded gas-less strut for the the holding/lifting duties. I will use this same type of strut on the front door that will cover the left side face of the kitchen.

DSCN0450.jpg


Here you can see the strut. I had never seen these in the states, but they are pretty common over here. They have a nut that you can tighten or loosen, depending on how heavy the door is or how much support you need. The spring assists you in the opening process, then the last 10% of travel is made much stiffer depending on how tight the nut is. The best part? They are fully stainless steel, and cost only about 10 euros.

DSCN0451.jpg


Here it is with the lid closed, I obvisouly still have to make the other door panels for the face of the kitchen. I have some 12mm thick Delrin sheet that I thought I would use for the front panel below the grill cover. The idea is that it would also be on a hinge, but would hinge down to create the perfect chopping board and prep area. I think I may do it, although that much Delrin is expensive it would be a pretty trick cutting board. Luckily I already have it in the shop! :)


DSCN0452.jpg


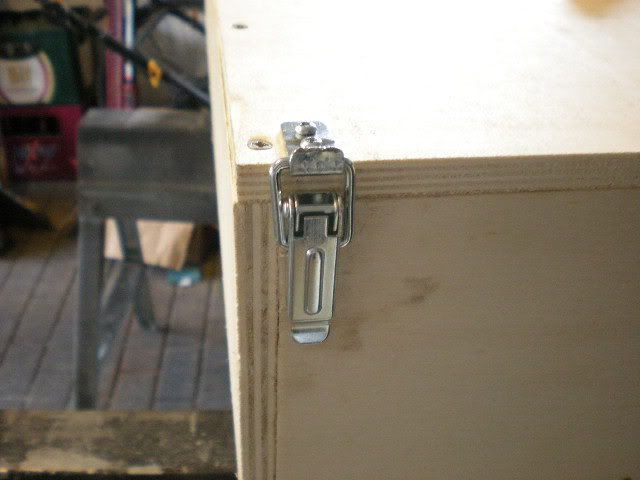
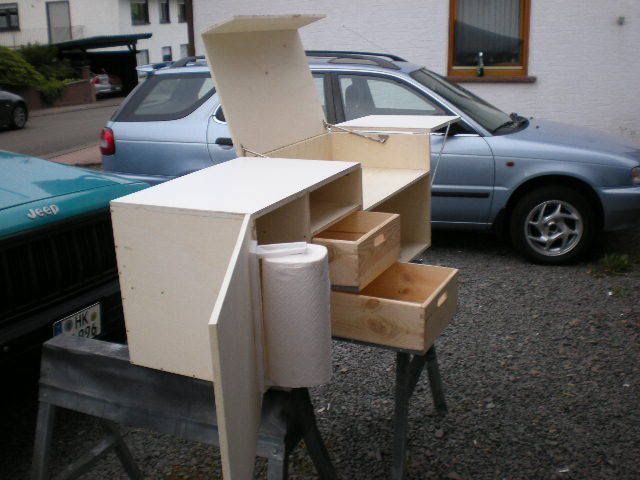
Just a close up of the latching system I am using for the lid and side doors. The lid will have one of these on each side, as well as the side door. They didnt have these in stainless, but they are galvinized so I should be ok for rust. I also used all galvinized screws for construction.


~James
DSCN0453.jpg
 

StumpXJ

SE Expedition Society
So, here is todays progress, had a few hours to work on it today.

I started on the side door that covers the left of the kitchen, got it cut to size, and mounted using another piano hinge on the end. I also mounted a plastic collapsable paper towel holder, that when the door is closed, it has clearance to leave the paper towl roll on. sucks up a bit of my storage space, but in all honesty, I had planned to put a roll of papertowels in that spot anyway.

DSCN0455.jpg


With the door closed

DSCN0456.jpg


DSCN0457.jpg


Started on the fold-away shelf on the right side. This is just extra counter space, and will come in handy im sure. in the next picture, I am applying the PVC coated laminate stuff, that is on the surfaces. I needed some weight to keep in secure while the glue dried. I think the pictures shows how much weight it can hold. There is about 60 pounds on it with no trouble. I used extruded aluminum rods for the supports, and they get stored in one of the drawers when not in use.

DSCN0458.jpg
 

StumpXJ

SE Expedition Society
Took her outside for some photos, and the fact that my garage is a giant mess.

DSCN0459.jpg


DSCN0460.jpg


DSCN0461.jpg


I added another strut to the grill cover. It was bothering me that I only had on on it. (maybe my OCD kicking in?)

DSCN0462.jpg


DSCN0463.jpg


DSCN0466.jpg


DSCN0467.jpg


Lots of sanding to do, then I will tear it all apart so I can seal it with the polyurethane. I still have to install the latches, and the cutting board, also a few other odds and ends (Knife block, lights for the grill area), buts its getting close.

Let me know what you think.

~ James
 

BC Explorer

Adventurer
You are making me miss my Cherokee really bad now !
This is a excellent idea and would have made me keep my XJ instead of going YJ.
I wonder if something like this couild be made to fit in the back of my YJ.
Now I have another project to add to the list.

Awesome work !!
Can't wait to see it finished.
 

BC Explorer

Adventurer
Wow, I just went through Drifta's web site and those are great ideas.
The ideas would be endless building one of these boxes.
Well out comes the tape measure.
 

firemansxterra

Adventurer
that build is looking awesome! i know you have spent a decent amount of time on it, but it looks like you have put a looot of time in it due to the quality of it...very nice design!
 

StumpXJ

SE Expedition Society
Thanks for the compliments guys, I think I have just been lucky during this build, as normally I rush things, and it doesnt turn out so great. This time, due to work, I have had to spread the work out over a couple weeks and that is helping.

I am sure this would work in the rear of a YJ, of course it would have to be modified to suit the space difference, but it would work. Yeah, the Drifta website had me drooling for many days. I would still love to own one of their products, as they are extremely well thought out, and the pricing is actually very good for the quality of the product. (especially since I now know how much work goes into it!)

Big Daddy, yep its going into the back of my XJ. It wont staty back their permanently, but only when I go on trips.

Thanks fireman, I have about 12-14 hours into it right now. That includes lots of breaks and staring at it while I figure out the next move... :)

Cant wait to start using it!!
~James
 

StumpXJ

SE Expedition Society
Good news for StumpXJ!

Well, the kitchen project has been put on hold until the cutting board material gets here, so I will share the newest good news:

This has been ordered!

PD-XJ65.jpg


The guys at Clayton Offroad have been extremely helpful in working with my unique shipping requirements over here (no boxes over 70 pounds), and are working with me to get this stuff over here. It will come in 9 boxes (including new Bilstein shocks), but it will get here none the less!!

I also have ordered 5 new rubbers, and 5 new black steelies for PROJECT TEAL!

I am stoked!! Thanks to the folks on here who reccomend Clayton's, a great company to deal with thus far.

~James
 
Last edited:

Forum statistics

Threads
189,899
Messages
2,921,966
Members
233,083
Latest member
Off Road Vagabond
Top