You are using an out of date browser. It may not display this or other websites correctly.
You should upgrade or use an alternative browser.
You should upgrade or use an alternative browser.
Stumptaco's has gone over to the darkside..XJ style.
- Thread starter StumpXJ
- Start date
jeepmedic46
Expedition Leader
Very cool, Wish you lived closer maybe you could install one of those in my Kj.:ylsmoke::smiley_drive:
StumpXJ
SE Expedition Society
Thanks everyone, still need to do a little tweaking, but the mount works very well.
Crossbike, I didnt take a pictures of it, but on the backside there is a peice of 3/16th steel plate that runs from top to bottom, and a standoff/solid rod that I turned down in the lathe to fit into the tube welded to that plate. I just used 4 machine screwes drilled and tapped into the delrin to connect it all. I will take a pic of it tomorrow as I plan t finish up/modify a few things now that I have had a chance to use it.
Thanks, James
StumpXJ
SE Expedition Society
Alrighty, I got around to finishing up the laptop mount today. After driving around with the mount as it was, I realized it was a little shakey front to back. The way the mount is traingulated, its very solid from left to right, but not much to stabilize it front to back. So, I welded on a little tab and mounted it to the console, and now she is solid as a rock.
Also, I needed to shorten the over all mount about 2 inches, add a thumb screw to lock in the plate in either the driver or passenger position. Got all that accomplished this afternoon, so here is the update.
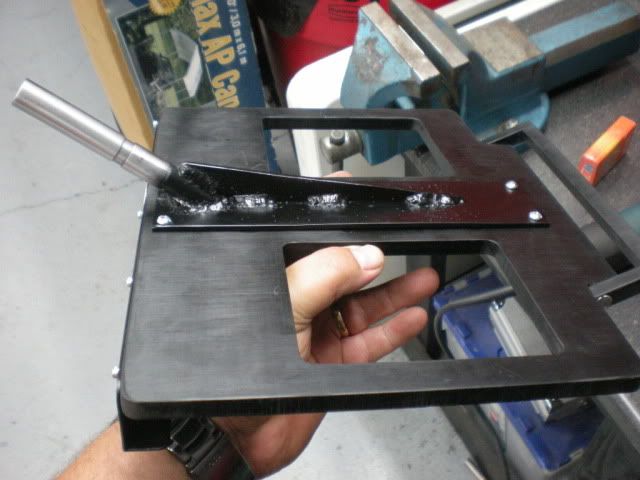
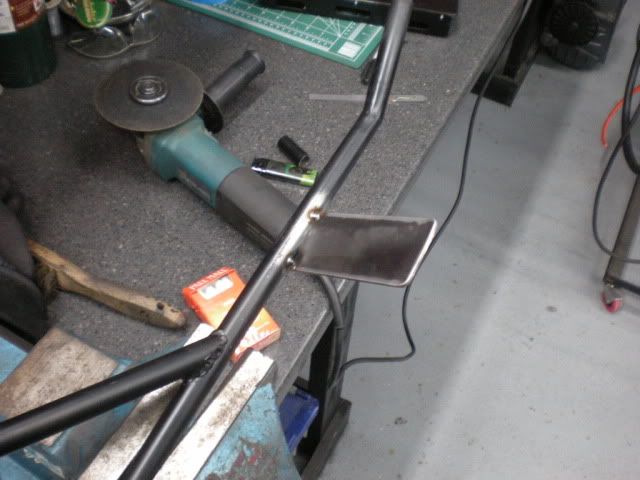
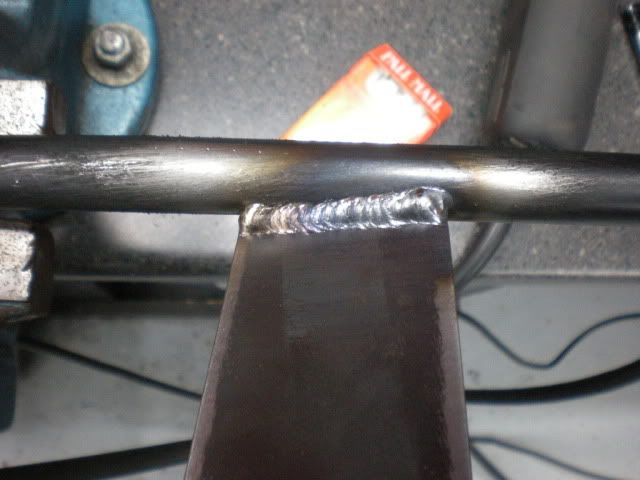
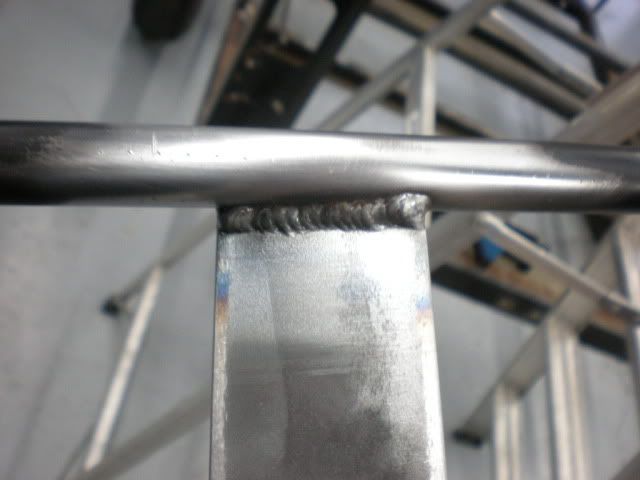
Here is the plate I welded to the stantion to mount the Delrin to.
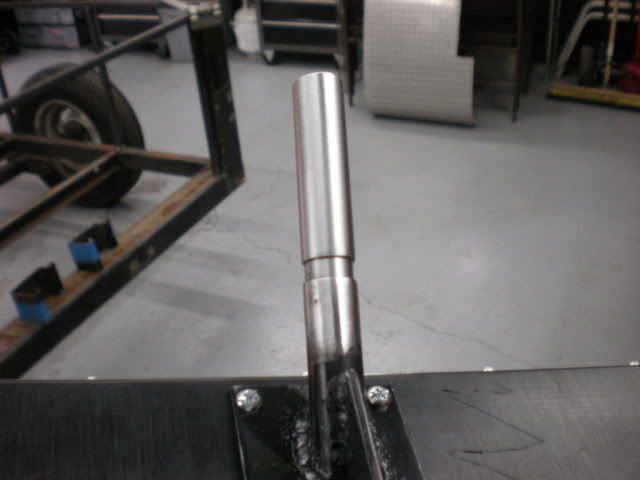
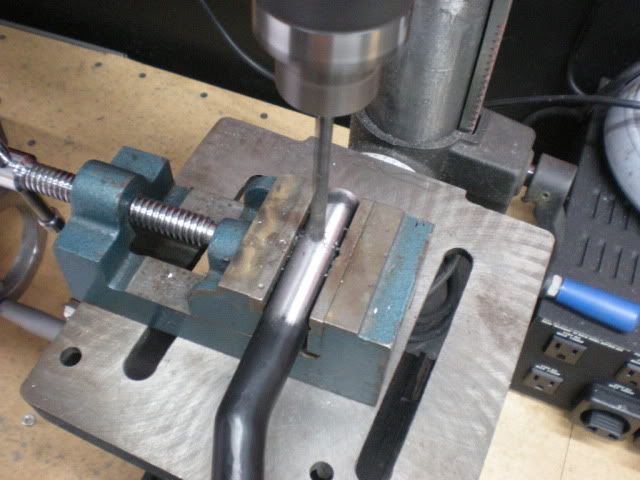
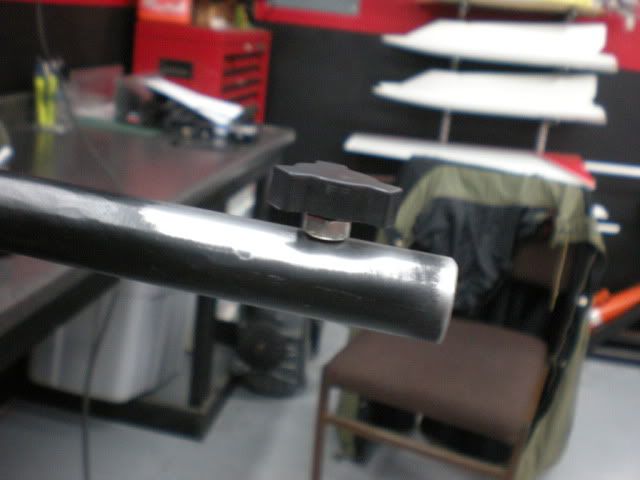
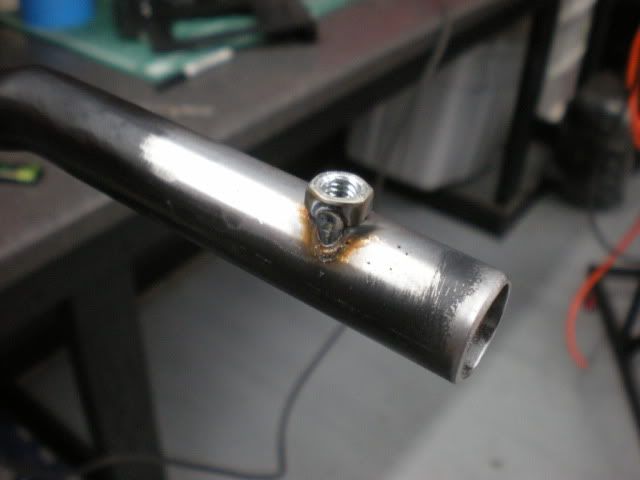
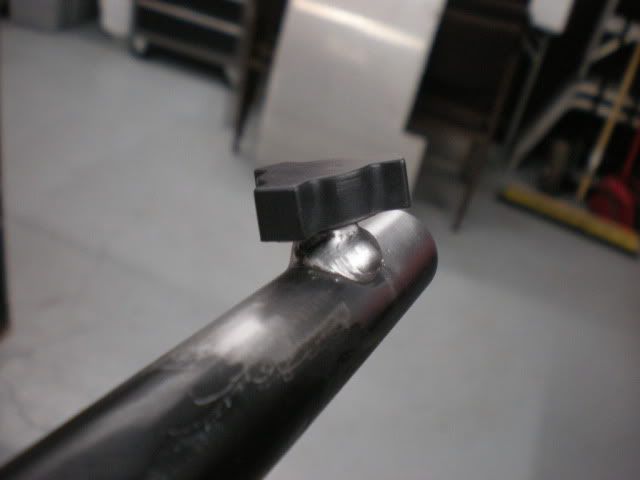
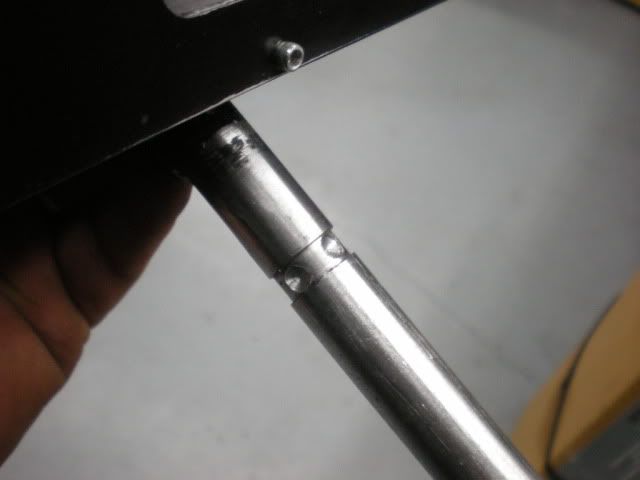
I turned down this rod in the lathe so it fits nicely into the tube. I also cut a small shallow groove for the thumb screw. Obviously this was all done before the welding.
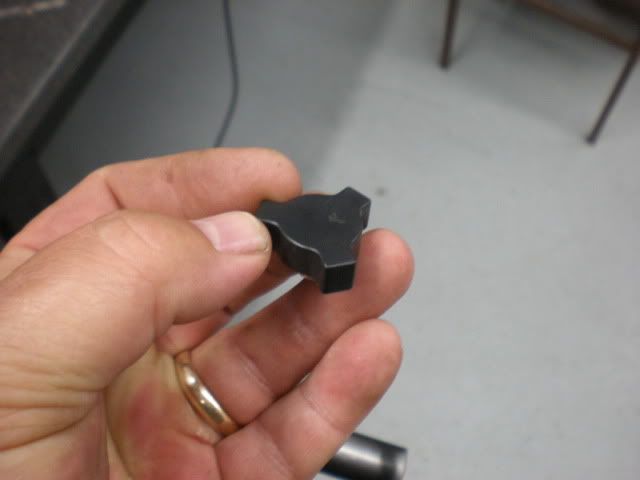
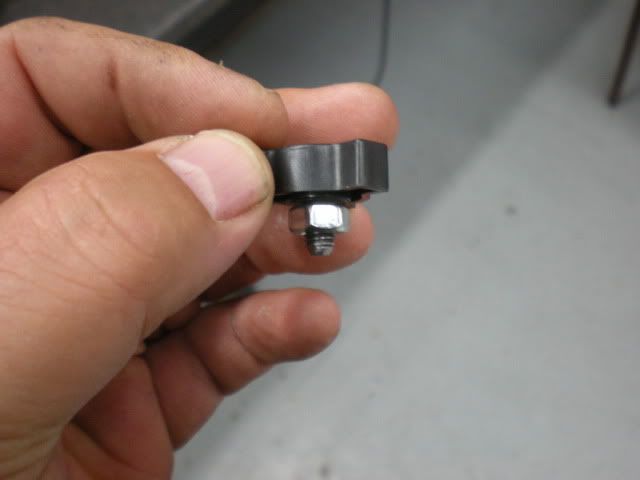
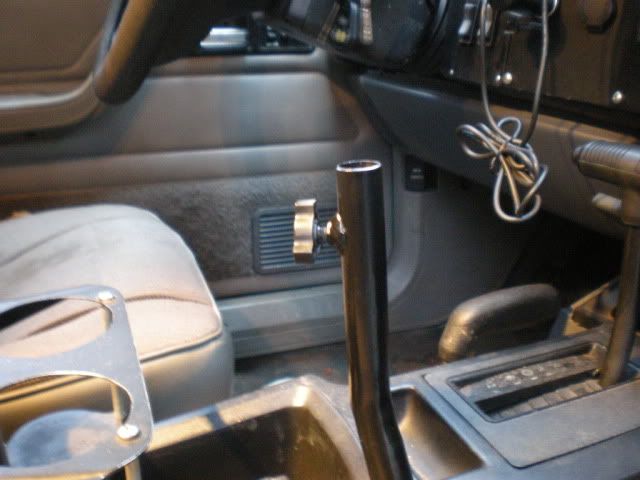
This is the thumb screw I used. I have no idea where it came from, but it works great for what I wanted. I dont usualy throw out anything like this stuff as I usually end up needing it down the road... point in case.
Welded up the bracket for front to back support, little overkill since its mounting into plastic, but I had some scrap laying around.
Also, I needed to shorten the over all mount about 2 inches, add a thumb screw to lock in the plate in either the driver or passenger position. Got all that accomplished this afternoon, so here is the update.
Here is the plate I welded to the stantion to mount the Delrin to.

I turned down this rod in the lathe so it fits nicely into the tube. I also cut a small shallow groove for the thumb screw. Obviously this was all done before the welding.


This is the thumb screw I used. I have no idea where it came from, but it works great for what I wanted. I dont usualy throw out anything like this stuff as I usually end up needing it down the road... point in case.


Welded up the bracket for front to back support, little overkill since its mounting into plastic, but I had some scrap laying around.


Last edited:
StumpXJ
SE Expedition Society
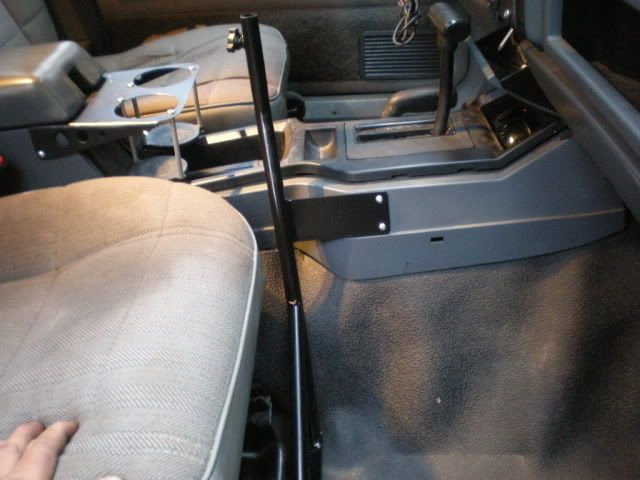
Someone asked me if the passenger seat still moved forward... yep, it still does.
I countersunk/drilled two dimples in the rod. Each dimple is a locking point for the mount, one for the driver position, and one for the passenger position.
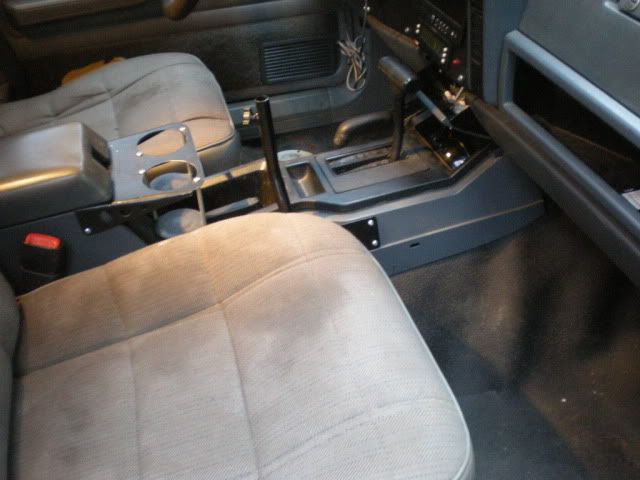
Drivers position:
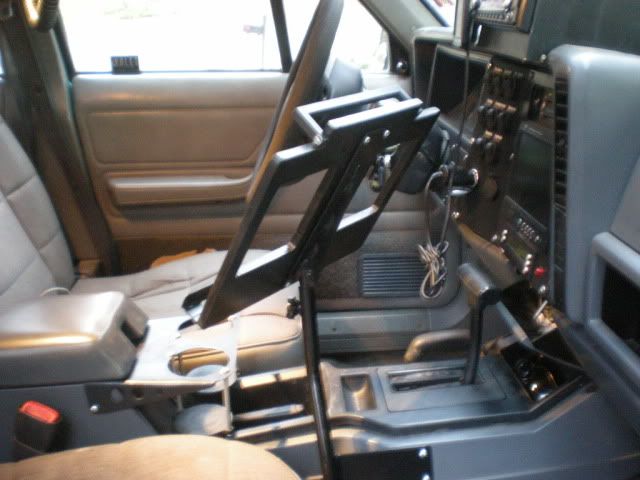
Passenger position:
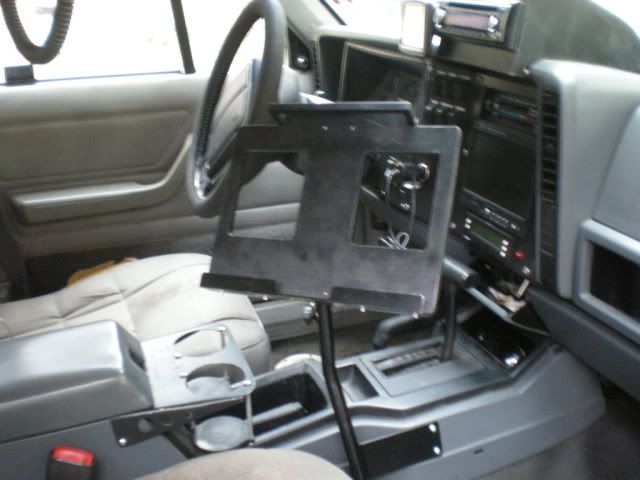
View from the drivers seat.
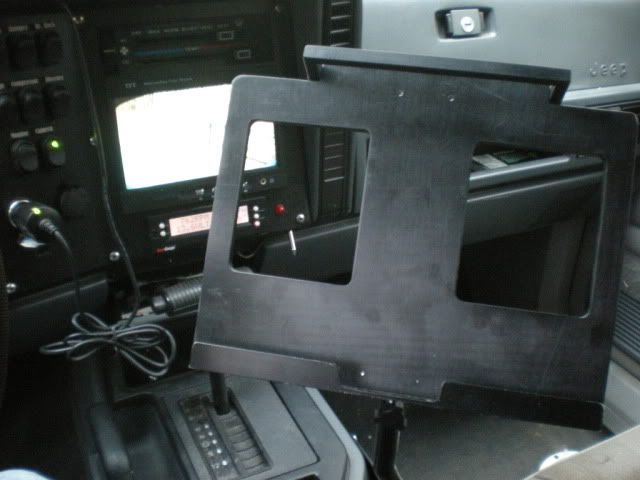
Last edited:
StumpXJ
SE Expedition Society
Wow ! Amazing work .
Couple questions if you don't mind .
How did you figure out how to cut the wood for the floor in the rear ?
Where did you get those cup holder(s) ??
Figure out how? you mean the shape? Dont remember honestly, most of the things I do are organic, and just kind of happen. I imagine I took a few measurements, then transposed them onto the wood. I will say that the wood is in two sections, one left side, and one right side, with a tongue and groove joint in the center
I made the cupholders myself.
Thanks for the comments!
biglos454
Adventurer
wow! i just read through the whole thread and i have to say great build! i especially love your dash set up. great work on the xj. Ive always secretly loved the XJ platform, (Dont tell my chevy loving friends lol)
i just wanted to ask you about your camera system. any details on it? how many cameras do you have? what areas of the vehicle do you watch with them?
i just wanted to ask you about your camera system. any details on it? how many cameras do you have? what areas of the vehicle do you watch with them?
Aspen d'Grey
New member
This is an awesome XJ and has lots of the stuff I want to do to my own in it!
I'm wondering about your laptop mount- if you had a manual tranny could you still shift with it? I have the same laptop and am trying to figure out how I'll be mounting it in the vehicle. Interested in making one for sale?
I'm wondering about your laptop mount- if you had a manual tranny could you still shift with it? I have the same laptop and am trying to figure out how I'll be mounting it in the vehicle. Interested in making one for sale?
Similar threads
- Replies
- 7
- Views
- 957
- Replies
- 12
- Views
- 470
