jim65wagon
Well-known member
With the doors built it was time to move forward. We started at the top, with the roof.
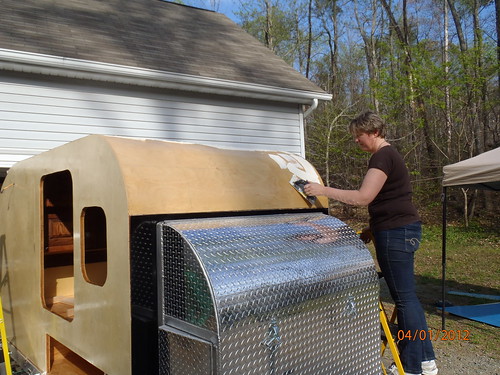
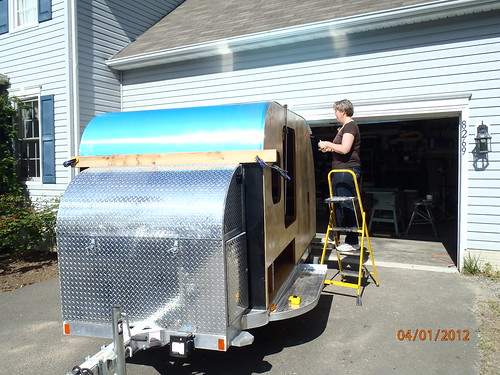
A layer of outdoor carpet glue was troweled on. This will hold the aluminum skin down until we can get a few staples in and the trim on that will hold it permanently in place.
.
.
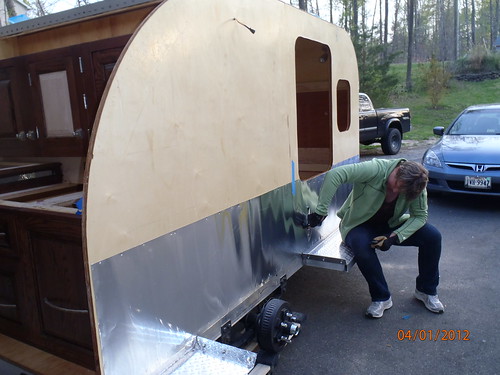
We added a layer of flashing to the bottom edge of the trailer. This overlays where the trailer meets the frame, and underlays where the upper aluminum skin meets the lower diamond plate. There is a bead of butyl tape where the wooden floor meets the frame, and 3M 4200 sealant along the edge of the flashing for further waterproofing.
.
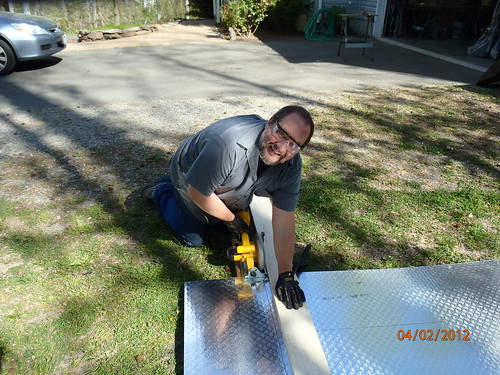
Then it was time for the diamond plate panel that surrounds the bottom 15" of the trailer. It cut easily with our DeWalt circular saw. A little nervous about this, Beth took this photo so the surgeon would have something to go by if I needed a facial reconstruction
.
We're using an H channel where the diamond plate meets the skin

.
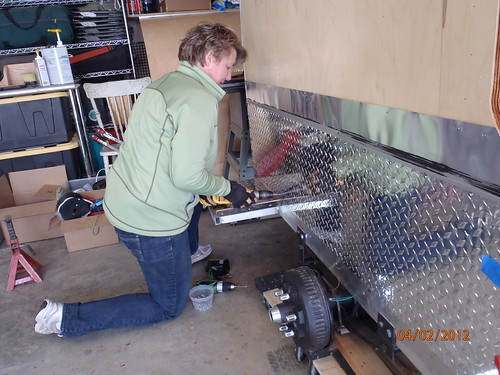
The diamond plate gets a bead of 3M 4200 sealant around the back of it, then gets screwed to the trailer
.

.
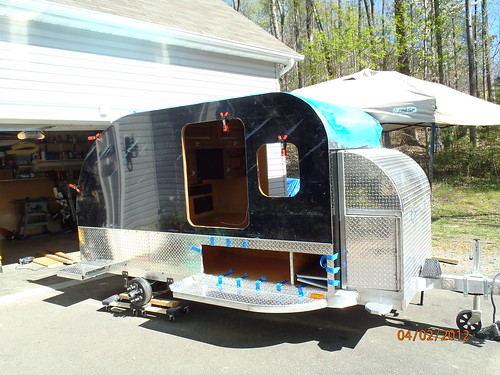
We (the kids and I) held up the 4x10 black upper panel to the trailer while Beth drew the outline of the traile, door and window on it. It cut easily with the saber saw, and after a bit of carpet glue on the wall, it clamped into place
.
Then it got a few staples along the edge

.
Where the panel fit into the H channel we pressed in a black rubber window spline to hold it in place

.
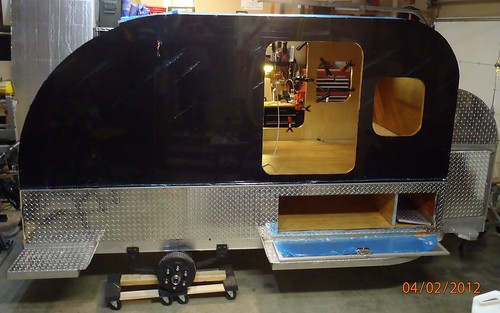
and that's where it sits at the moment
.
The cat is just plain bored with the whole idea

A layer of outdoor carpet glue was troweled on. This will hold the aluminum skin down until we can get a few staples in and the trim on that will hold it permanently in place.

.

.
We added a layer of flashing to the bottom edge of the trailer. This overlays where the trailer meets the frame, and underlays where the upper aluminum skin meets the lower diamond plate. There is a bead of butyl tape where the wooden floor meets the frame, and 3M 4200 sealant along the edge of the flashing for further waterproofing.

.
Then it was time for the diamond plate panel that surrounds the bottom 15" of the trailer. It cut easily with our DeWalt circular saw. A little nervous about this, Beth took this photo so the surgeon would have something to go by if I needed a facial reconstruction

.
We're using an H channel where the diamond plate meets the skin

.
The diamond plate gets a bead of 3M 4200 sealant around the back of it, then gets screwed to the trailer

.

.
We (the kids and I) held up the 4x10 black upper panel to the trailer while Beth drew the outline of the traile, door and window on it. It cut easily with the saber saw, and after a bit of carpet glue on the wall, it clamped into place

.
Then it got a few staples along the edge

.
Where the panel fit into the H channel we pressed in a black rubber window spline to hold it in place

.
and that's where it sits at the moment

.
The cat is just plain bored with the whole idea

Last edited:

