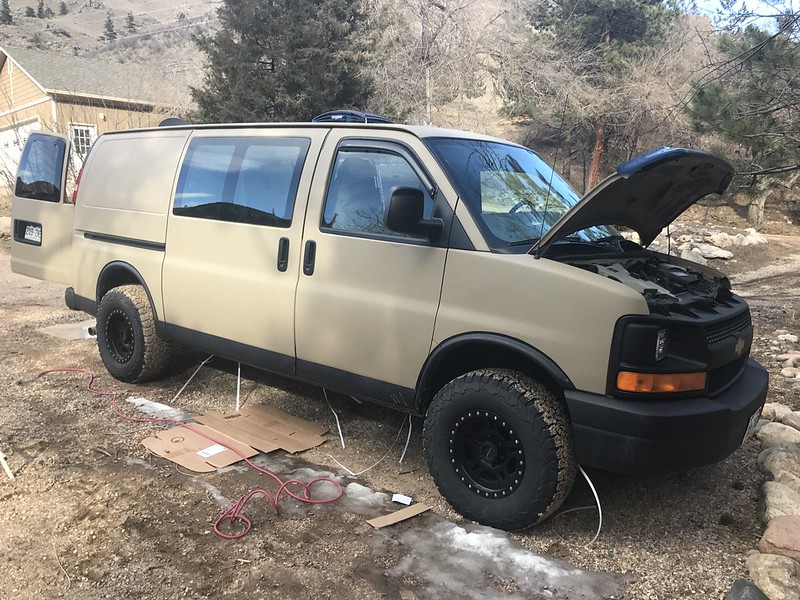
The Fun Hog Build Thread: 2007 Chevy Express AWD

Len.Barron

Observer
Receiver hitch install would have to go below your plate...probably no impact at all, it would sandwich your plate to the frame rail; no real need to get to those batteries, most of those have a 10-12yr life..
Looks good...I'll be doing something similar.
 

On Belay

Observer
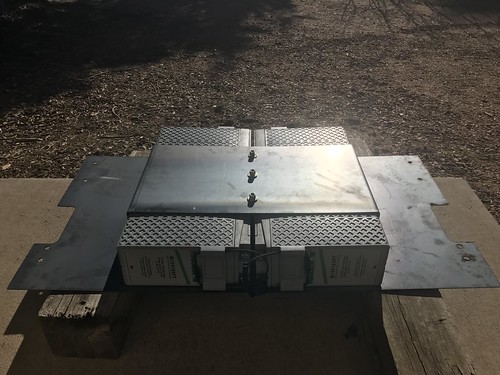
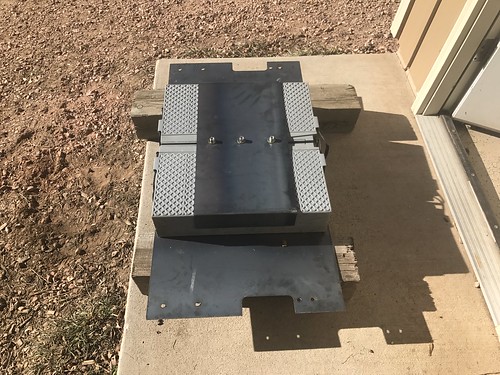
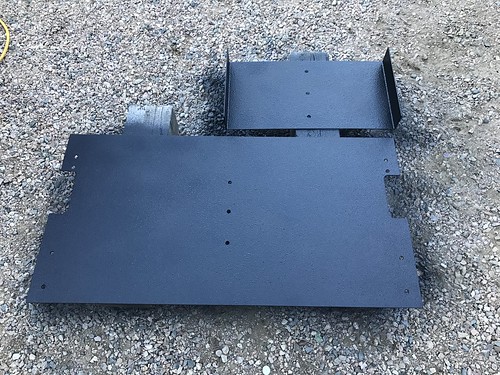
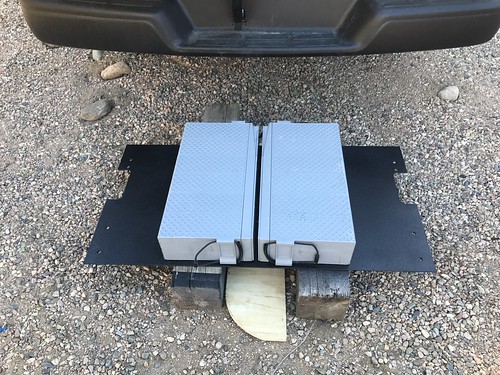
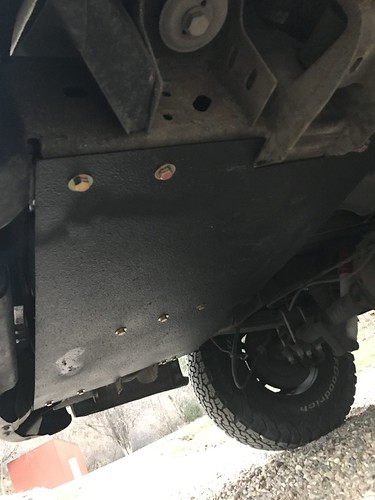
House Battery Skid Plate Installed

House batteries have been installed in their new home. This was a big step as I'm having surgery this week that will have me restricted from any weight-bearing activity for 6 weeks. I have plenty of smaller projects to work on while recovering but the prospect of lugging around 150 pound batteries with one arm at any point in the recovery process wasn't an attractive one. They're in place now and my minds at ease. Hopefully, the skidplate design functions as expected.

Installing the batteries was not fun. Lots of time trying to align the vehicle with the battery tray on two scissor jacks and blocks. Eventually, everything was Tetrised into place. Installed with 3/8" Grade 8 hardware to factory drilled holes in the frame (for a receiver hitch installation I believe). The batteries themselves are Marathon Exide 12 volt 155 amp hour deep cycle AGM's I picked up used from Craigslist for $120 for the pair. With the skid plate materials included, I've only spent around $300 for a 310 AMP Hour battery bank.

27193871439_7e5a84f2a3.jpg

25100135658_10732176e7.jpg

24106407247_e5cafbaff2.jpg

25100136968_8db4f4c88a.jpg

24106396437_0a98bc4171.jpg

25100098478_f209d88ebf.jpg

27193860279_86ff7100da.jpg
 

Len.Barron

Observer
Great job on that install...and you got a hellavu deal on those batteries, I see them on CL all the time but they are usually closer to $120 each. I bought one of the high lift transmission jacks before I did it on my motorhome and that thing paid for itself just on that one job...those batteries are beast!
 

On Belay

Observer
Great job on that install...and you got a hellavu deal on those batteries, I see them on CL all the time but they are usually closer to $120 each. I bought one of the high lift transmission jacks before I did it on my motorhome and that thing paid for itself just on that one job...those batteries are beast!

A transmission jack would have been helpful. I'm working on a gravel driveway though and without a level cement surface it would have been of limited utility. If I have to drop the batteries in the future I'll look into a borrowing a shop and trans jack if possible. It's doable with just a pair of scissor jacks but less than enjoyable.

I was pretty happy with the score on the batteries. I found a guy who had gotten an entire emergency backup bank free from his work when they upgraded. He had 10 identical batteries that were only a couple years old at a great price. In hindsight I perhaps should have bought them all, the rest would have come in handy if I ever follow through on an off-grid cabin.
 

HARv

New member
Dude!!! Killer build, I've been trying to find an AWD express/sienna for a bit now with no luck. Can't believe you scored this at that price. I'm kinda in the same boat, 28, sick of slavin' to the man and want to travel and race moto with the money I've saved and see if I can make something out of it. Cheers ~
 

On Belay

Observer
Dude!!! Killer build, I've been trying to find an AWD express/sienna for a bit now with no luck. Can't believe you scored this at that price. I'm kinda in the same boat, 28, sick of slavin' to the man and want to travel and race moto with the money I've saved and see if I can make something out of it. Cheers ~

Thanks man. Finding the right van is probably the biggest hurdle of the whole project, especially on a budget. I was actively looking for like two years for either a high roof short wheelbase Sprinter or AWD Express, it's tough to find anything in and around Colorado for a good value and when they do come up they sell fast. I missed a couple pretty solid deals on Craigslist by a couple of hours. Just be patient, check Craigslist multiple times a day, and be ready to jump on a deal immediately. In the end I ended up scoring mine through a buddy who does materials testing on job sites and saw a sub-contractor with one, if you know anyone in the trades ask them to keep an eye out (the added bonus here is that contractors just see these as old work vans and generally don't ask a premium). Best of luck with the search!
 

On Belay

Observer
Build Updates

After two months off recovering from surgery I'm back at work on the build. I've got a little over two months left before my lease is up and I'm planning to move into the van full time so things are coming down to the wire. The major projects I have to complete are finishing the elctric system, the roof racks, and the interior.

Interior:

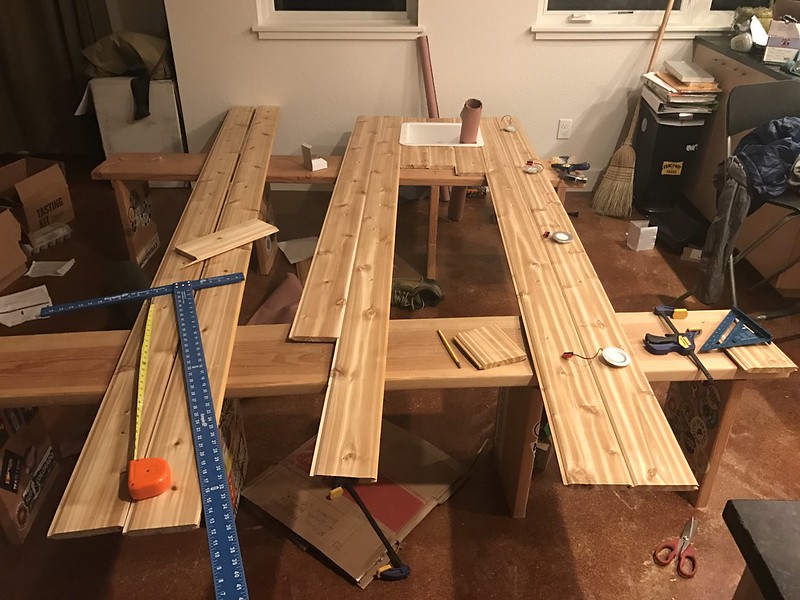
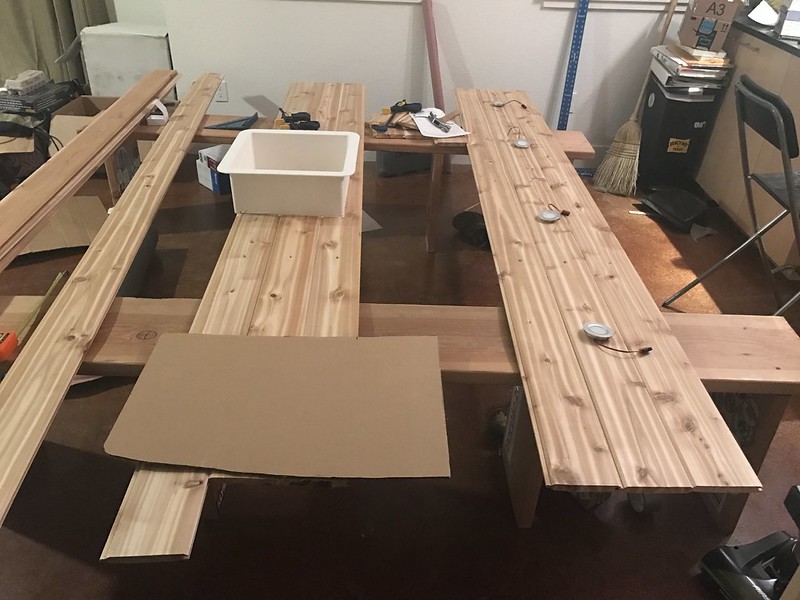
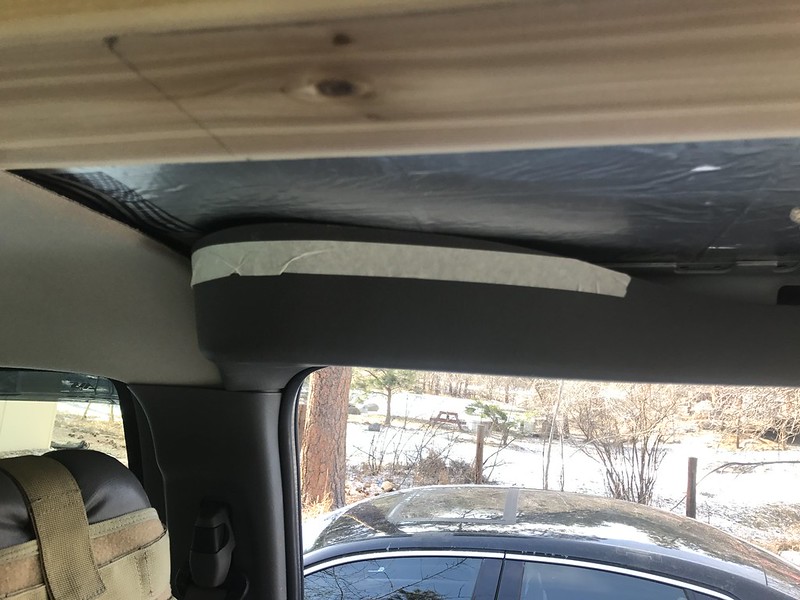
The interior is stilla major work in progress but is evolvng nicely. I'm using 1x6 Western Red Cedar tongue and groove for the cieling and side wall panels. The various bulkheads and strange shapes will get covered with a tan automotive carpet and the upper chanels will be covered by a small set of upper cabinets. I used stainless steel riv nuts directly into the factory braces for each plank with countersunk M6 bolts. Everything is removable if need be. The cedar is currently pulled back out after a test fit, awaiting a sealant and final wiring and insulation. I plan to do the same on the sides of the van using M6 drywall hangers in the open channel and riv nuts in the solid metal.

40320346692_76b33ccc4d_c.jpg


Biggest challenge of working on the van interior? No straight lines. I used carboad templates to match the various curves.

40365769231_39c559f7b3_c.jpg


25493775487_6f921842b1_c.jpg


I did have to clearance some of the trim using a Dremel to fit the tongue and groove:

38555417320_52140649c8_c.jpg


Electrical:

I've also been simultaneously chipping away at the electric system. I'm taking it individual system by system and woring in stages. Lots of wiring.

Various goodies waiting to be installed:

38555417980_837df2761d_c.jpg


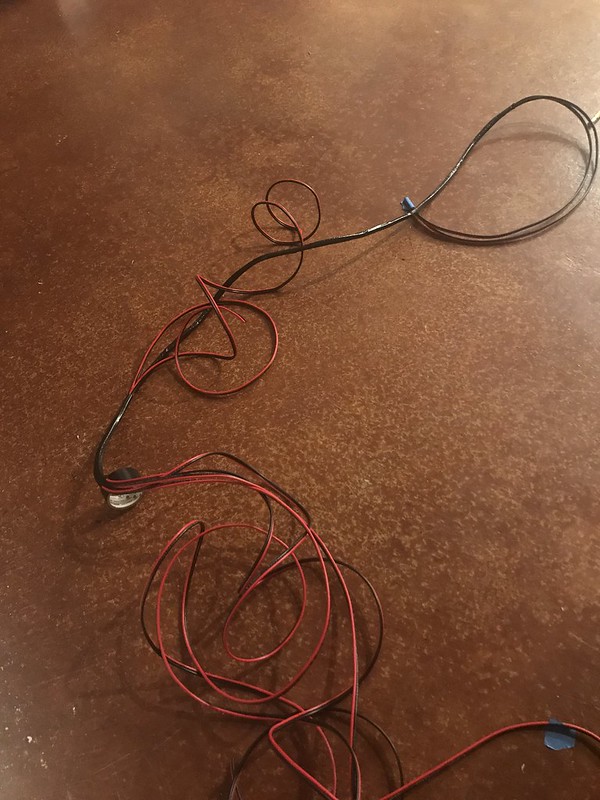
Starting the wiring harness for the LED puck lights in the ceiling:

40365797841_8137791e1c_c.jpg


25493772217_7228b4b780_c.jpg


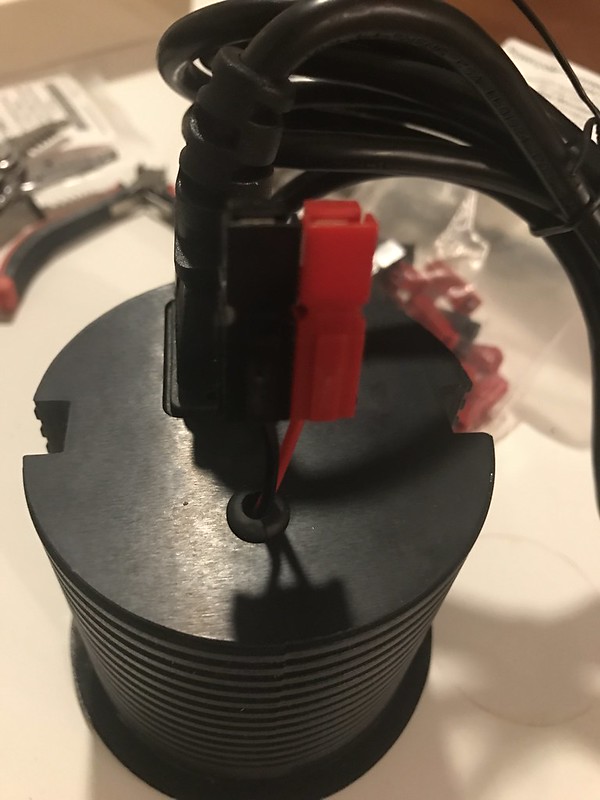
Modified (2 USB ports re-wired for 12 Volt DC) desk power grommet for remote AC/DC (inverter) power:

38555404630_e3870db694_c.jpg


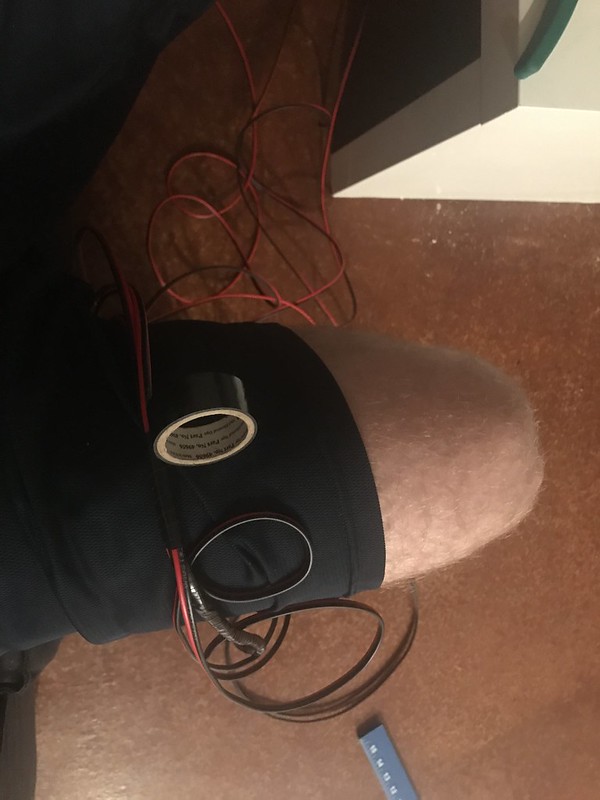
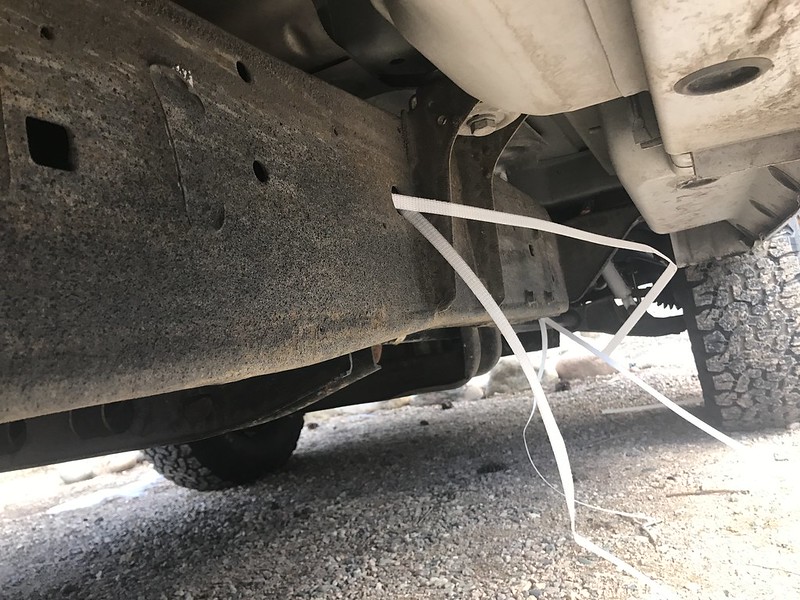
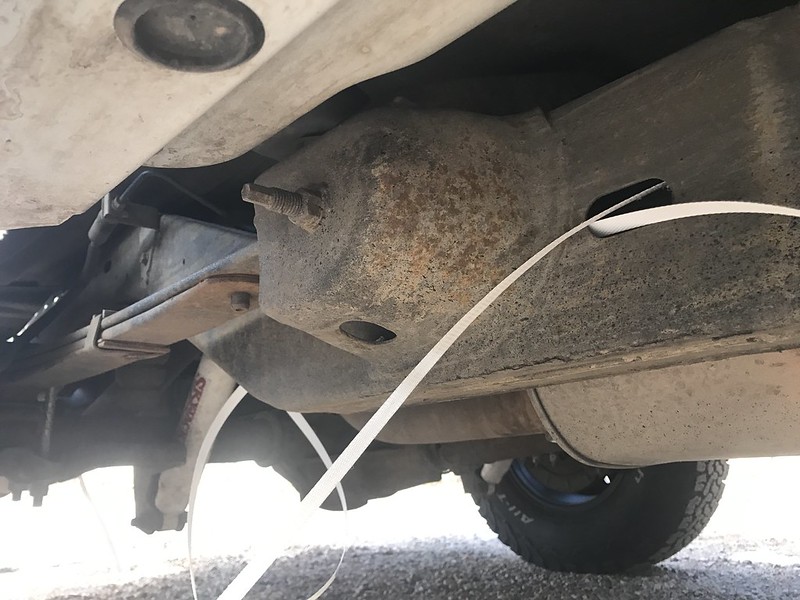
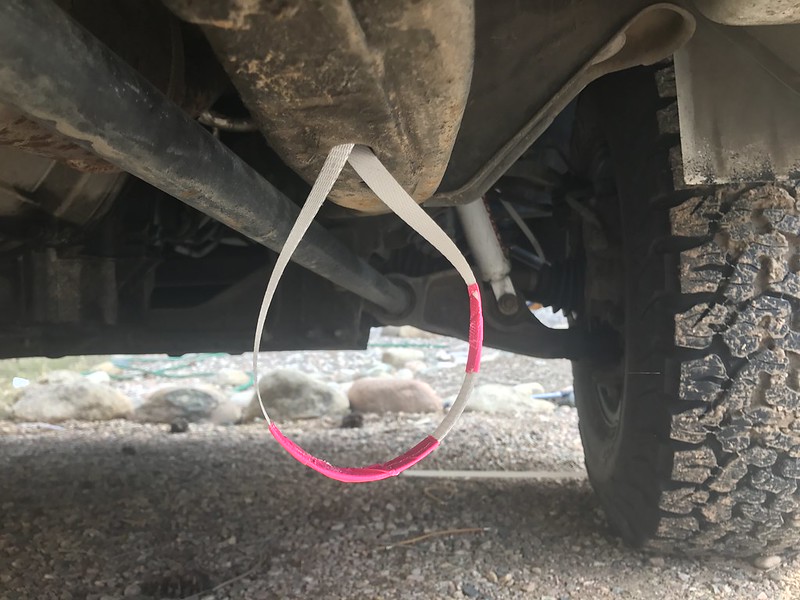
Preparing to run the 2 AWG welding cable from the main battery to the rear house battery bank (through ACR and 100A circuit breaker). I opted to run the cable through the frame rail itself for protection. I recycled the package strapping from the solar panel to fish through the frame rail. Just waiting on some protective cable sheath to arrive from Amazon (thank god for Prime) before running the cable.

39468626855_29739a2249_c.jpg


40365800231_b4d7128c00_c.jpg


40320347692_1d0ea4c9bb_c.jpg


26494495488_dc71ca06b6_c.jpg


Also, the van has never really had a proper name to this point and one finally clicked into place. Meet Scooby!
 
Last edited:

On Belay

Observer
Questions

Couple items I'm pondering and would love to have input on from the collective:

With the battery bank outside the van (in the spare tire location) I need someway of getting the power inside. I orginally contemplated running all of the cables all the way out to the battery bank through weatherproof bulkhead fittings. However we're talking a lot of holes in the floor (Inverter +/-, Solar +/-, Fuse Panel +/-, Battery Voltage Sensor, Battery Temp Sensor at a minimum (plus the water lines, propane etc. I'm thinking a remote mounted set of power posts (Link) is a better solution. My qustion/concern is whether the inverter circuit needs to be entirely isolated. Could I run a single set of 2 AWG +/- cables to the remote posts under the van then hook up inverter, solar, and main power to the posts inside? Or should I do a separate run of 2 AWG directly from the battery to inverter? How isolated does the inverter ciruit need to be?

Also trying to fin creative uses of space is the name of the game. I'm looking for a good place to mount my solar charge controller. The sink/stove cabinet will have a 7" fixed panel covering the recess for the sink/stove unit. It would be an ideal spot for the controller, power grommet and some switches to mount unobtrusively and conveniently. However I'm a bit concerned about combining electric, propane, and water in the same compartment. Thoughts? I don't anticipate leaks but want to be safe. Would a plywood divider separating the eletcric from the sink/stove be enough? The shelf below will not be full length so water pooling wouldn't be an issue (there won't be a bottom below the sink). Is this a workable solution or should I right it off entirely and find a different spot?

Also any reccomenations on insulation materials for the inside of the various channels and doors. I'm hesistant to spray foam and permenantly seal in wiring and prevent future access. Not a big fan of fiberglass, though it's cheap, easy, and readily available due to compaction, water absorption and dust. I would love to find some recycled plastic bottle insulation, it seems very popular and radily available in the UK but I can't find a USA supplier. I've also considered hemp and wool, but moisture absorption and long term durability ar concerns. I've looked at ceramic batts and that may be an option, I don't need a lot so while pricey it may be a good choice. Just wondering if someone has found a great option I haven't considered yet (or knows a USA source for the recycled PET).

Also I remeber seeing an Express build on here a while back where someone used a marine deck fill behind the rear barn door for their water inlet but didn;t bookmark and cannot find the thread. IIRC they originally mounted the fill in the rear bumper. If anyone happens to recall the thread that would be wonderful. The common 3" flange deckfills seem slightly too large based on my measurements.
 
Last edited:

fire_strom

Adventurer
Not sure if it helps but there is a passage on the driver side in the very back corner under the base of the rear most pillar behind the interior trim (passenger van). I plucked out the sealing foam and ran wires for my trailer plug. There is a plastic cover that opens into the cavity from the under side of the truck. I ran the wires through the plastic cover and sealed it up. Not sure if that makes sense or helps. I'll look for pictures.
-G
 

On Belay

Observer
Not sure if it helps but there is a passage on the driver side in the very back corner under the base of the rear most pillar behind the interior trim (passenger van). I plucked out the sealing foam and ran wires for my trailer plug. There is a plastic cover that opens into the cavity from the under side of the truck. I ran the wires through the plastic cover and sealed it up. Not sure if that makes sense or helps. I'll look for pictures.
-G

Awesome info! Big rectangular plastic cover? I went out and looked quick and think I found it (it's currently snowing so I only glanced). That routes up into the rear support that houes the tailight? Thats a perfect location for my battery location.
 

fire_strom

Adventurer
Sounds right. I think I remember shoving a wire coat hanger type thing down through the foam to make sure I was in the right spot.
-G
 

North

Observer
Where'd you find the red/black anderson powerpole connectors on the front range? I've been to 3 hardware stores, a battery store, and a NAPA and nobody knows what I'm asking for.
 

Forum statistics

Threads
188,395
Messages
2,904,140
Members
230,274
Latest member
mbauerus1
Top