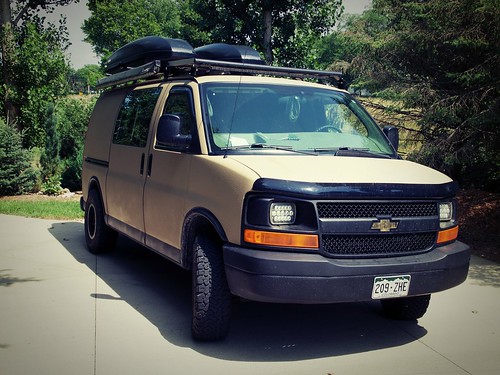
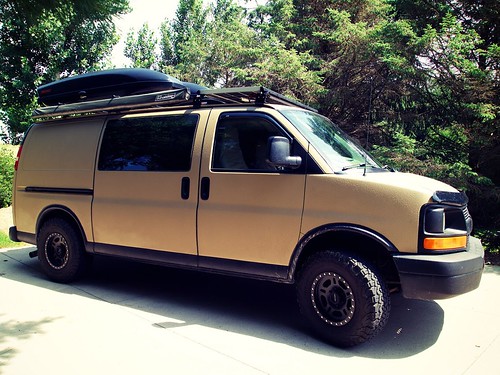
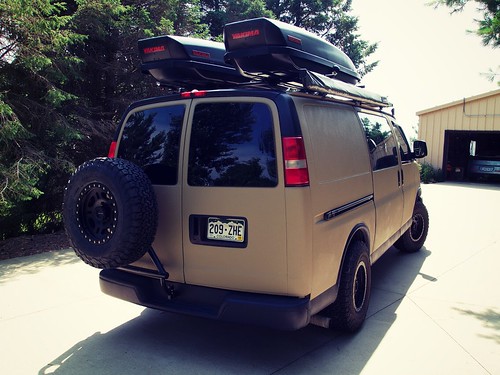
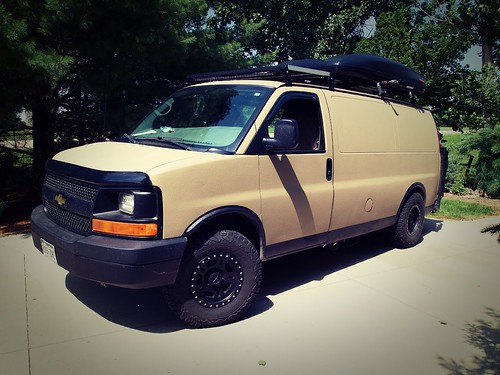
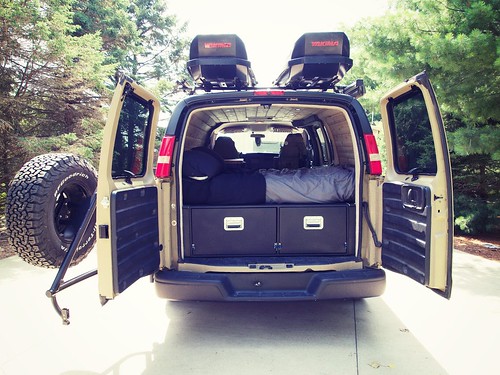
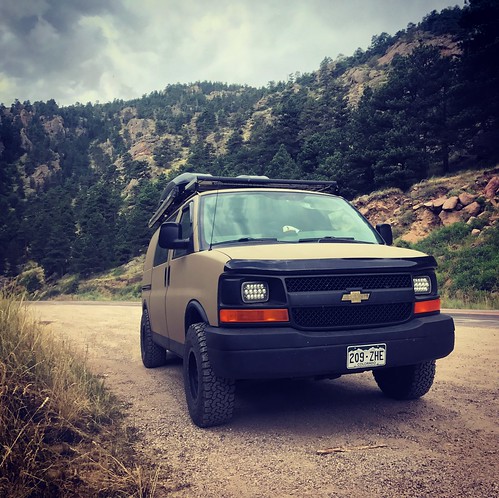
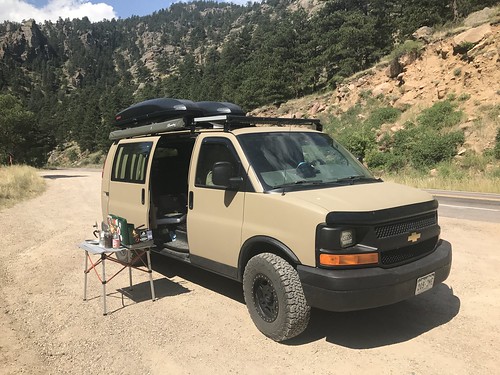
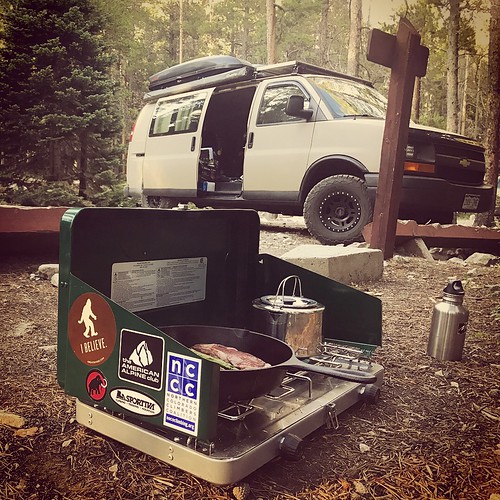
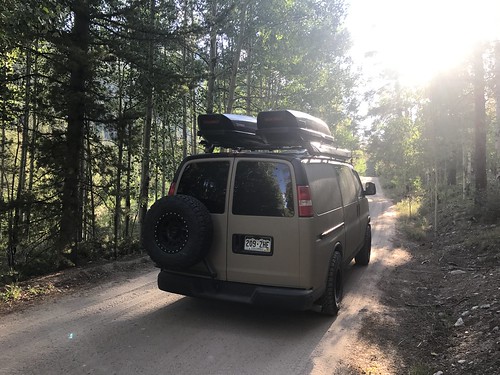
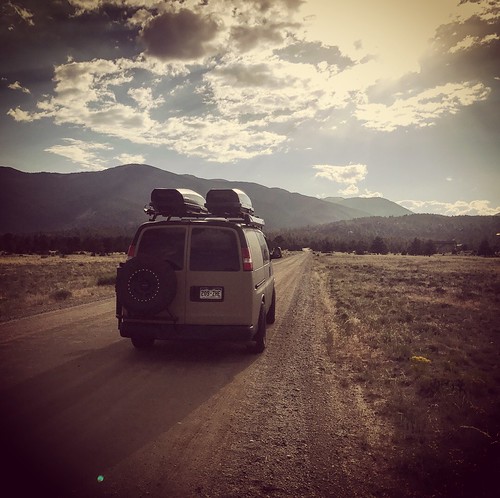
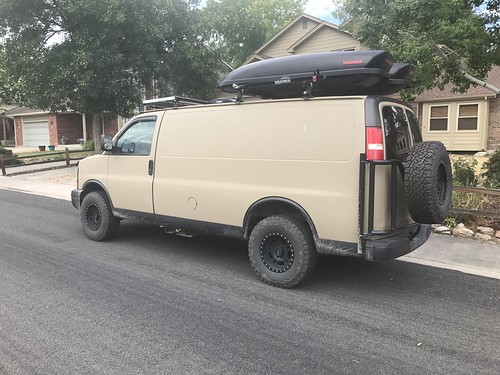
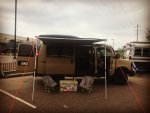
The last several months have been a bit of whirlwind and I've been rather remiss in my updates. Scooby is finished and I've been living in the van full time and traveling since June. In the end, I'm very happy with the result. There are a few small things I would potentially change if I had to do-over, but overall it's been wonderful. The project ended up being a far bigger undertaking than I initially anticipated, had I known then what I know now I'm not sure I would have taken on building a rig versus buying a finished van but ultimately I'm grateful to have a rig built my personal needs and preferences. I've learned a lot along the way and have grown as result of taking on 99% of the project myself. Now it it's time to get out and explore and enjoy the vanlife.
Raptor-Lining the cabinets:
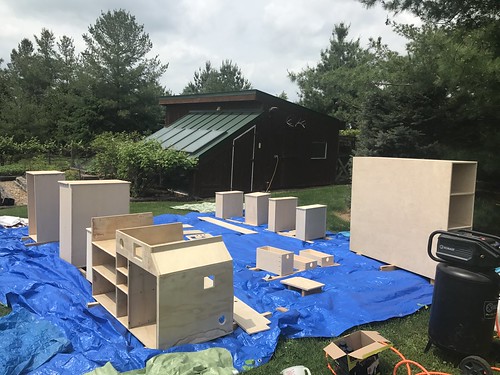
Finishing the interior and paneling:
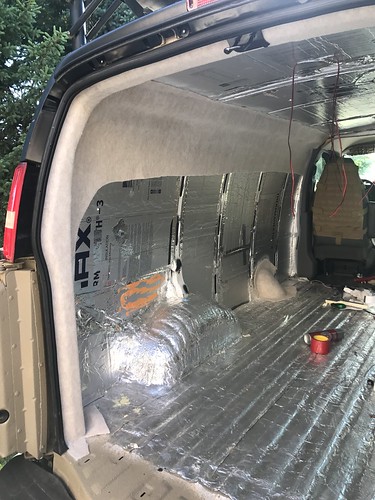
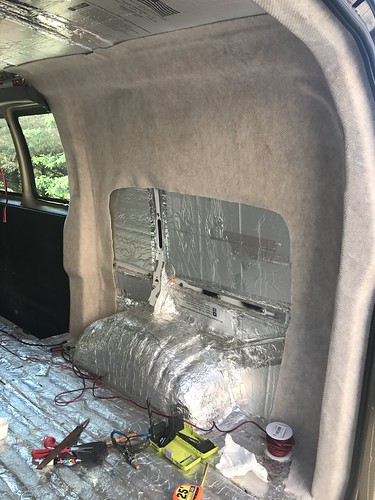
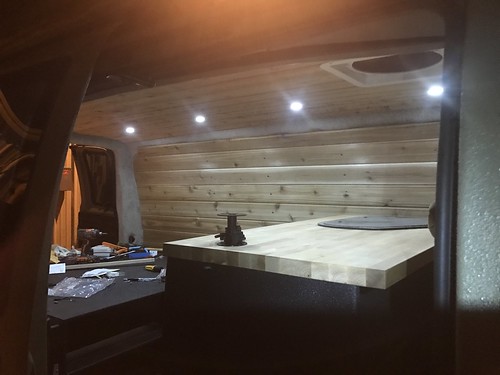
I used 3M spray adhesive to attach a layer of Reflectix then a layer of tan Hullliner carpet, and finally the cedar tongue and groove.
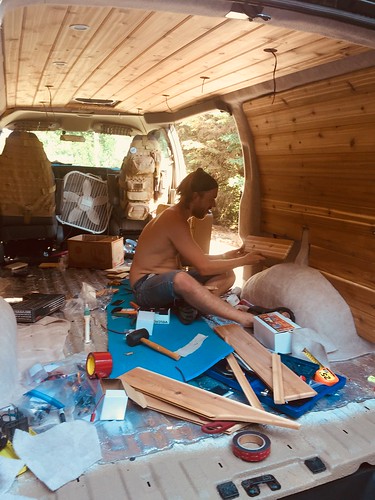
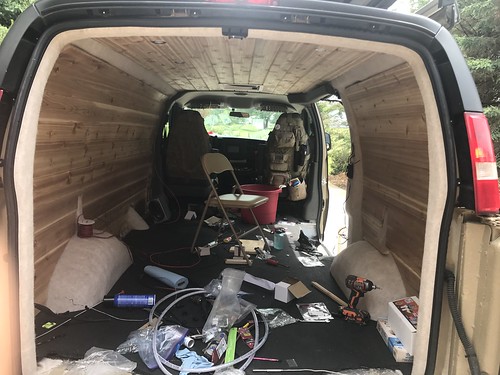
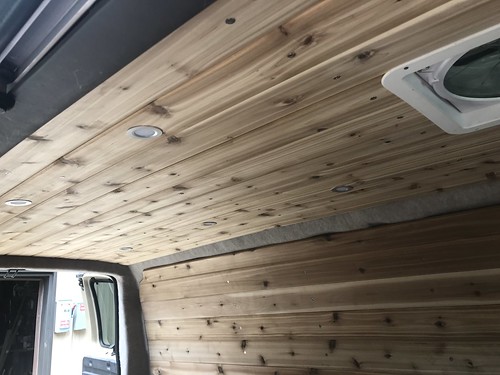
I then installed the LED puck lights and Maxxfan trim.
Cabinets:
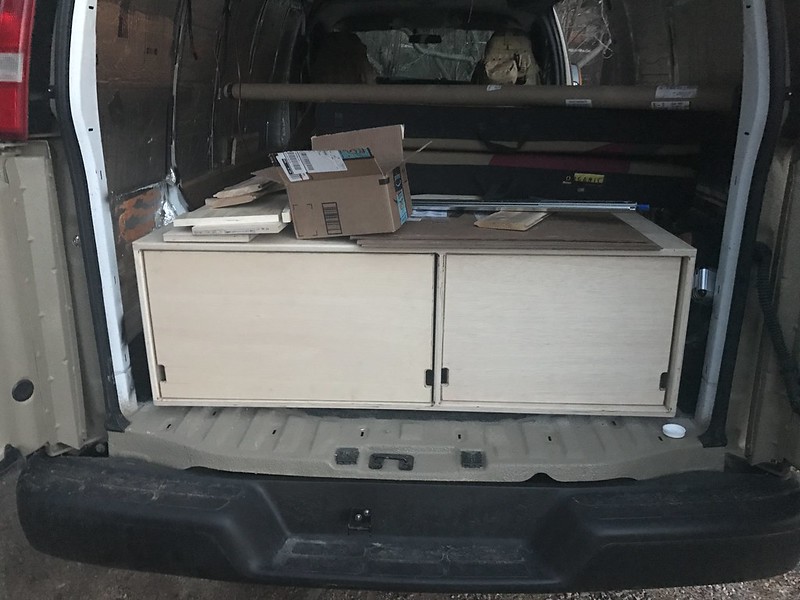
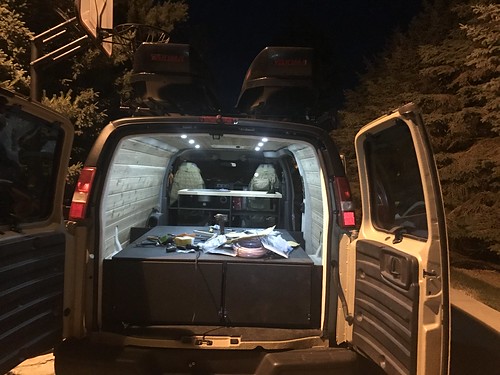
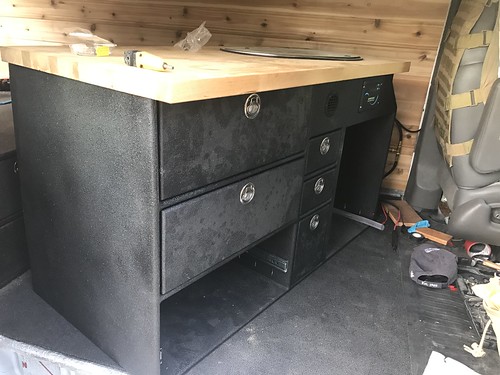
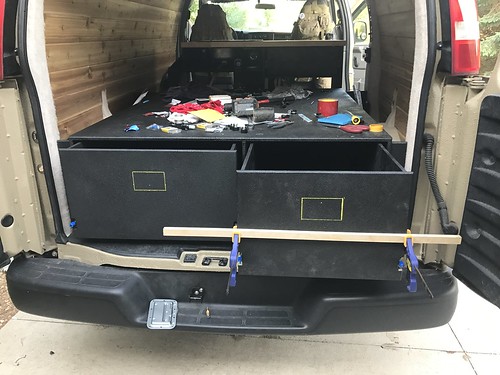
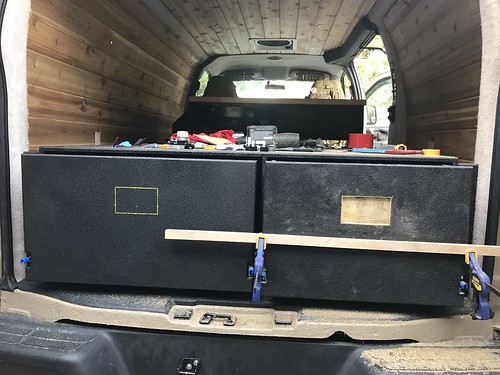
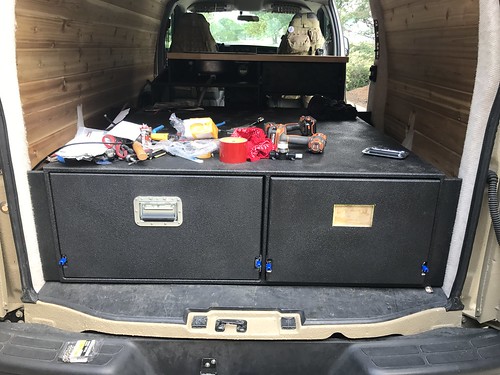
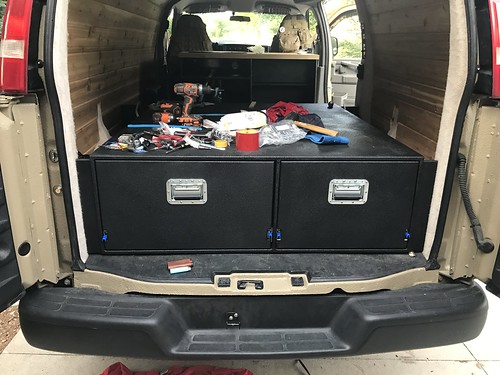
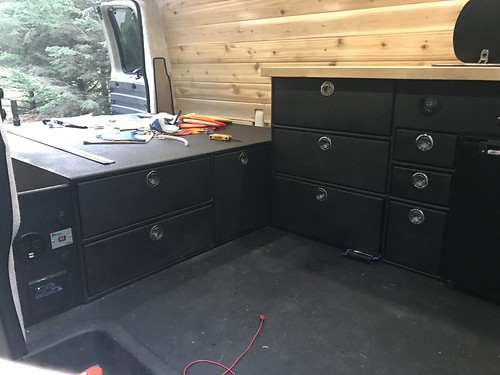
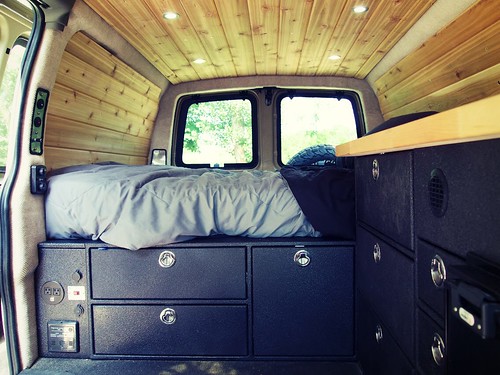
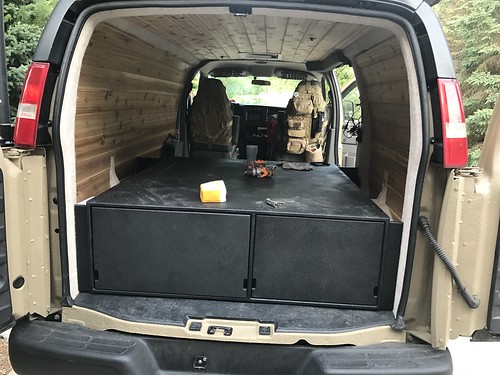
With the paneling installed and the last of the wiring finalized I was able to complete the final install of the freshly painted cabinet carcasses. The bed cabinet in held down with 4 10mm stainless bolts to riv-nuts in the floor and the kitchen with 2 10mm bolts.
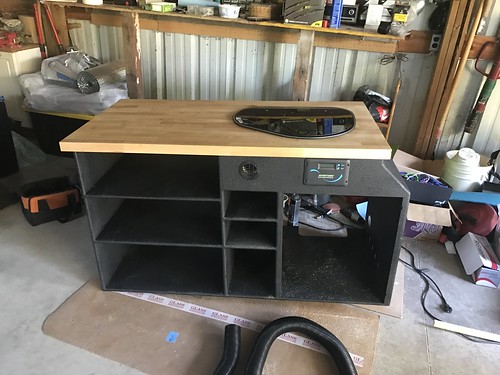
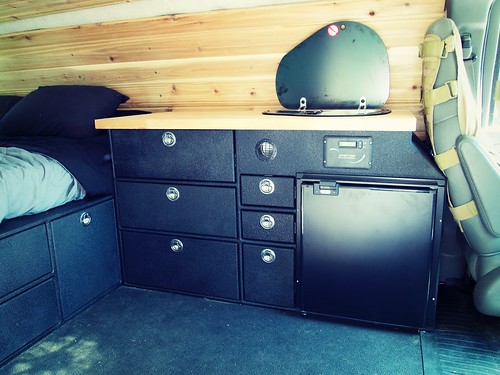
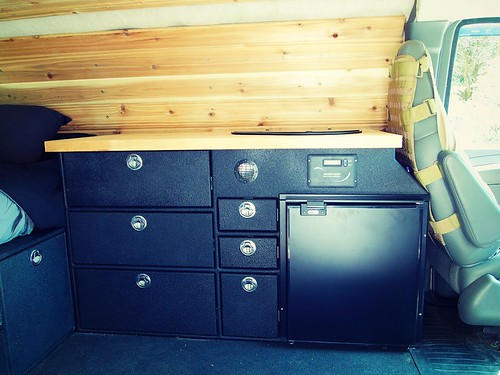
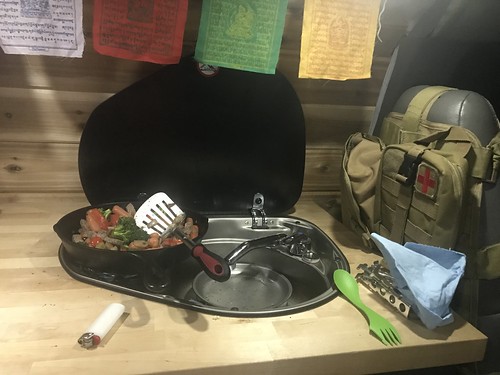
Freshly painted cabinets with a birch butcher block top on the kitchen cabinet (sold as a workbench top).
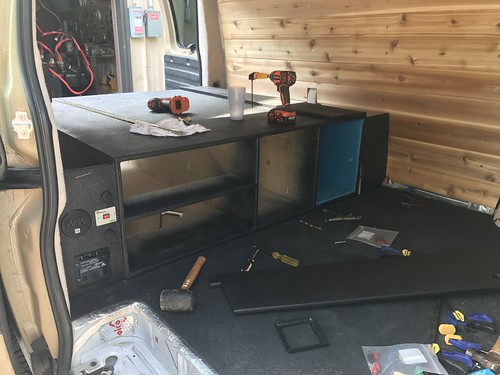
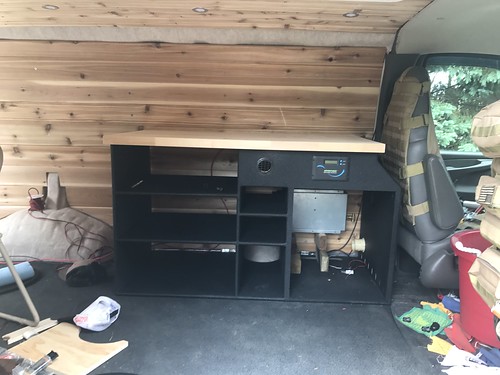
You can also see the mounting location for the Propex furnace in the above photo.
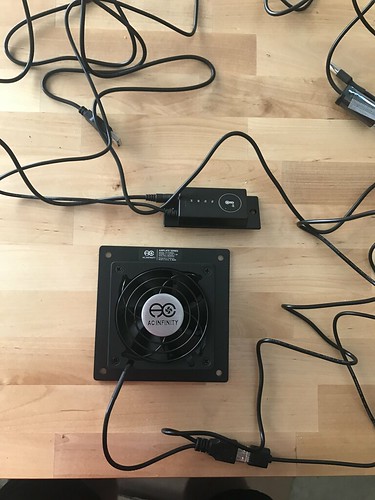
I also installed an AC Affinity AV cabinet fan with an automatic temperature trigger in the kitchen cabinet to keep airflow with the Truckfridge condenser, solar controller, and furnace all mounted in the same space.
 Water Tank Fitting:
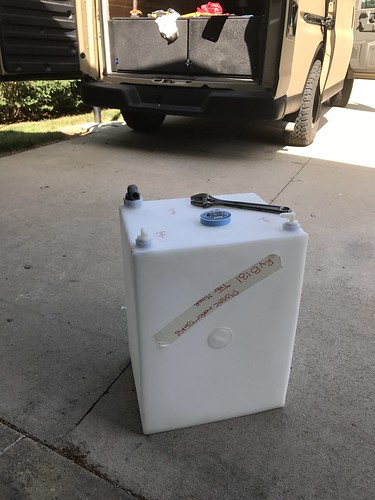
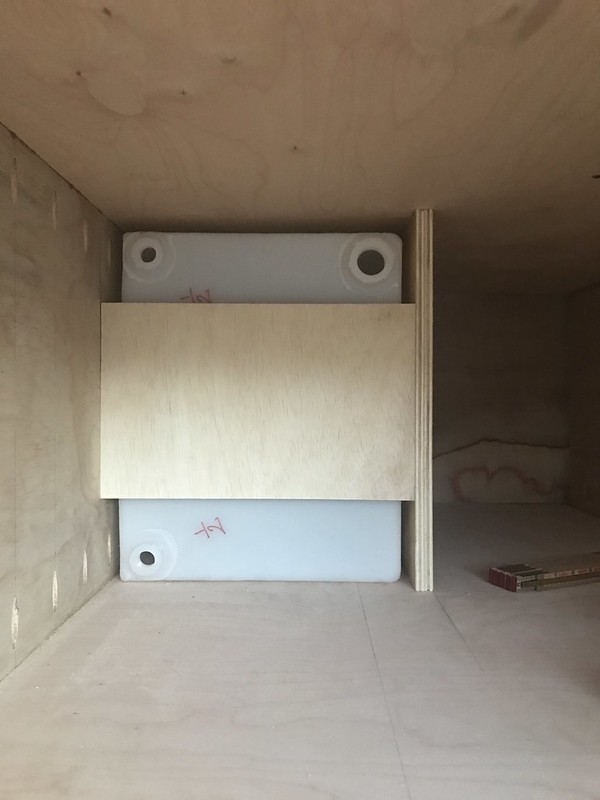
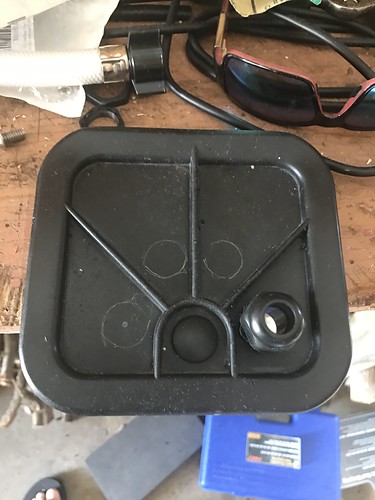
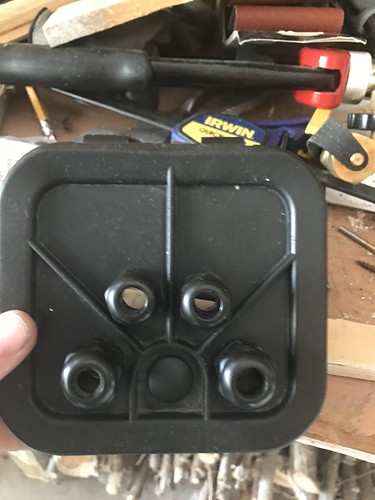
15 gallon RV tank with the fittings installed.
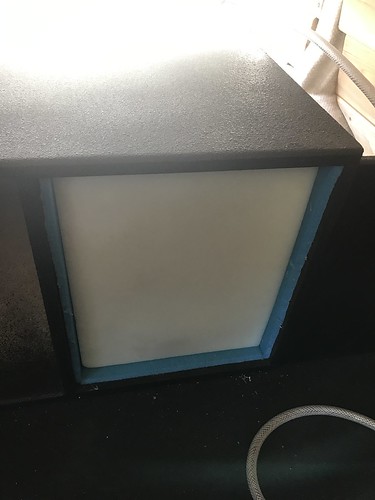
Mounting location. This utilizes what would otherwise be dead space obstructed by the kitchen cabinet.
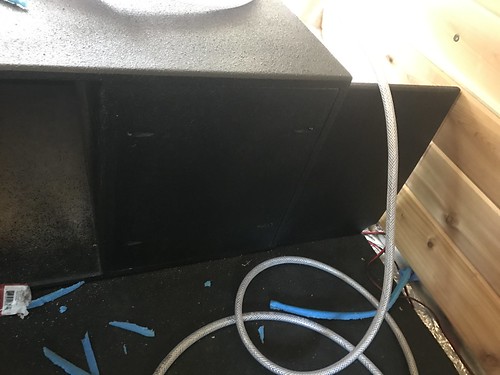
Cover panel installed.
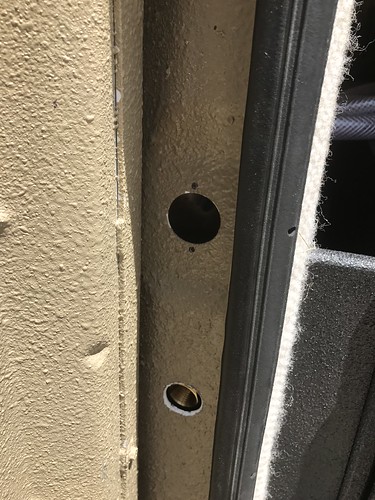
Inlet and vent holes tucked away behind the drivers side rear door. This location keeps them tucked away cleanly and restricts access when the doors are closed, so that you need a key to fill or access the water supply. The upper hole is original the lower had to be drilled.
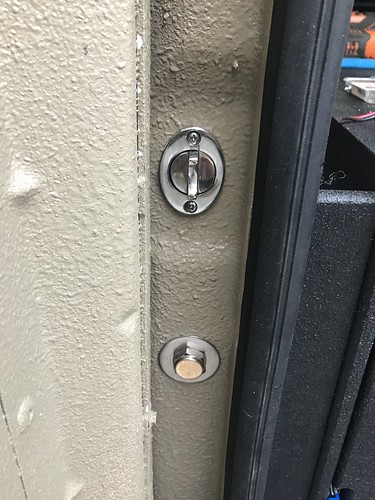
I used a stainless garboard drain plug for my water fill and a differential breather vent plug for my vent.
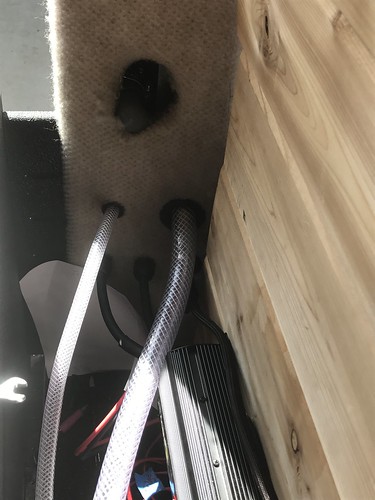
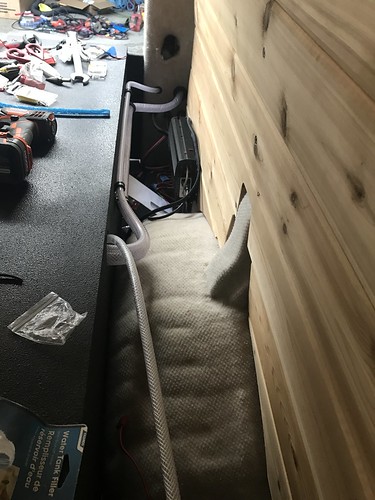
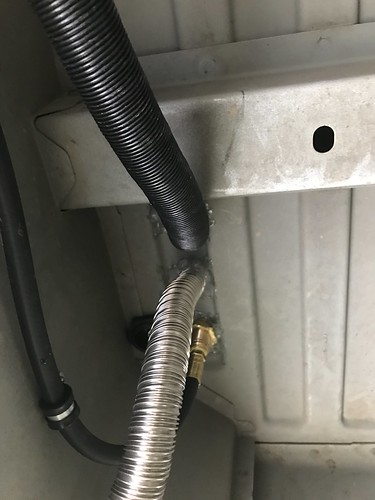
Water hose routing on the inside, eventually covered by the wheel well wing.
