wikid
Adventurer
After a few changes in direction about doing some major mods to my FJ , then deciding to change the motor and s/c , then a few other ideas, After the new TT came out in the Cement color. I toyed with the idea of getting a new one. Then, one came in and I decided to look at it.
12/12/12, I went down and signed the papers .
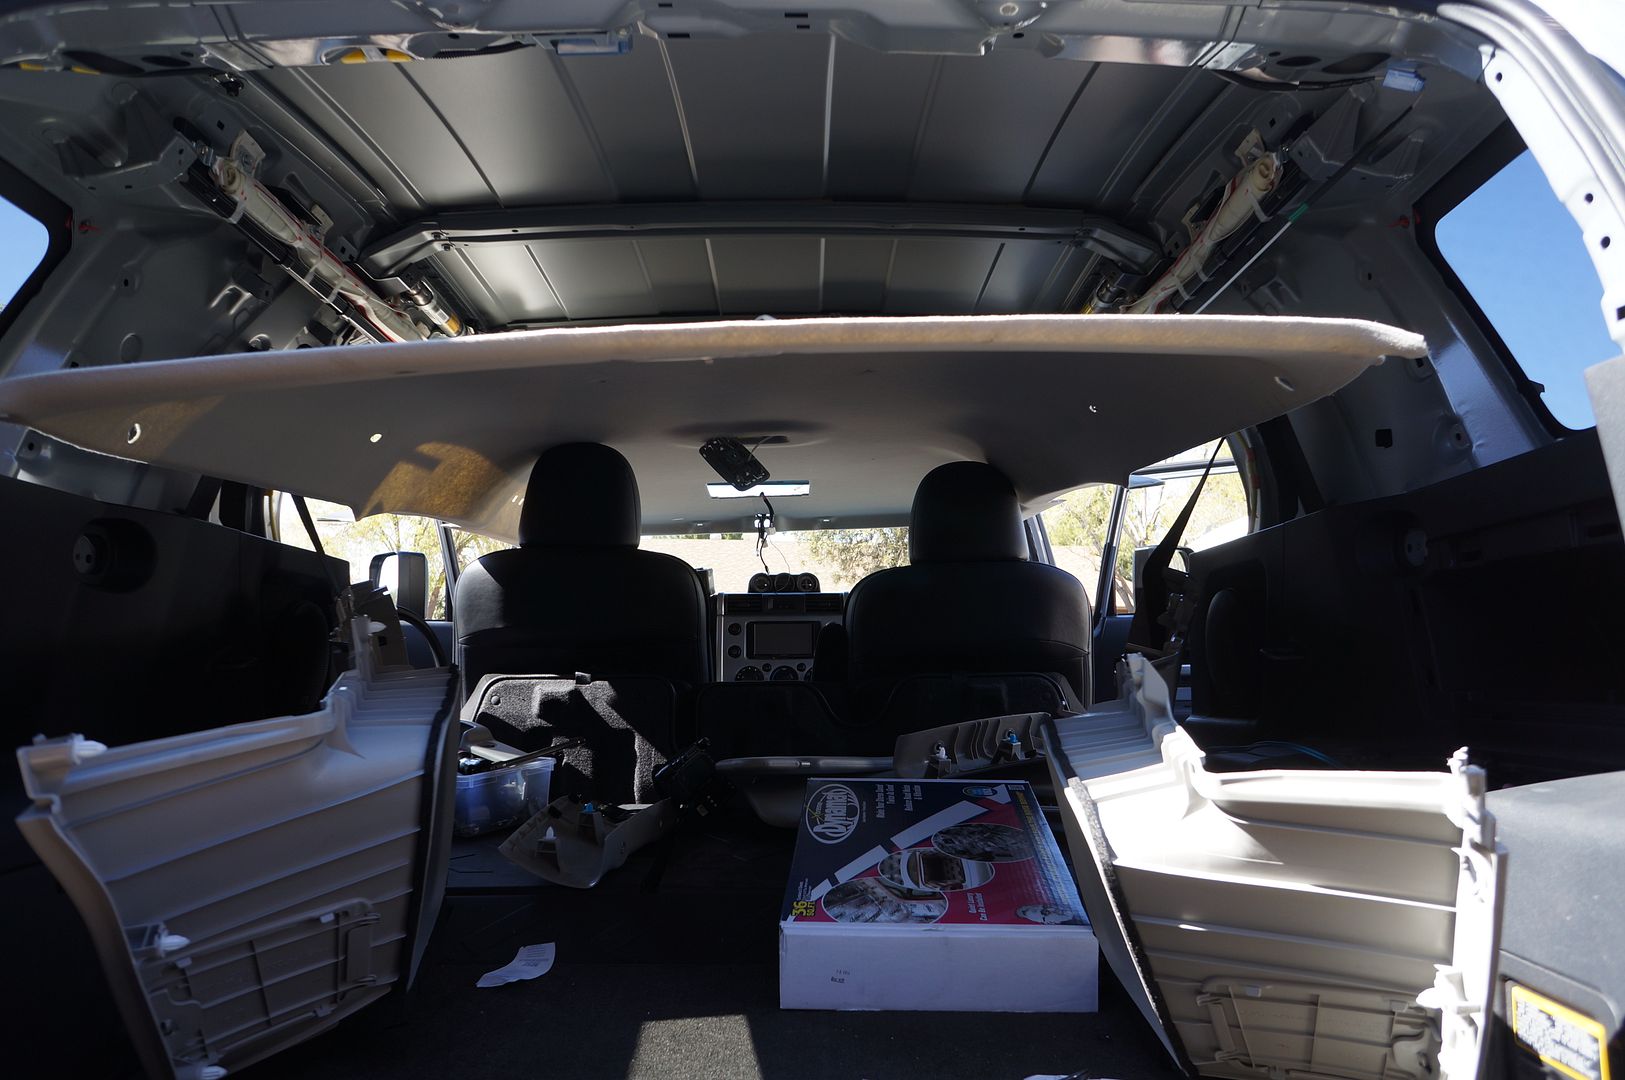
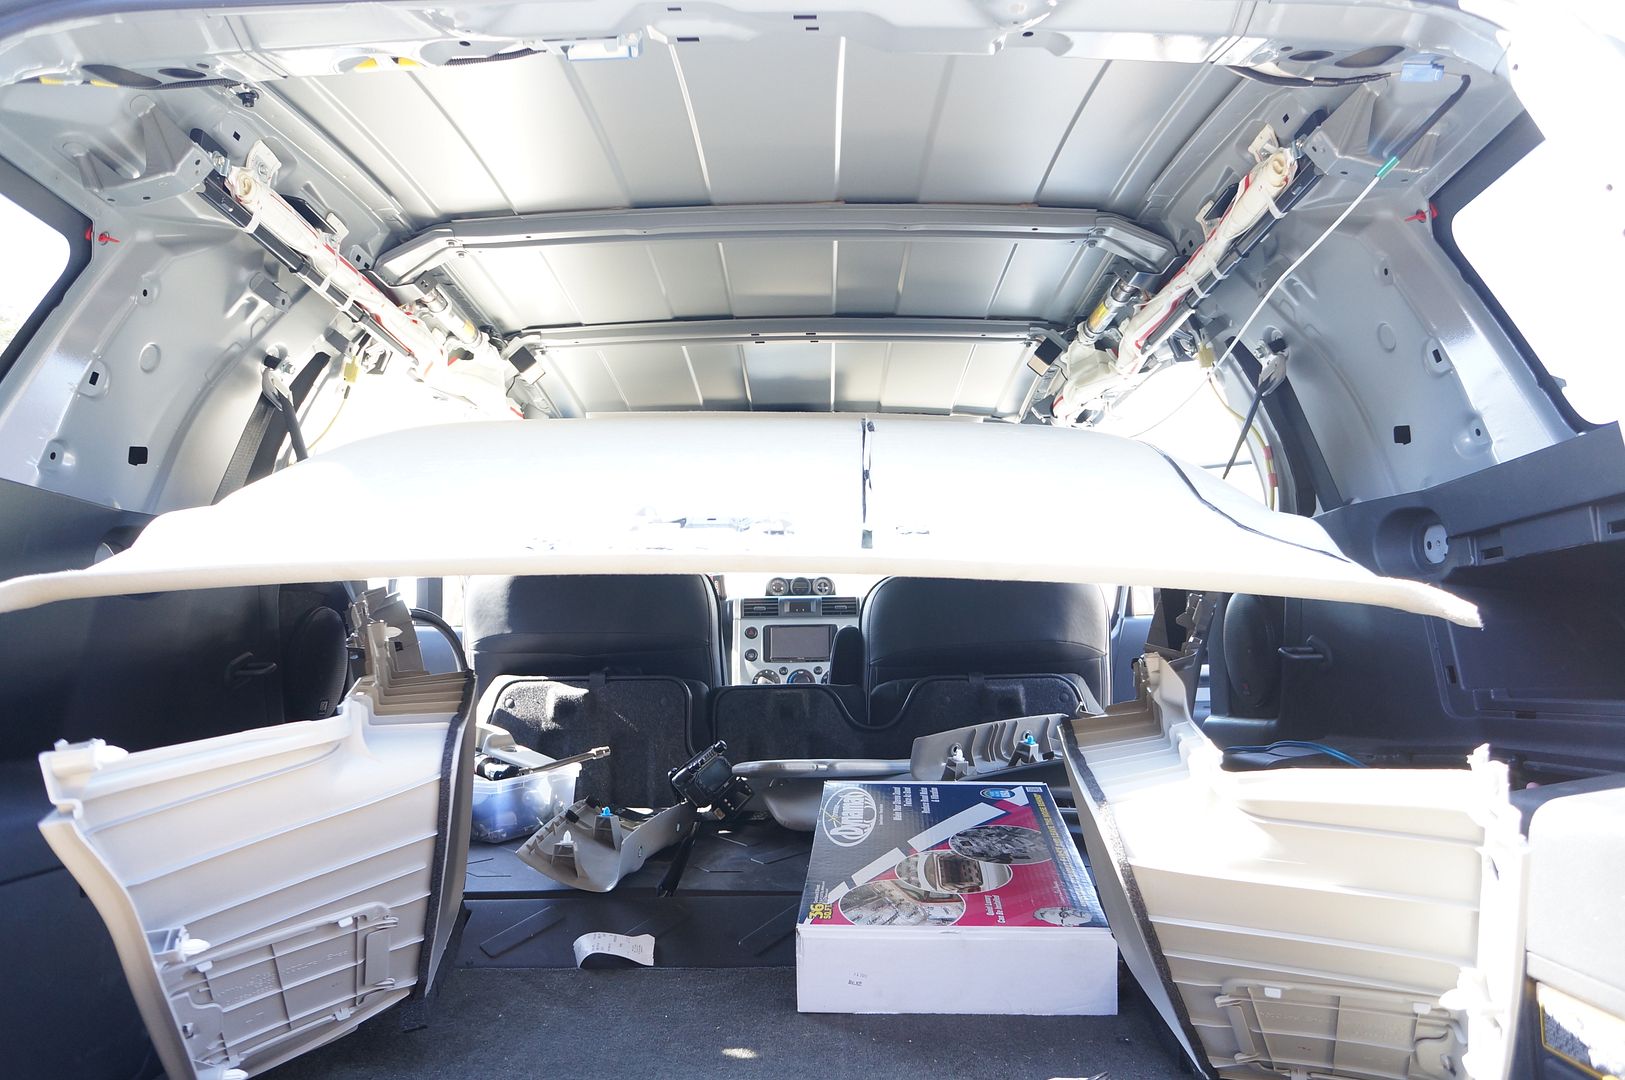
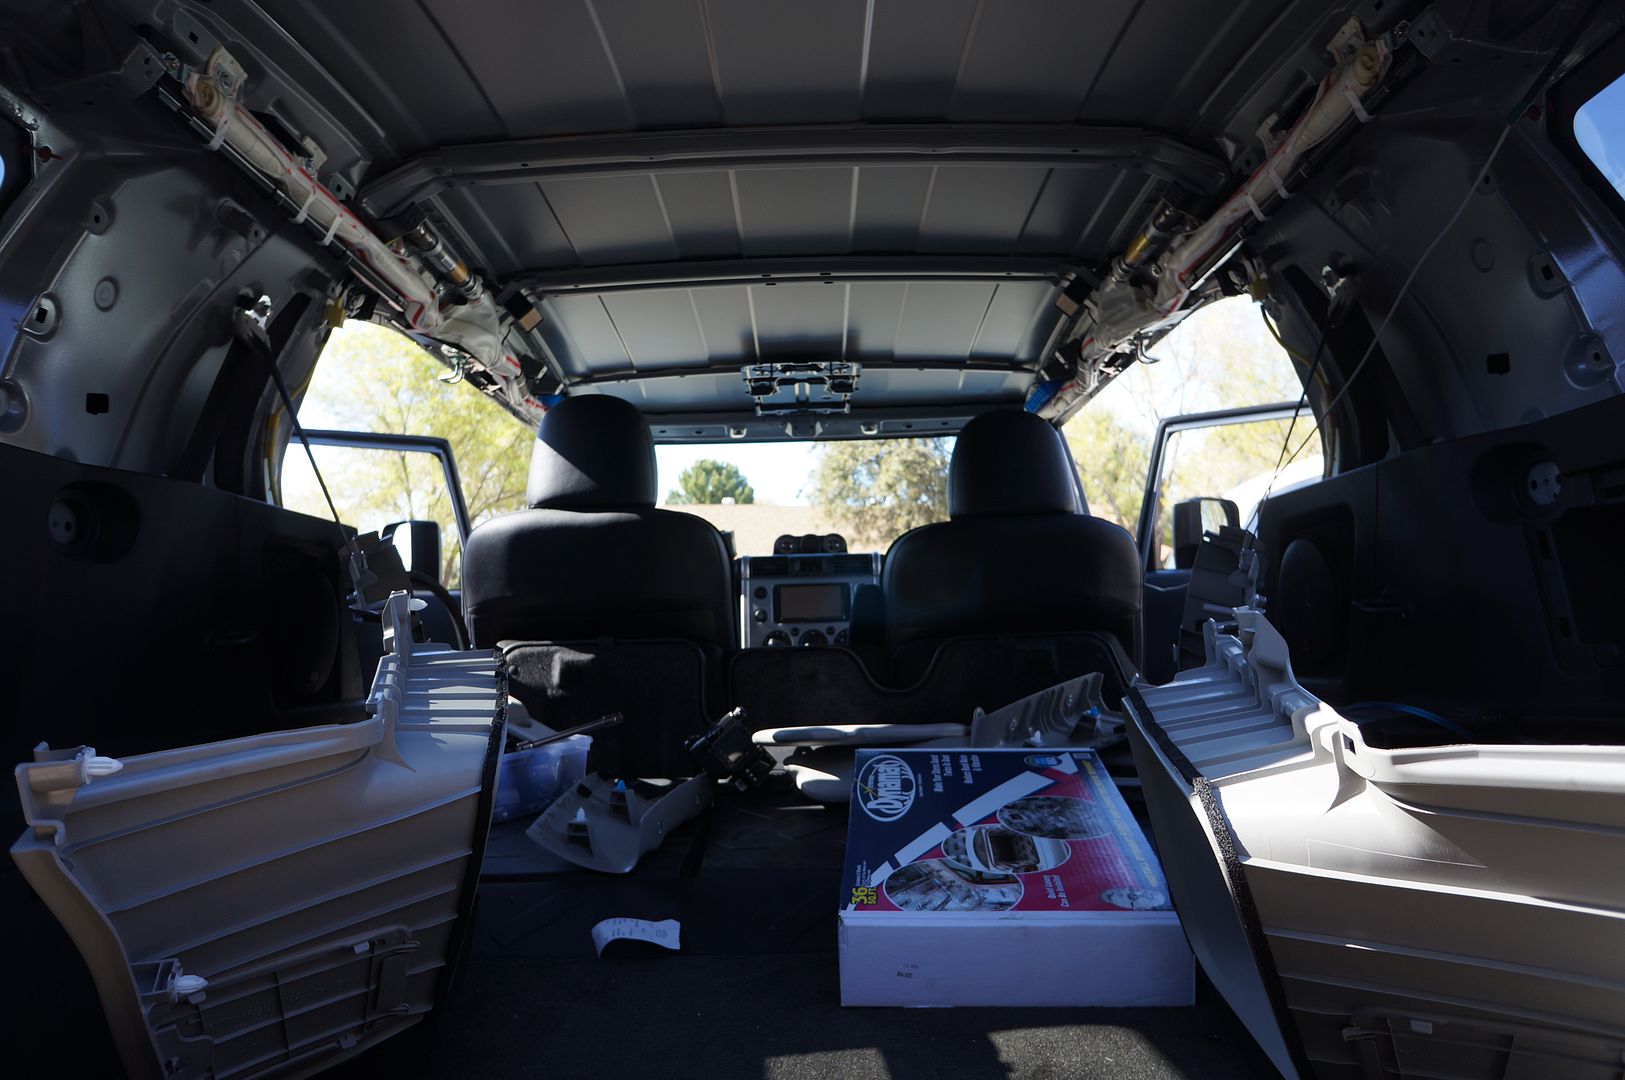
Here's where the build begins.
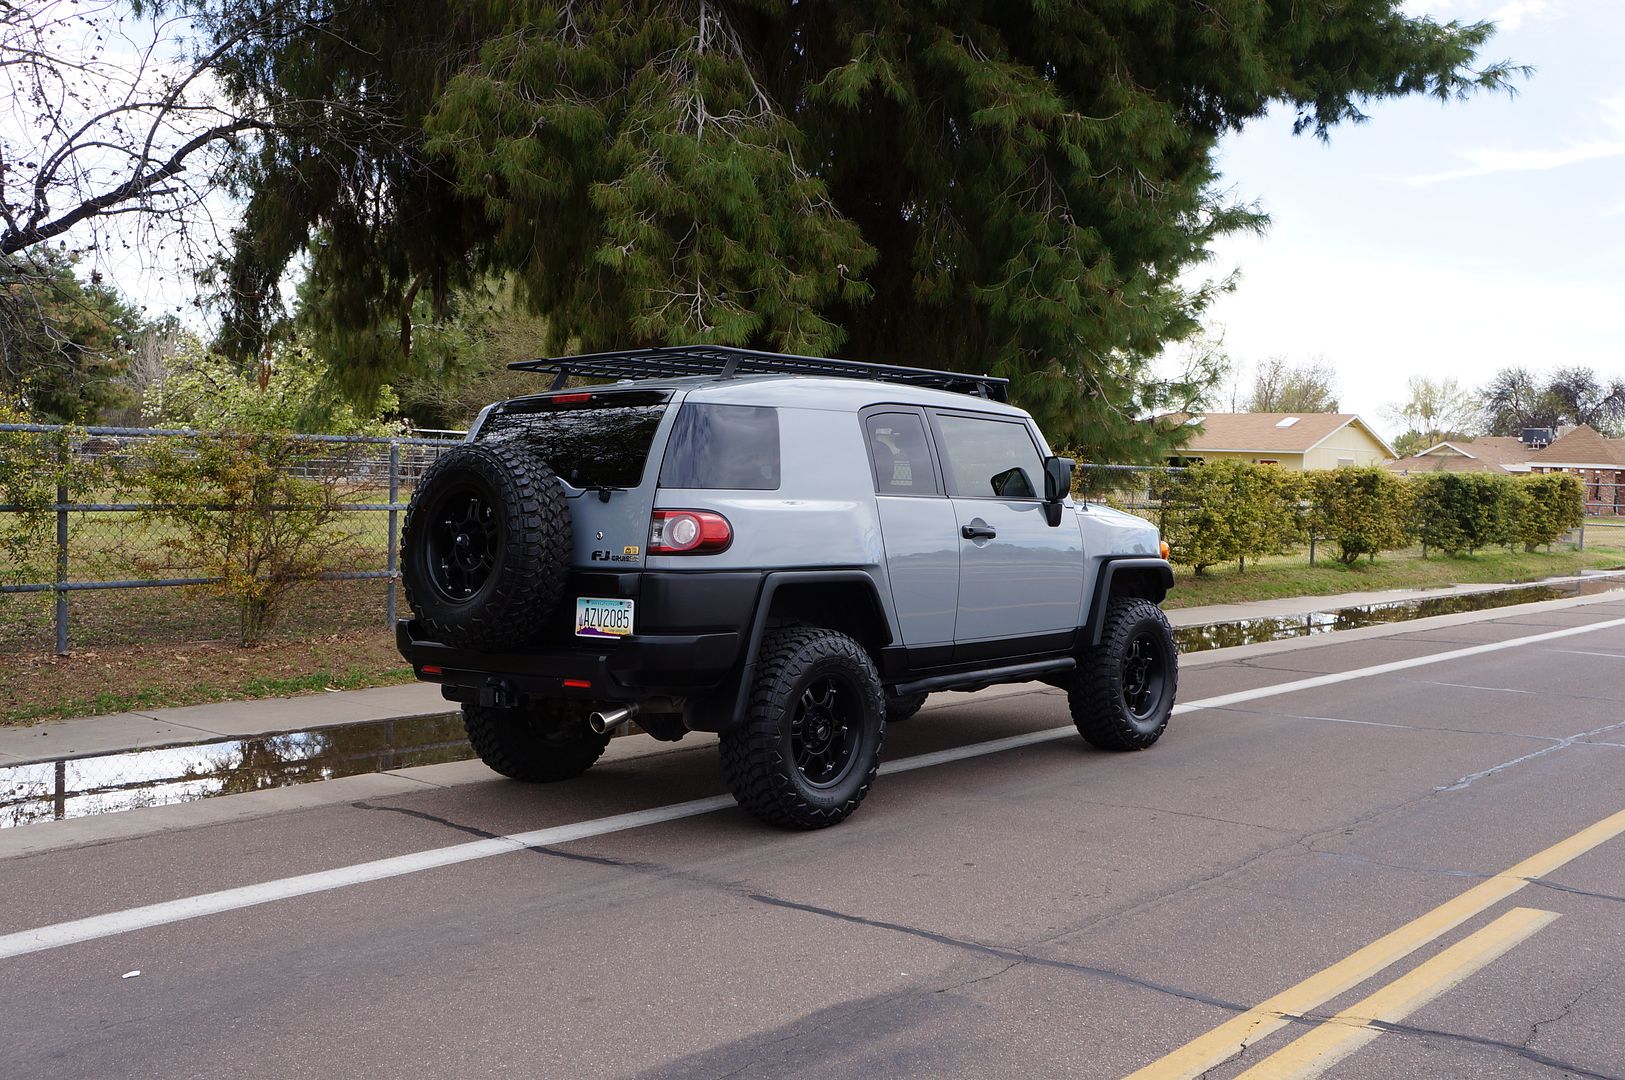
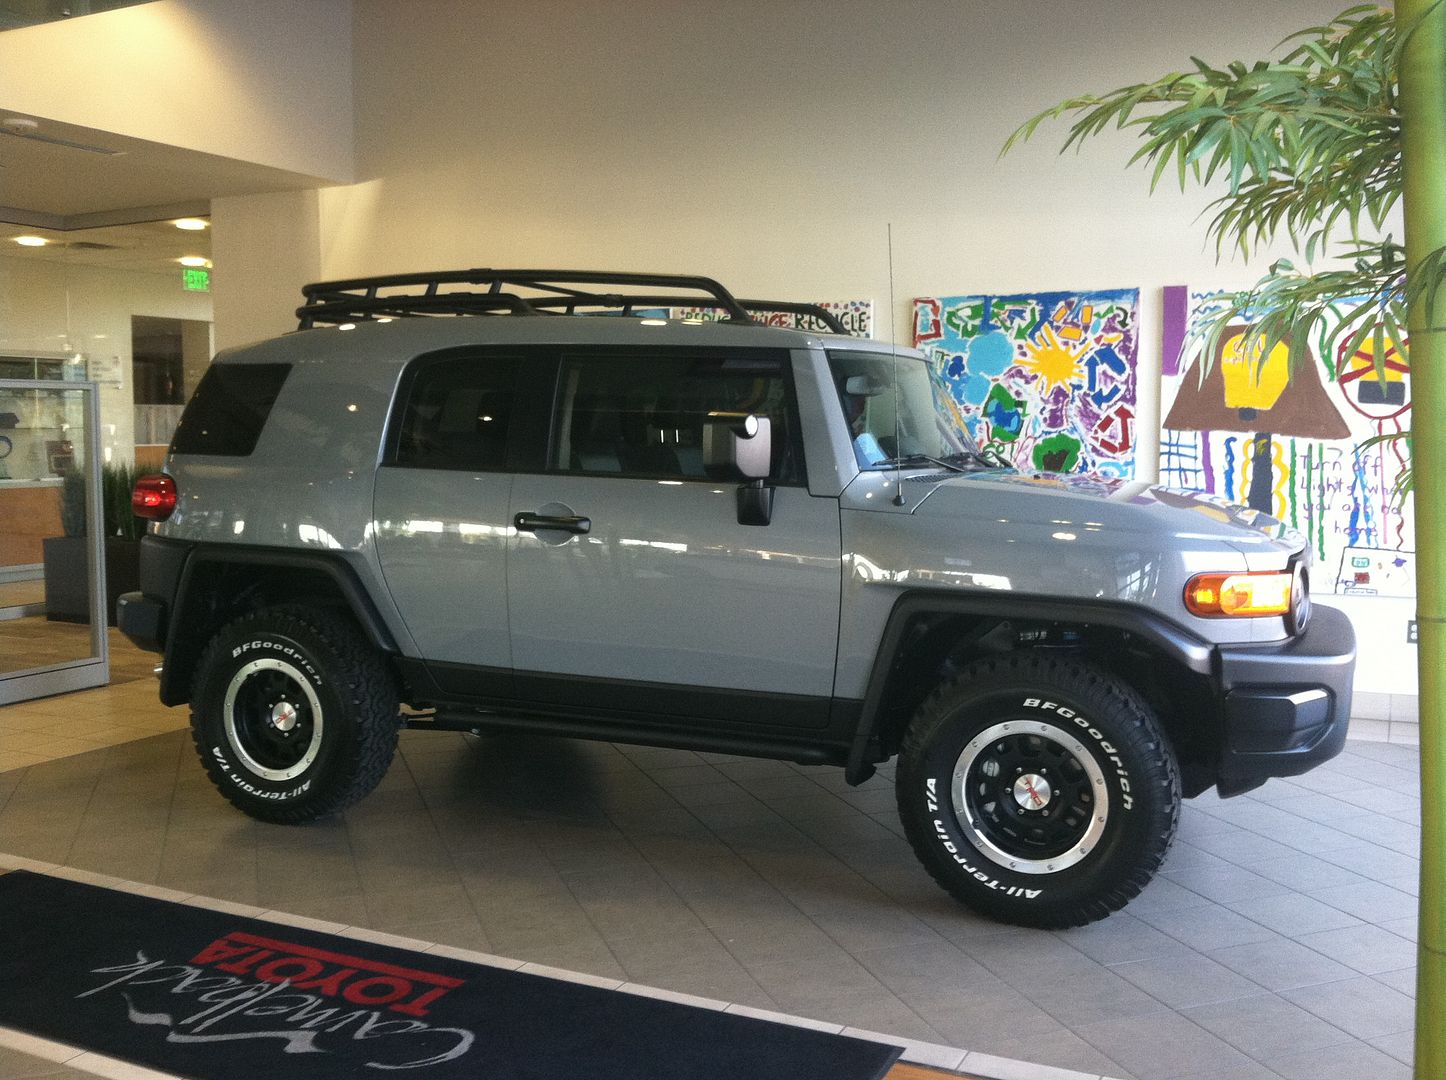
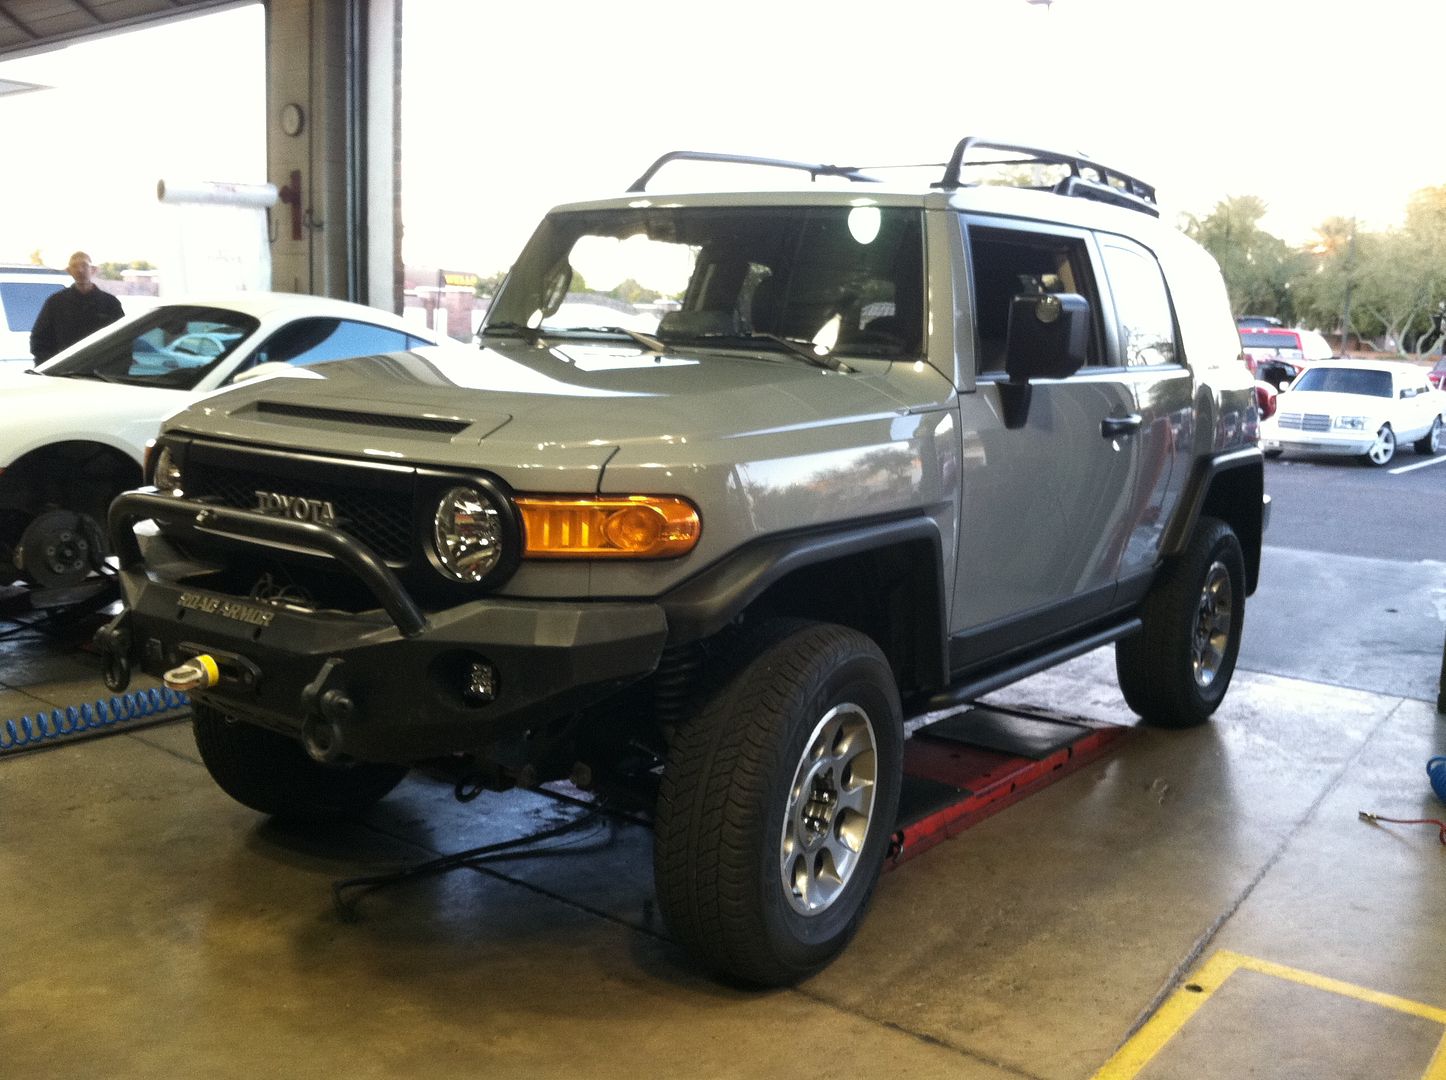
2013 Cement TT. Notable mods that are new to me are, Crawl Control and Rear View Camera
"The Rock"
It seems like I rack my brain trying come up with a a name and the meaning behind it. This time it was simple, FJess, thought it looked like a rock . Thank you Jess.
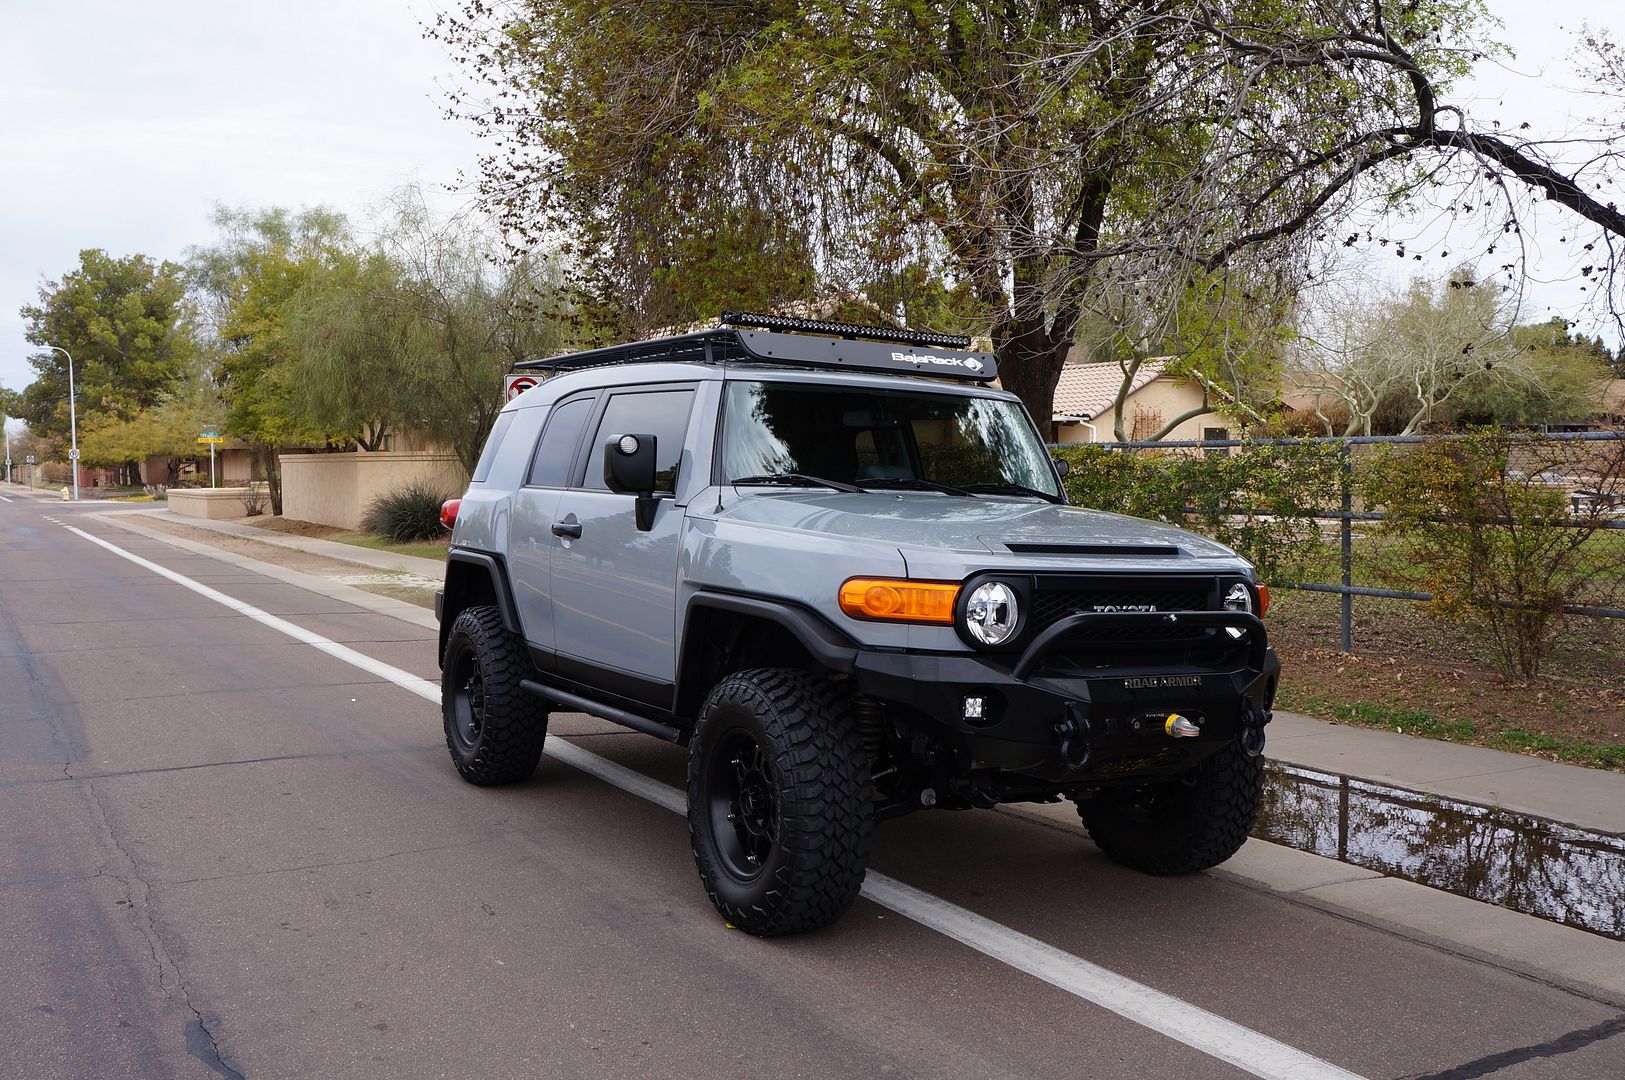
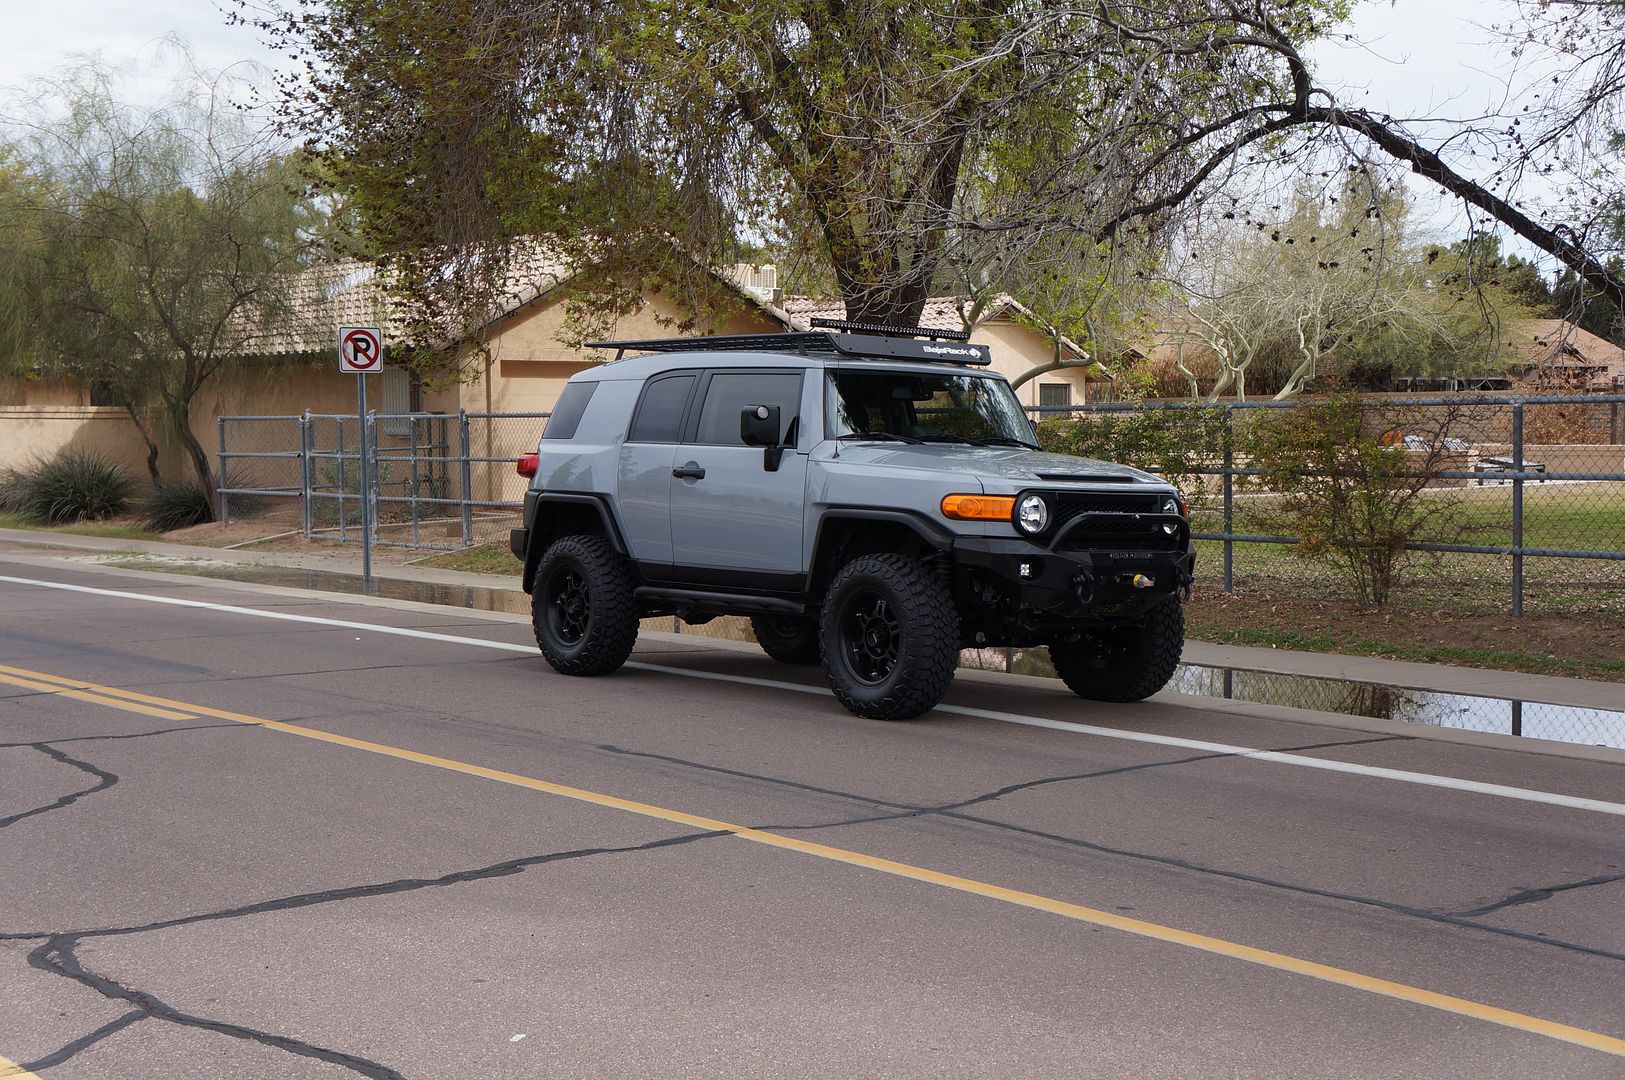
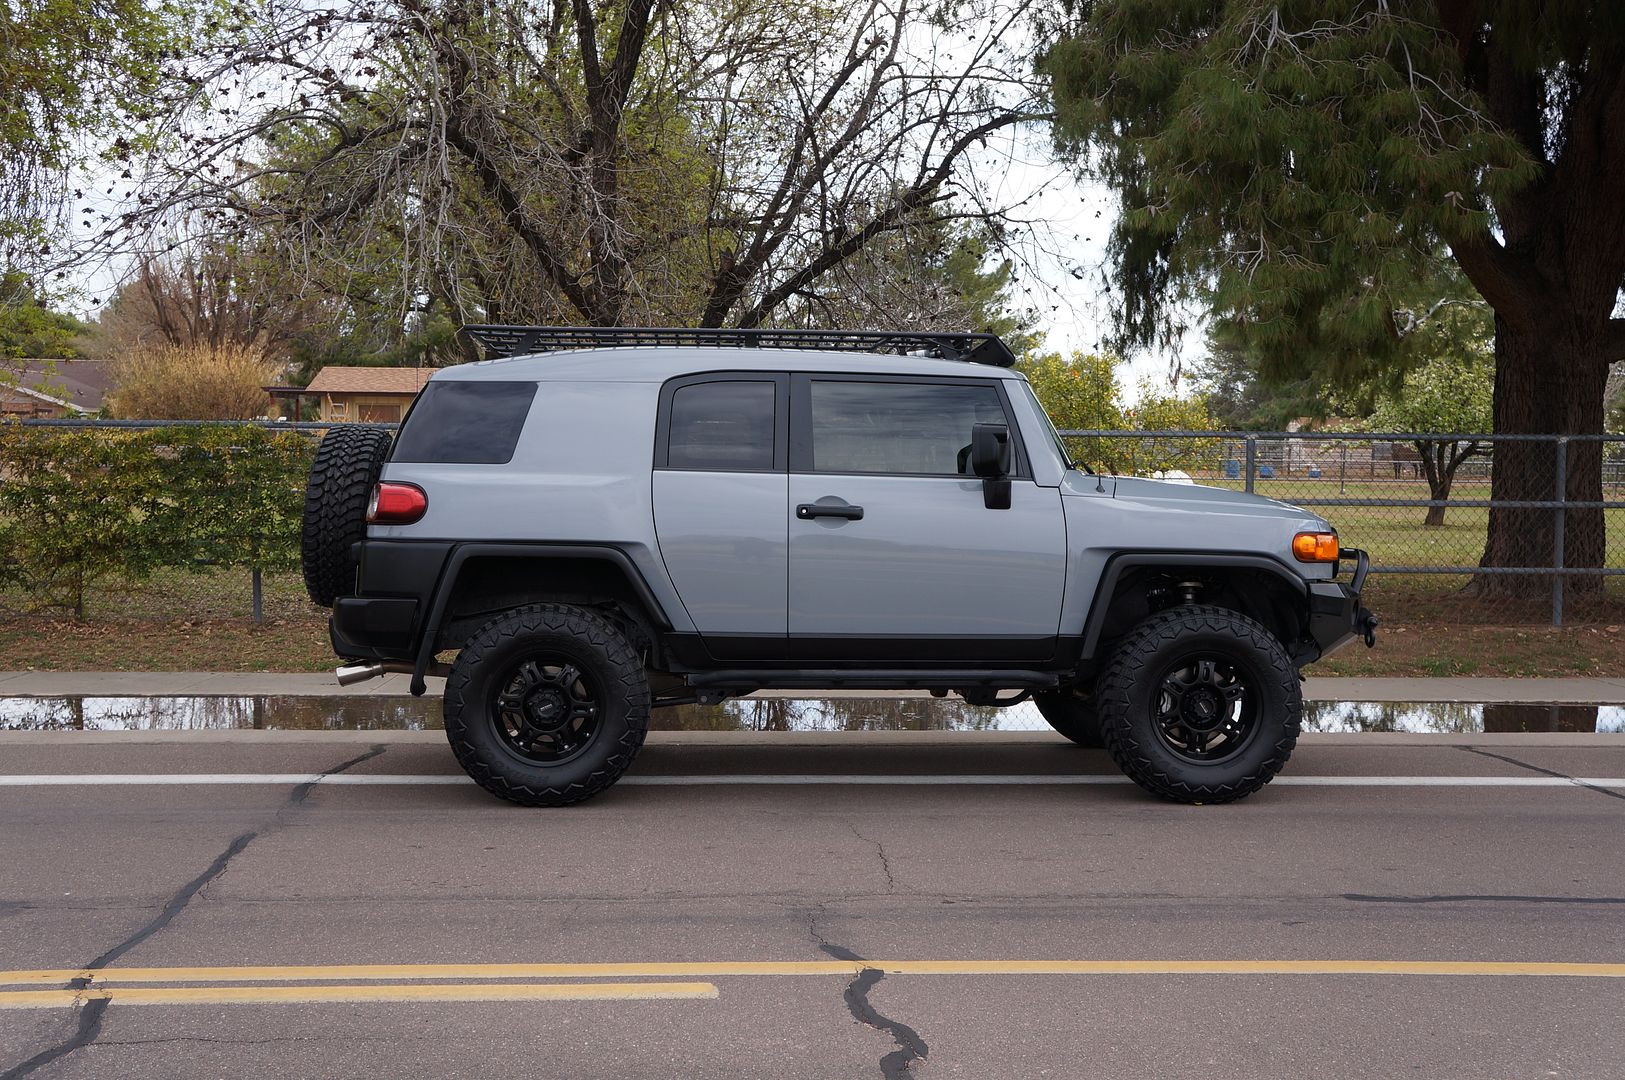
Current picture 03/03/13
Mods list
Factory
2013 TT
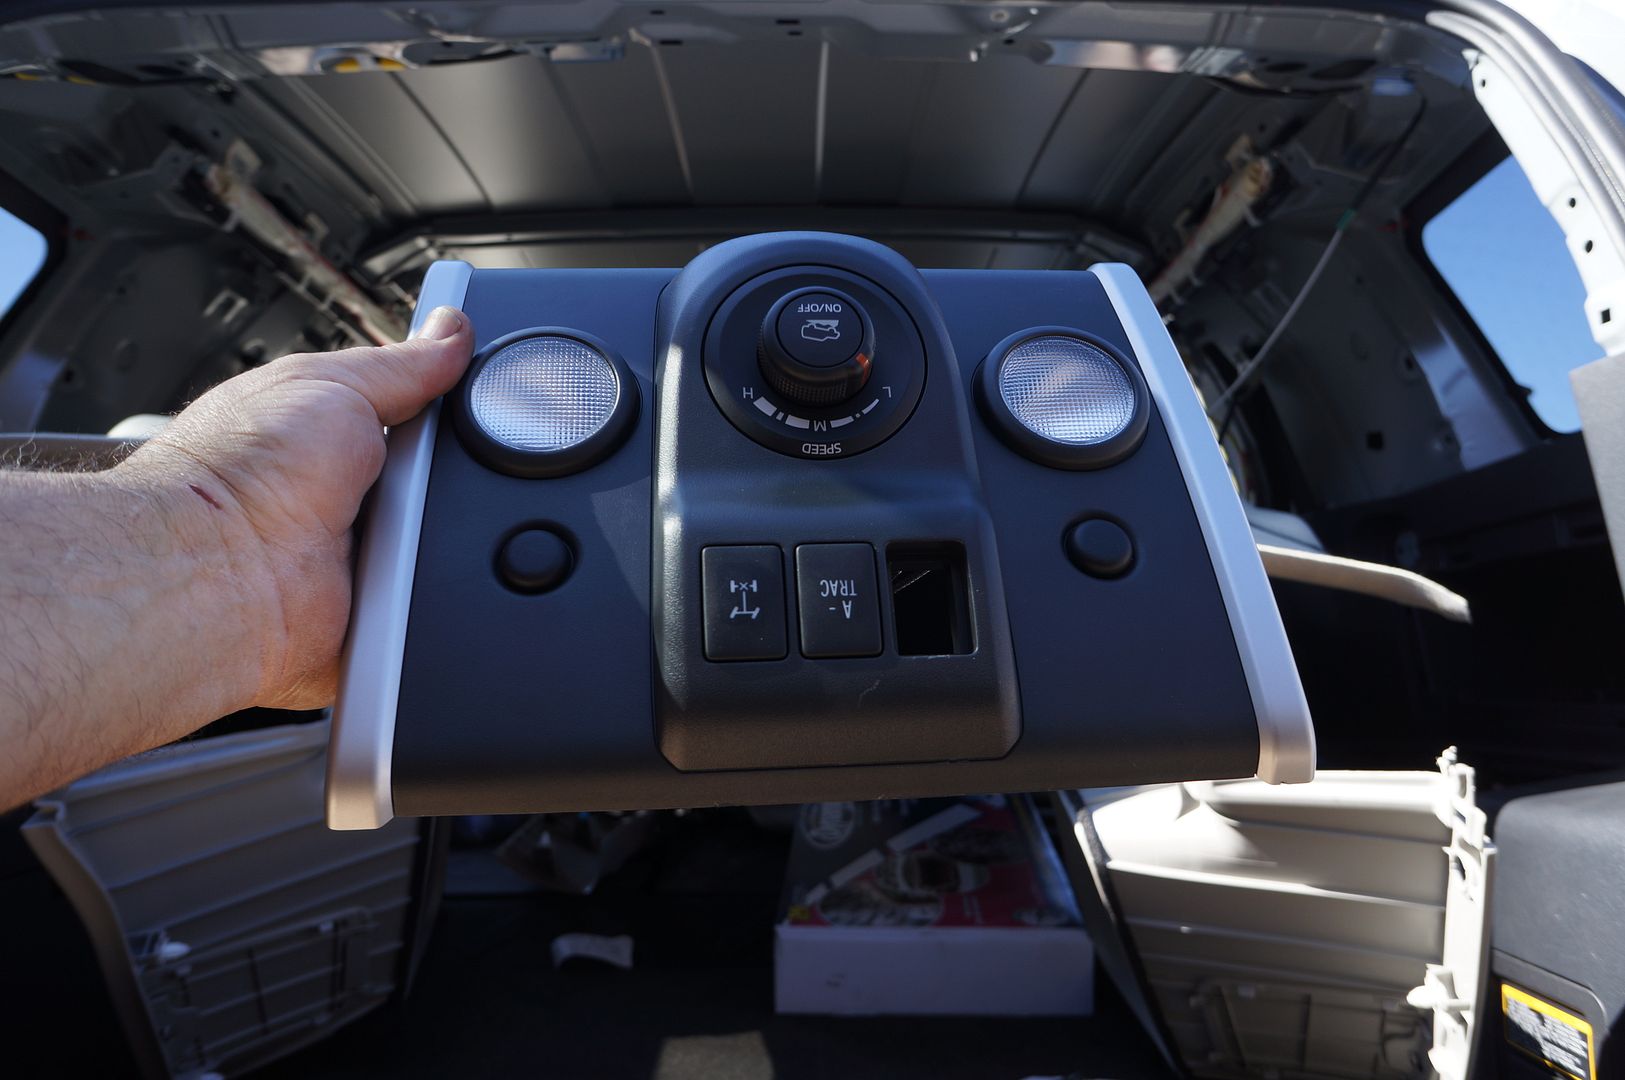
Crawl Control
A-trac
Locker
Rear View Camera
All the TT Garnishes
Suspension
All of this needs to be moved over
Radflo 2.5 Coilovers
Radflo 2.5 shocks
Camburg 1.25 Uniballs
Toytec Rear Lower links
BMC
Armor
Total Chaos Spindle gussets/with swaybar
Ricochet Full skid plates
Ricochet lower control arm skids
Demello Hybrid Sliders
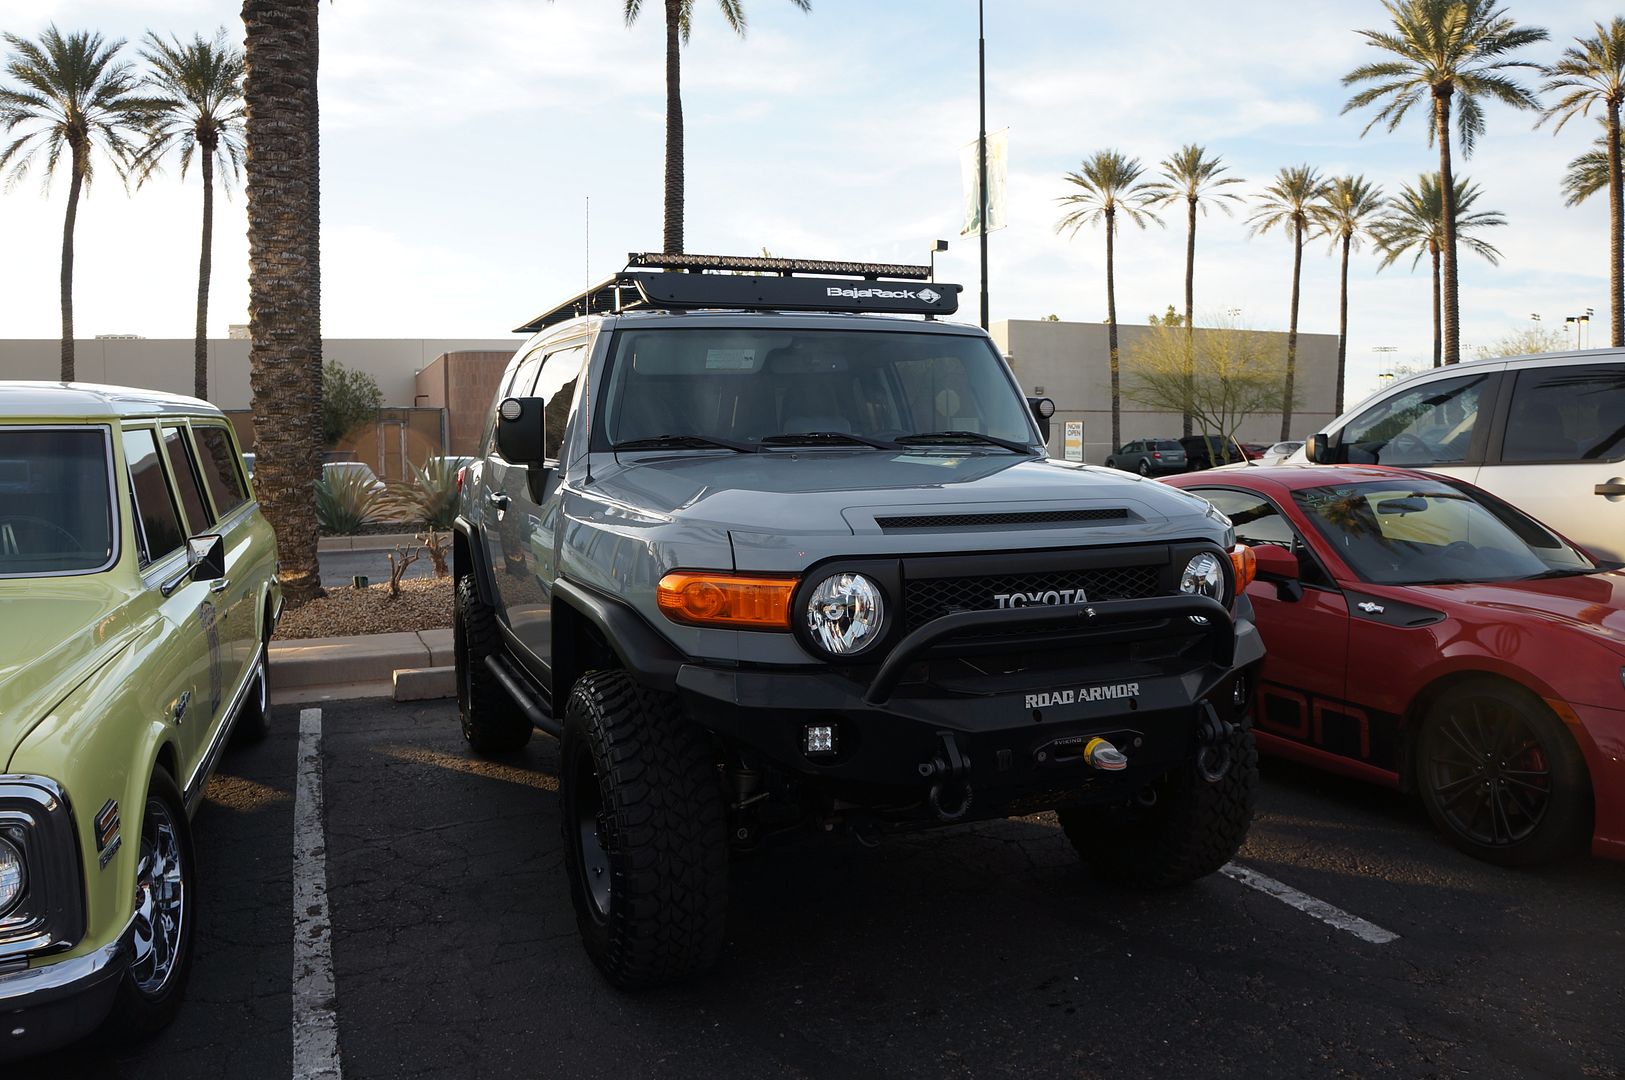
Road Armor Bull Bumper
Bulldog 9500# Winch
Viking Winchline
Wheels
Stock TRD (SOLD)
Method 17x8.5 Split Six Matte Black
Tires
Stock a/t's (SOLD)
Hankook 285/70/17 RT-03 M/T
Electronics
Kenwood 9990HD Head Unit
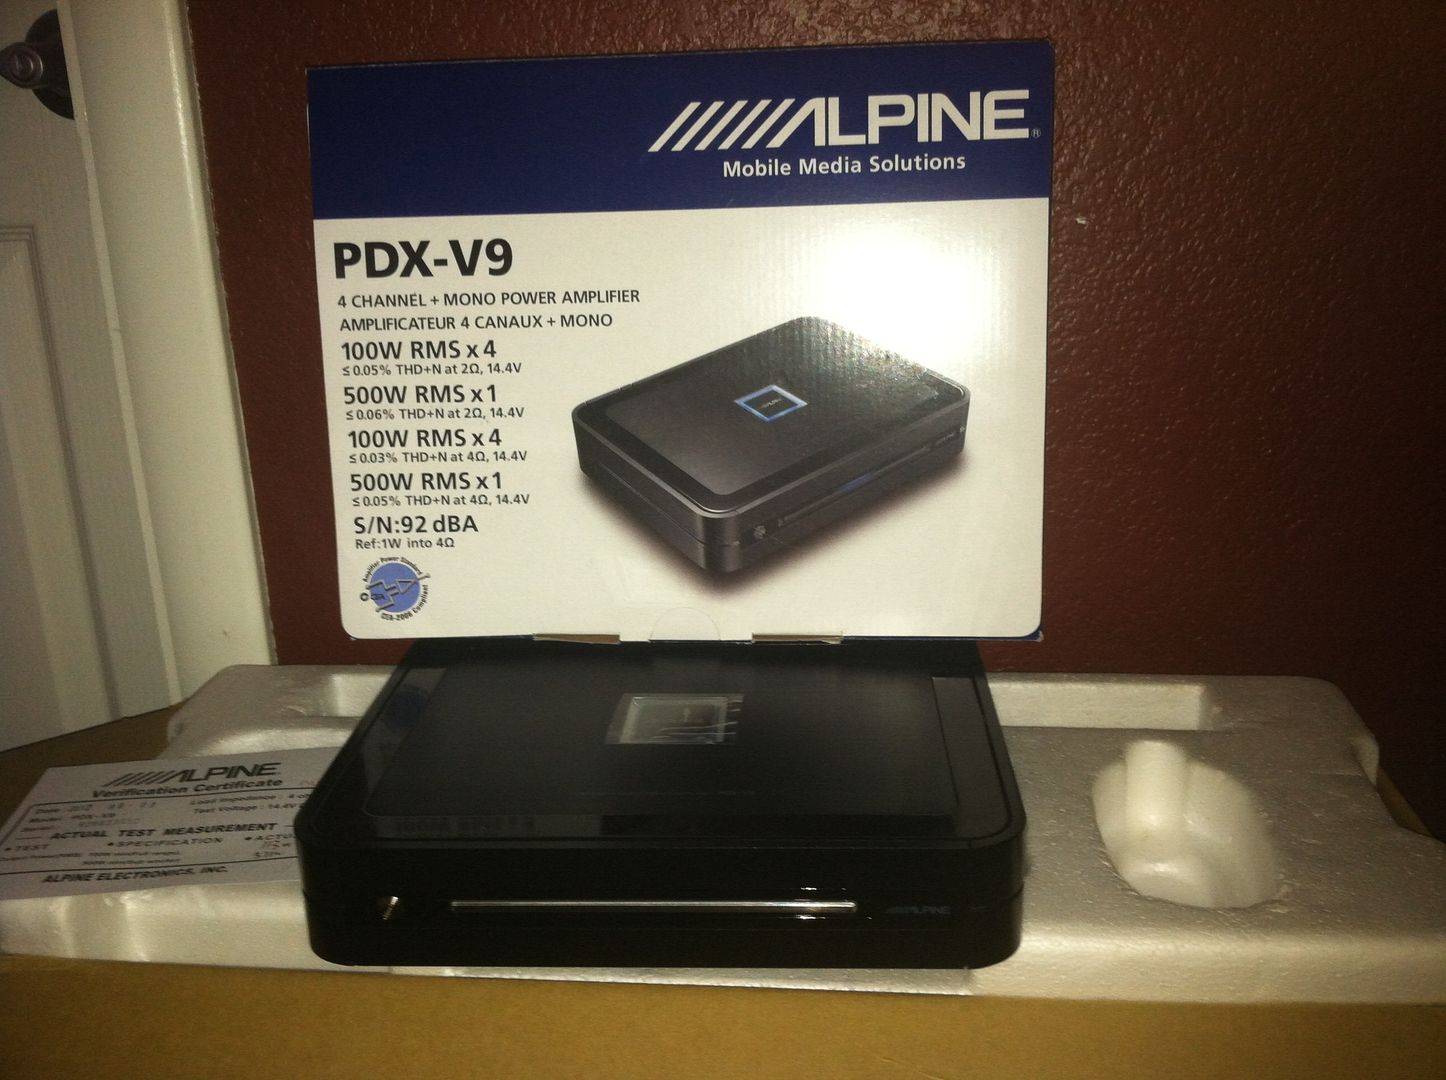
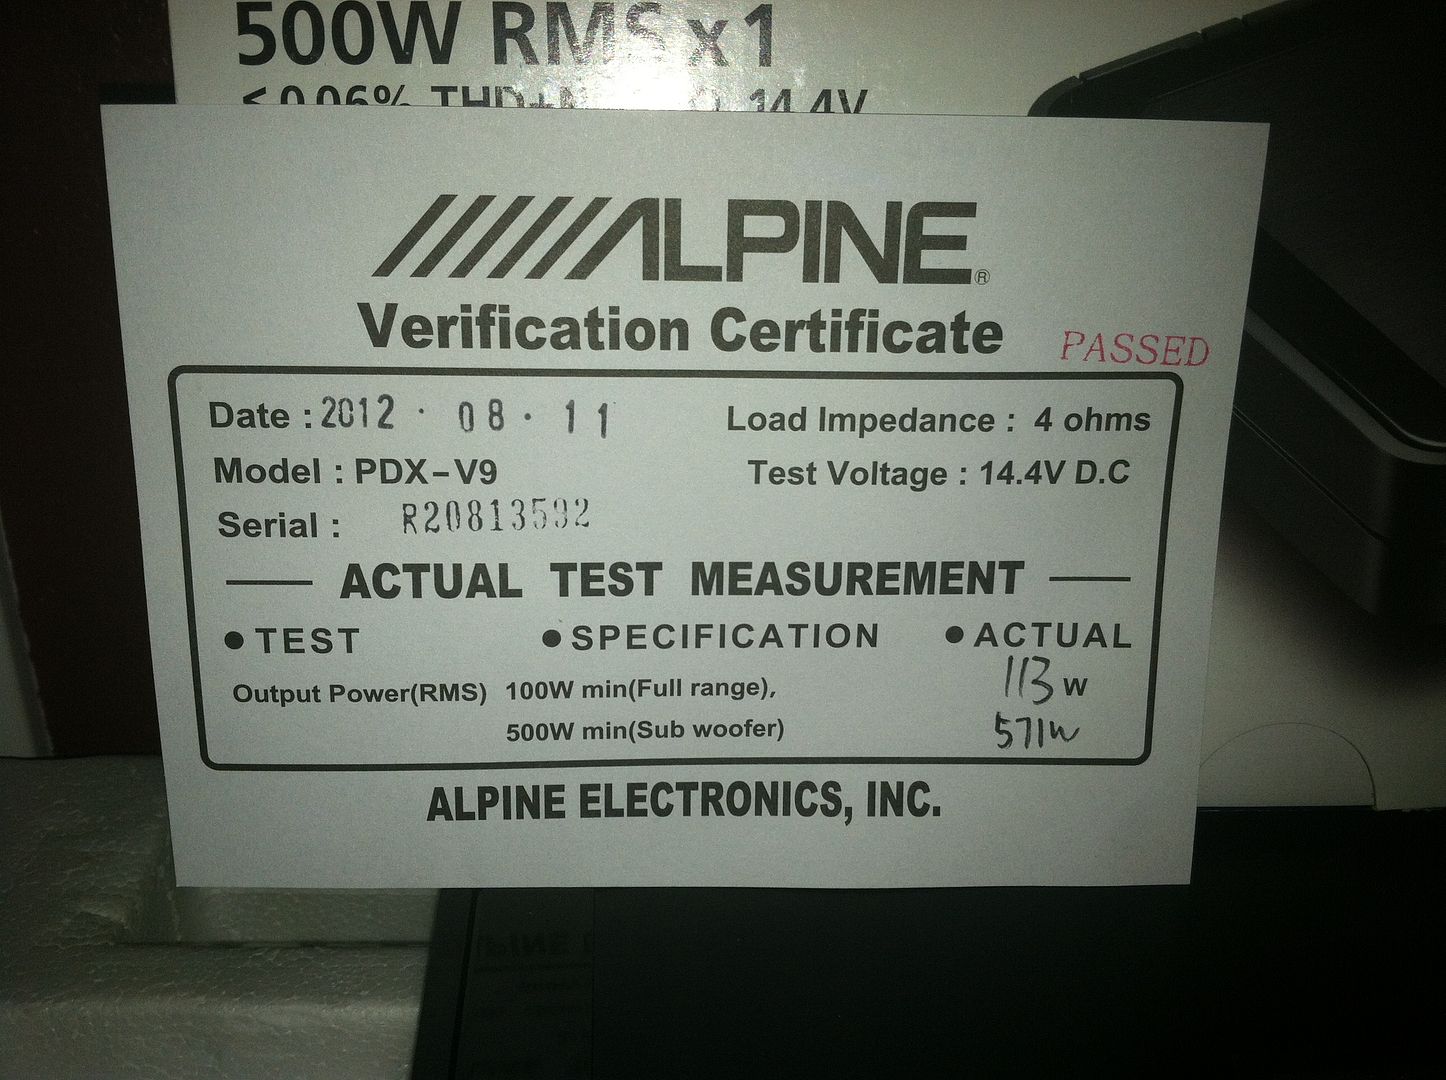
Alpine PDX V9 5 channel amp
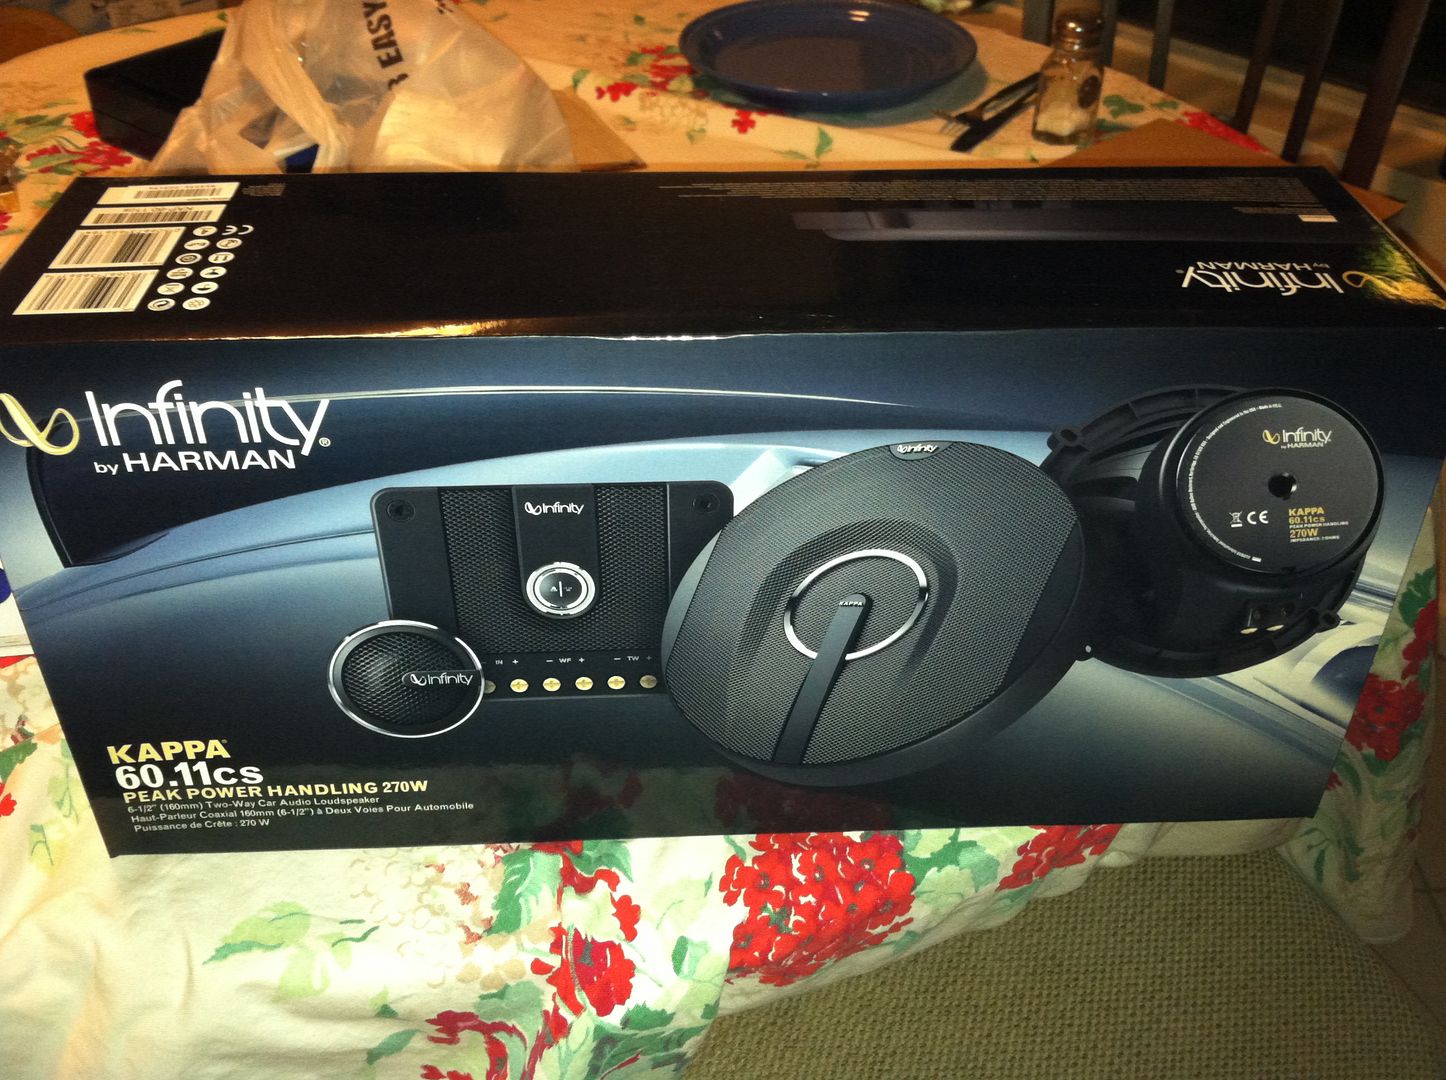
Infinity Kappa 60.11cs component speakers
Focal cvx coaxials
JL Audio 12" Stealth box
Kenwood 710 Dual band
Engel 45
portable cb, somewhere
Scan Gauge II
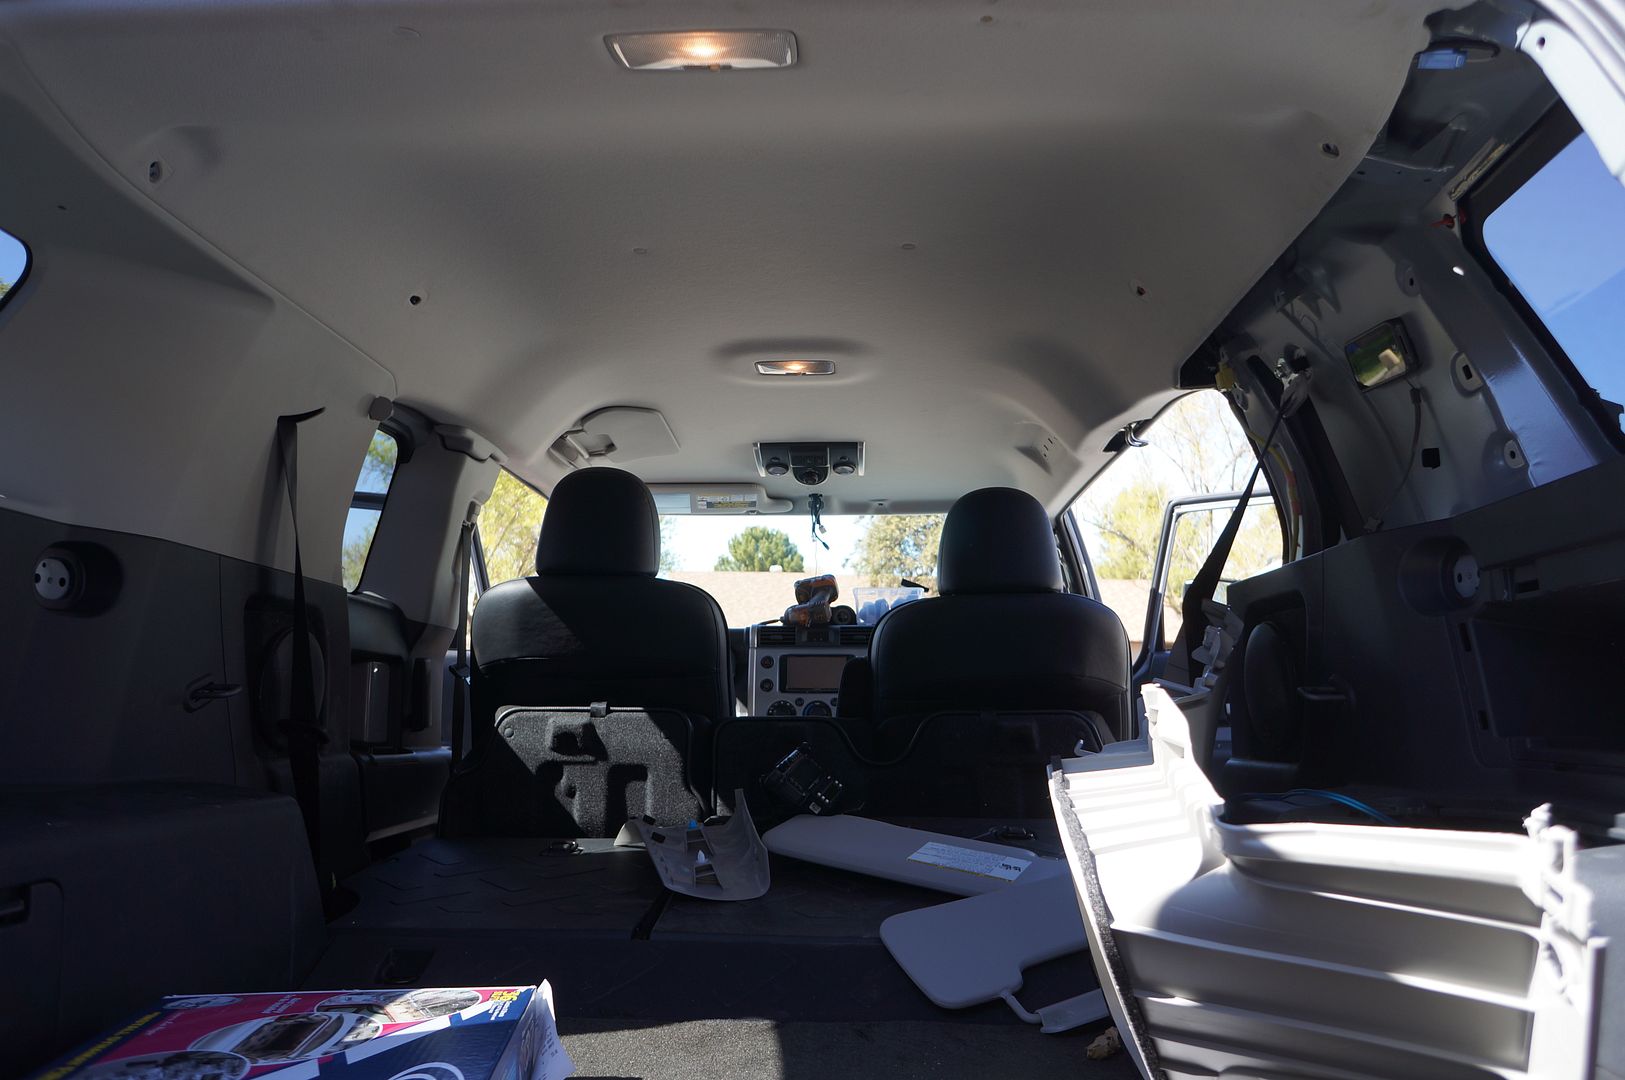
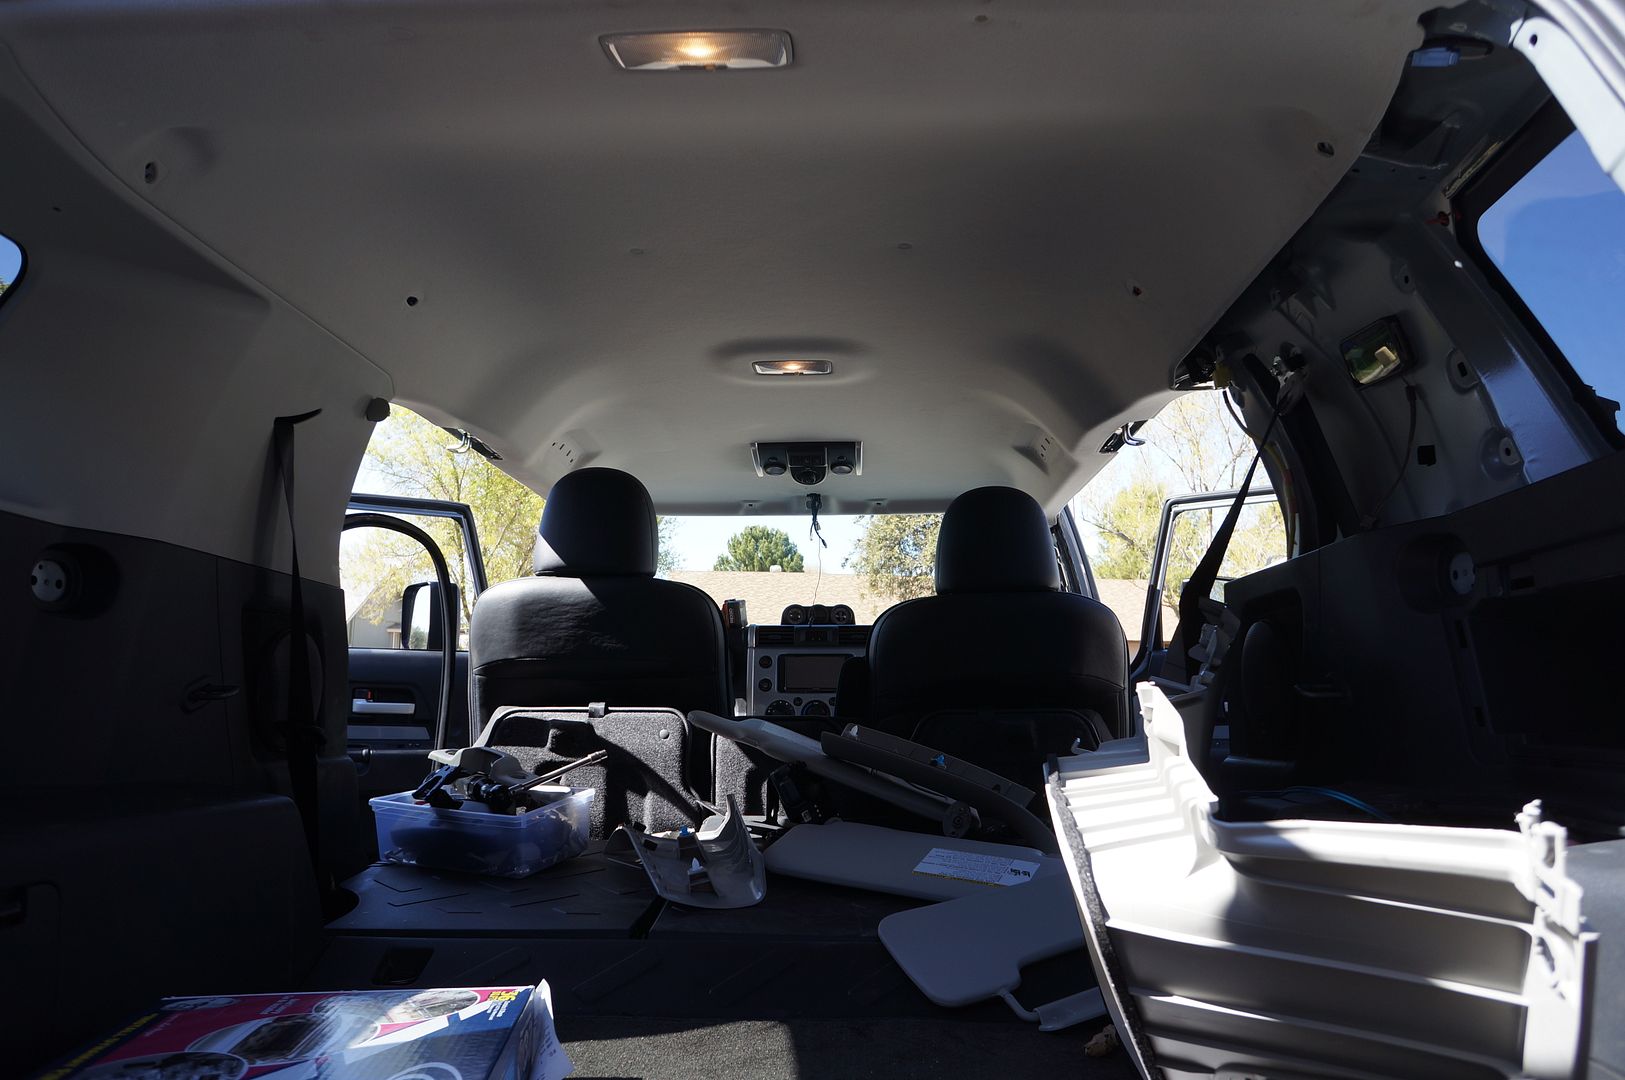
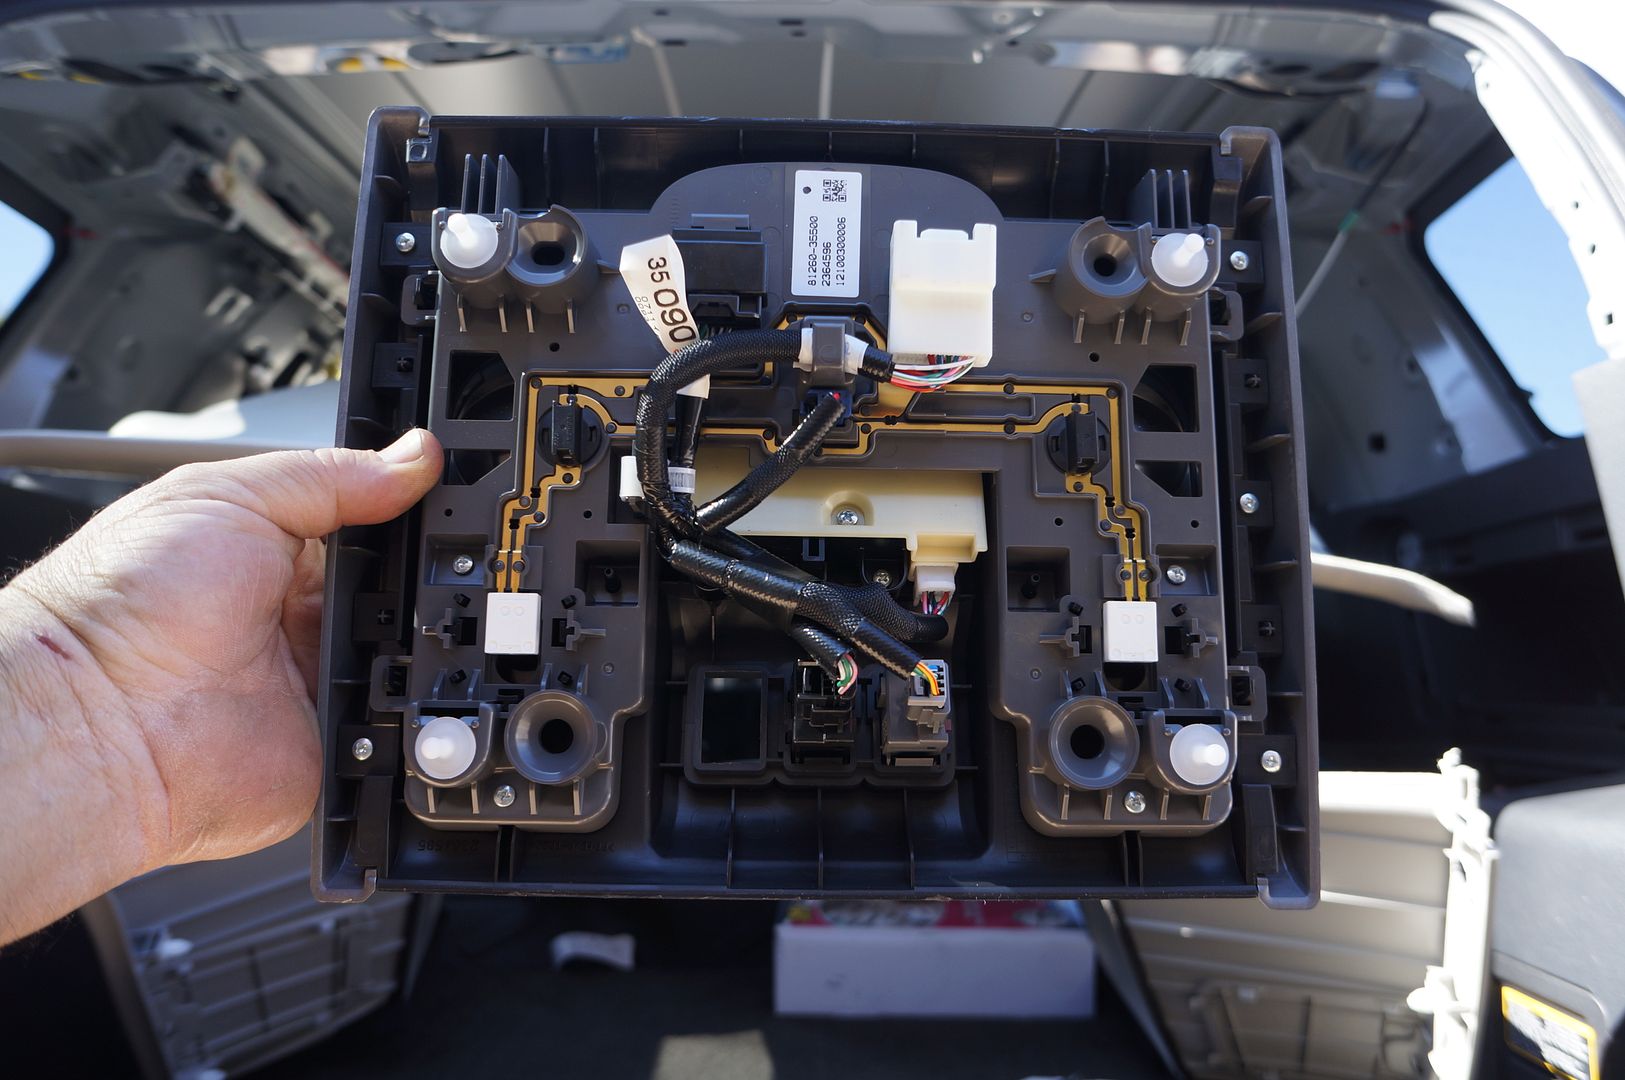
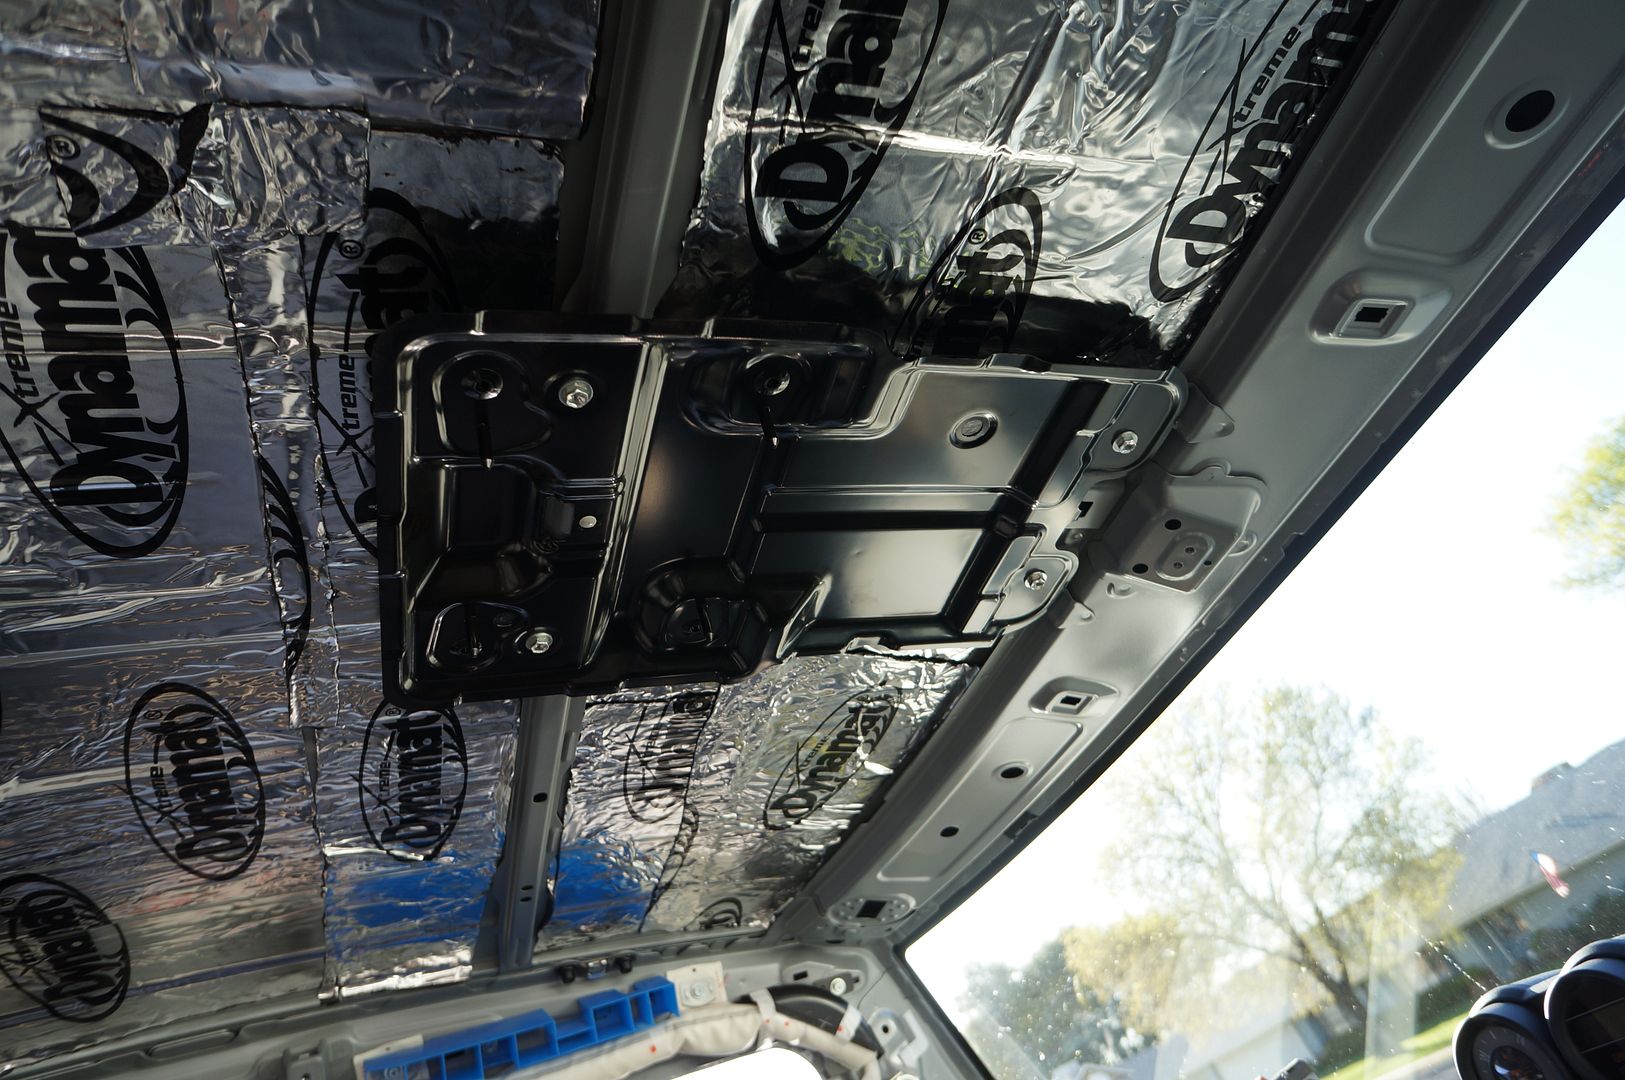
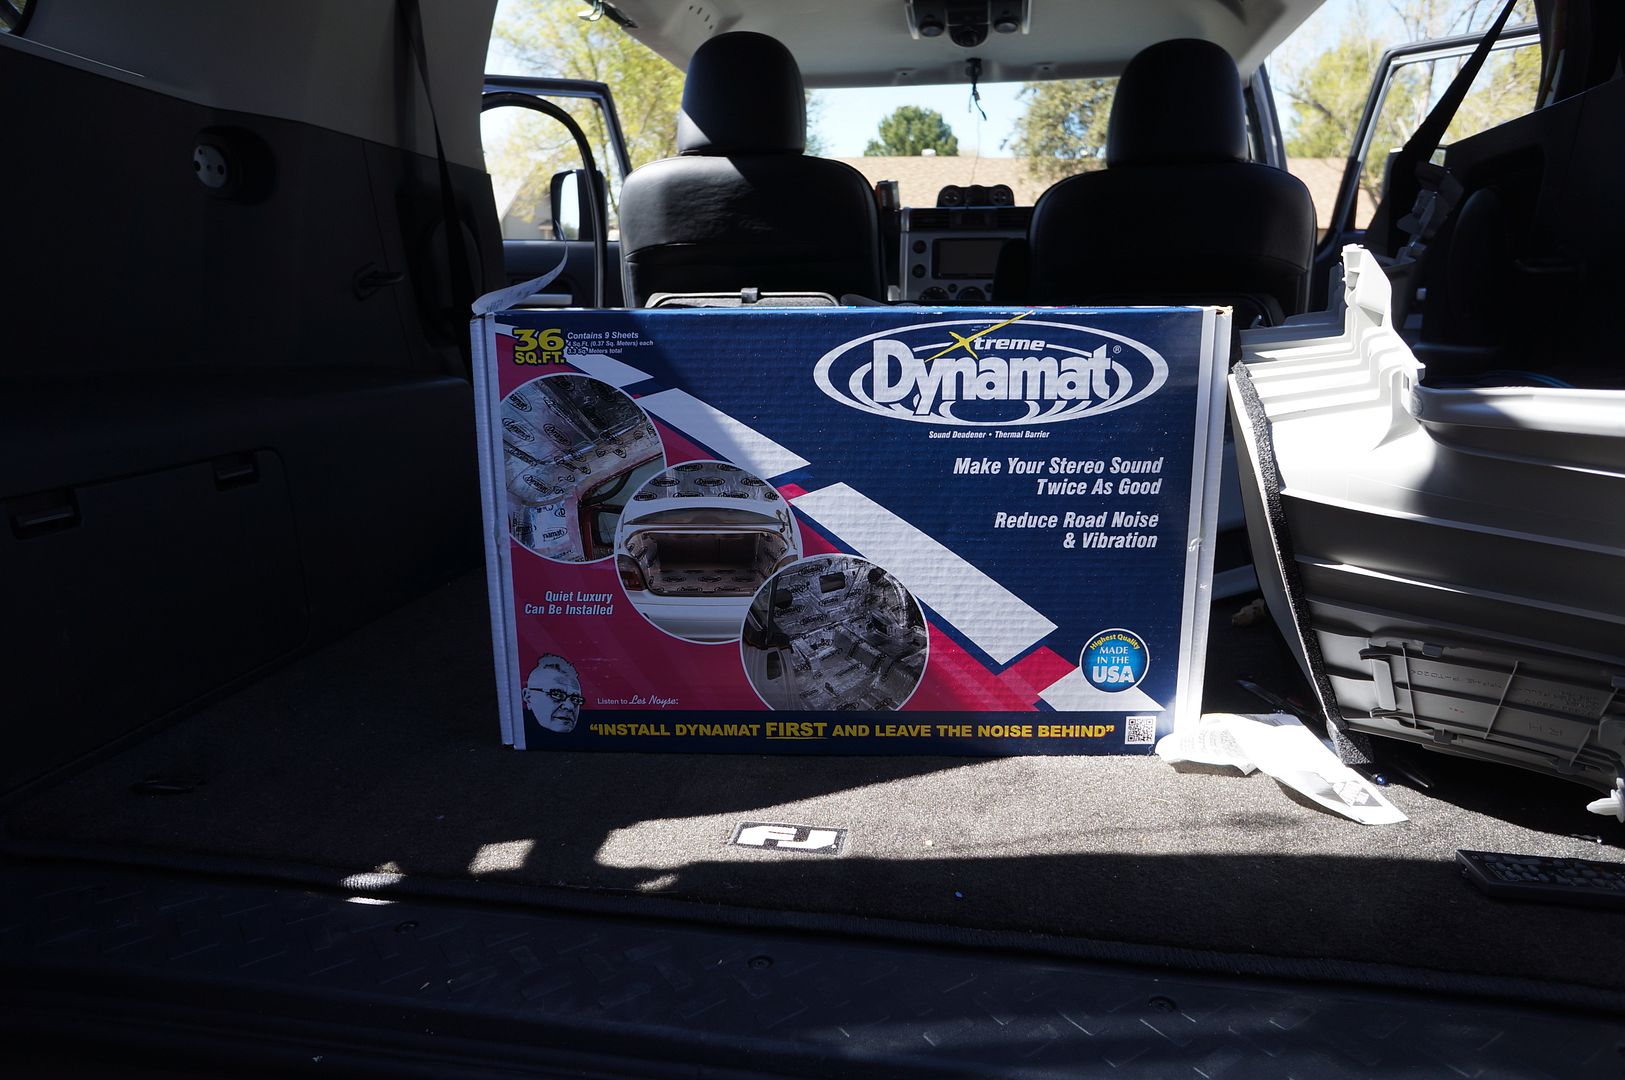
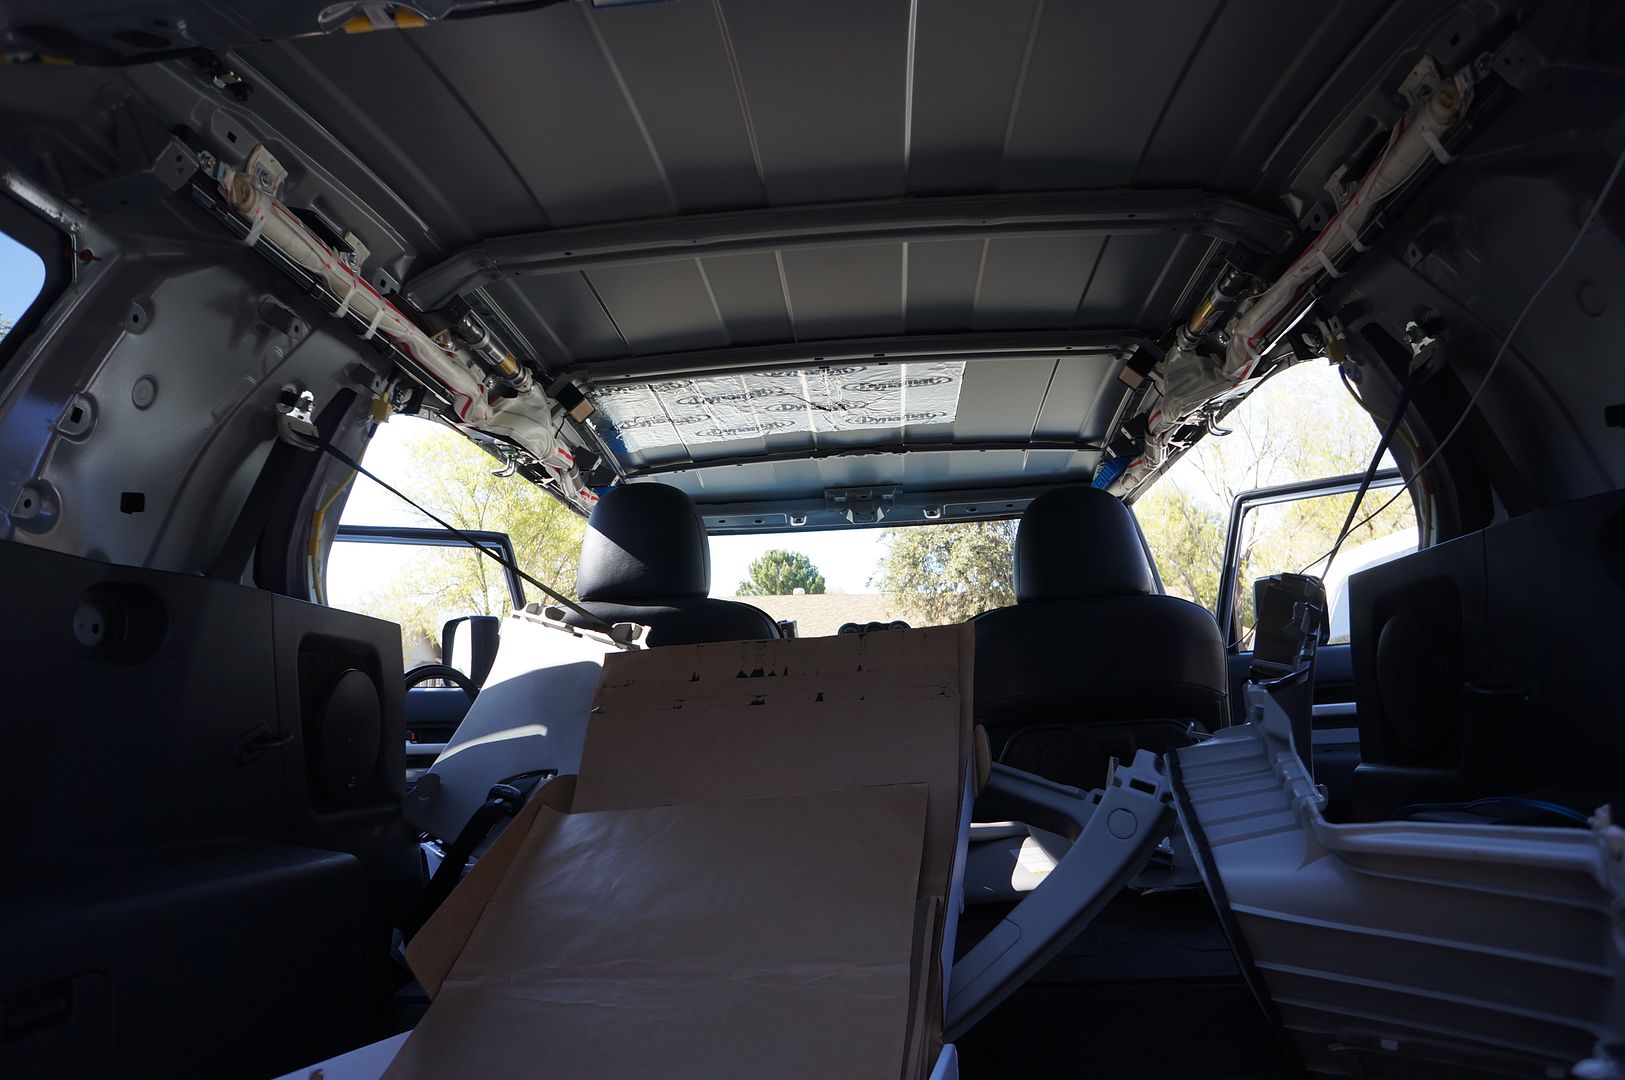
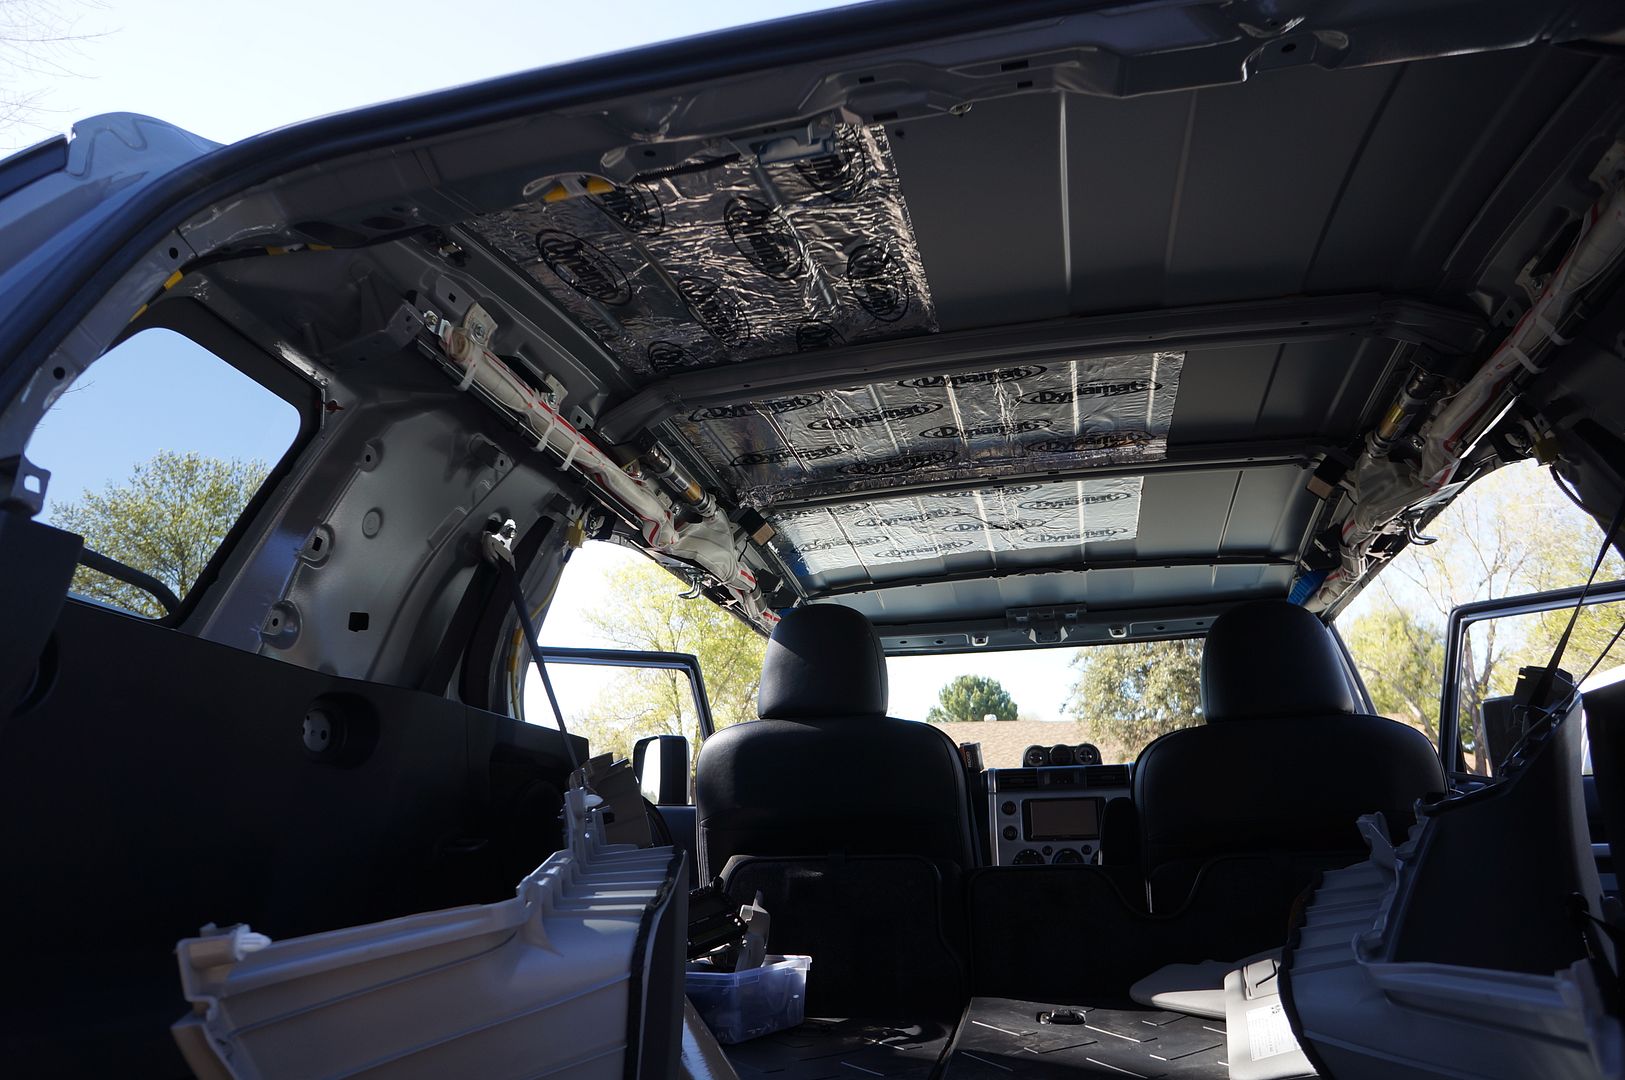
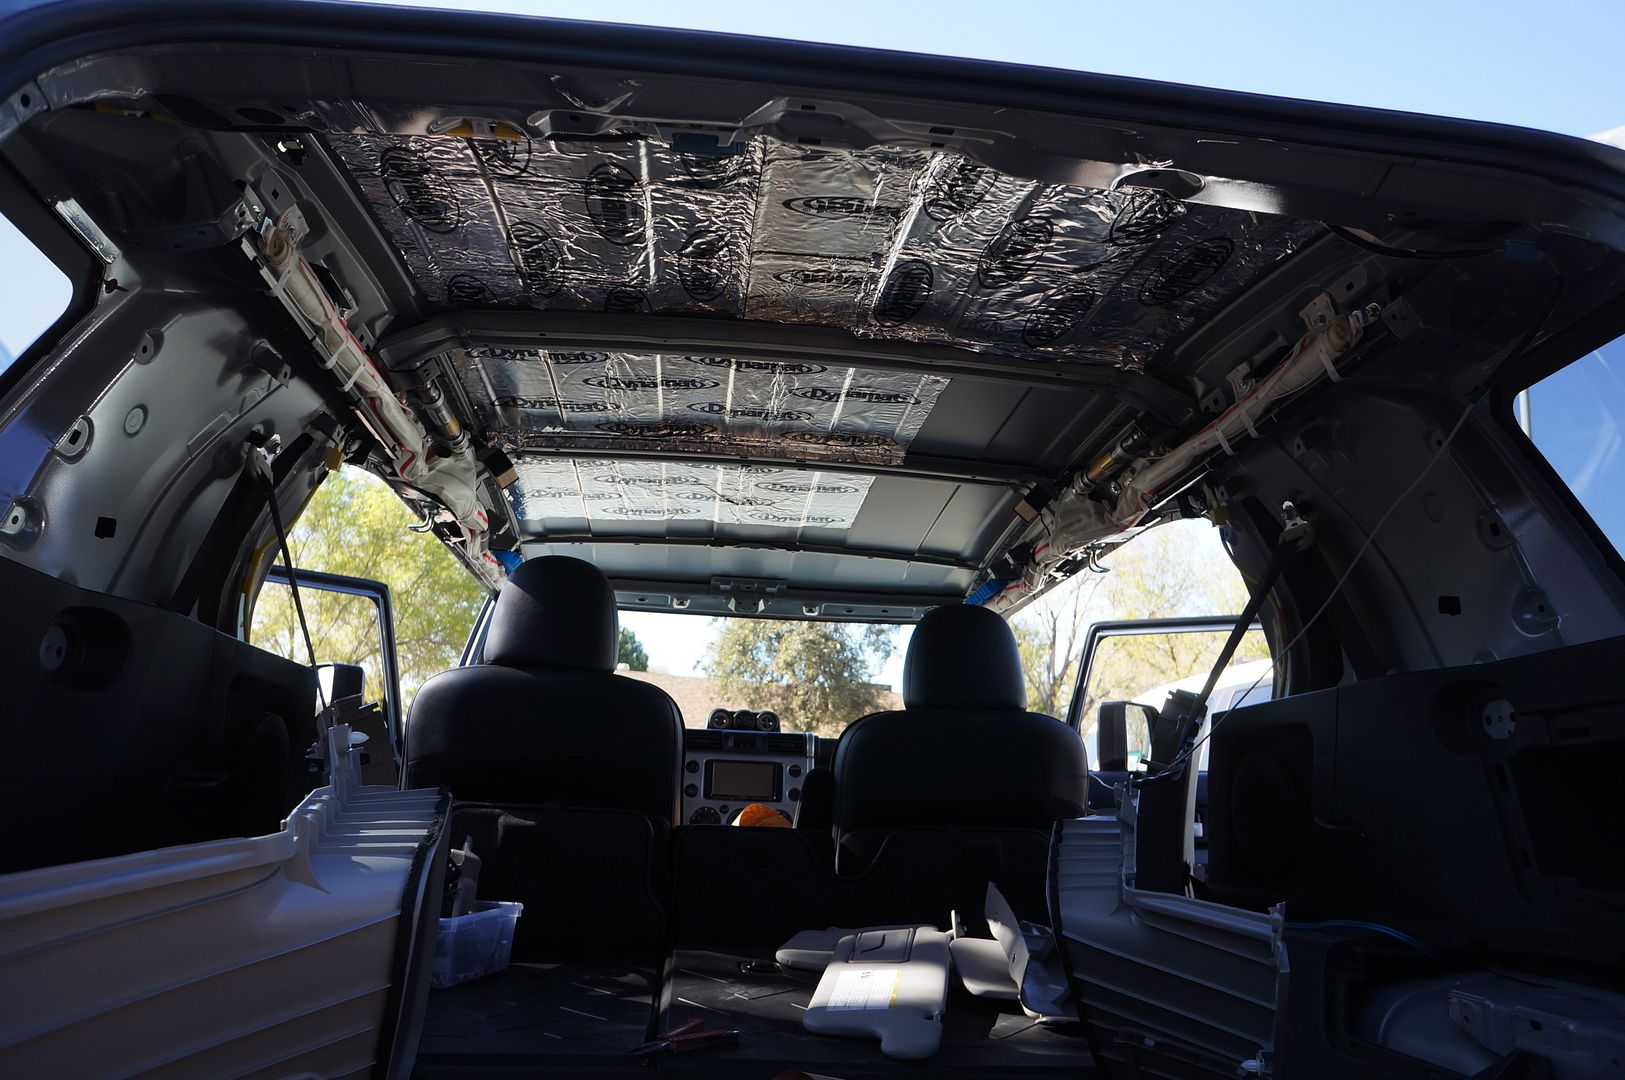
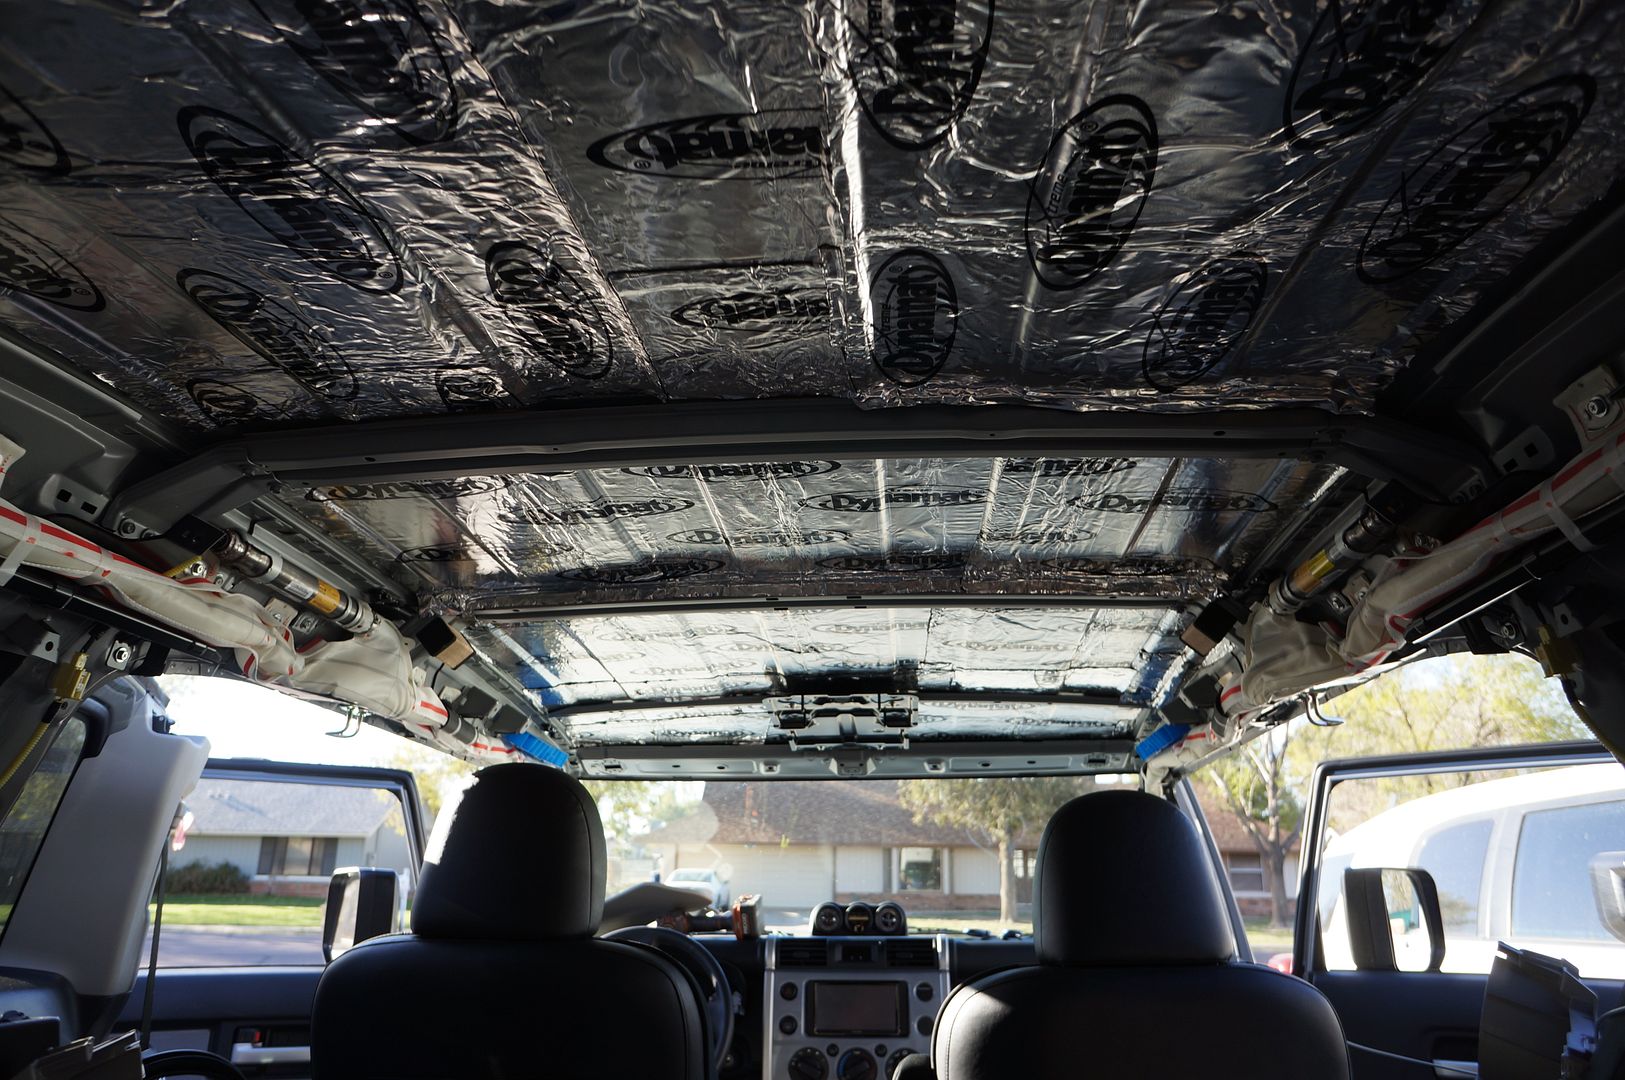
Dynamat Extreme and insulation of ceiling
Performance
Airaid CAI
Lighting and stuff
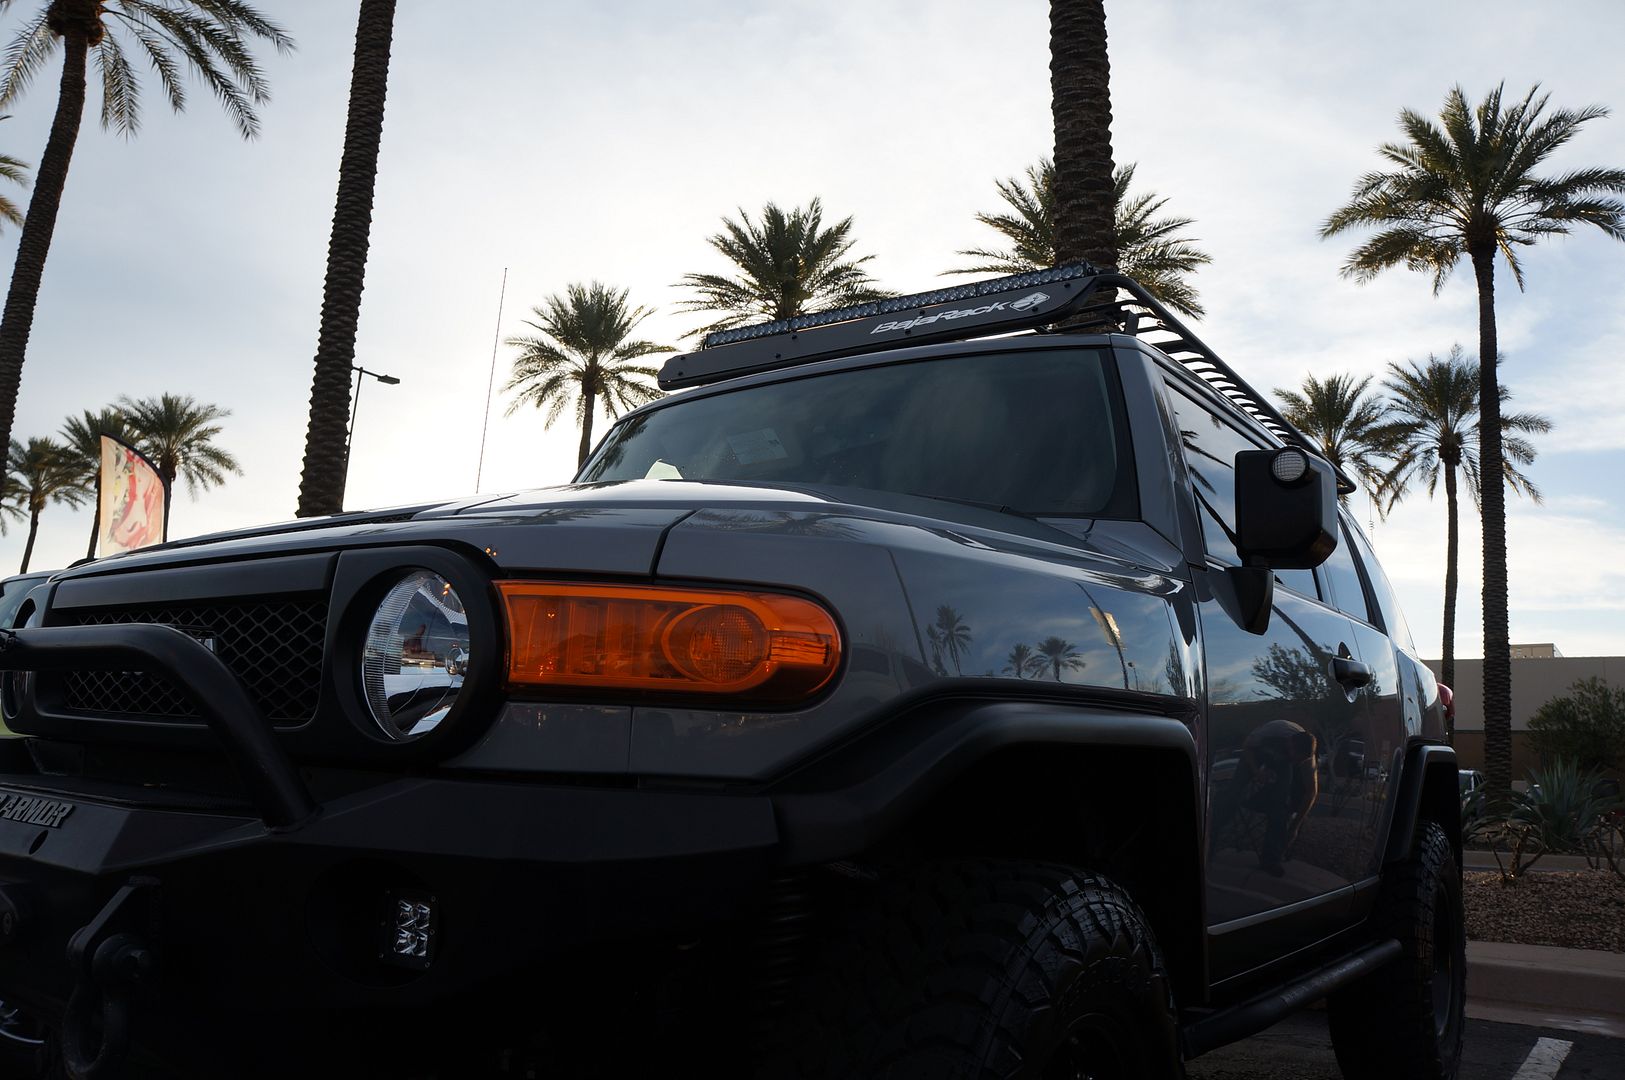
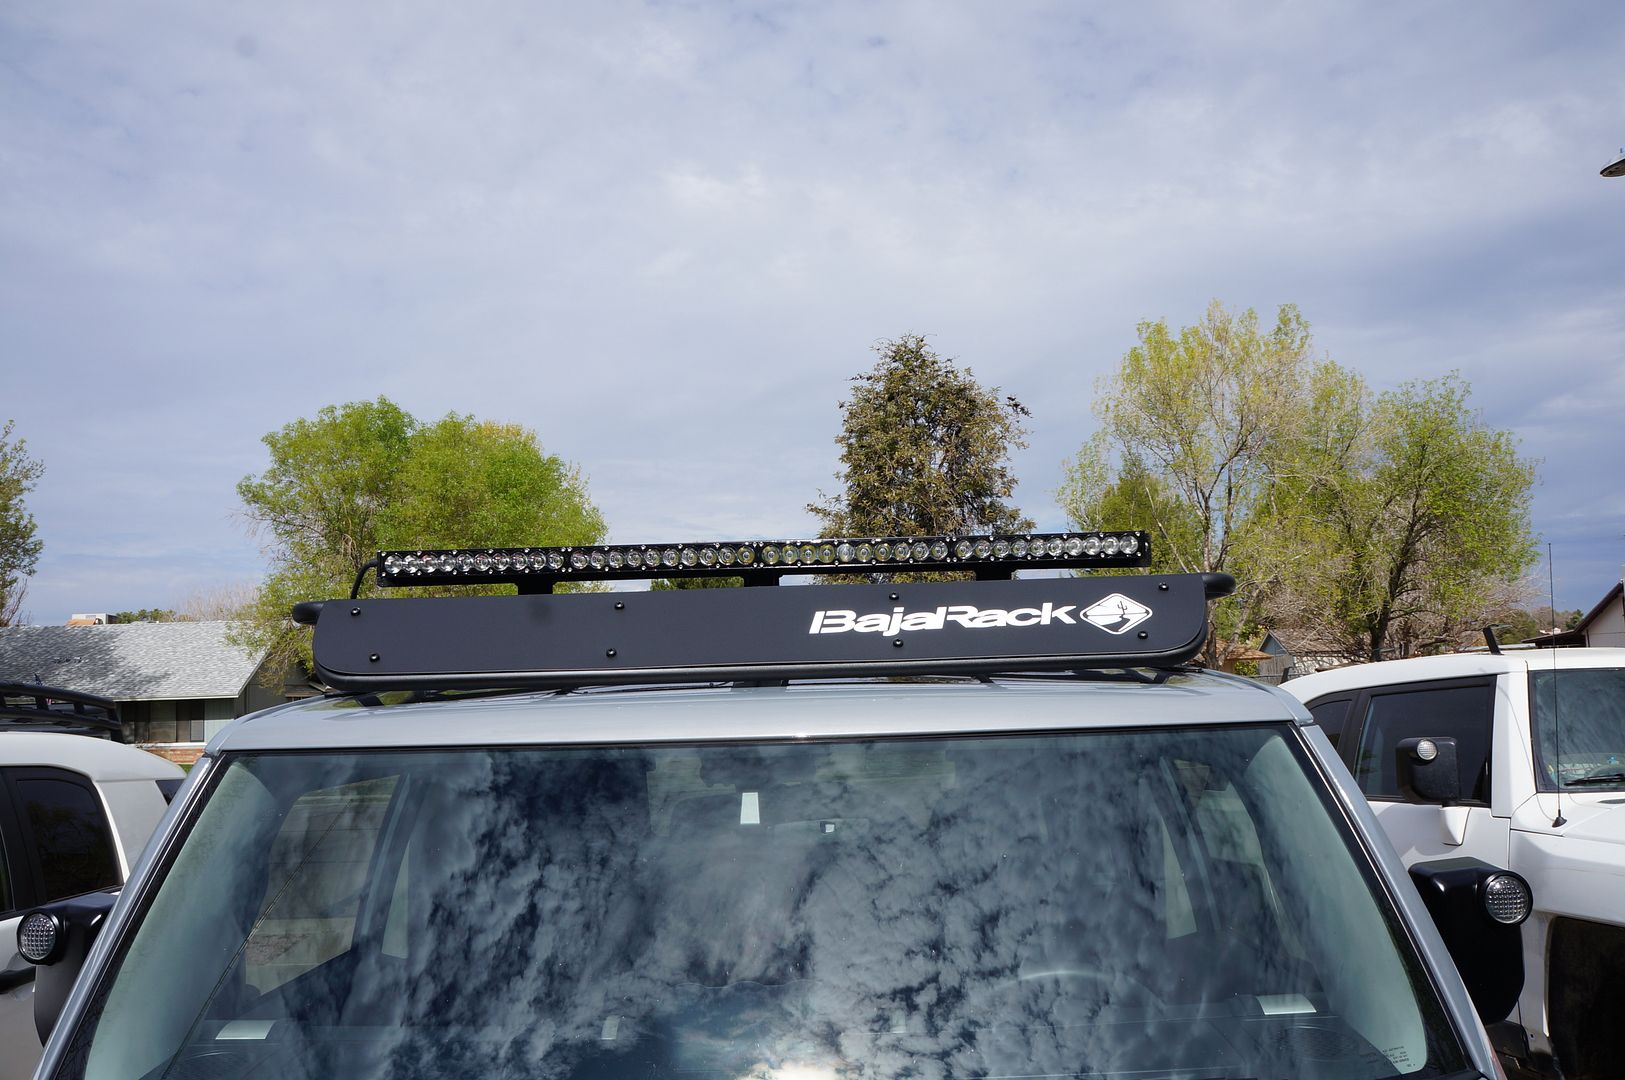
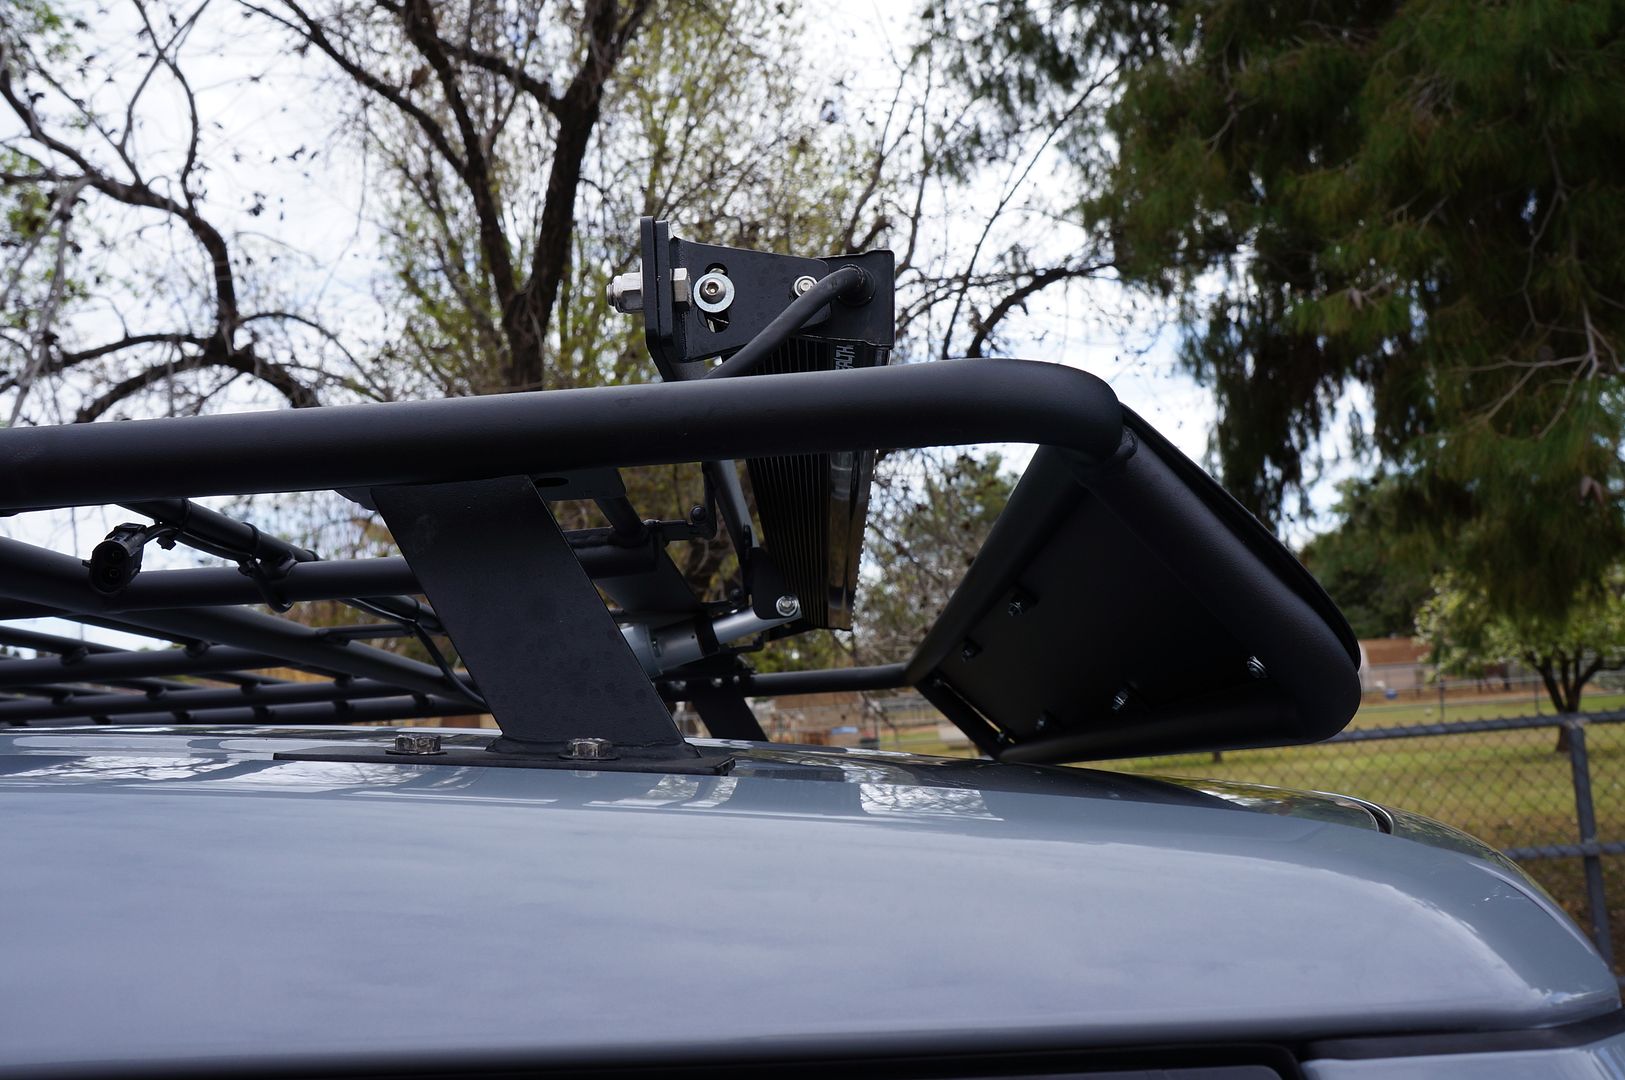
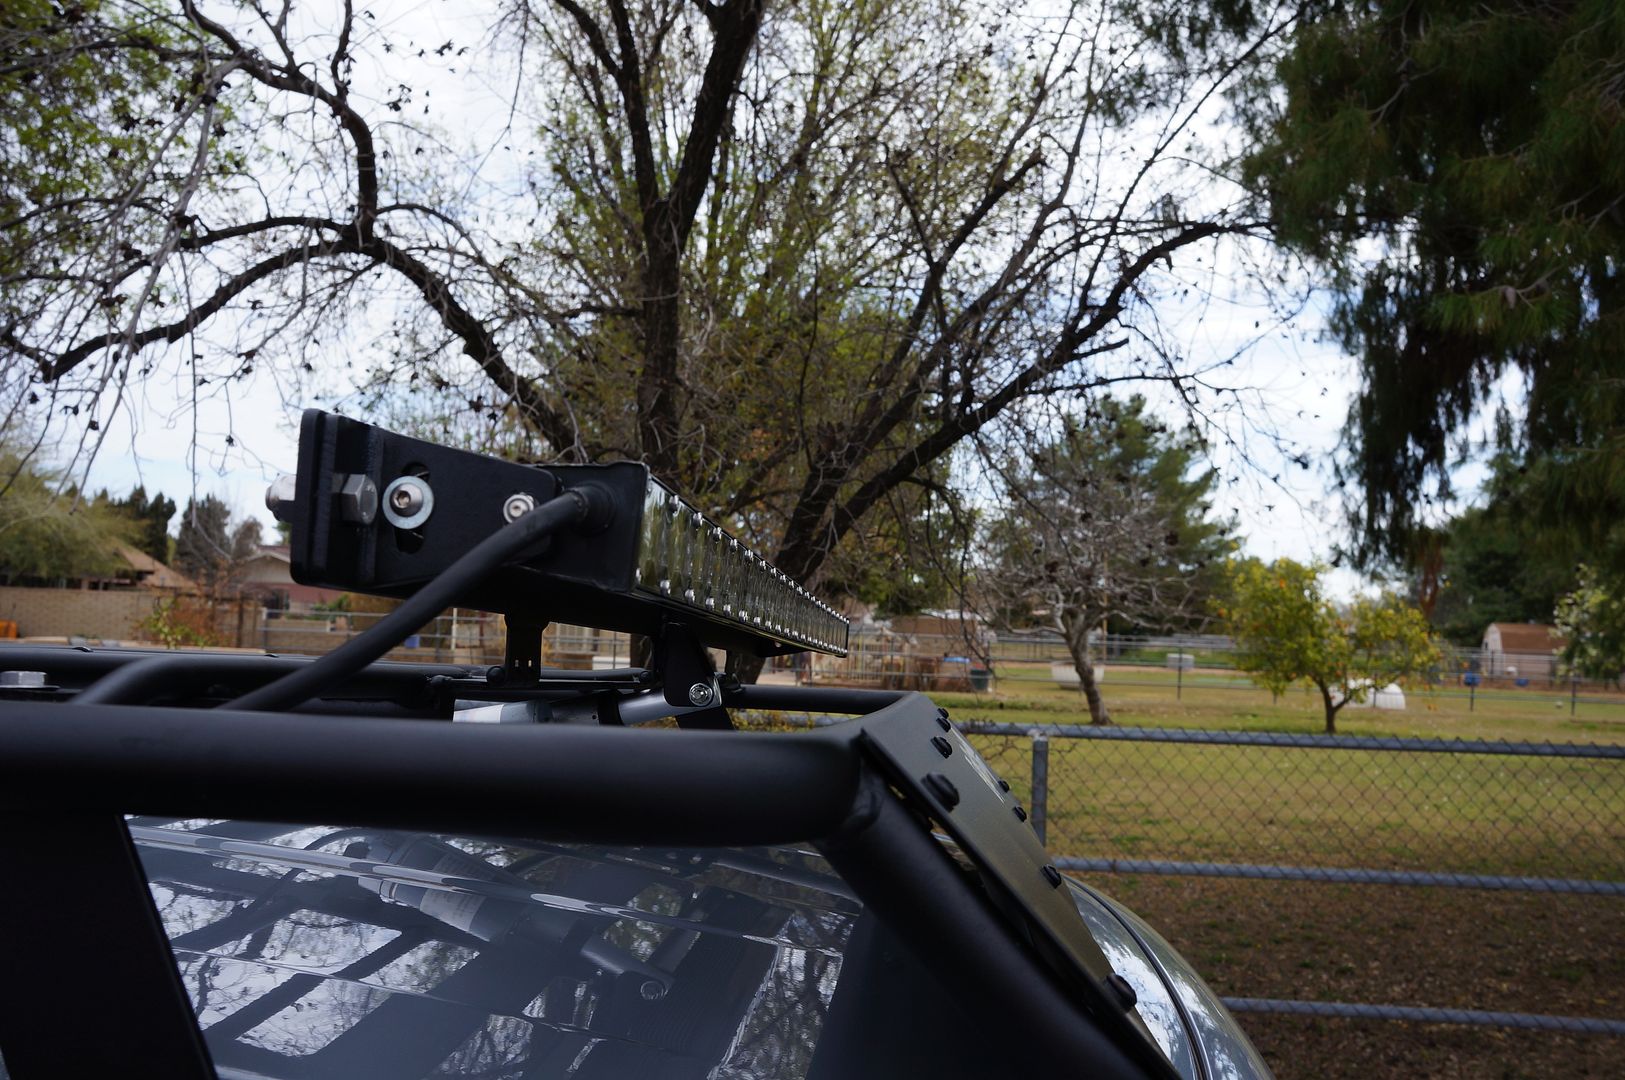
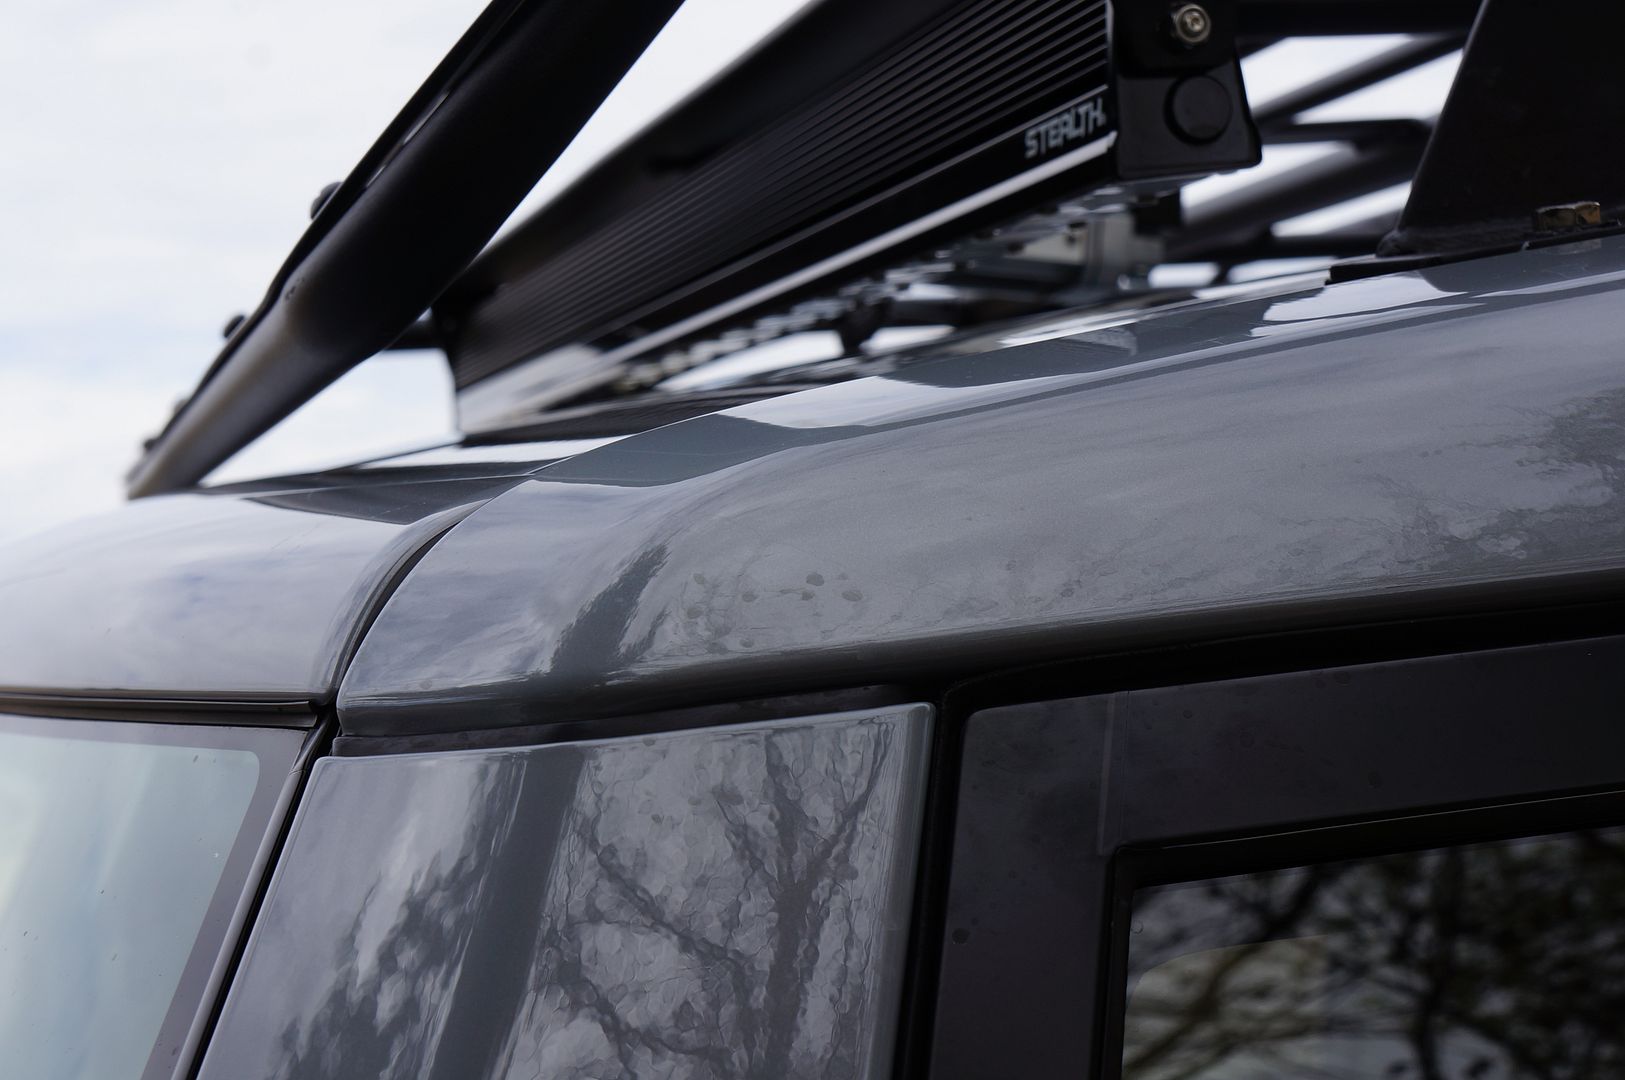
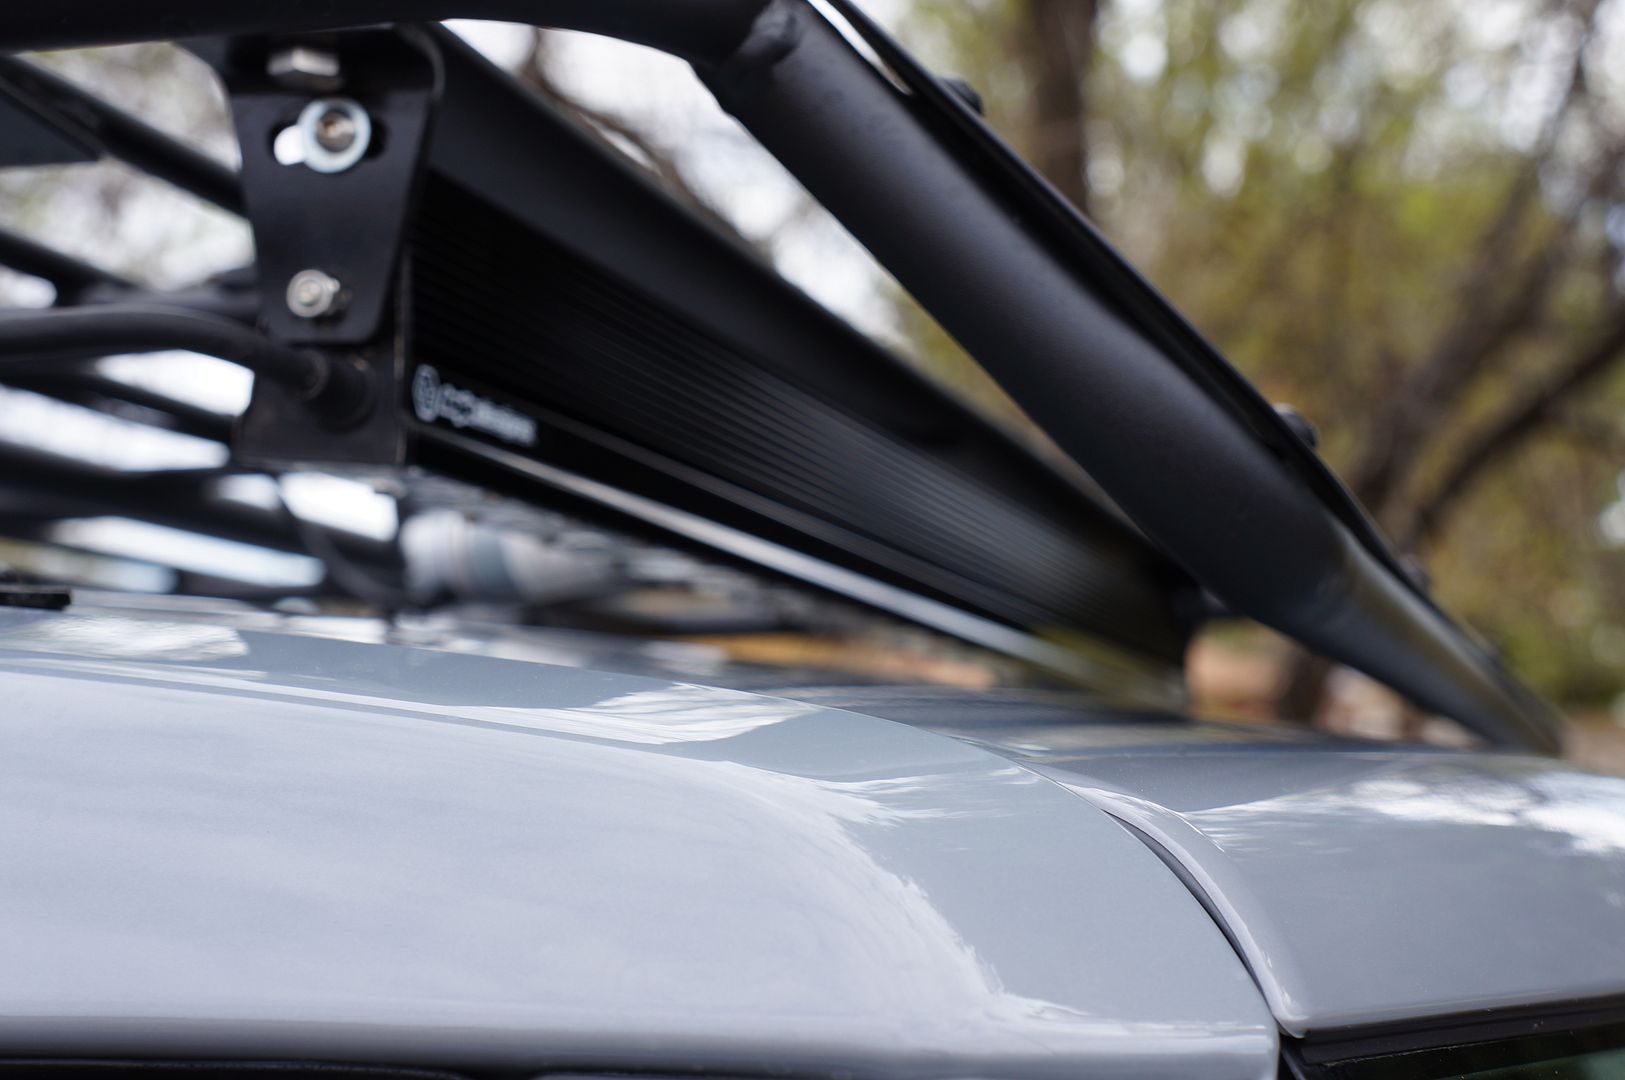
Baja Racks Utility Rack
Spylight Articulating Light Bar Actuator NEW
Baja Designs 4o " Stealth bar
Vision X Soltice lighting
Vision X Soltice Prime rear lights
Other stuff (to come)
New and improved camera system
12/12/12, I went down and signed the papers .
Here's where the build begins.
2013 Cement TT. Notable mods that are new to me are, Crawl Control and Rear View Camera
"The Rock"
It seems like I rack my brain trying come up with a a name and the meaning behind it. This time it was simple, FJess, thought it looked like a rock . Thank you Jess.
Current picture 03/03/13
Mods list
Factory
2013 TT
Crawl Control
A-trac
Locker
Rear View Camera
All the TT Garnishes
Suspension
All of this needs to be moved over
Radflo 2.5 Coilovers
Radflo 2.5 shocks
Camburg 1.25 Uniballs
Toytec Rear Lower links
BMC
Armor
Total Chaos Spindle gussets/with swaybar
Ricochet Full skid plates
Ricochet lower control arm skids
Demello Hybrid Sliders
Road Armor Bull Bumper
Bulldog 9500# Winch
Viking Winchline
Wheels
Stock TRD (SOLD)
Method 17x8.5 Split Six Matte Black
Tires
Stock a/t's (SOLD)
Hankook 285/70/17 RT-03 M/T
Electronics
Kenwood 9990HD Head Unit
Alpine PDX V9 5 channel amp
Infinity Kappa 60.11cs component speakers
Focal cvx coaxials
JL Audio 12" Stealth box
Kenwood 710 Dual band
Engel 45
portable cb, somewhere
Scan Gauge II
Dynamat Extreme and insulation of ceiling
Performance
Airaid CAI
Lighting and stuff
Baja Racks Utility Rack
Spylight Articulating Light Bar Actuator NEW
Baja Designs 4o " Stealth bar
Vision X Soltice lighting
Vision X Soltice Prime rear lights
Other stuff (to come)
New and improved camera system
Last edited:


")