The Rolling Restoration & Customization Of My 88' Range Rover Classic

rrclassicbt550

Farmer Jon
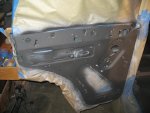
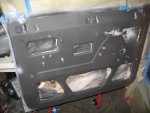
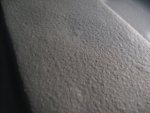
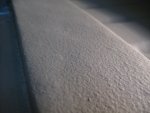
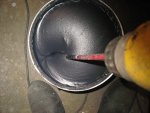
First coat of LizardSkin is on and drying...

The first coat of LizardSkin is on and drying now. It is pretty cold here right now so the between coat time seems to take quite awhile. Thankfully this stuff seems to be very very forgiving. Its really easy to spray on but there is one main difference between the techniques I am used to and the techniques for spraying this. With paints I spray one way then let off the trigger, then spray the other way and then let off the trigger. With LizardSkin and the gun I purchased from them for spraying it, the technique that works best for me is to just stay on the the trigger the whole time and don't let off.
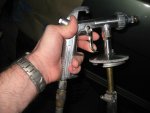
The set up I am running is a hose from the bucket straight to the gun, and if I let of the trigger, the LizardSkin will just flow back down the hose into the bucket; it then takes around 30 seconds with the trigger all the way down for it to suck it back up to the gun. Initially I tried running a 8ft hose from the bucket to the gun, but it never was able to get the LizardSkin from the bucket to the gun. However, it worked really well when i cut the hose down to 4ft.

I definitely recommend the hose into the bucket set up if you are going to do as large of an area as I am doing. It can be kind of cumbersome with the bucket sometimes but the 4ft length of hose allows more movement and range of motion then you might think. Please trust me on the fact that pouring this stuff into the spray guns small pot will get old really fast. There are more positives from the set up that has the spray gun pulling straight from the bucket than their are negatives.

Other things to note:

Multiple coats will have to be done. There is no real way around it. I laid my first coat on really heavy and I am going to have to do one maybe even two more coats until i have reached there recommended depth of material. I am glad this stuff is so easy to work with because its a big job to do this much area.

Its not harmful so I can spray it in the garage with out worrying about the HVAC system sucking toxic fumes into the house. They did recommend I use a dust mask though. So no huge bulky respirator is necessary (although I did use my respirator because I don't keep dust masks around anymore...they are getting so expensive these days).

The clean up couldn't be easier. Its a water based product so I literally just got a paper towel damp/wet and wiped any overspray off. If you choose to use this stuff don't wait too long before wiping up the overspray. I finished up spraying, cleaned my equipment, and then came out to start cleaning up the overspray about 8-10 minutes later, even though the overspray was still easy to clean off, it did start drying up a little bit. In warmer temperatures it might be a good idea to put the spray gun and hose into a bucket of water to soak for a bit while cleaning up overspray. The water won't hurt the gun because water is used to clean the gun at the end of the job. I would try to keep the water out of the airline fitting though.


If you have any questions please feel free to ask.

Have a good one.
Jon
IMG_6248.JPGIMG_6249.JPGIMG_6251.JPGIMG_6252.JPGIMG_6256.JPGIMG_6257.JPG
 

rrclassicbt550

Farmer Jon
Update...

Sorry I haven't been updating the thread very much. I have been very busy in the garage getting stuff done.

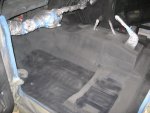
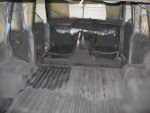
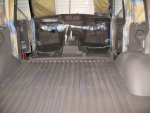
I have the LizardSkin all finished up. I took pictures last night while it was drying. I will take a few pictures of it all dry before I start putting the interior back in it. During each of the five coats drying time I did my best to utilize that time to keep moving forward on other projects. I will post those as time allows (hopefully in the next couple of days). For now, here is the rest of the LizardSkin installation.

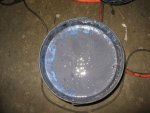
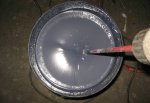
First up are pictures of the of the set up I used to spay it. Second are pictures of it un-mixed and then mixed and ready for spraying.

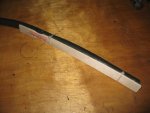
I used some heater hose to run from the spray gun down to the bucket. To make the hose more manageable I zip tied a paint stir stick to it and used a smaller C-clamp to hold it to the side of the bucket. This setup worked like a charm and cut down the spray time by quite a bit.
IMG_6496.JPGIMG_6497.JPG

Sound Control:
IMG_6493.JPGIMG_6494.jpg

Ceramic Insulation:
IMG_6473.JPGIMG_6474.JPG

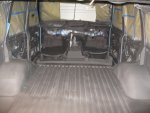
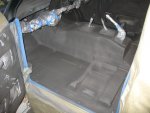
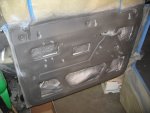
And here are the pictures of the third and last coat of the LizardSkin Sound Control all finished and dry. Next post will be the Ceramic Insulation.

IMG_6460.JPGIMG_6464.JPGIMG_6471.JPGIMG_6472.JPG
 

rrclassicbt550

Farmer Jon
Ceramic Insulation
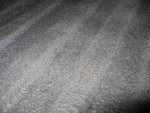
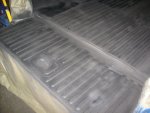
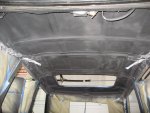
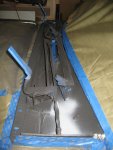
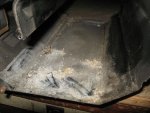
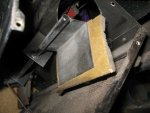
Here are the pictures of the second and last coat of the LizardSkin Ceramic Insulation. Th CI was a lot easier to spray then the SC but took MUCH longer to spray. It took three hours to spray the whole interior with 2 coats with virtually no wait time in between because it dries very fast. It dries much darker than the SC and leaves a bit of a different finish but overall I like the look and I am please with the finished results. I will edit this post and at the fully dried pictures when a little later but here are the pictures I took about 20 mins after I finished spraying the second coat. As you can tell it dries pretty quickly (the temp in my garage was mid 70's).
IMG_6480.JPGIMG_6481.JPGIMG_6479.JPGIMG_6477.JPGIMG_6483.JPGIMG_6484.JPGIMG_6485.JPGIMG_6490.JPG
 

Snagger

Explorer
That's going to be one hell of a Classic, Jon.

I really couldn't give you any advice about the differences in the windscreen frame lips from early to late vehicles, but I'd bet good money that an e-mail to Phil Bashall at Dunsfold Land Rover would get you the information you need.

Sorry. :(
 

rrclassicbt550

Farmer Jon
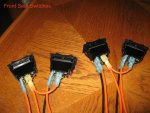
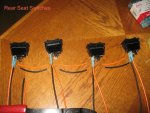
Making a dependable seat switch for around $50....

Since I am setting my Rover up for me to sleep in while camping, I have made the rear seat backs detachable in order to make room so that I can lay flat to sleep; however, since I am over 6'2" I also have to move the front seats forward to be able to fit completely. Now as many of you Land Rover owners may know...moving your seat (especially the drivers seat) into positions that the vehicle cannot be driven from is like playing Russian Roulette with being able to get home. The seat switches in Land Rovers are notoriously unreliable and overly complicated PITA in my opinion. I know there is plenty of information out there about how to take them apart and clean them to make them work like new but to be honest...I want the amount of time I work on my Rover to be less then the amount of time I get to use and enjoy my Rover. Not to mention the Land Rover seat switch always seems to work great when I move my seat into the unusable position but then decides to not work when I need to move my seat back into a usable position.

In my Rover the seat switches have always worked intermittently. The day I decided to take my seats out, the switches would not work at all. Out of shear frustration I decided to side step the switch all together and hook a battery directly up to the motors via the plug where the switch connects. Instantly the motors hoped into action and did exactly what I wanted. This made something click in my head...they are only electric motors...simple forward/back motors. Why were the overly-complicated switches necessary? Why couldn't I just make my own switch that worked more like the power windows? Four motors and four momentary switches. Much less complicated and much much easier to fix even when one does eventually break years from now, it will be an unplug and replug affair, none of this taking the complicated disassembly and reassembly involving taking the switch apart in a one-gallon ziploc bag so the ball bearings don't go flying everywhere rubbish. Just plain old dependable and user friendly switches.

I know some of you may not agree with the way I did it...but I am not electrical engineer. I am just someone who is frustrated and irritated with the Land Rover switches. If you have a better way to do it, please do let me know because I am always up for learning something new. For now these switches work beautifully without any issues at all.


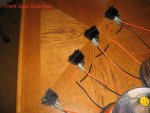
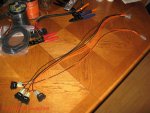
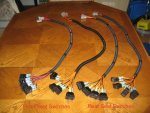
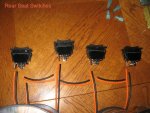
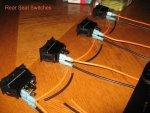
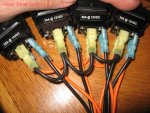
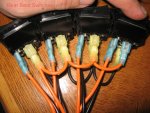
I had to to stick closer to the wiring method of the original Rover switches for the front seats because they run two power wires and share one common ground but for the rear seats I made it easier on myself since I am the one that is making the wiring harness for those.

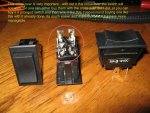
To be honest, electrical work is not my strong area by any means. I found this method through MUCH trial and error. I will tell you this though, the switches I bought are BIG and I do mean BIG but they are the only 30 amp momentary on/off/on rocker switches I could find that I liked. At least I will have no issues operating them while wearing gloves in the colder months lol. That "30 amp" part is IMPORTANT because each motor is on a 30 amp fuse and a switch should never be smaller than the fuse if the the motor/circuit is grounded through the switch.

Hopefully pictures will suffice for a wiring diagram because I am not really sure what the wiring diagram for these two switches would look like.

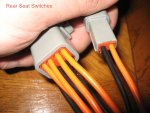
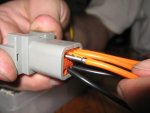
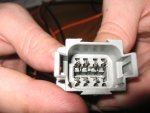
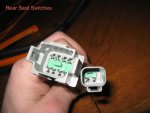
Oh an bye the way, I used 16 gauge wiring, Deutsch connectors (to replace the Land rover connectors), 10-12 gauge connectors (yellow), 14-16 gauge connectors (blue), 5/8" split loom wire shielding, and some electrical tape, all for a grand total of somewhere around $50 per switch. So not only will they work better and be more dependable but they are also much much cheaper than a LR replacement switch.

Also, if you are wondering why I made these switches with such a long lead to the connectors...I am not putting them back in the location next to the seat. I am moving the front seat switches to the center console right next to the power window switches and I am going mount the rear seat switches below the back window but above the wheel well (on each side) in an electrical panel that will also have AC and DC power outlets as well.

Front Seat Switches
IMG_6344.JPGIMG_6346.jpgIMG_6349.JPGIMG_6366.JPGIMG_6388.JPGIMG_6389.JPGIMG_6393.JPGIMG_6396.JPG
 

rrclassicbt550

Farmer Jon
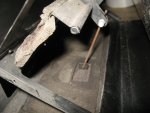
Deutsch Connectors

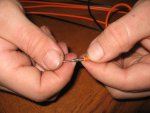
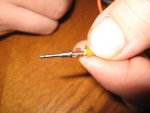
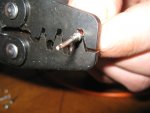
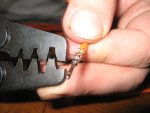
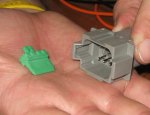
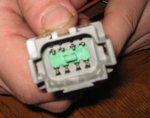
And here is how to put together the Deutsch Connectors because if you choose to use them, the instructions aren't very good. The switches are fantastic though. Also, the connectors are waterproof, dustproof, and vibration proof.
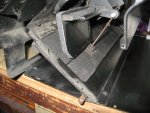
IMG_6368.JPGIMG_6370.JPGIMG_6371.JPGIMG_6373.JPGIMG_6374.JPGIMG_6376.JPGIMG_6378.JPGIMG_6381.JPGIMG_6384.JPGIMG_6386.JPG
 
Last edited:

Series1Rangie

Adventurer
WOW!

It looks great. I have been talking about/toying with the idea of doing the Lizard Skin for a couple of years now. Way to do it right. Can't wait to hear reports on temp and sound control.
Cheers,

Mike
 

94Discovery

Adventurer
It looks great. I have been talking about/toying with the idea of doing the Lizard Skin for a couple of years now. Way to do it right. Can't wait to hear reports on temp and sound control.

Cheers,

Mike
Me too would like the after sound with the lizard skin .
Are you gonna put back the rrc carpet ?
By the nice work.
 

rrclassicbt550

Farmer Jon
It looks great. I have been talking about/toying with the idea of doing the Lizard Skin for a couple of years now. Way to do it right. Can't wait to hear reports on temp and sound control.

Cheers,

Mike

Mike,

Thanks for the compliment! I haven't been able to drive it yet since I am still reassembling it but I have been working on it a lot lately to get it back together by the end of the month. Even though I haven't driven it yet I have been spending many hours in it to organize the wiring harness and reassemble the interior. There is a big difference in there now. It is much much quieter and the sound doesn't reverberate when I move around. I will definitely report back on the differences experienced while driving.

Me too would like the after sound with the lizard skin .
Are you gonna put back the rrc carpet ?
By the nice work.

94Discovery,

Thank you for the compliment too! I always appreciate them! In answer to your question...yes, I am putting all of my interior back in as it was before...well...with the extra modifications I added along the way too.

LizardSkin is a sound deadening and heat insulation product...it isn't a bed liner and is not as tough as a bed liner is. It wasn't designed to protect against HEAVY DUTY abrasion and really isn't the right product to use if you were going to use it that way. It is designed to be used in the way that I am using it which is as a water proof barrier, sound deadening, and heat insulating layer underneath an existing interior.
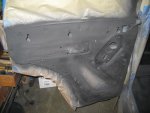
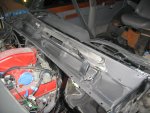
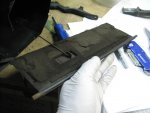
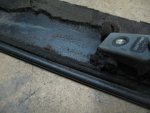
However, LizardSkin does say you can line your wheel wells and undercarriage with it. I am not sure that I agree with that though though because it can be taken off by HEAVY or CONSTANT abrasion. With products like LineX (if installed properly) that same HEAVY or CONSTANT abrasion won't effect it because that is what that product is designed for and would be the right product to use. In my opinion LizardSkin would work well in areas like under the cowl panel that doesn't see a lot of that HEAVY or CONSTANT abrasion. Like I did. Here are the pictures...

IMG_6557.jpgIMG_6558.JPGIMG_6559.JPG

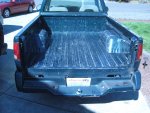
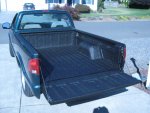
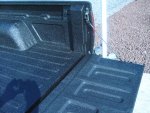
If someone were looking for a inexpensive DIY spray in bed liner to do the inside of there vehicle because they were not planning to put the carpets back in. I would recommend a product called "Linerextreeme". I used it in the truck bed of my Chevrolet S10 and even though it isn't as strong as LineX, it has proved to be a good and durable product over the past couple of years. It has been scraped off in a couple of places, but believe me it was under HEAVY abrasion. Linerextreeme is the product I will eventually use for the wheel wells and undercarriage of my Rover.

IMG_3413.JPGIMG_3414.JPGIMG_3422.JPGIMG_3437.JPGIMG_3438.JPGIMG_3445.JPG
 

rrclassicbt550

Farmer Jon
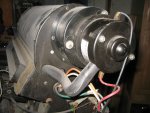
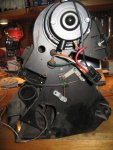
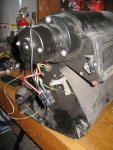
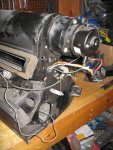
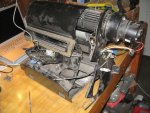
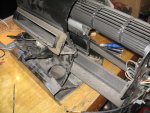
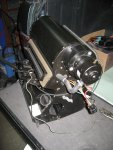
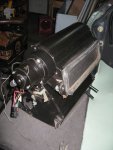
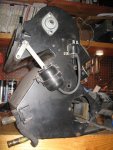
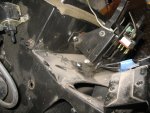
The heating assembly...

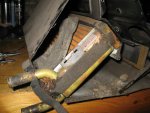
So this post is going to be LARGE, because there is fewer words and more in pictures. Honestly, there is a lot of info out there about how to do these things but not too many pictures on it actually be ing done.

Here is a simple break down of what I did:

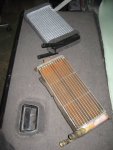
Removed the heating assembly from the Rover
Took the heating assembly apart
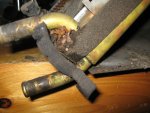
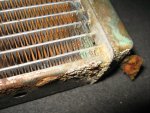
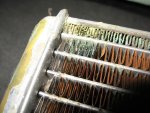
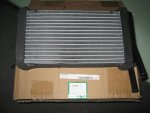
Replaced the heater core
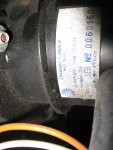
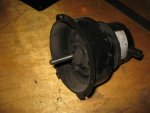
Had the blower motor rebuilt/refurbished
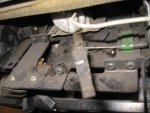
Replaced the foam on all the vent doors
Adjusted the vent doors to work properly (as in actually seal when they are closed)
Cleaned everything
Re-assembled the heating assembly

This really wasn't difficult to do, just time consuming. The two most "difficult" things to do were taking the circular lock washers off of the vent door hinge rods and cutting out the area for the new heater core.

Anyway, without further delay here are the pictures. If you have any questions feel free to ask.

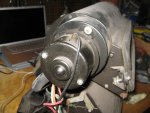
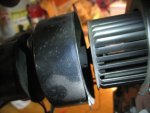
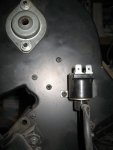
Blower Motor

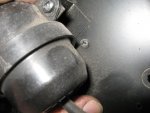
IMG_6402.JPGIMG_6403.JPGIMG_6404.jpgIMG_6412.jpgIMG_6413.JPGIMG_6416.jpgIMG_6417.jpg

If you choose to just do the blower motor you can just take out the screws holding the motor in, unhook the black and red wire, and pull the blower motor out with the fan cage attached as one unit. But since I was taking everything apart anyway I want to keep as much stuff as I could in its original place for as long as I could to help me remember how to put it back together.

IMG_6418.jpgIMG_6421.jpgIMG_6422.JPG
 
Last edited:

rrclassicbt550

Farmer Jon
Blower Motor

IMG_6424.JPGIMG_6492.JPG

Putting the blower motor in is the last thing done when reassembling everything and is very straightforward. Its nothing special, just the reverse of taking it apart.

IMG_6631.jpgIMG_6632.jpg
 

rrclassicbt550

Farmer Jon
Replacing Vent Door Foam/Cleaning/Re-assembly

I used the same adhesive single sided foam used between truck canopies and bed rails.

IMG_6562.JPGIMG_6563.JPGIMG_6567.jpgIMG_6569.jpgIMG_6571.JPGIMG_6609.JPGIMG_6573.JPGIMG_6578.JPGIMG_6582.JPGIMG_6583.JPG
 
Last edited:

Forum statistics

Threads
189,744
Messages
2,920,330
Members
232,830
Latest member
kernsrock65
Top