The Rolling Restoration & Customization Of My 88' Range Rover Classic

rrclassicbt550

Farmer Jon
Air Conditioning System

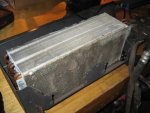
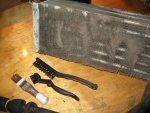
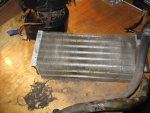
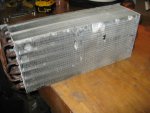
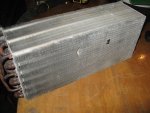
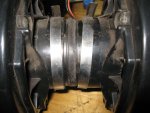
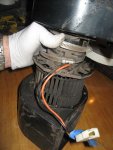
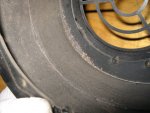
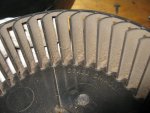
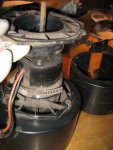
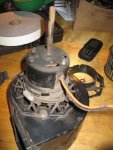
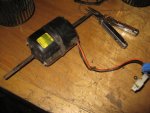
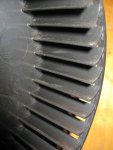
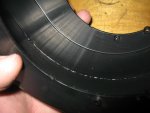
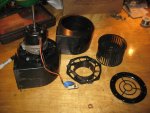
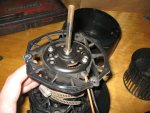
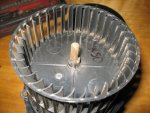
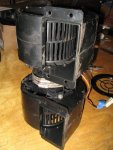
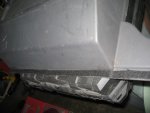
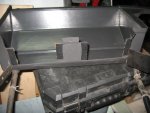
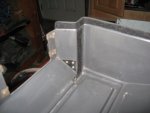
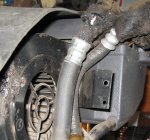
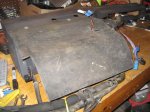
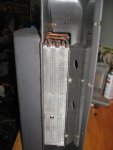
So when I was going to put the air conditioning back into the Rover the "while I am in there, I might as well" way of thinking got to me again. So with one thing leading to another...I decided to take the unit apart clean it and make sure that everything was working well and in good condition because once it is back together I do not want to have to take it back apart because something failed a few months later.

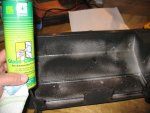
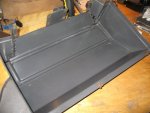
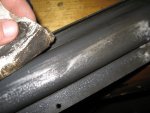
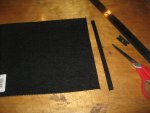
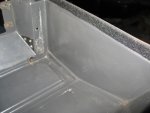
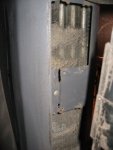
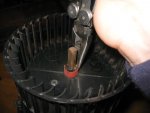
I am very glad I did take it all apart because of the amount of dust built up inside the evaporators fins, in the blower motor housings, and in the the blower cages blades. Thankfully, after some cleaning and some work everything is back together and working the way it should. While I was in there though I put sticky backed felt around the areas where the panels touch to help reduce rattles. After all, I didn't got to all that trouble with the Lizard skin just to be able to listen to the dashboard rattle away in an otherwise quiet passenger compartment. ;)

Anyway, I learn better by looking at pictures rather than words and I am sure there are a few of you out there who are the same way so I will get a move on and let you get a look at the pictures...


IMG_6986.JPGIMG_6988.JPGIMG_6905.JPGIMG_6898.jpgIMG_6900.JPGIMG_6901.JPGIMG_6902.JPGIMG_6903.JPGIMG_6904.JPGIMG_6907.JPG
 

rrclassicbt550

Farmer Jon
IMG_6923.JPGIMG_6924.JPGIMG_6926.JPGIMG_6928.jpgIMG_6930.JPG
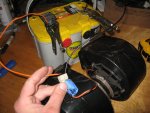
ALWAYS TEST EQUIPMENT BEFORE PUTTING IT BACK IN!!! There is nothing worse than having to take something out that you just put in because something is misaligned and won't turn. Thankfully, everything worked beautifully.

IMG_6932.JPGIMG_6933.JPGIMG_6935.JPGIMG_6936.JPGIMG_6938.JPG
 

rrclassicbt550

Farmer Jon
Looking at the shots of that wiring harness are what my nightmares are made of. You are a brave and thorough man! Beautiful work. I am just out in White Salmon, WA. It would be great to get to see this rig in person some day.

Another Craig from WA

Craig,

Lol...well thank you very much for the the compliment and I can honestly say after going through all of the wiring it isn't as scary as it looks if I am focused into just one section at a time, but I agree...it is what my nightmares are made of too. I really don't want to have to do that ever again. However, the adapting of the newer steering column to the older wiring harness is proving to be even more....interesting; kind of one of those "what have I gotten myself into now!?" moments. ;)

I am definitely going to be spending some time out in the Gorge when I finish this thing up, so I could probably drop you a line if I am headed out your way. I would love to check out your classic as well. Yours looks super clean! Not to mention it would be cool to do a side by side comparison of the of rear leg room between a LWB rear seat and the rear seat conversion I have done in my SWB.

Have a good one!

Jon
 
Last edited:

rrclassicbt550

Farmer Jon
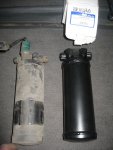
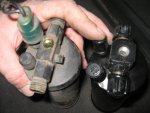
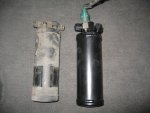
A/C Filter Drier Replacement

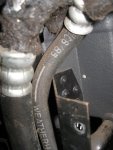
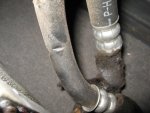
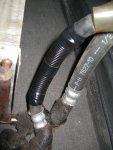
Something that is "good practice" in my line of work (HVAC & commercial kitchen equipment) is to change out the air condition filter drier when the system has been opened. The reason for doing this is because the "job" of the filter drier is to remove moisture from the refrigerant side of the system. If the system is opened, then that exposes it to the moisture in the atmosphere which can then effect the efficiency of the existing filter drier. It doesn't "absolutely have to" be changed, but it is "good practice" to do so and given how old the one in my Rover is and the fact that the system had a leak before I took it all apart I am choosing to change mine. It is very simple and straight forward. Here are the pictures...
Oh and by the way, be careful to make sure that your air conditioning system is properly discharged first because it is illegal to knowingly discharge the freon into the atmosphere.

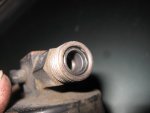
IMG_6992.jpgIMG_6993.jpgIMG_6994.jpgIMG_6998.JPGIMG_6999.JPGIMG_7001.jpg
Make sure to swap over or replace this little o-ring and the one on the other side too or the system will not seal properly.

IMG_7002.jpgIMG_7005.JPG
 
Last edited:

rrclassicbt550

Farmer Jon
Rear Seat Conversion

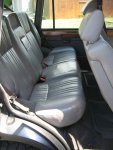
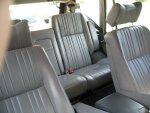
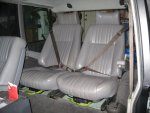
So I am going to do a little recap and a small right up on this for right now to show you what my rear seat conversion looks like. I will do a more in depth write up with more pictures later on when it is back together because I took before pictures with actual measurements of leg room and people (who are around the 6'3" area) sitting in the seats. Which is when I will show the comparison measurements and photos between the two seating options. For now, I am just showing what it all looks like.

Like some of you I was very unhappy with the rear leg room of my SWB but I love my 100" wheelbase. I didn't really want to buy a LWB to replace my SWB but I still wanted to have the LWBs rear leg room so after some brainstorming, some mocking up of things, and plenty of measurements, I came up with this idea. My goal was to be able to have a 6'+ person seated very comfortably in the front with a laptop on their lap as well as a 6'+ person in the back who was also very comfortably seated with a laptop on their lap too. A tall order for a SWB you might be saying, right? Well, I am here to tell it to you plainly....I succeeded. I might have actually done the job too well. No one is going to want to sit up front with me..lol. This rear seat conversion is so comfortable its ridiculous. Its like being in a recliner. The cargo space didn't even suffer, still have just as much space as before (unless you fully recline the seats then they do effect the cargo area a bit). The leg room and headroom have both been increased as well. All in all, I would highly recommend doing this modification.

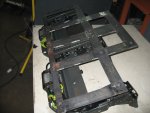
I converted it from a five seater to a four seater by getting rid of the original 60/40 folding rear seats and putting in two front power bucket seats. I fabricated a seat frame to mount both seats to, made sure it was very stout in its construction, and also made sure it was very sturdily mounted. Pictures say more than words so I will let them do the talking....
IMG_4103.JPGIMG_4104.JPGIMG_5617.JPGIMG_6509.JPGIMG_6517.JPG
I used Sugru again to help seal around the bolts so water will not come. I love this stuff! It is like the new version of Duct Tape, It has a million and one uses!
IMG_6523.JPGIMG_6533.JPGIMG_7021.JPG
 
Last edited:

rrclassicbt550

Farmer Jon
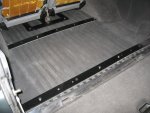
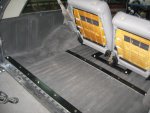
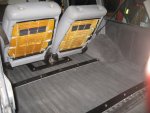
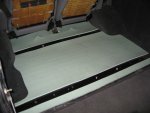
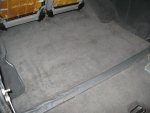
Cargo area

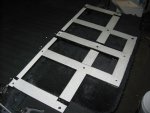
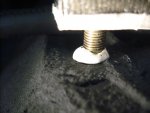
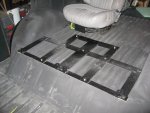
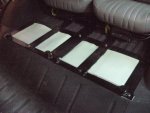
I modified the cargo area to prepare it for the drawer system that is going to be going in, and for the other compartments that will also be going in later on by putting in a mounting structure that is securely mounted to the Rovers body supports. Something can then just be "bolted" and "un-bolted" to that structure. I didn't want to have to worry about water leakage issues or having to get under the car to hold the other side of a bolt every time I wanted to take the drawer system out so I figured a permanent structure hidden under the carpet would be the best option. Is fairly self-explanatory but for a bit more of a description, I machined holes into the flat stock and then welded nuts on the underside for things like the drawer system to be bolted to. I wanted it to be very study so those pieces are bolted to the actual supports that are holding the body together too (not just through the sheet metal).

IMG_6647.JPGIMG_6554.JPGIMG_6555.JPGIMG_6648.JPGIMG_6655.JPG
 
Last edited:

rrclassicbt550

Farmer Jon
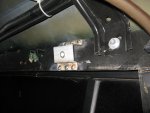
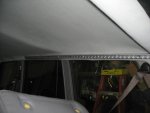
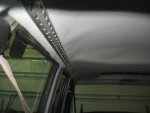
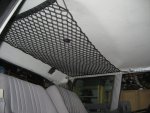
Ceiling mounted cargo tracks

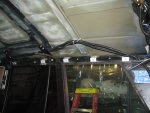
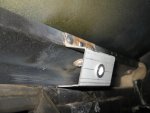
As part of the storage options, I wanted to have the ability to have cargo nets on the ceiling. Having two dogs I also want to have the ability of attaching a vertical cargo net wall to section that area off when needed.

I had a friend bend up some brackets that I then modified to fit and welded them in so they will be very strong for the life of the vehicle. There are 5 brackets on each side and they use "rivet nuts" to attach the cargo tracks to the brackets.

IMG_6062.JPGIMG_6066.JPGIMG_6068.JPGIMG_6069.JPGIMG_6588.JPGIMG_6591.JPGIMG_6594.JPG
 
Last edited:

khronus79

Adventurer
Like some of you I was very unhappy with the rear leg room of my SWB but I love my 100" wheelbase. I didn't really want to buy a LWB to replace my SWB but I still wanted to have the LWBs rear leg room so after some brainstorming, some mocking up of things, and plenty of measurements, I came up with this idea. My goal was to be able to have a 6'+ person seated very comfortably in the front with a laptop on their lap as well as a 6'+ person in the back who was also very comfortably seated with a laptop on their lap too. A tall order for a SWB you might be saying, right? Well, I am here to tell it to you plainly....I succeeded. I might have actually done the job too well. No one is going to want to sit up front with me..lol. This rear seat conversion is so comfortable its ridiculous. Its like being in a recliner. The cargo space didn't even suffer, still have just as much space as before (unless you fully recline the seats then they do effect the cargo area a bit). The leg room and headroom have both been increased as well. All in all, I would highly recommend doing this modification.
View attachment 88542

FANTASTIC!!!!!! Looks like there are tons of legroom back there, awesome job. :clapsmile:clapsmile:clapsmile
 

Series1Rangie

Adventurer
Jon,

You are killing me. I now have to go rip out my entire interior and start over. LOL In reality I already need to rip it out and start over. The cargo strips at the roof line are Brilliant! Its looking great, thanks for bringing us along for the ride.

MMM
 

rrclassicbt550

Farmer Jon
Jon,

You are killing me. I now have to go rip out my entire interior and start over. LOL In reality I already need to rip it out and start over. The cargo strips at the roof line are Brilliant! Its looking great, thanks for bringing us along for the ride.

MMM

I am sorry to be responsible for you having to start all over with your interior. ;) Hopefully it will not take anywhere near as long as mine is taking...lol. I miss driving mine...its been too long! My advice if you are going to do everything over again is to do one section at a time and don't disassemble it completely or try do it all in one go, because "life" will get in the way.

Thank you for your compliments, feedback, and also for sticking with me for the ride! :)

Have a good one!

Jon
 

rrclassicbt550

Farmer Jon
Another option for the main wiring hangers

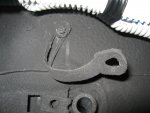
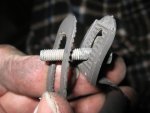
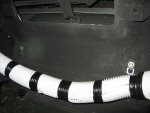
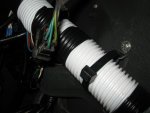
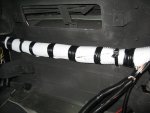
While I was working on the wiring harness I was thinking about how to make it easier to access the wiring harness if I need to. The stock main wiring harness hangers are alright if I never planned access the wiring harness again but in all honesty there is a possibility I may have to go back into that area in the future (to run wires for accessories, etc.). Given this possibility, the stock wiring harness hanger leave a lot to be desired (mainly because they are through bolted through the firewall and have to have a wrench "held" on both sides to loosen). So while I was working with the wiring harness I was thinking about what I could do to modify the hangers to make it easier to access everything in the future.

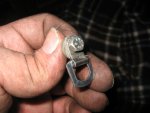
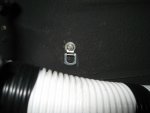
The idea I came up with was to have some sort of hook that I could then just run a large zip tie through so that I could just release or cut it and then have easy access to the wiring harness and that area. Here is what I put together....
IMG_6878.JPGIMG_6879.JPGIMG_6881.JPG

IMG_6882.JPG
Does this sort of hanger look familiar to you? It might. It is used to hang pictures, but conveniently enough when teamed with a very heavy duty zip tie it will work perfectly as a wiring harness hanger too. ;) It is made of metal so its strong, its compact, its got a hinge to provide a little extra flexibility and it will take the constant bumps off-road without an issue. The best part is, I never have to figure out how to hold the both sides of that bolt at 3AM, ever again! :)
IMG_6884.JPGIMG_6886.JPGIMG_6889.JPGIMG_6892.JPG
 
Last edited:

rrclassicbt550

Farmer Jon
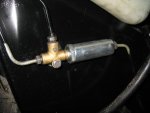
Changing out the brake proportioning valve

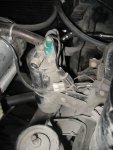
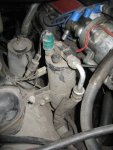
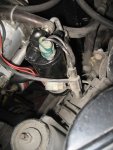
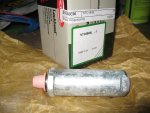
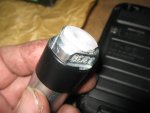
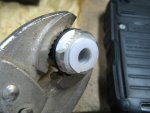
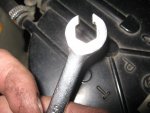
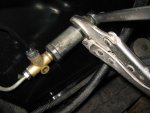
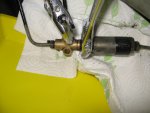
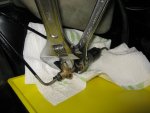
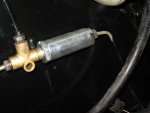
I figured I would show how I chose to change out the brake proportioning valve because it has an end with a triangle that is obviously in need of some special wrench that I would have to buy. Well, I chose to do it an easier and less expensive route. I wrapped electrical tape around the end of the valve and used a set of vise grips. The tape works well for two reasons; it provides great grip for the the vise grips and also protects against marring the surface. However, there is a tool that really is needed, and that is a brake line wrench. Do not do this without one, period. If you choose to do it without a brake line wrench, then you will most likely round of the nuts and be worse of then you were when you started. Please trust me, I have made this mistake before, which is why I now own a set. ;)

IMG_6341.JPGIMG_6855.JPGIMG_6857.JPGIMG_6859.JPGIMG_6860.JPGIMG_6864.JPGIMG_6867.JPGIMG_6868.JPGIMG_6872.JPGIMG_6876.JPG
 

rrclassicbt550

Farmer Jon
Doors are back together...

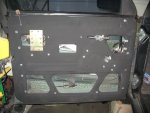
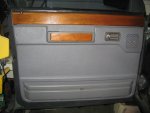
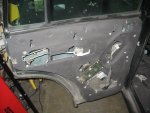
The doors are all back together...

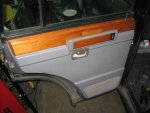
I re-ran all the speaker wire with 12ga. and inspected everything to make sure its still in good working order. Here is what they look like after all the Lizard Skin has been applied and then with all the trim back in place.

IMG_6536.JPGIMG_6541.JPGIMG_6540.JPGIMG_6543.JPG
 

Forum statistics

Threads
186,658
Messages
2,888,539
Members
226,767
Latest member
Alexk
Top