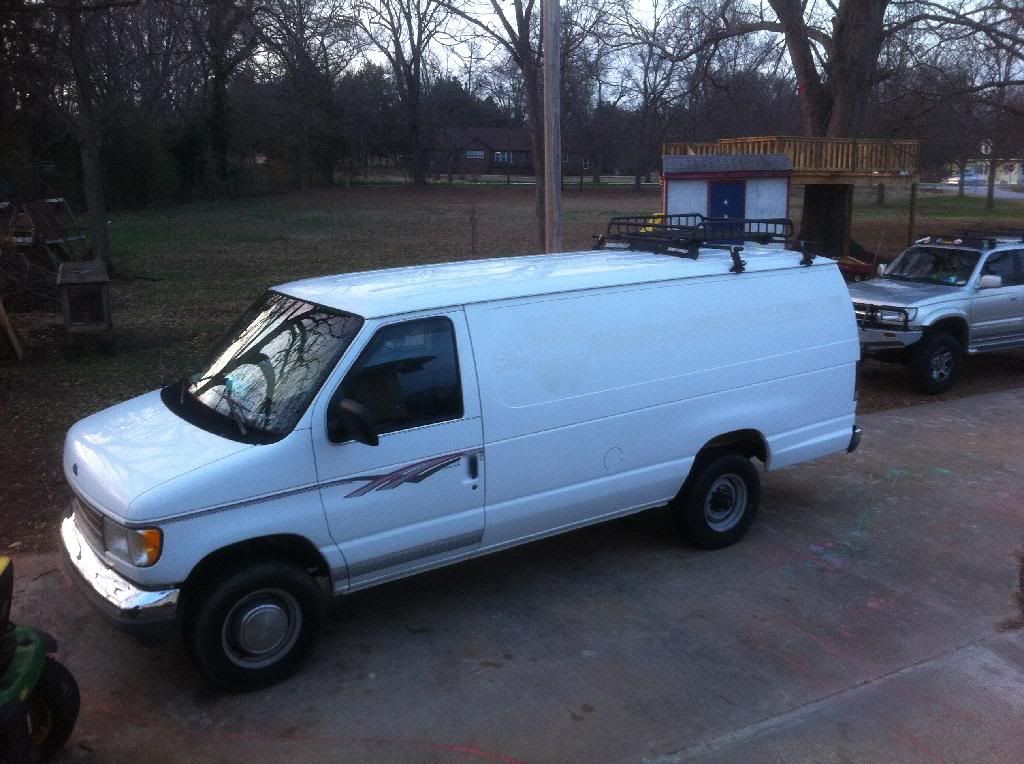
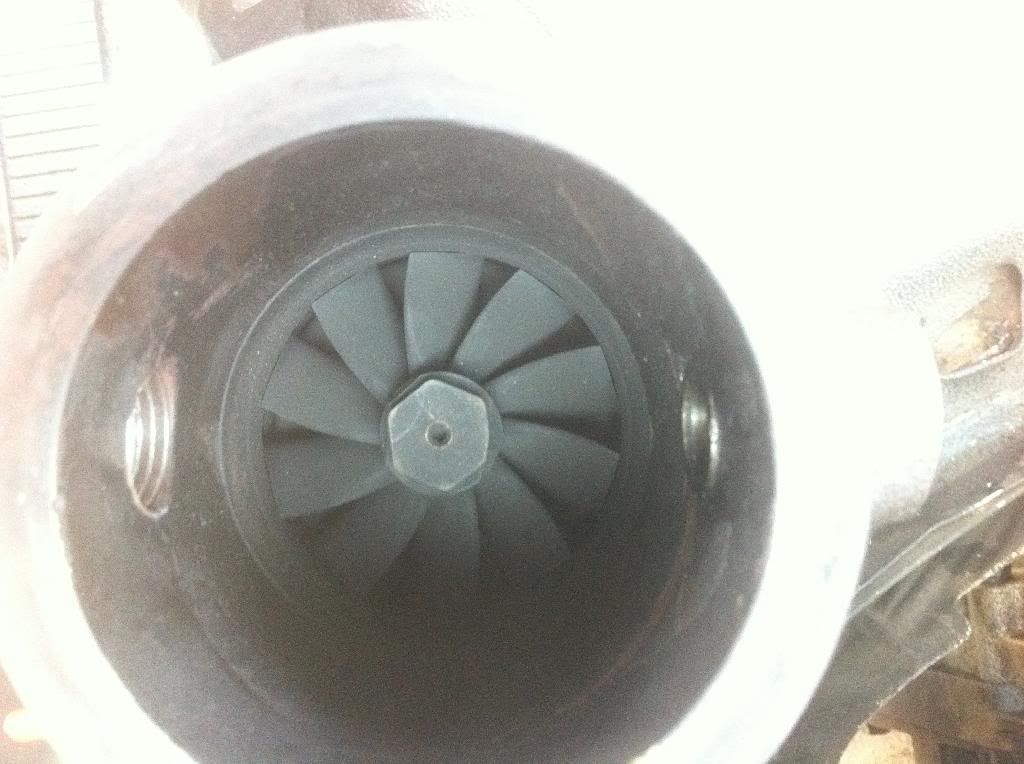
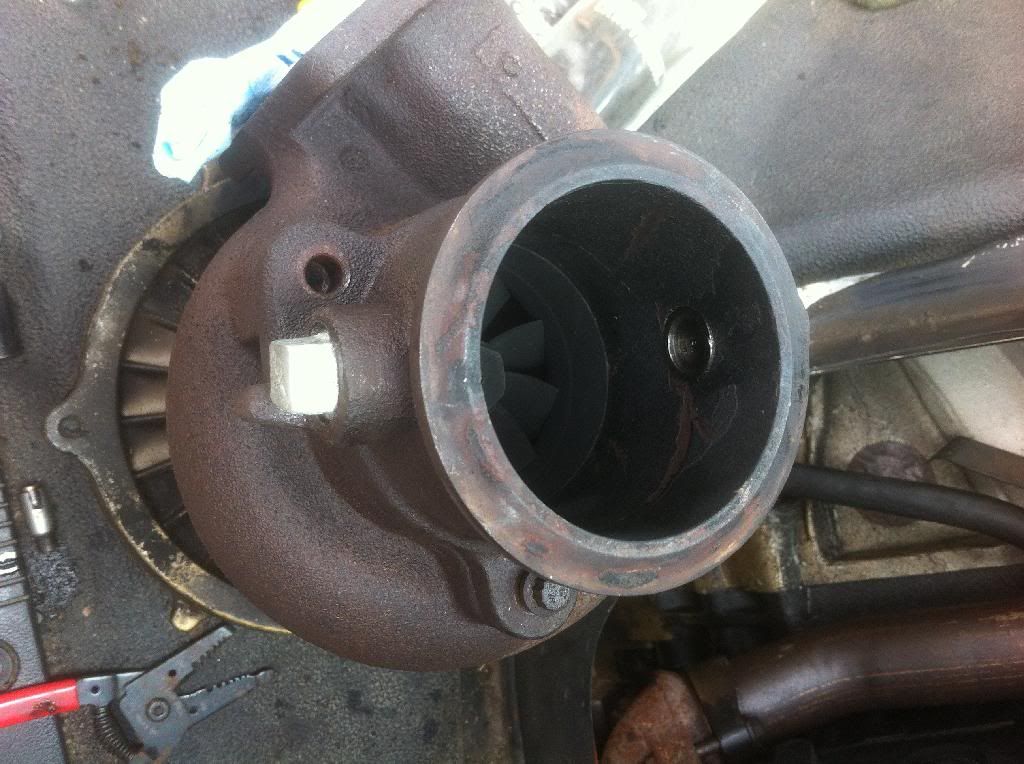
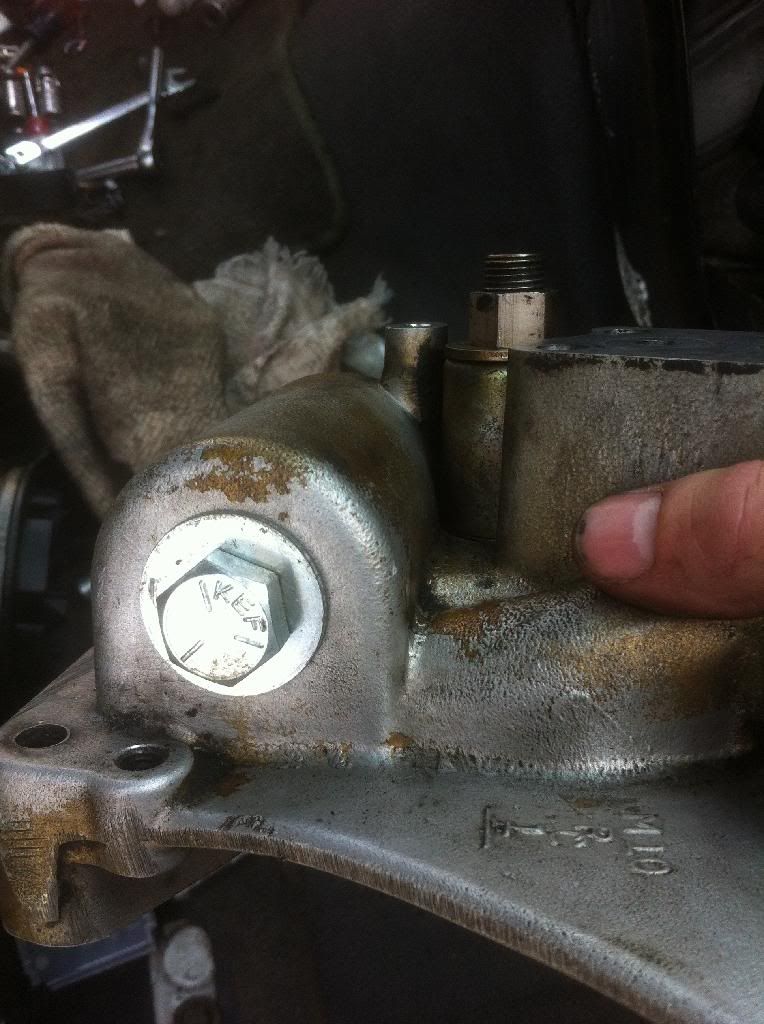
The search begins.....

89s rule

Adventurer
Just read your whole thread. You took on a lot of work here! Looks like it's coming along nicely though. You've been lucky, the Pull-a-Part near me (Knoxville Tn) NEVER has vans. I can't figure it out. I've seen 3 or 4 there ever, but I've gotten pretty lucky on CL for parts. I recently did newer door panels all the way around on my 95. They look way better and the switches from older panels fit (if you have pw/pdl). Did you decide on a SMB 27 floor plan?

That is surprising about pullapart in Knox. I have been to LKQ in Greenville and Pullapart in Columbia and they both have had multiple decent to good candidates. At this point I am not being too overly picky, if I need to redrill a hole or move something, I'm fine with it, you will never know the difference once everything is complete. (Saw several over on the SMB forum not using swivel brackets b/c they were not an exact match.) If I can modify it safely for ~ 1/10th the cost I'll go that route.
.
Leaning strongly towards SMB 27. I did sit in the dinette the other week and I am going to have to lower the seat height ~ 3" as my head it just under the bare ceiling now when sitting up fully. I may go 4" but not 100% sure until I get flooring ideas set. (Debating on plywood or not) I have the bedrug carpet kit, some Second Skin deadener and strongly considering the DIY lizard skin for the entire interior.
.
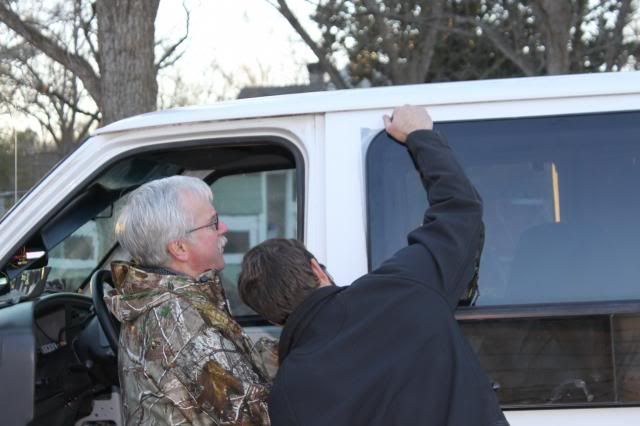
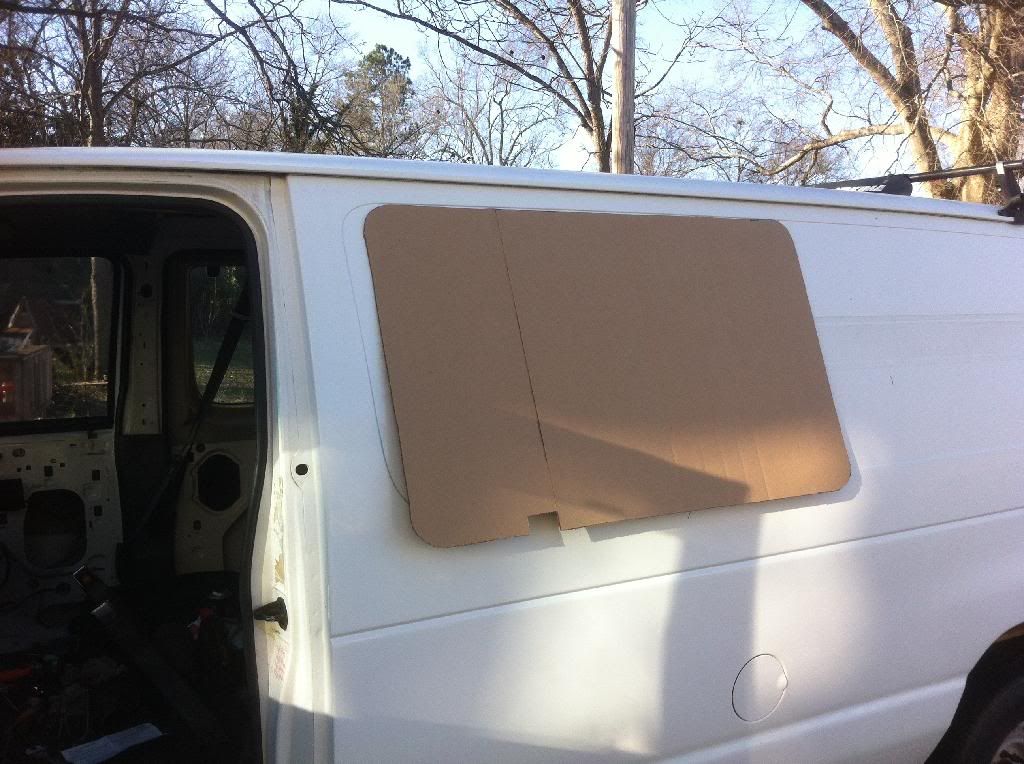
The window I ordered off eBay for just behind the driver. It looks nice, I tried to get a general idea of where it will placed. Hope to get it in in the next few weeks, definitely want to have some help. I could do it but want to have a second opinion and set of hands.
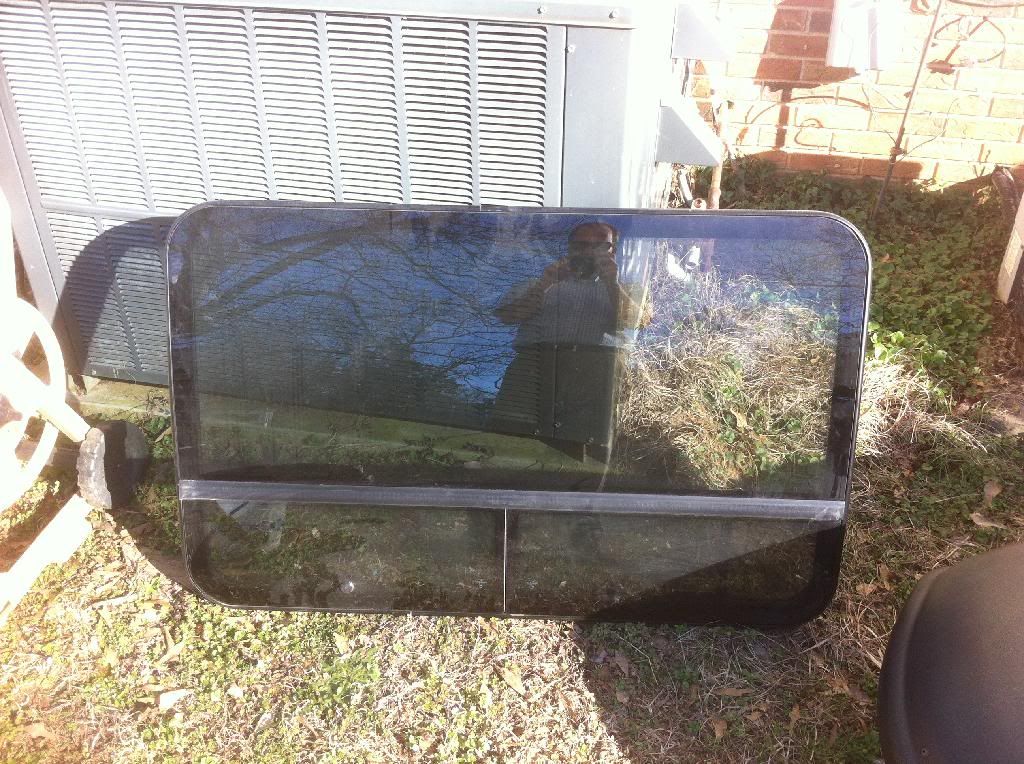

I will need to lower it at least 1.5" from where I placed the template, the window is ~ 1" wider on each side from the template, I wish it was ~ 2-3" shorter, but it will work, especially for $85 shipped from California and its new (Open Box).
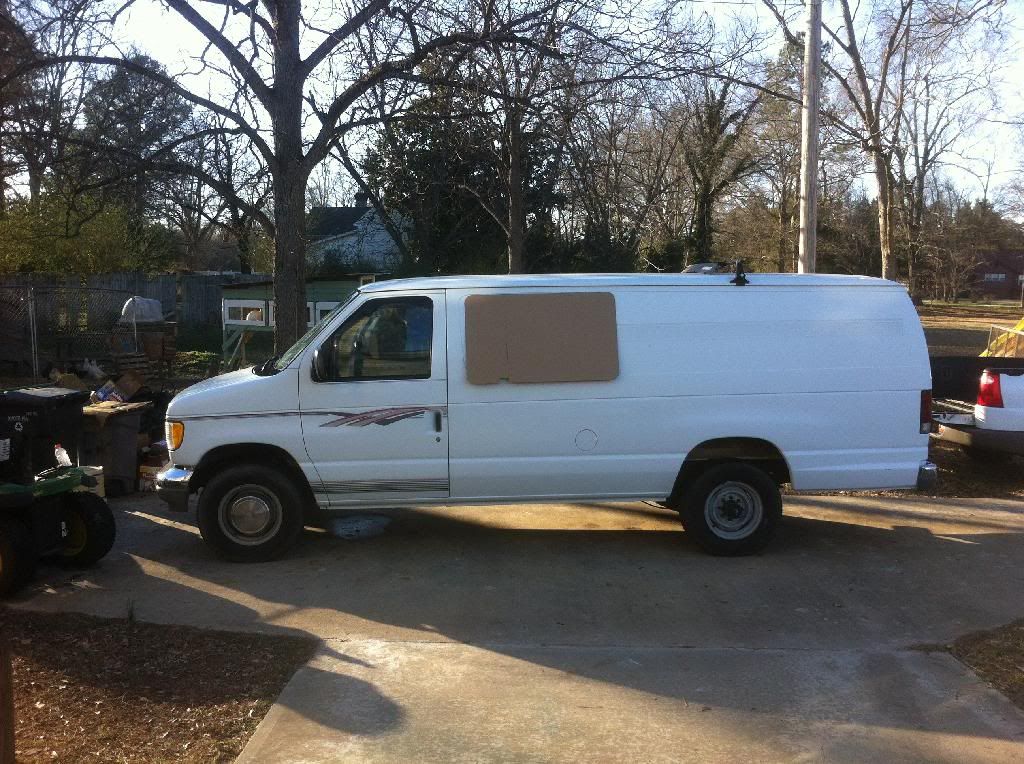
Threw 1/2 of a spare Yakima rack that I had in the garage on the back end of the van. Planning on getting the other 1/2 up there over the weekend, and maybe get the MegaWarrior up there too, not sure it will stay as I plan for a roof vent near that space, but I have the parts sitting unused and it breaks it up from every other van out there, as well as giving me some storage on the roof it needed. I also have 2 Yakima Rocketbox carriers that I have used in the past, they should come in handy. I need to look into a ladder to access anything up there. I have seen a few for the rear door at Pull a Part, but would prefer an Aluminess replica for the side if possible. Ala: http://www.sportsmobileforum.com/viewtopic.php?f=13&t=2317&sid=bdc239d45f339c7f1ad98346e46c2a33
.
I also ordered a new CPS and plan to order the water pump, hoses, thermostat, etc. soon. Plan is to get everything running again then dive into the WP and coolant maintenance.
 

89s rule

Adventurer
Update from last weekend. I was able to get a good bit done around the house on Friday and Saturday, unfortunately I could not get all the parts I needed so I was not able to get the van running again.

I did get the roof rack mounted up. Debate is still out if I will keep it up there all the time or not, but I will use it with the skyboxes on any long trips for extra storage and freeing up space inside the van.


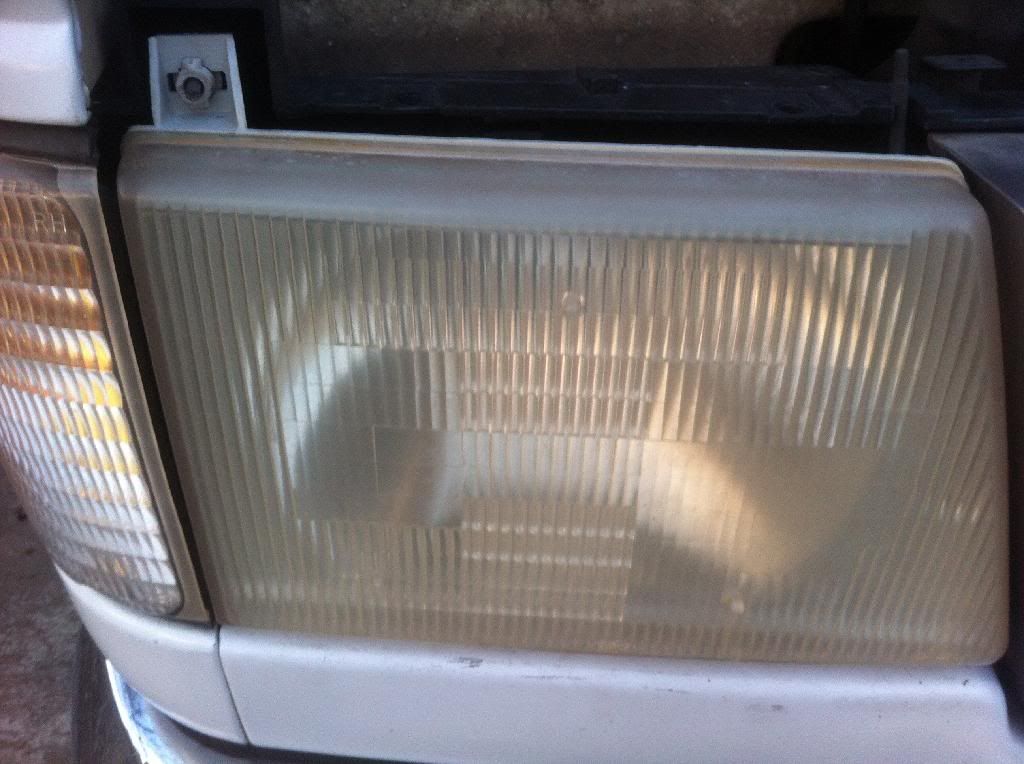
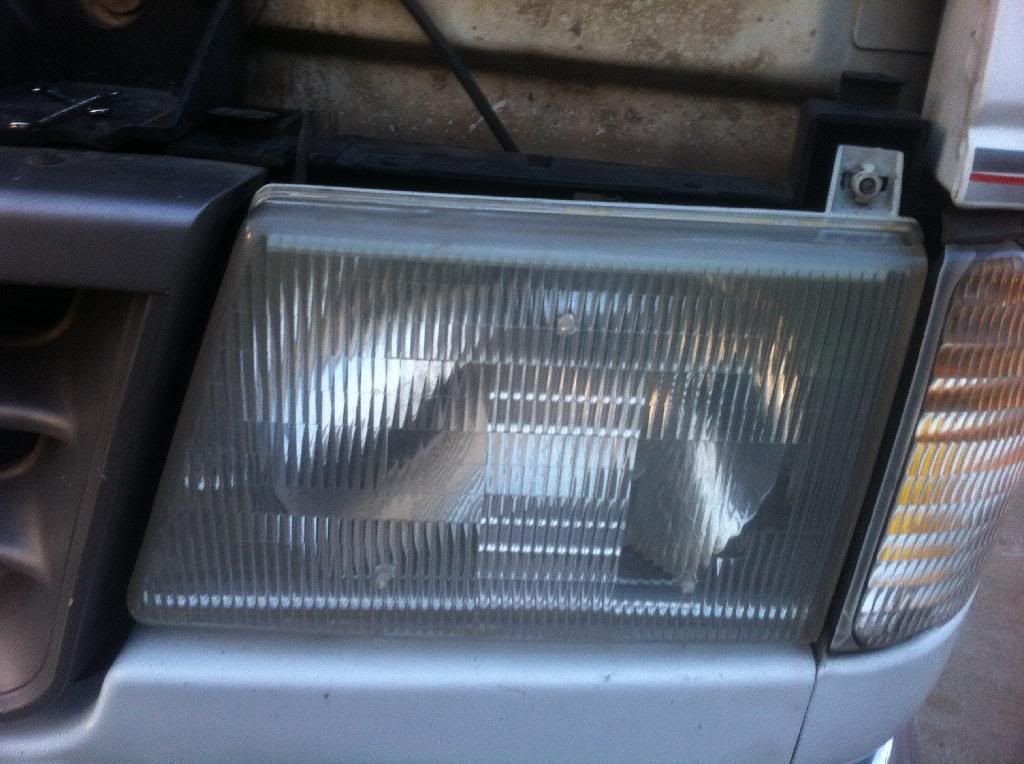
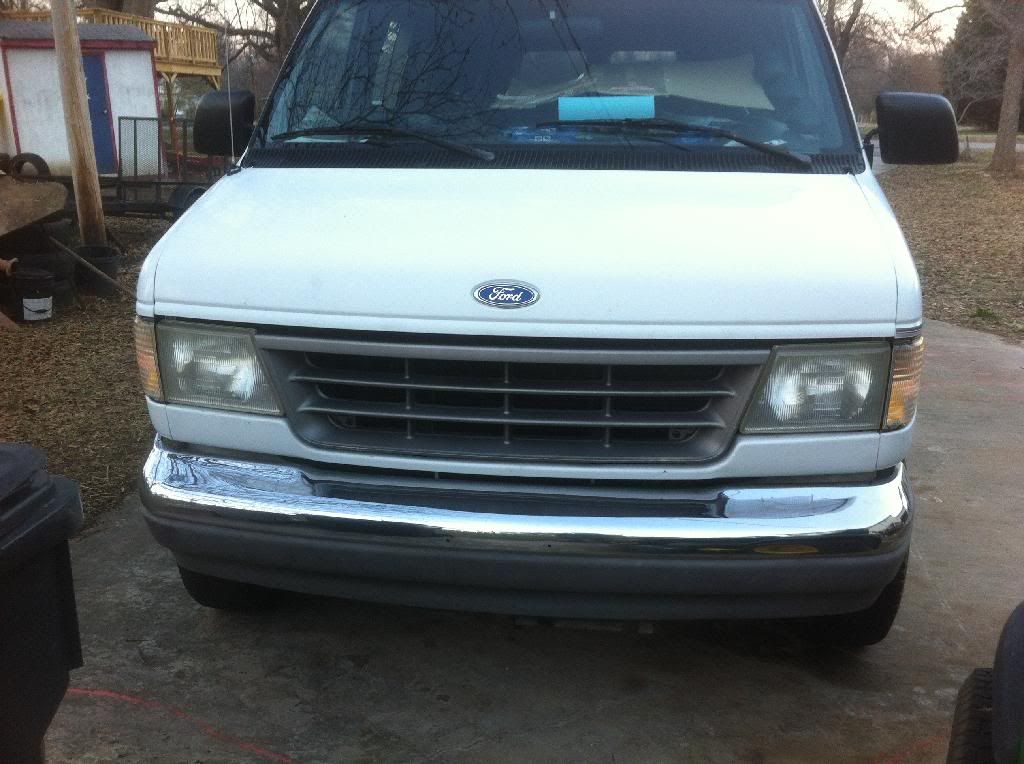
I also was able to swap the headlights I picked up from the pullapart in Columbia several weeks back. It was a nice way to clean it up with just a little bit of work.
Before:

After:


Notice anything missing?


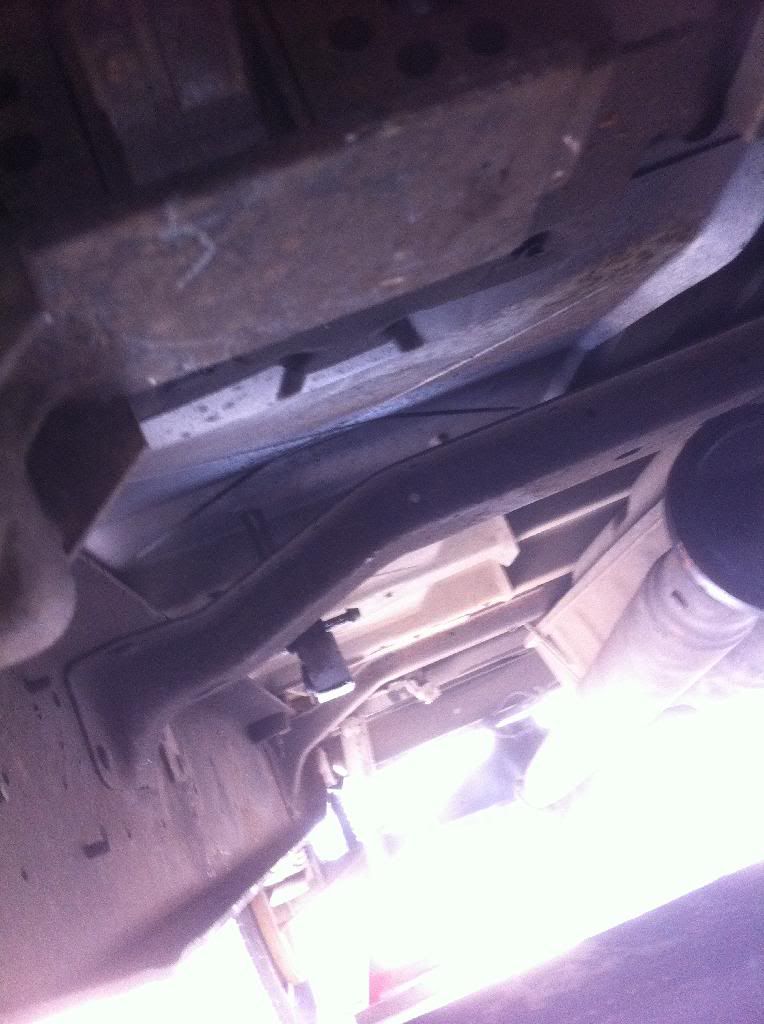
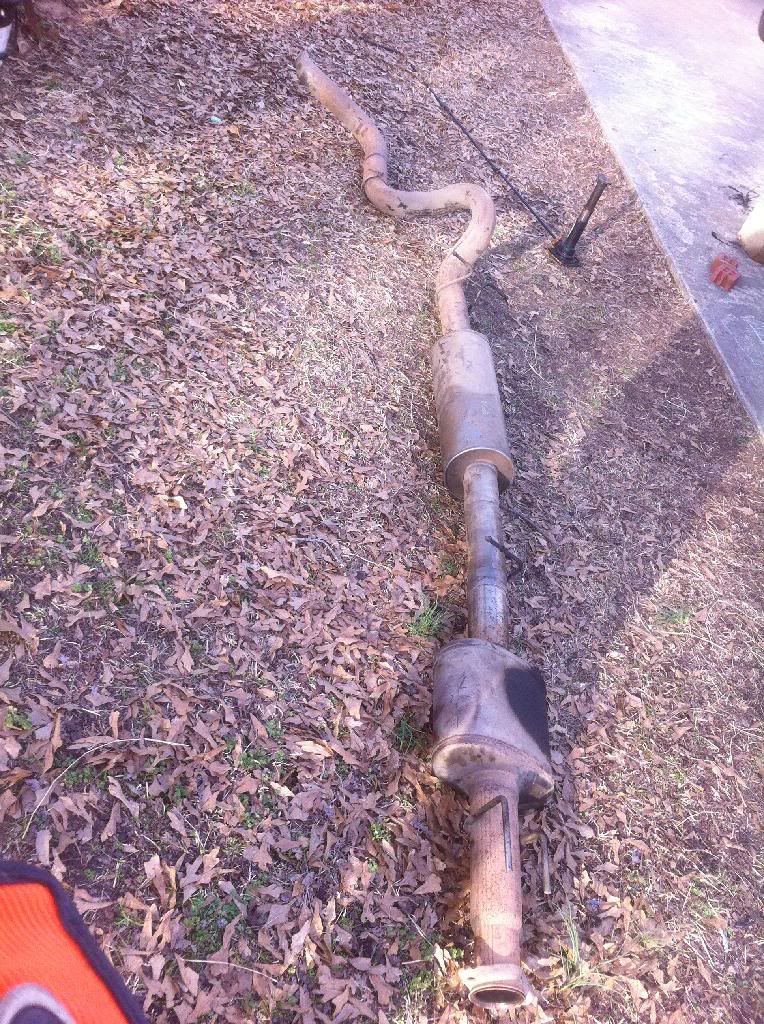
I was able to get the stock exhaust pulled. Thanks to my wife I was able to pull everything other than the downpipe in one piece. Now to install the diamond eye 4" straight through kit. If anyone is looking for a stock exhaust down pipe to tailpipe, very, very minimal surface rust on a few places, the black mark in the picture is from a tranny leak and just needs to be degreased. $225 (Downpipe included but not pictured.)


I was able to go by the Ford dealer on Monday and picked up the fuel lines for the valley area (pump to fuel bowl, etc.) as well as the orings for the turbo pedestal. I am strongly considering deleting the EBPV system in the pedestal as well. Any advice on that? I did find this http://www.powerstroke.org/forum/94...rbo-pedestal-upgrade-egt-question-pics-2.html that seemed to be the closest explanation on how to do it I could find.
 

89s rule

Adventurer
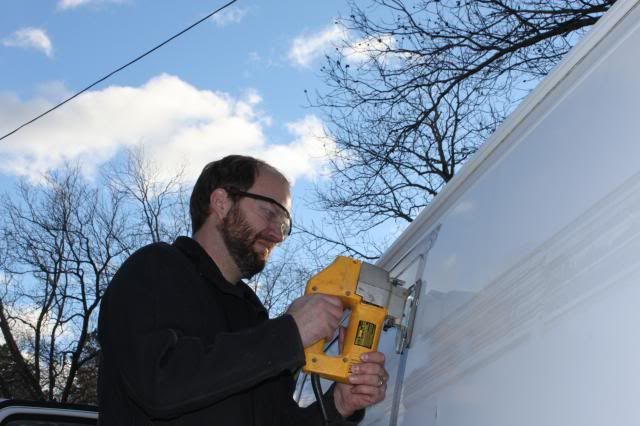
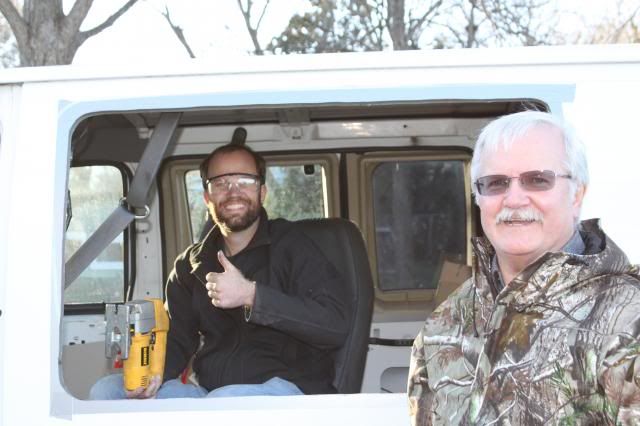
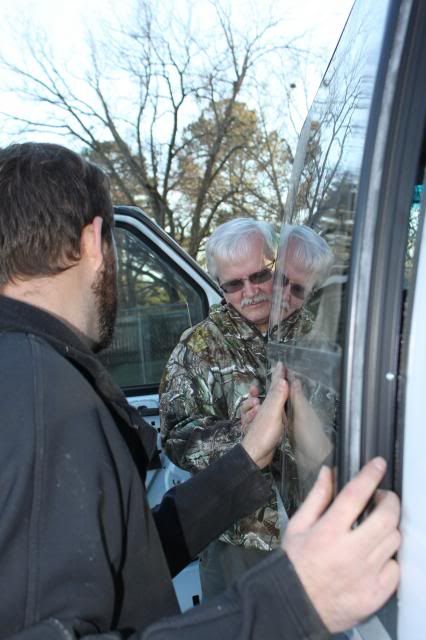
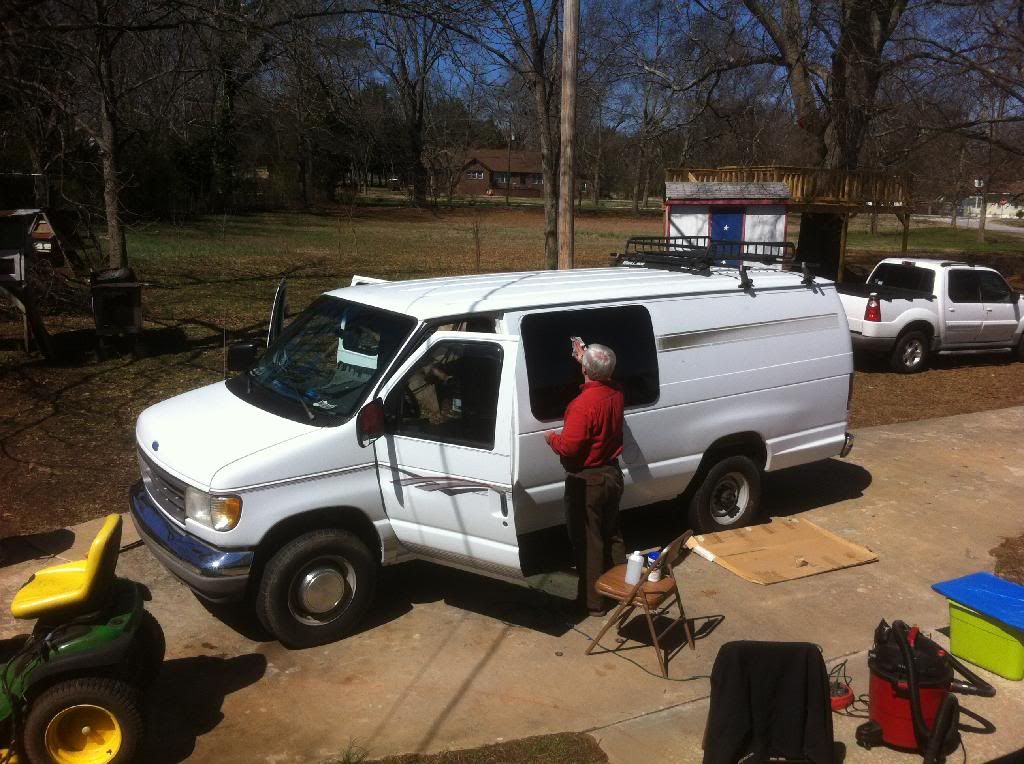
Had some time Friday and Saturday to work on the van. Decided to forgo getting it running since my stepdad was around and could help with the window install. No way I could have completed it alone and it was good to have some support when you put a saw blade on the body.

Since the window I purchased was an open box I was missing 2 things.
1. Screws - No problem I went to the hardware store and picked up some hex headed self tapping screws.
2. Template - This one was a little more tricky, I made my own to one dimension but knew I would have to trim a little more in order for the window to sit down into the hole as there was a lip around that portion.

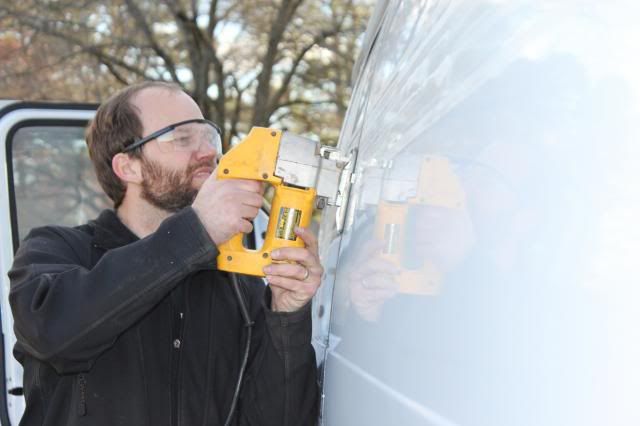
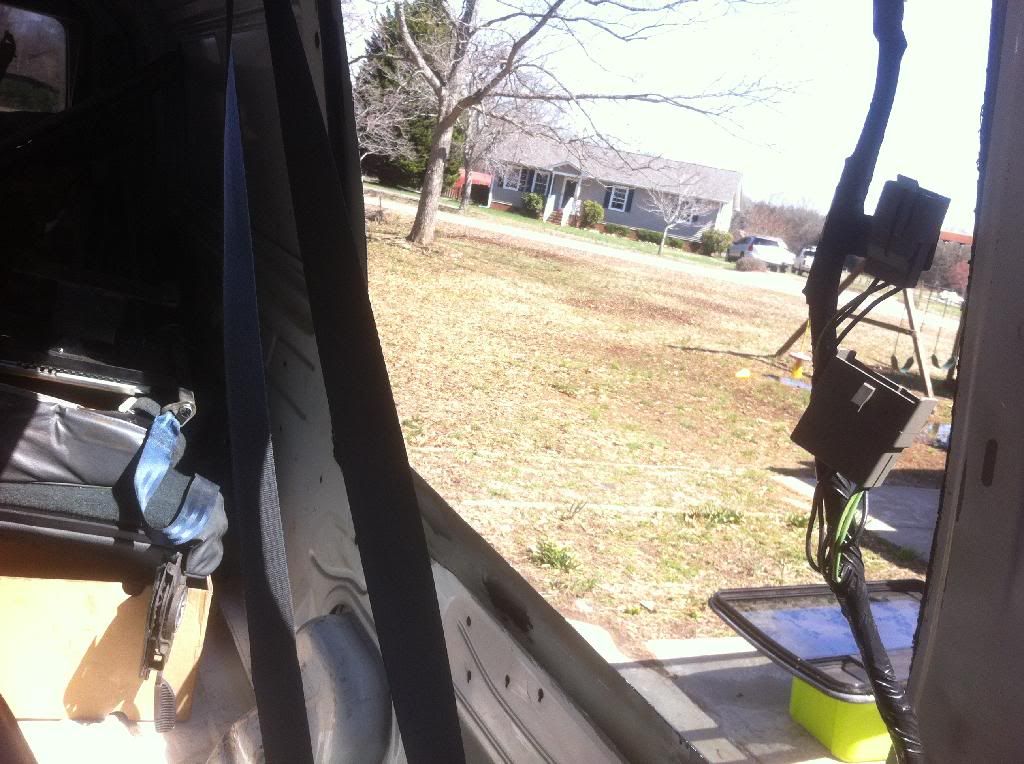
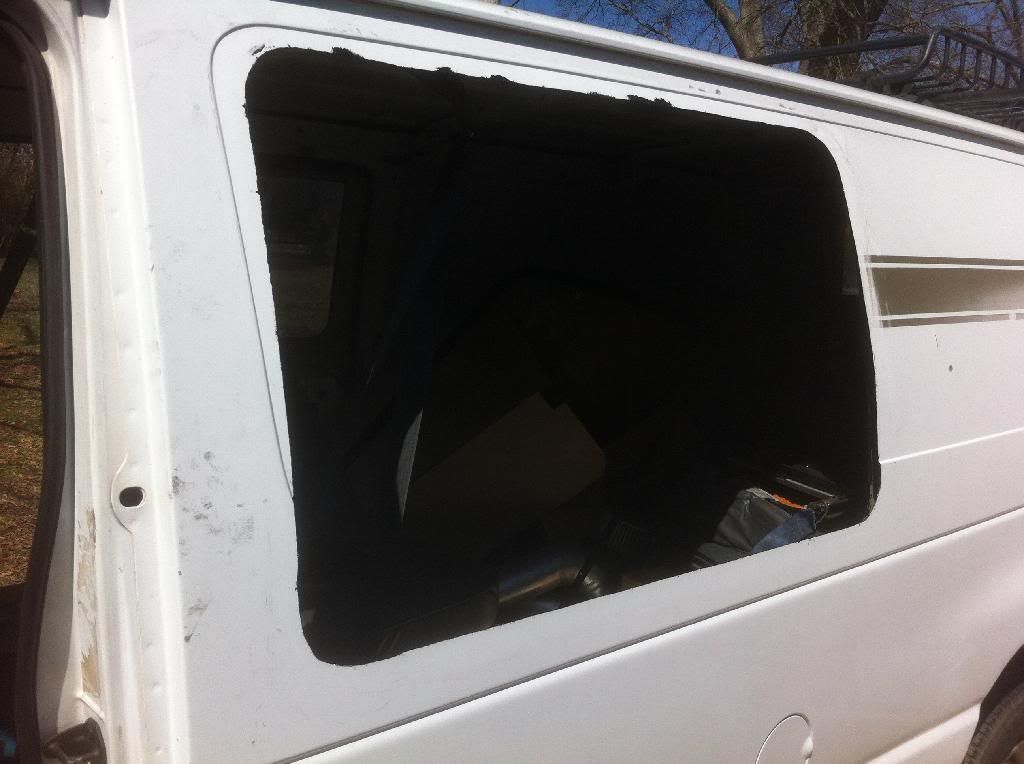
Laid it out inside and drilled through in 3 places to get it close on the outside. Then pulled out the jigsaw....

No turning back....

There's a hole in my van!

Testfit, trim, testfit, trim.....why didn't I spen an extra $300 for a template and screws????


Finally got the hole where I needed it, did I mention trimming the inner panels ended up being rough, used a grinder, not the best tool, but it worked and only coated everything with metal dust. As well as put a nice biscuit joint in my right pointer finger knuckle....thankfully it only hit skin, no ligaments or bone.

I then cleaned the outside cut with alcohol, smoothed the interior panel cut and coated all the cuts with some Eastwood rust stop.
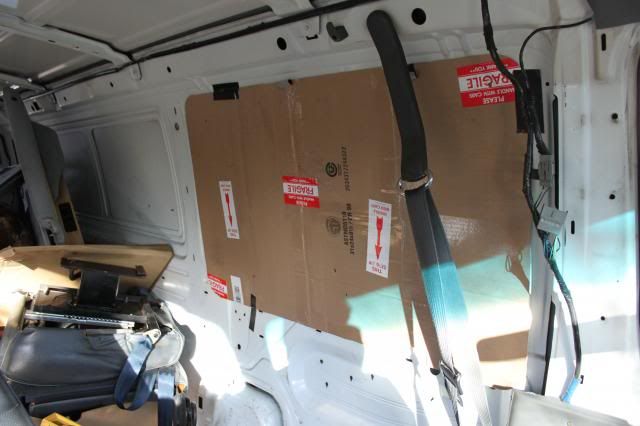
Inside:

Outside:

Notice the lovely graphics glue catching the metal dust. I need to buy a graphics eraser and get busy on the entire van.
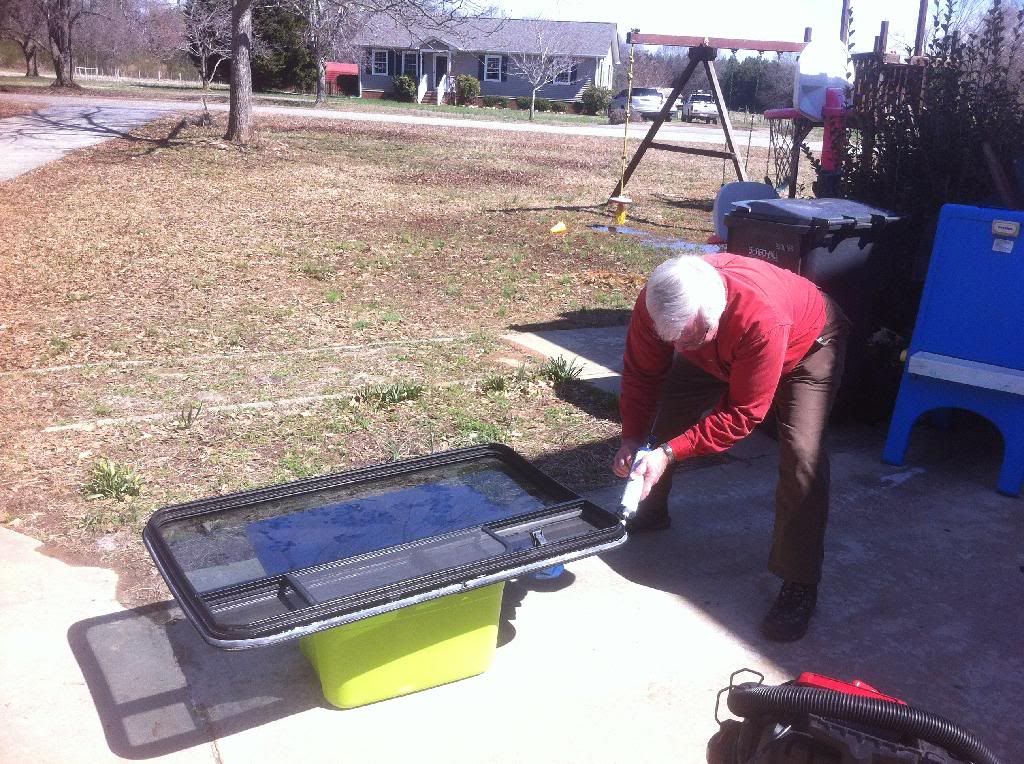
Caulked the window with some 100% Silicone:

Cleanup before we ran to my youngest's 4th birthday party.

(Kid's treehouse in the background, which is the reason I didn't get more of these projects done over that 1.5 weeks I had off. Kids love it 16x11 around a 150+ yr old oak.)

Hope to test for leaks tomorrow and get things lined up for the EPBV delete. Crossing my fingers I get that buttoned up so I can get the engine back together this weekend. I'm ready to drive this thing again!
 

89s rule

Adventurer
I was able to check for leaks earlier in the week. Looks good, no leaking. They are calling for rain tomorrow and rained some earlier this week so glad it is good to go.

I pulled the turbo and pedestal apart yesterday after work and cleaned everything up. Found a few taps I could borrow to complete the EPBV delete today via a friend across town. Ended up using a 1/2 - 13 bolt thread on the actuator rod coming out of the side of the pedestal and 1/2 NPT on the exhaust side of the turbo where I removed the butterfly.
After running to the hardware store I got the turbo reassembled with new orings. Started assembling the fuel bowl and fuel lines. Had to patch one wire that ran up to the bottom of the fuel bowl. Then found that I'm going to need a few extra hose clamps as several of them were too worn to hold their force. I am also going to need another fuel line form the dealer, I could have made due with standard line, but I would rather get it done right and not have to worry about leaks for another 100K miles.

Not much to show for the day but here are a few pictures:
Removed Butterfly @ turbo:

Side view:

Where I removed the rod:

I used locktite on everything, so should be good to go. Also put a nut on the back side of the rod location bolt.
 

89s rule

Adventurer
Picked up the extra fuel hose at Ford this morning. Also got them to print out an exploded view of a rear A/C & heat system. I had posted a thread over on Sportsmobile forum asking about the process to add a factory unit to my cargo: http://www.sportsmobileforum.com/viewtopic.php?f=24&t=13148 I got some good feedback. (Open to more from you guys if you want to add anything.
It is supposed to rain through Wednesday so hope to get the fuel bowl back in Thursday. Busy Friday and Saturday morning. Might get to the Turbo, etc by Saturday evening. SO ready to smell so diesel exhaust and get this thing moving again.
 

bdog1

Adventurer
Some conversion vans used an add on AC unit that's a very simple system, just an evap. in a plastic box and a fan. I'm not sure if they had heat though. The lines were all hose and were teed in up front. The unit was mounted under the rear seat. Pretty compact! I have a factory rear HVAC and it is not small.


Sent by wing, prayer & ATT
 

89s rule

Adventurer
I will be having 4 kids in the back, it gets bad enough in our 3rd gen 4runner with them in the back and no rear a/c. I have to mount up something. I think I can work around the factory units space restrictions if its my best bet for getting it to work and at an affordable price.
.
I forgot to post up that I also have a chance to pick some parts off of a '95 7.3 Type III ambulance. I asked about dual alternators but this was a single alt model. I also asked about the idle control box, he thinks it has it. If so I know to get it and the harness. Anything else I should try and check about? Inverter? Do ambulances have house battery systems? He said all the batteries were under he hood as I asked about frame mounted battery boxes.
 

bdog1

Adventurer
The factory rear AC will keep things chilled. Very effective! Keeps these guys happy in FL heat!
tetety7a.jpg

avugagyz.jpg

Factory rear HVAC box showing during the (re)build.


Sent by wing, prayer & ATT
 

speedtre

Explorer
Just wanted to let you know I'm enjoying following your build. It's easy to throw money at something (well, if you have the money to throw at it), but I really appreciate your budget build. Great work. :)
 

89s rule

Adventurer
I think those afermarket units are too pricey for me and fitment in my build plan thus far might make it a tough fit as well.

Just wanted to let you know I'm enjoying following your build. It's easy to throw money at something (well, if you have the money to throw at it), but I really appreciate your budget build. Great work. :)

Thanks, I don't know that many on Expo appreciate that, but I know I do in a build as well. Anyone can throw $ at it and make it work or happen. However sticking to a budget, DIY and being willing to be patient and/or modify/be flexible when needed make it fun and interesting.

I was able to get the fuel bowl reinstalled yesterday, just in time to see the last 3 min of the Clemson win! I am literally 45 min from their campus and a lifelong fan. Go TIGERS! Hope to get the turbo back on tomorrow if all goes as planned. Might see movement this weekend? Getting close to being mobile again!
I spent the few min I had before church tonight mounting up new rims/tires on our 4runner.
 

bdog1

Adventurer
+1 on the budget build. Way better than all $$$. Expo needs more like this!


Sent by wing, prayer & ATT
 

89s rule

Adventurer
She's alive! Git her going yesterday after wrestling a few parts. (Sorry for the poor quality of video.)
A few hiccups but seemed to run much better today after idling and running down the road 5 miles or so. Did notice that I now have an up pipe leak on the passenger side. Debating on how to fix it. Thinking I'll just go with the new donuts (Victor Reinz F17250) and hardware and hope that fixes it. Don't really want to go with bellowed pipes unless i can get some DIY. (I heard that Rosewood Diesel makes some for ~ $200-250 I might be able to swing that.


My vacuum pump has a squeak I need to replace it as well, PS pump fluid looks like crap too, I love adding to the project. :)

I'll get the rest of the exhaust installed and start driving it more. I have to get it together and good enough to DD by next weekend. Getting a tranny put into the Sport Trac through school and if I don't get it to them by the 7th then they can't do the labor (free) this semester. Getting a tranny from LKQ or similar with a warranty.
 

Forum statistics

Threads
186,847
Messages
2,888,683
Members
227,377
Latest member
blkcad
Top