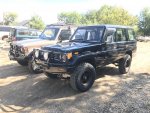
The Ultimate Troopy: 80 series + 75 series + LS v8 = LSJ155

RMP&O

Expedition Leader
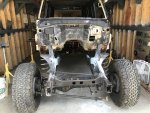
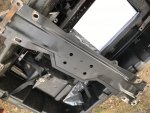
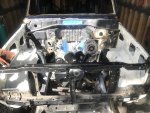
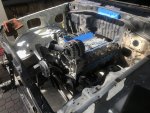
Got a pretty cool project going in the shop.

Little back story,

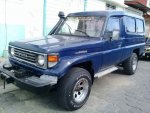
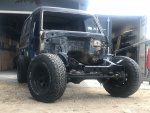
I found this 1993 HZJ75 Troopy in Latin America back in 2017. It had been left for dead mostly but couldn't be imported at that time for over a year. So I kind of just forgot about it and put it back burner.

Fast forward about seven or eight months and I get an inquiry from a guy looking to get a LHD Troopy. Right out the gates he says he wants to put it on an 80-series chassis and wants a v8 in it. So I told him about the 93 HZJ75 I had found. He was interested, so began the process of acquiring it.

Fast forward another six months or so and I had the Troopy here in Idaho, legally imported and ready to rock n roll with an Idaho title. A few months earlier the owner had drove up a Southern California locked 80-series he had bought for this project. He had also been sending me tons and tons of Toyota boxes for six months!

Fast forward a few more months and the build began!

Basic rundown on this build;
*1993 HZJ75 LHD Troopy
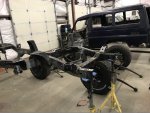
*1994 (I think) 80-series locked chassis, stretched five inches and all new Troopy body mounts made
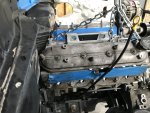
*6.2L L94 v8 from an Escalade
*GM 6L80E 6spd auto trans mated to HF2A t-case
*2007+ wide nose conversion on body
*Pop-top camper


To be continued. ;)

Cheers
 

RMP&O

Expedition Leader
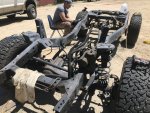
Work began on stripping the 80 chassis.

build.jpg

Once the chassis was stripped, move it in the shop. At this time I just had a little one bay shop.

IMG_3467.JPG

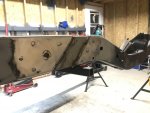
Cut all the 80-series body mounts off the 80 chassis.

build1.jpg

Troopy is 5" longer for wheel base than an 80. So we extended the chassis 5". To do this we chopped off the rear lower control arm mounts.

build2.jpg


And then cut the frame in half.

build3.jpg

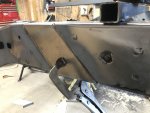
For this build the customer didn't want any plating on the outside of the frame, he wanted it to look stock conversion and stretch wise. So sleeving the frame is how this one was done.

build4.jpg
build5.jpg
build6.jpg

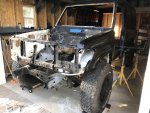
While this was going on it was time to strip the Troopy down to nothing.

build7.jpg


To be continued....


Cheers
 

RMP&O

Expedition Leader
Welding frame back together.

build8.jpg

To cover the splice.

build10.jpg

Welded up and first round of clean up with the grinder.

build9.jpg

Strip the chassis out from under the body.

build11.jpg

Body setup to roll the new stretched 80 chassis under it and start building body mounts.

build12.jpg

Rolling the new 80 chassis under it.

build13.jpg
build14.jpg


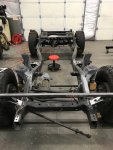
The new beast begins to take form. :)

build15.jpg

Sold off the old 1HZ h55 combo

FOMC2811.JPG

TBC

Cheers
 
Last edited:

RMP&O

Expedition Leader
Coil springs, oh ya! :)

build16.jpg

I spend a lot of time on setup when I do these builds, as long as it takes. It is important to get everything squared up, centered and level.

build17.jpg

build18.jpg

Everything has to be test fitted.

build19.jpg

Even our 2007+ wide nose conversion. ;)

build20.jpg

Before body mounts can be built the engine needs to be in place and body in place as well. A Marks 4wd kit to mate the t-case to the GM trans puts the engine to far forward in my opinion. So I modify the trans crossmember to move it all back.

build21.jpg

Pretty happy with the engine and trans/tcase placement.

build22.jpg
build23.jpg
builds25.jpg

With that done, it was time to start in on the body mounts.

build24.jpg


TBC


Cheers
 

RMP&O

Expedition Leader
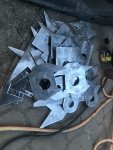
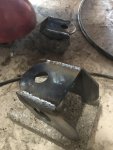
I have built a few of these Cruisers on 80-series chassis. This time I decided to build the body mounts from scratch and weld them up.

build25.jpg

They begin to take shape.

build27.jpg

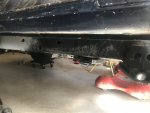
Getting them fitted under the Cruiser.

build26.jpg
build30.jpg
build32.jpg


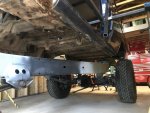
Here is where the Troopy landed on the 80 frame, this was as low as I could get it.

builds24.jpg


And here is a stock 70-series on it's stock frame. Not bad! ;)

build28.jpg


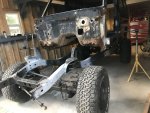
I put the Troopy down on the new body mounts for the first time. Troopy meet your new chassis! :)

build29.jpg


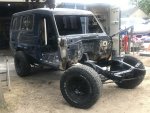
And the beast rolled out of the shop in it's new form.

build33.jpg
build34.jpg


Apologies for a few sideways pics, not sure what is up with that.

The body mounts were welded on and can support the body but were not done. More on that to come.


Over the next few months I had some other work scheduled I had to get after. I also moved into a new shop, a real shop!


TBC

Cheers
 

RMP&O

Expedition Leader
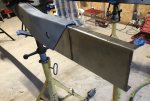
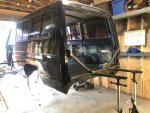
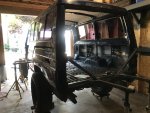
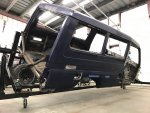
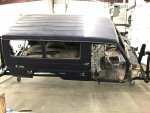
New shop new tools. I got the Troopy body on the rotisserie.

build51.jpg
build52.jpg

I got the last of the things pulled from it like rear cargo windows.

build50.jpg

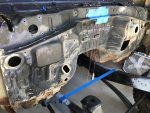
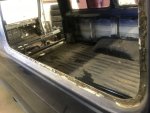
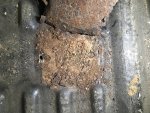
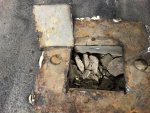
I will be doing all the rust repairs on this truck. We have a lot of new OEM Toyota body parts but there will be some fab as well. These areas all need to be opened up and cleaned out before sand blasting. These are floor crossmebers and body mounts.

build53.jpg
build54.jpg
build48.jpg
build49.jpg

Again, not sure why some pics are uploading sideways, I have adjusted them and saved them.


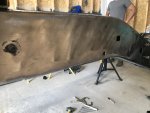
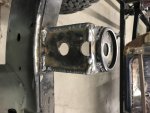
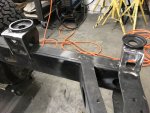
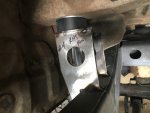
Any ways, went over all the body mounts again to finish boxing them in.

build38.jpg
build39.jpg
build40.jpg


The point of having a half circle on the frame rail is so that mud, dirt, debris doesn't collect there and cause corrosion. It also makes washing the chassis easier.

TBC

Cheers
 

RMP&O

Expedition Leader
With that all done it was time for the next step.

build41.jpg

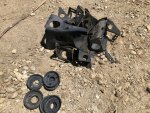
Strip down the chassis in prep for sand blasting.

build42.jpg
build43.jpg
build44.jpg

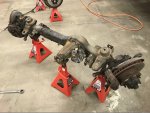
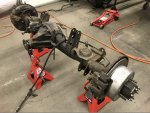
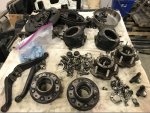
Axle parts cleaned up, hadn't pulled studs yet in this picture.

build45.jpg

Frame ready to go.

build46.jpg


I hired Adam Churnside, formally of Tor Fab recently. We got the frame and axles off to the sand blaster the other day.

build47.jpg


That brings the build up to date. Next week we should have chassis parts back from the blaster and they will all then get painted. The owner of this truck wanted to go with paint vs powder coat. The body will be going in for blasting when we pick up the chassis parts. When the body comes back I will start in on the rust repairs. My shop in in a motorsports complex. My landlord and neighbor has a nice paint both and a very experienced guy to do the paint work for us. So it is not leaving the property for paint, just going to the shop next door. The truck is getting white and chassis flat black. The engine is getting a full rebuild and I expect it back in the next 4-6 weeks. Same for the trans. The 80-series axles are factory e-locked.

I think that is about it for now, I will keep this going throughout the build. The owner is actually taking this on an ATWD when it is finished!

Cheers
 

RMP&O

Expedition Leader
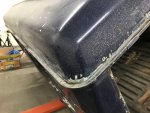
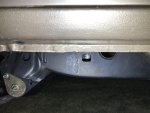
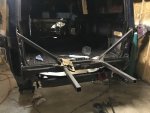
Gutters all stripped of factory seam sealer. Few areas need some attention but overall they are good.
D86CFC89-4D78-4C33-9103-85CE1ACDE786.jpeg

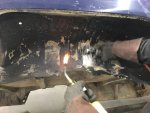
Old school trick here to clean out hollow areas real well.

06FD7F3C-9F9E-40F6-9200-84F81AD697CF.jpeg

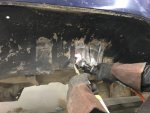
Another old school trick to quickly remove the factory seam sealer in the wheel wells.

EEAAB651-8CEF-4D66-ACE2-FB6F8655357D.jpeg
9C909D19-B18B-4D40-8FEB-37820D408C34.jpeg

Chassis is done at blaster, swapping it for the body tomorrow.

Cheers
 

Forum statistics

Threads
188,178
Messages
2,903,430
Members
229,665
Latest member
SANelson

Members online

Top