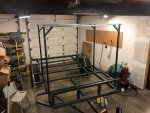
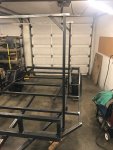
TOTU: Thrill of the Unknown Trailer Build

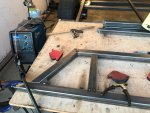
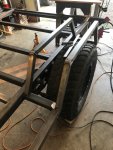
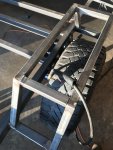
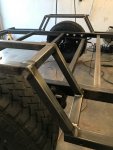
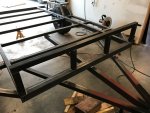
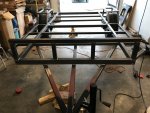
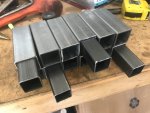
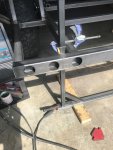
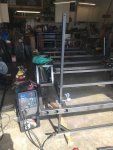
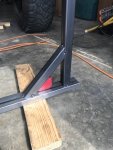
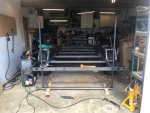
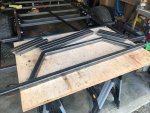
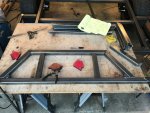
Next part of the build was the fenders, which were made out of 1.5"x.095"wall sq tubing. I made a jig since I needed to make four of these.
IMG_9579 (Medium).JPG


IMG_9587 (Medium).JPG

IMG_9589 (Medium).JPG

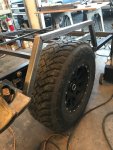
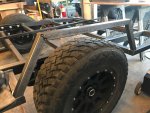
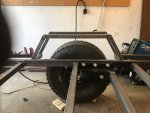
Test fitting the first of 4.

IMG_9585 (Medium).JPG

IMG_9586 (Medium).JPG

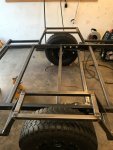
I knew I wasn't going to be running this tire and wheel combo, so this was helpful to get an idea of tire width and backspacing that i need to start looking for. My Tacoma spare tire and wheel combo was almost perfect, I just wanted a slightly taller tire to match the current tire/wheel combo on the truck in case i needed to use a trailer tire as a spare and visa versa.
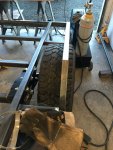
IMG_9584 (Medium).JPG

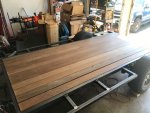
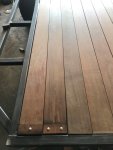
Also, at this time I picked up my Ipe hardwood for the decking material. The pictures don't do it justice....
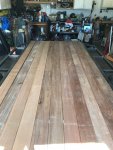
IMG_9547 (Medium).JPG

IMG_9599 (Medium).JPG

IMG_9605 (Medium).JPG
 
Last edited:
girvin

New member
No just ones people destroyed the deck or backed into a loader lol. I usually worked on the excavators as they took the worst beating. I meant the back end of the trailers
 
It probably took more time to setup a jig than it did to finalize the fender shape and weld them all together. But it was worth the extra time spent.

IMG_9650 (Medium).JPG

IMG_9653 (Medium).JPG

IMG_9658 (Medium).JPG

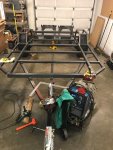
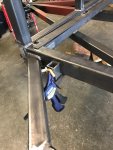
Next was to weld in fender cross supports

IMG_9684 (Medium).JPG

IMG_9688 (Medium).JPG


The tedious work was grinding the welds flat and making sure the cross support was set back slightly and squarely from the edge for the fender cover material to come.
IMG_9690 (Medium).JPG

IMG_9692 (Medium).JPG
 
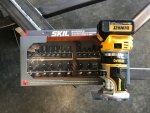
After months of waiting in anticipation for the release of the Dewalt cordless Router, I finally got one in my hands! It's a pretty sweet machine! It does chew through batteries fairly quickly though.

IMG_9678 (Medium).JPG

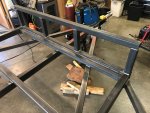
These pictures are a little out of sequence, but I welded in 2" angle supports at the front and back of the frame for the deck boards. Apparently I felt the need to fully weld this across the length of the trailer! Next time i'll just stitch weld it, since it will allow extra area to drain any captured water.

IMG_0357 (Medium).JPG

Around the same time I welded up a front bump bar out of 2" sq tube.

IMG_0355 (Medium).JPG

IMG_0364 (Medium).JPG

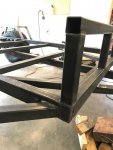
As well as capped the sides of the frame tube. Looking back, I should have either mitered the main frame, or cut larger holes for the wiring to route through the frame, it proved to be VERY difficult to get the wiring pulled through the frame.

IMG_0360 (Medium).JPG

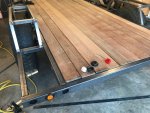
Time to trim the boards to length and put a 45* chamfer on the ends of the bottom side of the boards to clear the weld profile. I also put a 1/4" fillet on the top edge of the ends to help with future install and removal and to prevent chipping. I will say that if you're working with Ipe, be very careful not to slide your hand along an unsanded board, it is very splintery! I may still have some chips in my skin!
I took some of the off-cuts and drilled holes to see if I liked the look of bolting the boards down, but decided that it would be a lot of extra work compared to welding a full length "cap" across all the boards.

IMG_9701 (Medium).JPG

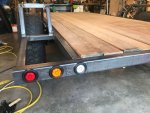
Next I cut holes for the tail/turn/reverse lights. I didnt realize at the time I ordered and planned for lights, that the trailer wiring was such that the turn/tail are in the same wiring. But I thought this setup looked nice for the few days i hadn't realized my mistake! I would also use a 4" tall rear rect tube next time as well, the rubber grommets would have fit much nicer.

IMG_9710 (Medium).JPG

IMG_9704 (Medium).JPG
 

Rbertalotto

Explorer
No way would I notch the front member. Rather run it under the front member and weld angle iron to the cross members to drop it down to the correct height. Then you can run your two angled tongue supports without any bother. Much easier

BTW, B Buster....Nice Welds! What are you using to weld? Just wire or Flux core with gas?

I can't believe how heavy duty this trailer is. If it had two axles it could easily transport 10 tons! It is built way better than most equipment trailers I've been involved with.

Love that full length weld!
 
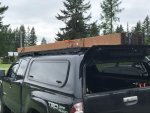
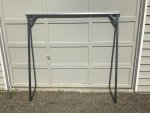
While I was deciding how I wanted to fasten the decking to the trailer, I switched gears and worked on the stake pockets, which are 1.5" square tube, that accept 1.25" square tube, in hindsight, I think i would have gone larger and also, moved them up to be flush with the main frame rails, going down past that edge proves to be a bit of a pain when attaching things in the pockets. At the same time, I fabricated some tall cross bars for mounting the roof top tent to. I made them longer than needed for initial testing, and could easily slide them down to new holes in the tube and just cut the excess off from below to get the right height i wanted.

I also had taken the time to grind the welds flush on the outriggers in prep for diamond plate
IMG_0376 (Medium).JPG

Finding good spots and spacing for the stake pockets, I settled on 22" between stakes, I wish i have another pocket up further, or maybe all the way to the outside, but this would be helpful when using the outriggers for opening and closing the tent and just having a good place to walk around the trailer when loading and unloading equipment.

IMG_0384 (Medium).JPG


Prepping the pockets

IMG_0395 (Medium).JPG

IMG_0398 (Medium).JPG

IMG_0399 (Medium).JPG

IMG_0403 (Medium).JPG

IMG_0405 (Medium).JPG

IMG_0409 (Medium).JPG

Yes, they have a bit of a bow in the center, I didn't do a good job, if any, of clamping my work down before fully burning in the welds, so it sucked in the sides a bit.

I think I started out with 6'-0" from the top of the trailer deck to the top of the rail. which was way too high, I think I have trimmed a full 1'-0" off them now, and might trim another 6" off in the future.

IMG_0424 (Medium).JPG

IMG_0427 (Medium).JPG
 

gatorgrizz27

Well-known member
I really like this thing, I’ve been contemplating building something similar. 5’ between the fenders, 6’6” max width, 10’ tilting deck with 2’ of flat deck in front of that to mount a job box on. Removable battery box and water tank, and I had thought about putting the RTT bars on some sort of parallel bar 4-link setup where they just angle down and back, then pop up forward and raise when parked.

How has it been working out for you, any other changes you would have made aside from the ease of wiring it?

@gatorgrizz27 Thanks! I like it so far! I'd probably make it slightly narrower, I pull it with a Tacoma and it feels wide, it's maybe slightly wider than my mirrors (can't remember). I have a good amount of wheeling under my belt so I don't might squeezing it into tight places. But It feels a little unnerving on the narrow two lane roads at speed, again, this is mainly in my head. The other thing would be maybe having the stake pockets at the very front of the trailer and working back from there. It maybe a weird spot just in front of the motorcycle area that's a little hard to access with the RTT uprights, but at the same time, provides some security for totes or gas cans if needed, so I can take it or leave it, ha ha. I'm sure i can find more nit picky things to talk about, but nothing deal breaking. I also wish it was lighter.... but that's for one of those engineering types to figure out for me, ha ha.
 

Forum statistics

Threads
188,201
Messages
2,903,721
Members
229,665
Latest member
SANelson
Top