paulbgardner
New member
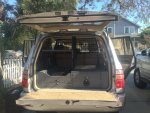
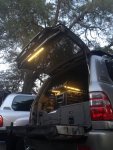
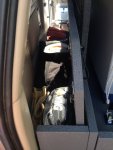
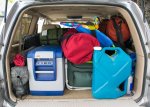
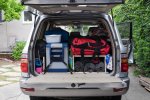
This is how I have packed my truck for years worth of camping....No Bueno!
Decision Making Process
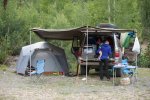
Drawers have been an ongoing conversation between my wife and I since we bought our 2001 land cruiser. I have wanted a drawer system for my cruiser pretty much since the day I bought it and started looking at mods. Finances mostly kept us from jumping in with any one particular drawer system right away but I have also built my truck on the core principle of not buying anything until I have proven, through many field experiences without the particular item, that it will benefit my travel experience or safety. For four years my truck has only had a lift, tires, 9” LED light bar and communications gear.
After dozens of camping trips and having to pack, unpack, and repack all our gear in the truck just to get to some cooking gear my wife and I were fed up and ready for some kind of organization system in the truck. I started researching all the systems available, looking at every home built system, and eventually taking all those ideas and designing my own. I designed a beautiful system but it was still going to cost a fortune and take a lot of time that I didn’t have. A quote from my wife regarding this aspect:
“What I loved most about the system was it was custom designed and already done for us; instant satisfaction. No husband wasting precious weekends building a drawer system out back, cussing up a storm, and risking cutting his hand off with a circular saw. Those weekends could be spent doing what we love - camping!”
About the time that I was wrapping up my own design, Dave from TrekBoxx started posting about his own personal build. I subscribed to the thread on IH8Mud and kept a quiet eye on his progression from sharing his own build to forming his own company to trying to sell the systems to all of us 100 owners. I appreciated Dave’s attention to detail, his thought process with the design, and as a mechanical engineer myself, how well he made compromises in his design as he transitioned from his near perfect fine cabinetry prototype to something that could actually be produced on a larger scale. Dave’s final design was very close to what I had designed except much better. I sat back patiently and waited for Trekboxx to get off the ground.
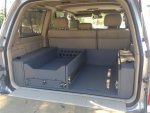
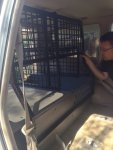
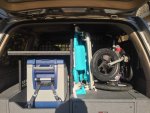
While waiting I decided to build a test drawer; something similar to what Dave was building except no drawers; just the shell of a system. My wife and I both wanted to test drive something before committing to a permanent system. We both had plenty of reservations. I wanted to see how we could pack our gear more efficiently and my wife wanted to see how a drawer system could fit in with daily life at home and daily life on the trail with two toddlers. The test was a great success and we came out of it with all kinds of ideas for improvements and a much better sense of what we both wanted and needed from a drawer system. Two issues we both agreed on were that the system had to keep all of our junk from falling in behind the fridge when it was pulled out and we had to have a way to store stuff in the area above the fridge. From my wife during the early stages of our testing:
“I was not convinced that an actual drawer was the solution. I liked the open cubby as we could slide things like our camp pads, sleeping bags, and tent in it. At the time we owned the REI camp kitchen and had all our kitchen items stored in it. Even with the cubby, it did not solve the problem we ran into when trying to access our kitchen stuff with the car packed. This was especially annoying during lunch time when we were on the go and had to unpack half the car and then dig around in the camp kitchen to find what we needed. It turned lunch into a major production. My biggest reservation with the Trekboxx at first was it looked quite permanent. My other reservation was whether I could fit our stroller in it. I honestly didn’t put much thought into it beyond that. I had never seen a drawer system in the field, in person, so I didn’t even know it’s potential. ”
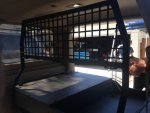
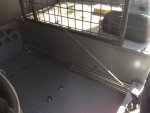
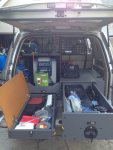
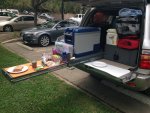
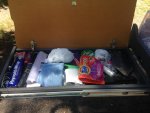
This is the test drawer/platform/cargo system. Nothing has a really specific place and everything is loose. Big improvement over the first picture.
The week before heading out to100’s in the Hills I got a call from Chris Hunt (Bluecruiser on Mud) saying that Dave had a full Alpha system ready to go and asking if I was interested (he knew I had been for some time). Someone had ordered one and apparently backed out or something like that. Regardless, he had one ready to go and I was getting ready to depart on a 3 week, 3,000+ mile camping trip with my wife, 3.5 year old son, and 1.5 year old daughter. My wife and I decided that if there was any time or trip to get a drawer system, this was it. Despite all our initial reservations on how it would fit in with daily life at home, the consensus was “screw it, lets do this”; it will make our lives so much easier and we will make it work for daily life one way or another. On top of that it will force us to get out even more to justify having a permanent cargo system in the truck.
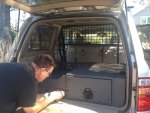
Five days before heading out on our trip, I drove up to San Jose, CA and met up with Dave at RobRed’s house where the three of us got to work prepping the truck and installing the drawers.
Assembly
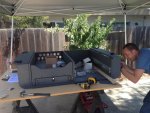
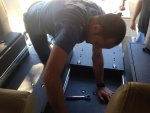
The assembly of the drawers is really straightforward; it goes together just like a piece of IKEA furniture minus the poor quality. Dave used top-notch hardware for every part of the system. It took about 2-3 hours to assemble the main structure, all the drawers and slides, and have it ready to go in the truck.
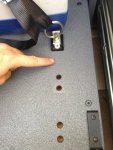
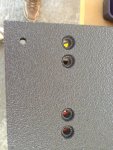
An example of the quality of the CNC work
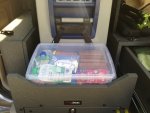
Assembly like IKEA but better. This is the drawer the fridge sits on.
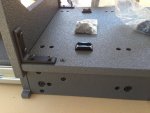
Fridge slide and small drawer
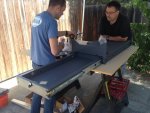
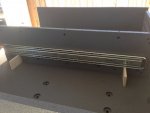
Dave provides all the shims needed to get the drawer slides set at the right height
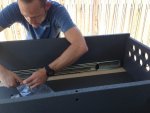
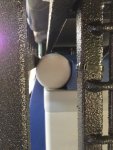
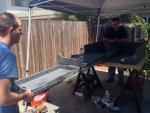
Testing the slide action with everything assembled

Decision Making Process
Drawers have been an ongoing conversation between my wife and I since we bought our 2001 land cruiser. I have wanted a drawer system for my cruiser pretty much since the day I bought it and started looking at mods. Finances mostly kept us from jumping in with any one particular drawer system right away but I have also built my truck on the core principle of not buying anything until I have proven, through many field experiences without the particular item, that it will benefit my travel experience or safety. For four years my truck has only had a lift, tires, 9” LED light bar and communications gear.
After dozens of camping trips and having to pack, unpack, and repack all our gear in the truck just to get to some cooking gear my wife and I were fed up and ready for some kind of organization system in the truck. I started researching all the systems available, looking at every home built system, and eventually taking all those ideas and designing my own. I designed a beautiful system but it was still going to cost a fortune and take a lot of time that I didn’t have. A quote from my wife regarding this aspect:
“What I loved most about the system was it was custom designed and already done for us; instant satisfaction. No husband wasting precious weekends building a drawer system out back, cussing up a storm, and risking cutting his hand off with a circular saw. Those weekends could be spent doing what we love - camping!”
About the time that I was wrapping up my own design, Dave from TrekBoxx started posting about his own personal build. I subscribed to the thread on IH8Mud and kept a quiet eye on his progression from sharing his own build to forming his own company to trying to sell the systems to all of us 100 owners. I appreciated Dave’s attention to detail, his thought process with the design, and as a mechanical engineer myself, how well he made compromises in his design as he transitioned from his near perfect fine cabinetry prototype to something that could actually be produced on a larger scale. Dave’s final design was very close to what I had designed except much better. I sat back patiently and waited for Trekboxx to get off the ground.
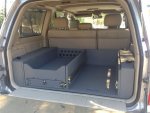
While waiting I decided to build a test drawer; something similar to what Dave was building except no drawers; just the shell of a system. My wife and I both wanted to test drive something before committing to a permanent system. We both had plenty of reservations. I wanted to see how we could pack our gear more efficiently and my wife wanted to see how a drawer system could fit in with daily life at home and daily life on the trail with two toddlers. The test was a great success and we came out of it with all kinds of ideas for improvements and a much better sense of what we both wanted and needed from a drawer system. Two issues we both agreed on were that the system had to keep all of our junk from falling in behind the fridge when it was pulled out and we had to have a way to store stuff in the area above the fridge. From my wife during the early stages of our testing:
“I was not convinced that an actual drawer was the solution. I liked the open cubby as we could slide things like our camp pads, sleeping bags, and tent in it. At the time we owned the REI camp kitchen and had all our kitchen items stored in it. Even with the cubby, it did not solve the problem we ran into when trying to access our kitchen stuff with the car packed. This was especially annoying during lunch time when we were on the go and had to unpack half the car and then dig around in the camp kitchen to find what we needed. It turned lunch into a major production. My biggest reservation with the Trekboxx at first was it looked quite permanent. My other reservation was whether I could fit our stroller in it. I honestly didn’t put much thought into it beyond that. I had never seen a drawer system in the field, in person, so I didn’t even know it’s potential. ”
This is the test drawer/platform/cargo system. Nothing has a really specific place and everything is loose. Big improvement over the first picture.

The week before heading out to100’s in the Hills I got a call from Chris Hunt (Bluecruiser on Mud) saying that Dave had a full Alpha system ready to go and asking if I was interested (he knew I had been for some time). Someone had ordered one and apparently backed out or something like that. Regardless, he had one ready to go and I was getting ready to depart on a 3 week, 3,000+ mile camping trip with my wife, 3.5 year old son, and 1.5 year old daughter. My wife and I decided that if there was any time or trip to get a drawer system, this was it. Despite all our initial reservations on how it would fit in with daily life at home, the consensus was “screw it, lets do this”; it will make our lives so much easier and we will make it work for daily life one way or another. On top of that it will force us to get out even more to justify having a permanent cargo system in the truck.
Five days before heading out on our trip, I drove up to San Jose, CA and met up with Dave at RobRed’s house where the three of us got to work prepping the truck and installing the drawers.
Assembly
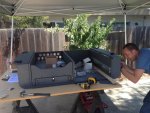
The assembly of the drawers is really straightforward; it goes together just like a piece of IKEA furniture minus the poor quality. Dave used top-notch hardware for every part of the system. It took about 2-3 hours to assemble the main structure, all the drawers and slides, and have it ready to go in the truck.
An example of the quality of the CNC work

Assembly like IKEA but better. This is the drawer the fridge sits on.

Fridge slide and small drawer

Dave provides all the shims needed to get the drawer slides set at the right height


Testing the slide action with everything assembled


