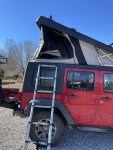
Thought I would add my setup on solar to the J30. It was a long process due to a longer story so in short I do not recall what some items used are called.
(1) I started with Renogy's dual flexible solar panel (200 watt total) kit that included the controller. The only drilling was with a 5/8" bit. 2 in the J30's top and 2 at the base where the the standard wires also come out.
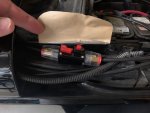
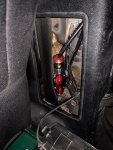
(2 &3) Circuit breakers were used instead of fuses for the panels and controller positive wires to allow disconnecting easily. The controller breaker is in the engine compartment (covered with HVAC duct tape and the solar breaker is in the B pillar access panel just above the floor, real easy to access but out of sight and protected.
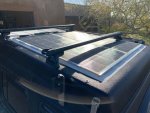
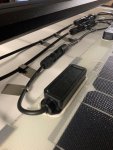
(4) Stainless steel adhesive hooks were used for the panel cable routing to enable access and keep them at a low profile. I have the roof rack directly above the cables for snag protection and to carry something I can easily slide the rear rack back if needed.
(5) The solar panels being flexible I wanted to stiffen them up a bit so Home Depot came to the rescue with, and this is one of the items I don't recall the name, a sheet of thin but strong plastic like honeycomb material that is 1/4" thick. The solar panels were attached to this material with short segments of heavy duty waterproof double sided 3M tape. Then as a precaution I used some aluminum c channel stock to clamp the two together. This combo was then attached to the roof using the same tape with, again, short sections on the high ridge points of the J30.
(6) Initially I planned on using a cable gland that is as flush to the roof as possible but ended up using Renogy's that provides a good water seal for the cables and allows more of a bend for the cables. Due to the ridges on the UM I had to modify it to fit between my roof rack rail and the first ridge. This was also attached with 3M's help and silicon caulk.
The cables follow the same path as UM's top wiring through the enclosed section so they are only visible if you know where to look.
(7) The controller resides under the front passenger seat and is easily accessible. I also purchased the controller's temperature probe and placed it next to the Jeeps battery.
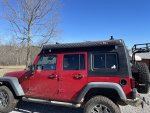
(8) Good view of how low the setup is and very happy with how this is working.
1
2
3
4
5

6

7

8

Hope some of these ideas help,
Tom

