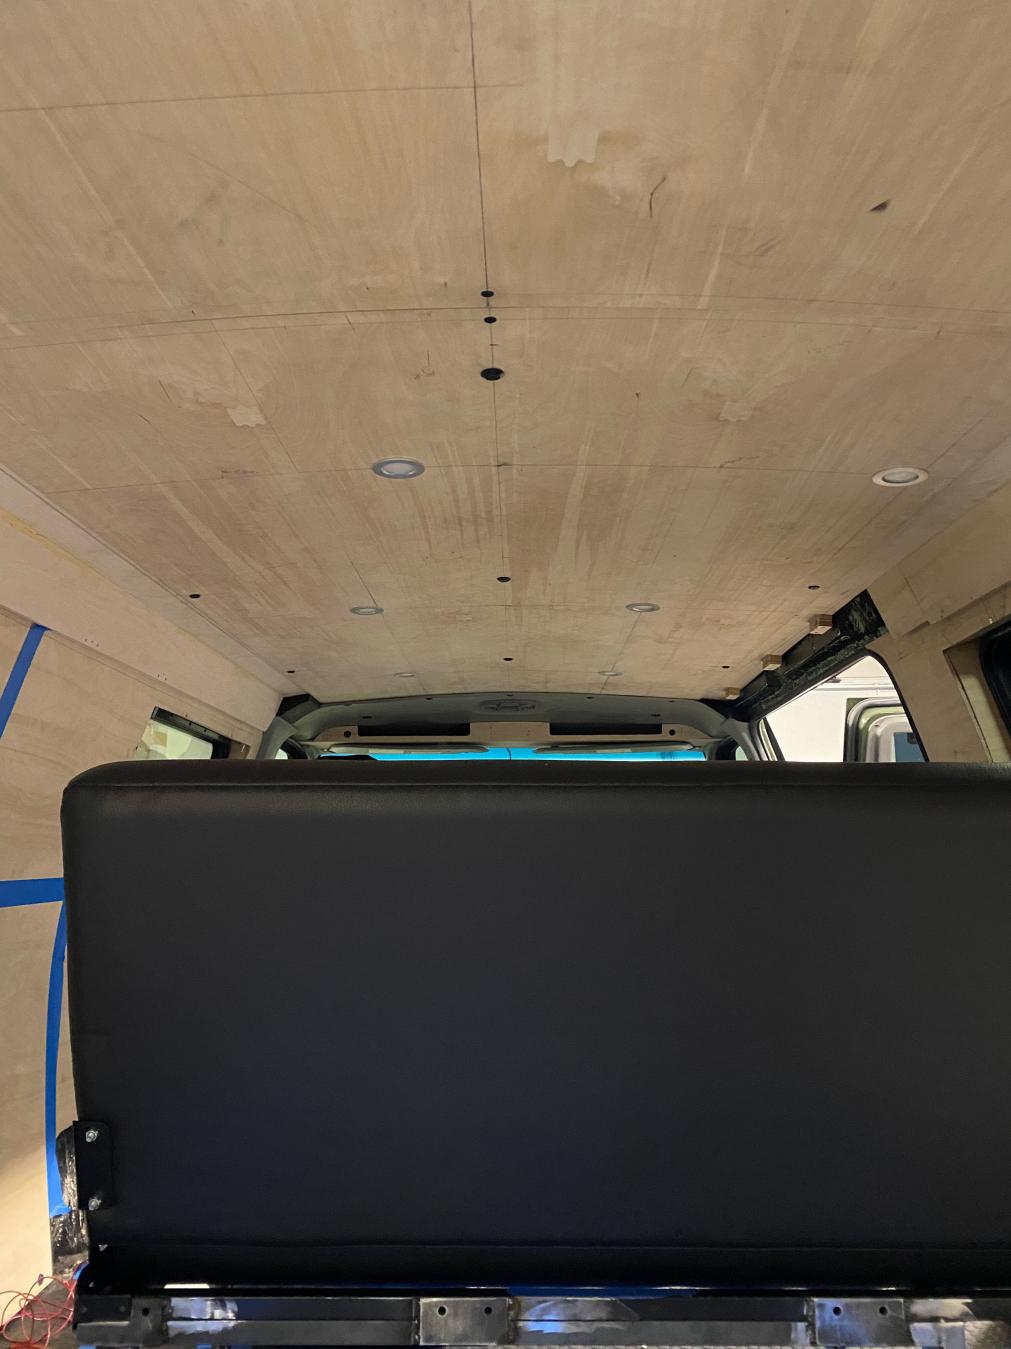
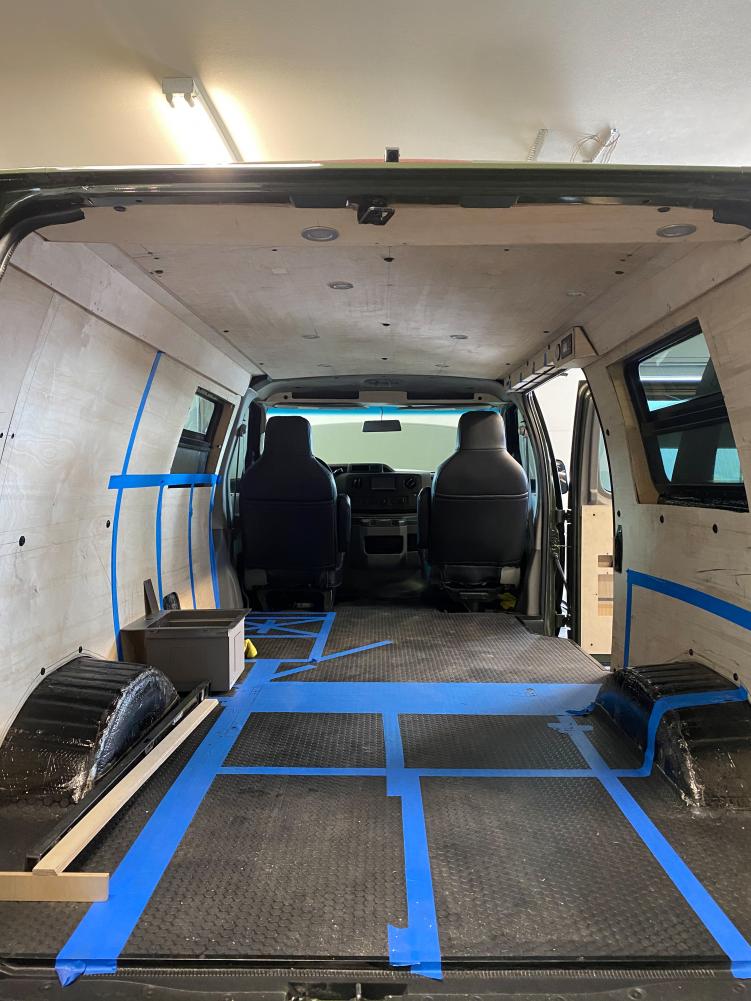
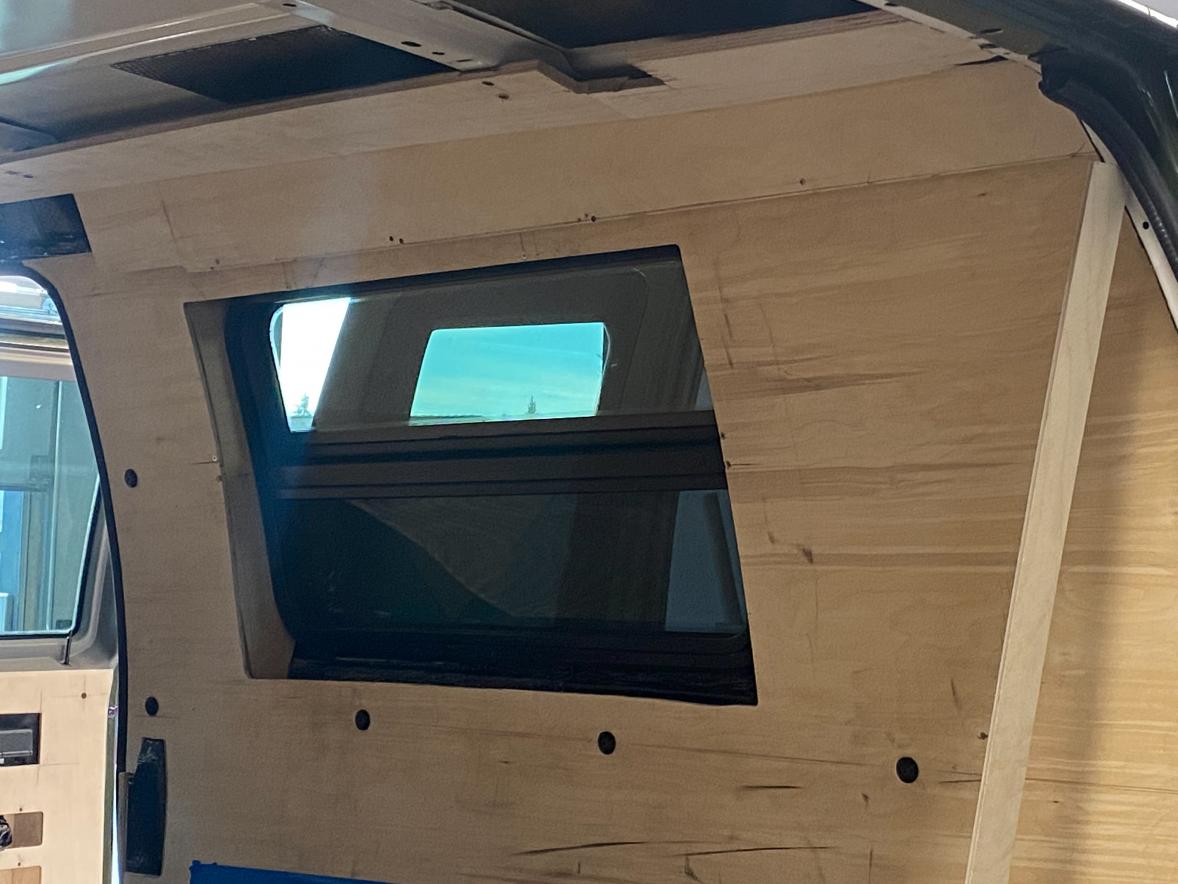
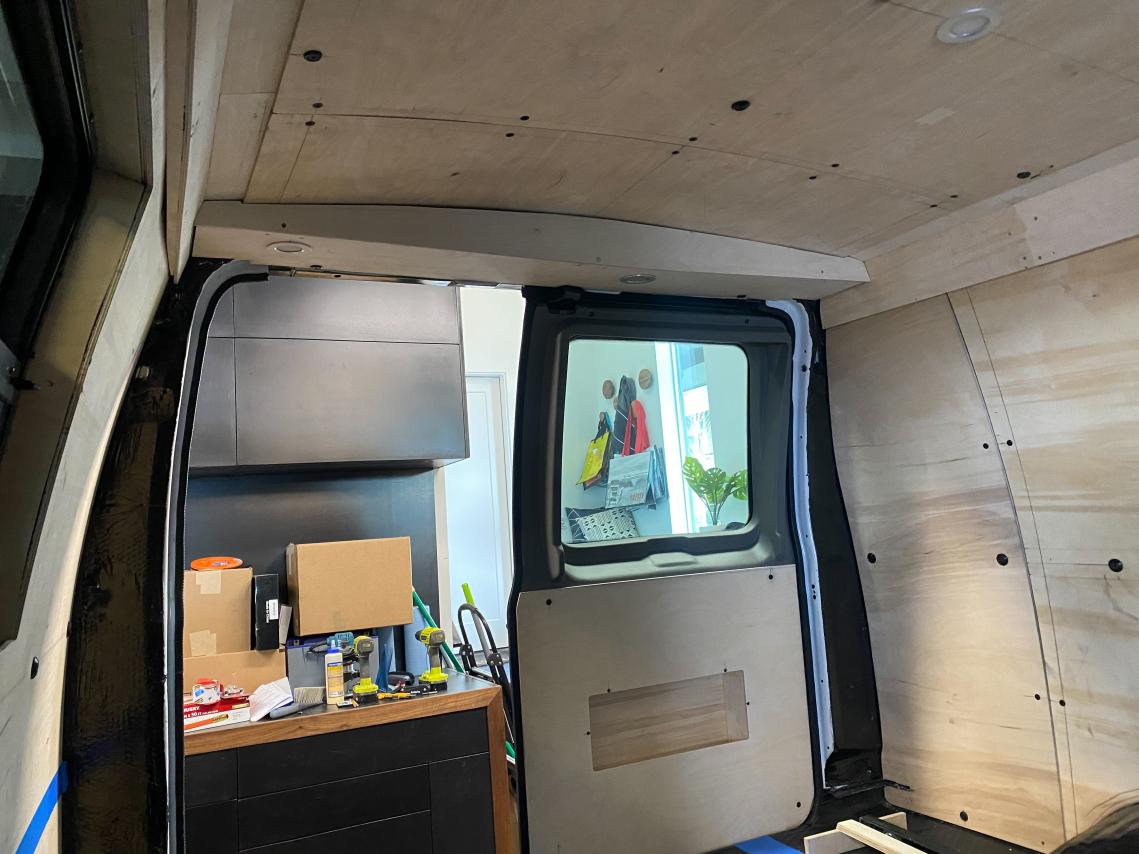
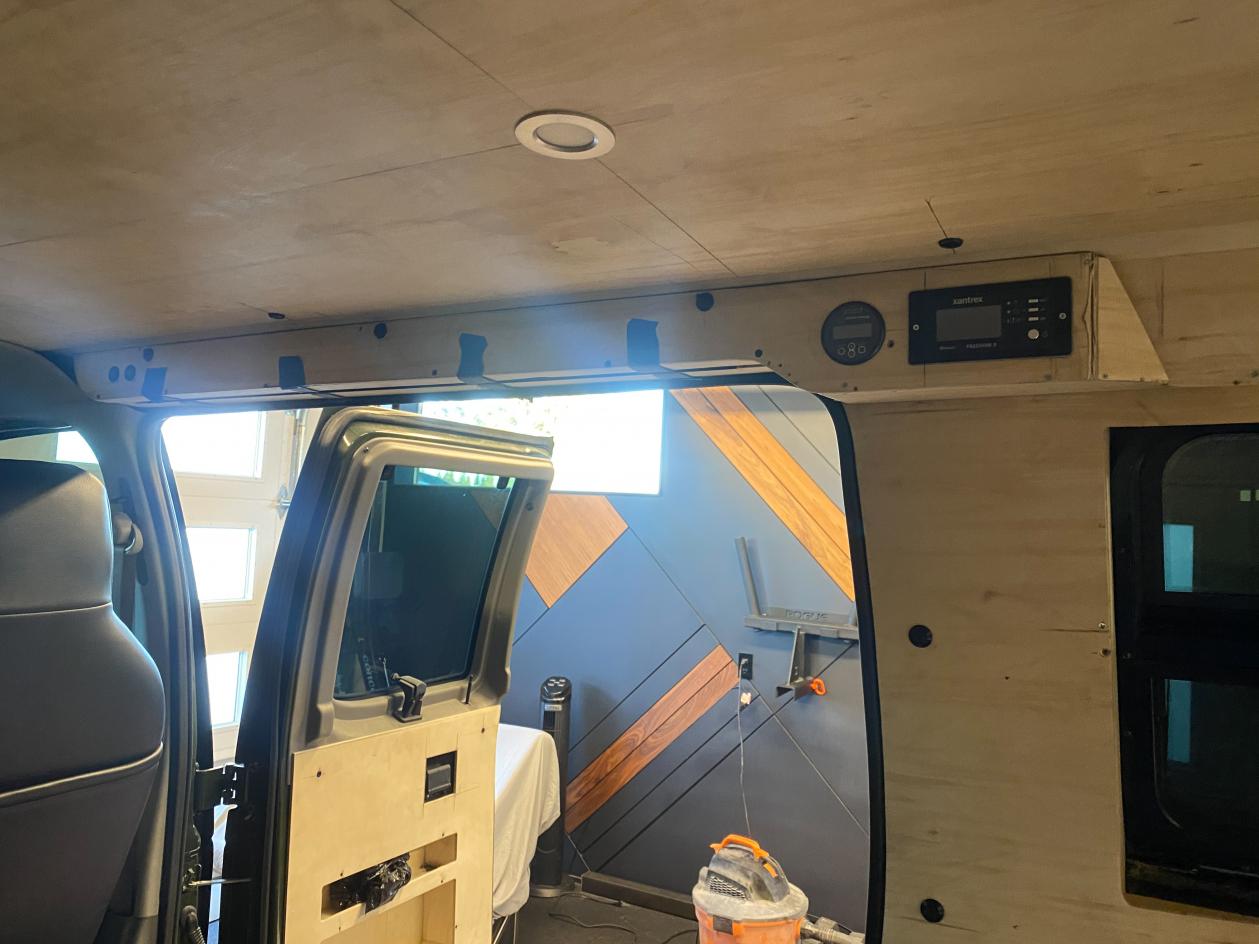
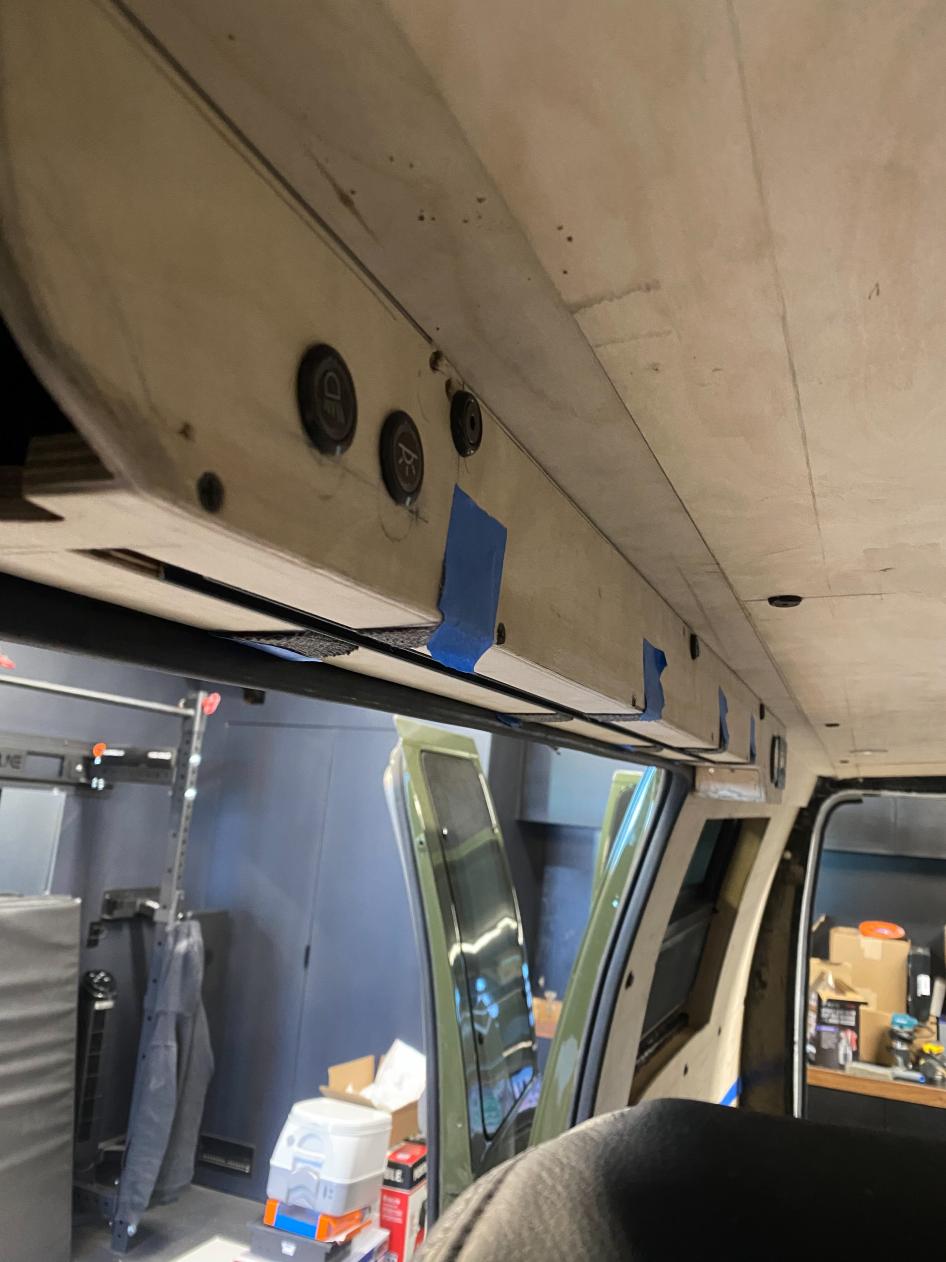
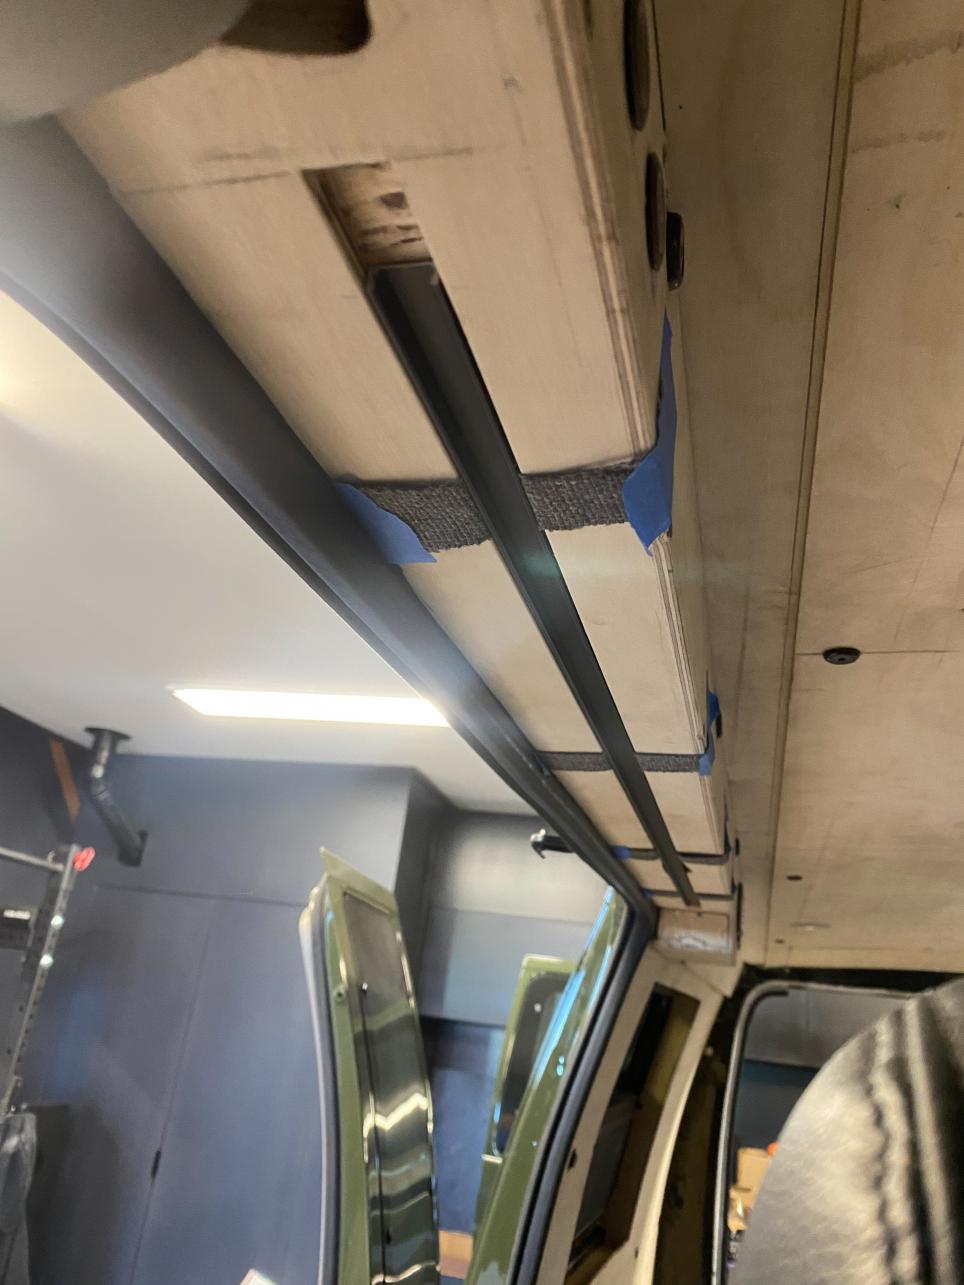
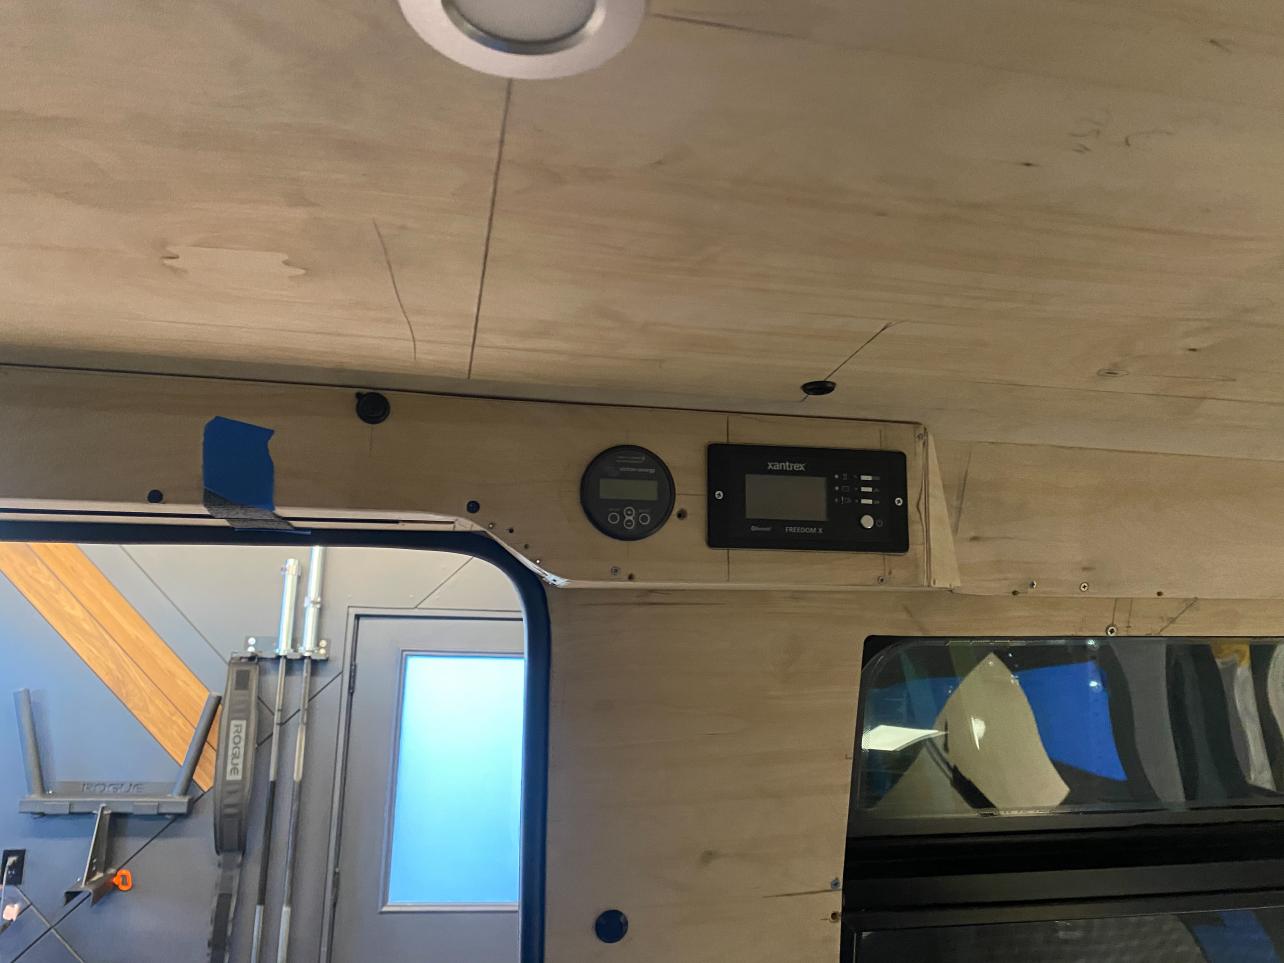
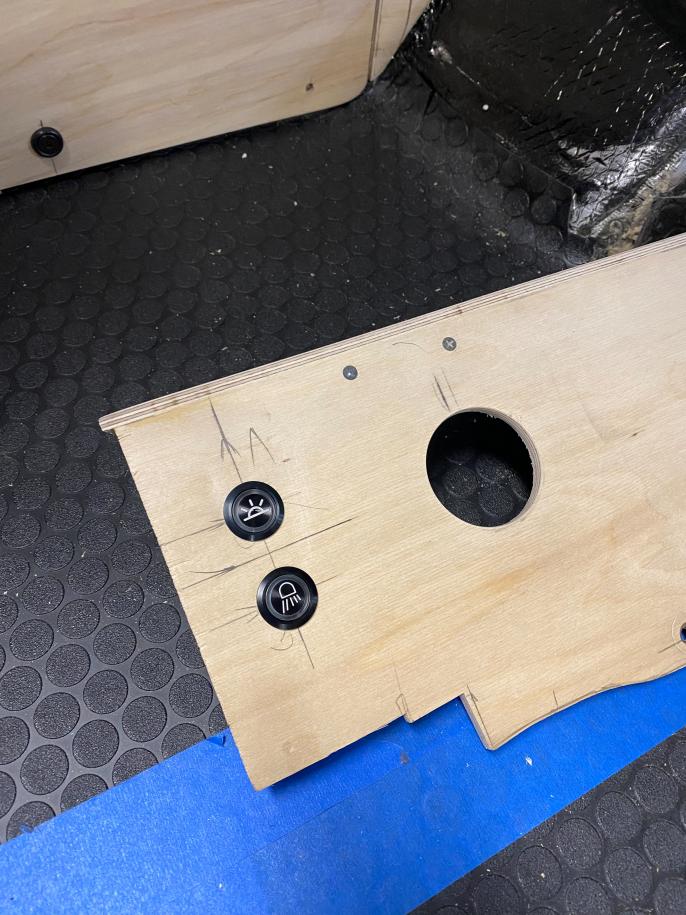
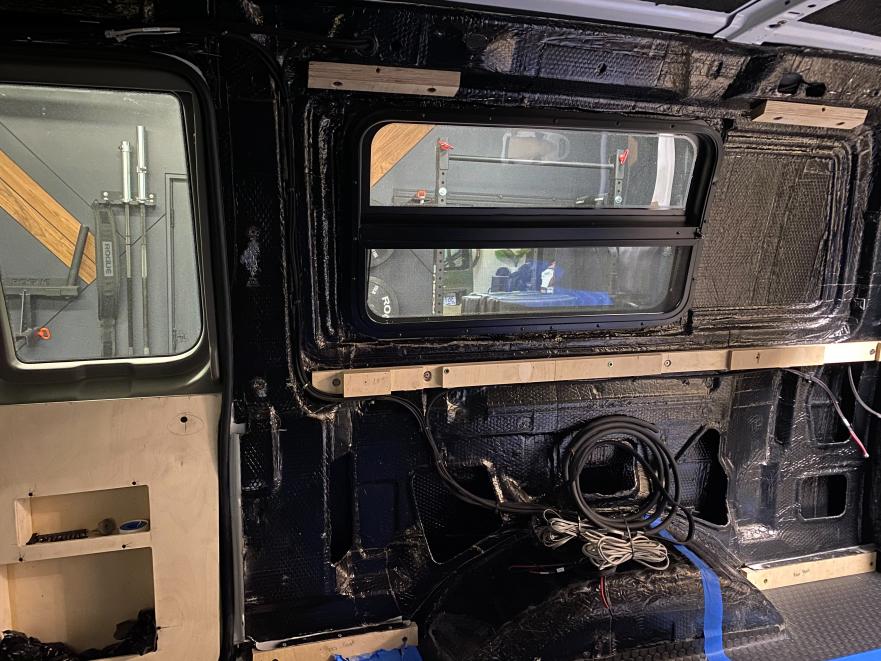
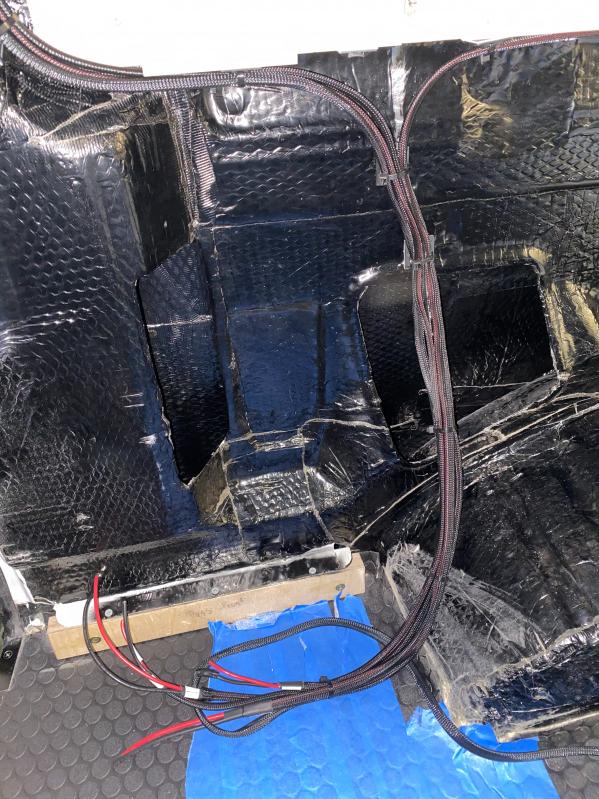
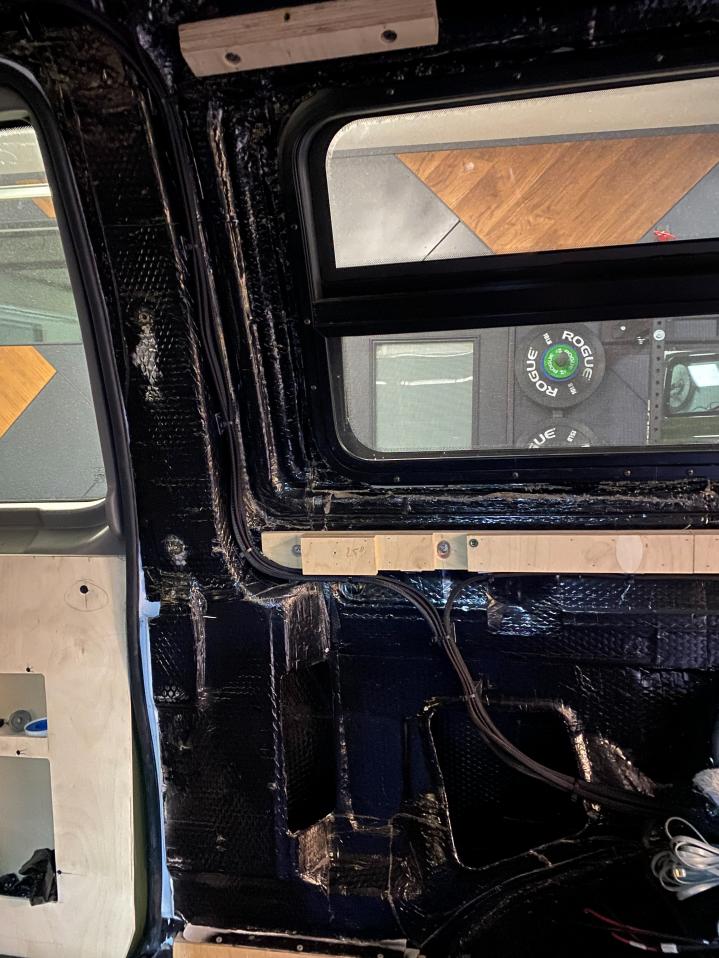
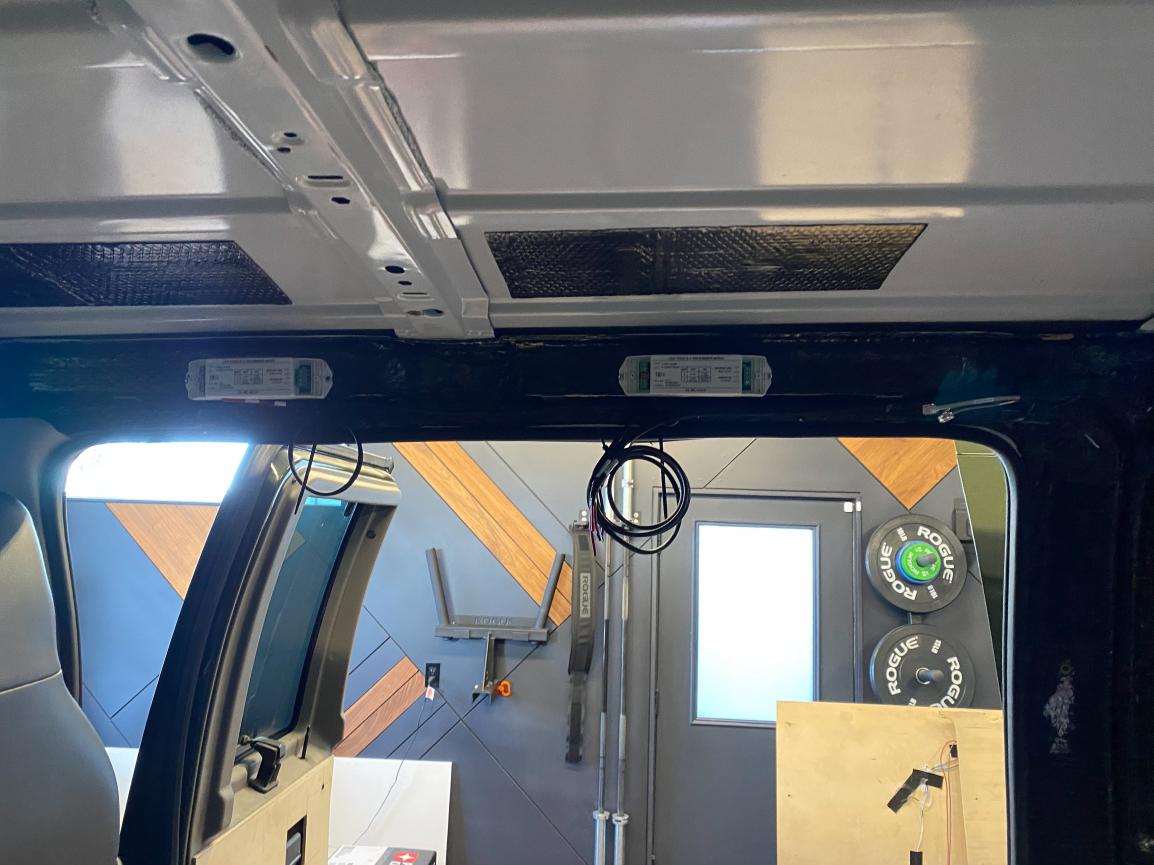
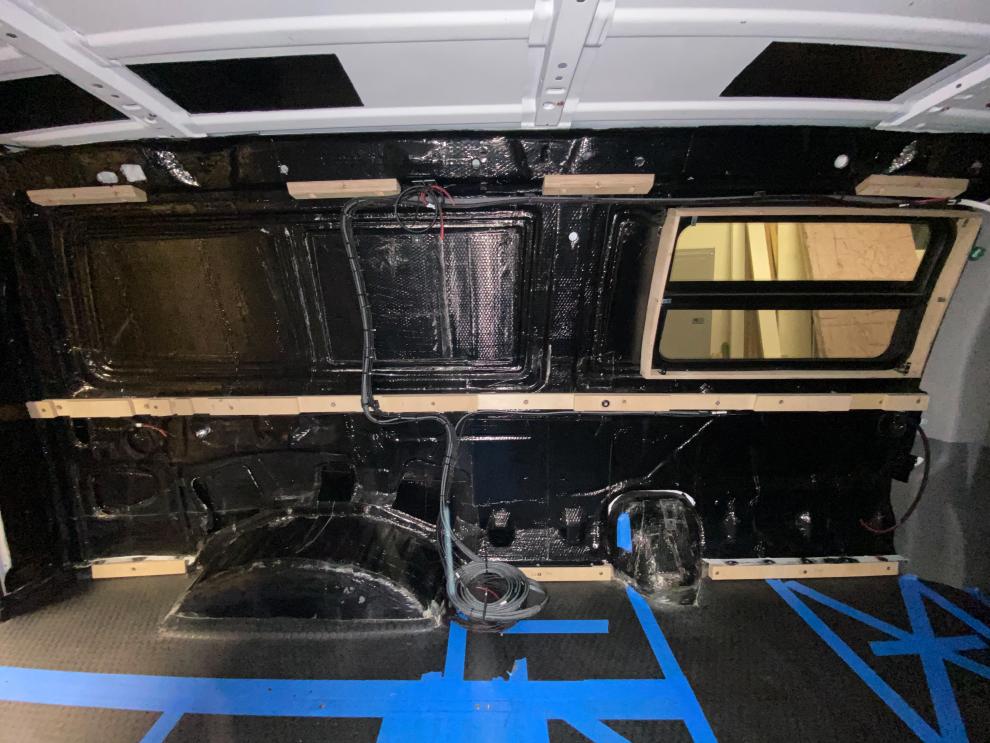
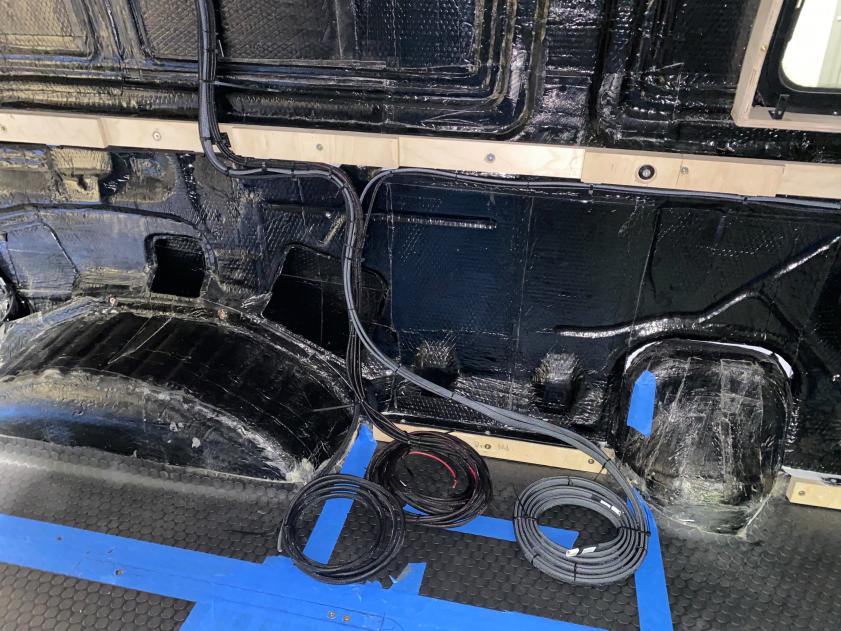
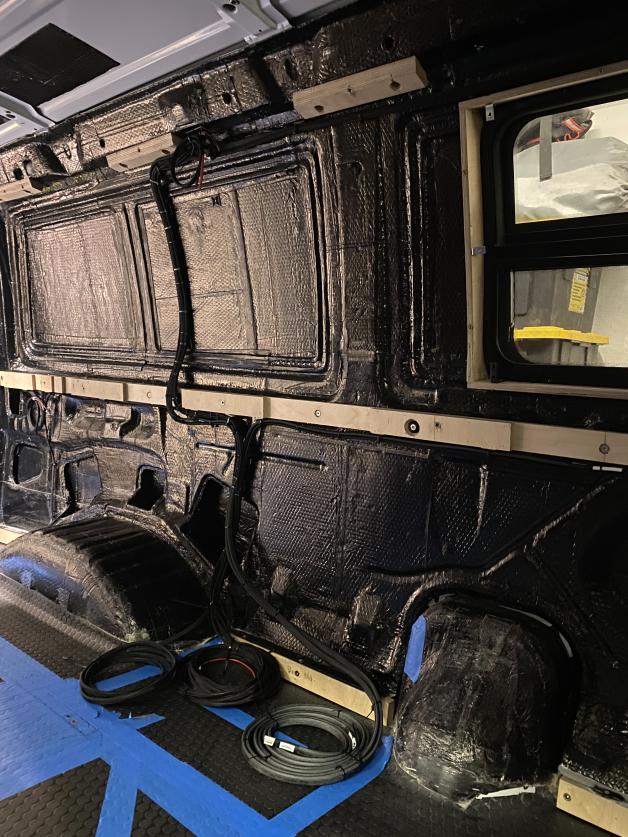
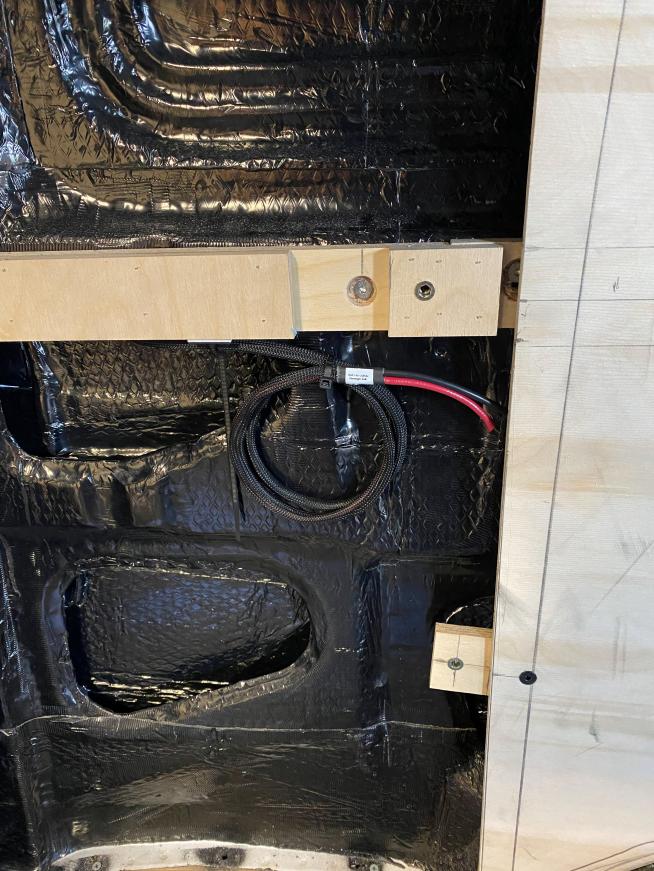
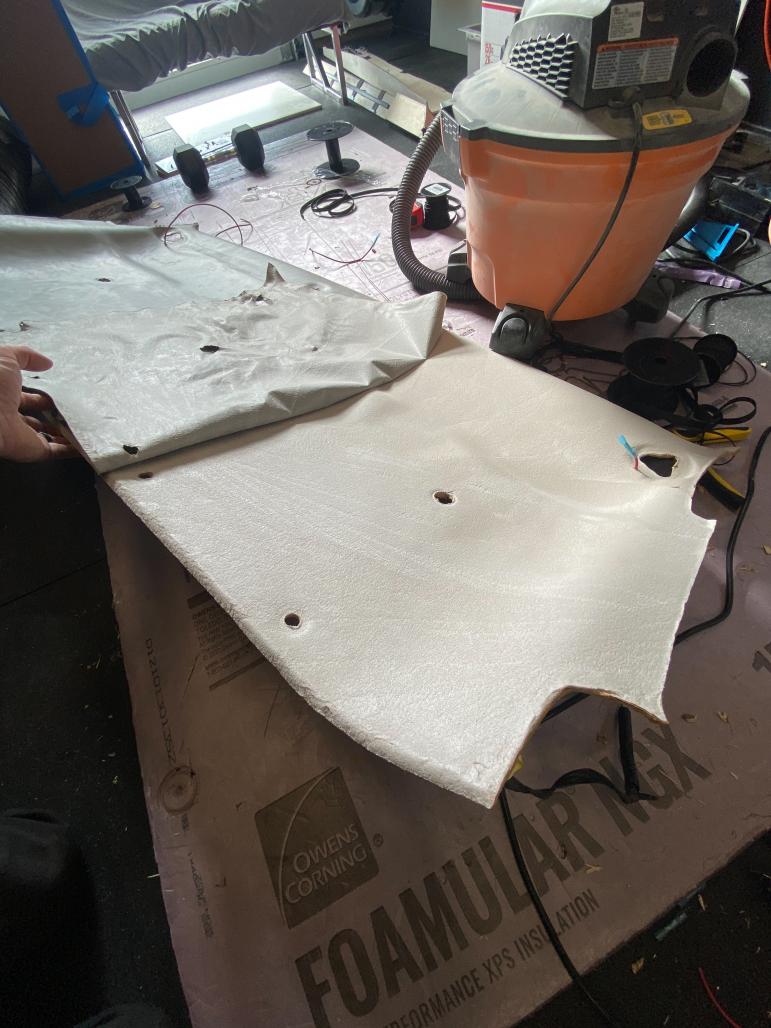
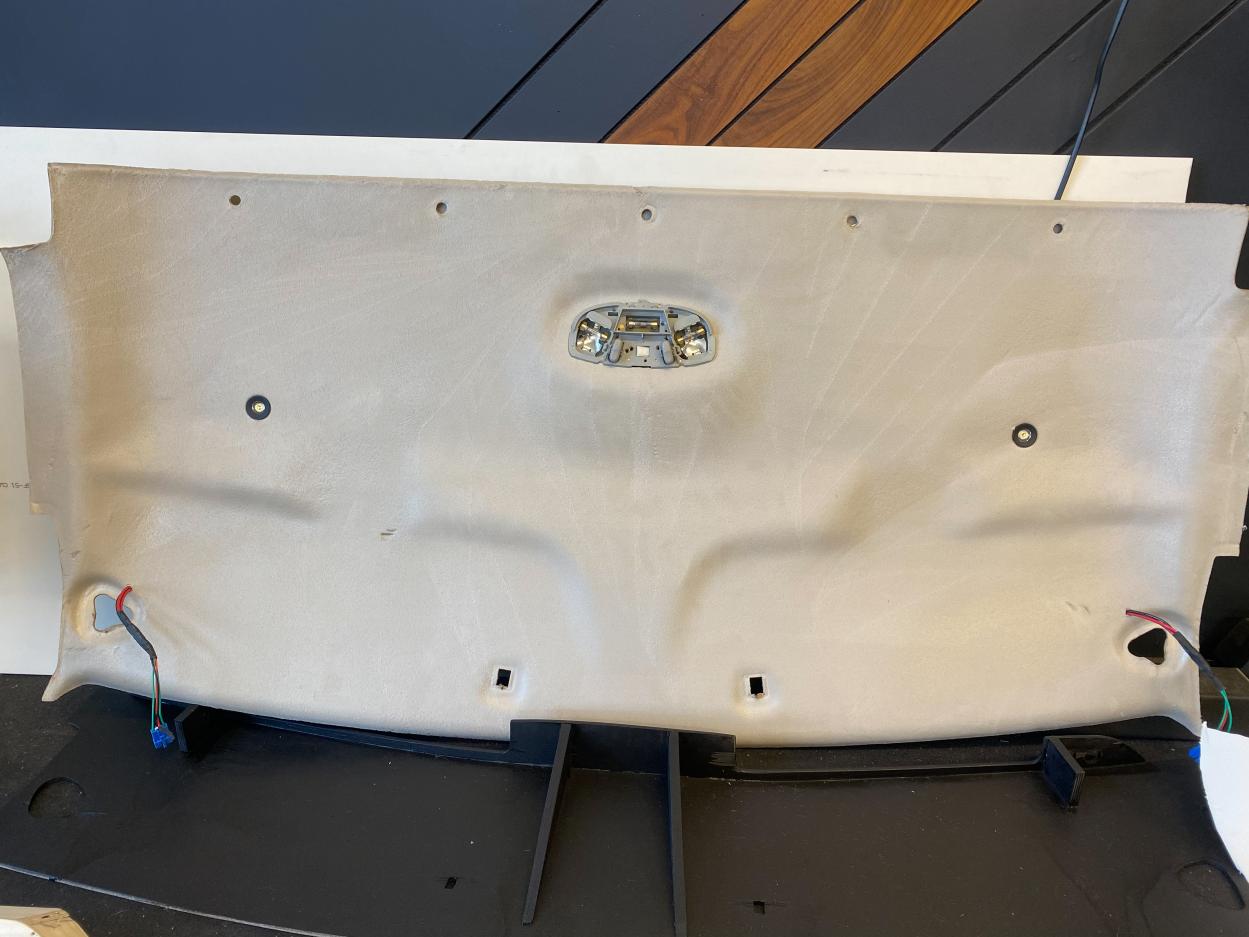
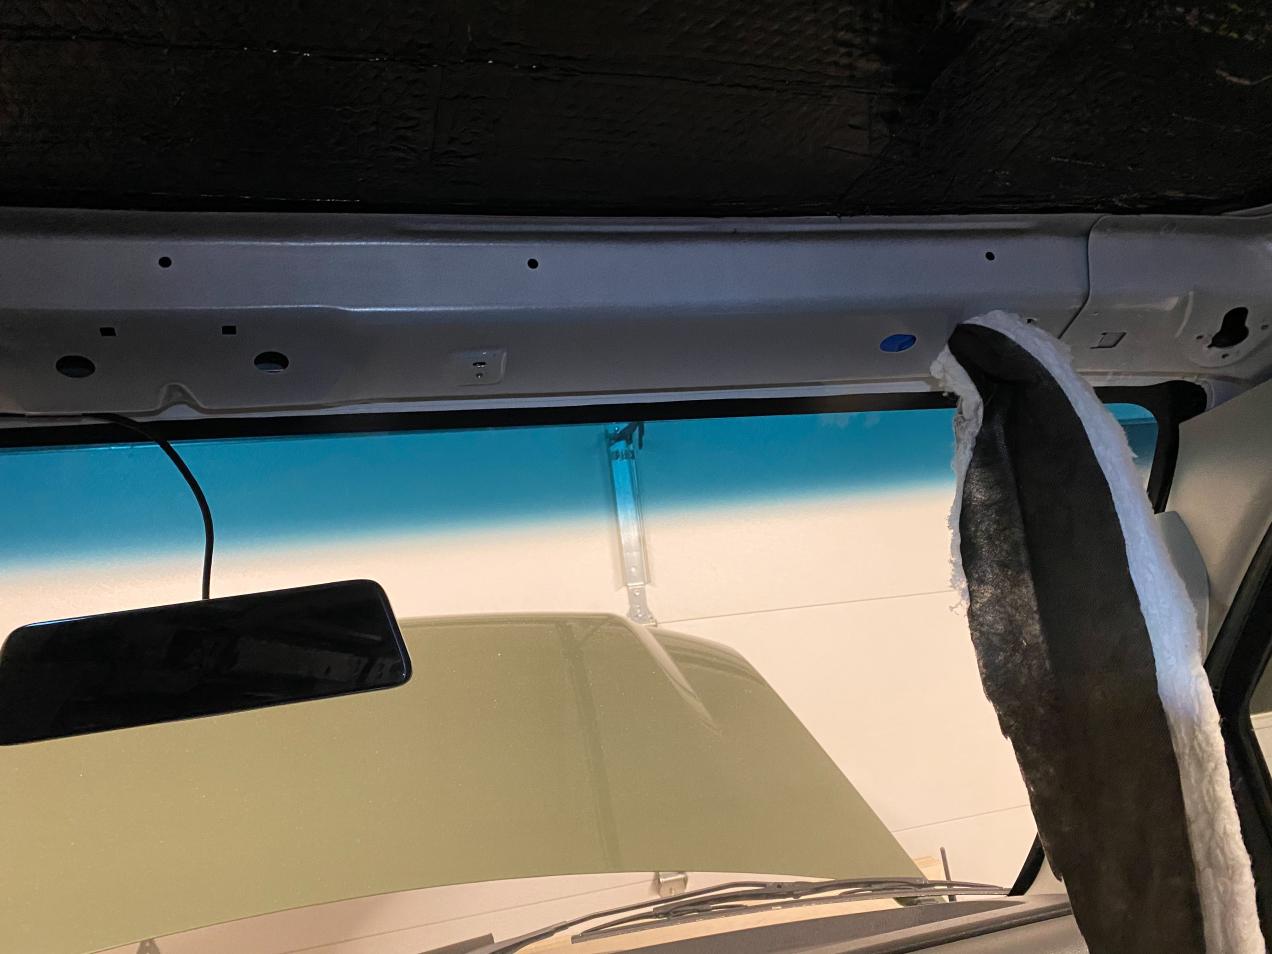
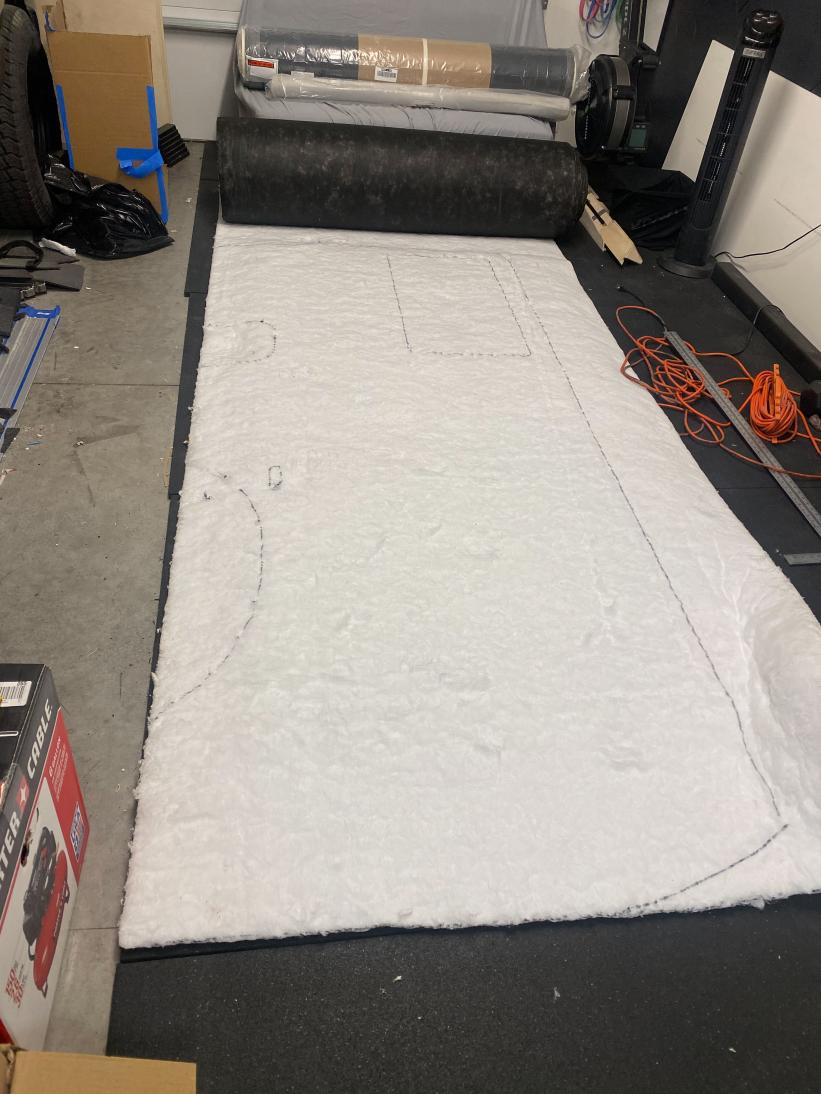
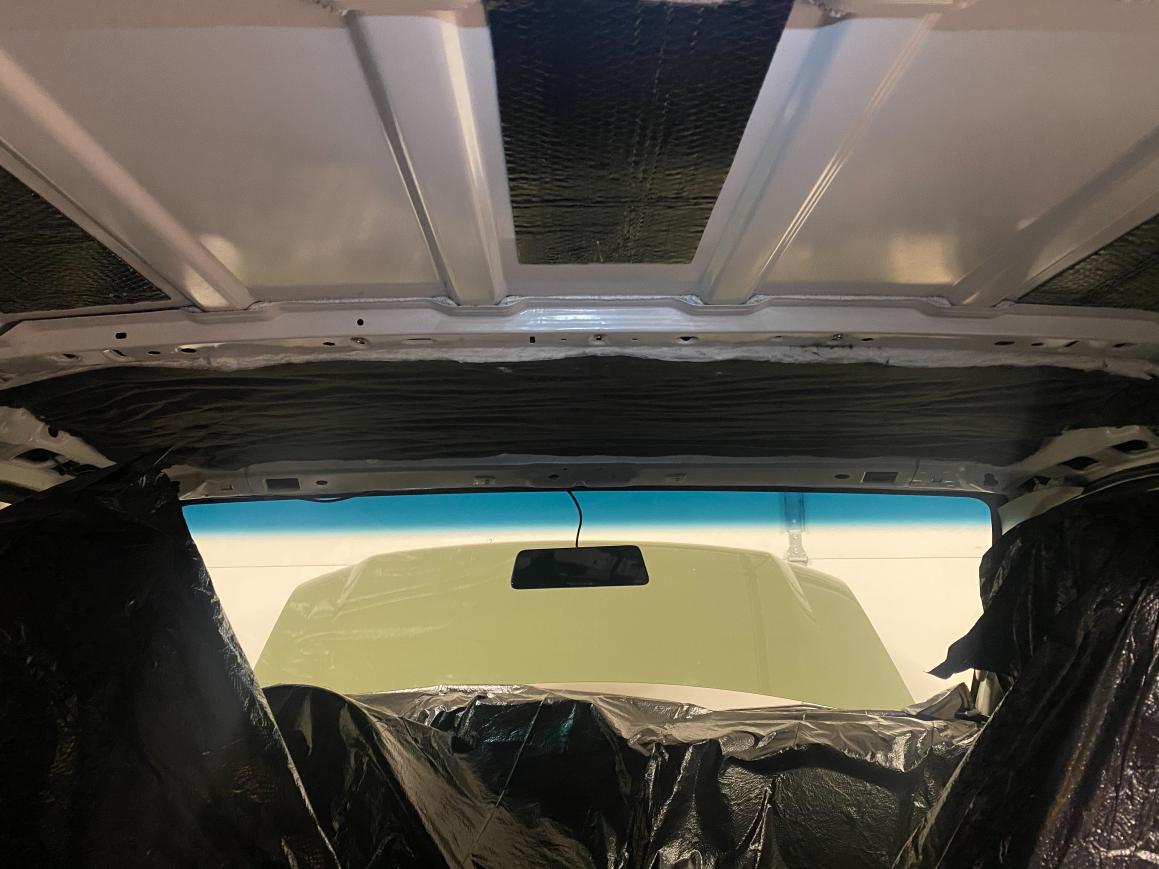
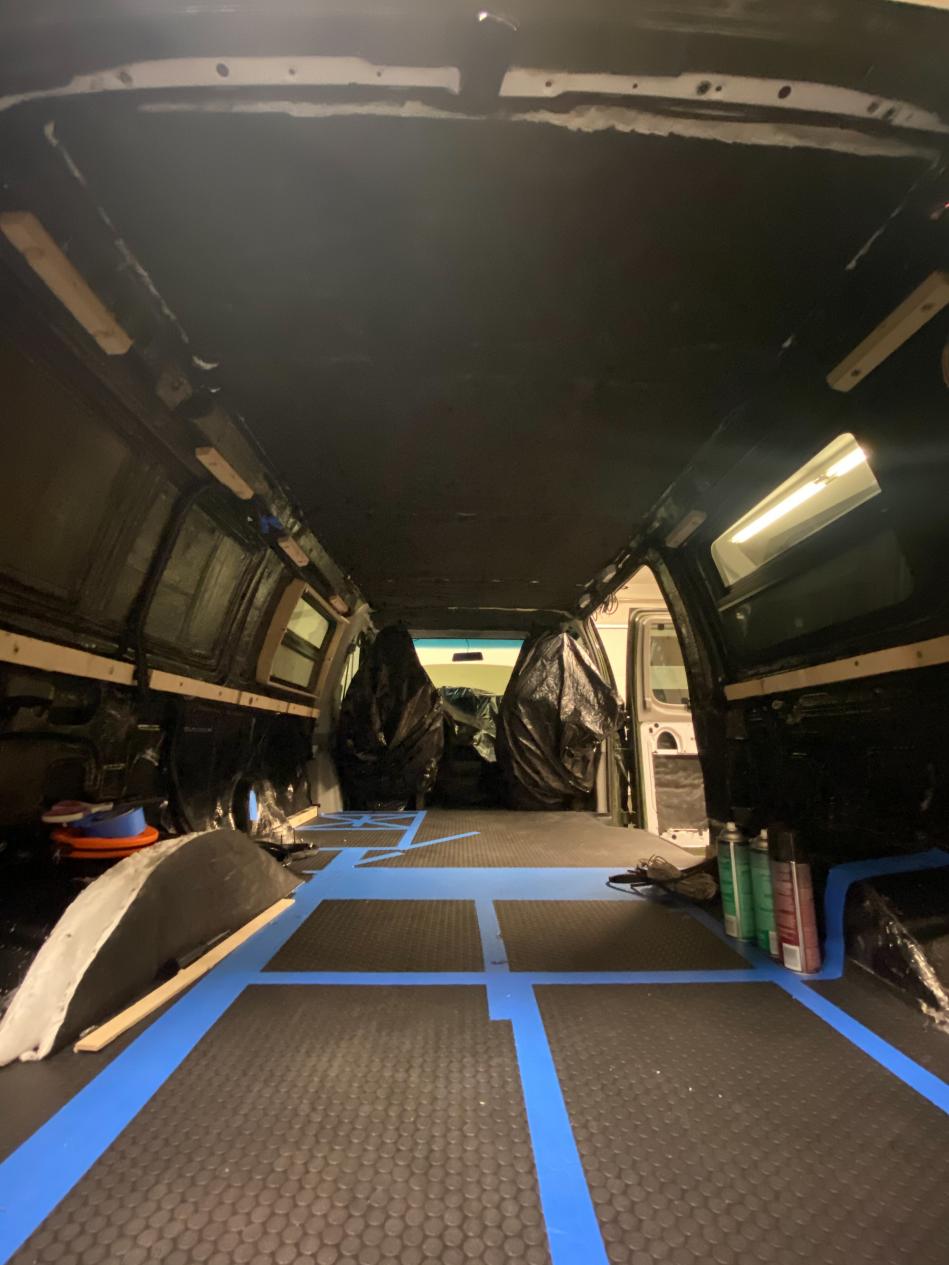
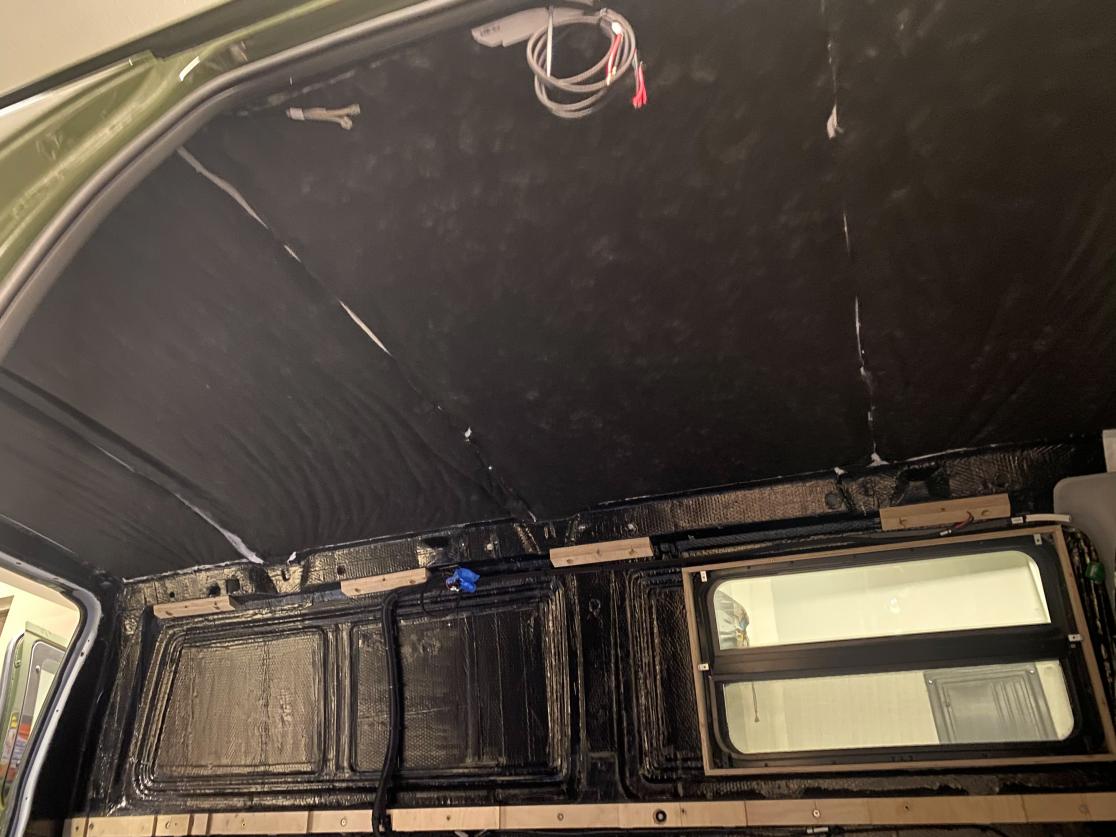
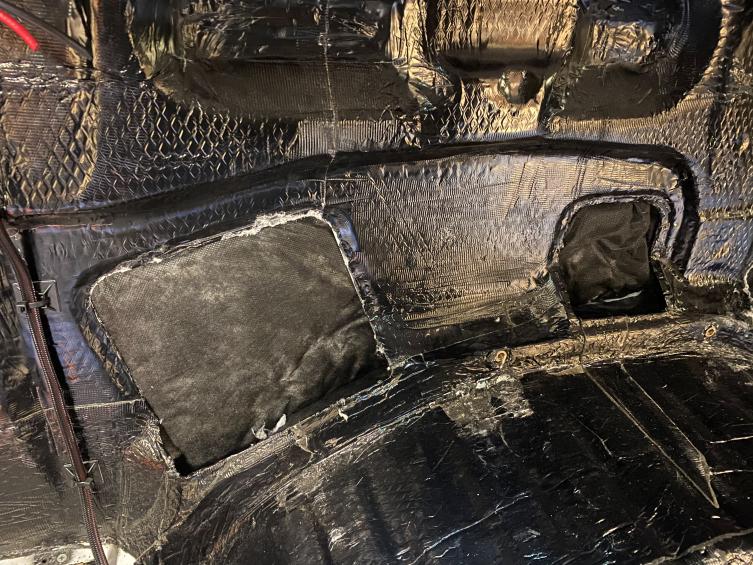
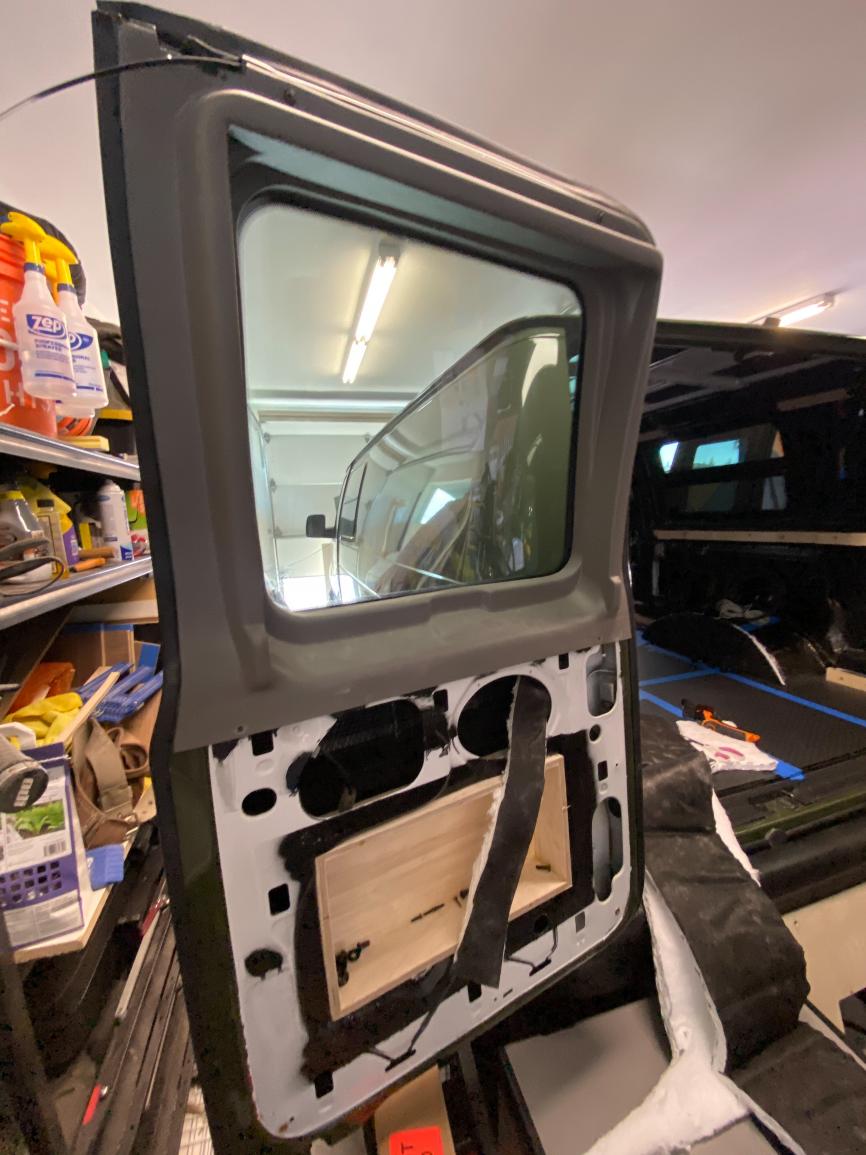
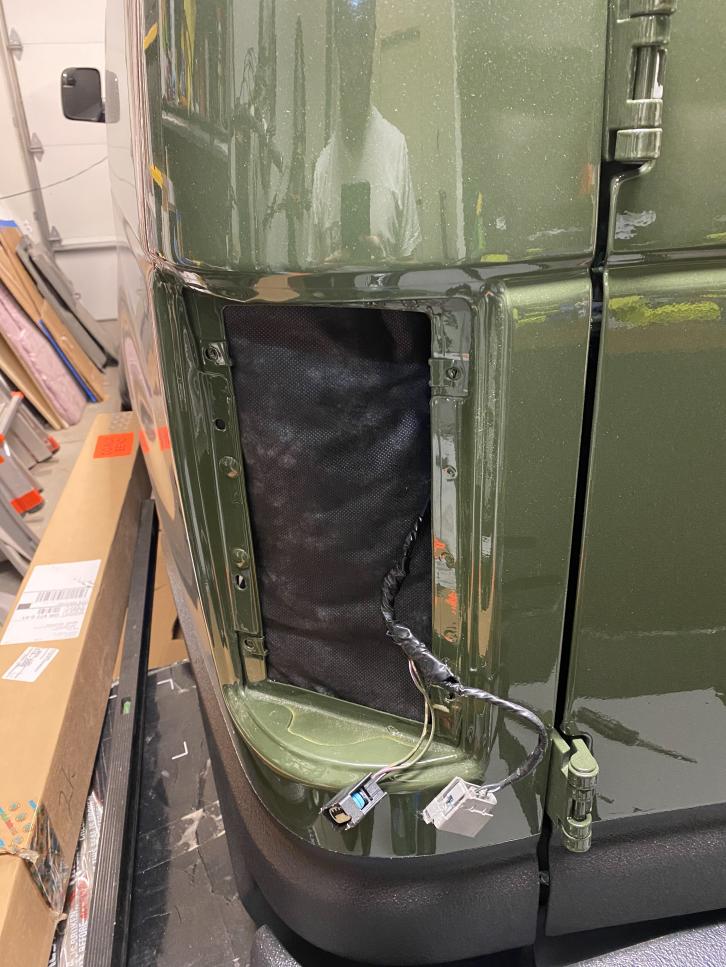
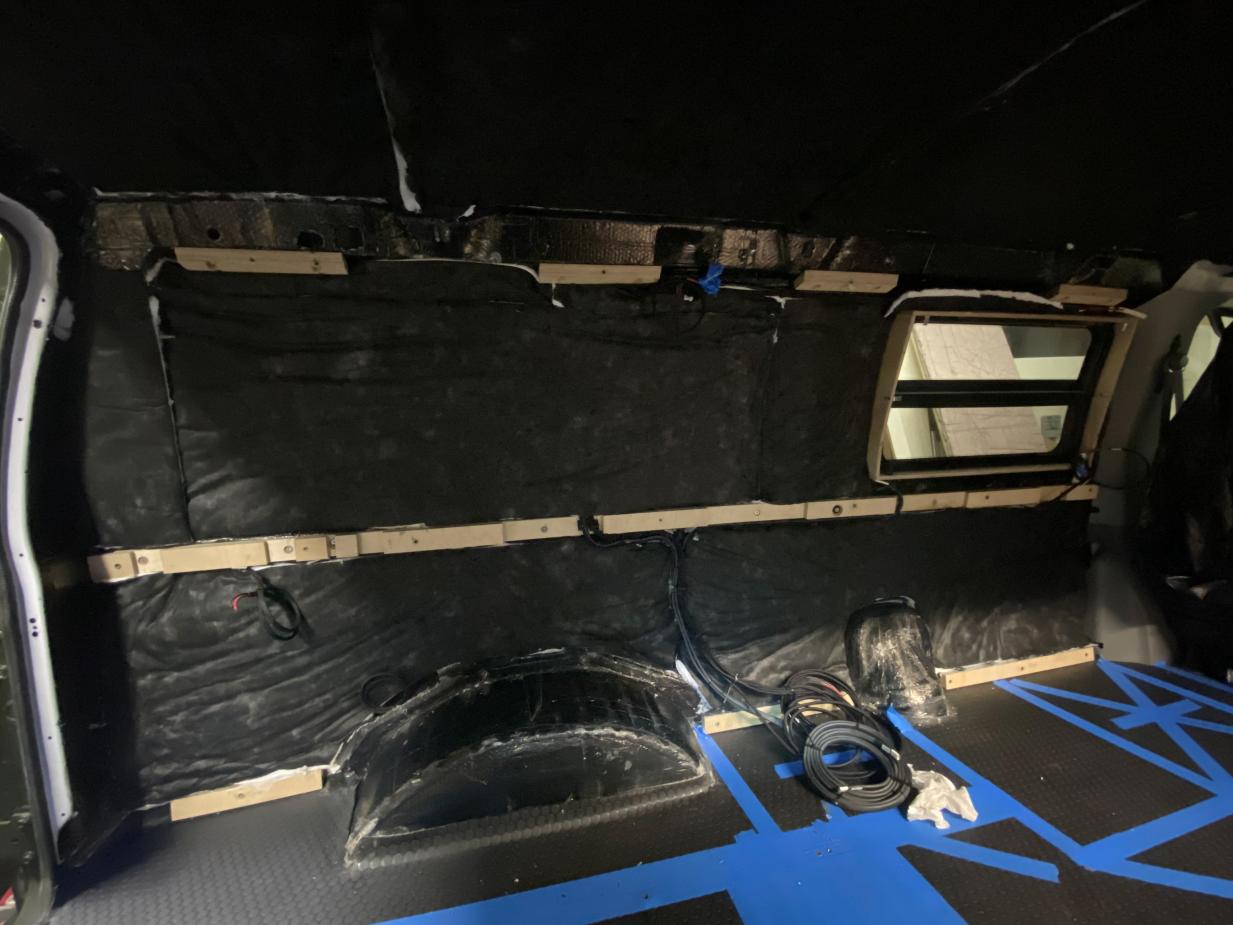
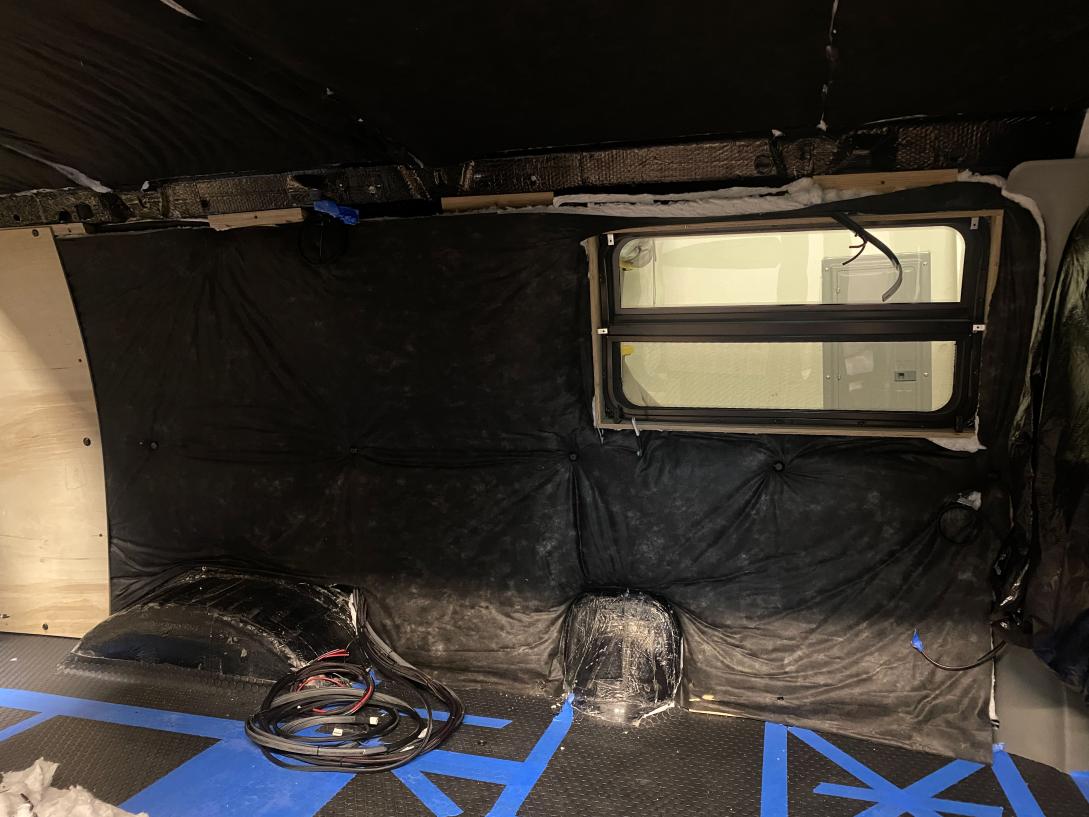
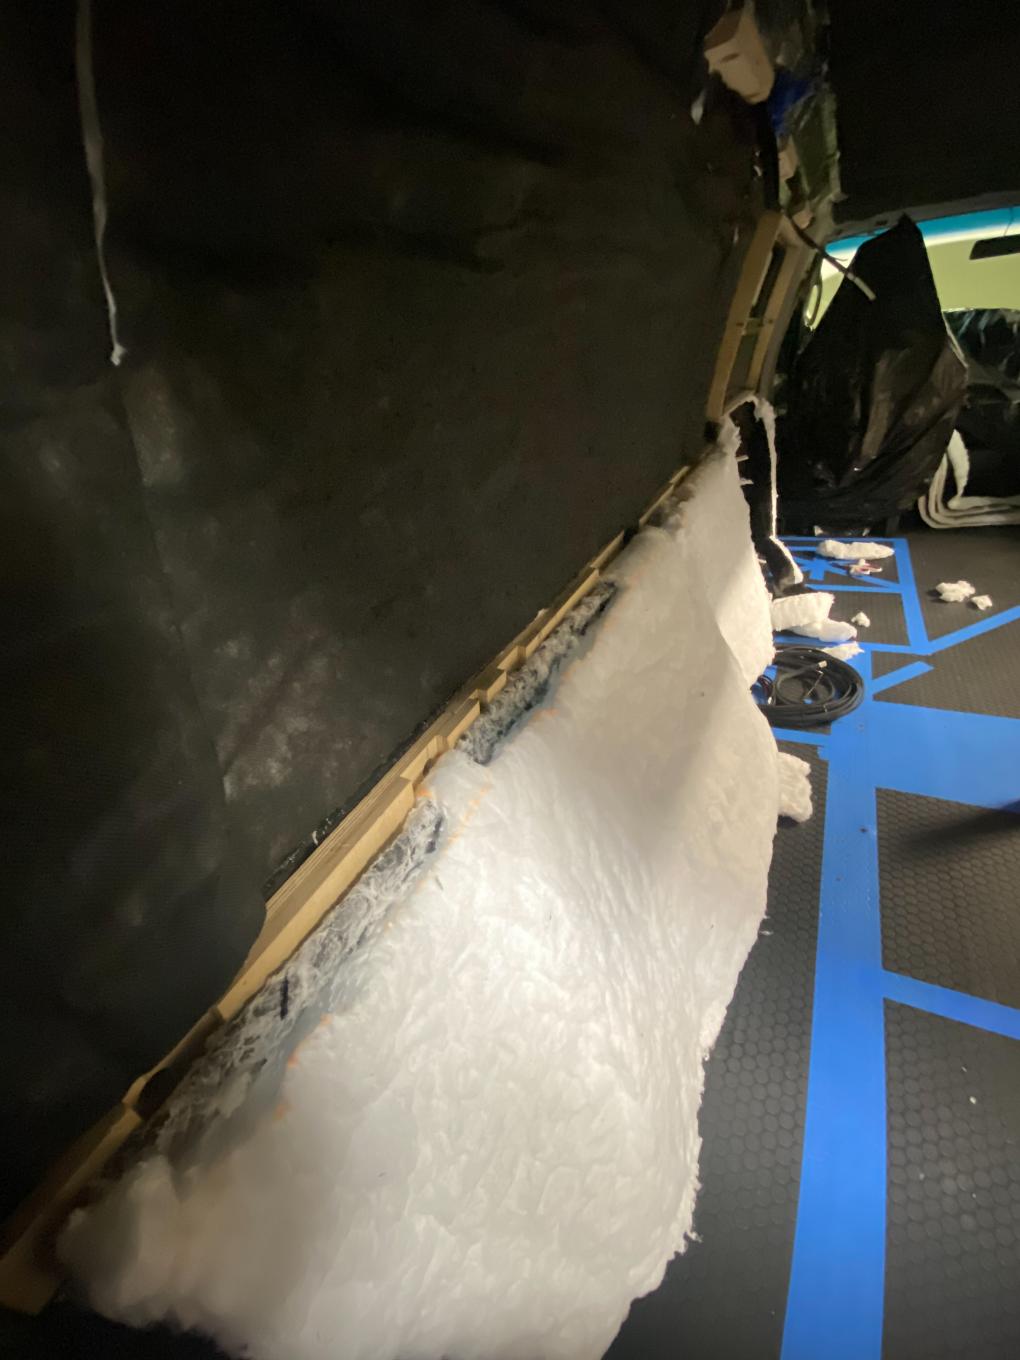
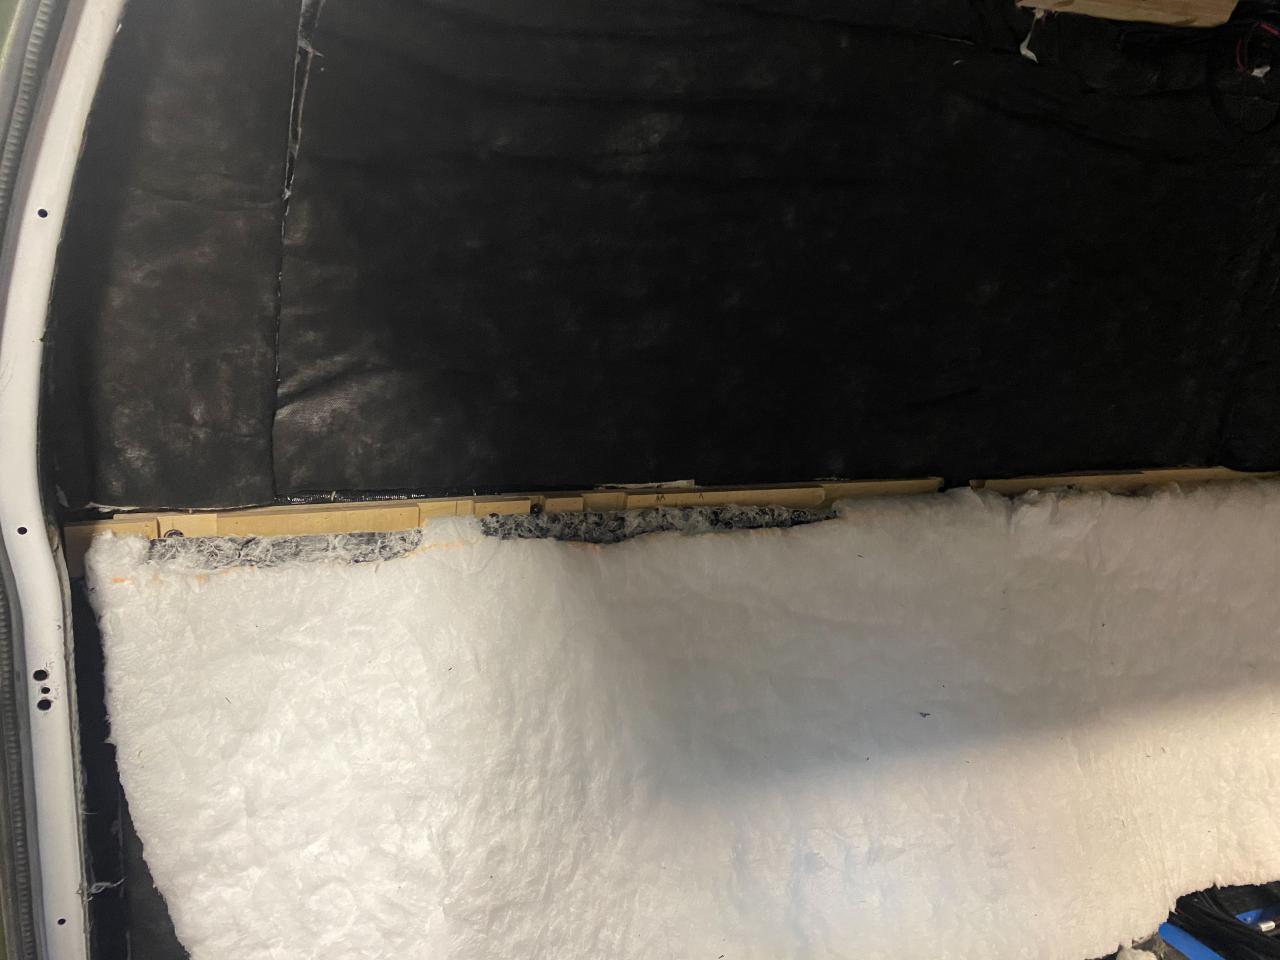
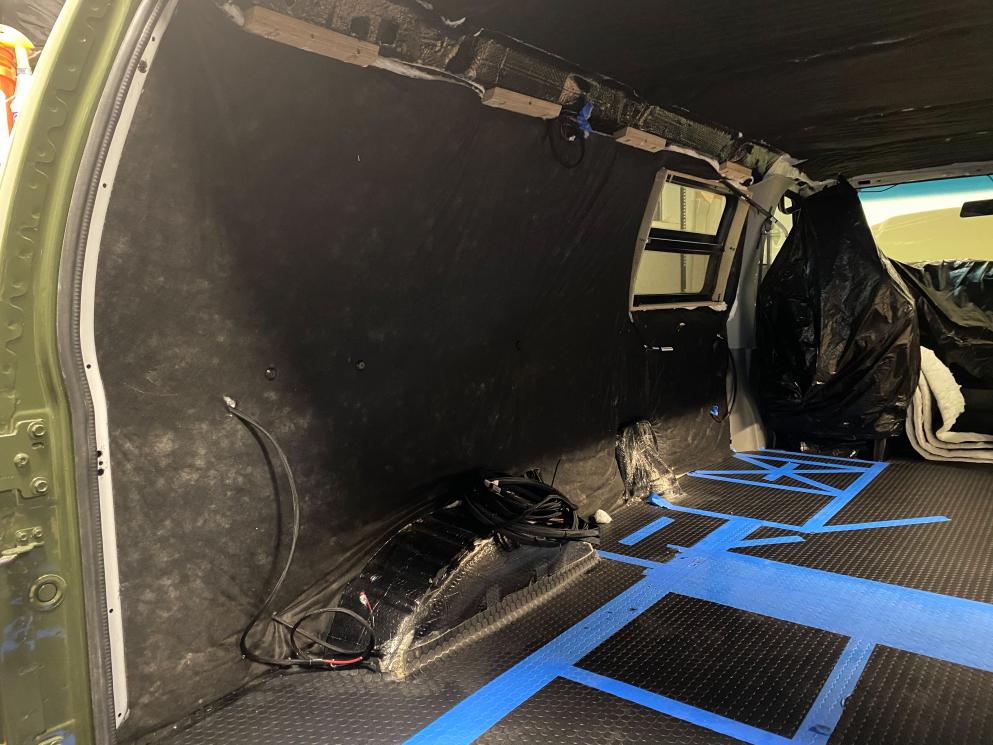
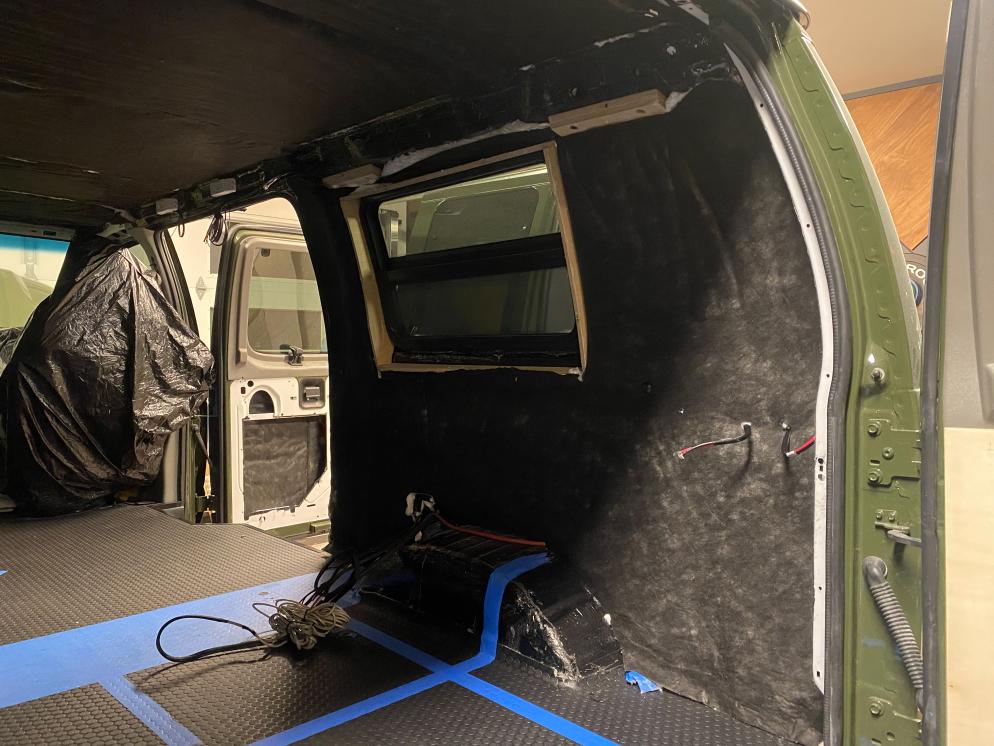
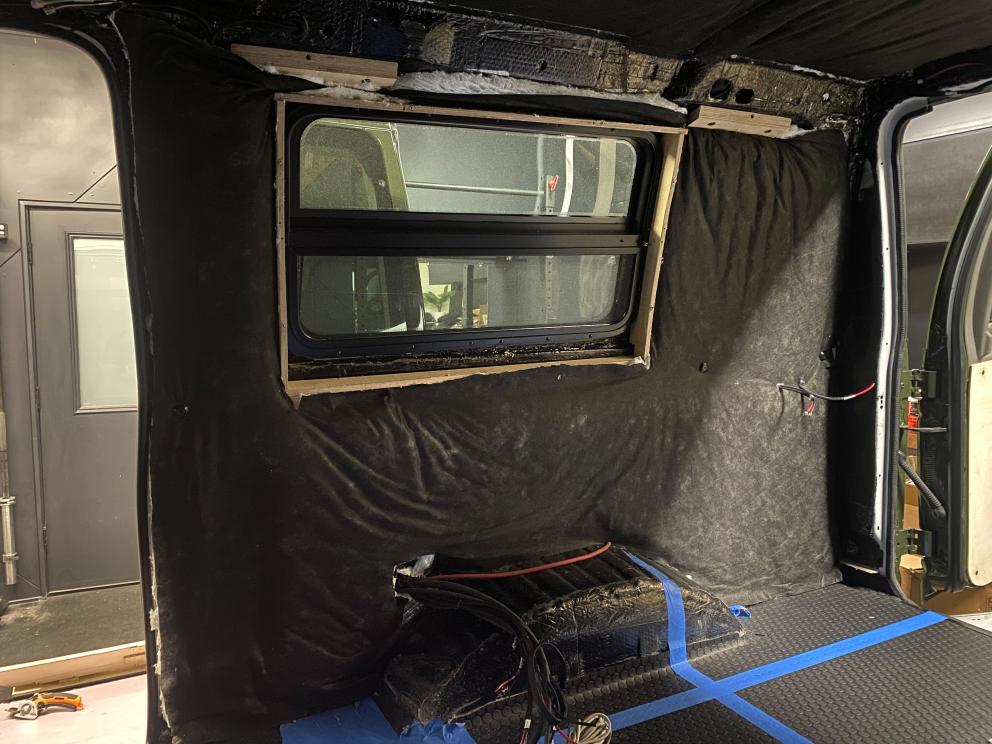
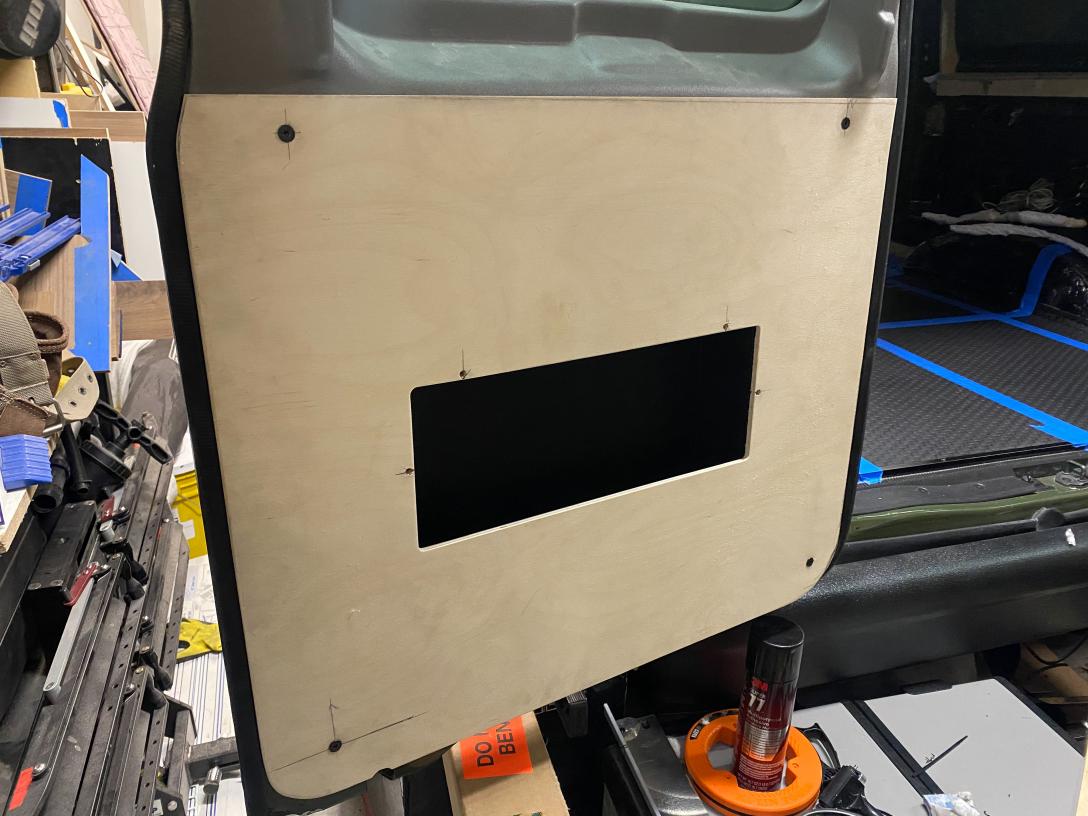
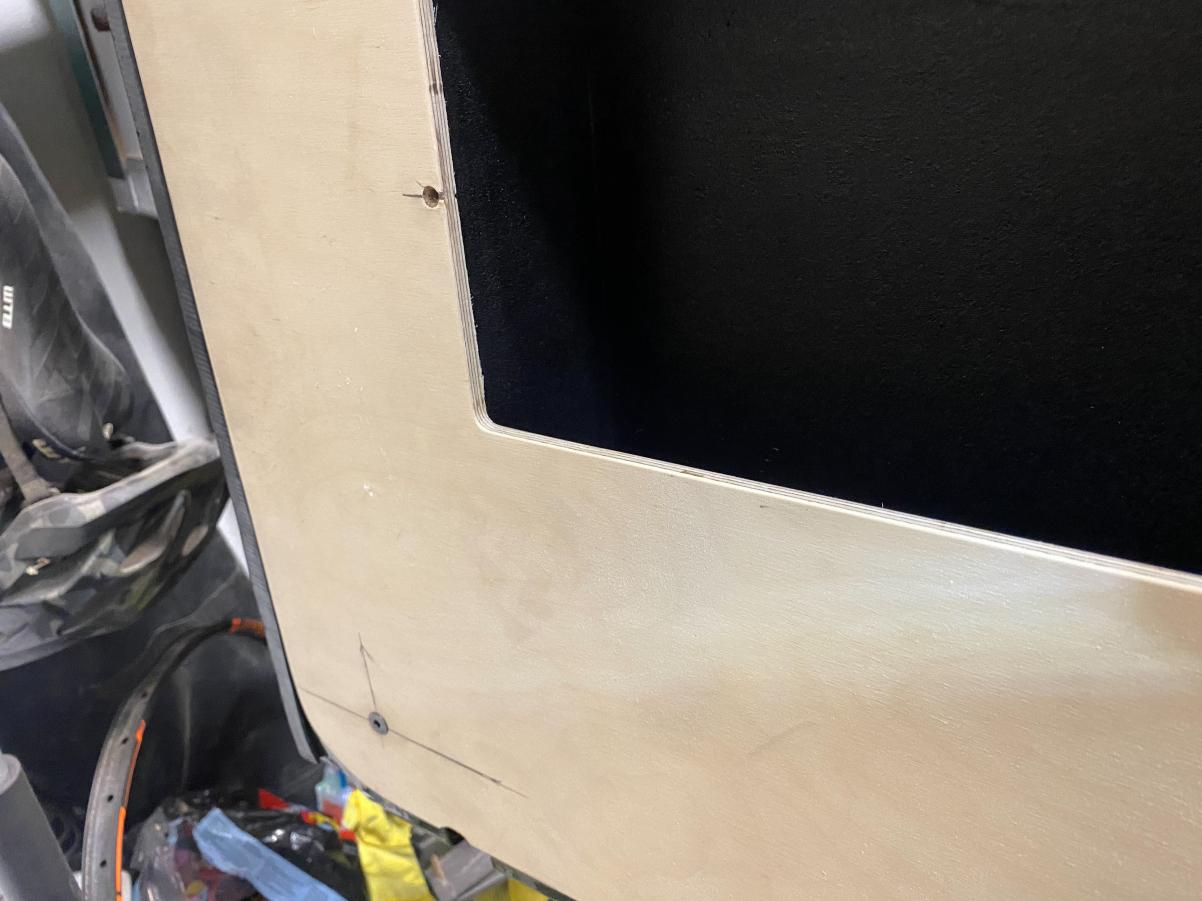
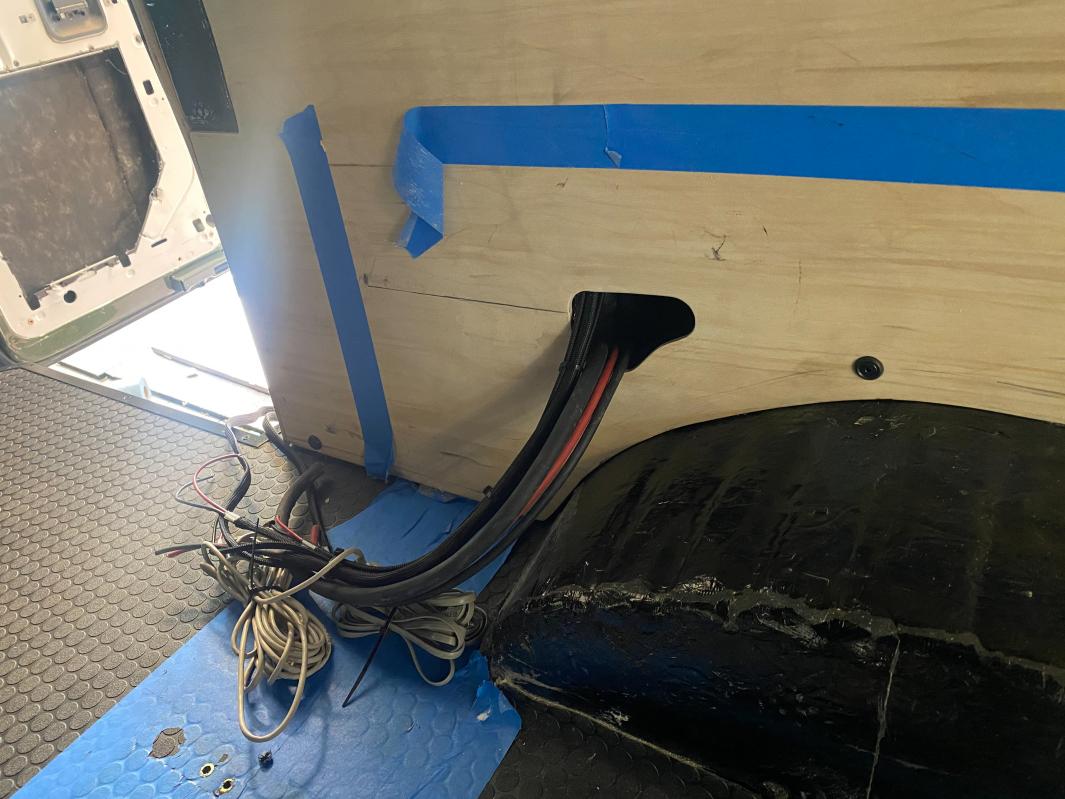
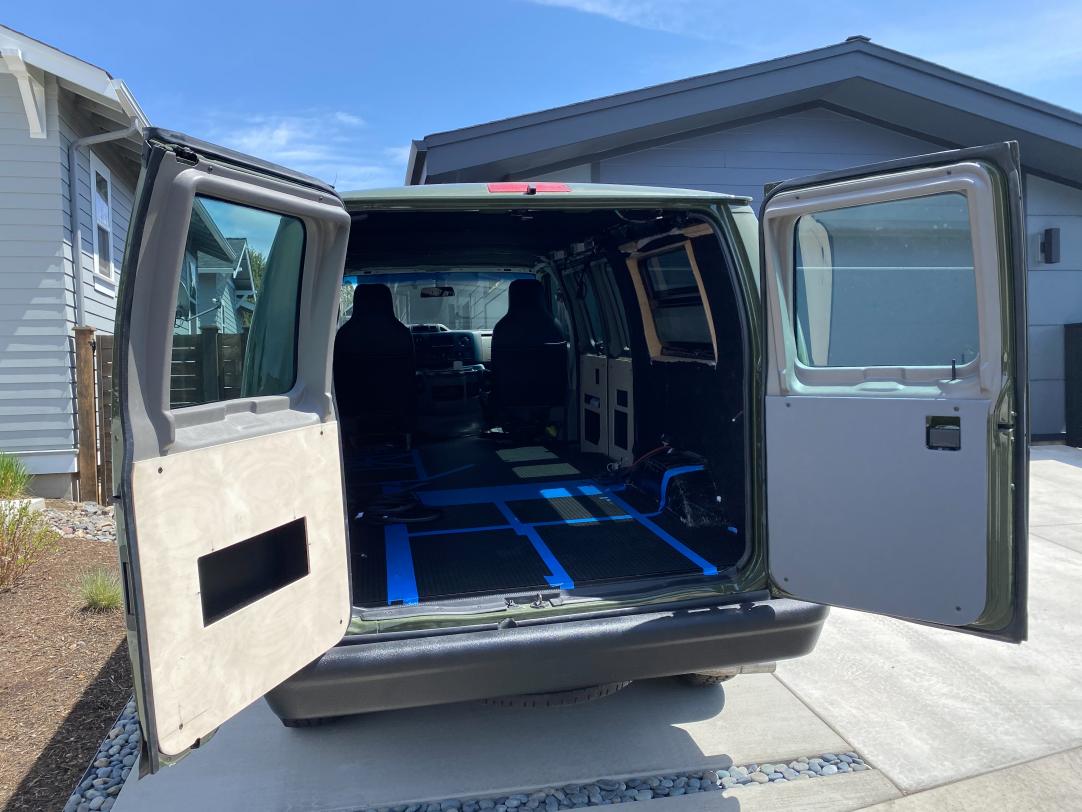
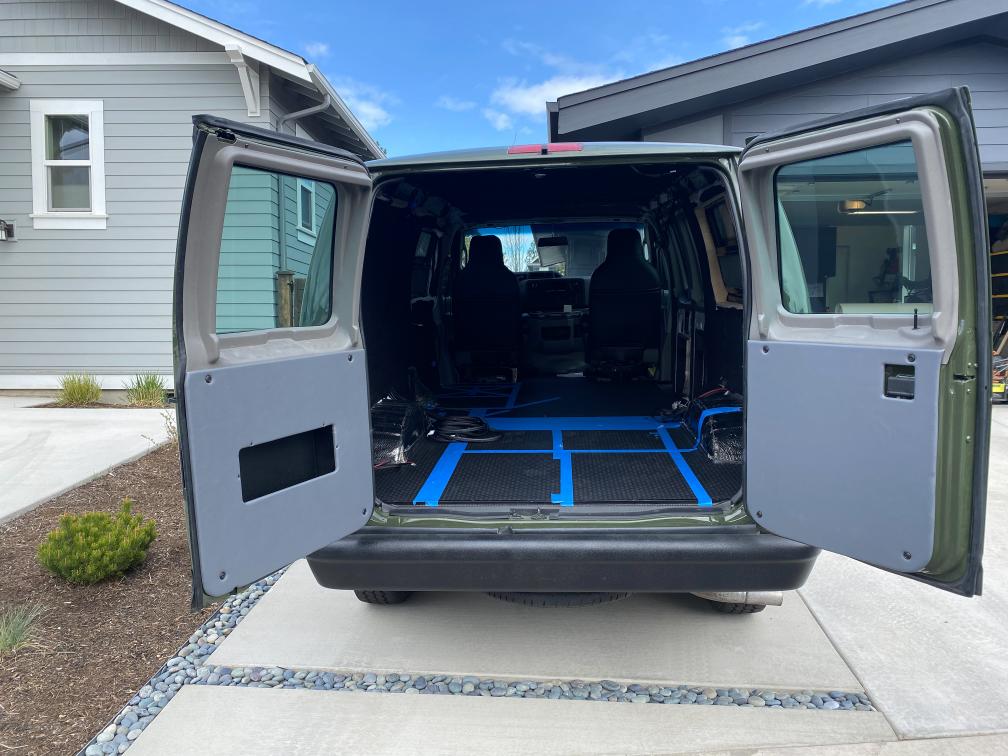
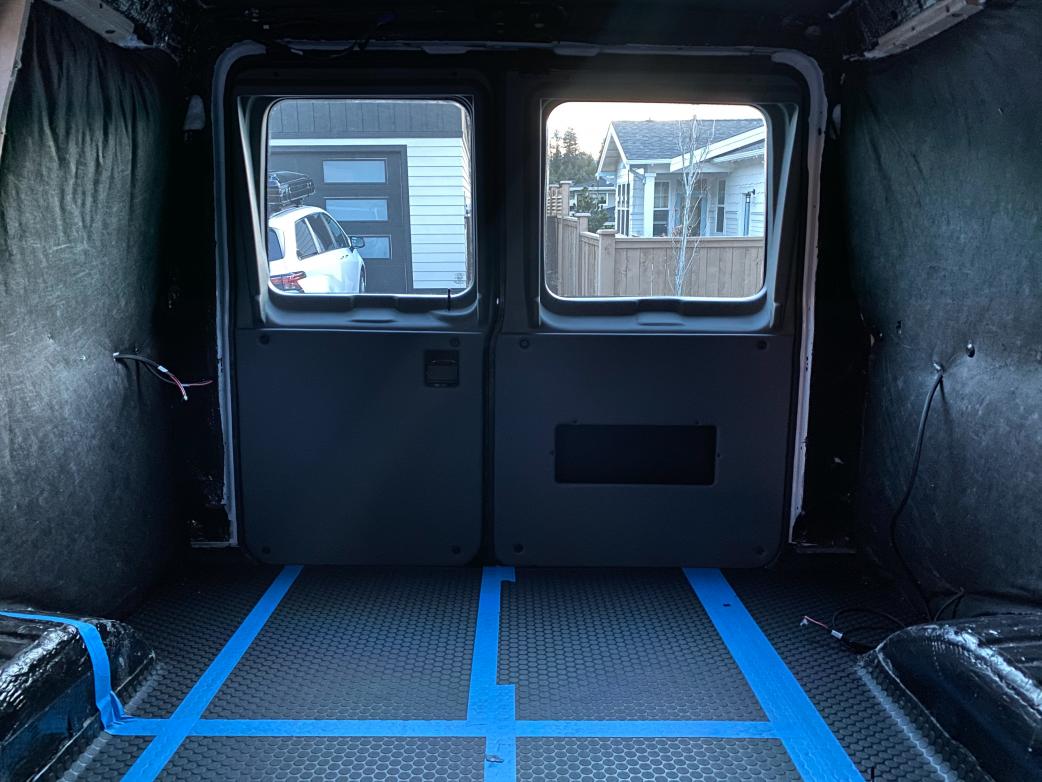
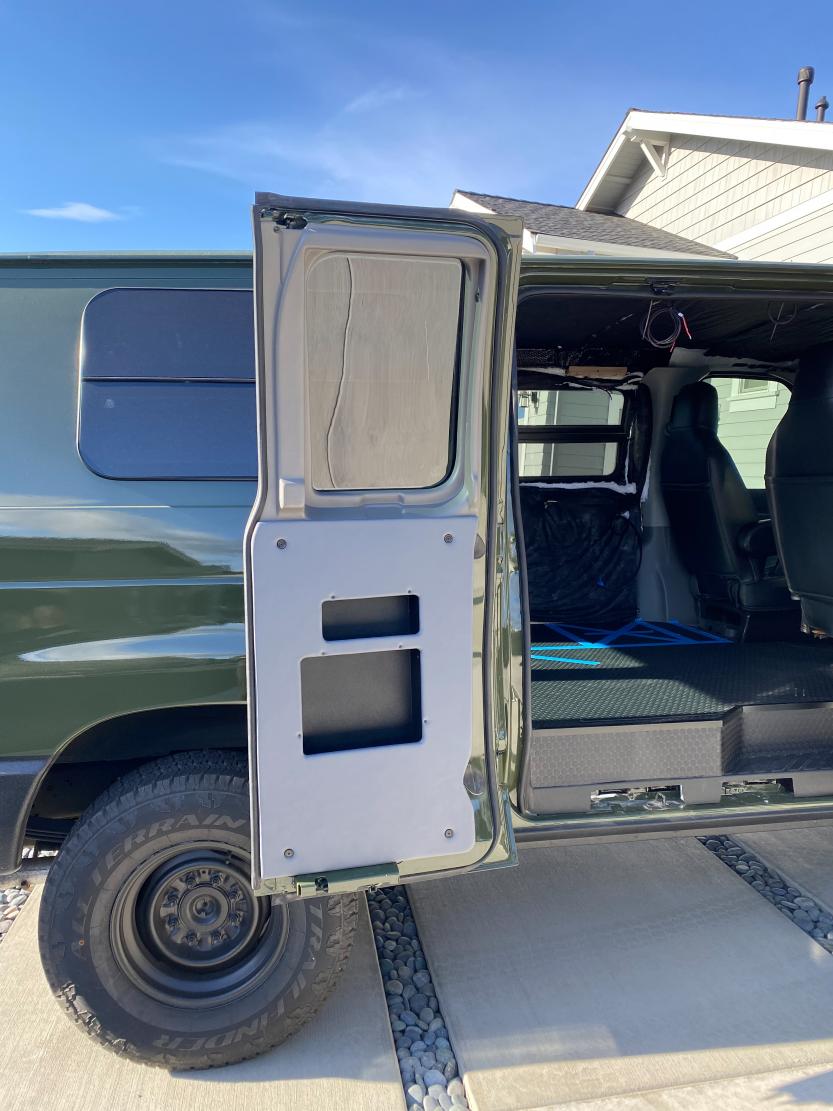
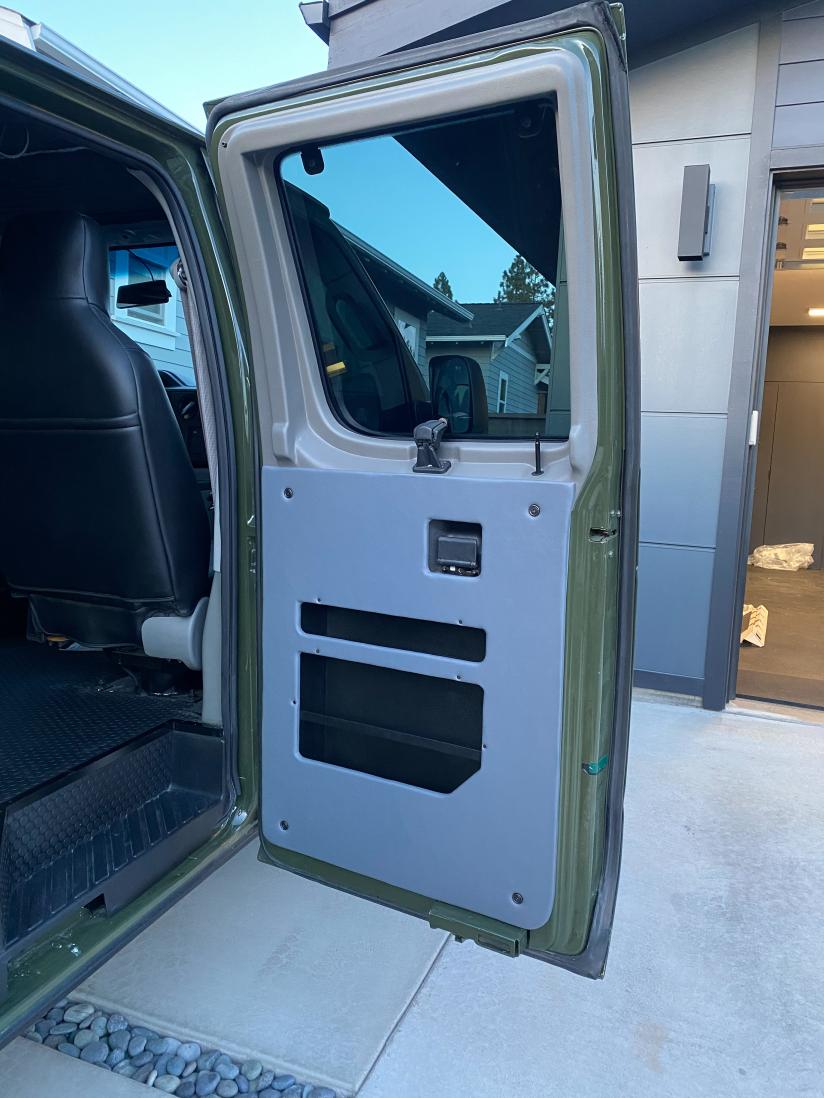
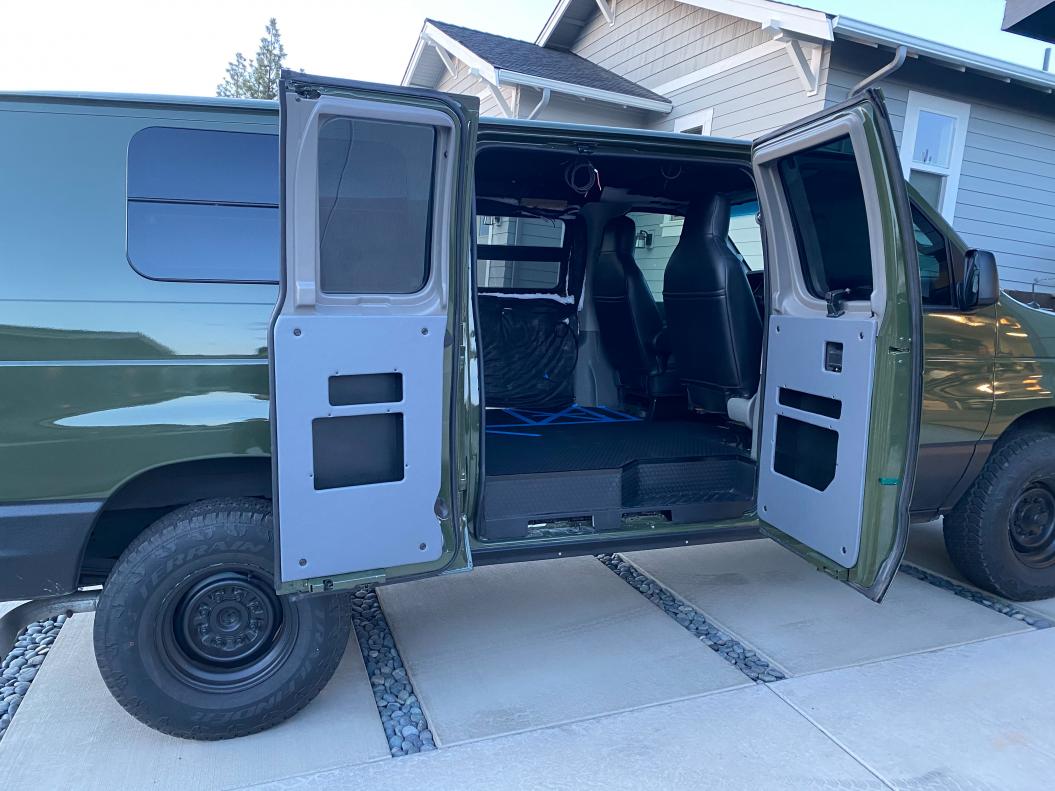
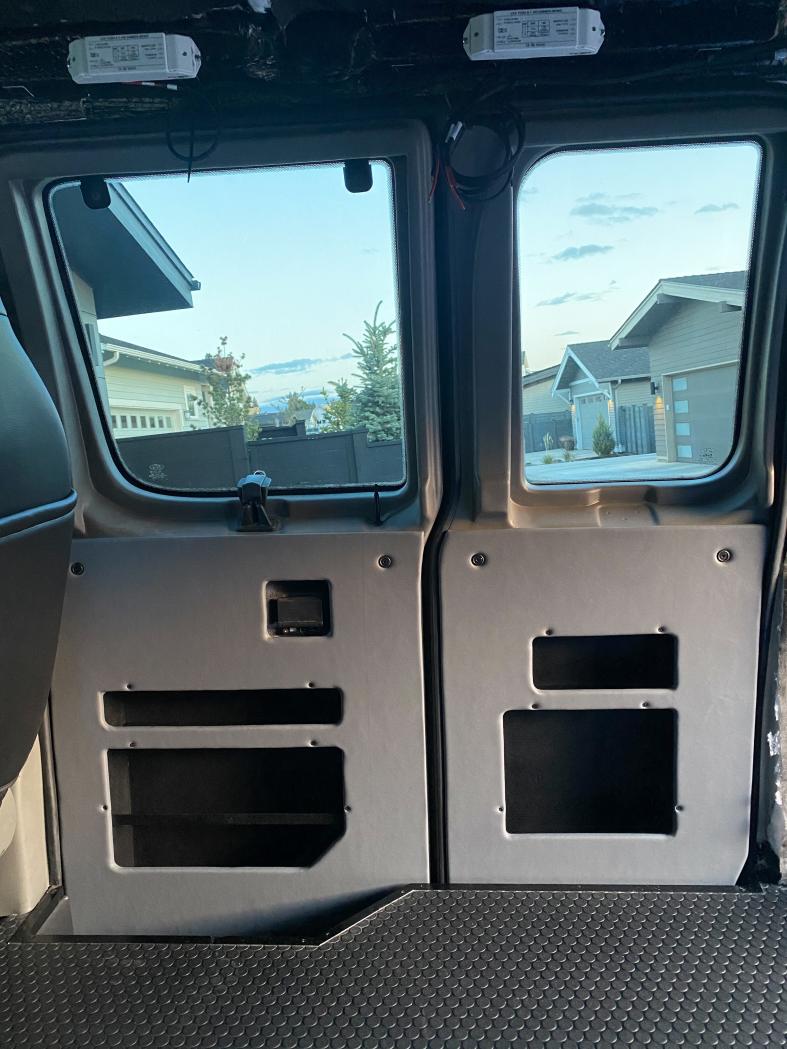
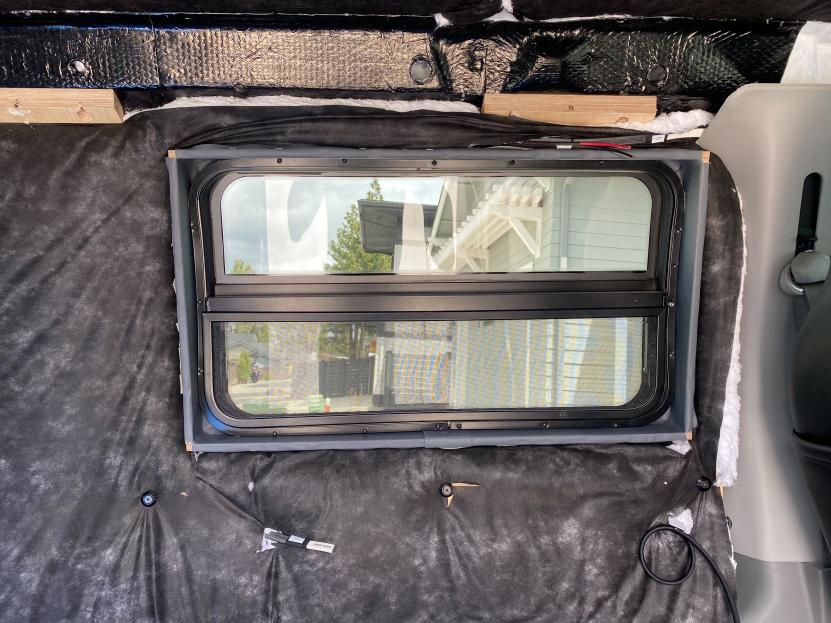
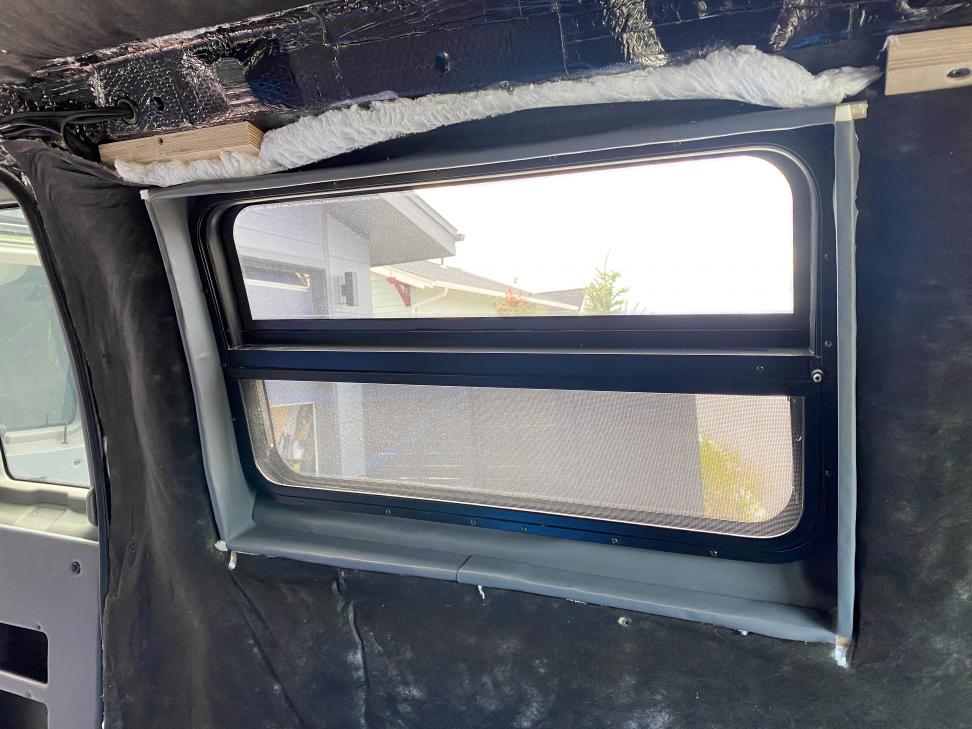
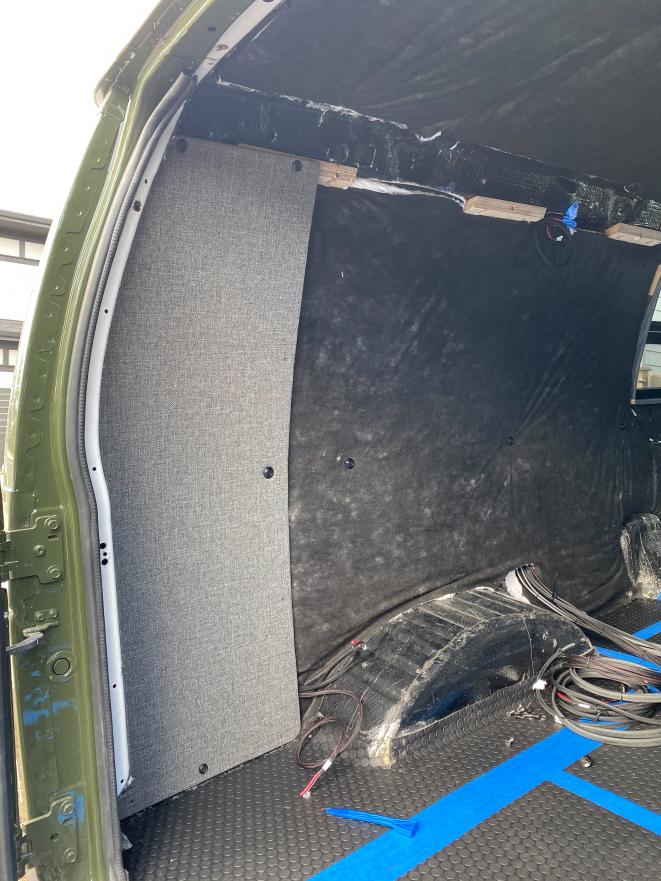
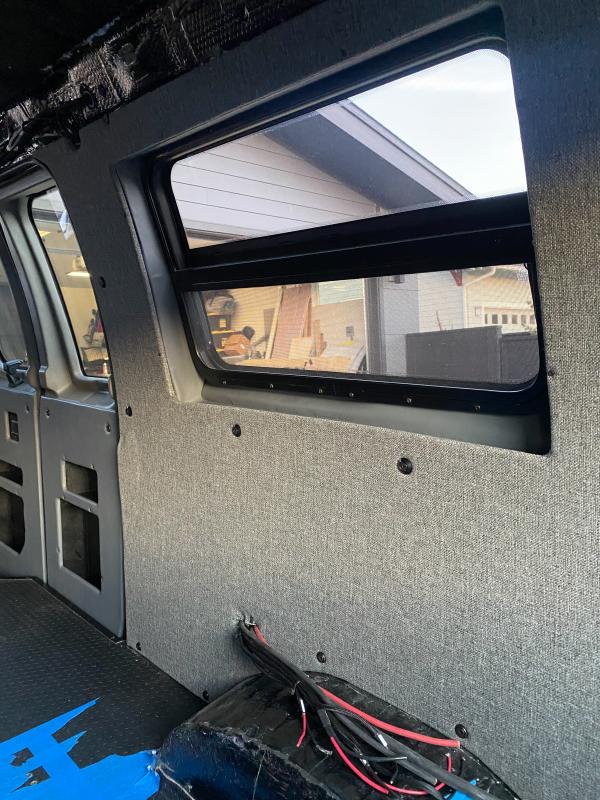
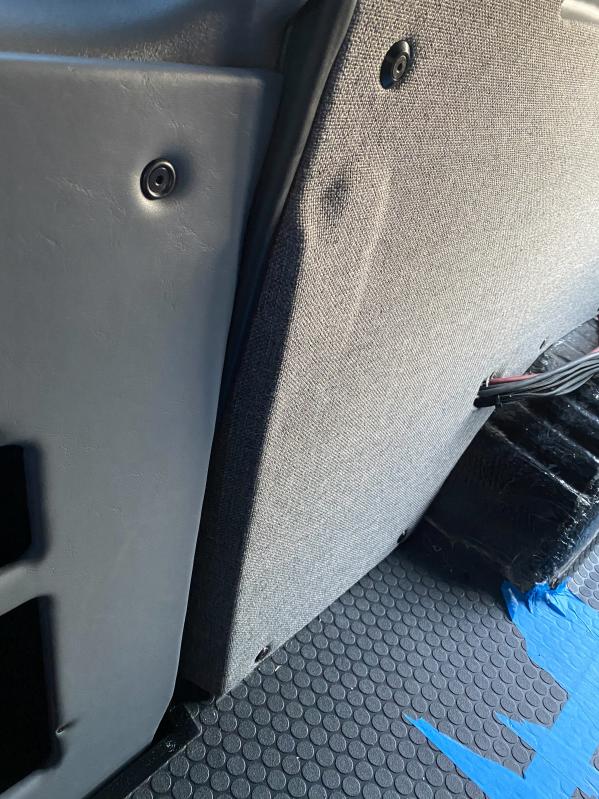
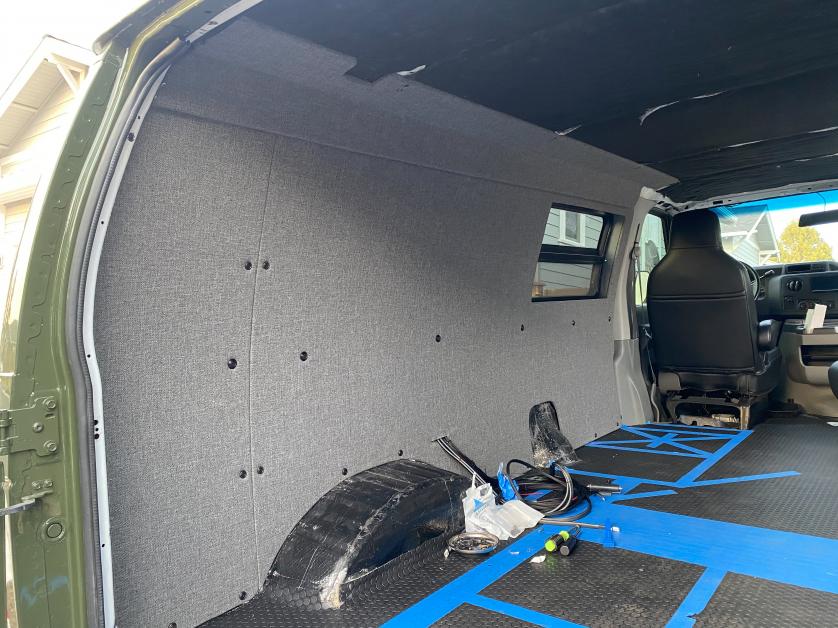
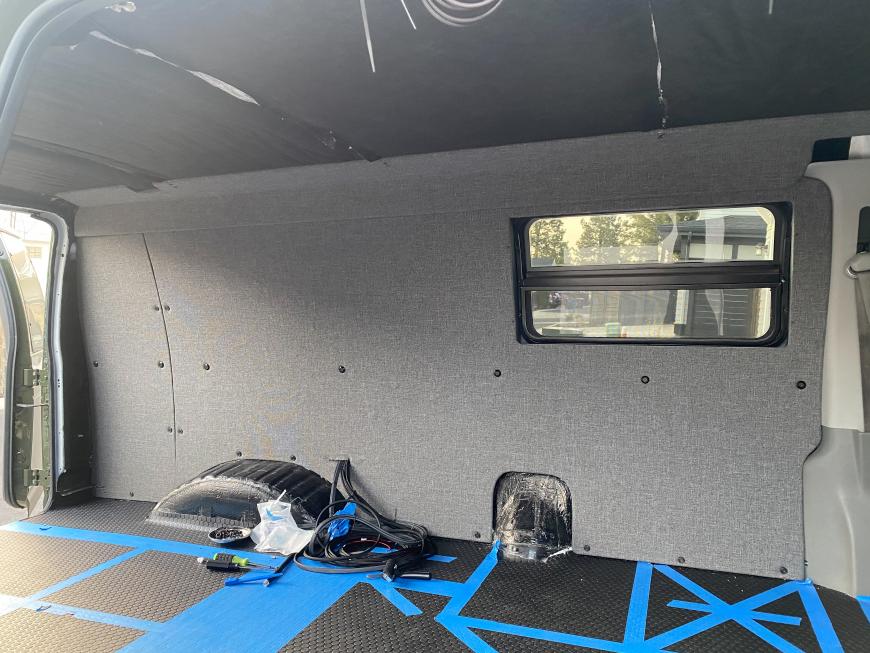
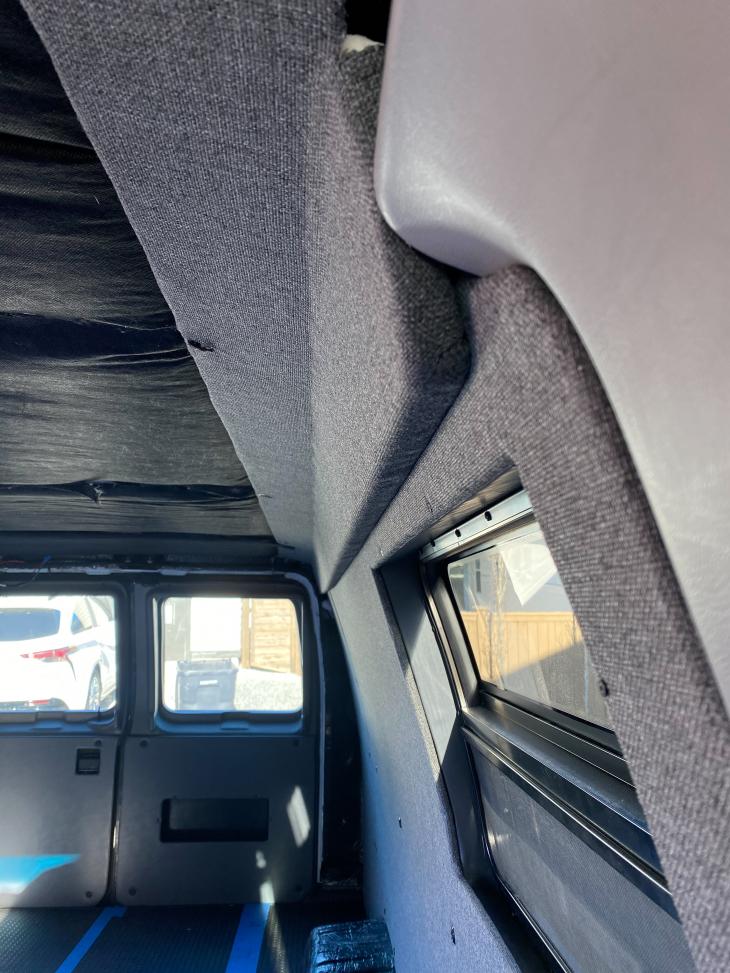
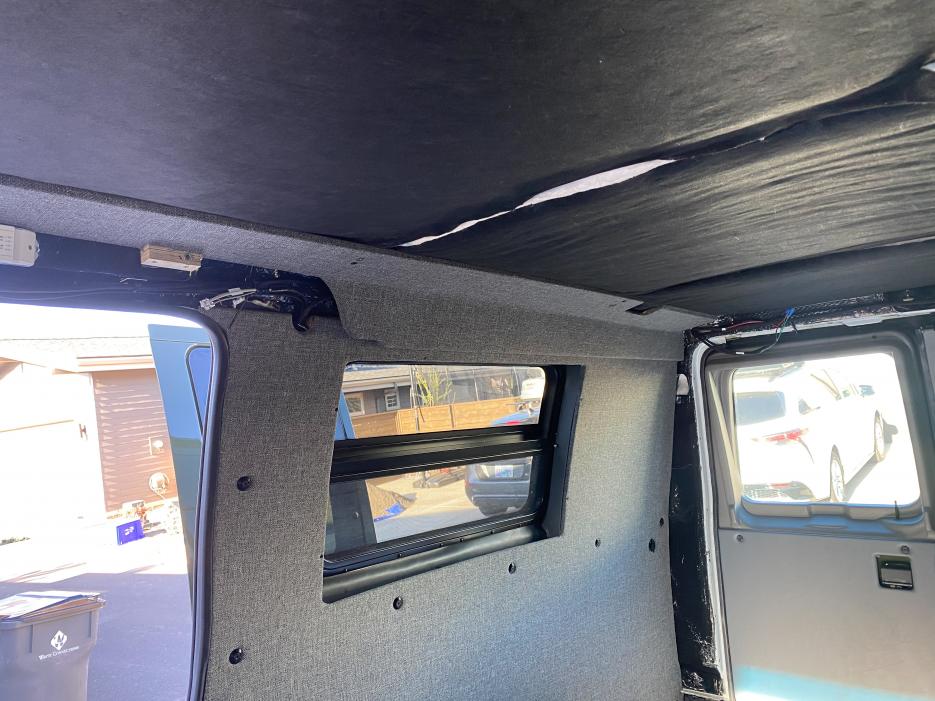
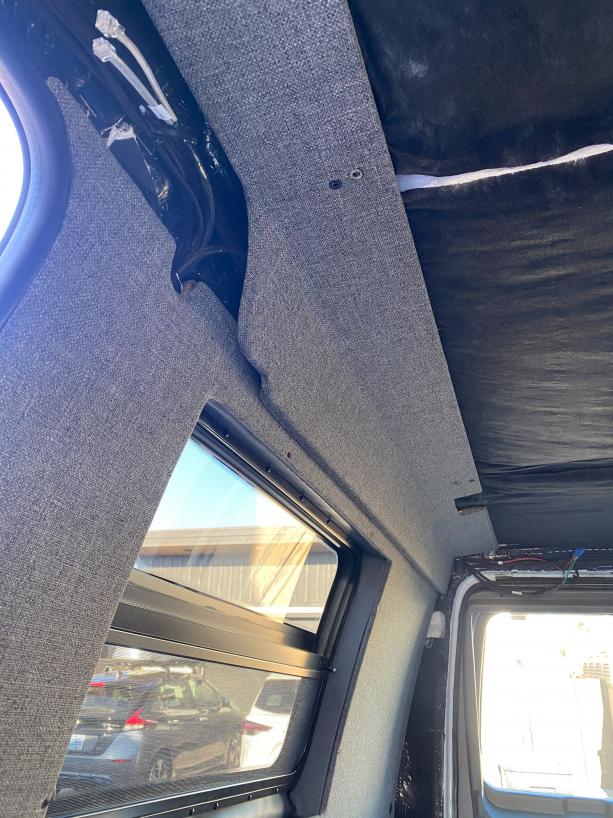
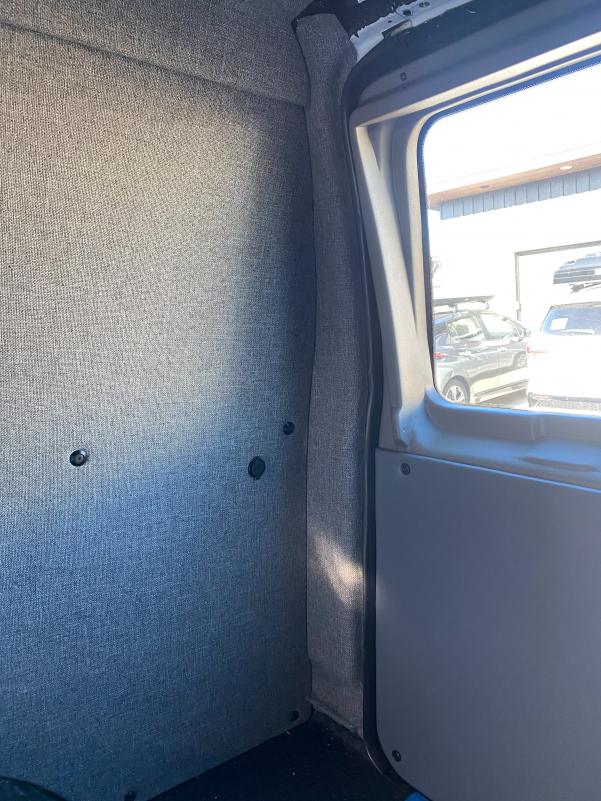
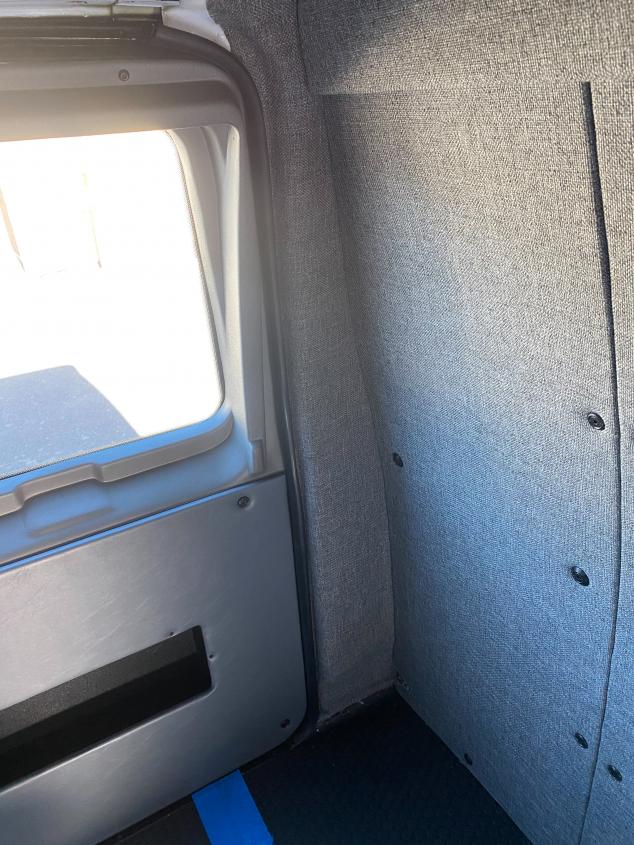
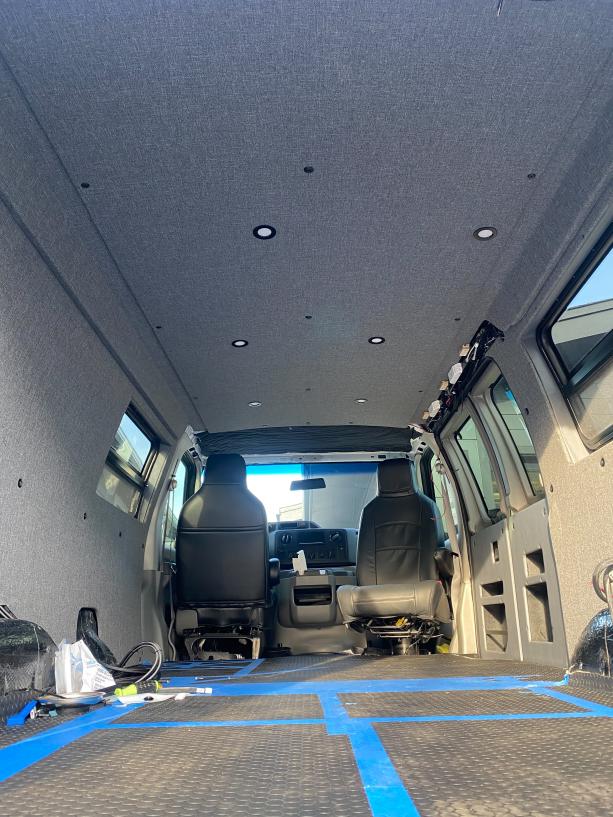
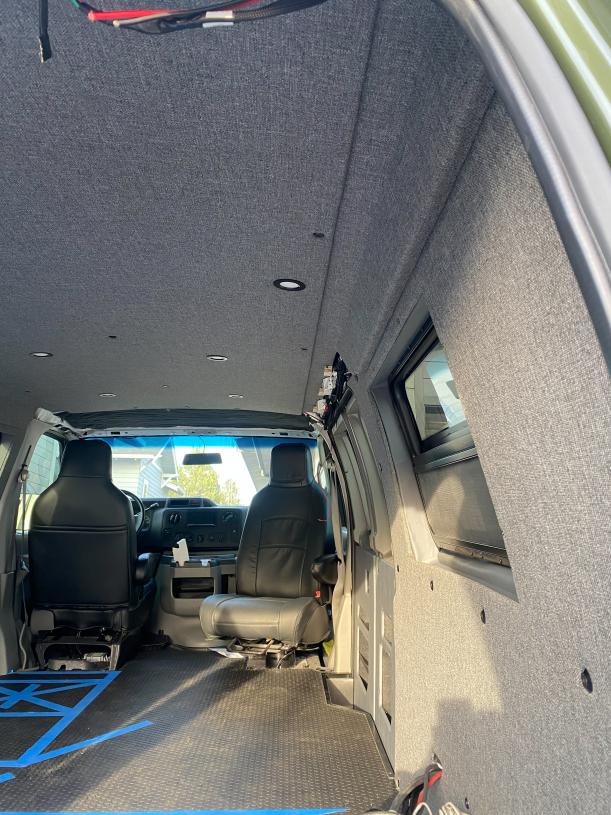
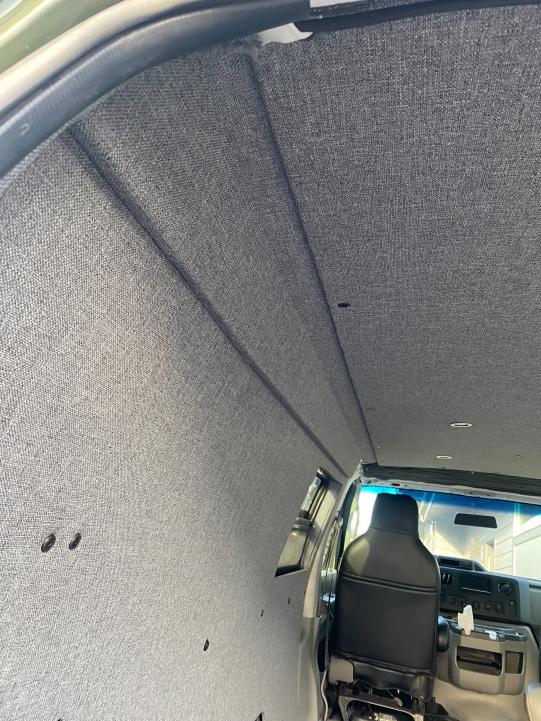
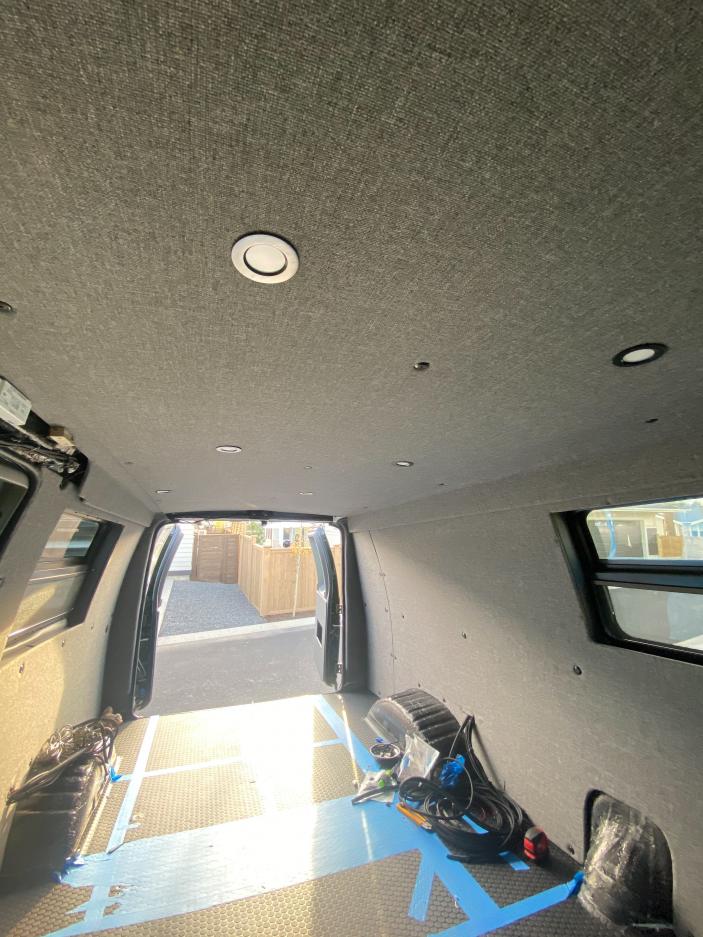
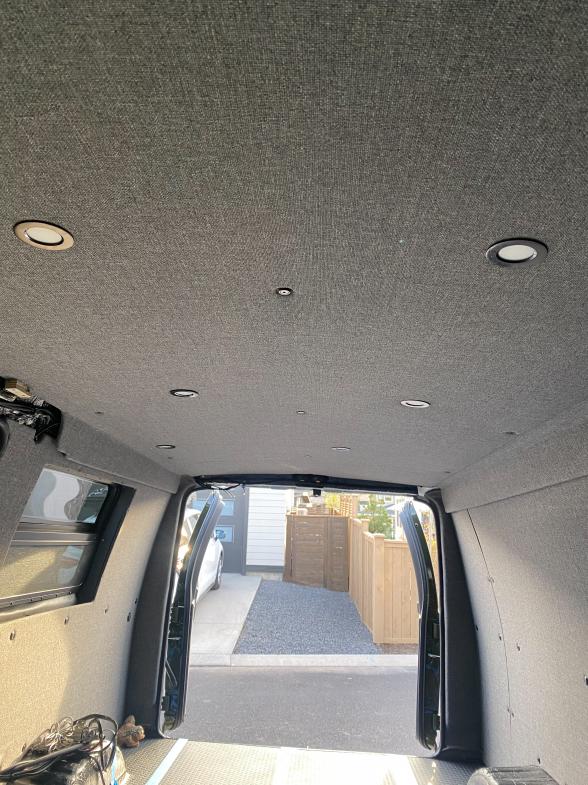
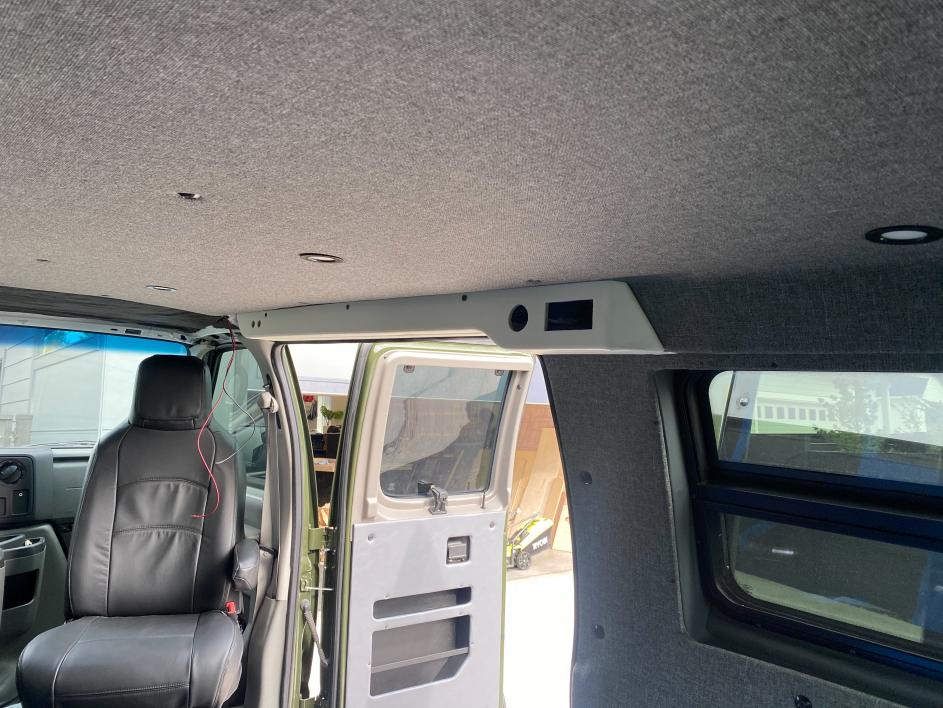
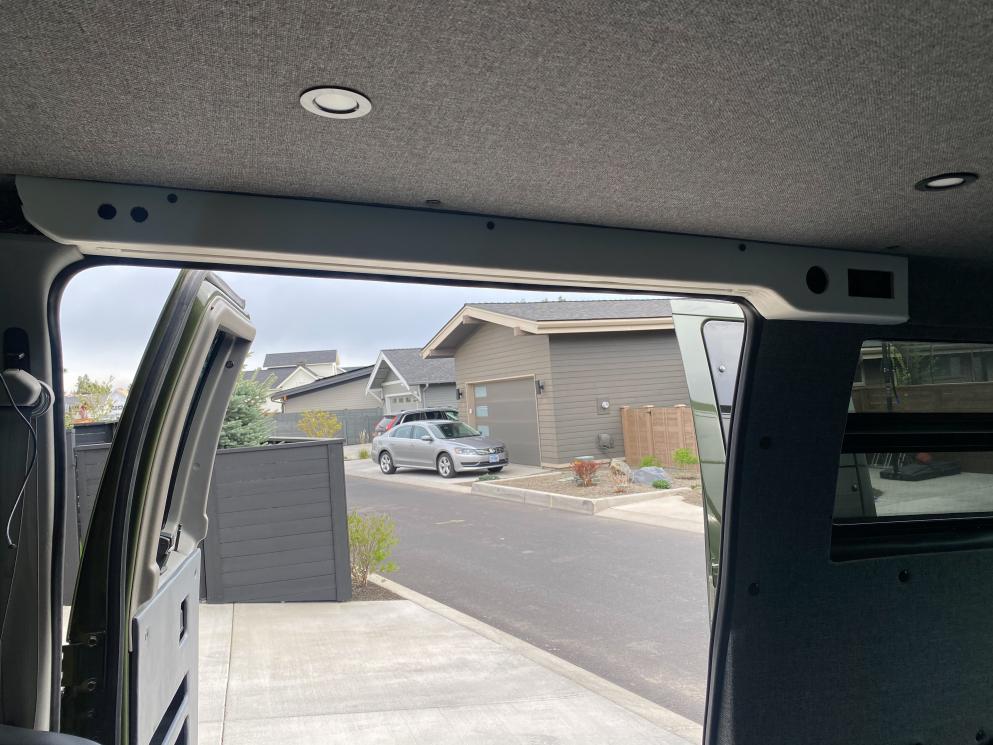
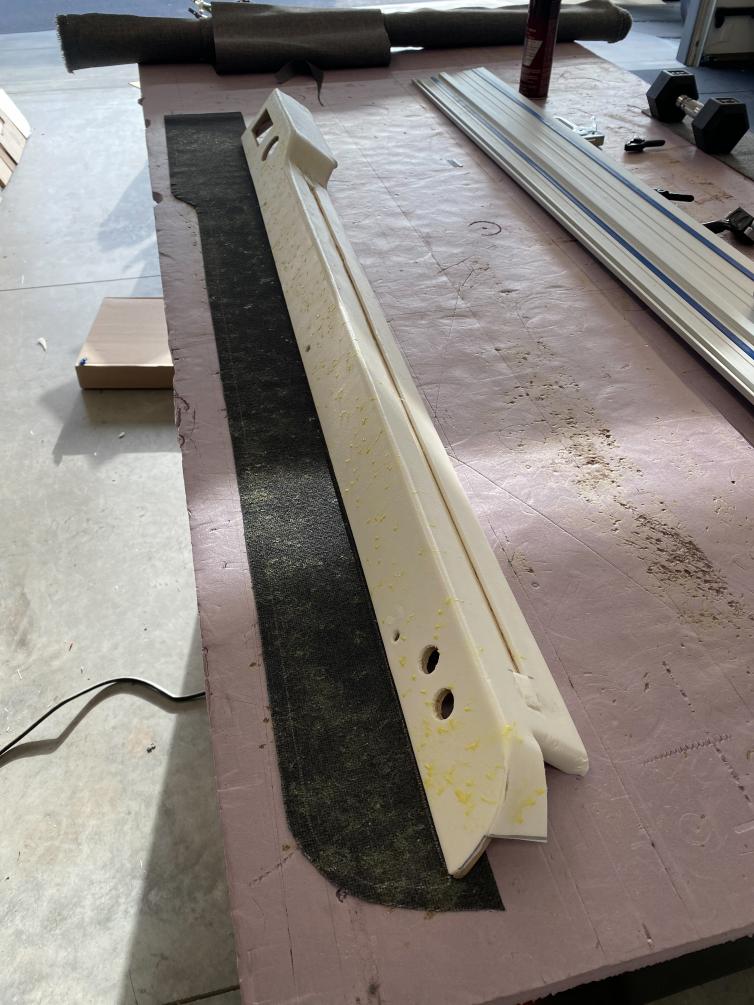
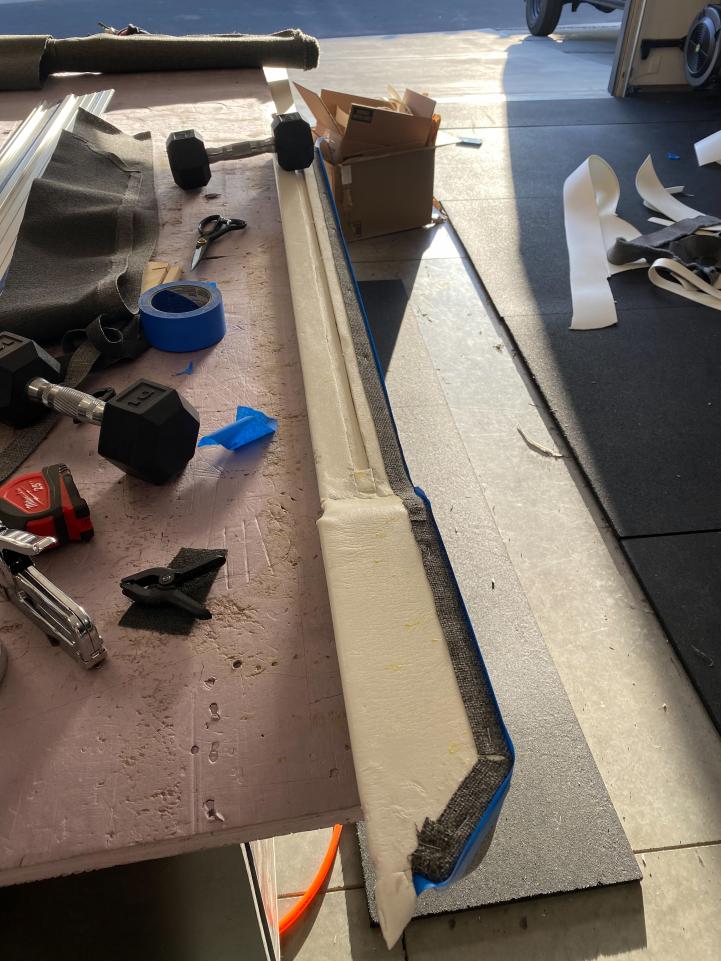
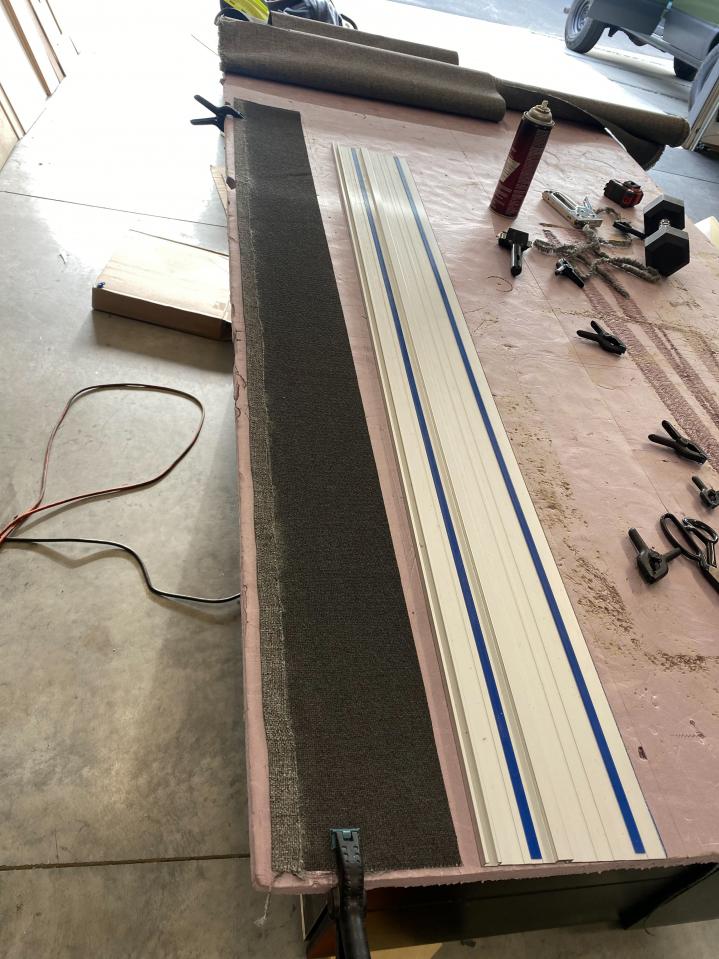
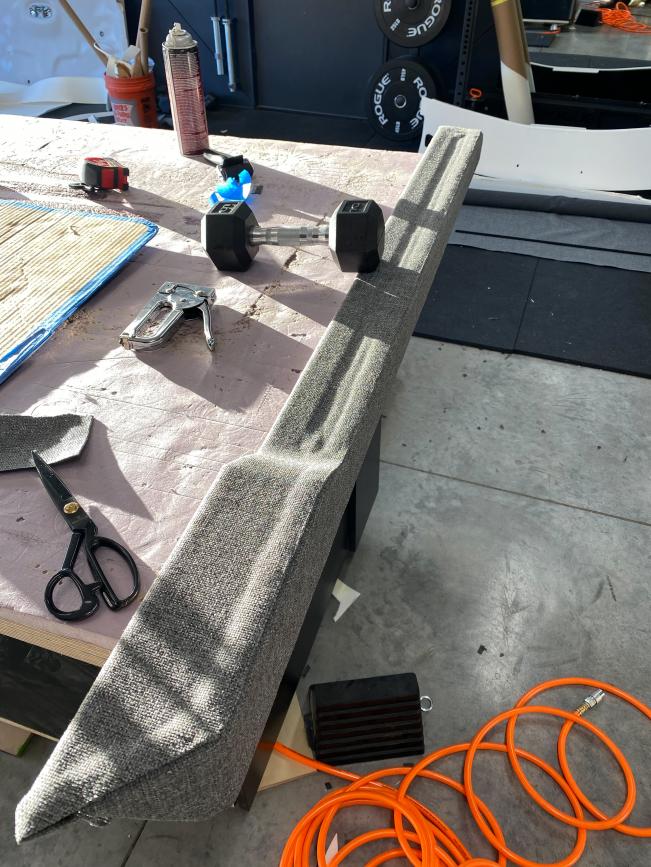
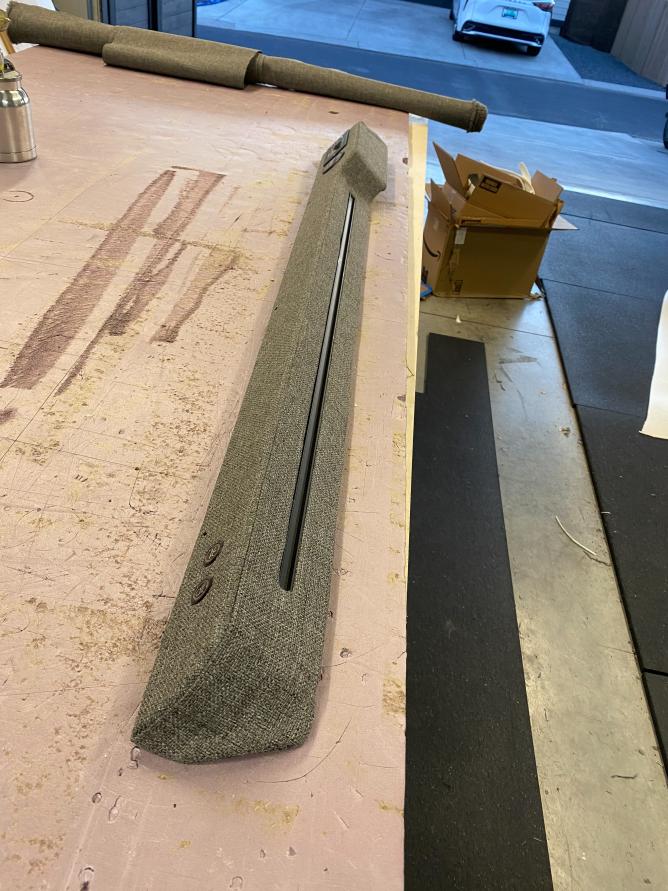
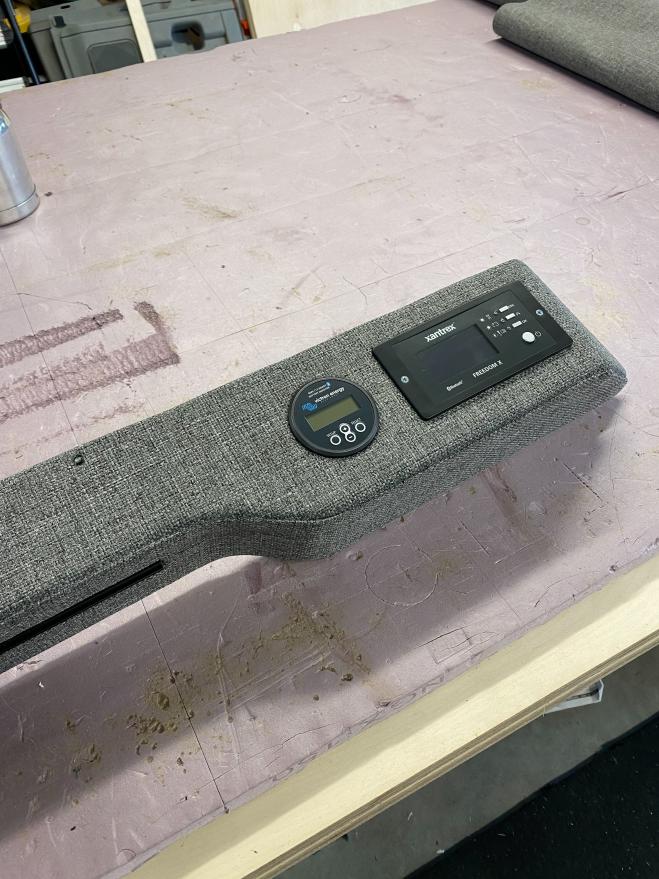
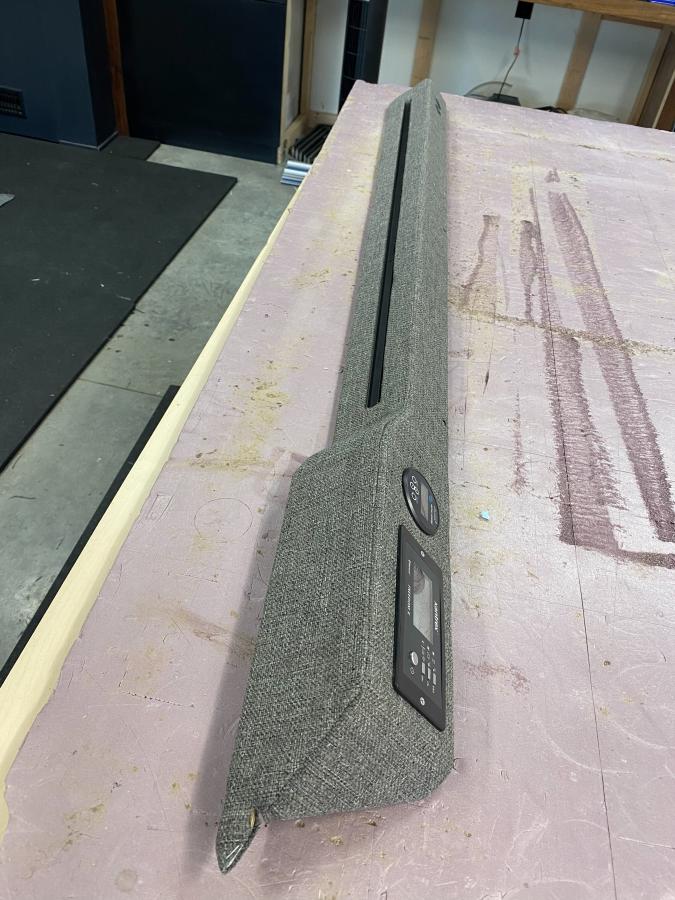
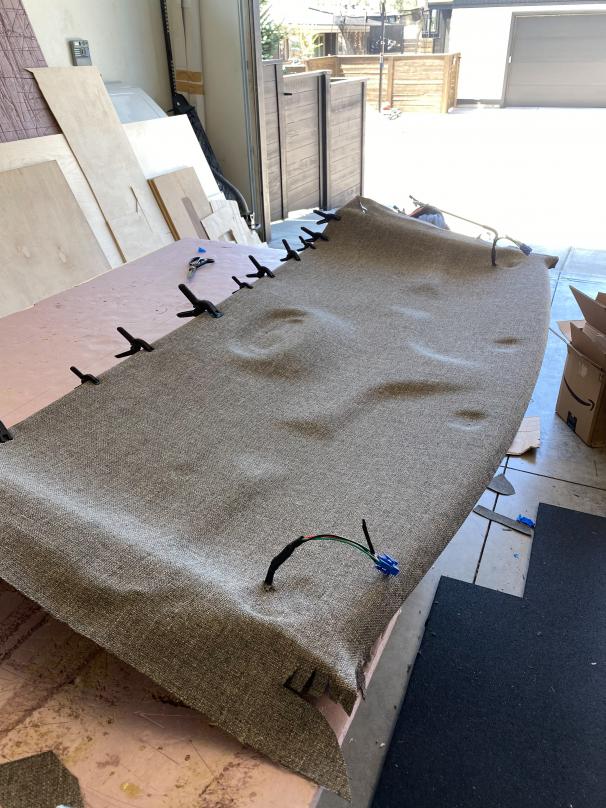
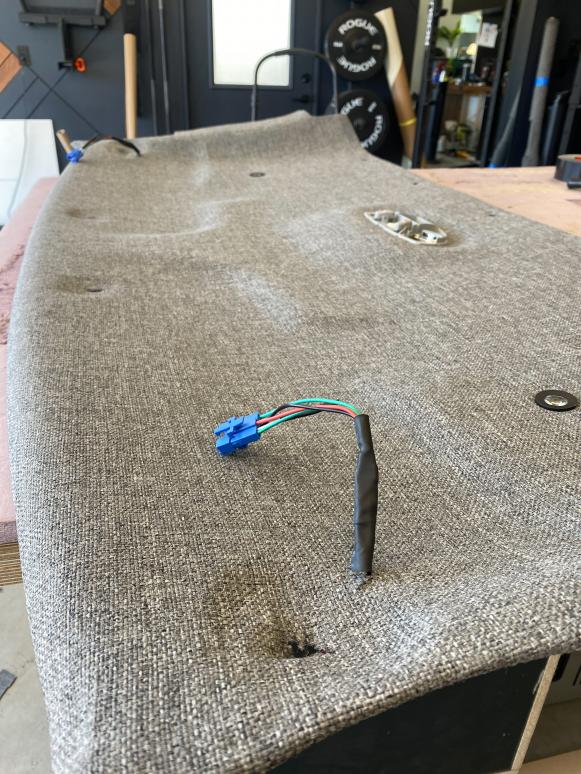
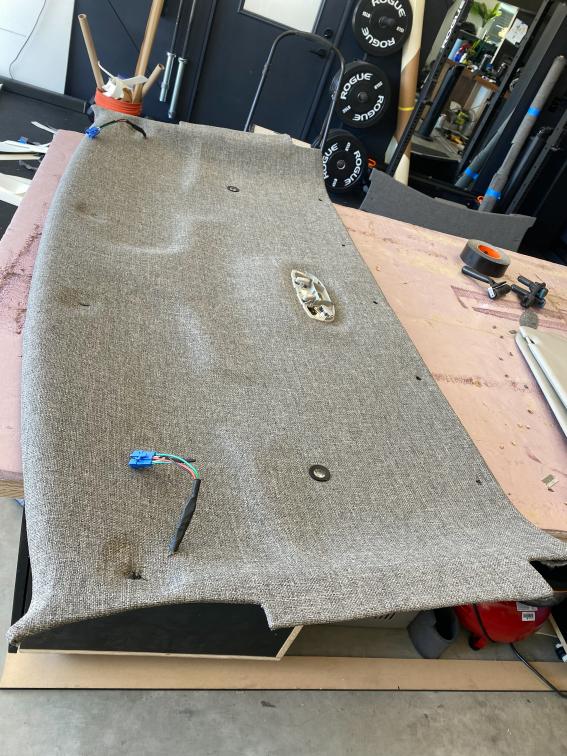
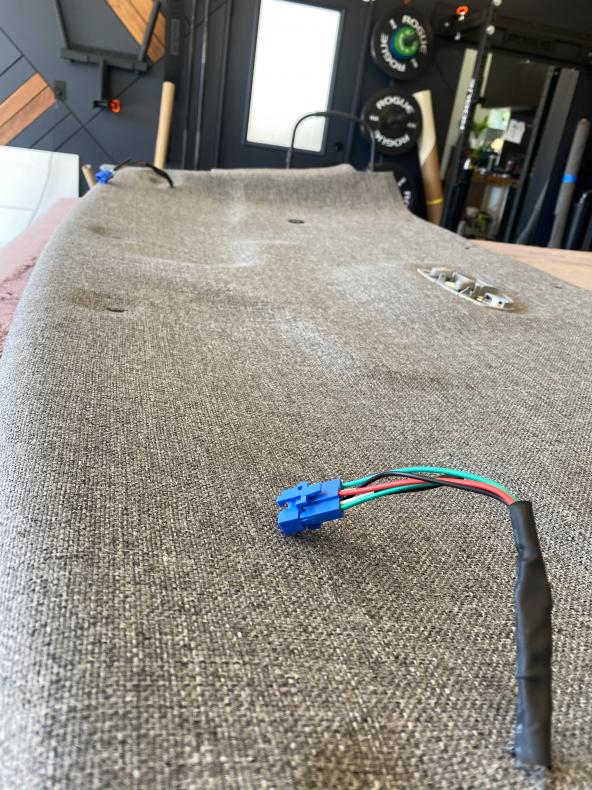
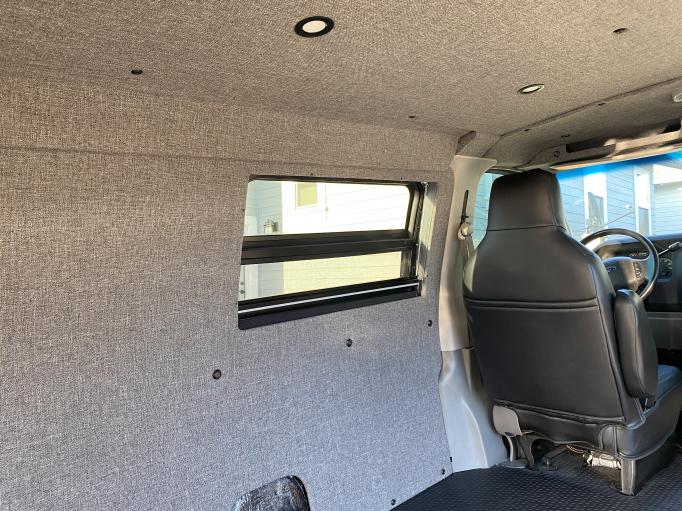
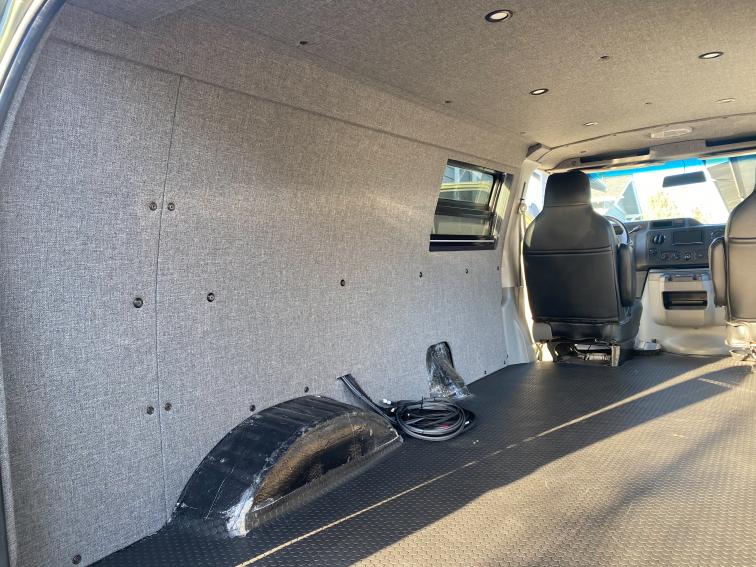
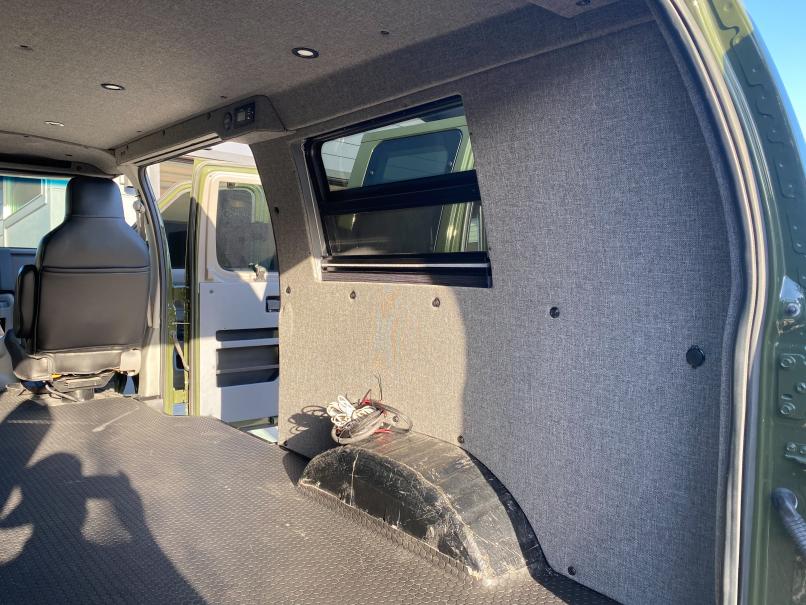
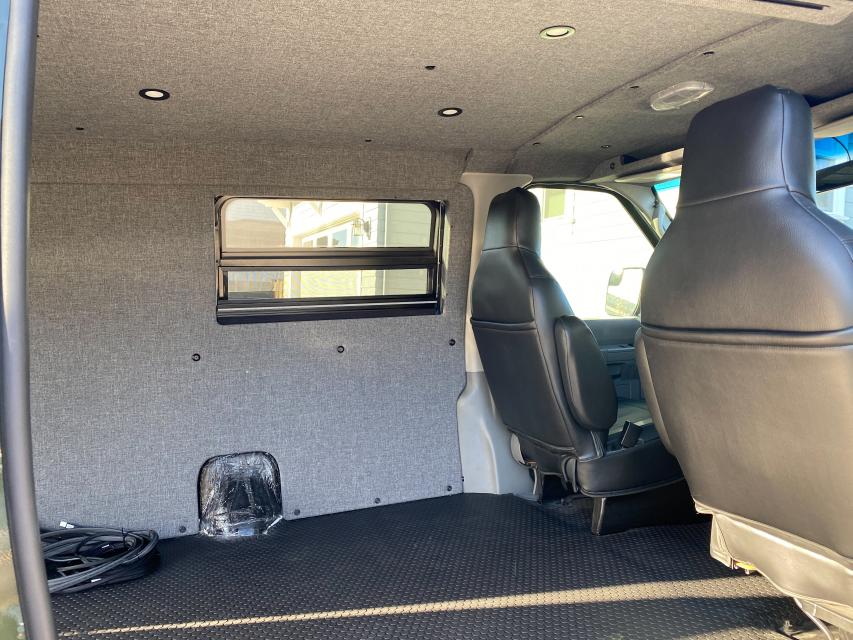
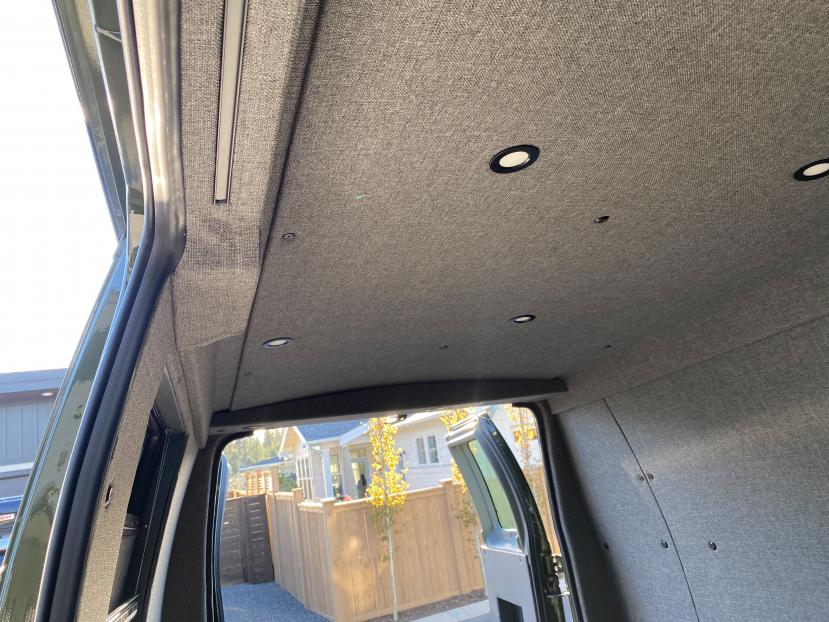
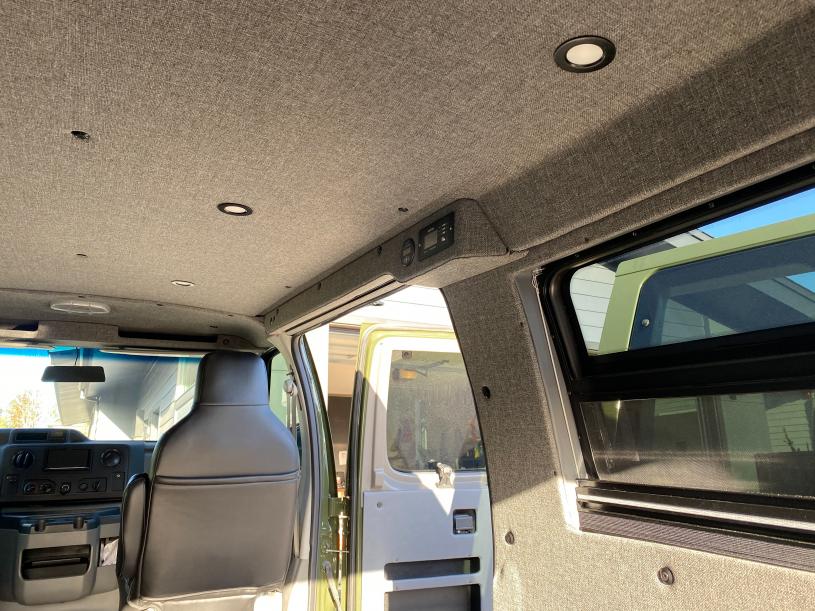
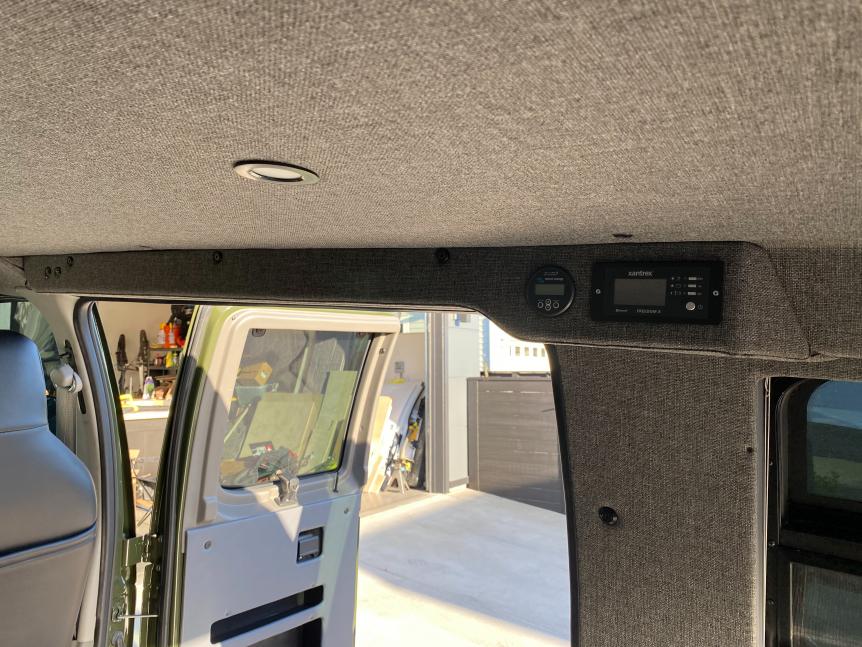
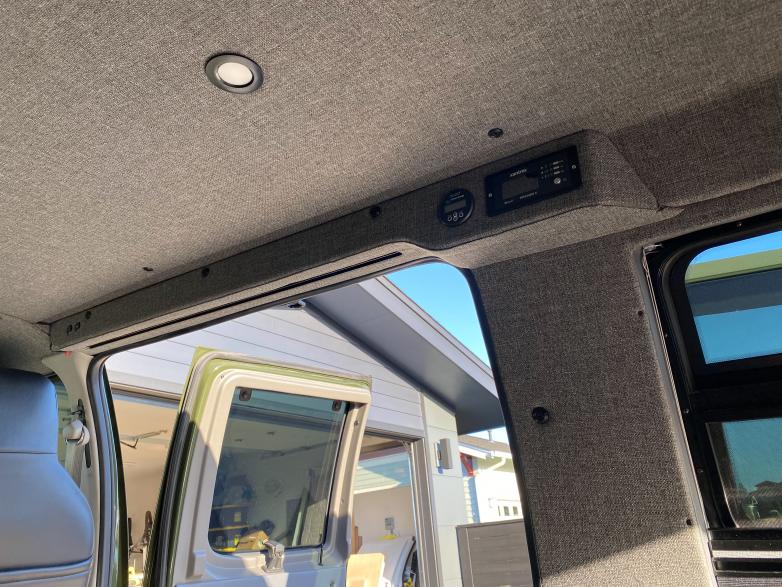
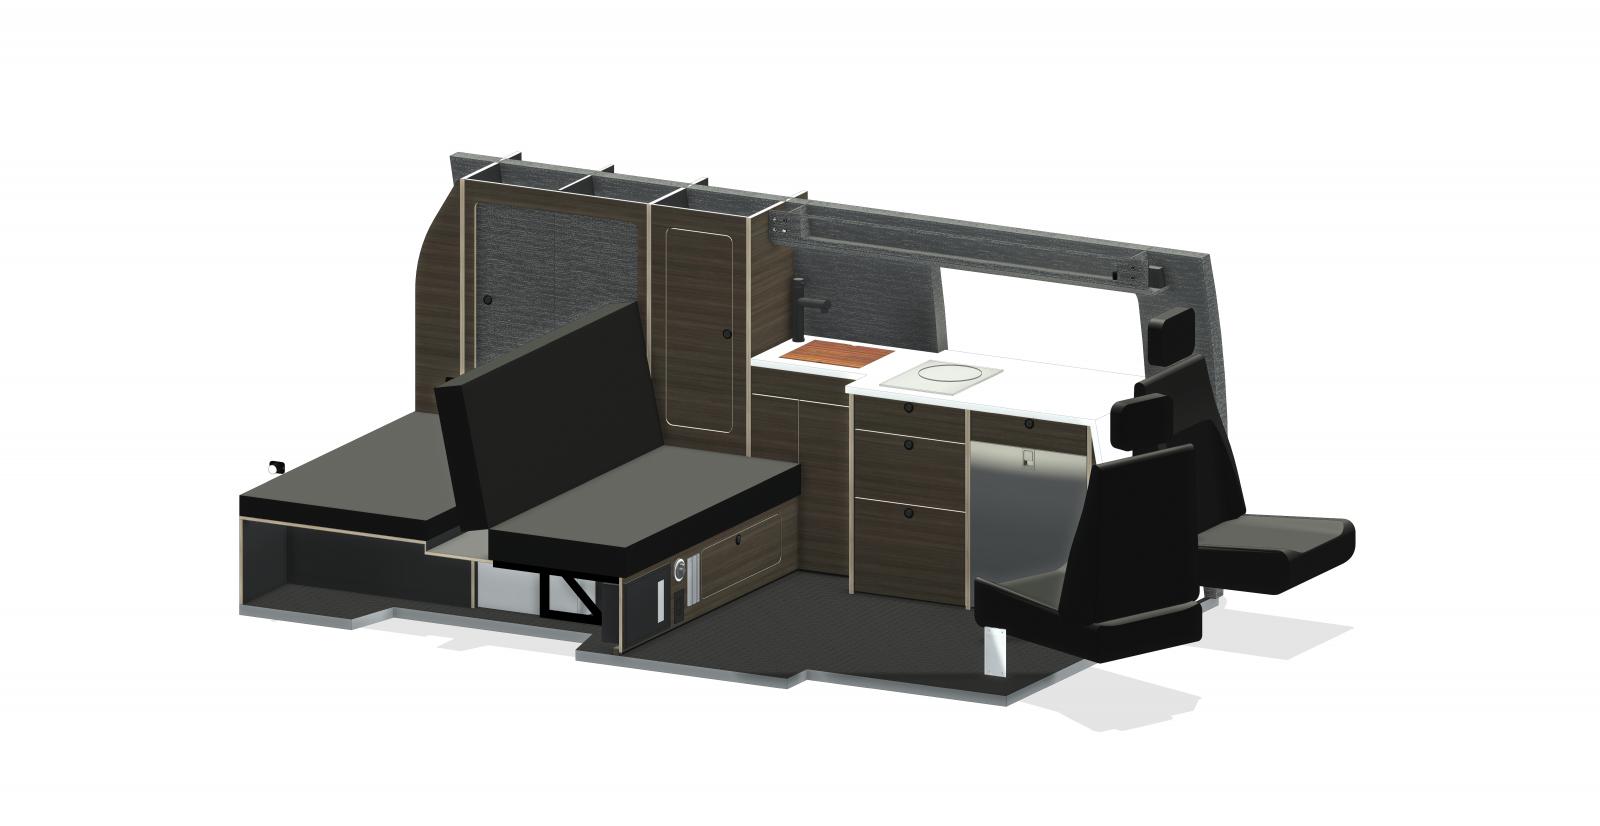
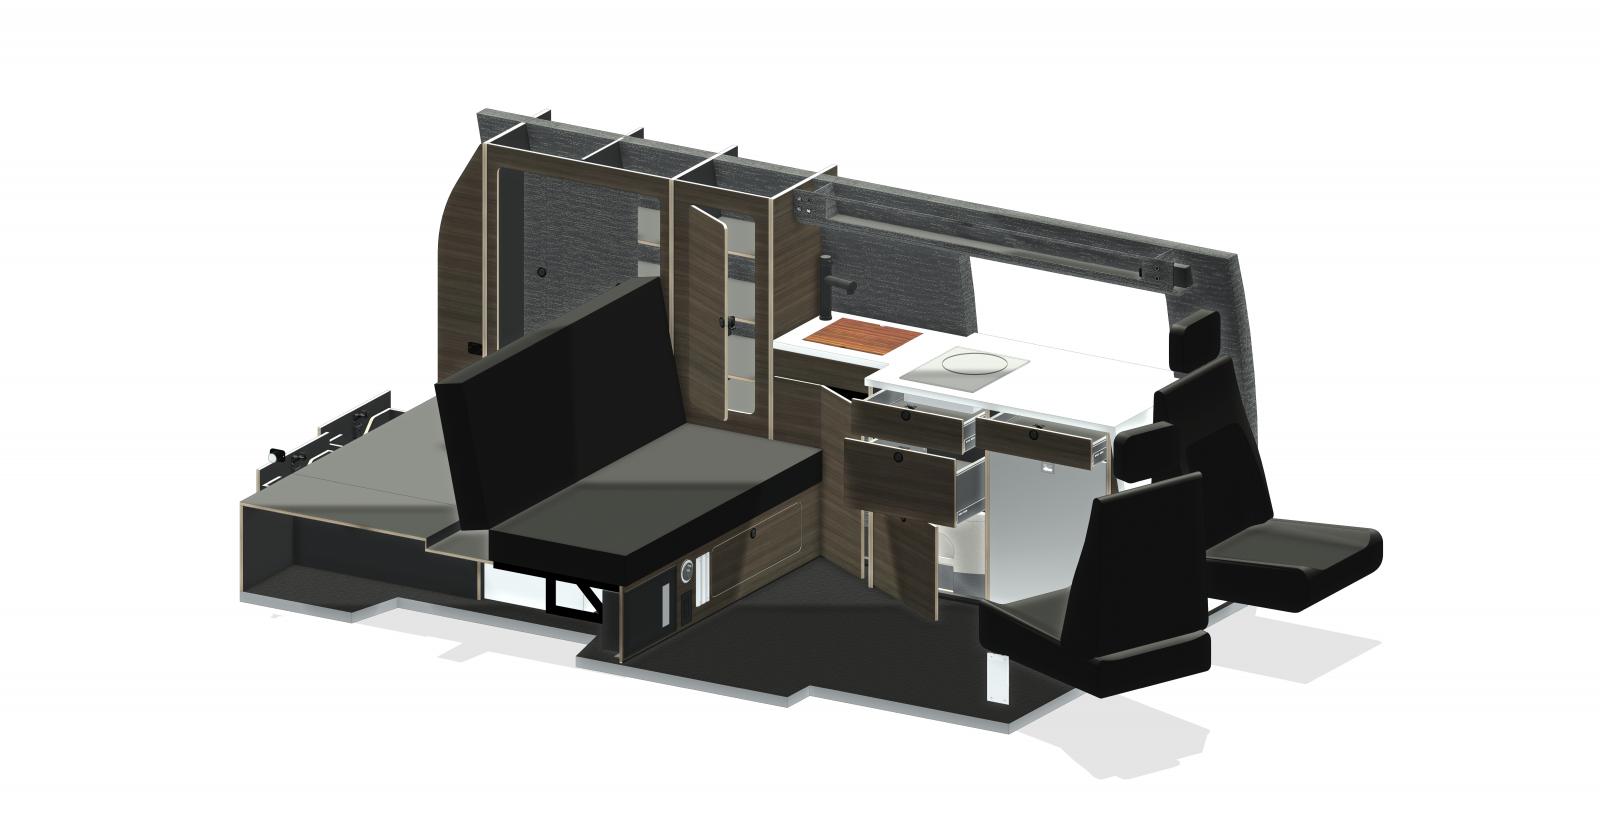
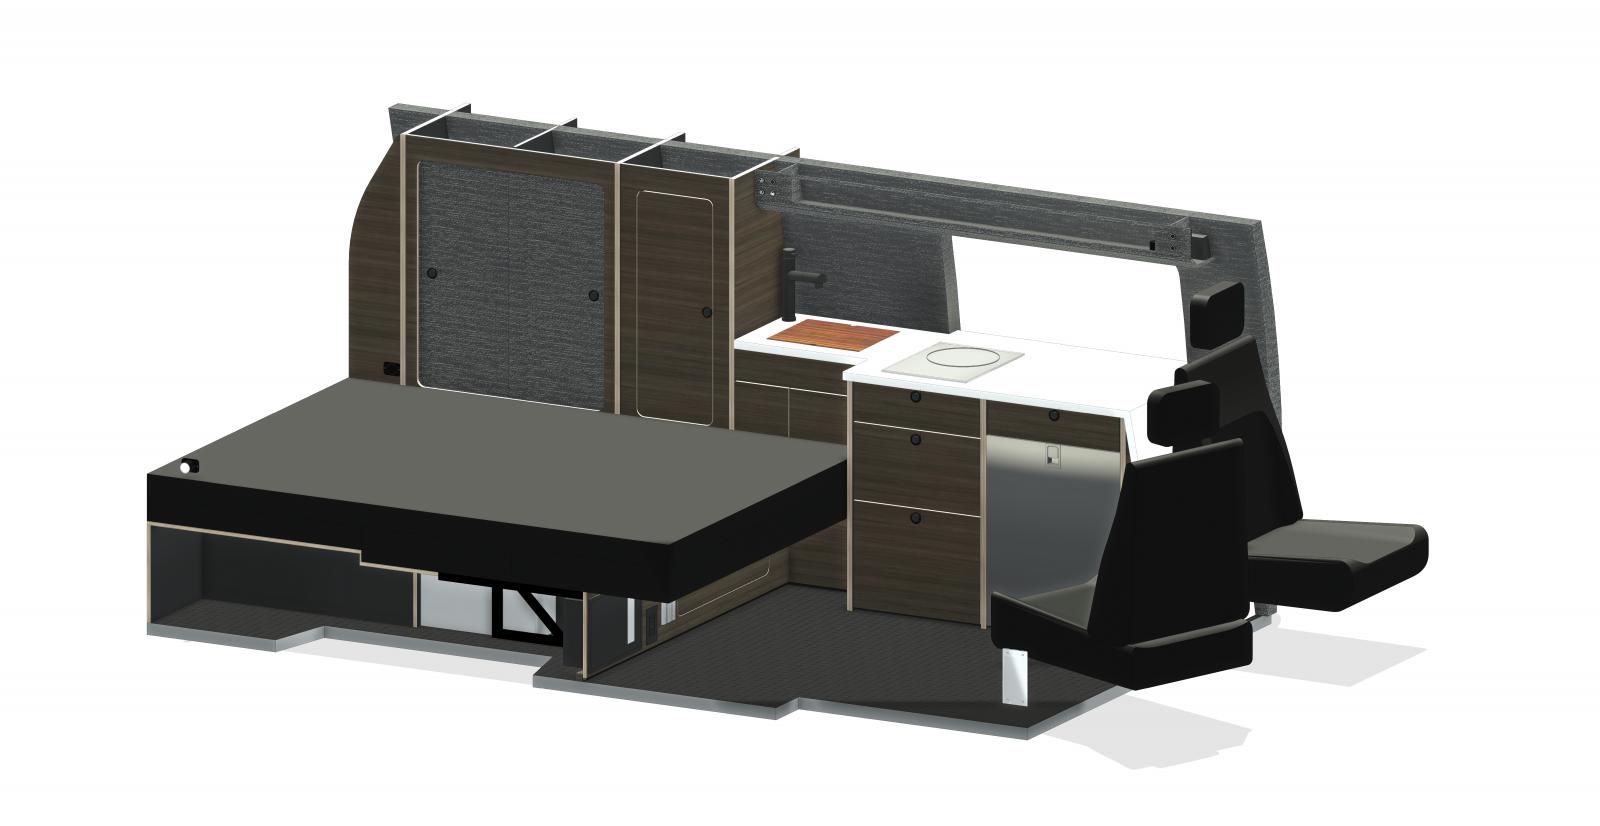
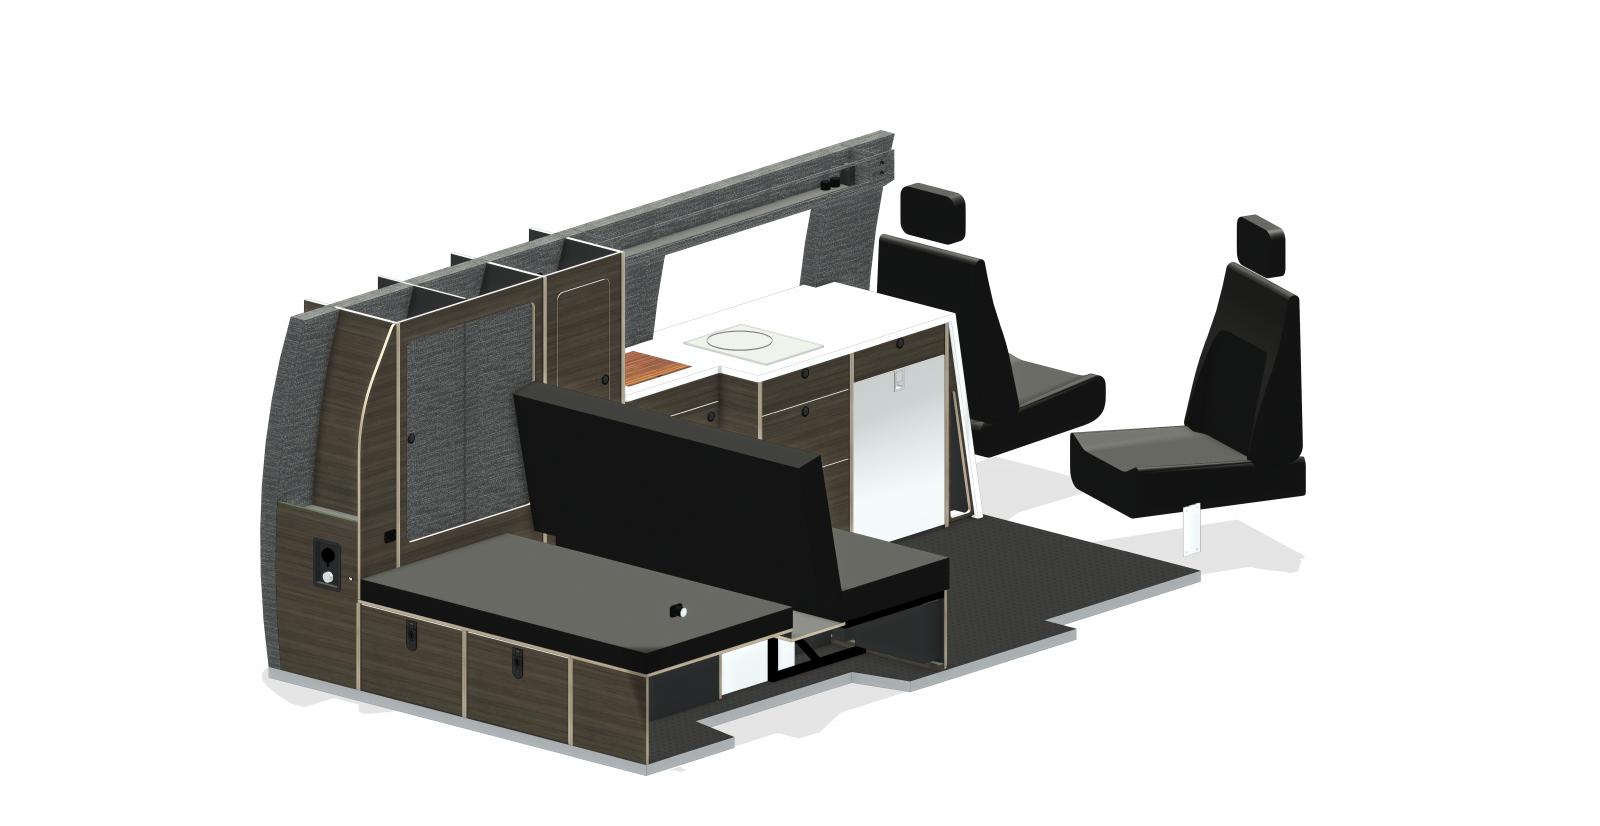
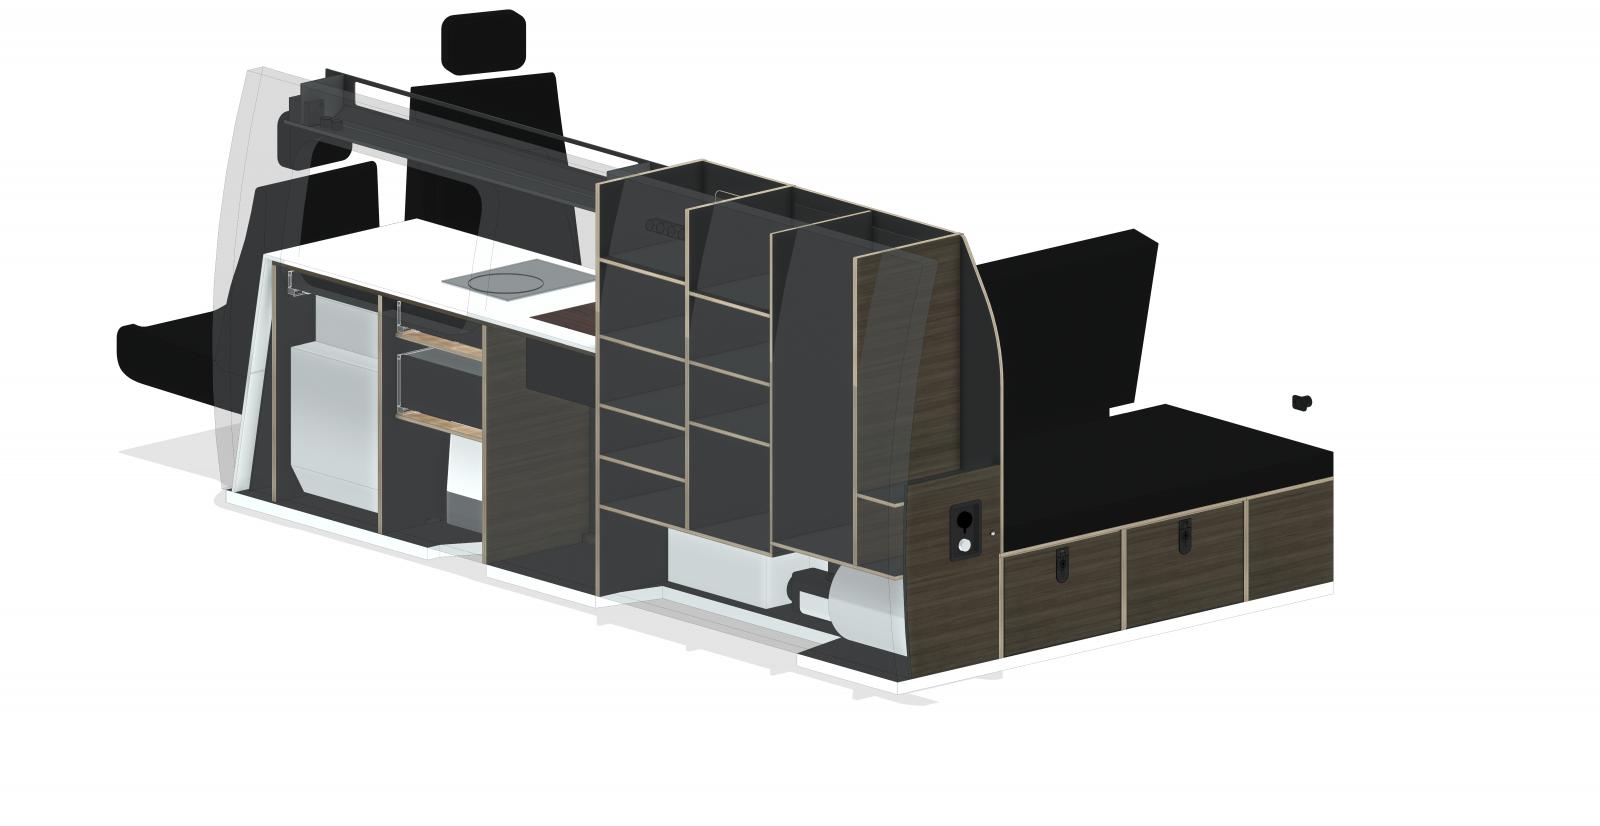
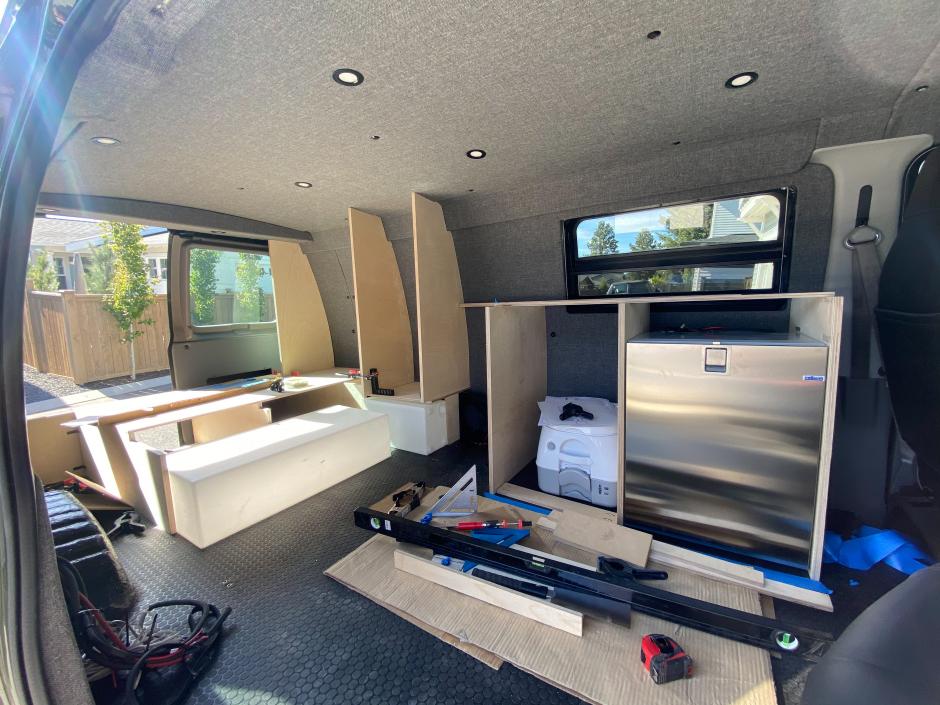
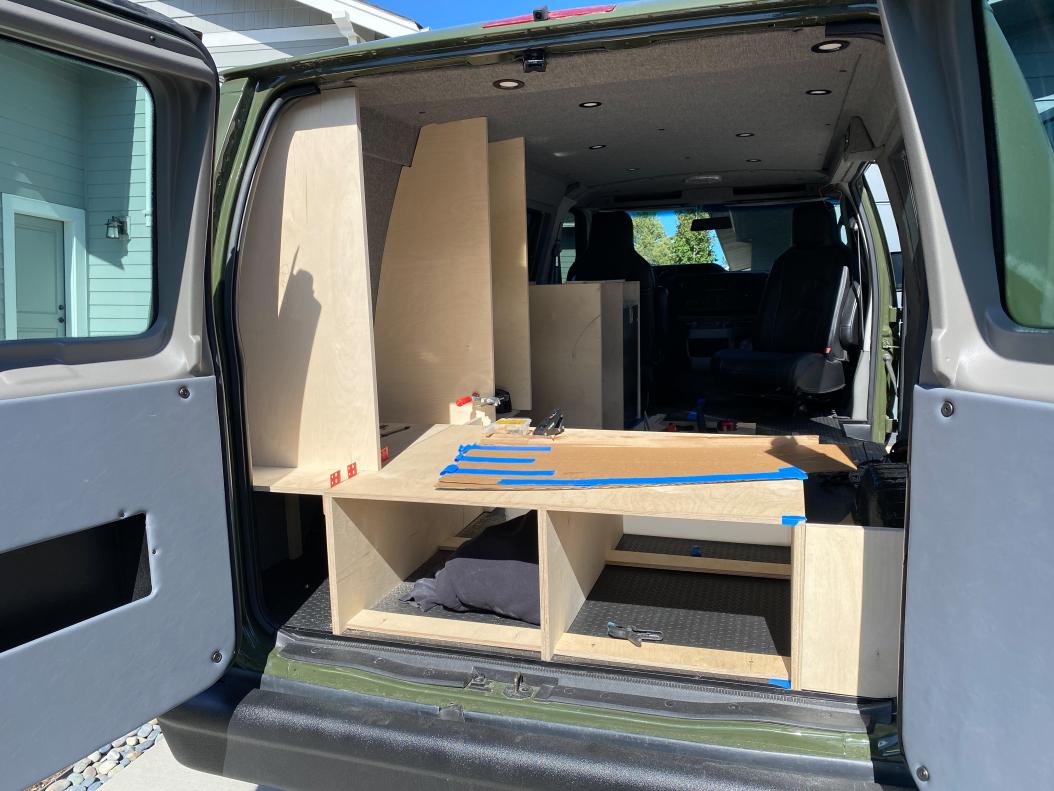
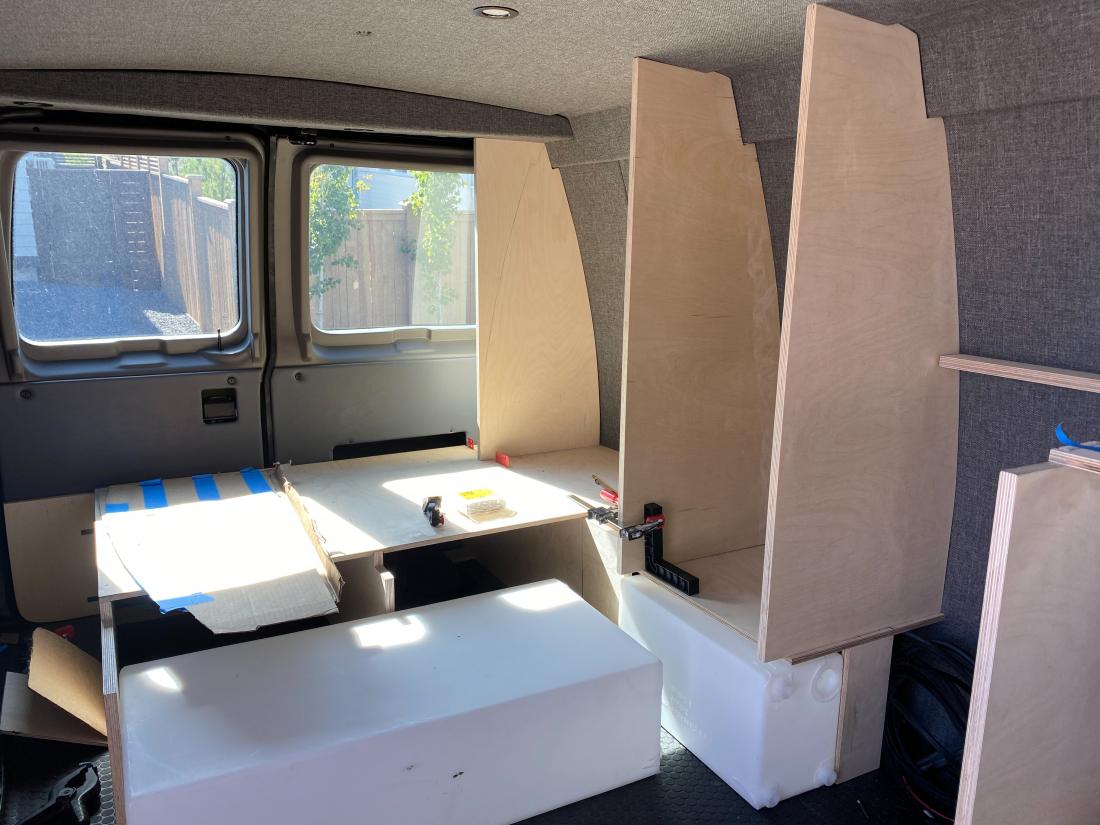
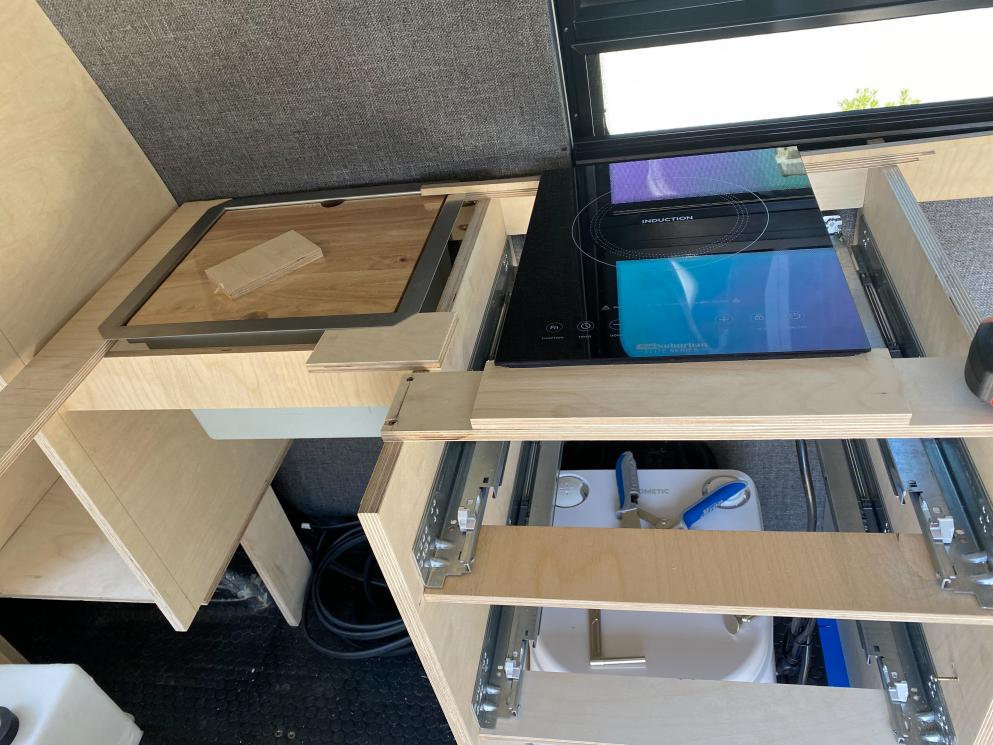
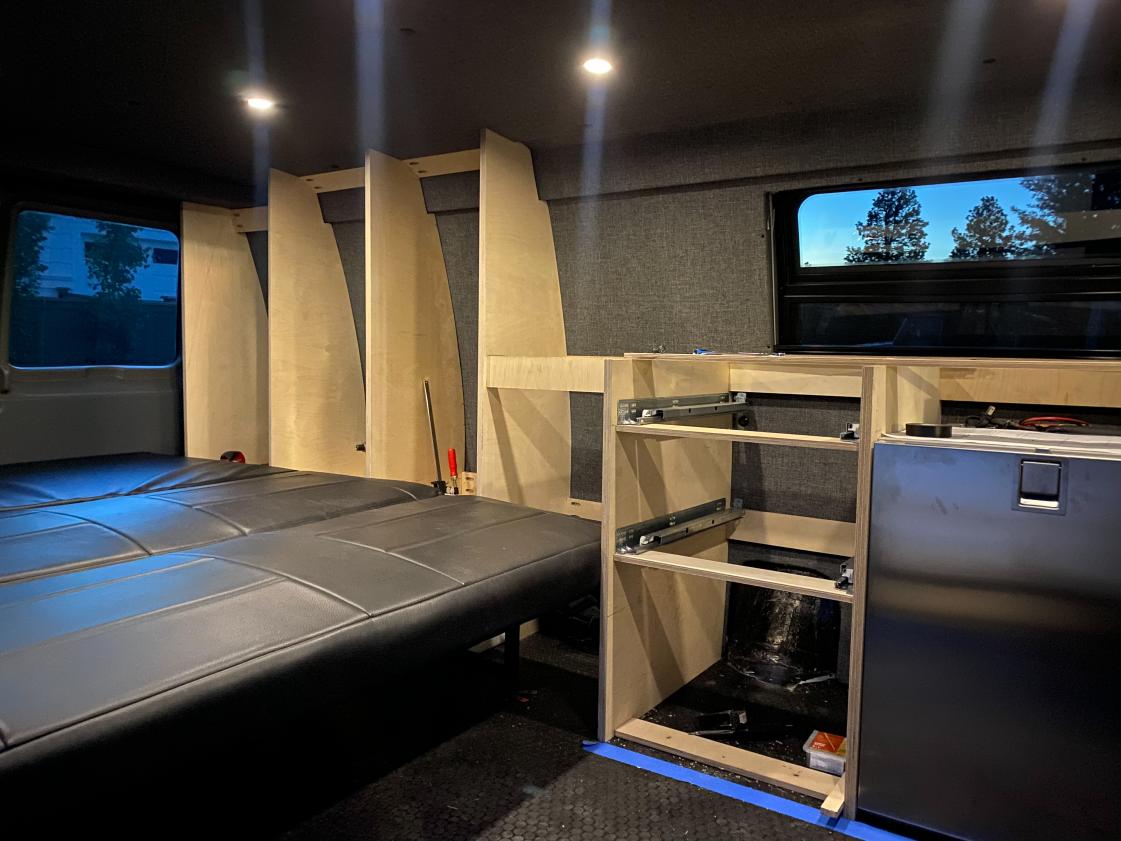
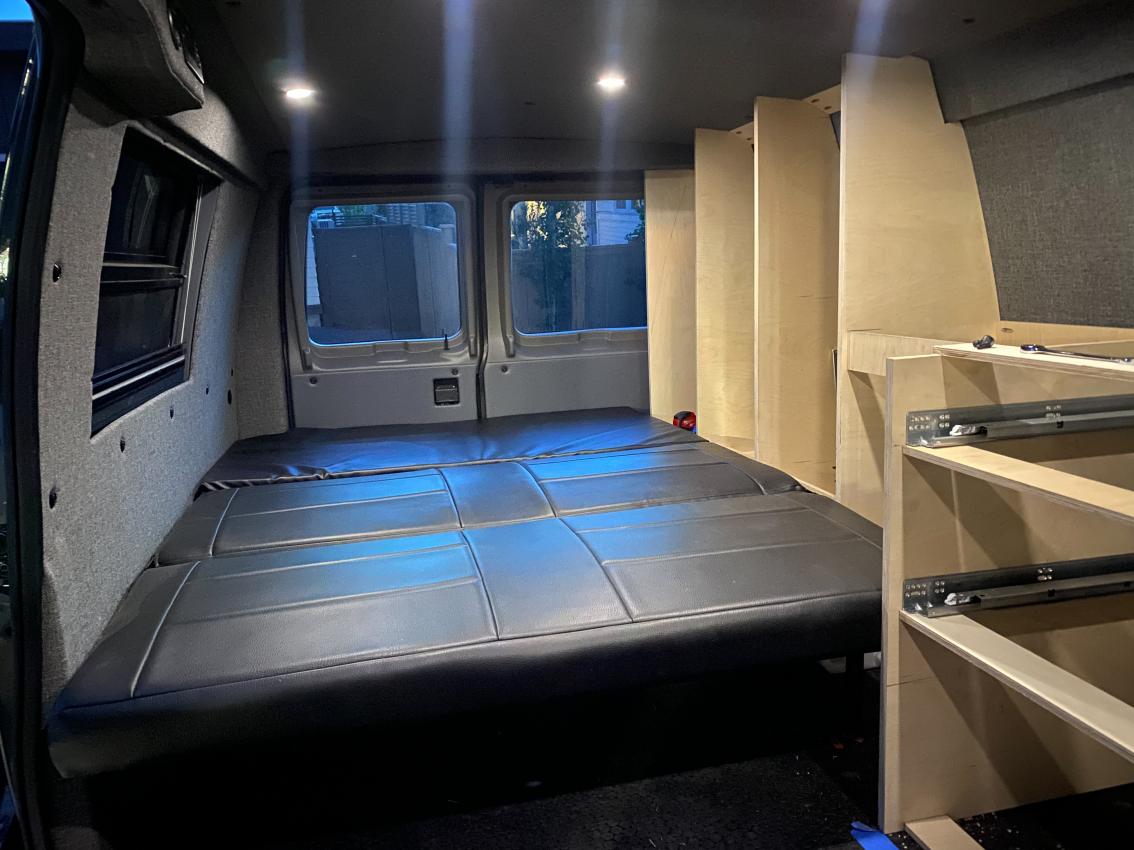
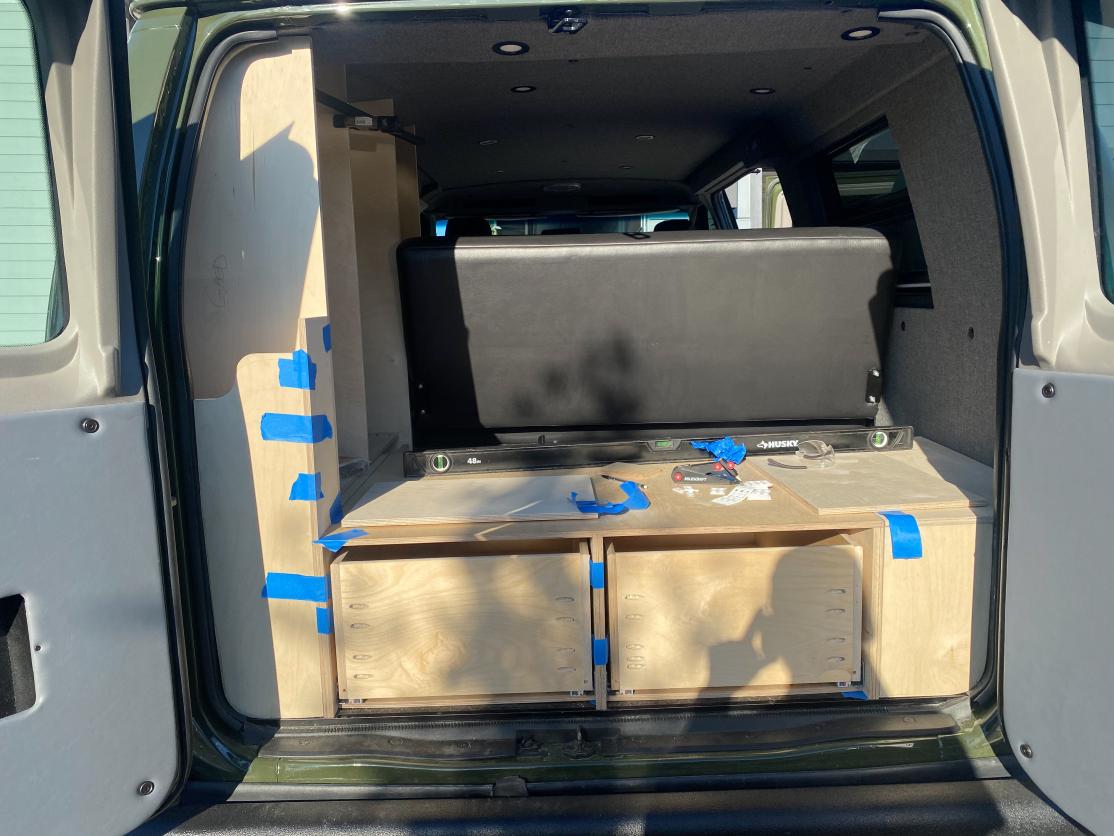
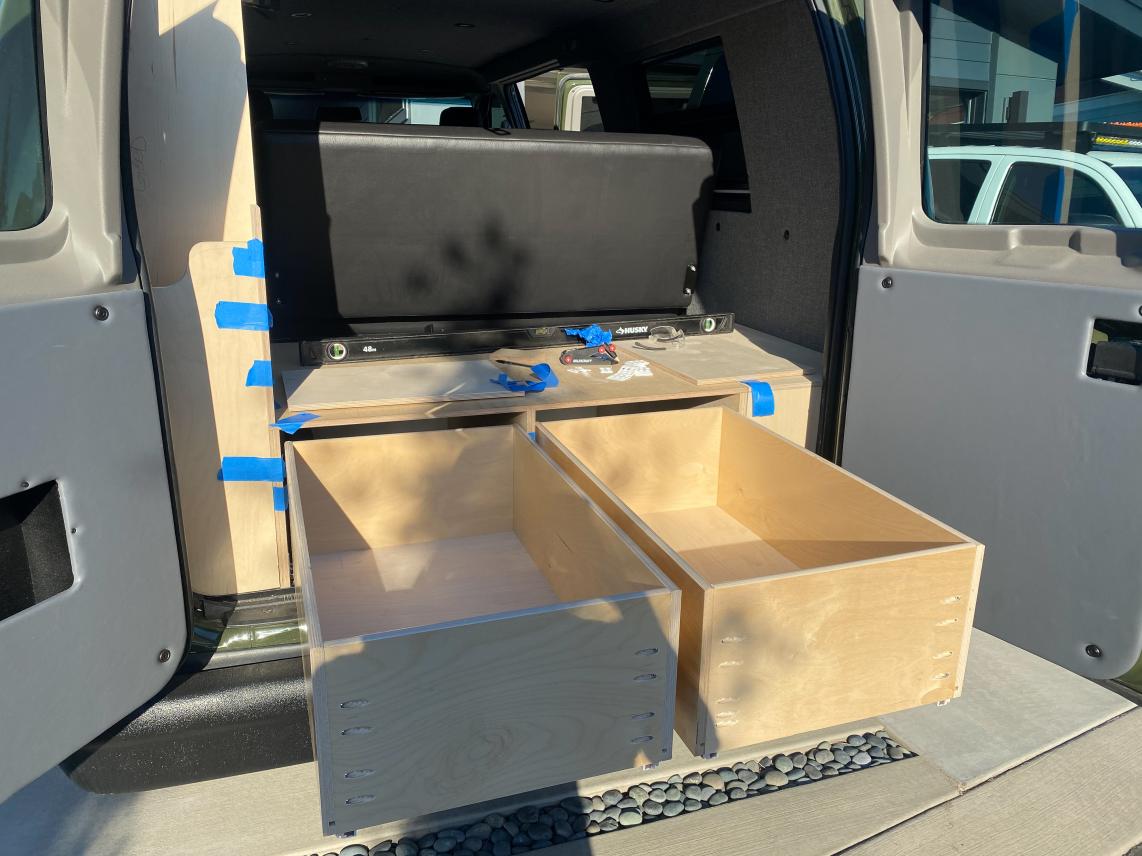
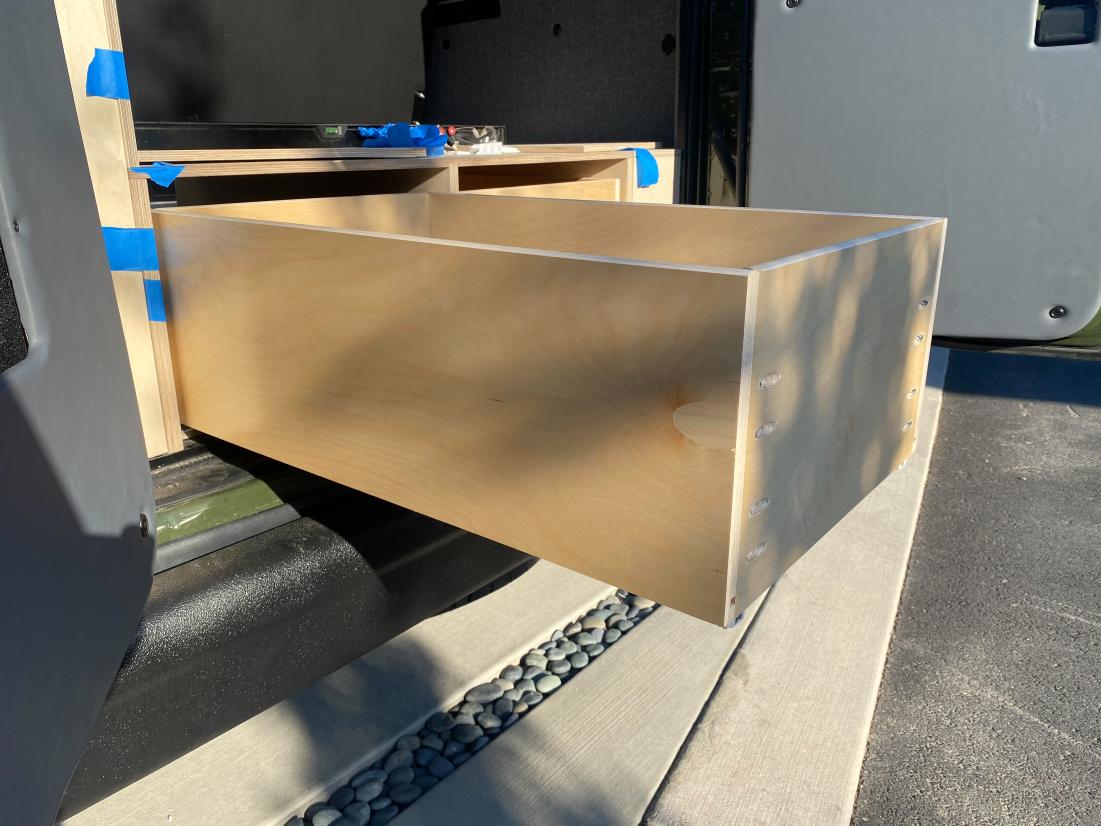
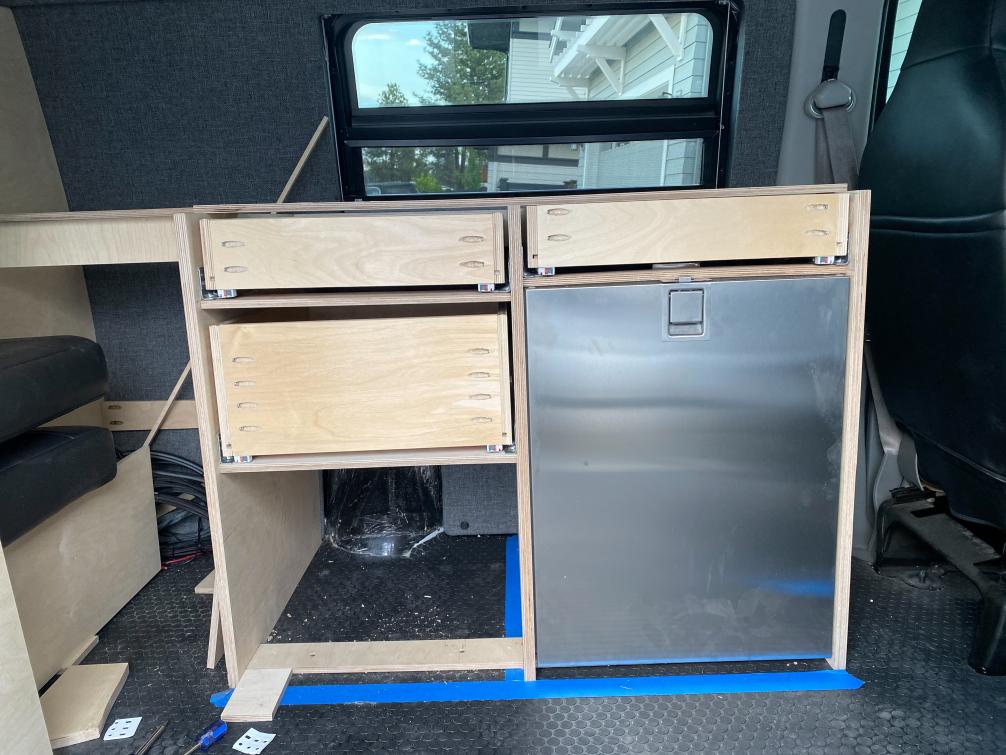
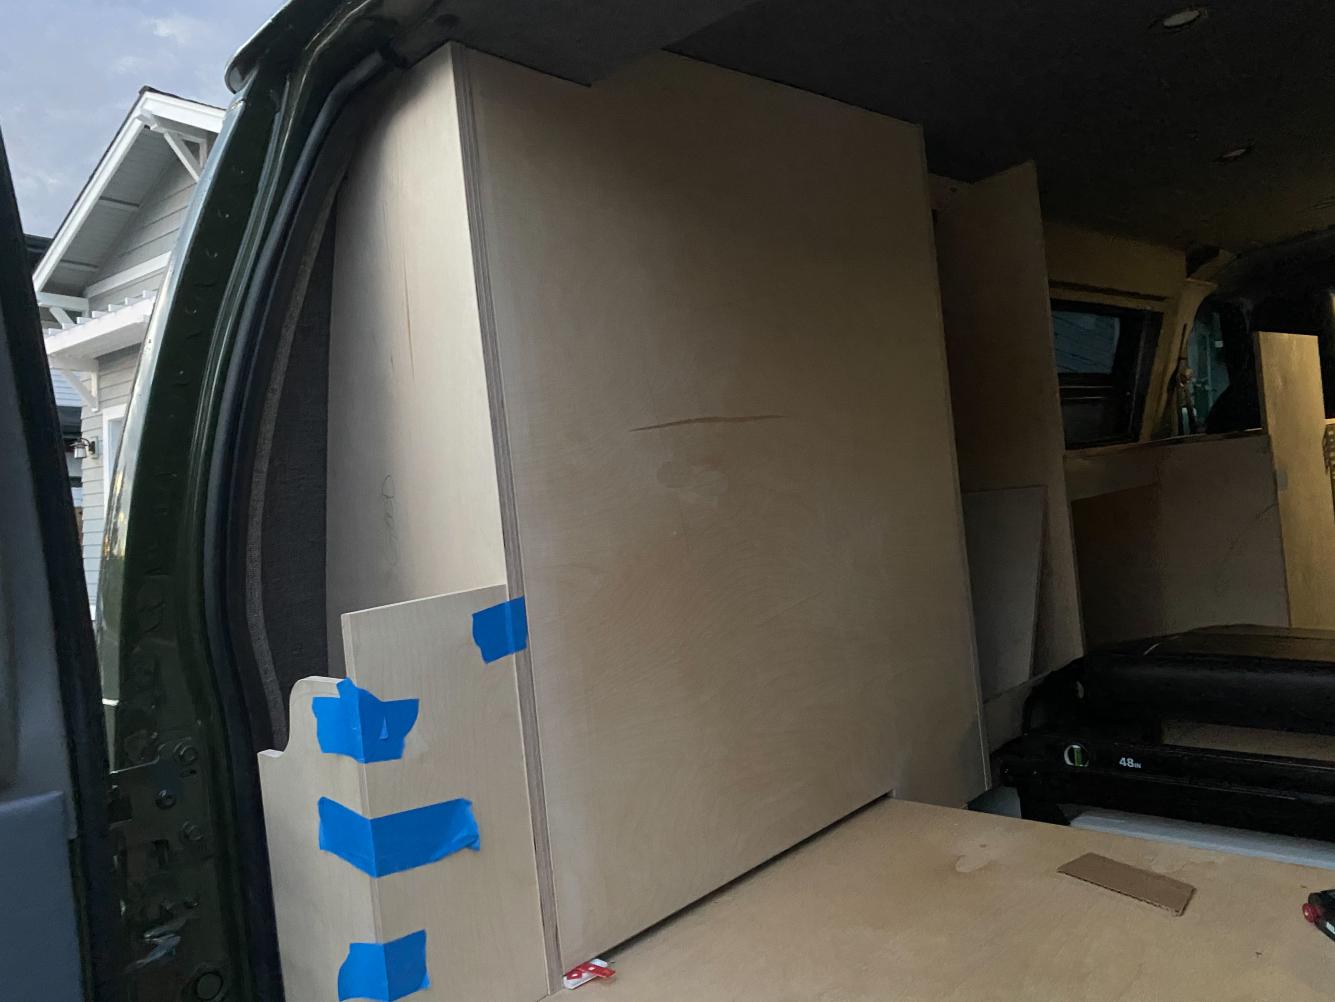
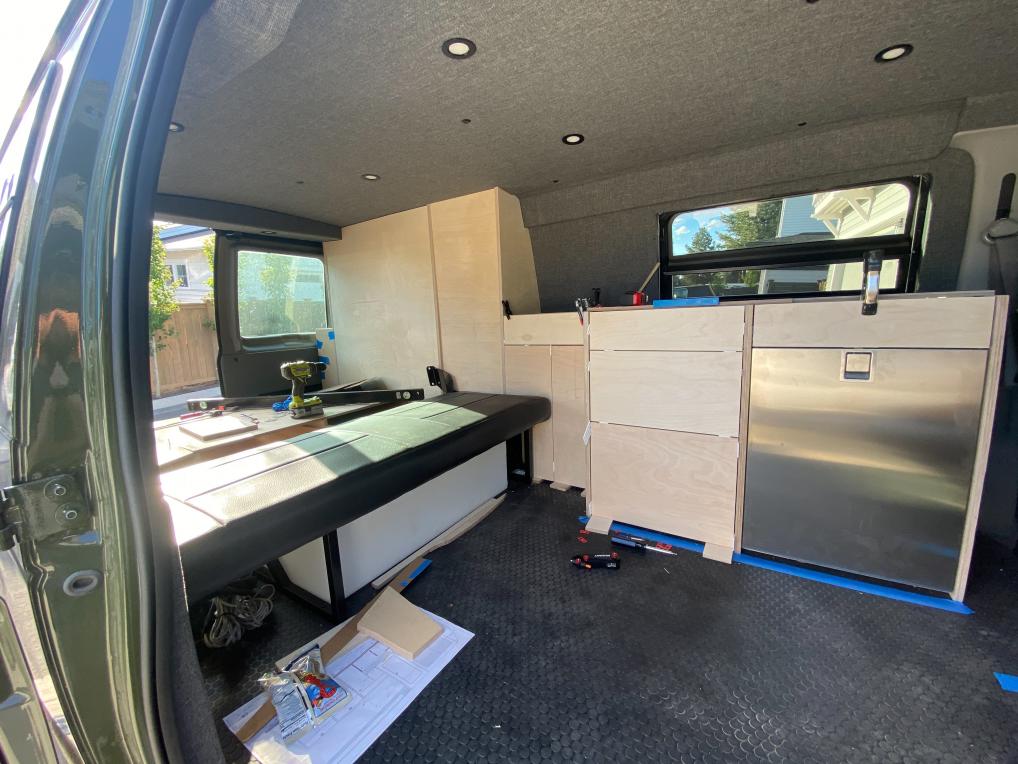
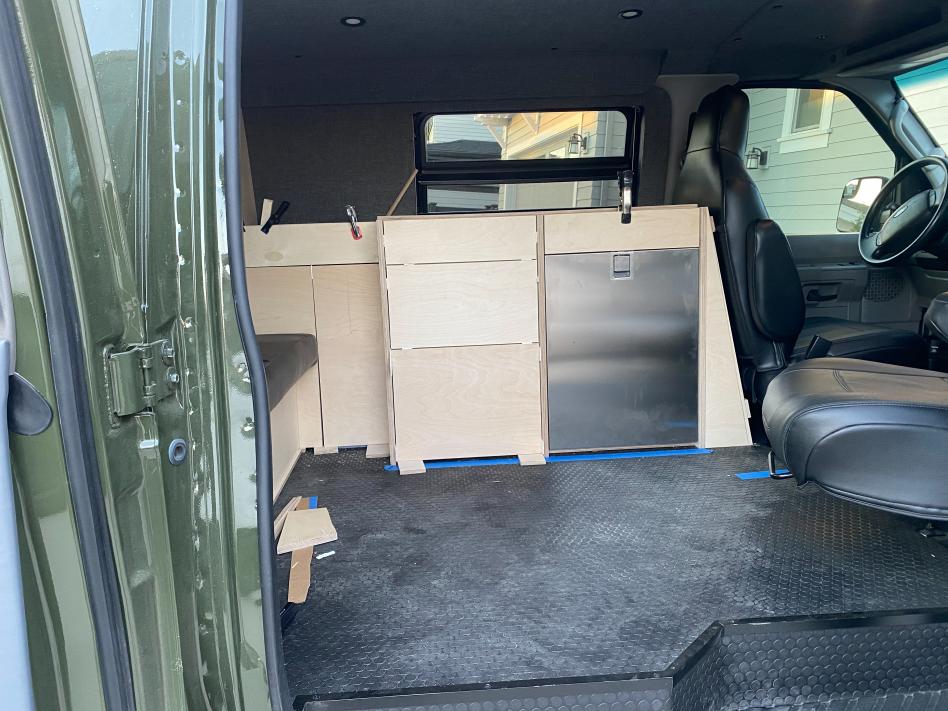
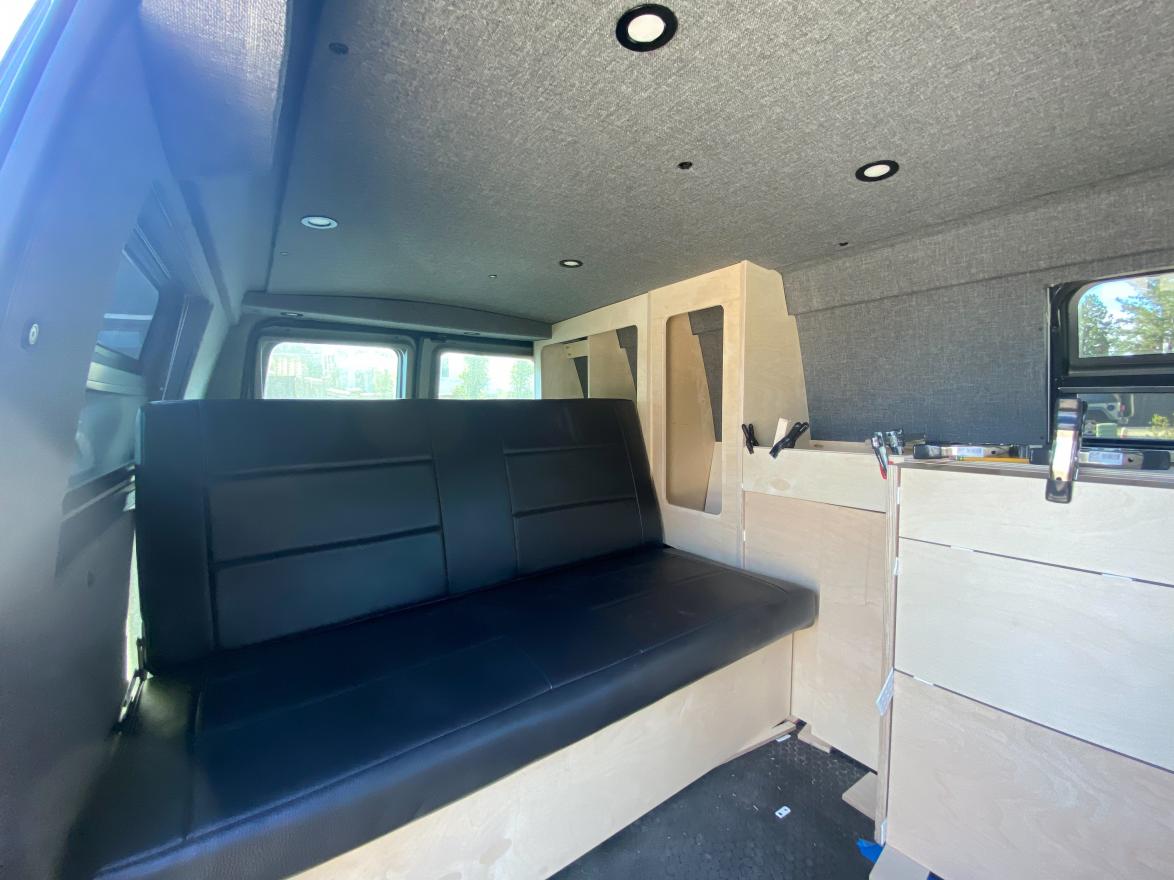
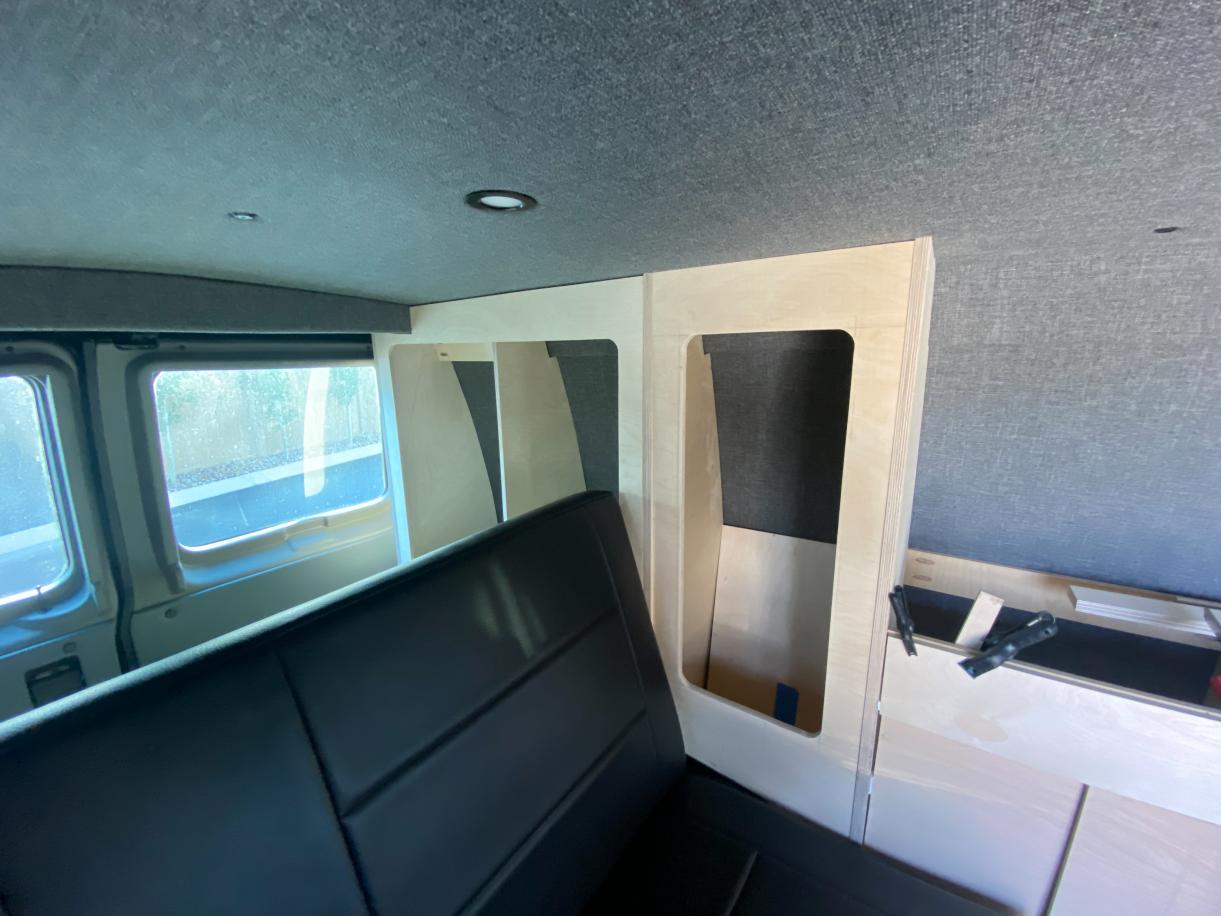
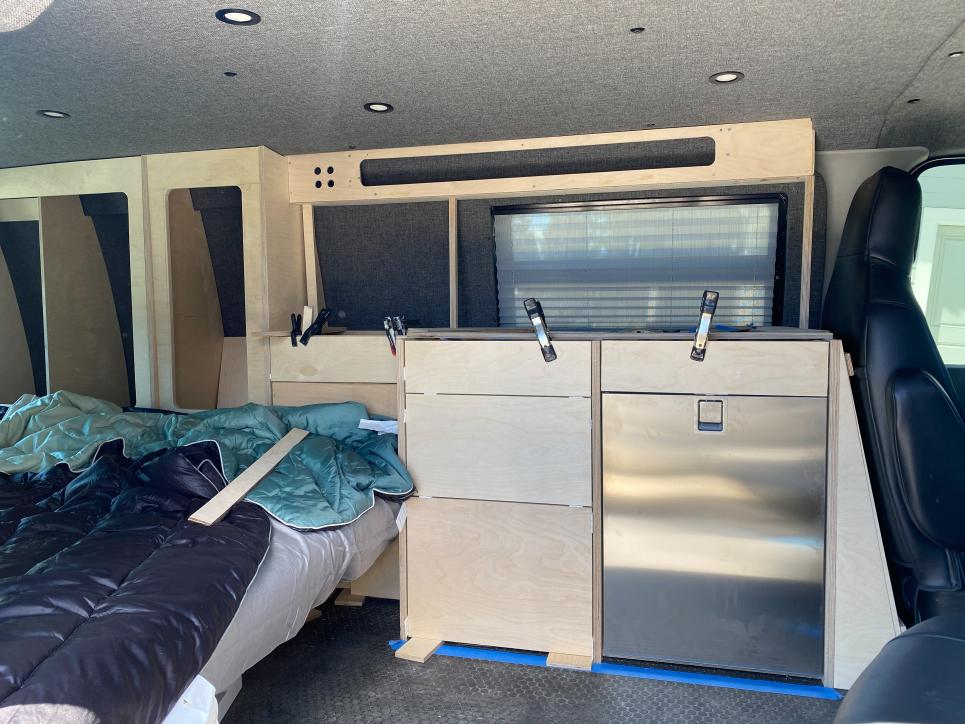
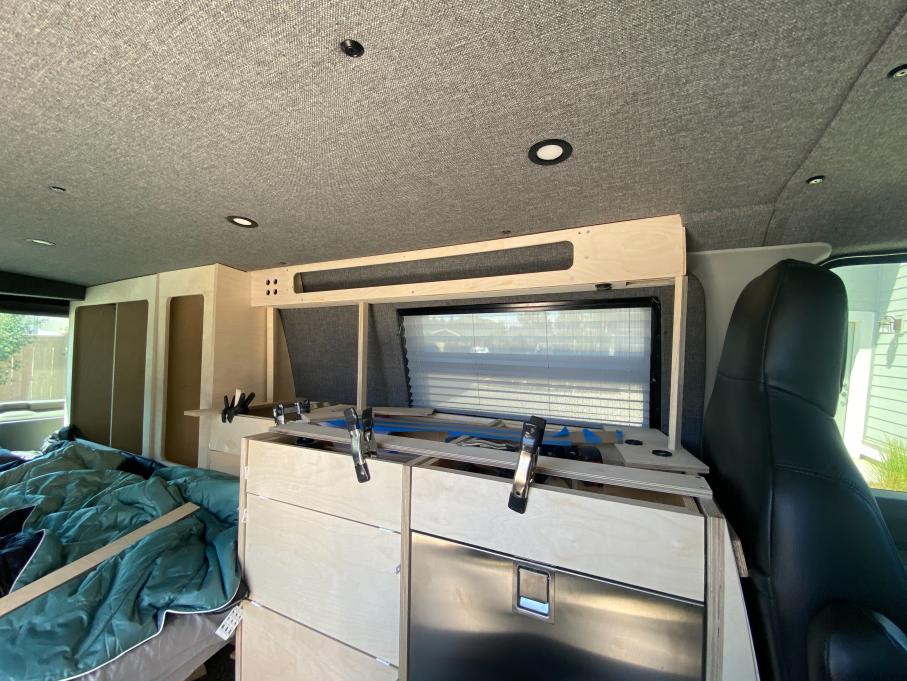
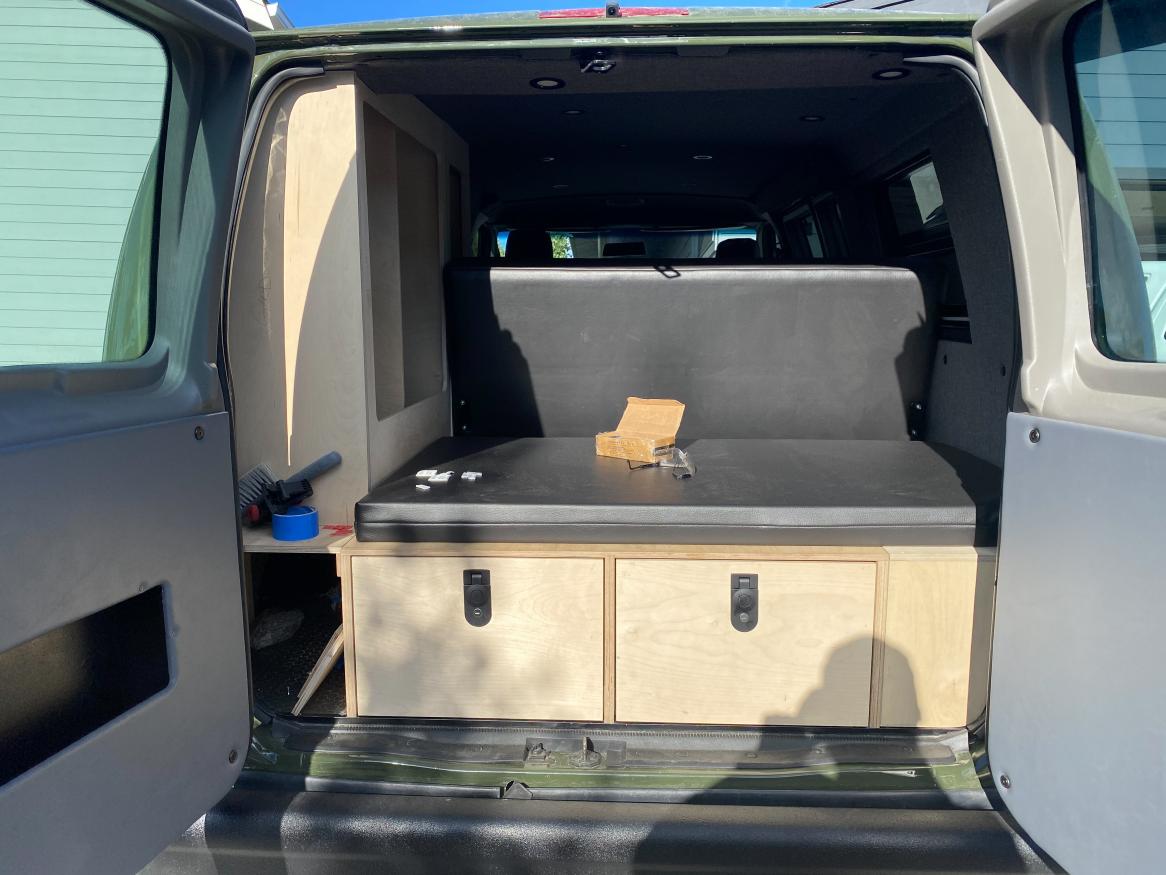
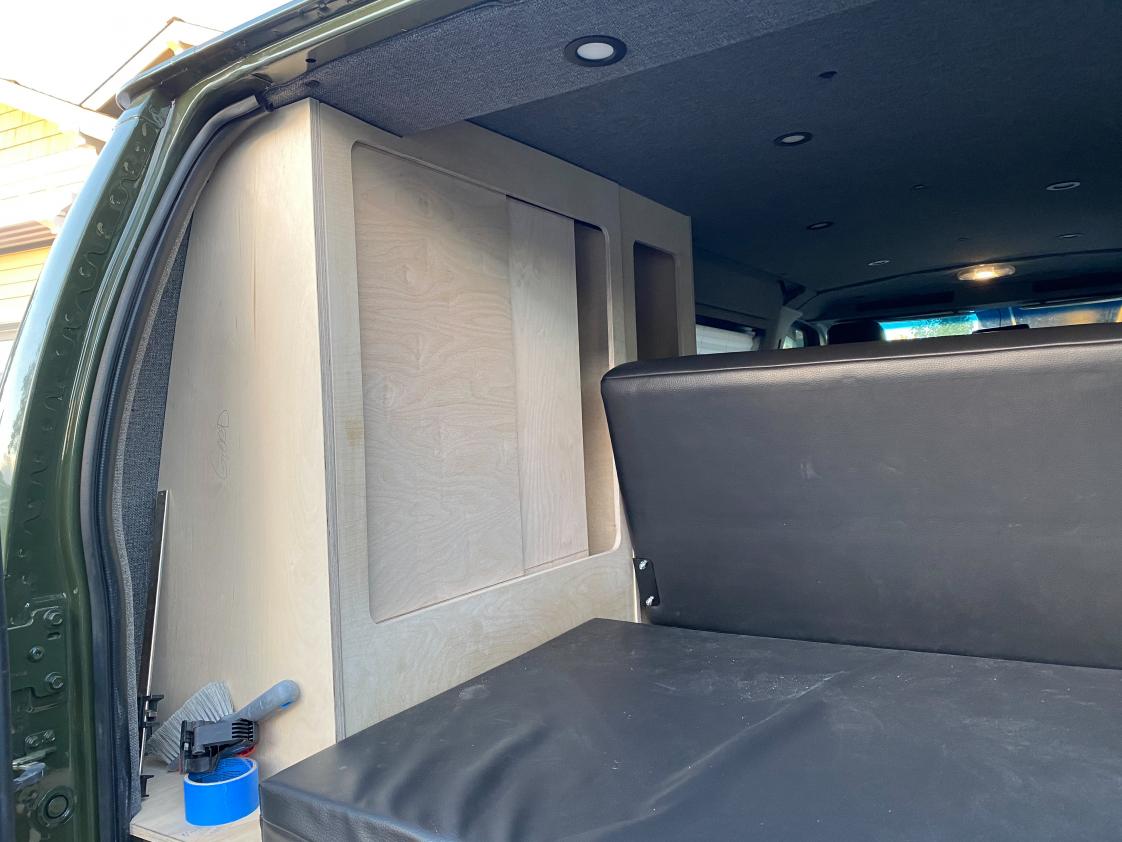
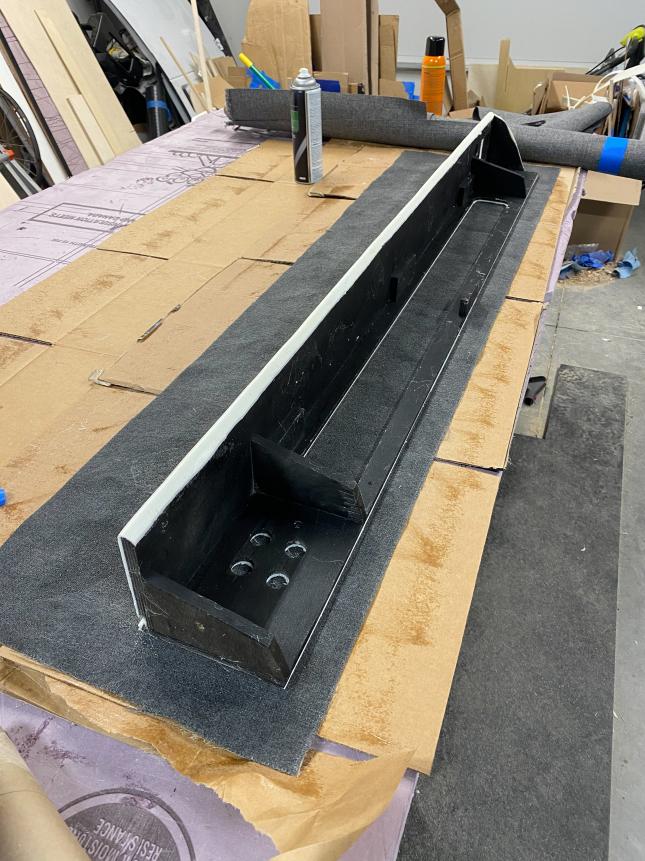
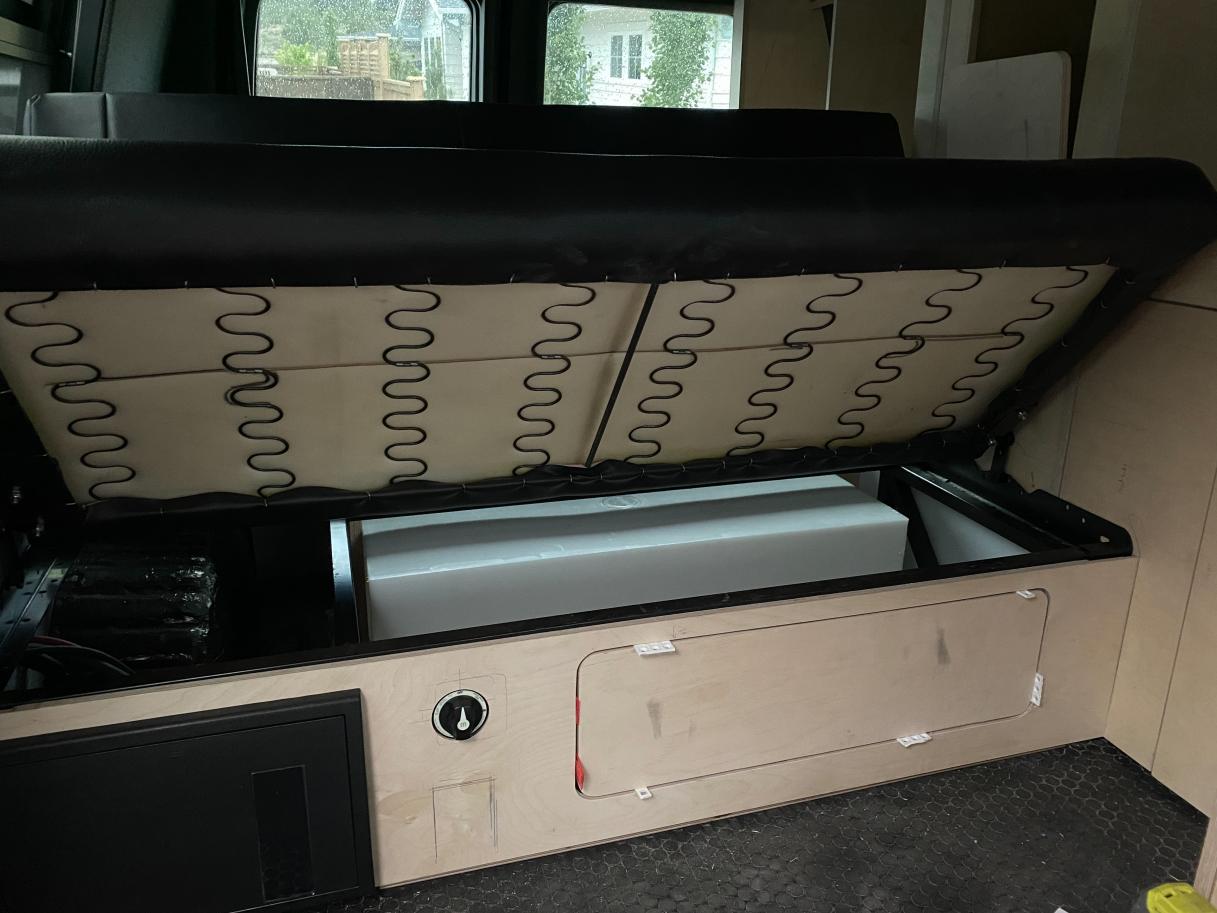
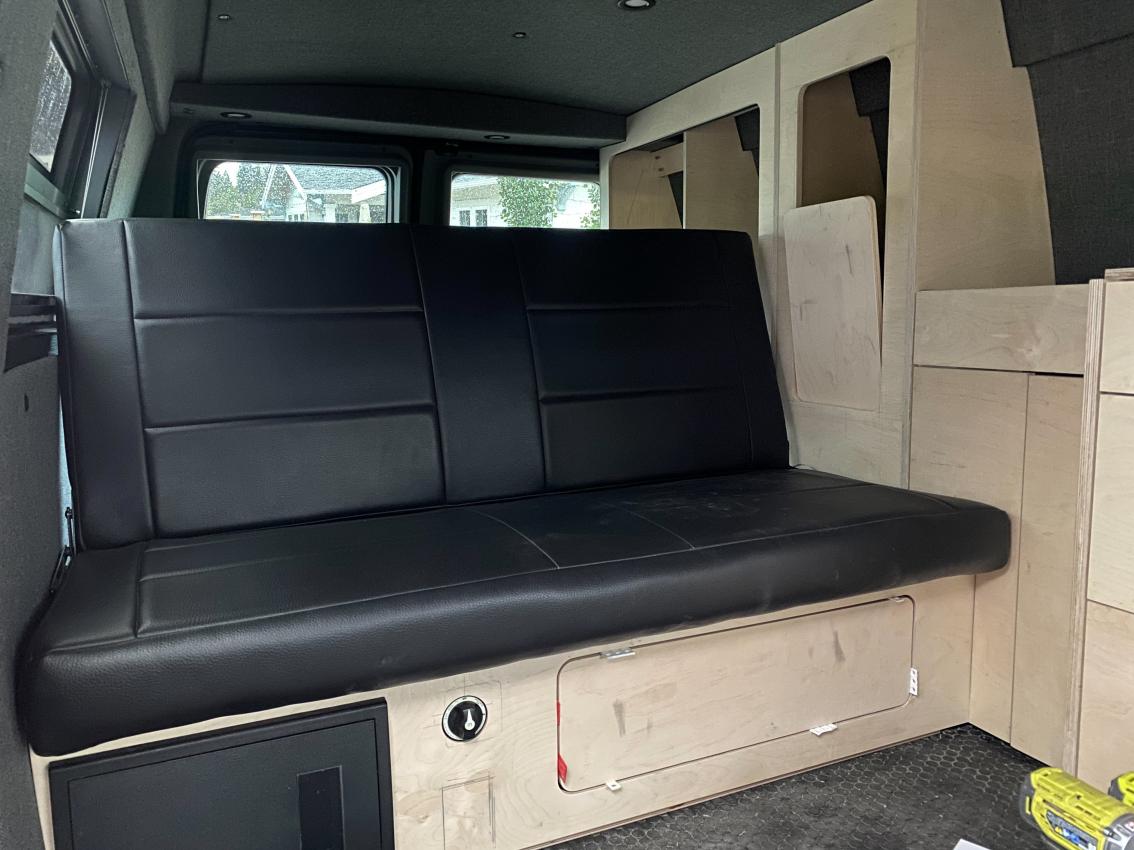
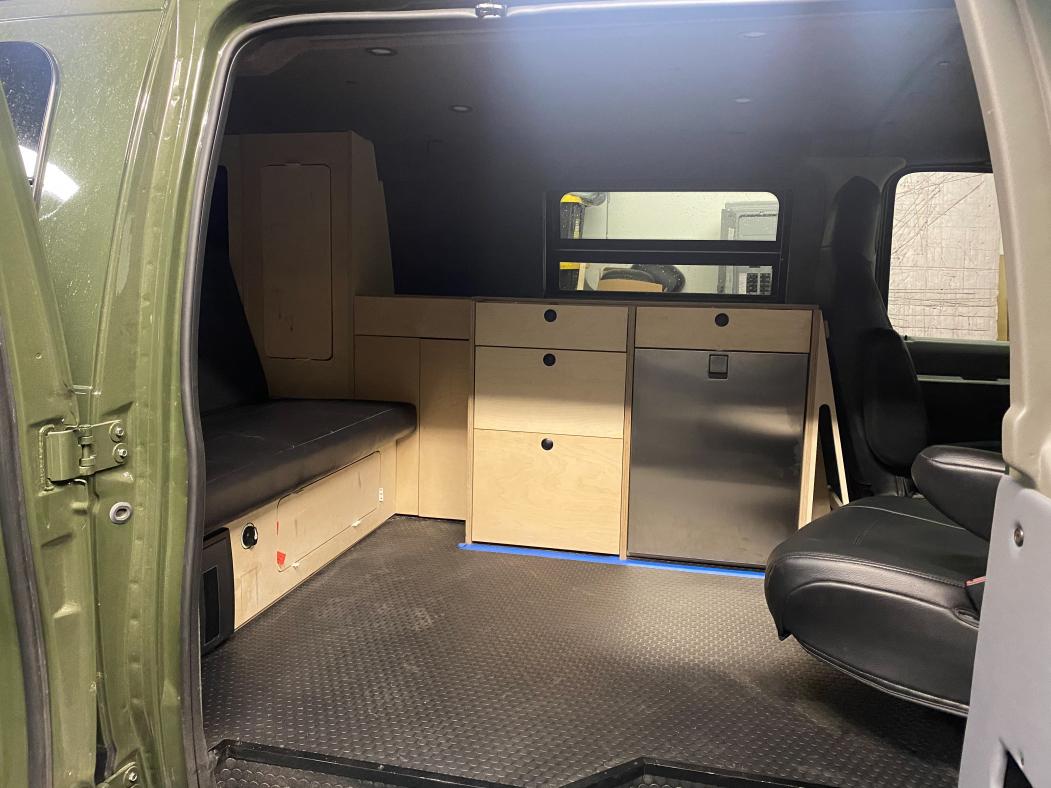
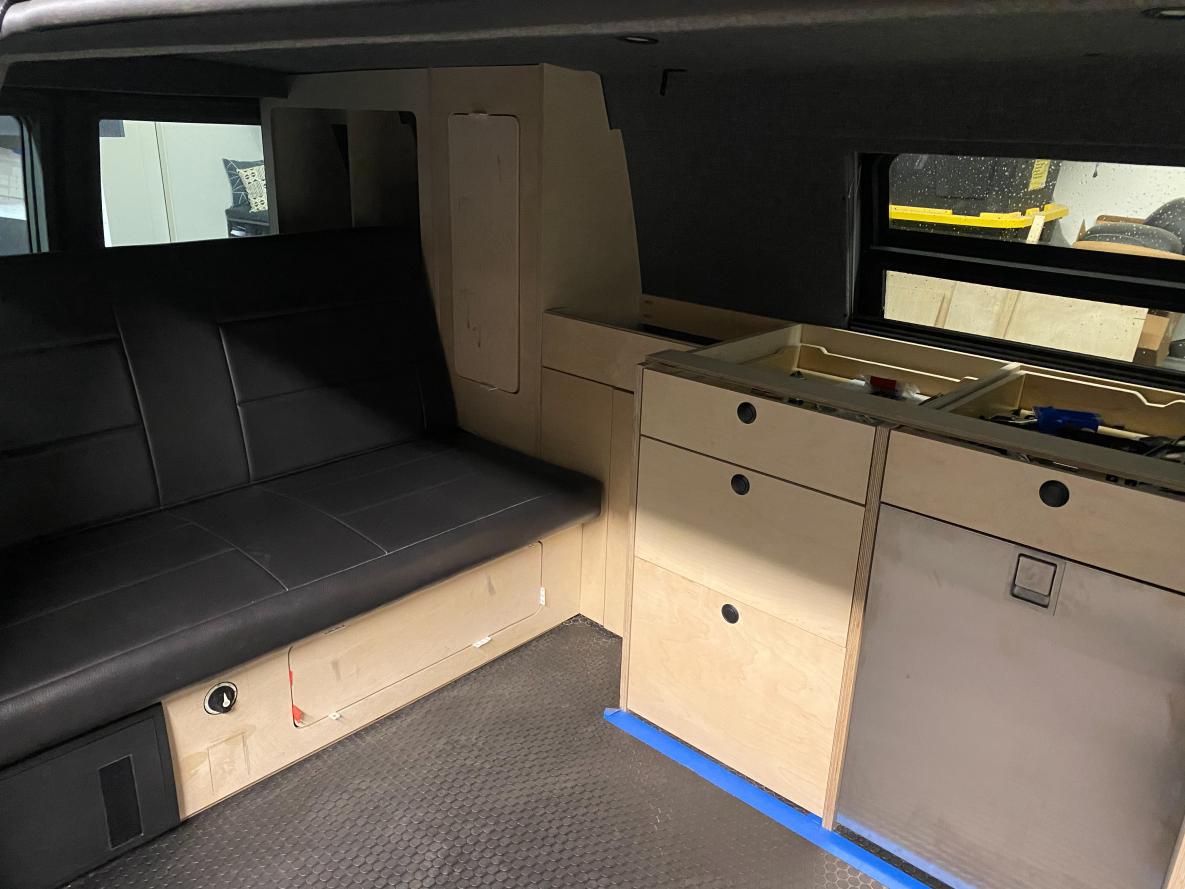
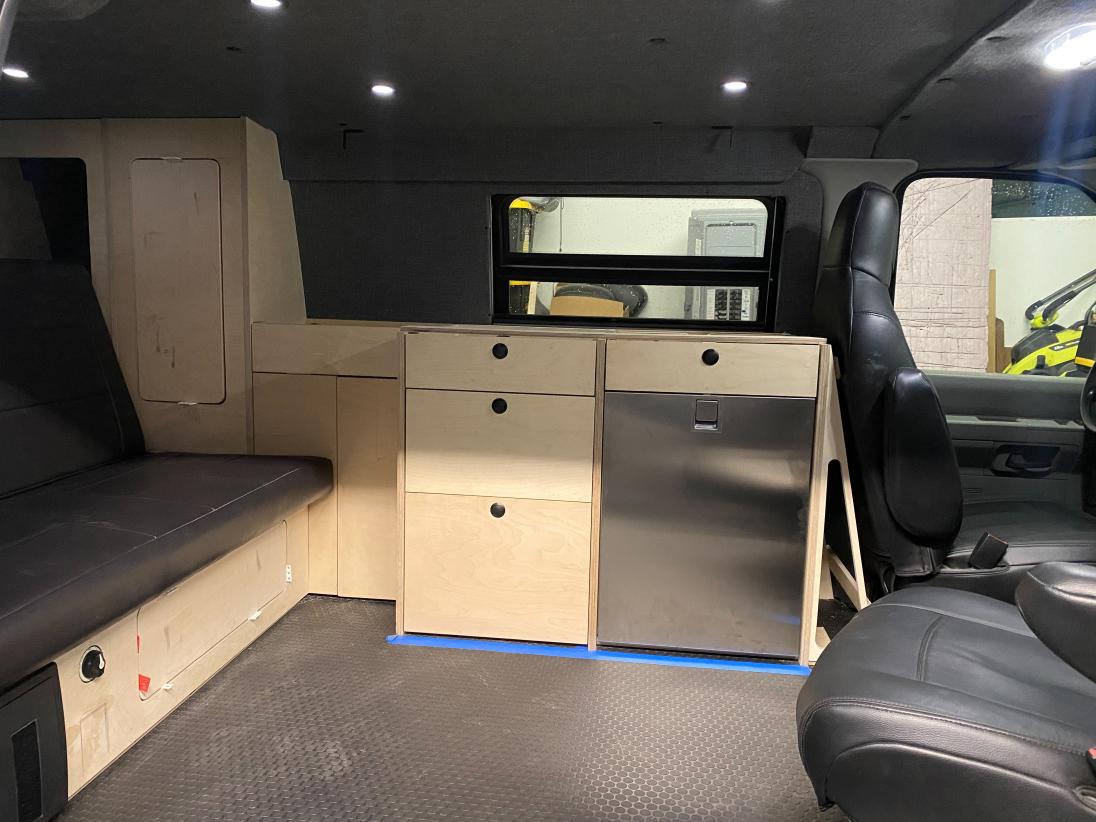
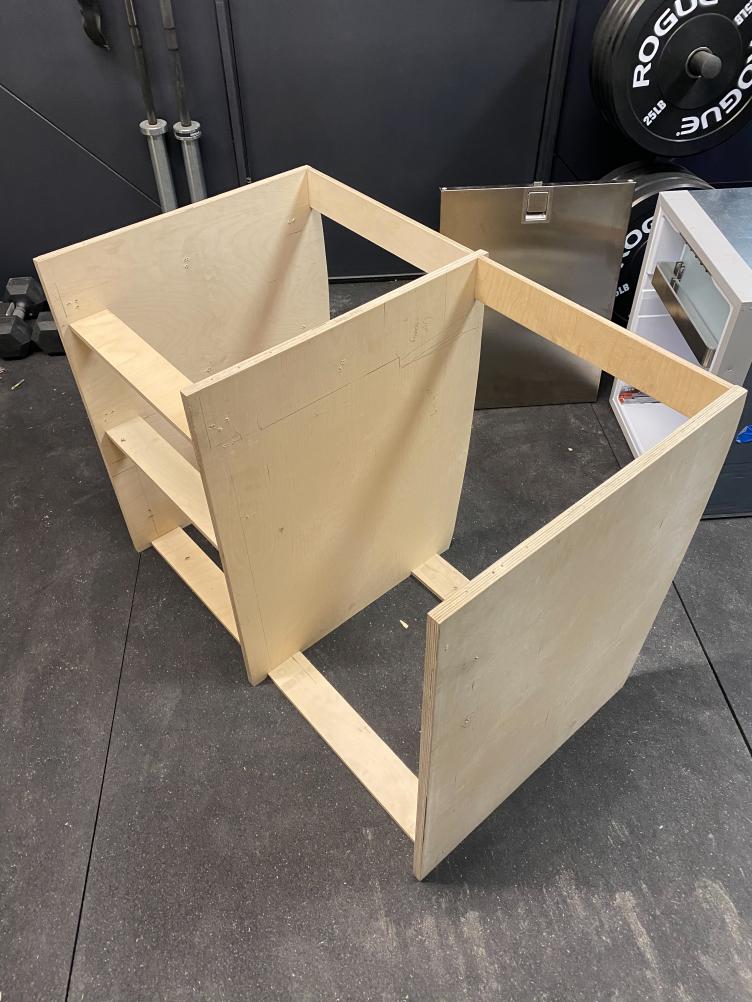
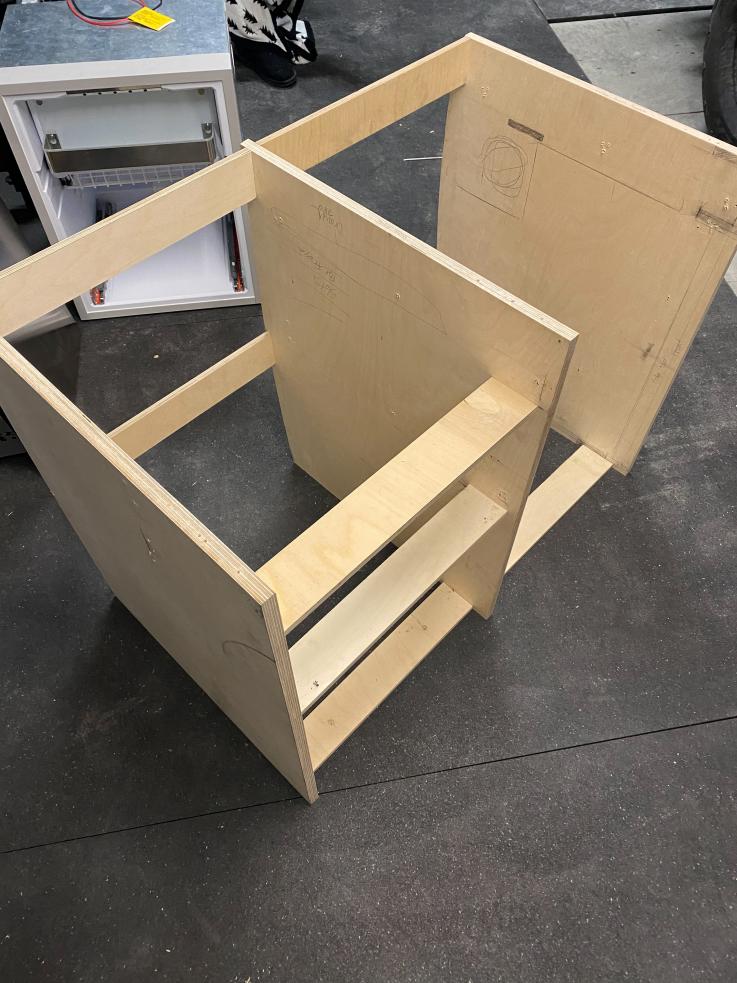
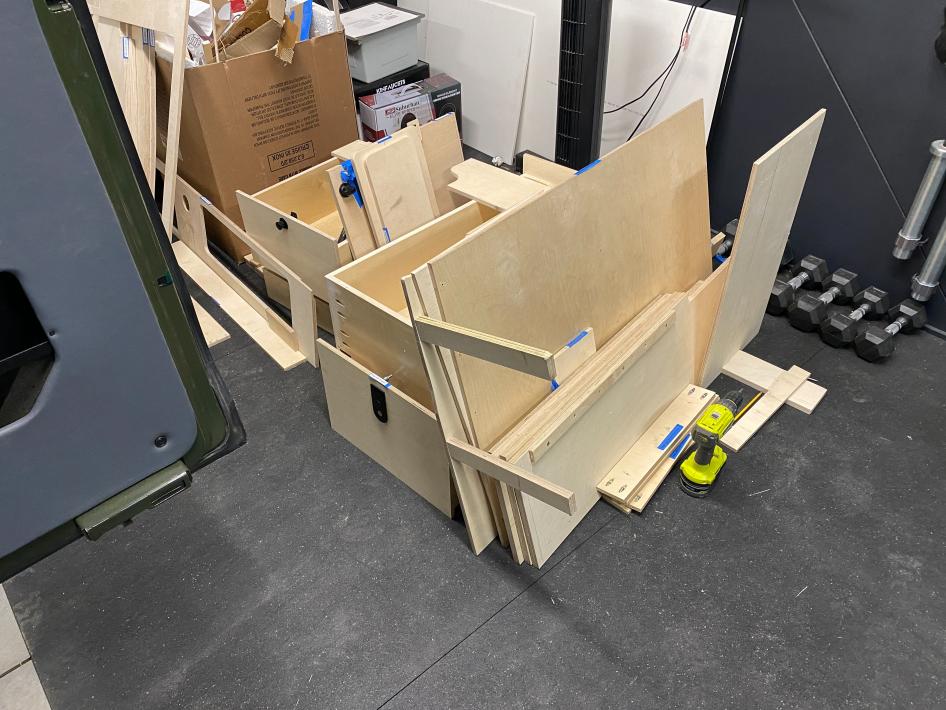
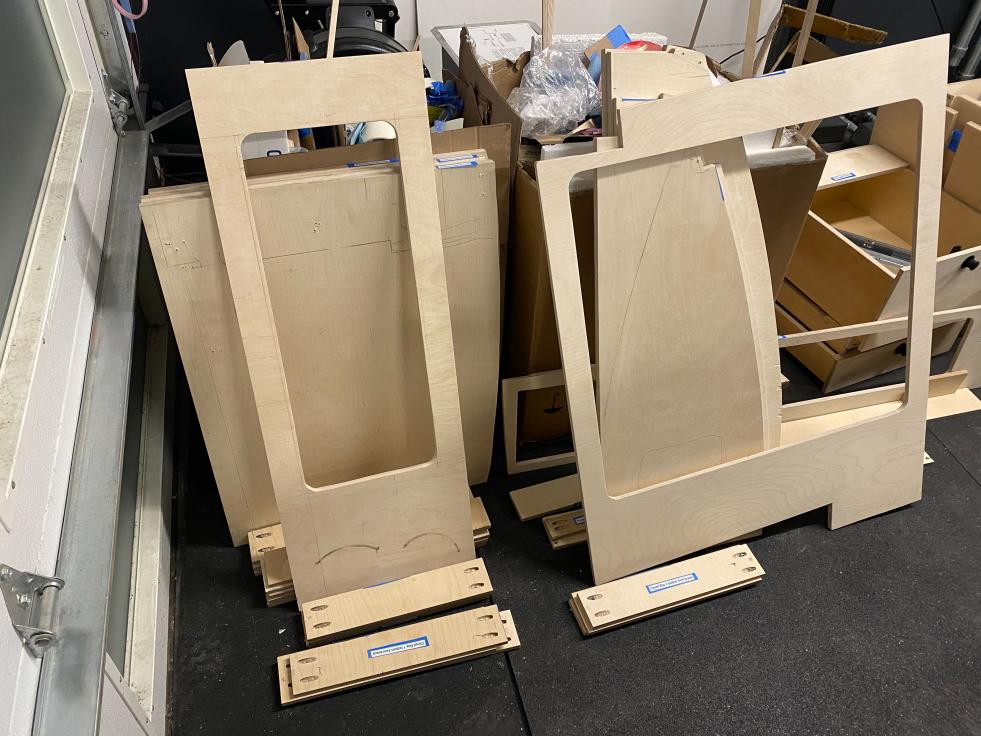
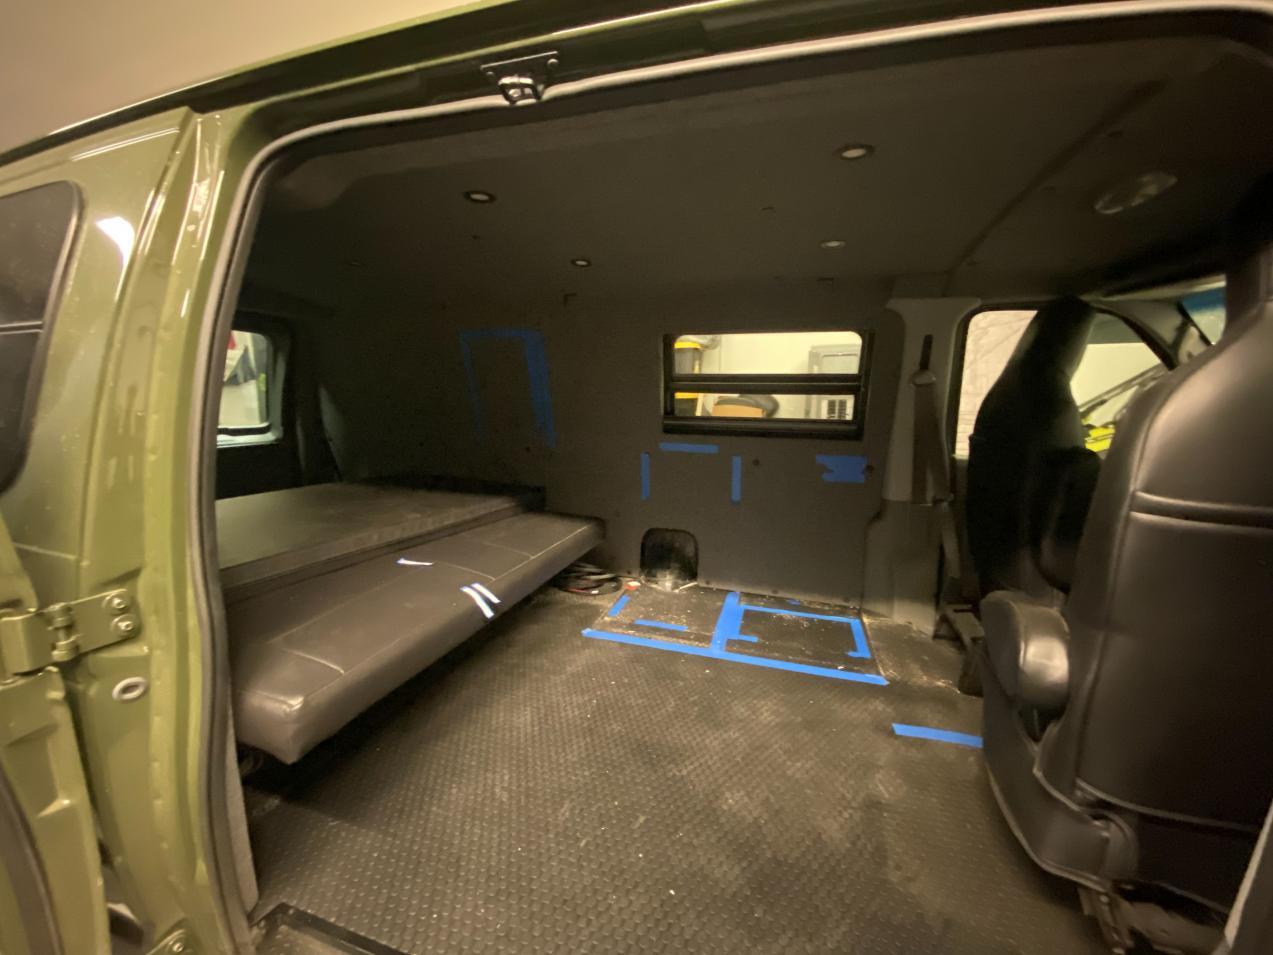
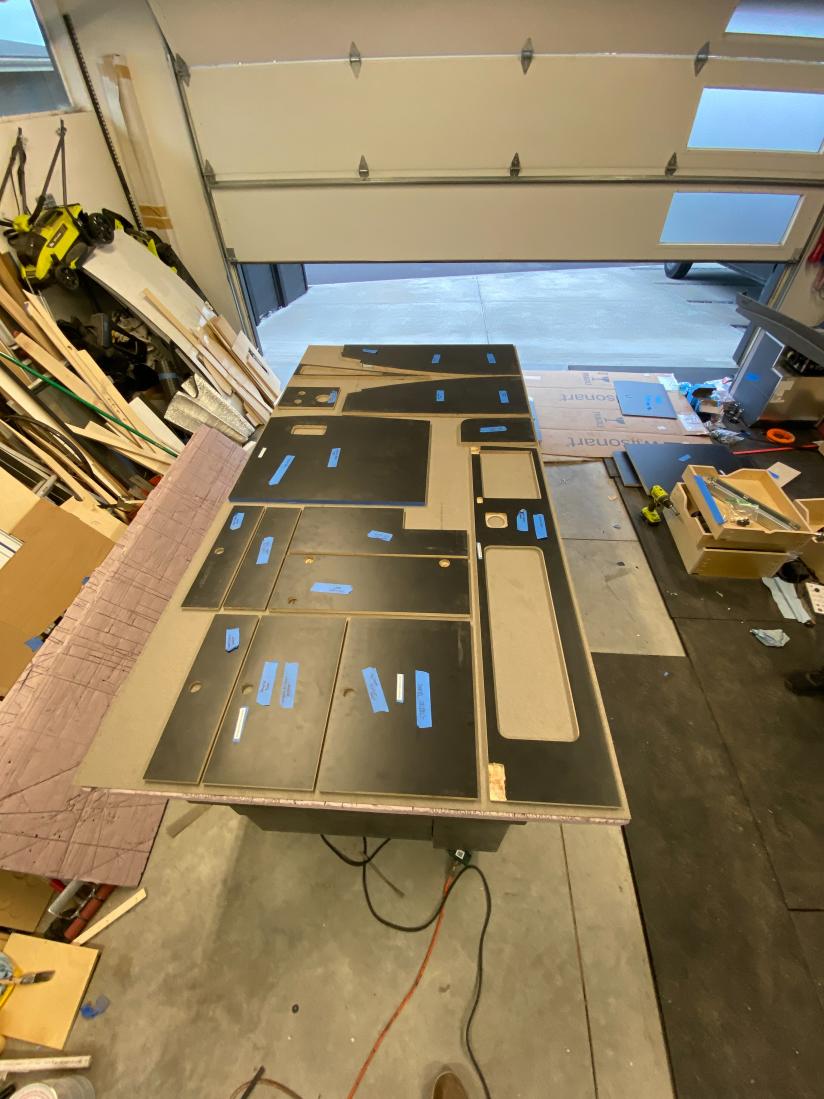
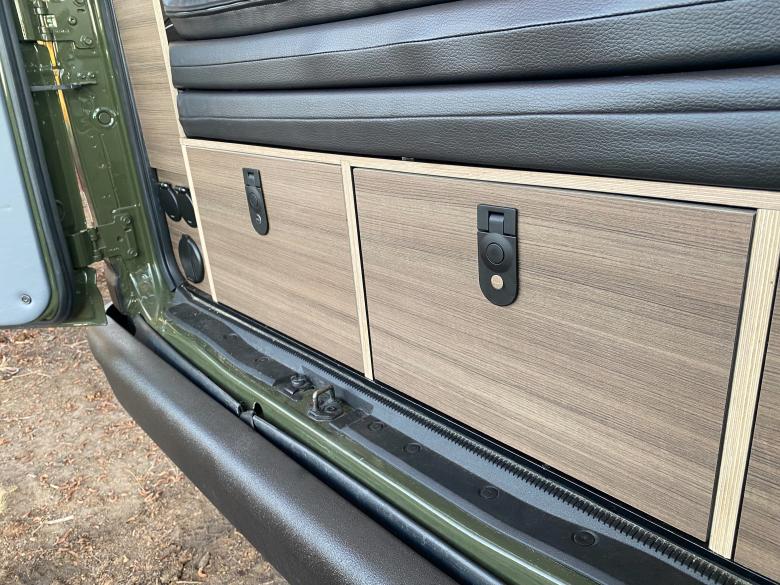
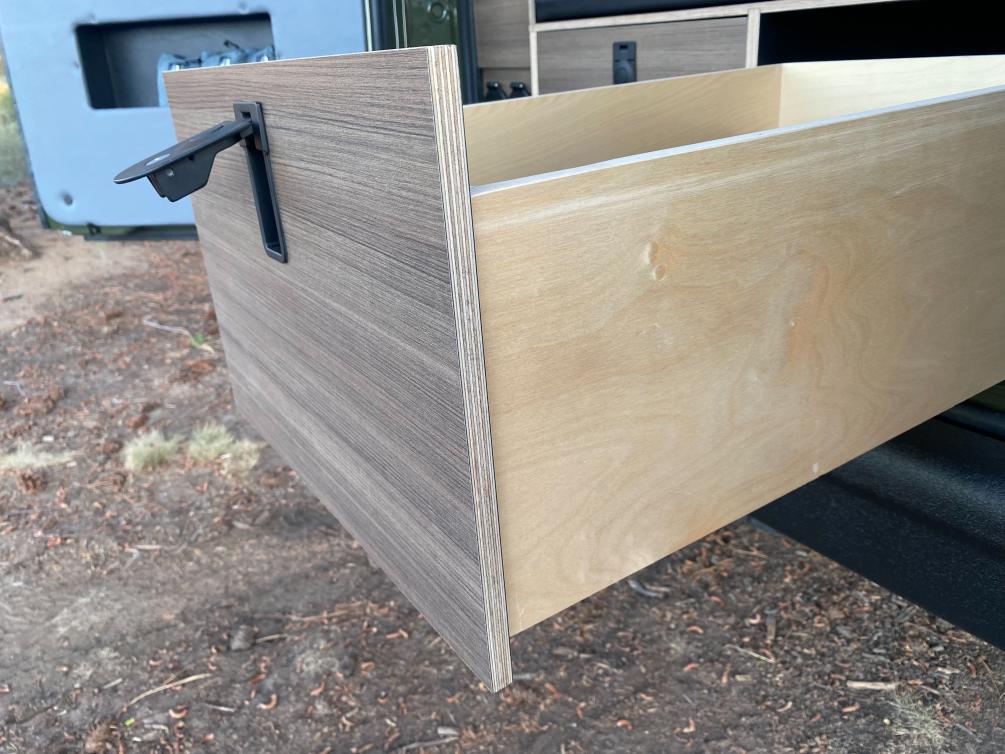
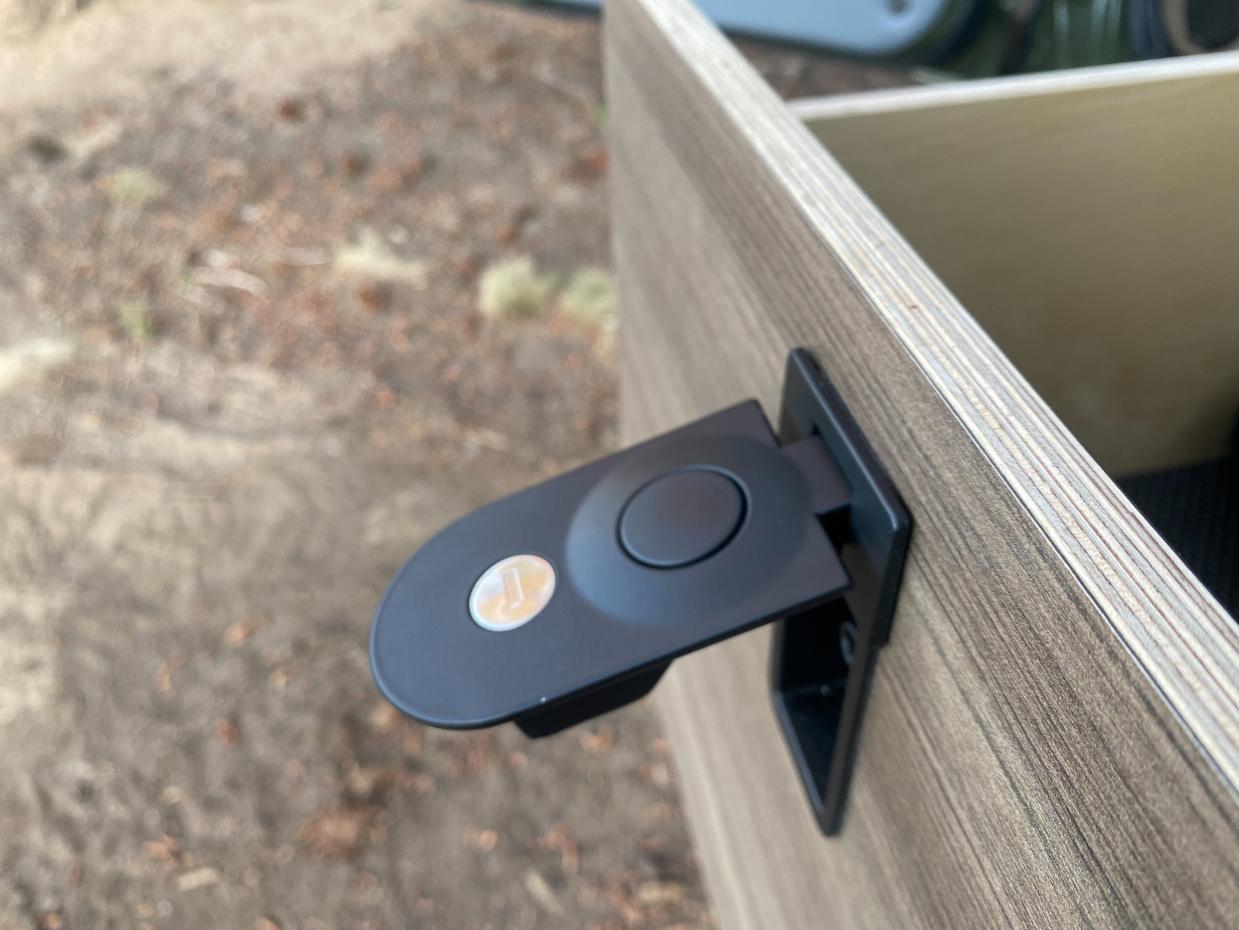
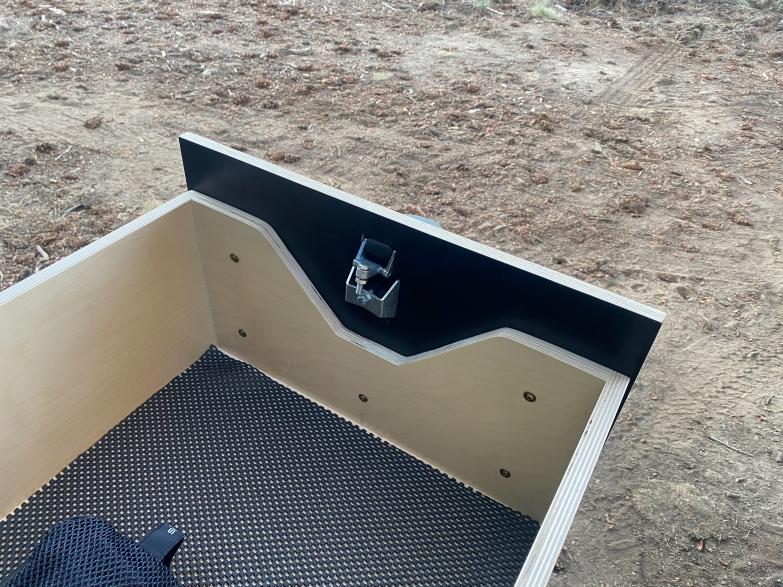
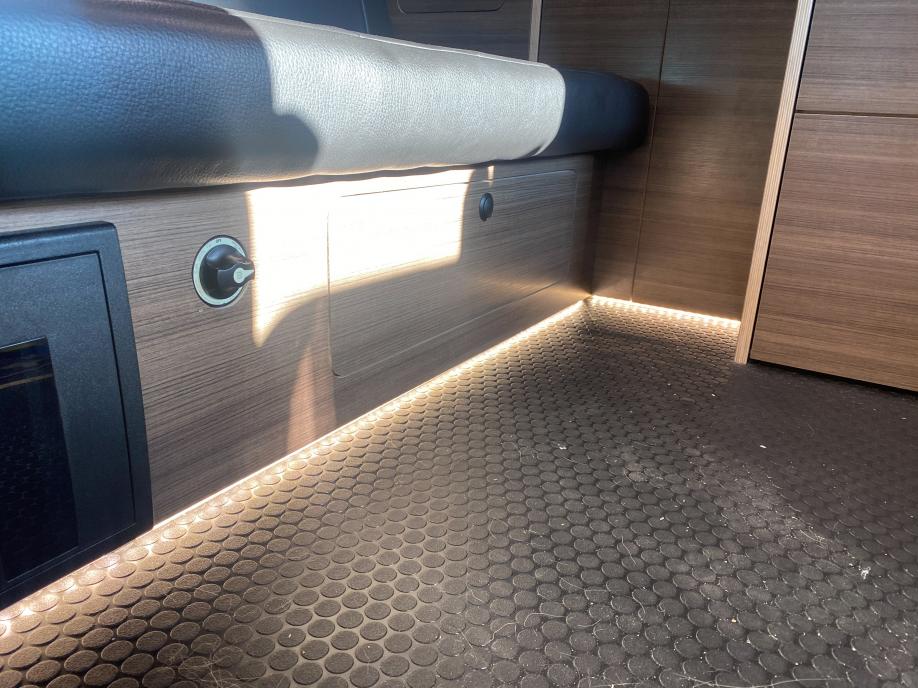
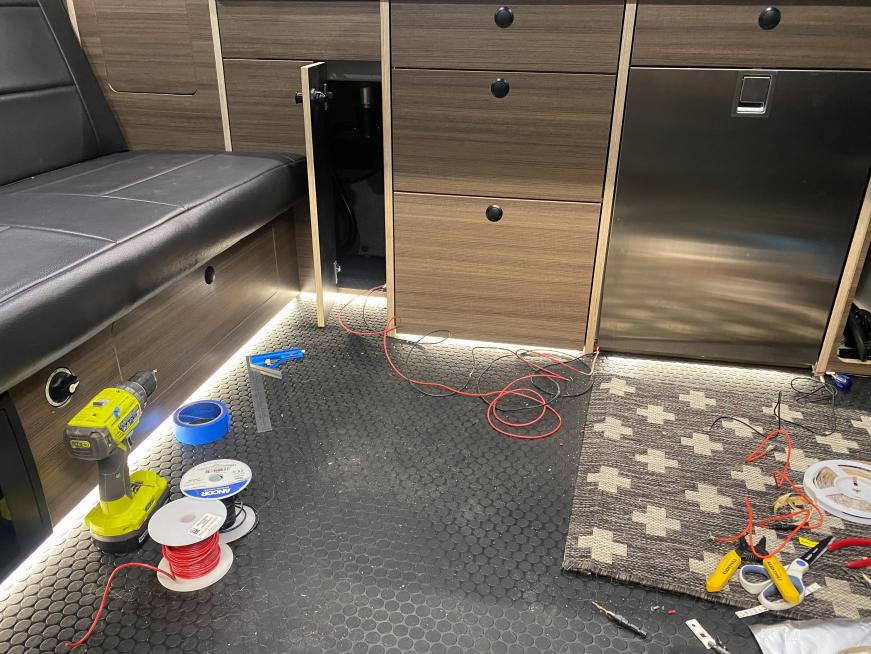
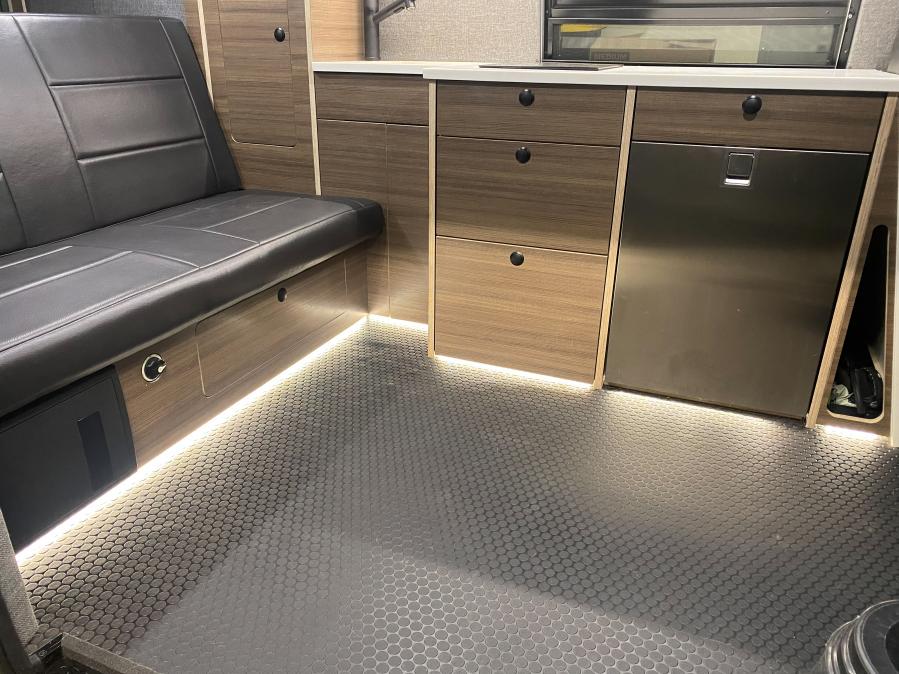
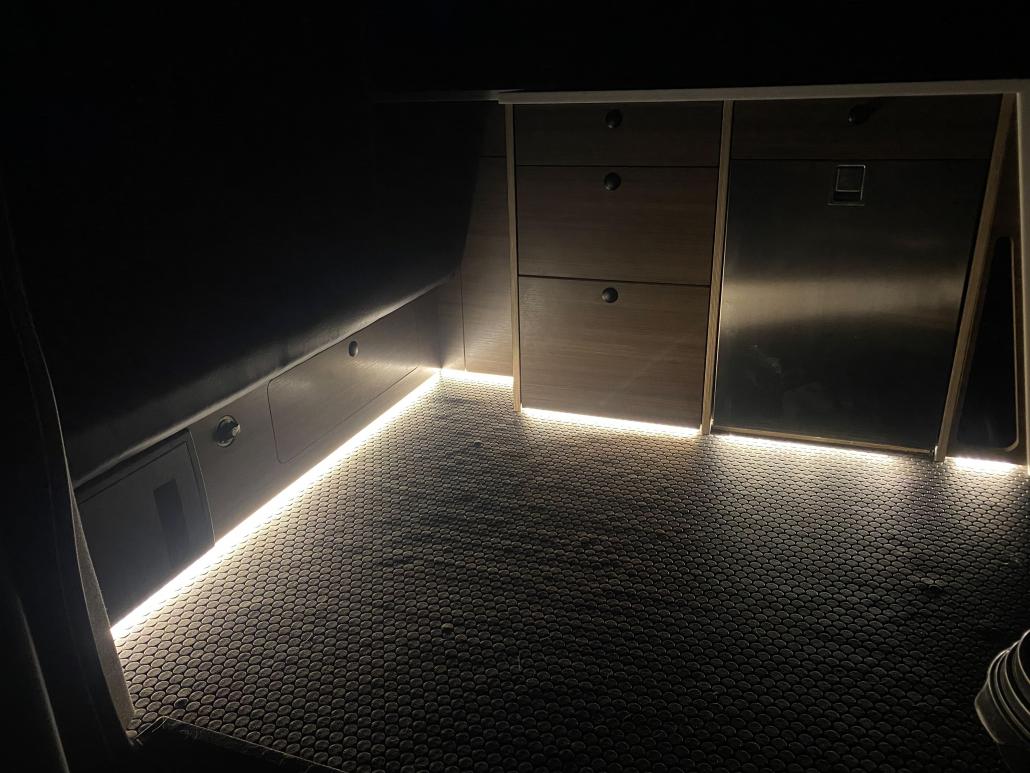
-So at around midnight we started the lengthy and unfun part of this process of disassembling everything. With some documentation of how everything looked my wife and I took the label maker out and started pulling everything apart piece by piece to get ready for the laminating process. 2 hours later the van was back to empty and all the cabinets back to just small parts.
-At this point, we were only about 3 days from our original departure date, and we quickly realized this was not going to happen. So this started us on the 20-22 hours a day work track to try to get everything back together enough for us to leave for our trip.
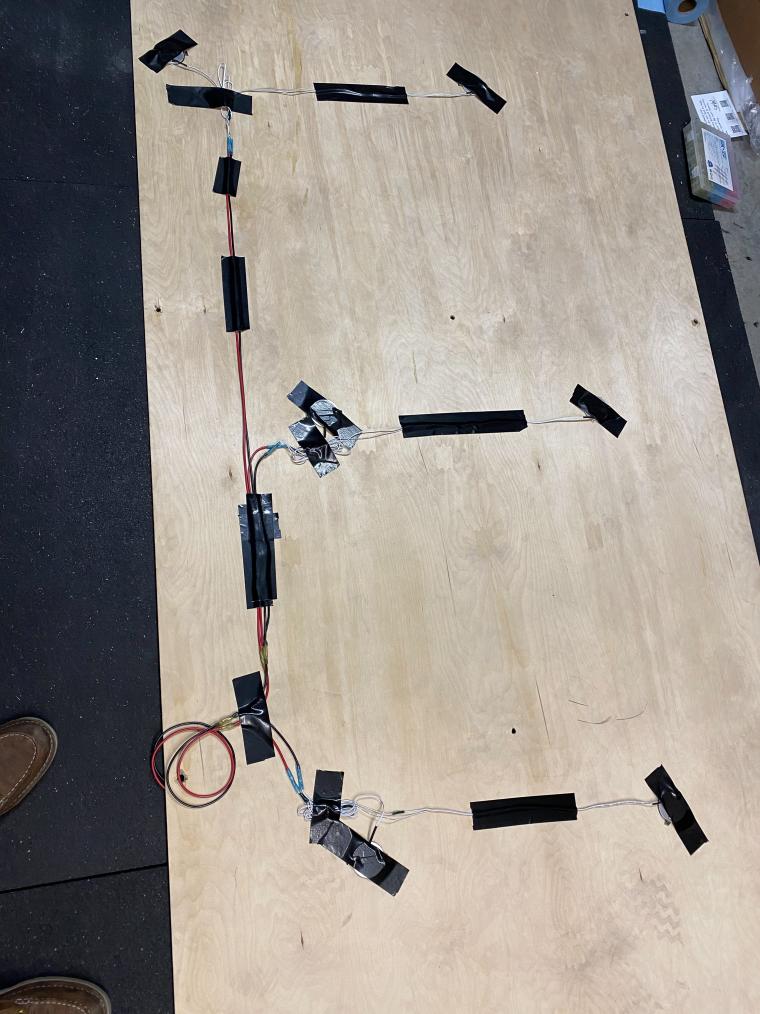
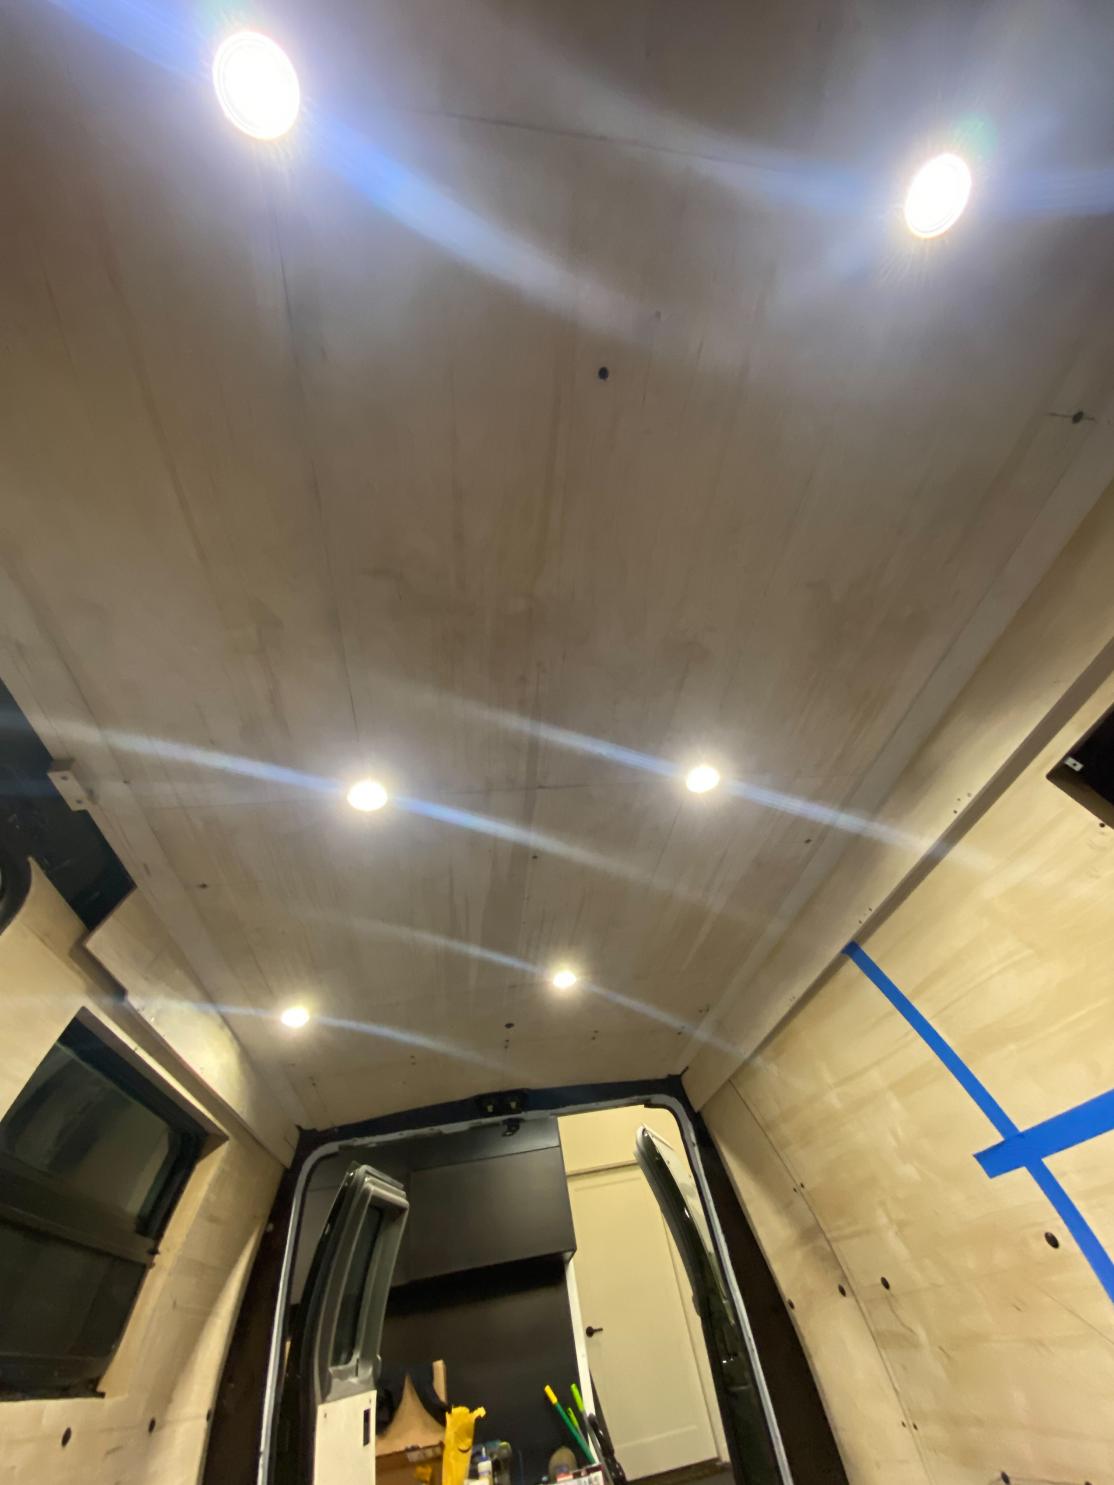
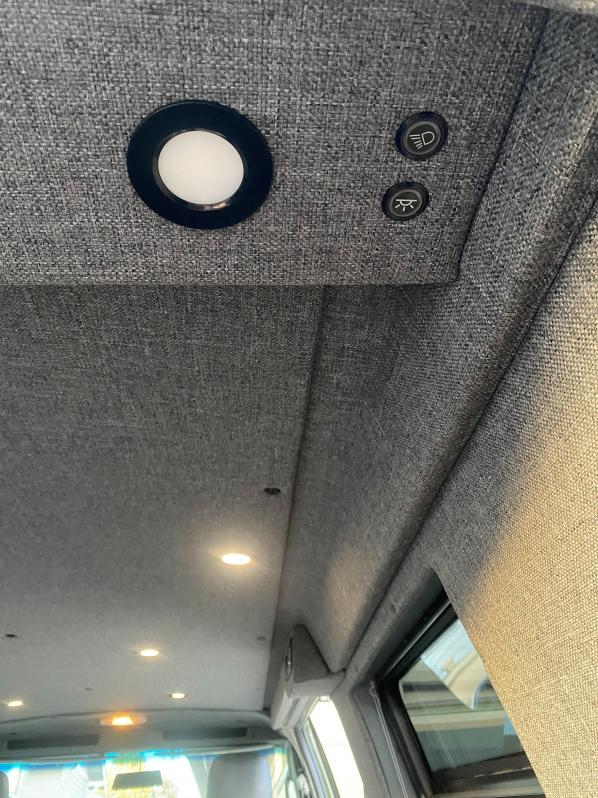
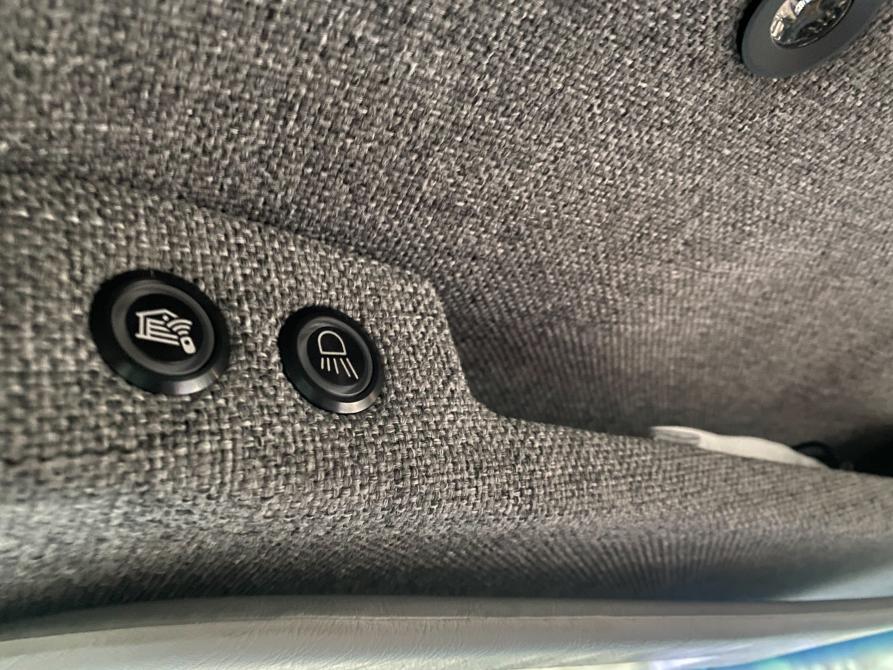
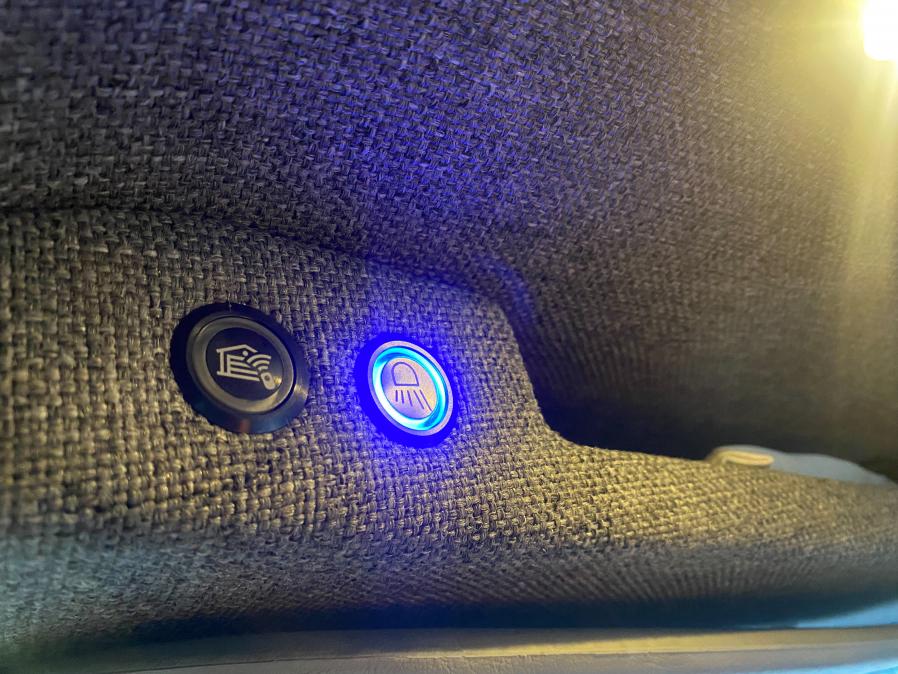
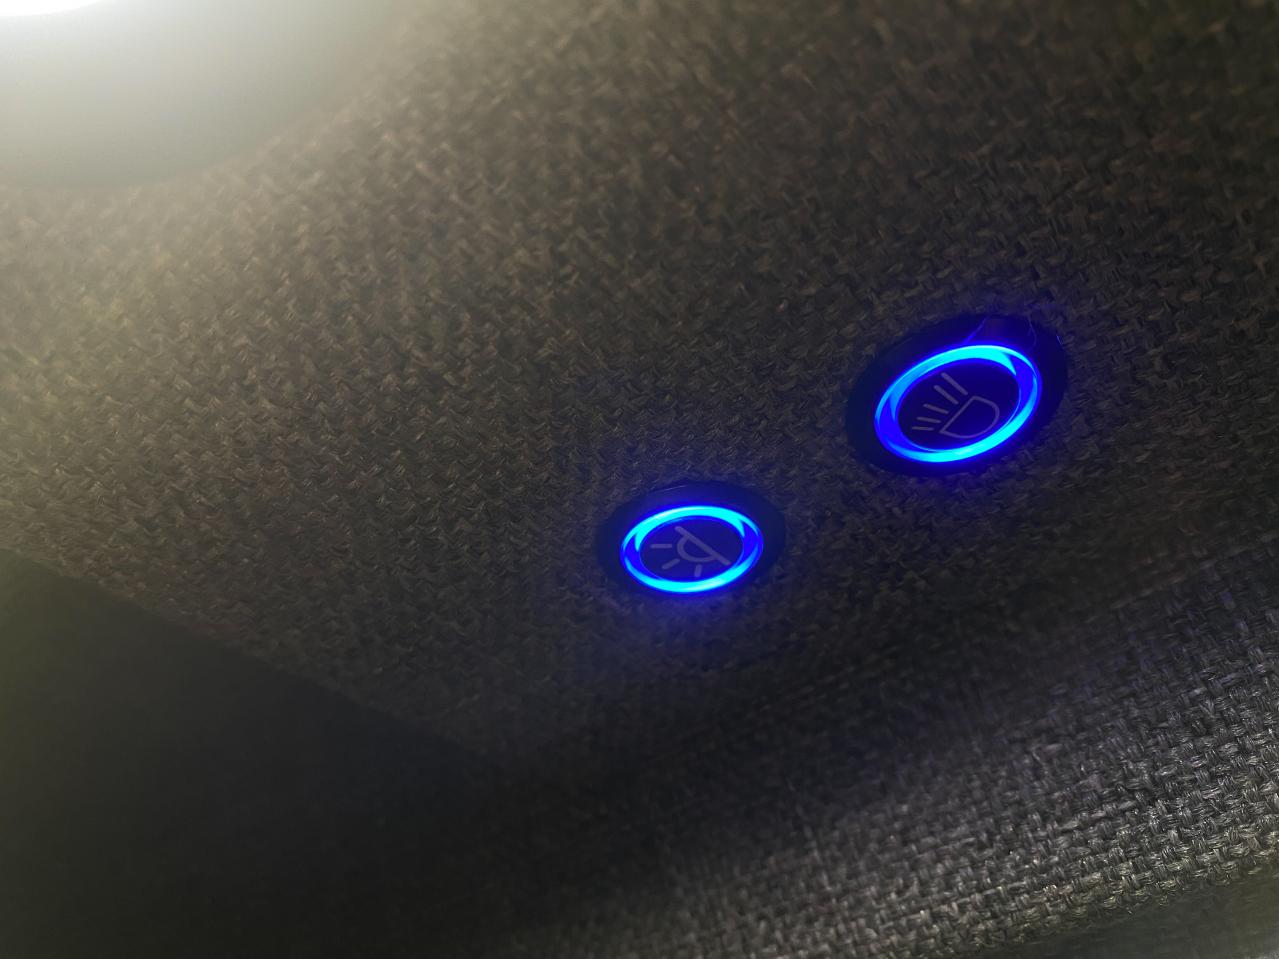
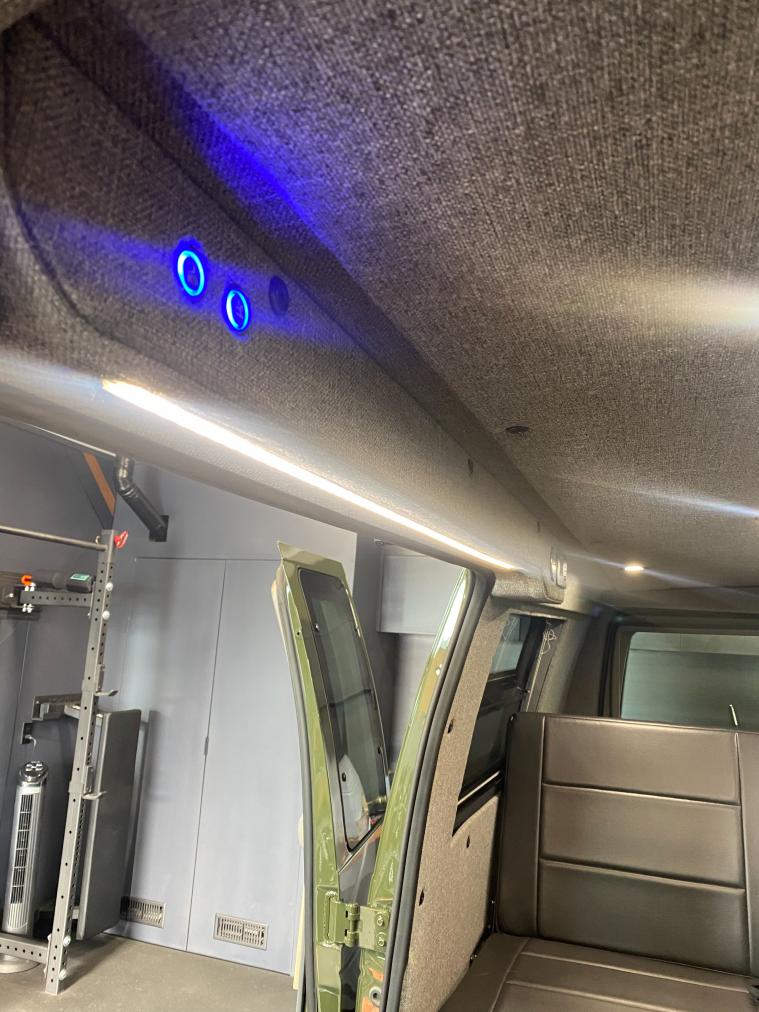
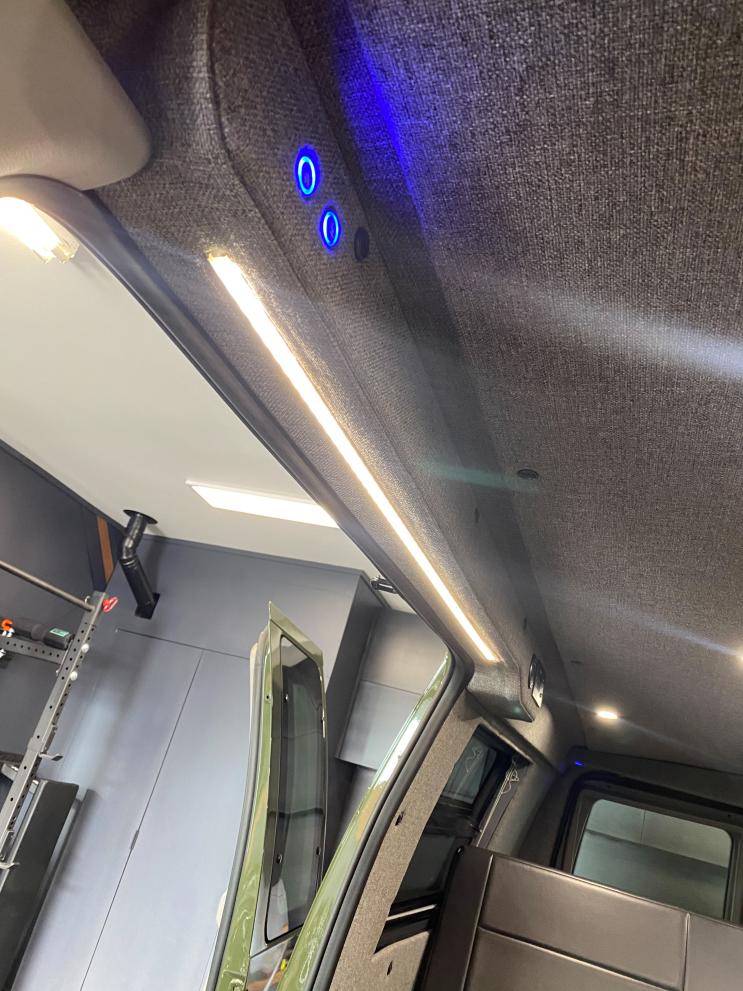
-The following day I got to removing even more parts to finish up some of the wiring that I had previously left behind the wall and finished up wiring the ceiling lights to the dimmer modules. One thing that I had some issues with was the dimmer module trying to run two switches for the main lights while maintaining the button LED and dimming function. After some trial and error, I finally got it working.
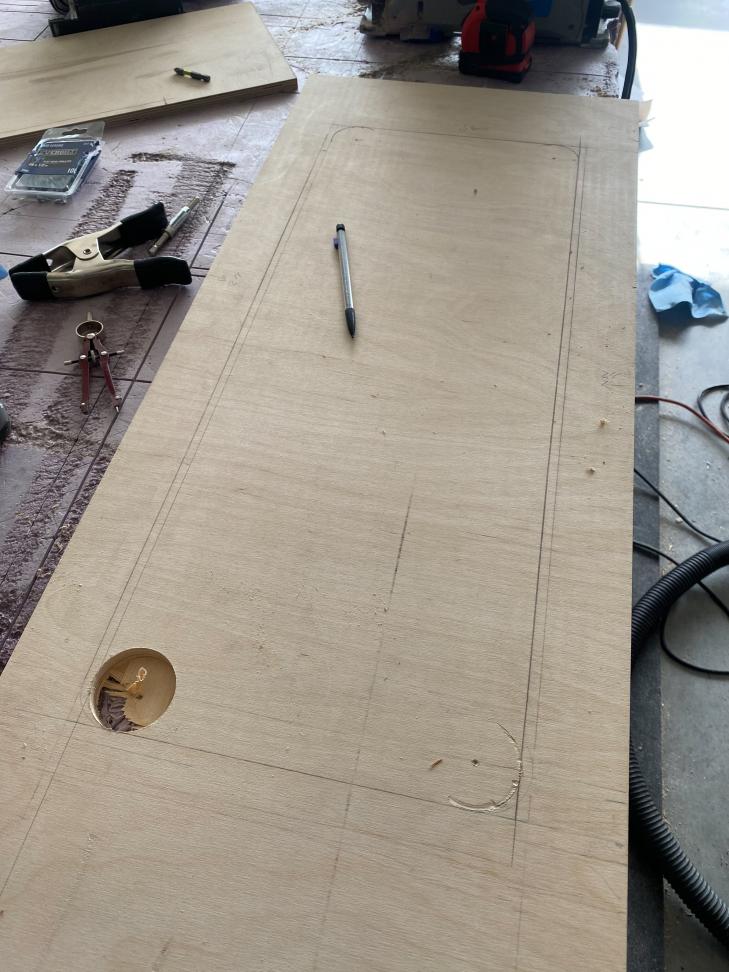
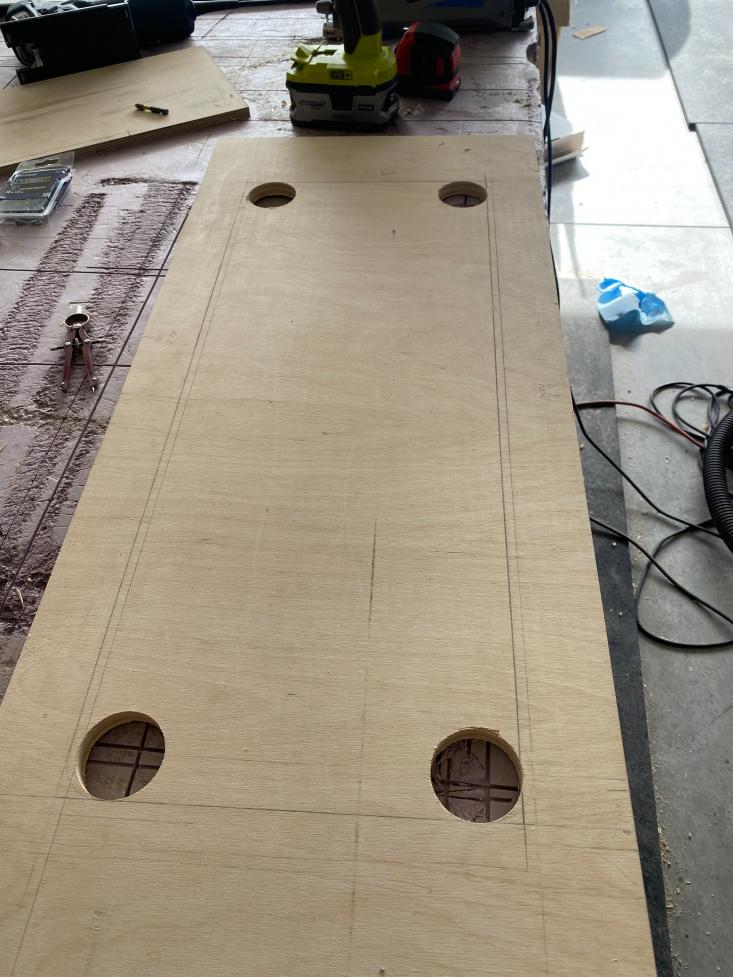
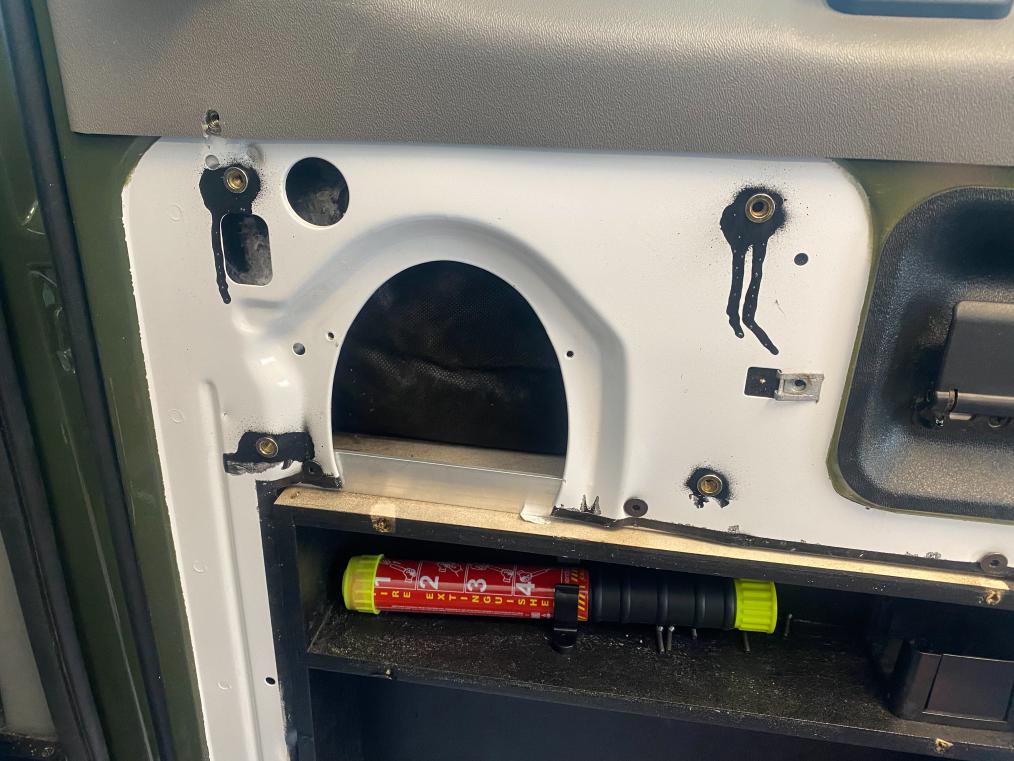
-I also worked on cutting in some holes and openings for weight savings and venting of the electrical cabinet as well as the fridge.
Lamination Process:
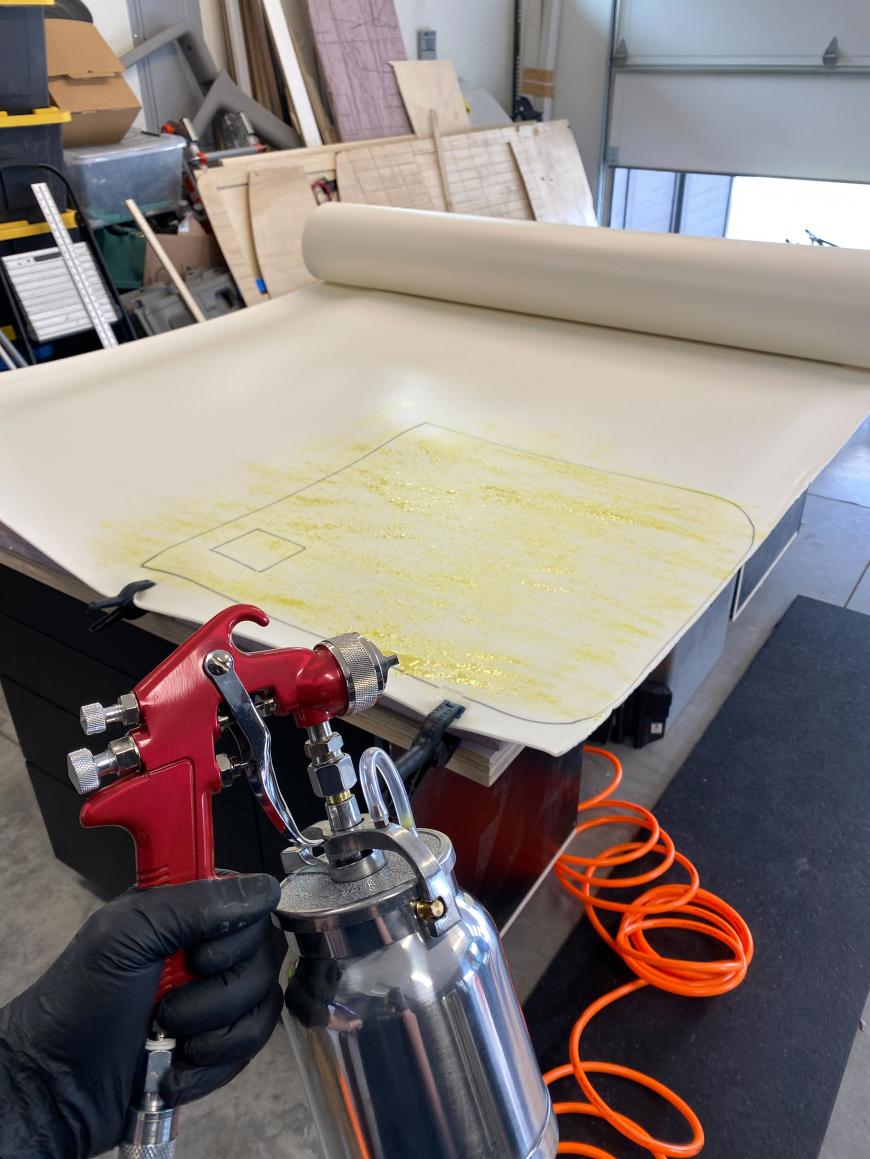
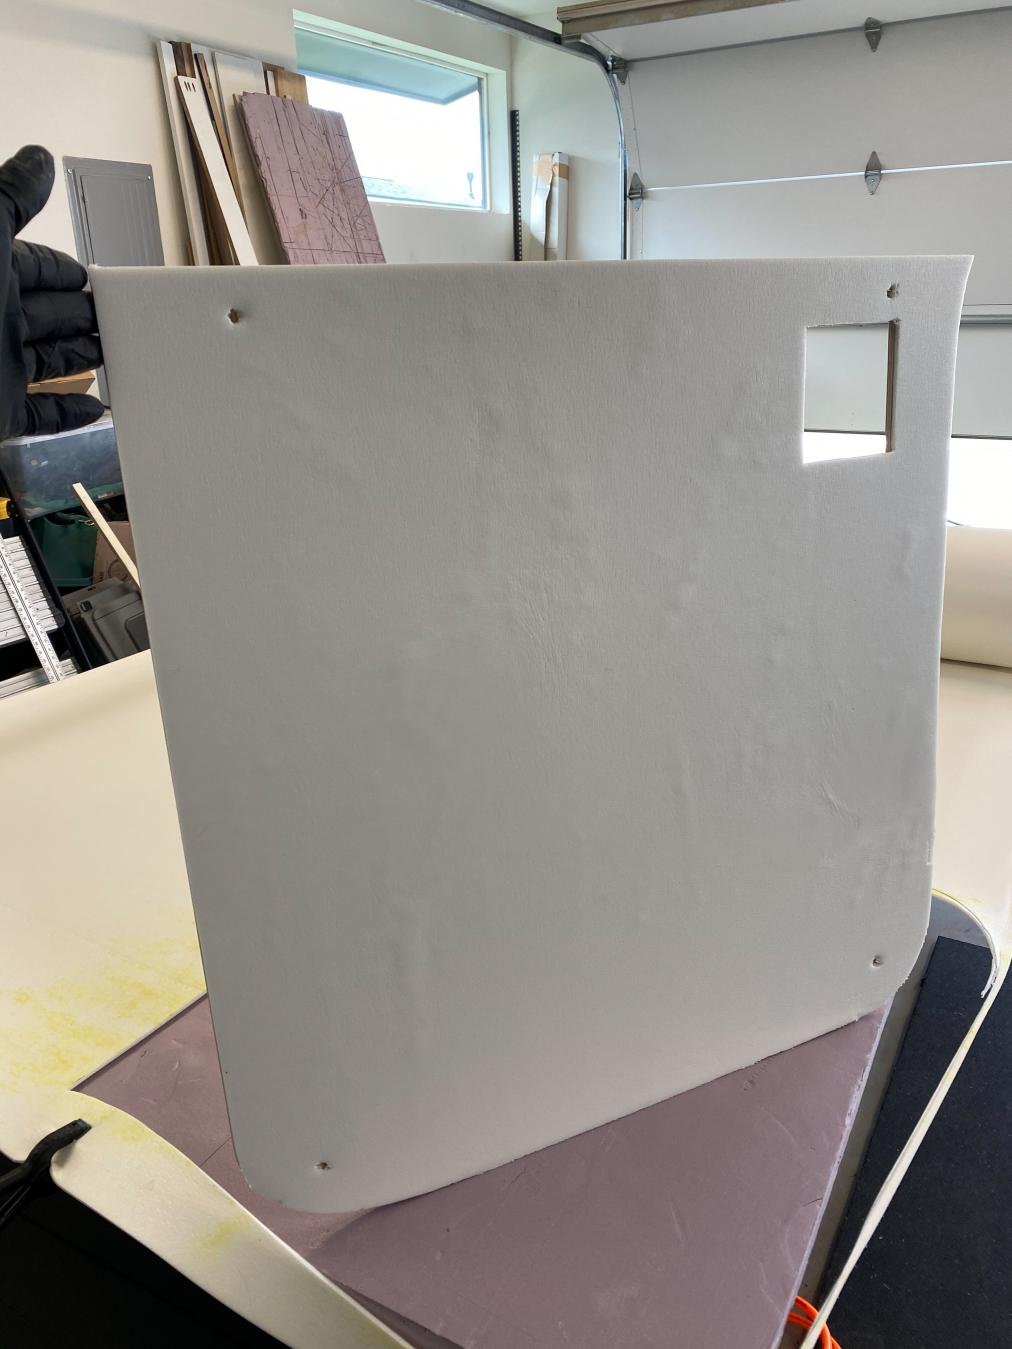
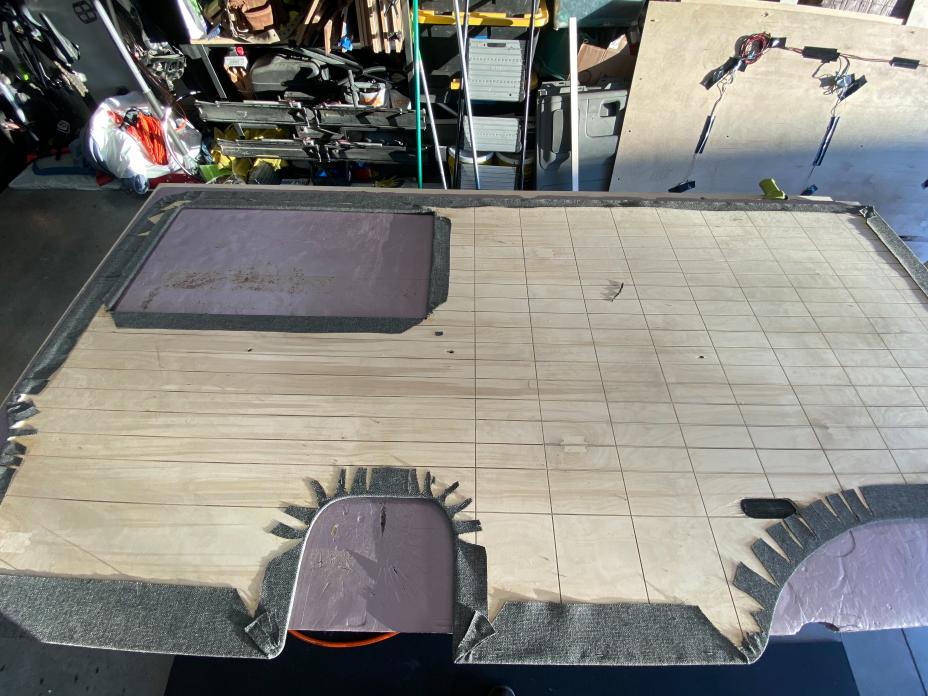
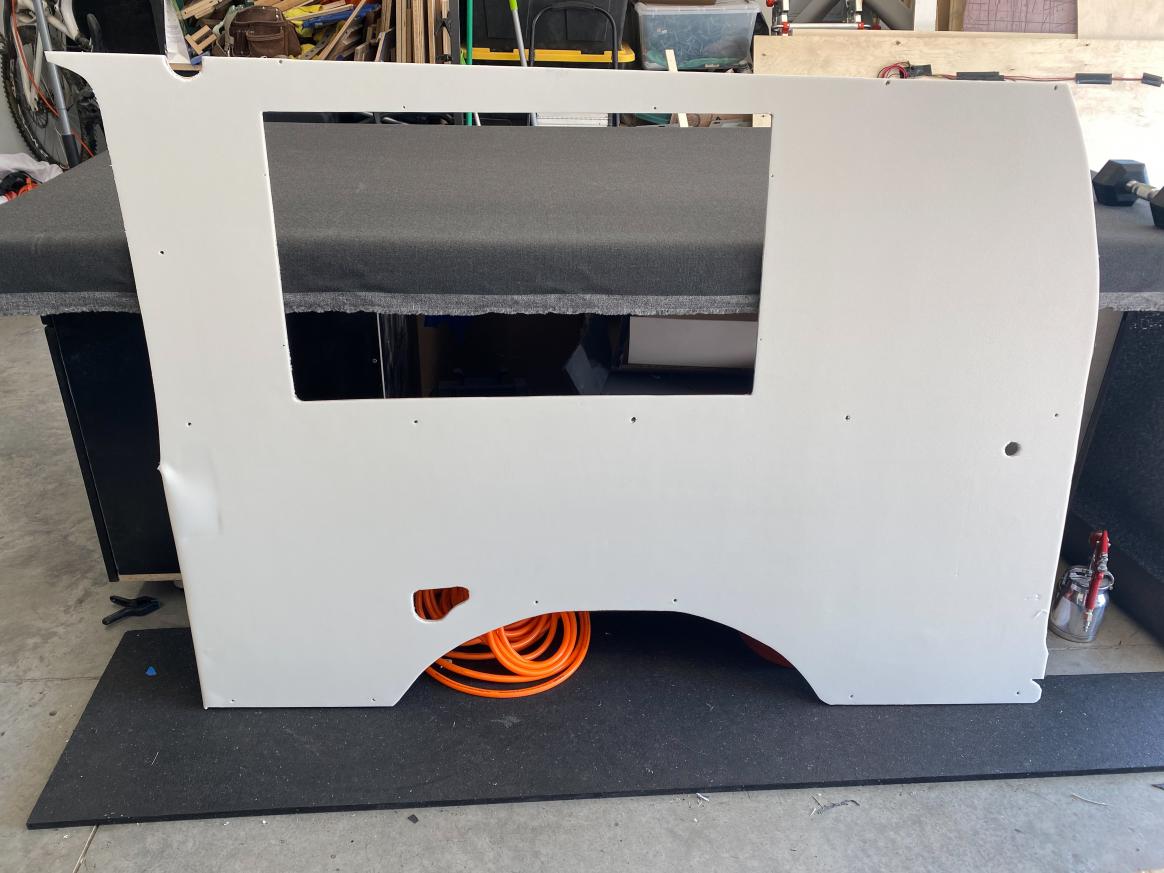
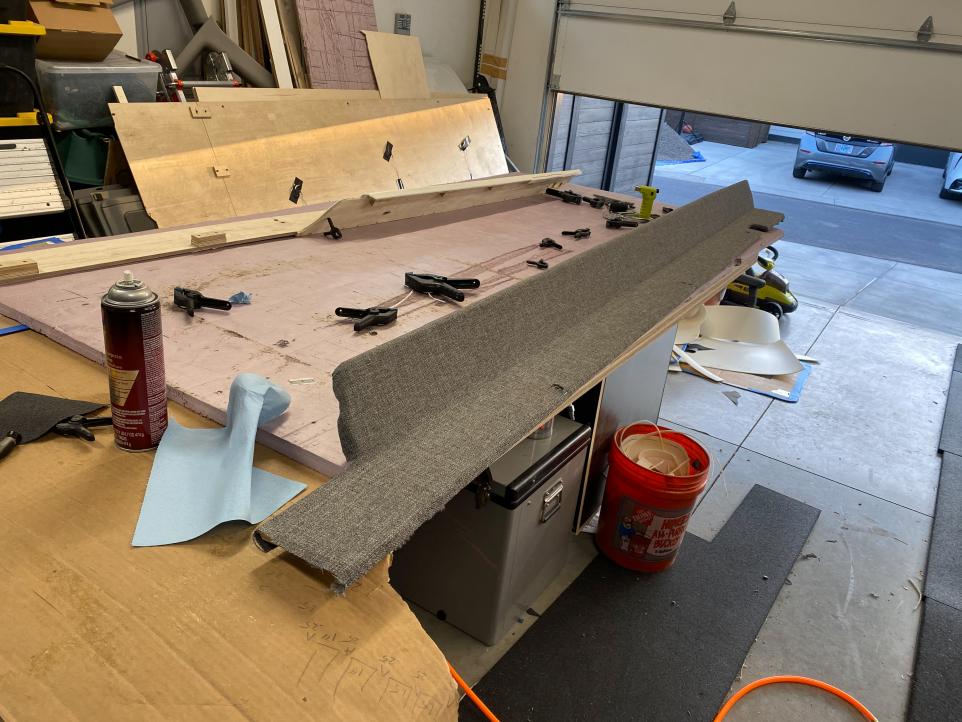
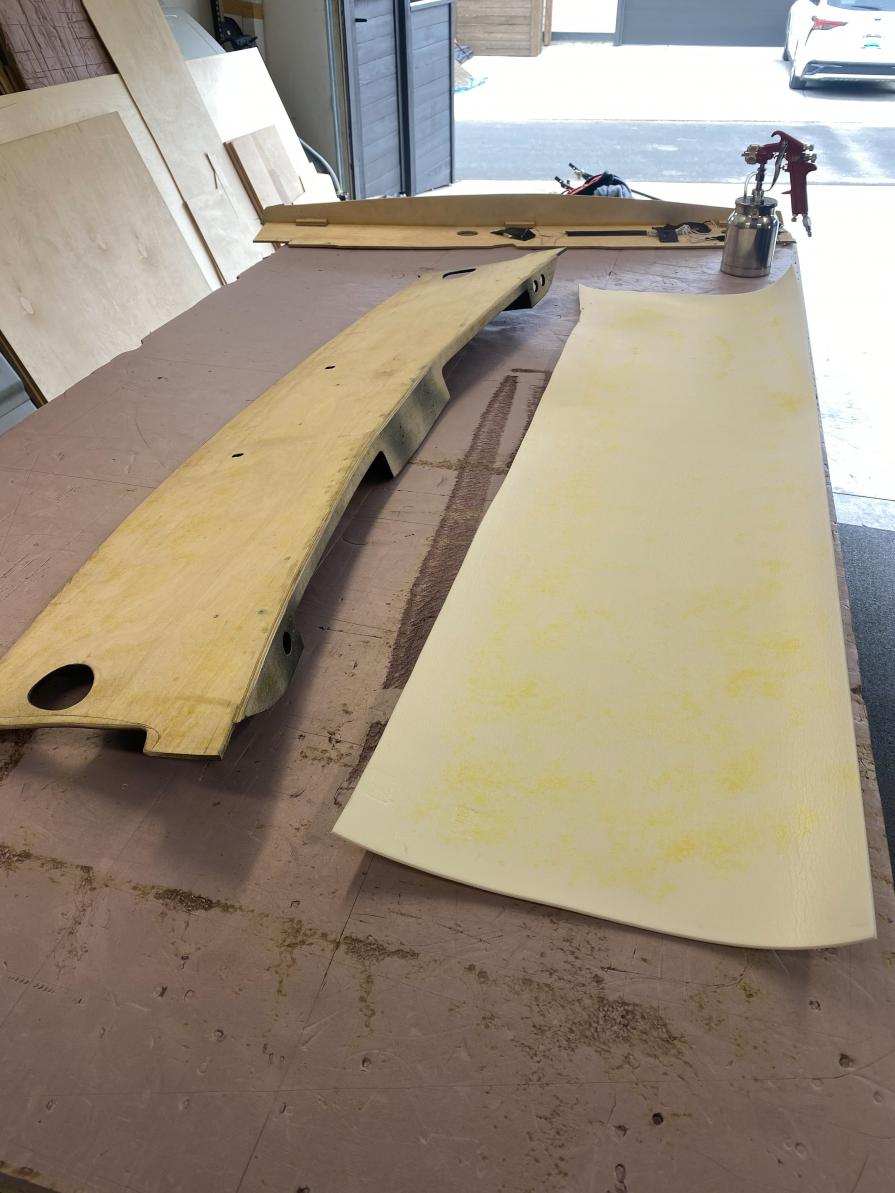
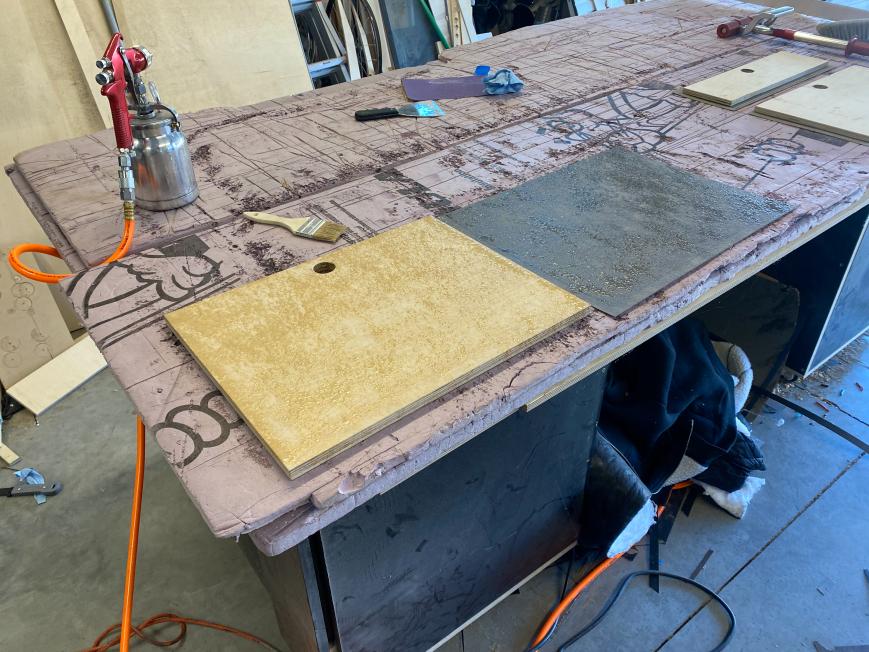
-After lots of research through forums and youtube we found a good rough walkthrough that we semi followed for the process of the lamination. The basic process was to lay out the sheets of laminate finish side down then take each cabinet piece and lay it out on the sheet to try to minimize the waste. Then trace all the shapes out and label each shape. After getting it all laid out I took a track saw and cut out each rough shape and stacked it with its corresponding panel. Then using the sprayer I sprayed the laminate and cabinet piece with glue. Most tutorials suggest putting the laminate on top of the wood, but we found the opposite worked better. We would lay the laminate out and then line up the wood as close to our traced line as we could and apply even pressure. Once it was stuck we would flip the assembly over and use a laminate roller to even everything out. Then we would use a trim bit that we picked up from amazon (
Link) on our router to flush up the laminate. After this, we would file and sand the edges to break any sharp edges.
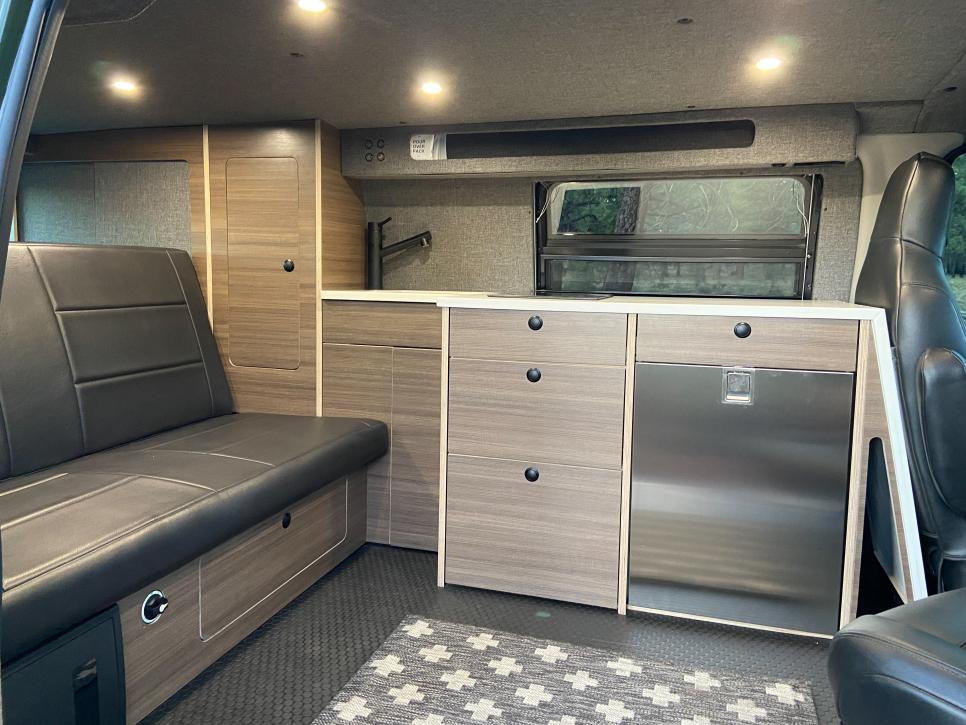
-Since we were doing black on the inside and Wilsonart Studio Teak on the outside we had to repeat this process twice. We started on the inside black section just so we could get a feel for how the process worked and because it didn't matter how precise we were with placement as it’s all just a solid color. When it came time for the Studio Teak side we had to be much more deliberate with layout and gluing as we were trying to grain match across the whole van. In the end, I would say we got pretty close considering on the inset flush doors we had to cut from two separate sections of the laminate.
-If you thought there were not enough pictures in the previous section you will be even more disappointed as I pretty much stopped doing anything but working from this point on.
Cabinets:
-After getting everything laminated it was time to begin the re-installation process. Our very OCD labeling process paid off as it allowed us to quickly identify all the pieces and their orientation in the van. One thing That I totally screwed up on though was my misunderstanding of just how hard the laminate sheets are. I had figured I would be able to feel my screw holes through the laminate making it easy to just poke screws back through allowing everything to just slide back together, but I was very wrong. In a few cases, I got lucky, but in most, I had to work back through with a tape measure and re-build essentially from scratch. This took some time, but I made it through it and got the interior structure all back in and secured through the floor.
Countertops:
-Then, if I am remembering correctly, it came time for templating the countertop. Quick backstory, a few months ago we picked up some remnant pieces of a white solid surface countertop at a local countertop company for a great price. This led us to need to learn how to do countertops which were a bit intimidating. With some other forum posts on here and a few more youtube videos, we started on the process. We made a template out of scrap ¼” plywood and used that as our template to rough cut the material down. Using the track saw to get a rough cut and then our router with a template bit we got our final cut pretty easily. Then we used some smaller pieces to double up the front edge profile. We ended up using a clear epoxy to attach this piece which did leave a slight line but it's not too noticeable. After getting the thickened edge done we went ahead and established and cut our bevel cut for the front waterfall section. After getting that test fitted we cut out our two openings for the sink and cooktop as well as the hole for the faucet. We did this by making a template again and using the router as it cut the material much cleaner and smoother than the saw. Then everything was finally installed into the van.
Electrical:
-Then it was on to the main electrical section. Since we were on a time crunch I only really got the main lights, fridge, and a few USB ports wired. This required me to get a few of the main components wired as well. This included the batteries, the Victron BMV, the Victron Orion DC/DC charger, the Victron Lynx Distributor, and the main fuse distributor. All of this was done with high-quality marine-grade wiring and came together pretty well. Once I get the electrical all done and cleaned up I will share some finished photos of my electrical system.
Cabinets:
-After getting that done it was on to reinstall the closet door tracks. I made a mistake in testing the tracks without any fabric on the doors, so when I tried to reinstall them they no longer fit. So I routed down the backside of the door to allow for the fabric build-up and now they seem to be fitting and sliding well.
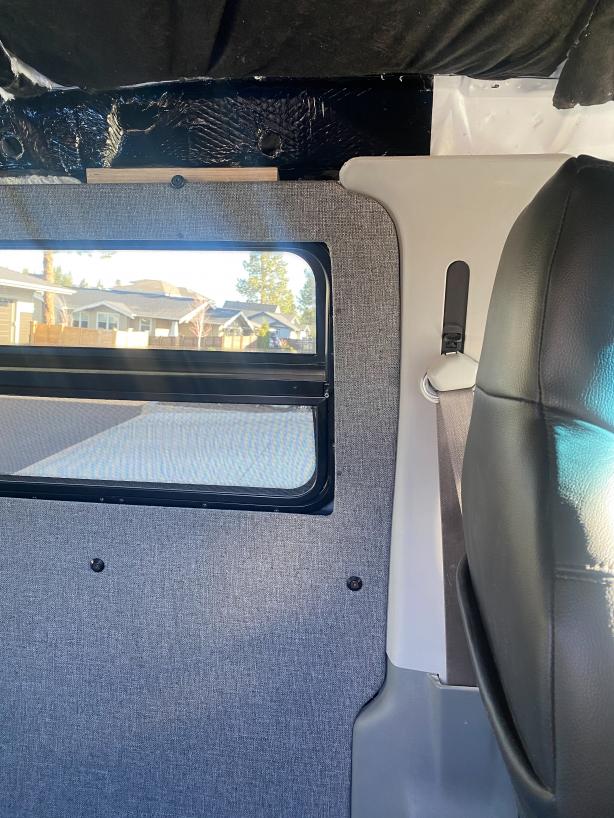
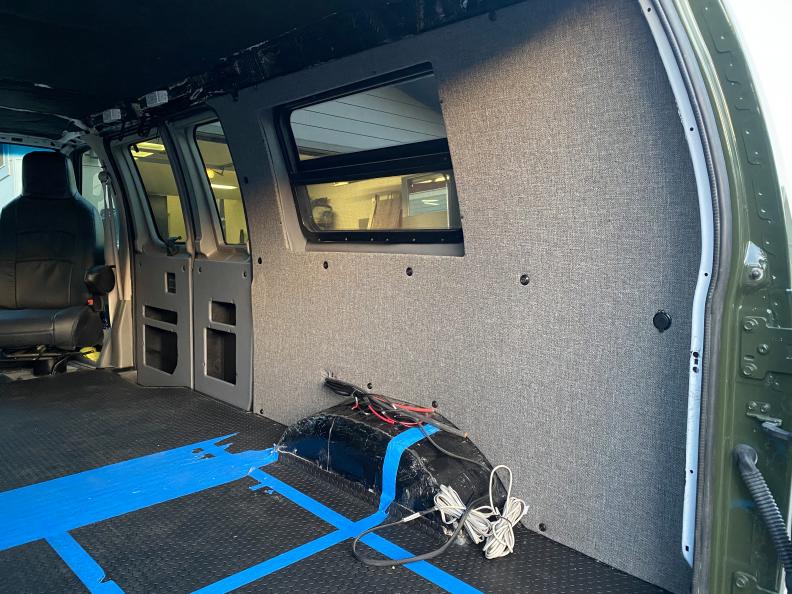
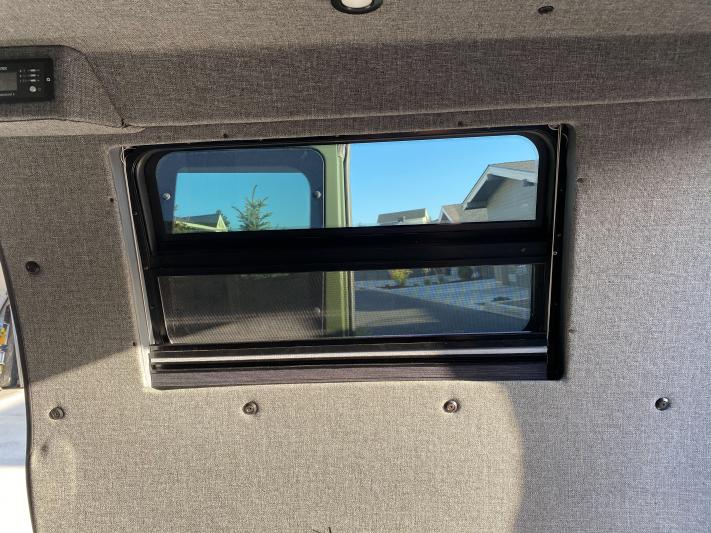
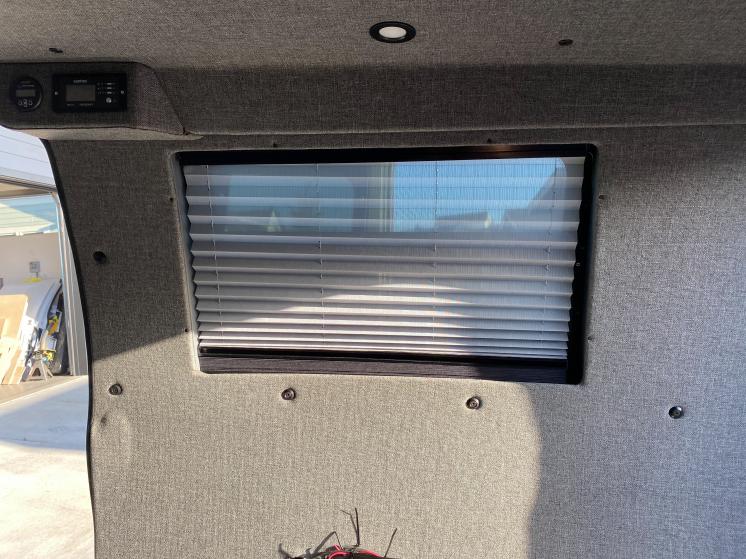
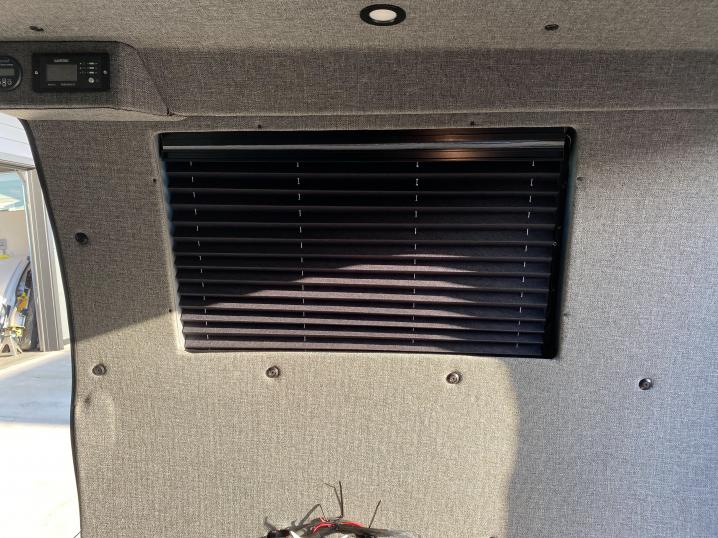
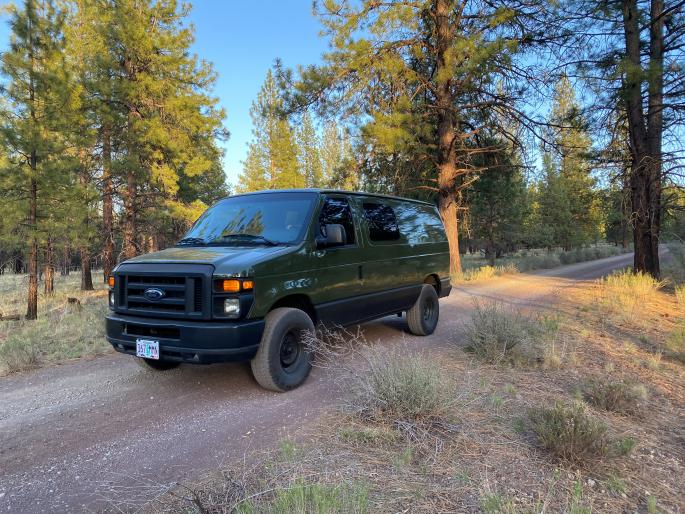
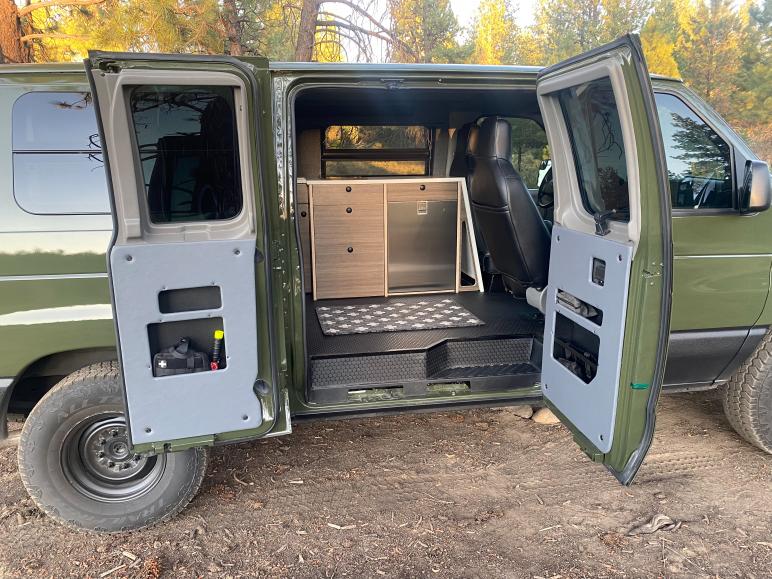
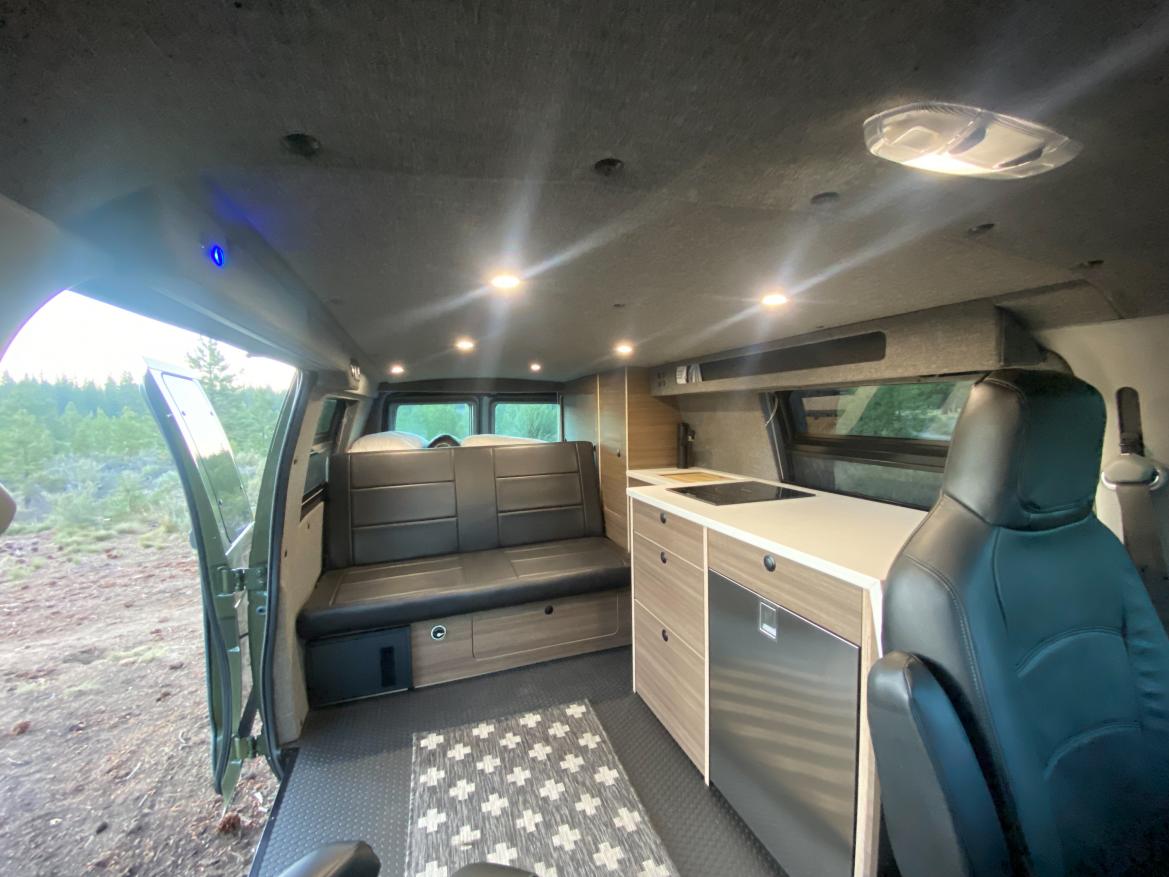
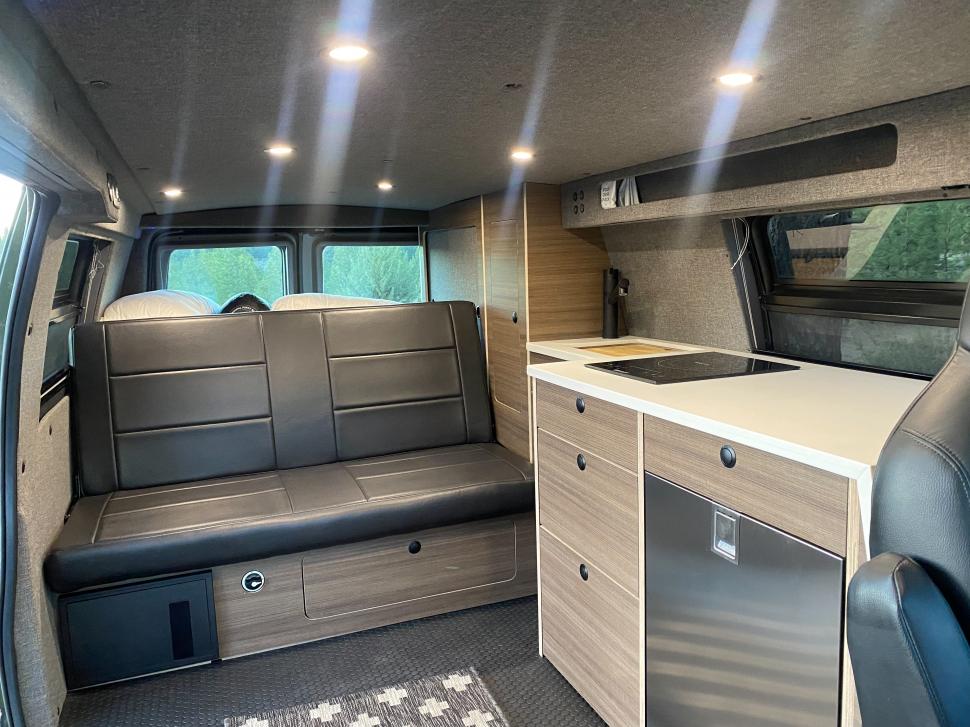
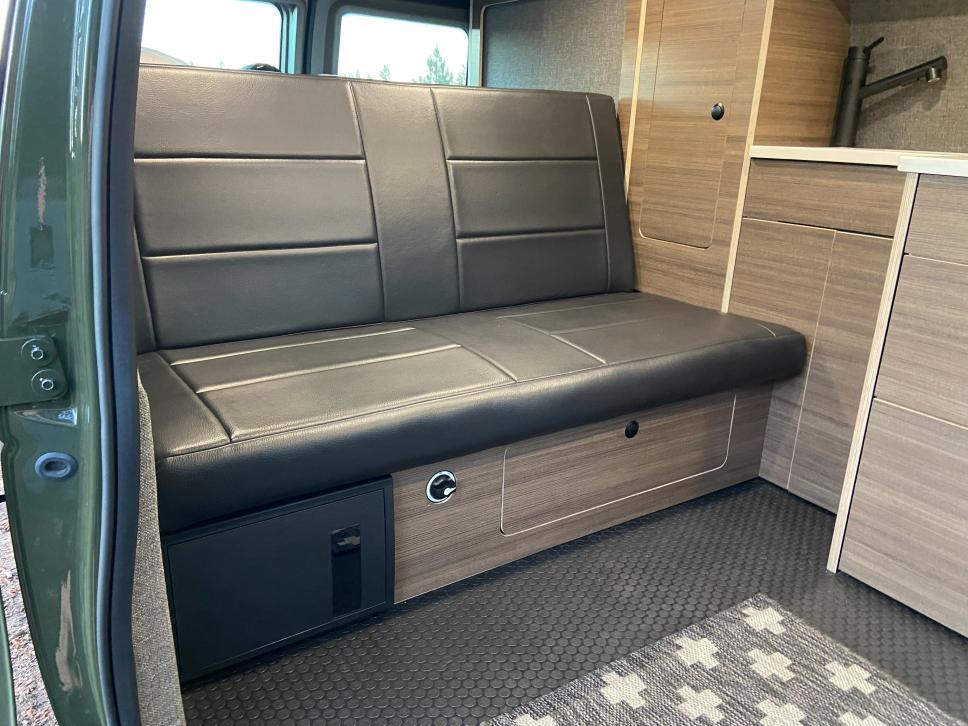
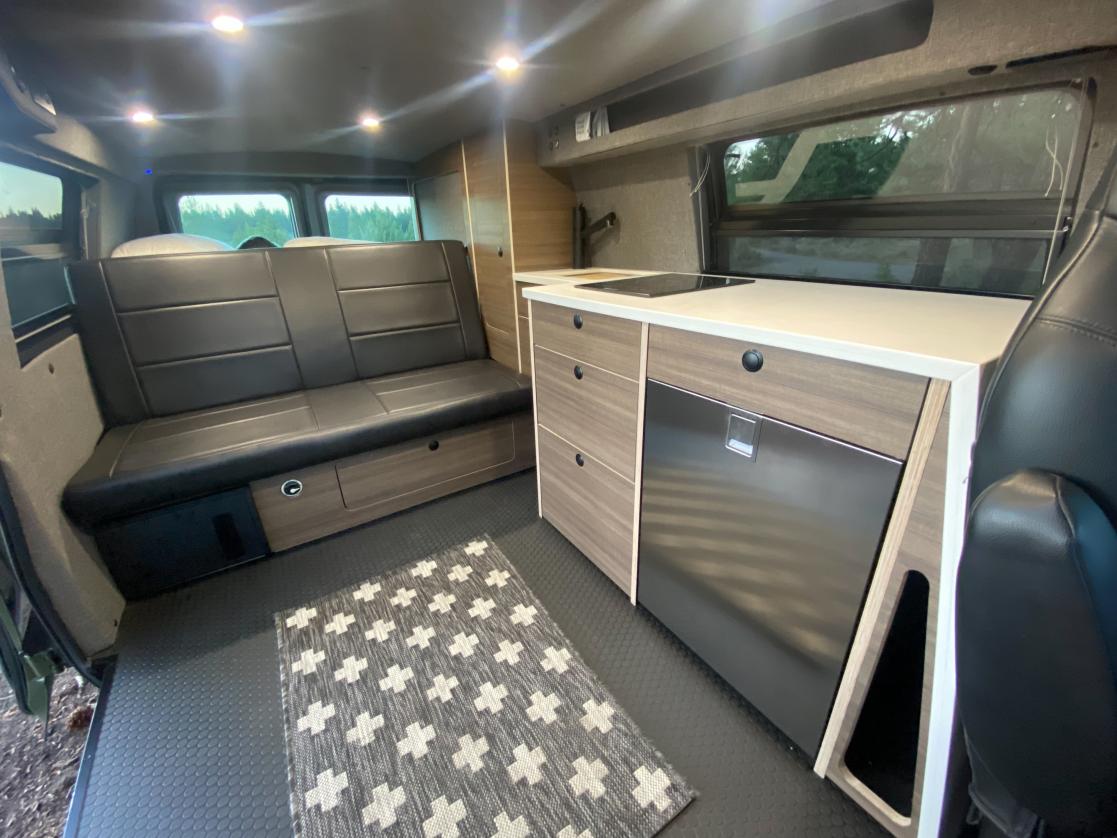
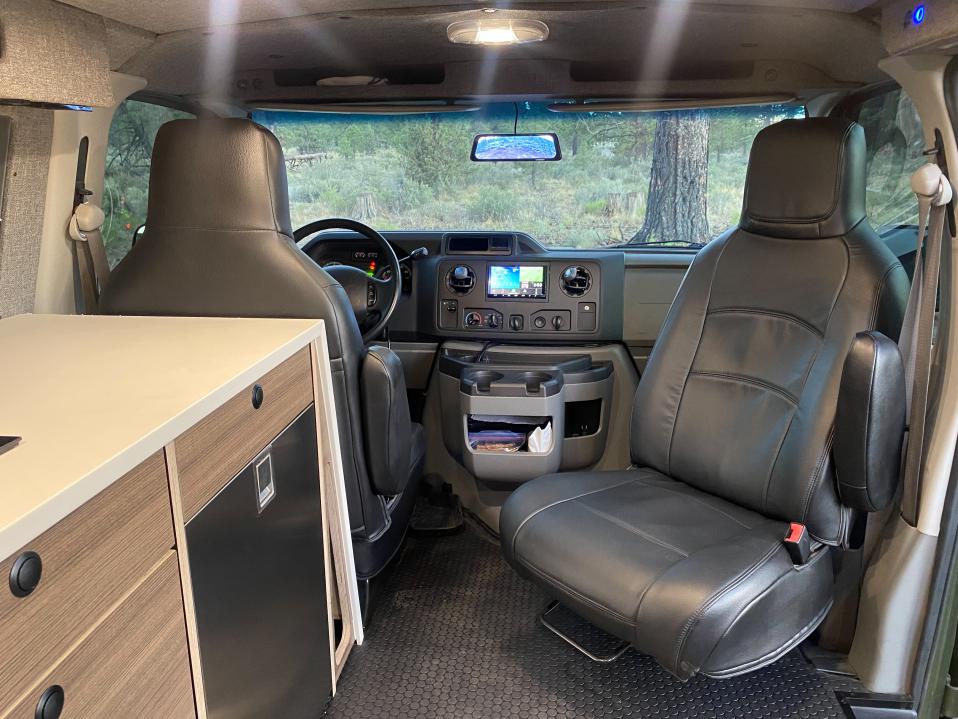
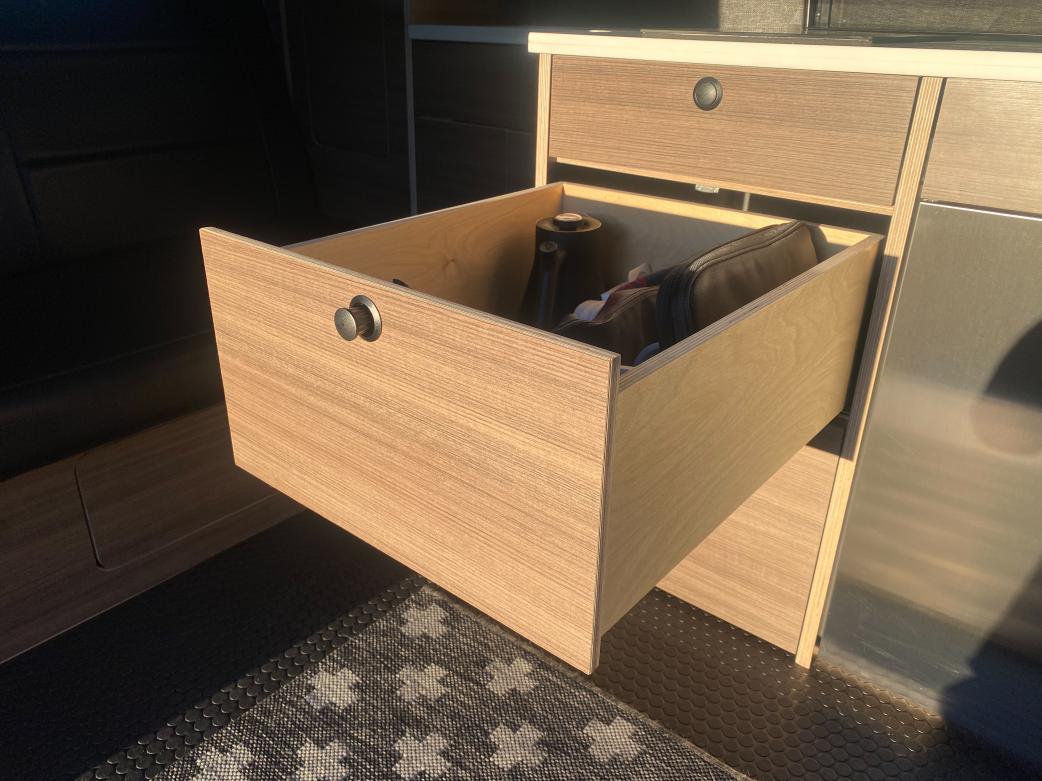
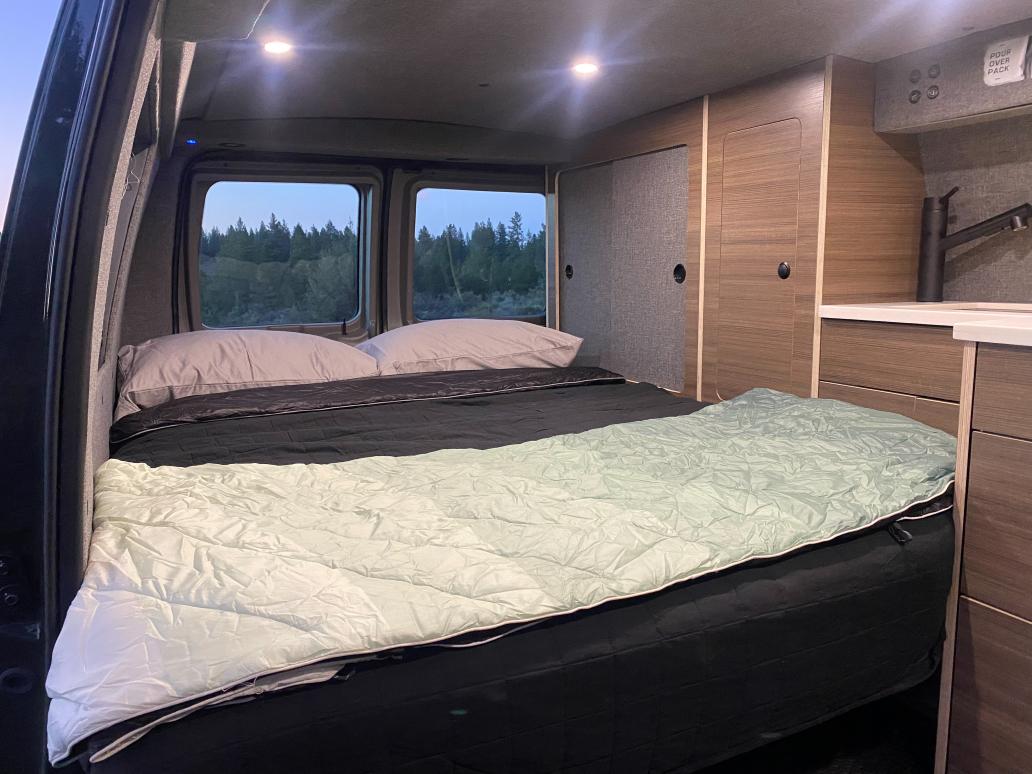
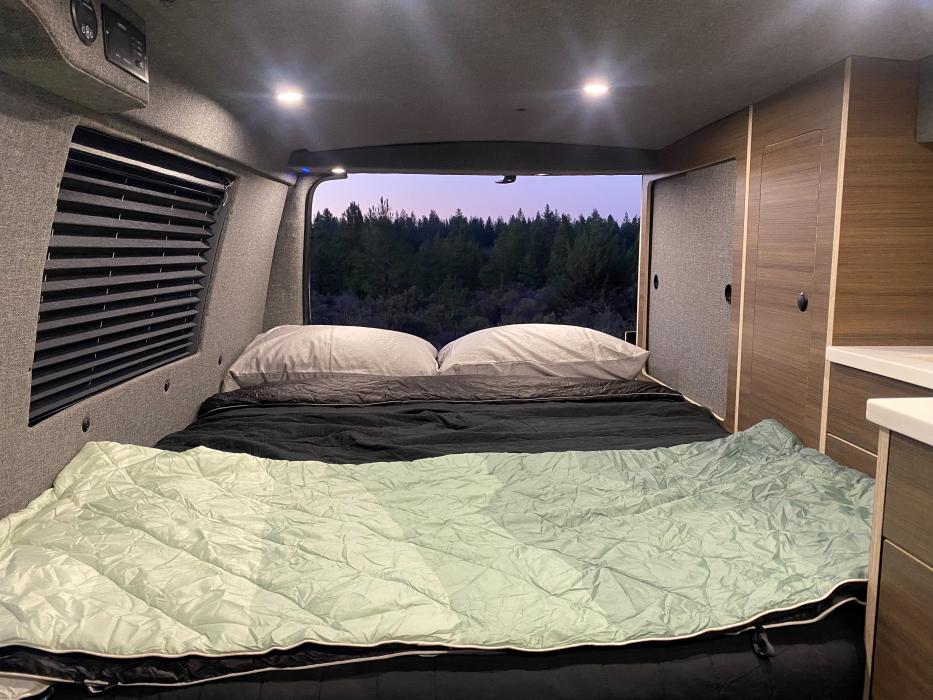
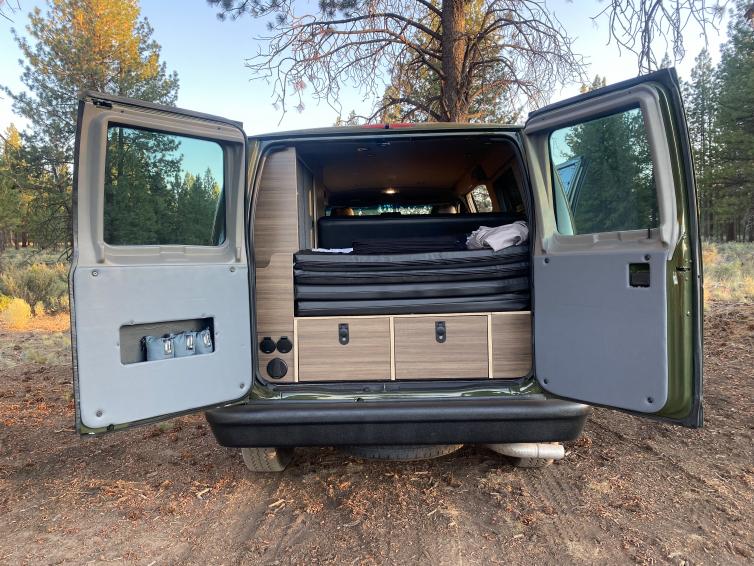
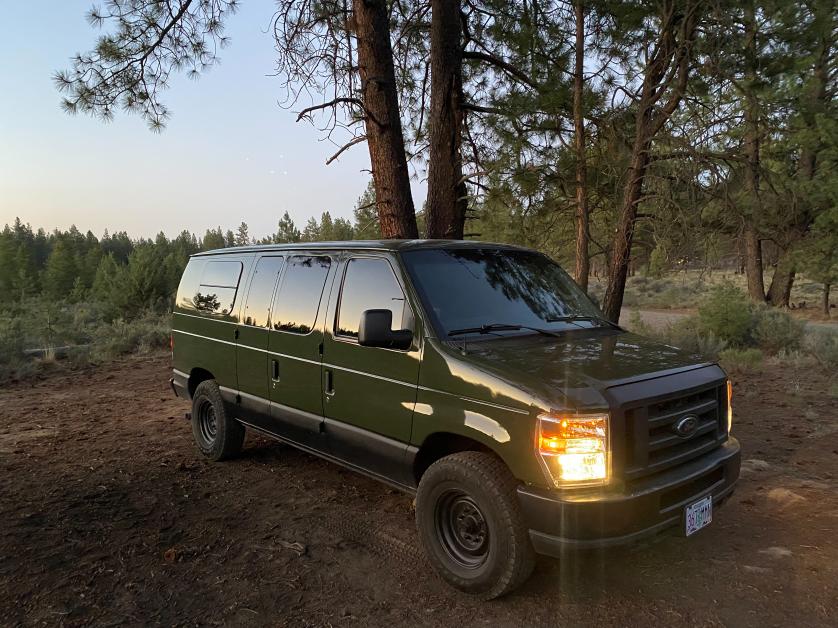
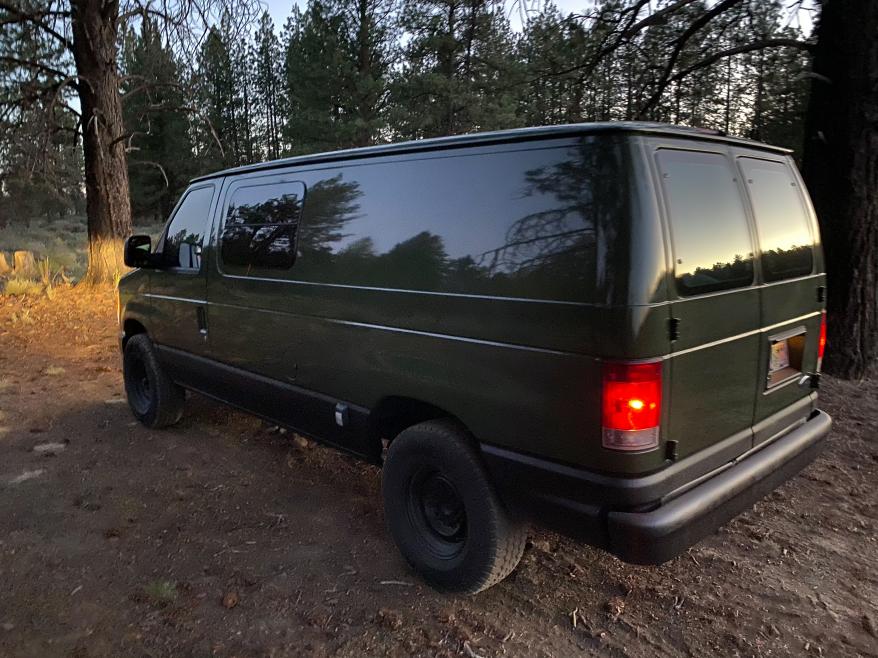
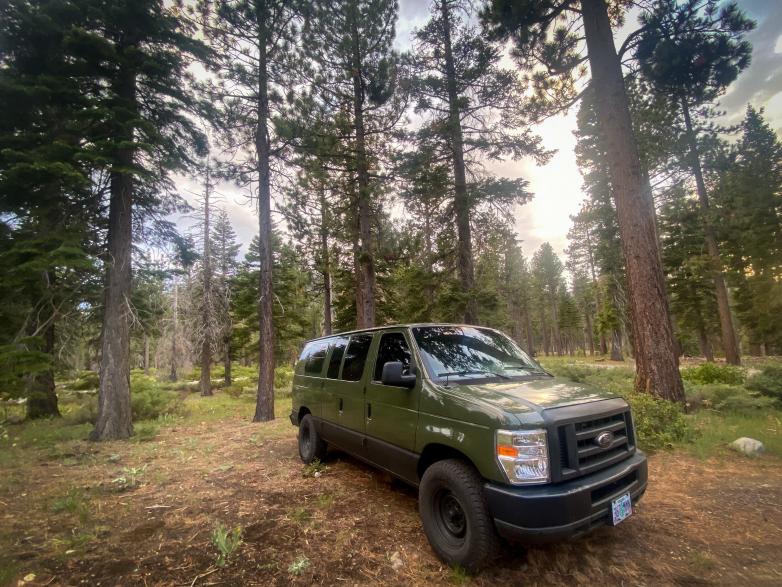
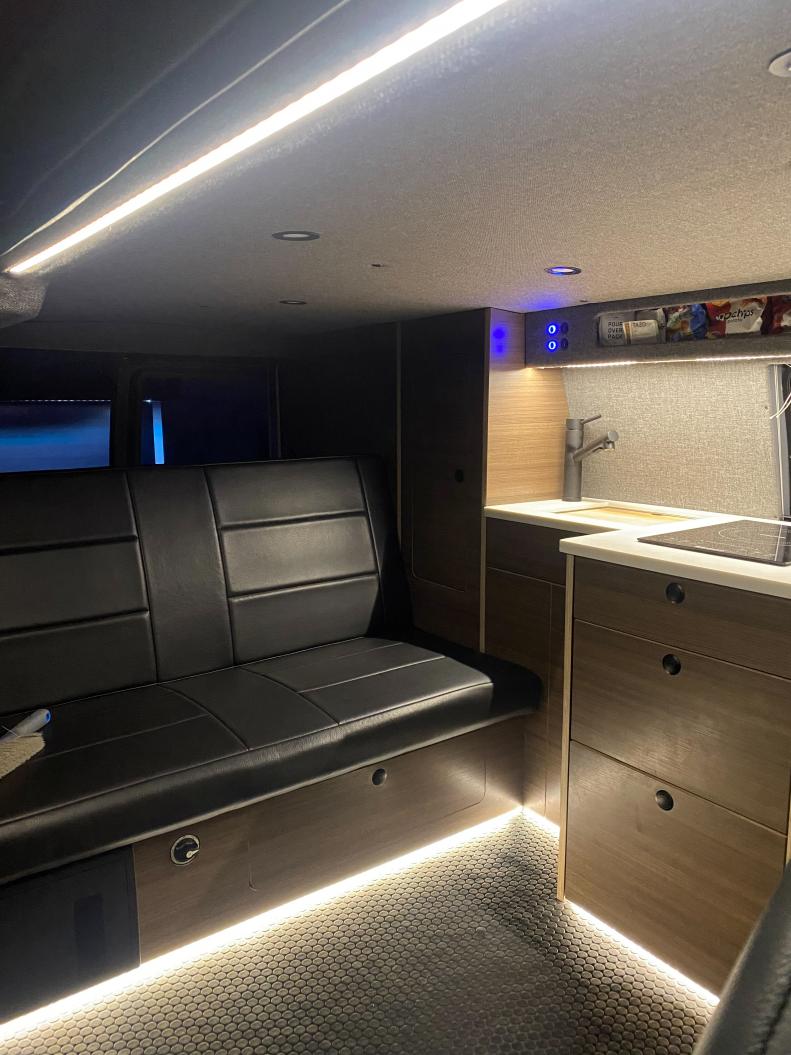
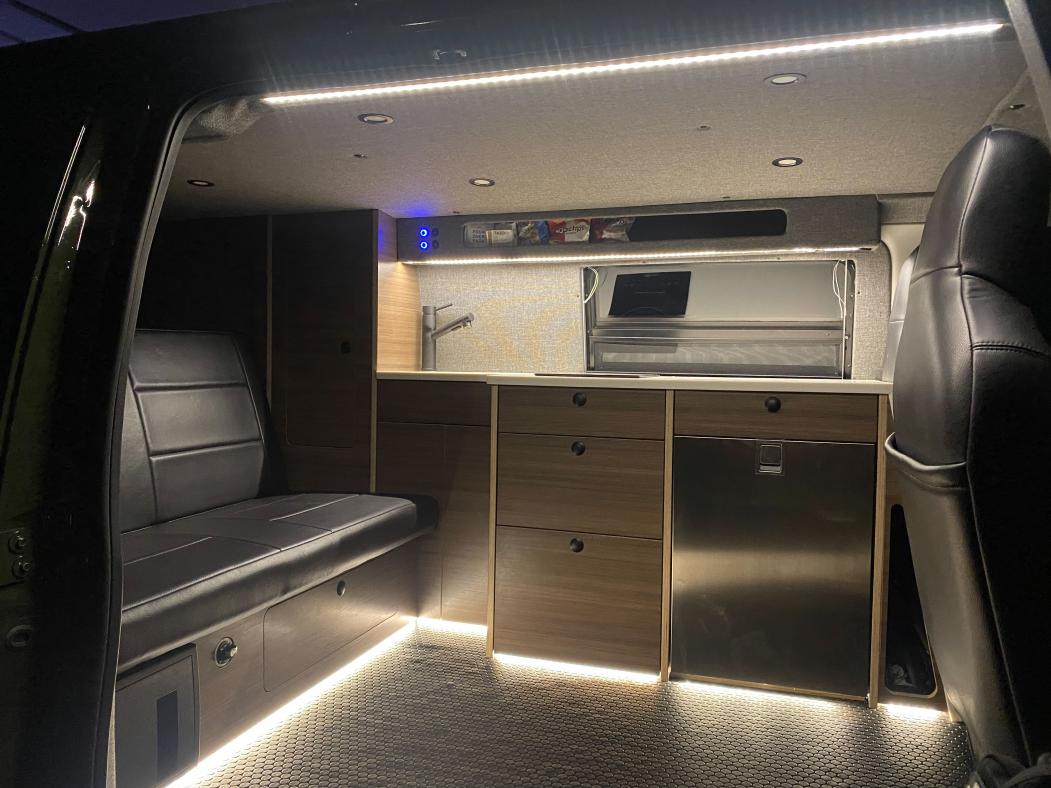
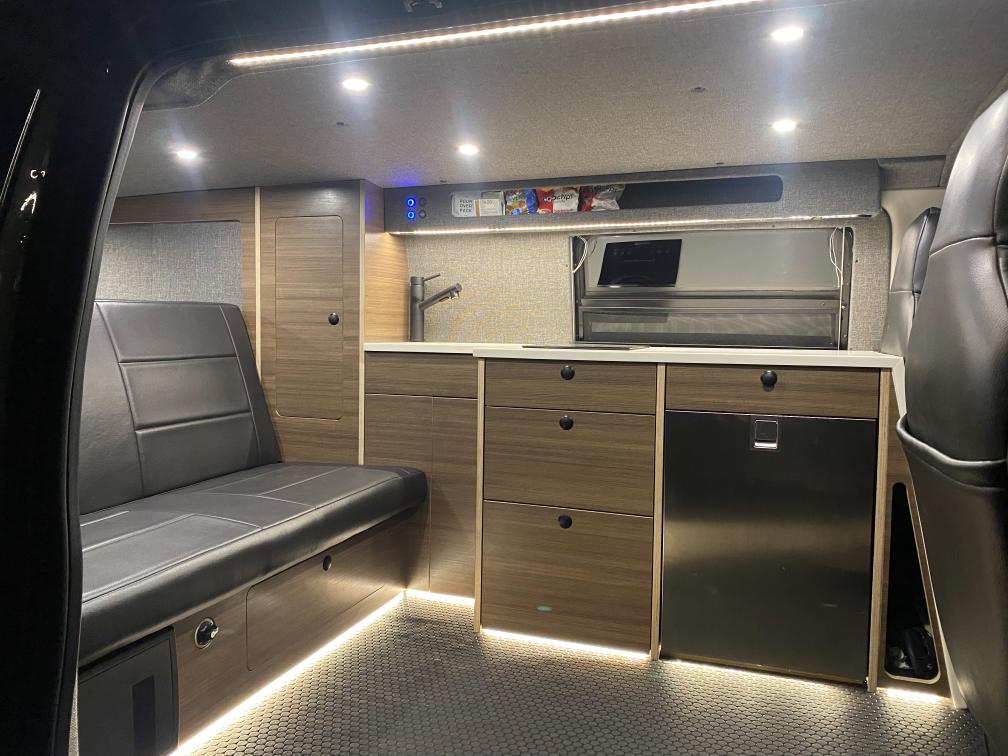
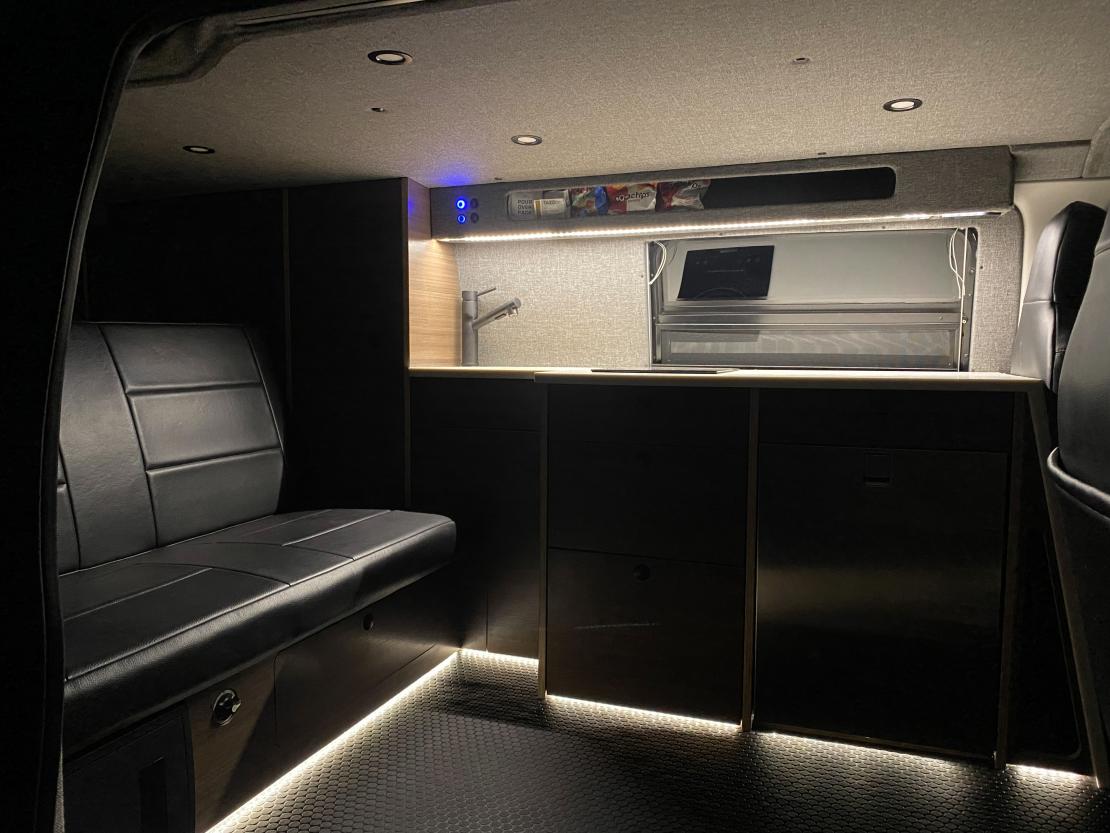
-I am sure I missed some things, but that pretty much takes us to 4 days after our original departure date, where we cleaned everything up, loaded up the van, and hit the road for our shakedown run. All in all, everything worked well and stayed where it was supposed to for our 2,000+ mile shakedown. We only really had one annoying noise which was coming from the latch on the fridge, which I am sure there is a fix for. So now enjoy some finished shots of the van as well as a little video walkthrough we did. If I can figure out how to post it.
